
Mirage IIICJ Weekend Edition
The Eduard 1/48 scale Mirage IIIC is a well-known kit, and it is nice to see it re-released. Despite some known issues, it still builds into a nice replica of the French interceptor.
The kit comes molded in light gray plastic, with a total of 167 parts on eight sprues, plus a small sprue of clear parts. The decals are printed by Eduard and are opaque and in register. There is neither PE nor masks in this Weekend Edition boxing. However, this particular review model was built in conjunction with another reviewed item, Eduard's Mirage IIICJ Weekend Photoetch Set #49659, which provided photoetch for the cockpit.
Construction, as usual, begins with the cockpit. The side consoles and instrument panel have raised detail that bode well for drybrushing. There is also the option of a decal for the instrument panel, if you like. While building the cockpit you need to assemble the nose wheel well at the same time. Ensure a good alignment between these parts, or they could throw off the alignment of the fuselage halves and lower wings.
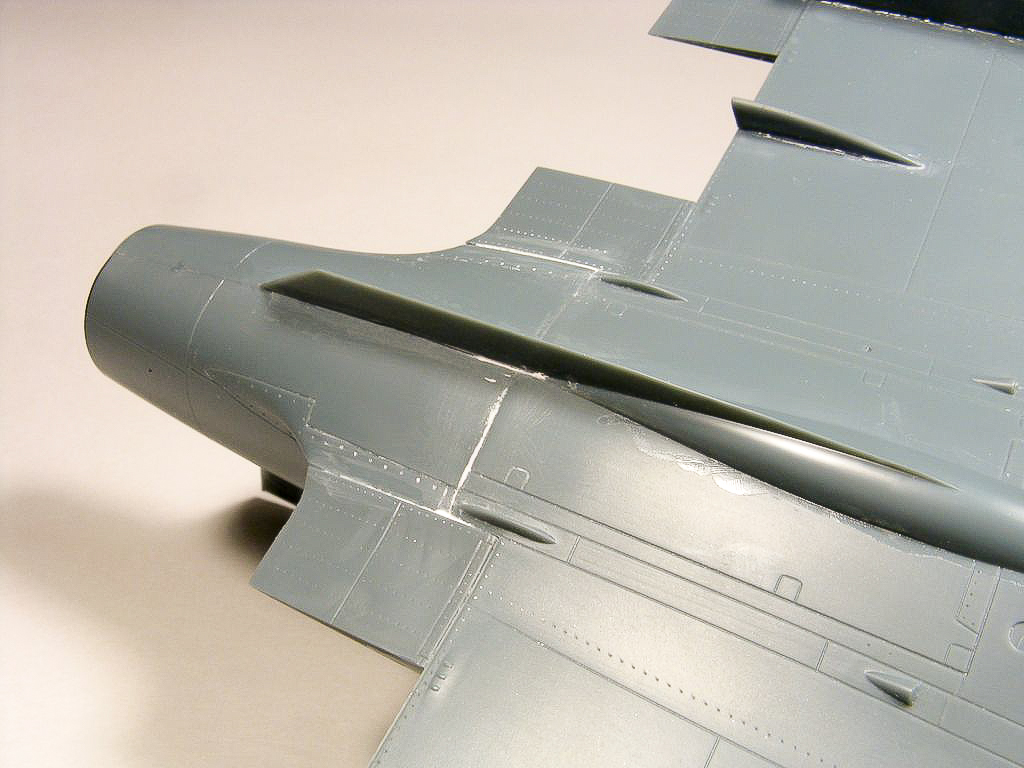
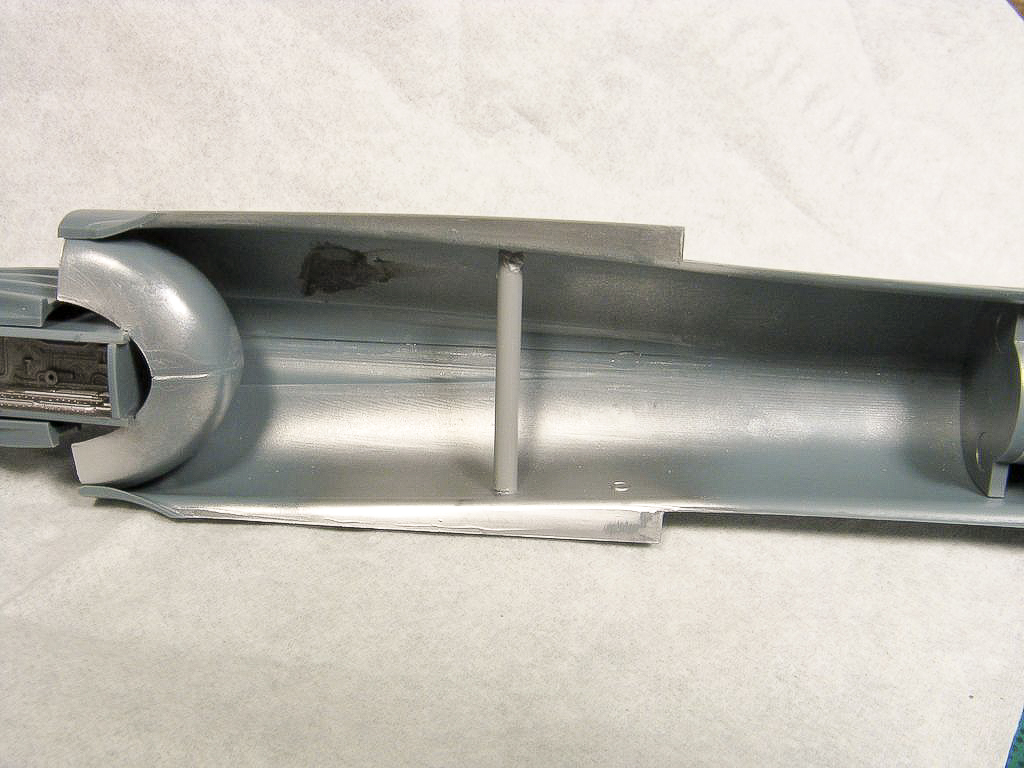
There are two other subassemblies that need to be completed before closing the fuselage: the tailpipe assembly and backing for the air intakes to prevent see-through into the fuselage. The engine and tail pipe assembly looks nice when assembled, but there are two prominent seams that need to be filled down the tail pipe.
With the cockpit, tail pipe, and intake backing subassemblies complete, properly aligning the three components while closing the fuselage is like a small jigsaw puzzle. I might have done something wrong, or perhaps it was the kit’s molding, but when I added the air intakes I ended up with a step on both of them. I had to sand them down and rescribe the area.
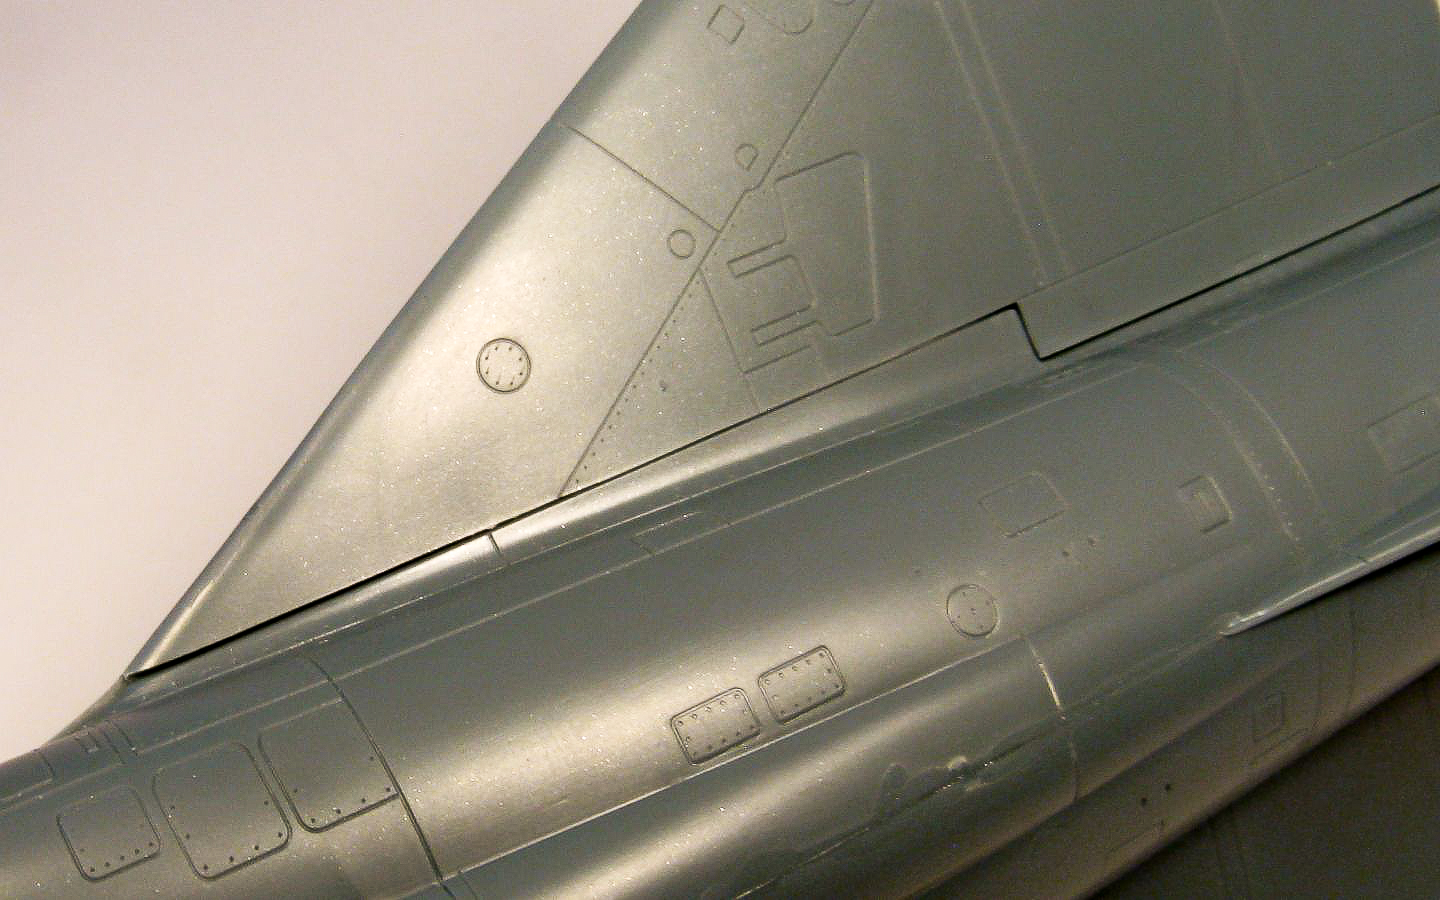
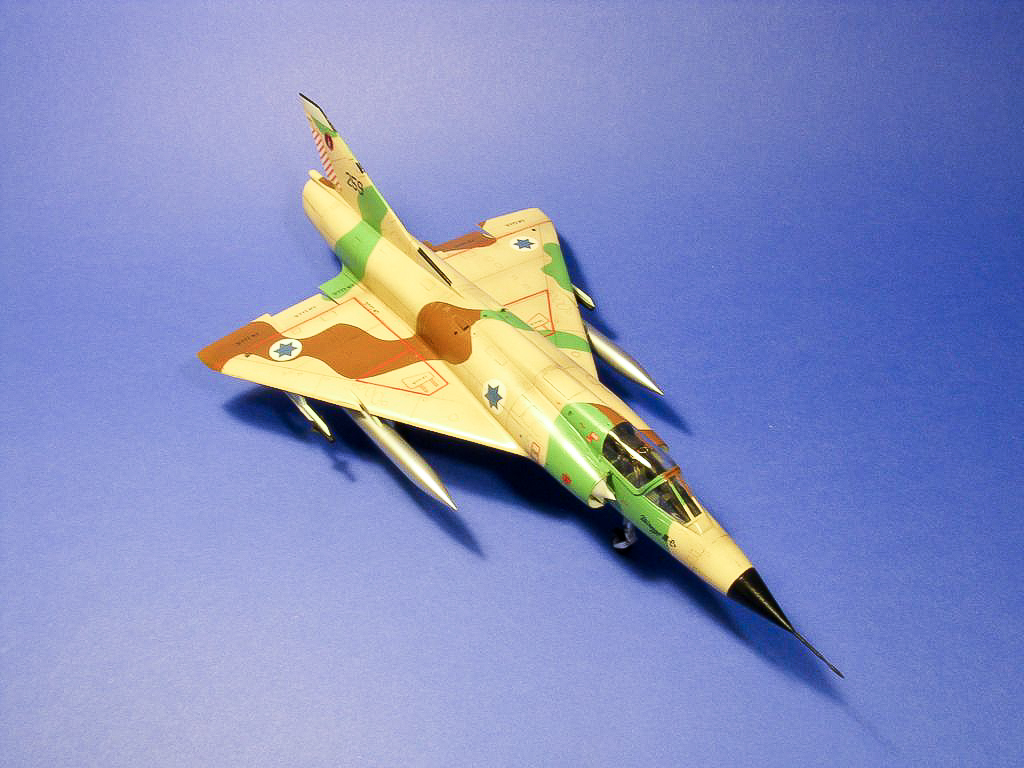
An alignment issue that was not my fault is a small ridge along the rudder. It actually seems like the mold was slightly misaligned when the part was injected. I was able to remove the ridge, but still the panel lines did not match on the left and right parts of the rudder. It is very hard to notice, unless you know where to look and what to look for.
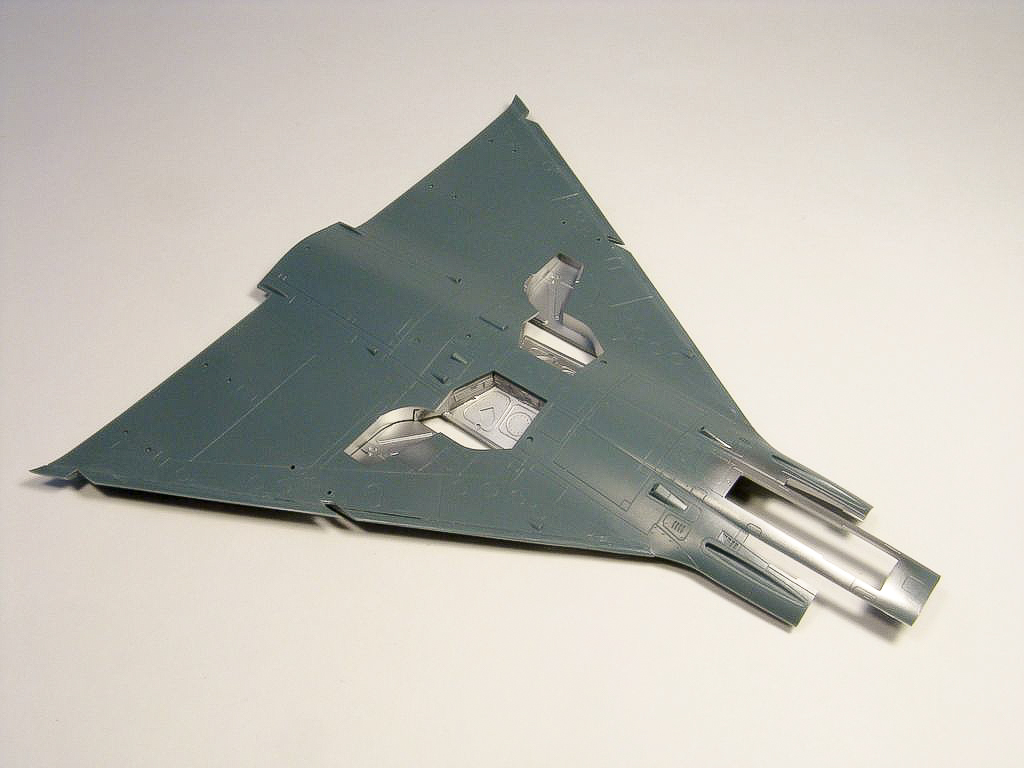
The wings are a simple affair, with a single bottom piece to ensure the correct anhedral angle of the Mirage wing. Make sure you sandwich the landing gear bays before you glue the wings together. If you are going to add any weapons or drop tanks be sure to open the holes at this point. The wing-to-fuselage joint was a less-than-average fit. I had to add a piece of sprue inside the fuselage to spread it enough that only a minor spot of putty would be required. I had a few gaps in the lower wing-to-tail area as well. Again, just a minimal amount of putty took care of it.
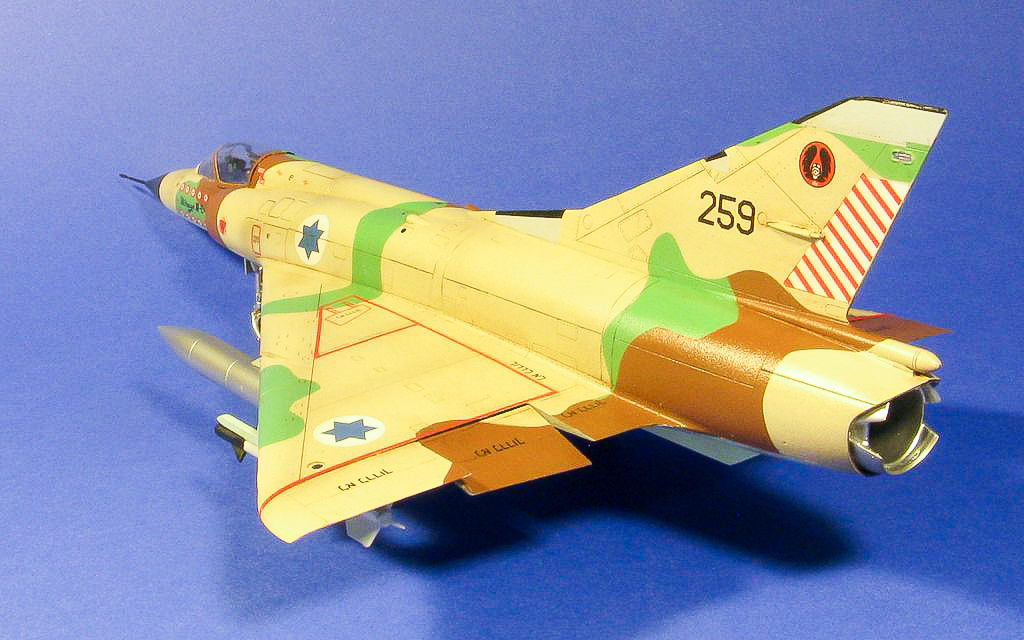
I wanted to do something a bit different with my model, so I modified the wing to have the flaps dropped. I do not know if the real airplane would drop them when on the ground, but I do like the way it looks.
The model moved quickly towards painting stage, which was accomplished using enamels and careful masking. After a coat of Future, I applied the high-quality decals. They were thin, yet strong, with good color density and were in register. This was my first experience with Eduard-printed decals and I was happily impressed.
One thing to consider when decaling, the instructions are printed in black and white on a small page (two pages per letter-sized sheet). It is hard to tell where each stencil is supposed to go. However, this is easily remedied; do yourself a favor and download and print the color instruction sheet from Eduard’s website.
The landing gear was assembled and painted without any issues. When it was time to join the struts to the wheel wells I was surprised by how flimsy the overall assembly is. You’ll want to be very careful when handling your model.
In summary, this kit requires some modelling skills to fix the fit issues around the air intakes and the wing-to-fuselage join. However, it is not beyond the skills of the average modeler to fix (or prevent) these issues. My sample seemed to have some misaligned mold issue in the rudder area. Some sanding partially corrected the issue, but still there is a mismatch of the panel lines between the left and right side of the rudder.
Despite the few issues, this kit is really nice, goes together with minimal fuss, and looks great when finished. I have to say I am very happy to have added it to my model collection. I recommend it to modelers that have a few kits under their belts; the average modeler should have no problem assembling this kit.
I would like to thank Eduard and IPMS/USA for the review sample.


Comments
Add new comment
This site is protected by reCAPTCHA and the Google Privacy Policy and Terms of Service apply.
Similar Reviews