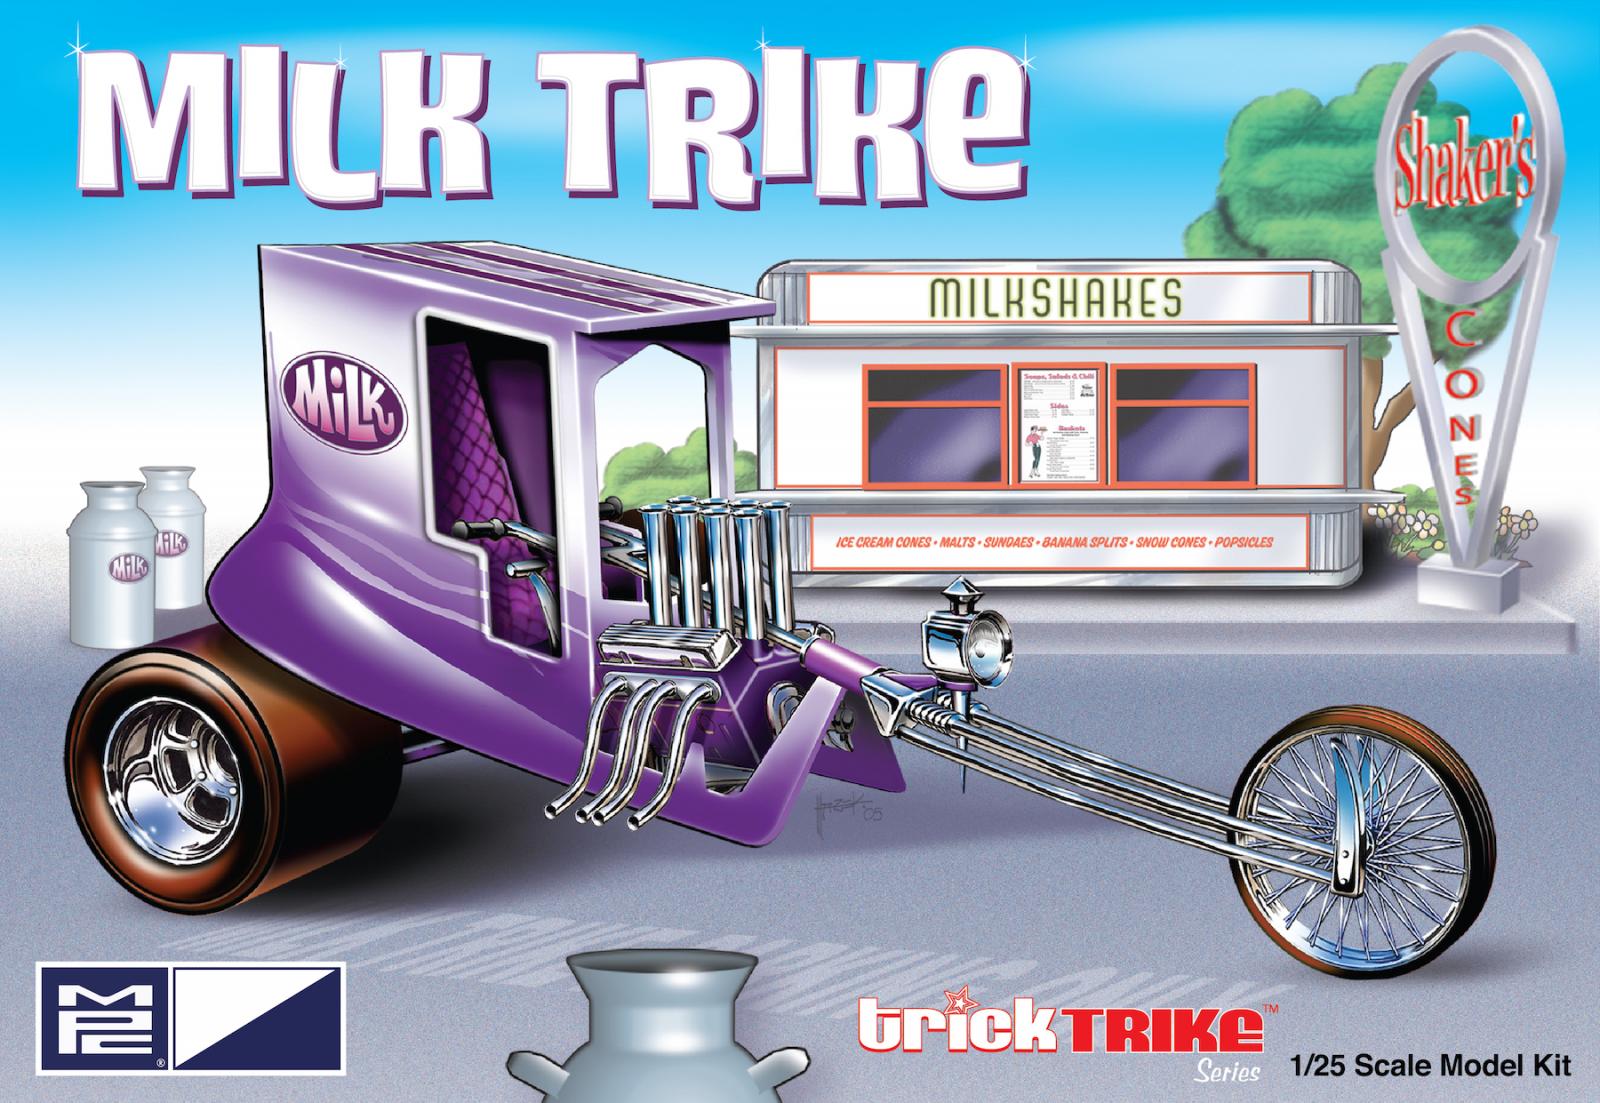
Milk Trike
Round 2 has reissued the 1/25th scale Milk Trike kit and it is great to see it again. MPC was a very popular model company in the 1960’s and 70’s and thankfully, Round 2 has saved their molds. The Milk Trike was one of six trike kits which came with different window colors and extensive decals to customize your build.
Inside the box, there are 57 easy to build parts molded in white, chrome and three colors of windows- clear, transparent purple and transparent orange. There are preprinted black tires and a large decals sheet giving many options. I decided up front to stick with the Milk Trike theme and try to duplicate the purple color in Alclad Candy colors.
Construction starts with the body. I glued it together and made my first mistake and glued the part of the body holding the steering wheel and front wheel shut. I should’ve looked further. More later on the fix. I used strip to cover the inside seam also. Once nice and smooth, I used Alclad candy silver and then mixed there red and blue candy colors for a purple and shot that and sat everything aside to dry.
I wanted to strip the chrome so it all looked consistent. I assembled the engine also at this time and removed the seams. A good soak and some scrubbing and I shot all the chrome parts with Tamiya Gloss Black thinned with lacquer thinner. It dries rock hard and can be polished. Alclad chrome was misted on over it and all these parts were set aside for some drying time.
I finished the interior in a red fabric with black backgrounds and did a wash to bring out the fabric look. This was flat coated. We were ready for assembly and decals. The rear window was added and I chose orange. The interior was added and clicked right into place. The engine was added followed by the read transmission and tires. The front forks and tires were ready to add, I glued the front fork holder shut for a better seam…..nuts. To fix this, I cut the forks where they would have been in the sleeve. I added the bottom and top and made sure they were aligned with no issues. It won’t move but they were in place. Lastly, the lamps and the like were added. I added the Milk Truck decals along with the bubbles and I added them to the body flares. They went on perfectly.
This is a great kit. If you don’t fuss about, you can have it assembled in a weekend and it would be great for kids with choices abounding and lots of customizing options. This was a great blast from the past. Definitely recommended.
My thanks to the excellent people at Round 2 for preserving and reissuing these kits and for giving IPMS the opportunity to review them.


Comments
Add new comment
This site is protected by reCAPTCHA and the Google Privacy Policy and Terms of Service apply.
Similar Reviews