
MiG-21F-13 Fishbed
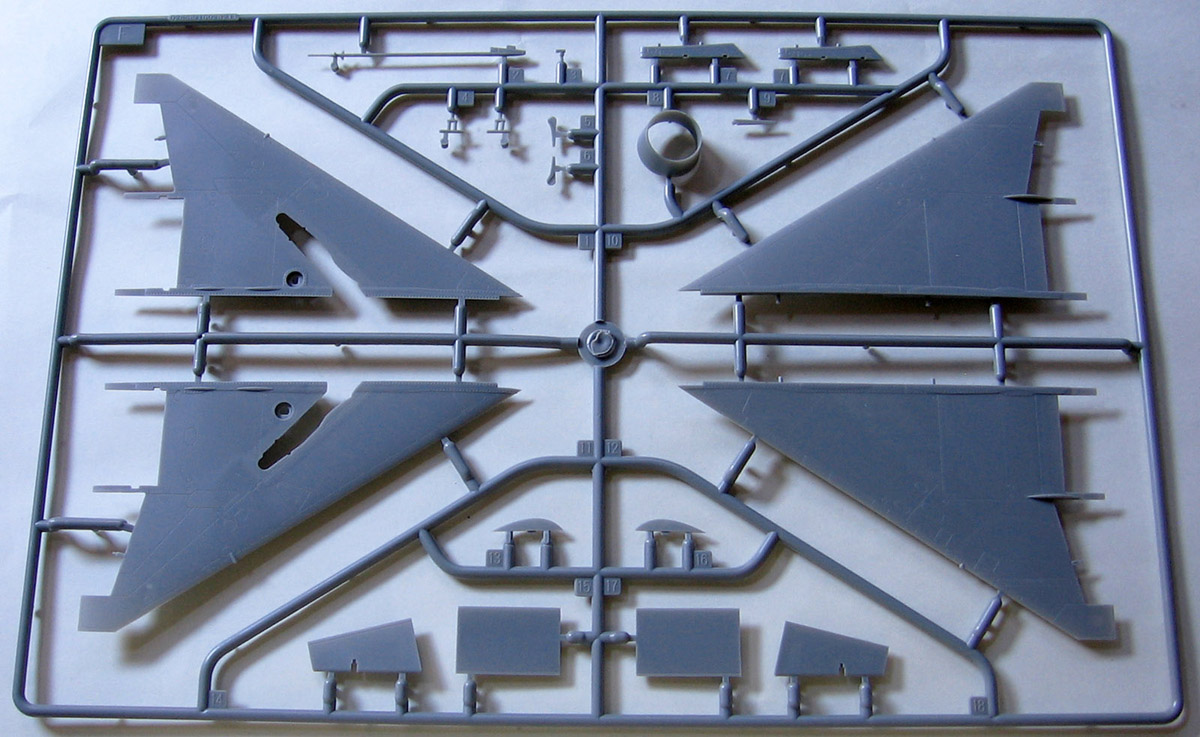
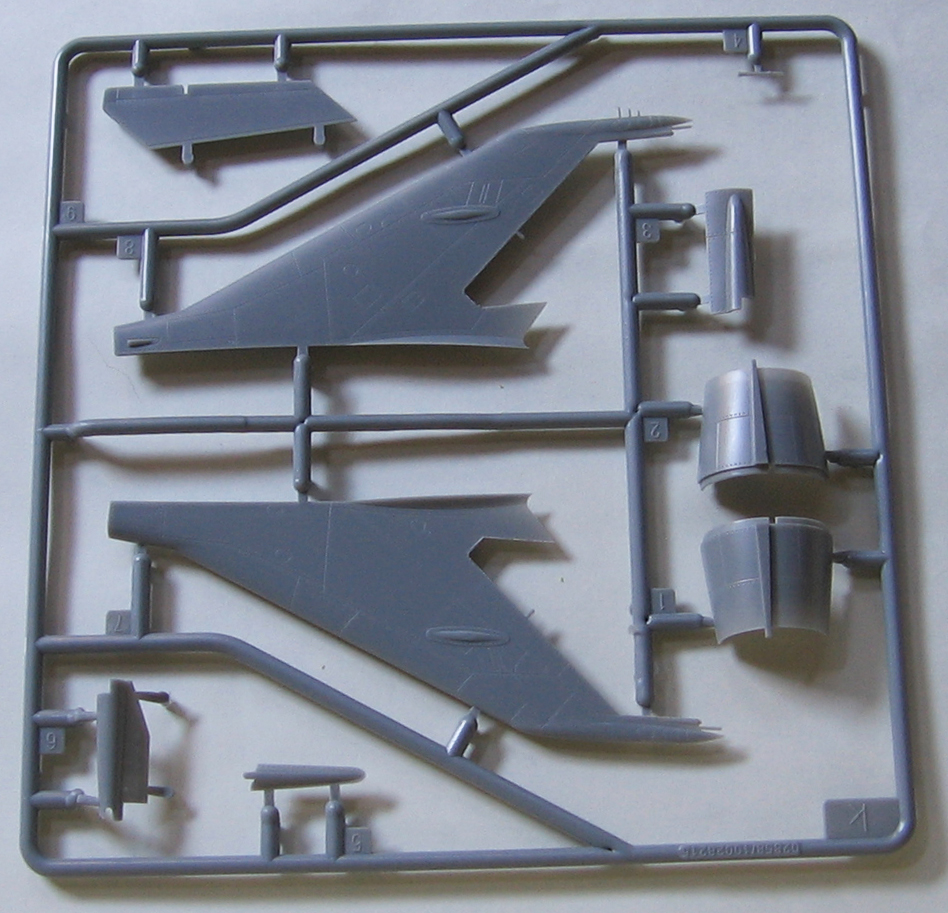
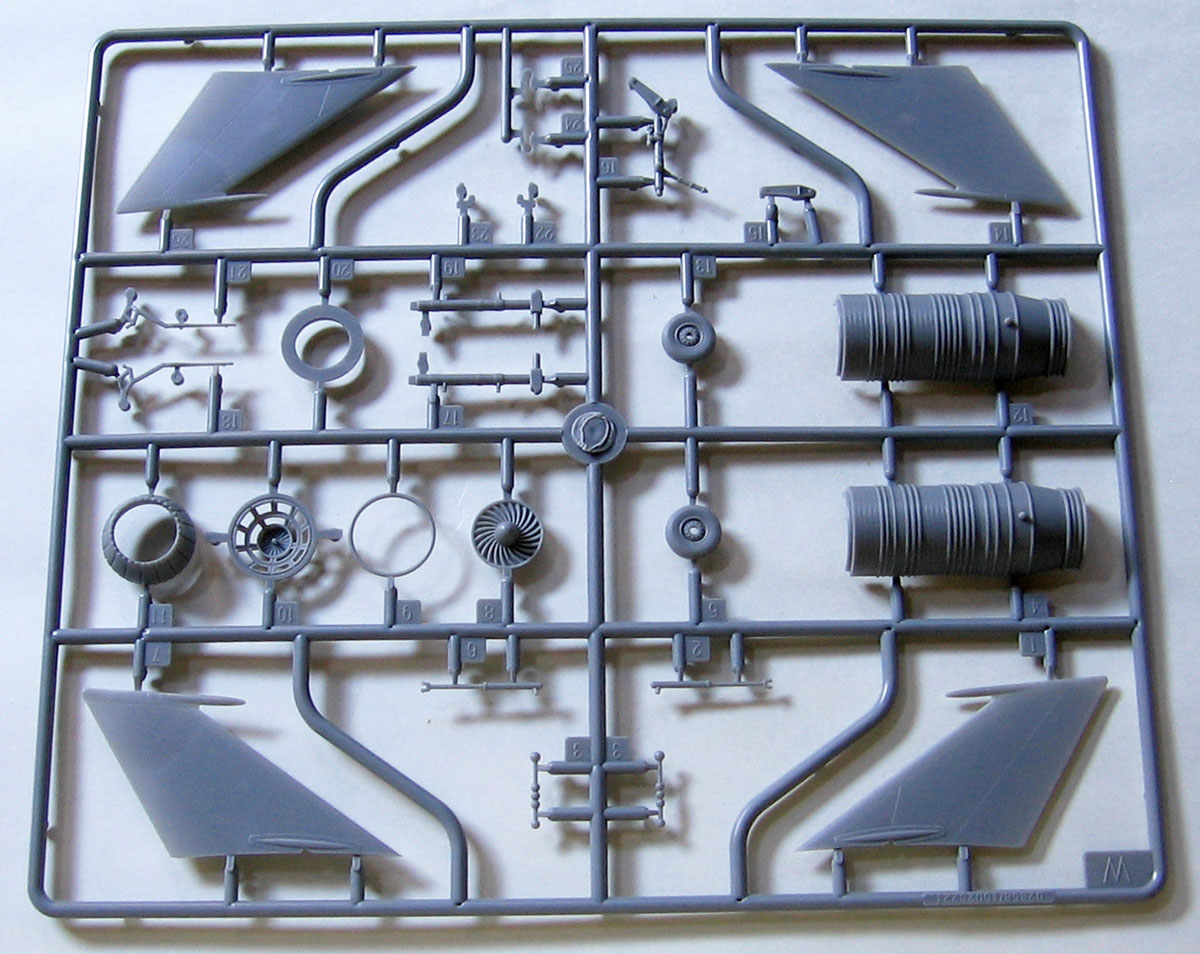
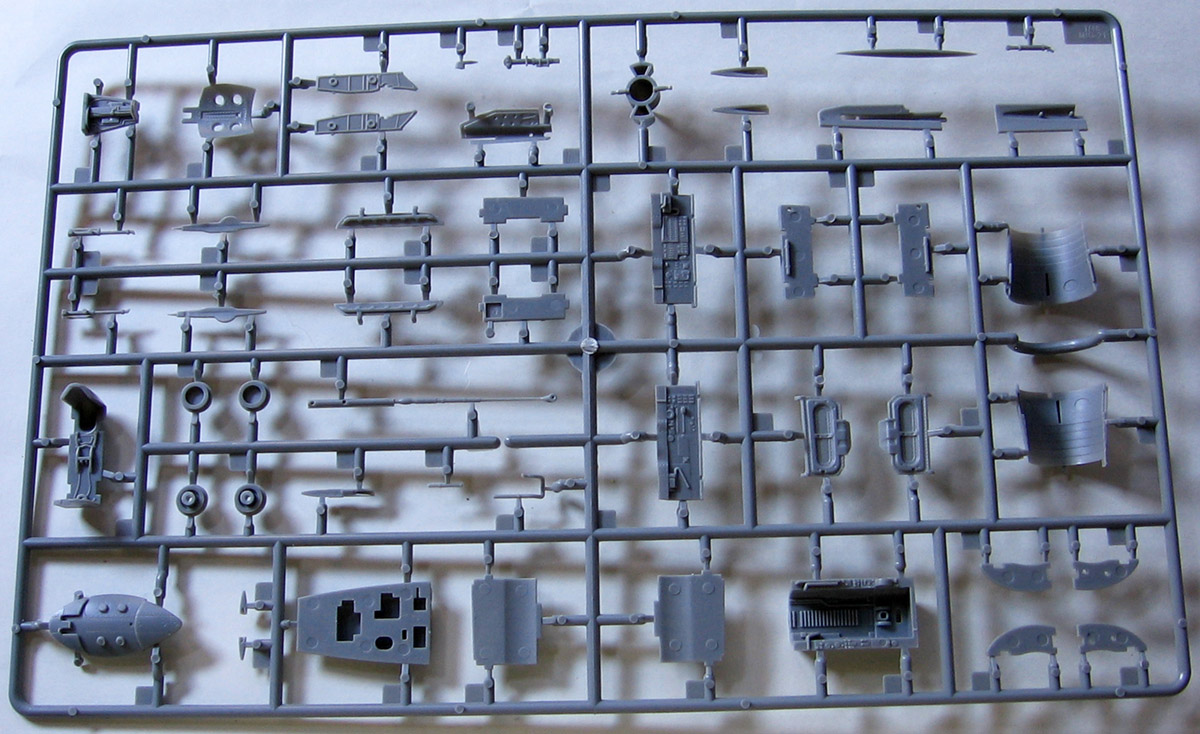
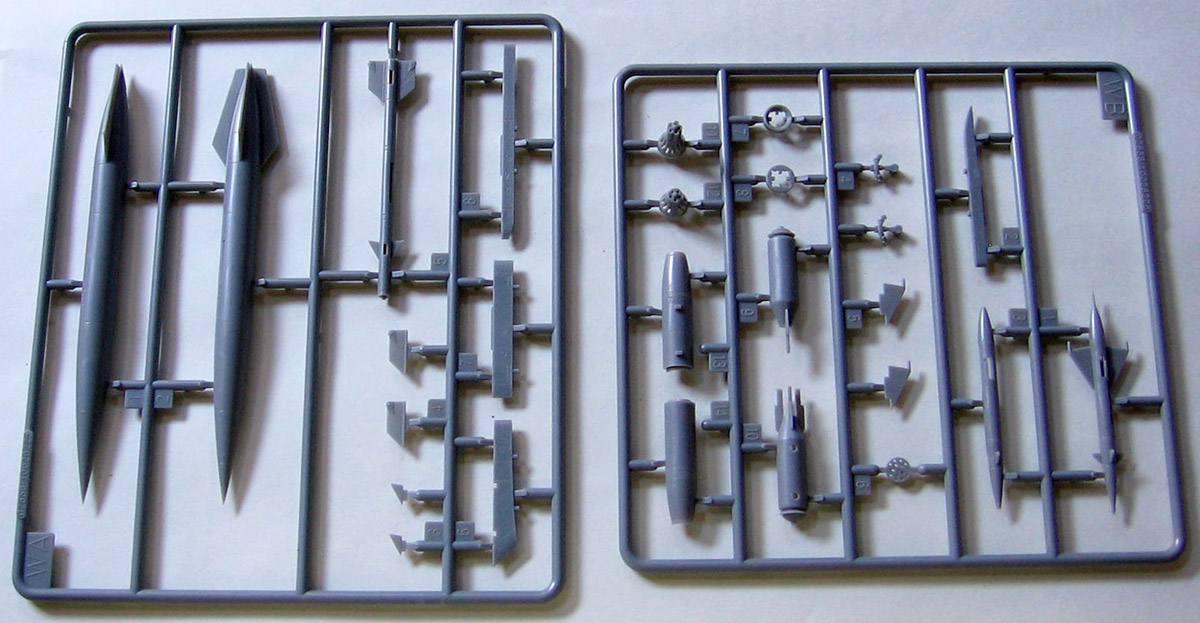
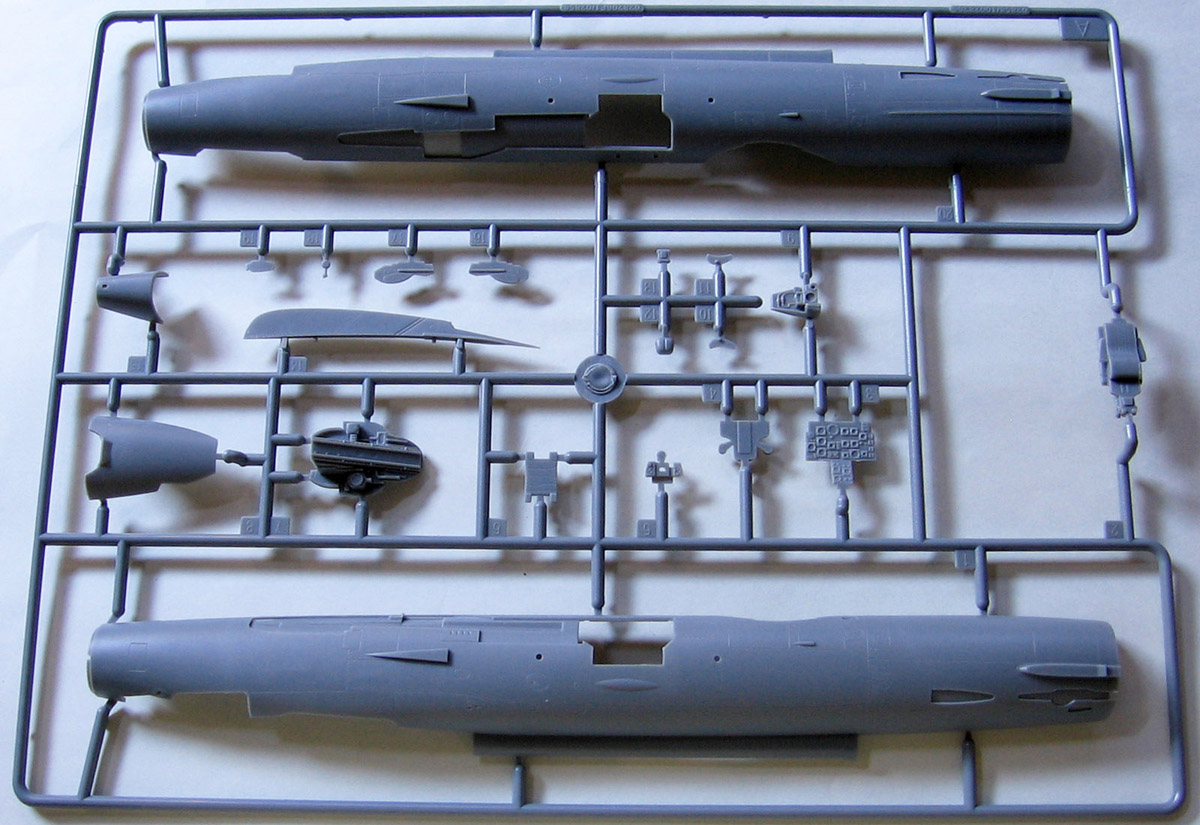
The MiG-21F-13 was one of the early variants of the MiG-21 series, and as far as I know this is the first injection-molded kit of the aircraft in 1/48 scale. The kit comes in an appropriately sized box with some nice artwork on the cover. Inside the box, there are 9 sprues of cleanly molded medium grey parts, four of which are dedicated to underwing and under fuselage stores. Most of the major parts have their sprue attachment points molded on the mating surface, rather than on the edge of the part, which means that you don’t have those ugly sprue attachment areas to deal with when cleaning up the seams. I thought that was a nice touch and I hope that other manufacturers will start molding their kits in the same way. The panel lines are recessed and nicely done, and the rivet detail is present but restrained. The surface seems to have a very slight roughness to it, but it disappears under a coat of primer.
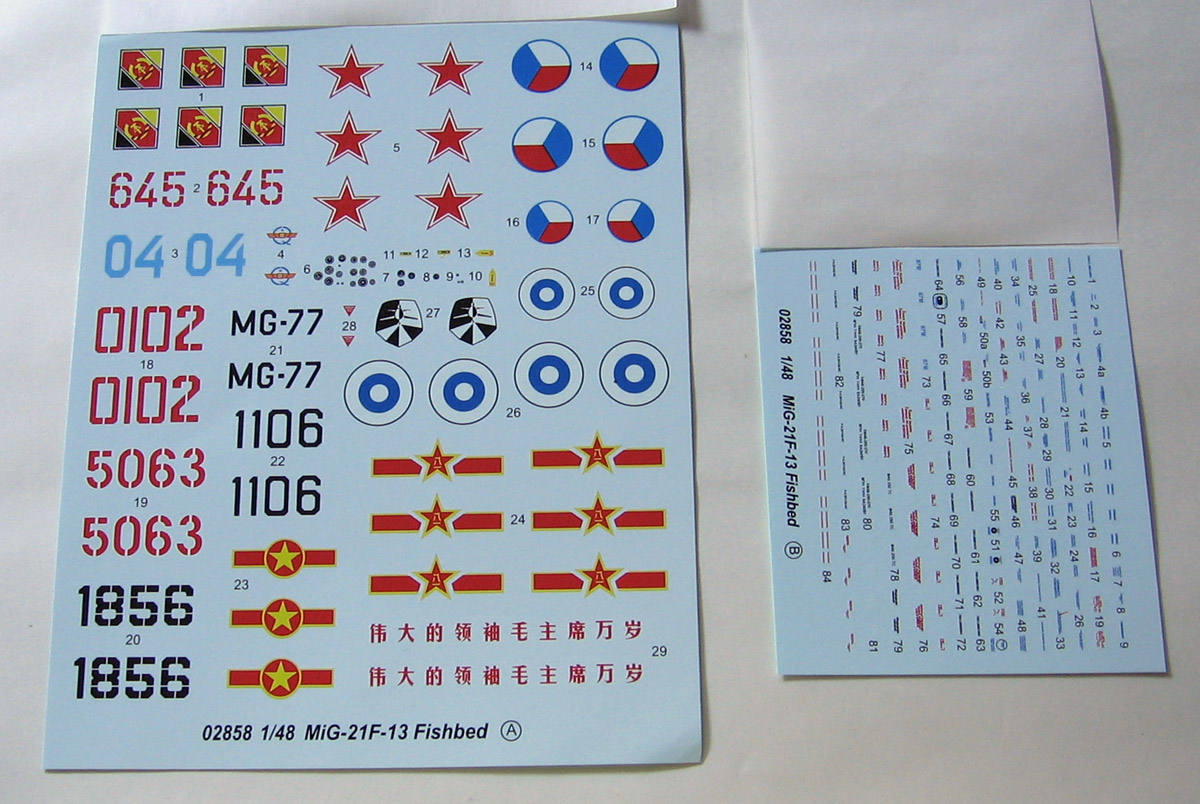
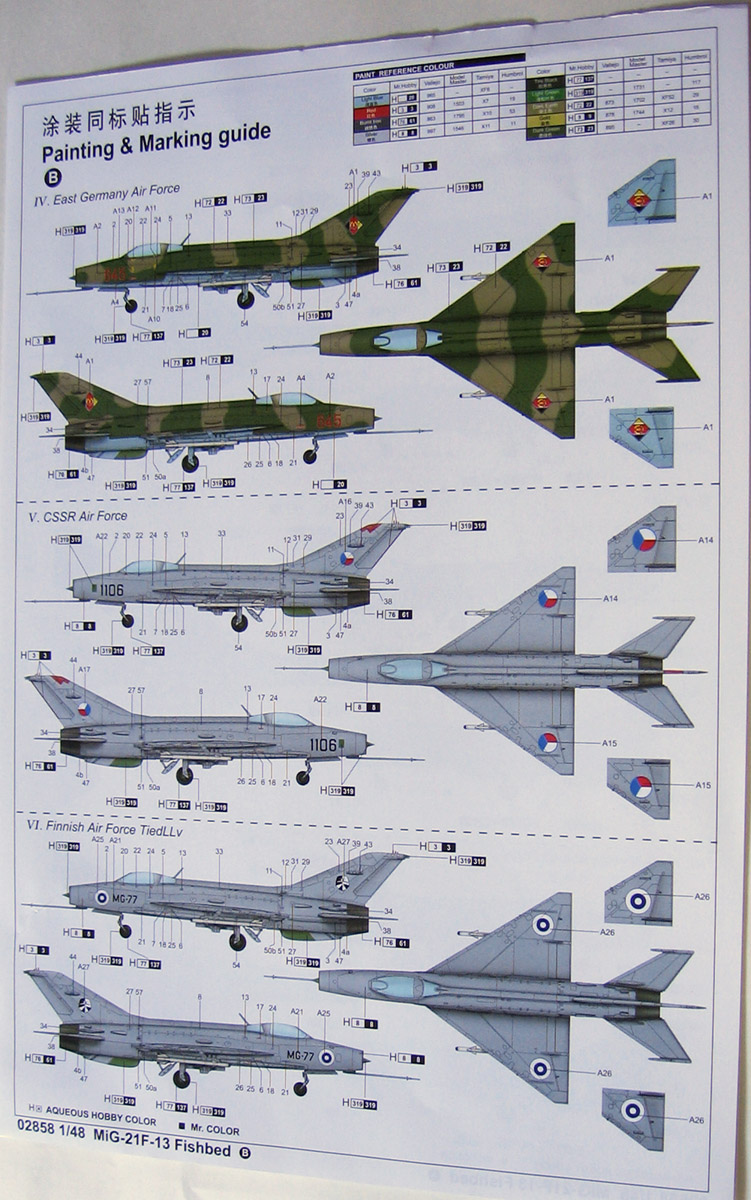
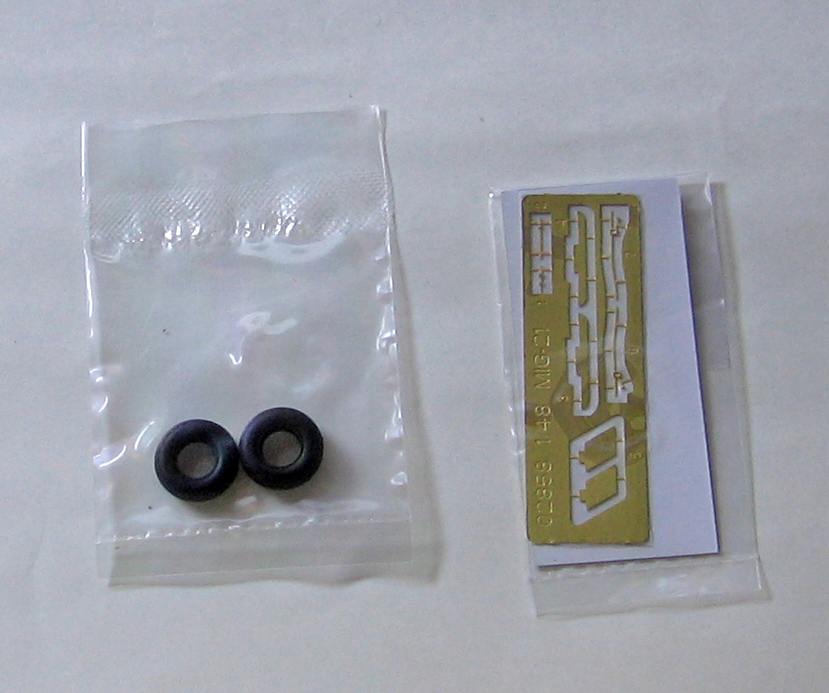
There is one clear sprue, a small fret of photo-etched parts, two rubber main wheels and two decal sheets. The clear parts are clear and thin. I opted to purchase the Eduard masks, since I am not very good at masking canopies. The decals appear to be in register, and represent five different options, with four of them being natural metal and the other being a camouflaged MiG from East Germany. One of the decal sheets is devoted to stencils and weapons.
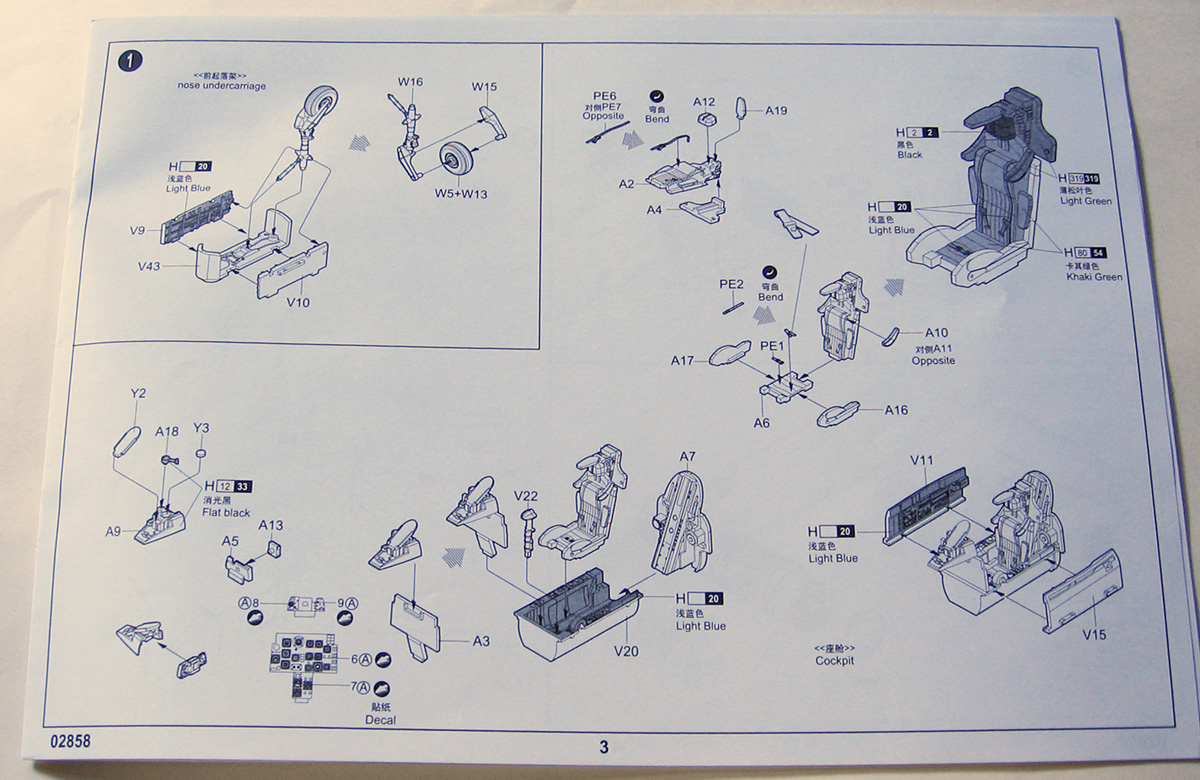
The 12-page instruction manual is clearly drawn with Gunze color callouts. One thing that frustrates me about Trumpeter instructions is the inconsistency of the color callouts. For instance in Step 1, they tell you what color to paint the inside of the nose wheel well, but not the landing gear or wheel. Fortunately, there are plenty of references available in print or on the internet, so figuring out the right colors is not a problem.
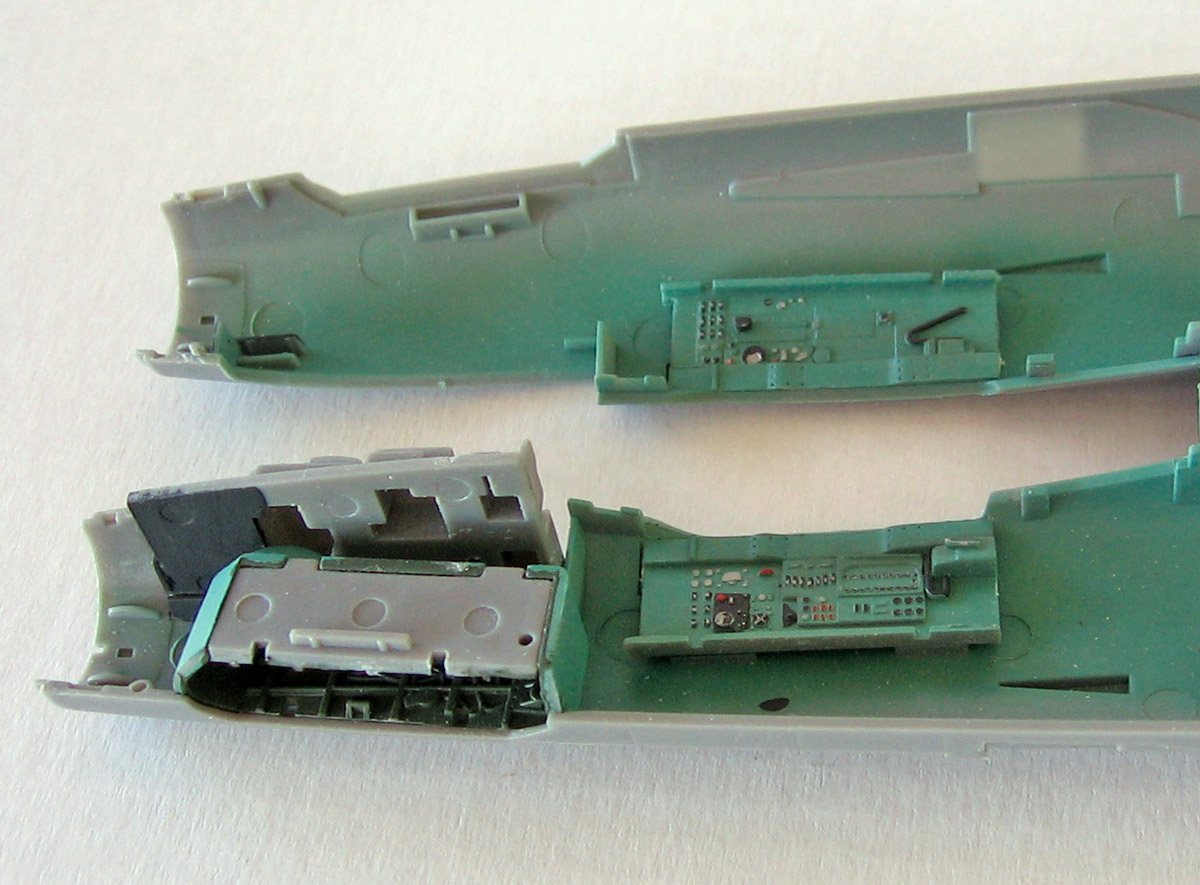
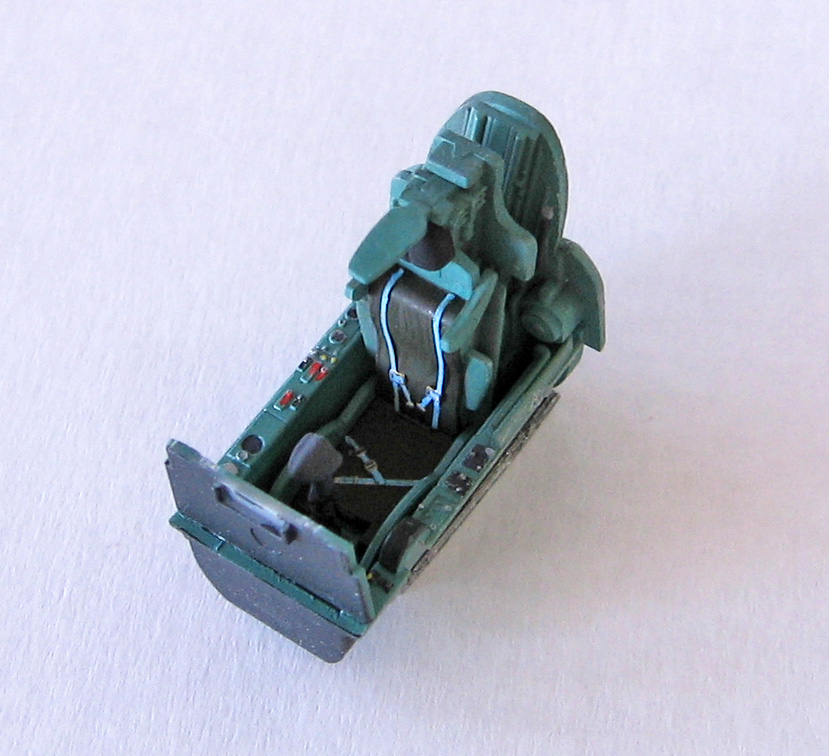
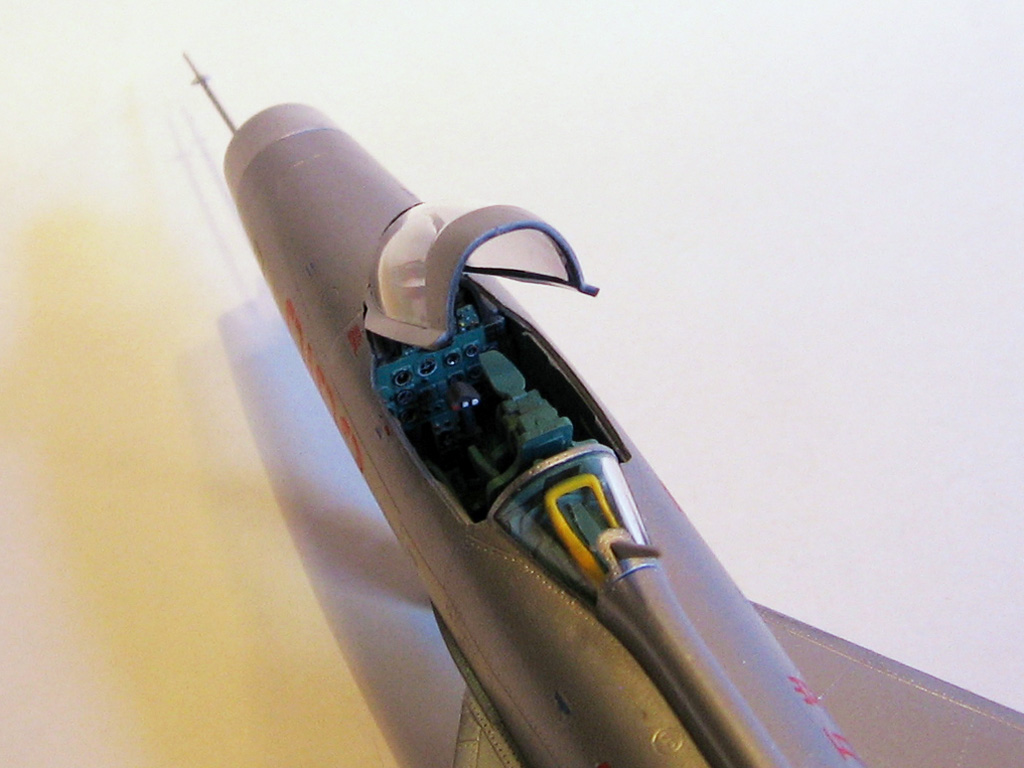
The cockpit is one of the nicest I have seen in injected-molded plastic, and I can’t imagine a resin aftermarket cockpit being able to improve upon it too much. The photo-etch seatbelts seem a little too narrow to me. I painted the cockpit interior with USSR interior blue-green from Testors, but after doing so I found a couple of pictures on the internet that seemed to show that the cockpit interior should have been black or dark grey. I had already assembled everything, so I just left it the way I painted it. I guess the moral of the story is to check your references before you start painting!
There is a decal provided for the instrument panel, and it looks very good and it actually fits! The instructions would have you glue the cockpit sidewalls to the cockpit tub, but I opted to attach them to the fuselage sides instead. I figured I would get a more flush fit between the sidewalls and the cockpit sill by doing it that way. I had to thin the edges of the sidewalls so that the fit was flush enough for my taste. The fit of all the parts was great, and everything went together quickly. Be wary of the “hood” that goes on top of the ejection seat. I knocked it off a couple of times during construction and almost lost the part on one of those occasions. The instructions only show the canopy in the closed position, but I couldn’t resist posing it in the open position, because I think the forward opening canopy adds a bit of visual interest. The Eduard masks fit perfectly.
The engine and the nicely detailed main wheel wells are constructed next, and once again the fit is very good. Take care when joining the fuselage halves, as there are a lot of items that need to go inside before the two halves can be mated. Don’t forget to add nose weight! I put a little bit in the nose radome, a little bit along the sides of the cockpit tub and a little more behind the rear cockpit bulkhead. I probably overdid it, but better safe than sorry. I left the nose cone and the exhaust off so that I could paint them separately. The instructions would have you install the pitot tube in step 4, but I left it off until the end of the build.
There is an open area just in front of the windscreen that I’m guessing is an avionics or radar compartment. It has some nicely molded detail, but the instructions don’t indicate how the access panel should be positioned should you want to leave it open and show off the detail. I decided to just close it up, and the fit was not the greatest. I ended up using Tenax and clamping it to get a good join, but in the process I overdid it with the Tenax and had to do some rescribing. If I had to do it over I would work on sanding the part to get a better fit, which is what I usually do.
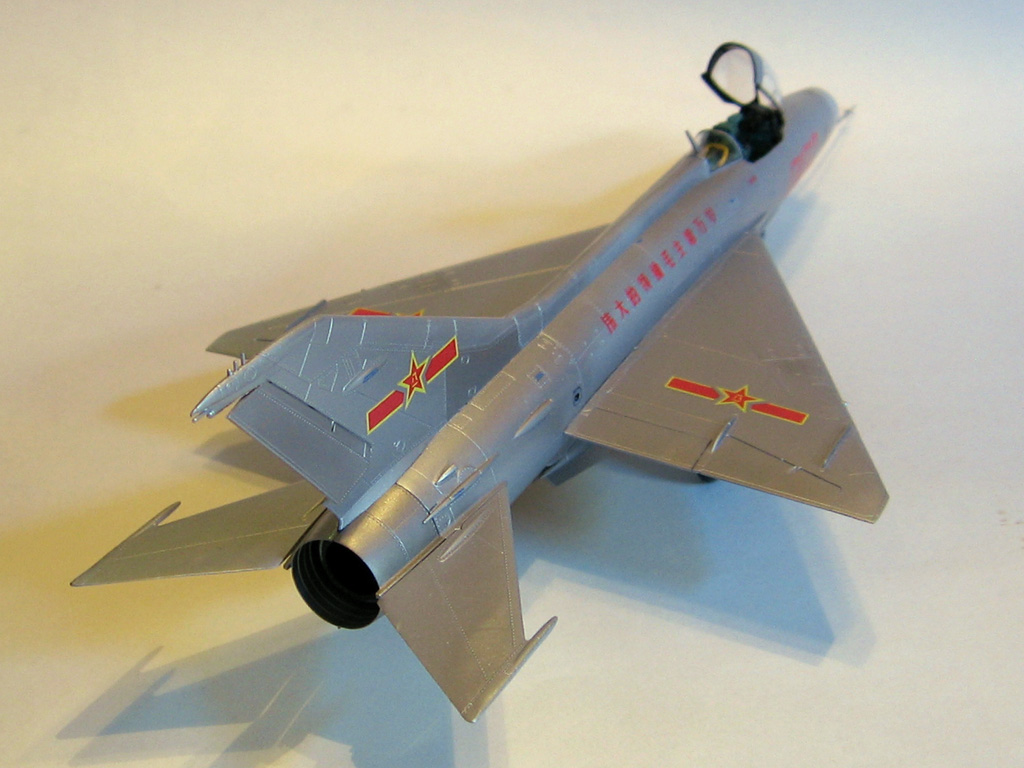
The fit of the vertical tail plane to the fuselage could have been a bit better. The forward part of the tail sits just a little higher than the portion of the spine that it mates to. A little bit if sanding and rescribing took care of that issue. Steps 7 and 8 deal with the assembly of the wings. Be sure to look at the instructions carefully, as I missed the fairings that go on either side of the lower inboard flap. The part numbers are actually in the drawing rather than off to the side where they can be seen more easily. The main wing to fuselage joint could have also been a little more precise, but with generous amounts of Tenax I was able to get a satisfactory looking joint. The horizontal tailplanes are a butt-joint, which seemed a bit odd to me for a mainstream injection-molded kit, but the fit was good.
The nose gear is nicely detailed and easy to assemble. The main gear is a little more fiddly, but goes together easily . Don’t forget parts W22 and W23 when assembling the main gear. The drawing shows them already installed, so it is easy to miss them. The fit of the main gear in to the wheel wells was a little sloppy, so be careful to get things aligned properly when attaching them.
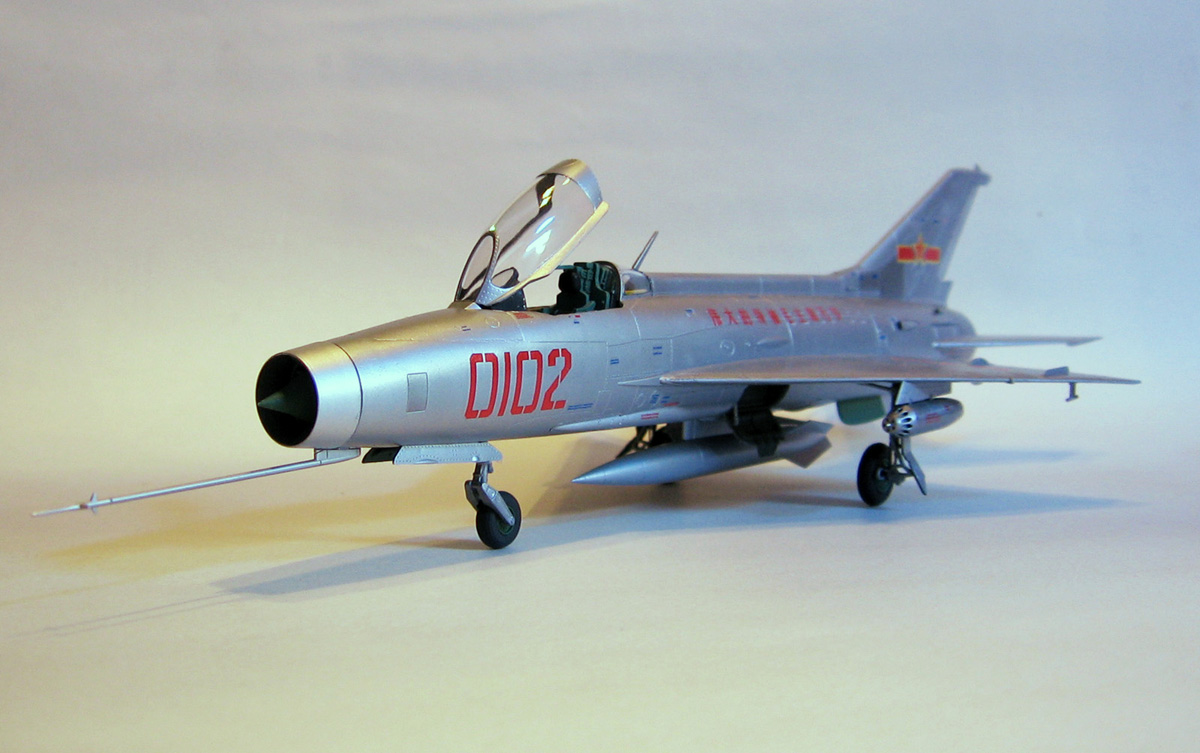
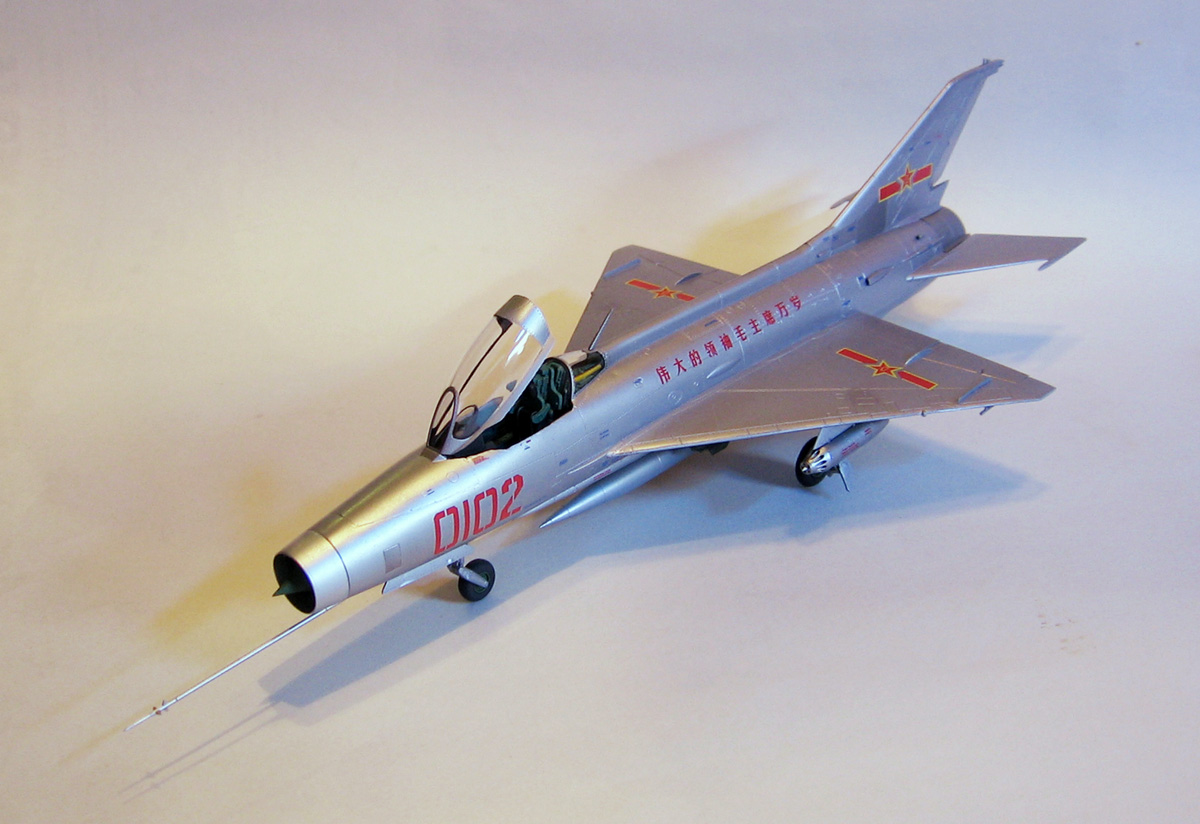
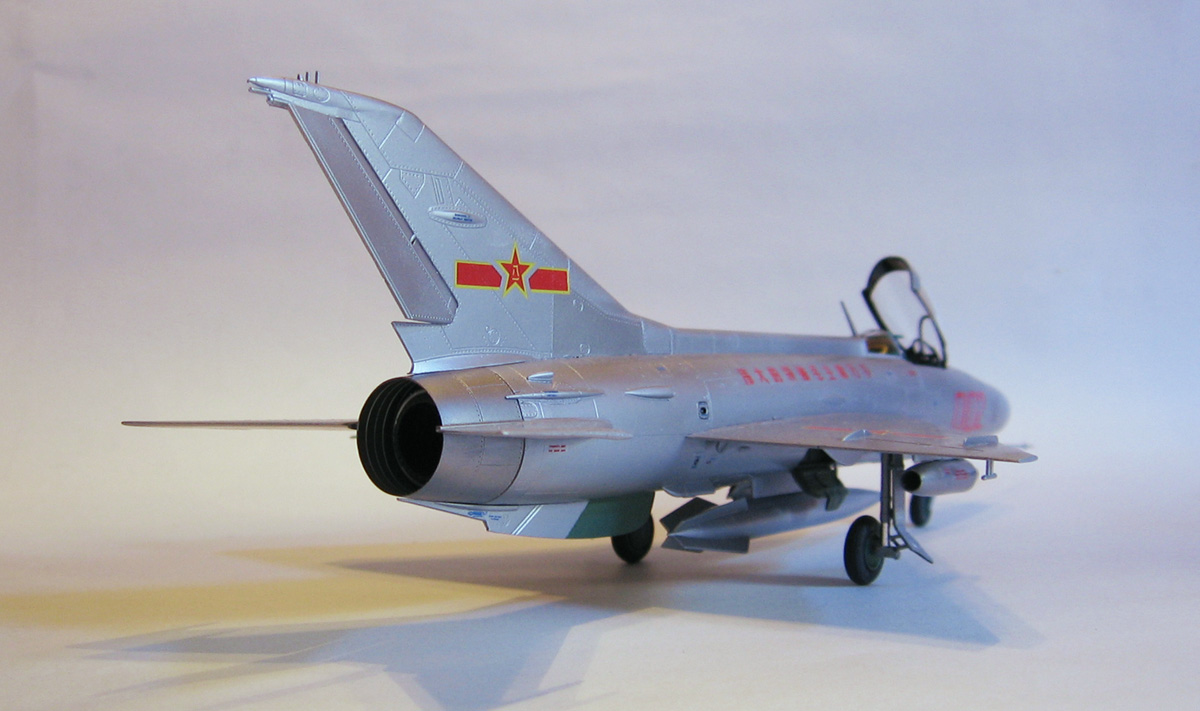
I chose to do the PLAAF version with the Chinese characters along the fuselage sides. I used Alclad aluminum, and I darkened a few panels slightly. I would have liked to take more time and vary the color of more panels, but since I was already way behind schedule I decided against it. The decals performed beautifully, being thin but strong and settling down into the surface detail without any setting solution. There were quite a few stencils to apply, so I spent a couple of enjoyable evenings doing the decals.
Several different types of underwing stores are provided, but there is nothing to indicate what type of ordnance should be used. I’m sure there are plenty of references available either on the web or in various publications to aid the modeler, but it would have been nice if Trumpeter had provided some information in the instructions. I decided to use the centerline drop tank and the UB-16 rocket pods, just because I thought they looked cool. I apologize to any of the purists out there who may have cringed at that last sentence.
Trumpeter are to be congratulated on releasing an excellent, easy-to-build kit of this long overdue subject. The level of detail and the quality of molding is very high, and the price is reasonable. I highly recommend it to all Soviet jet enthusiasts. My sincere thanks to Trumpeter, Stevens International and IPMS/USA for the opportunity to review this excellent product.


Comments
Add new comment
This site is protected by reCAPTCHA and the Google Privacy Policy and Terms of Service apply.
Similar Reviews