MiG 15 UTI Accessories
The Products
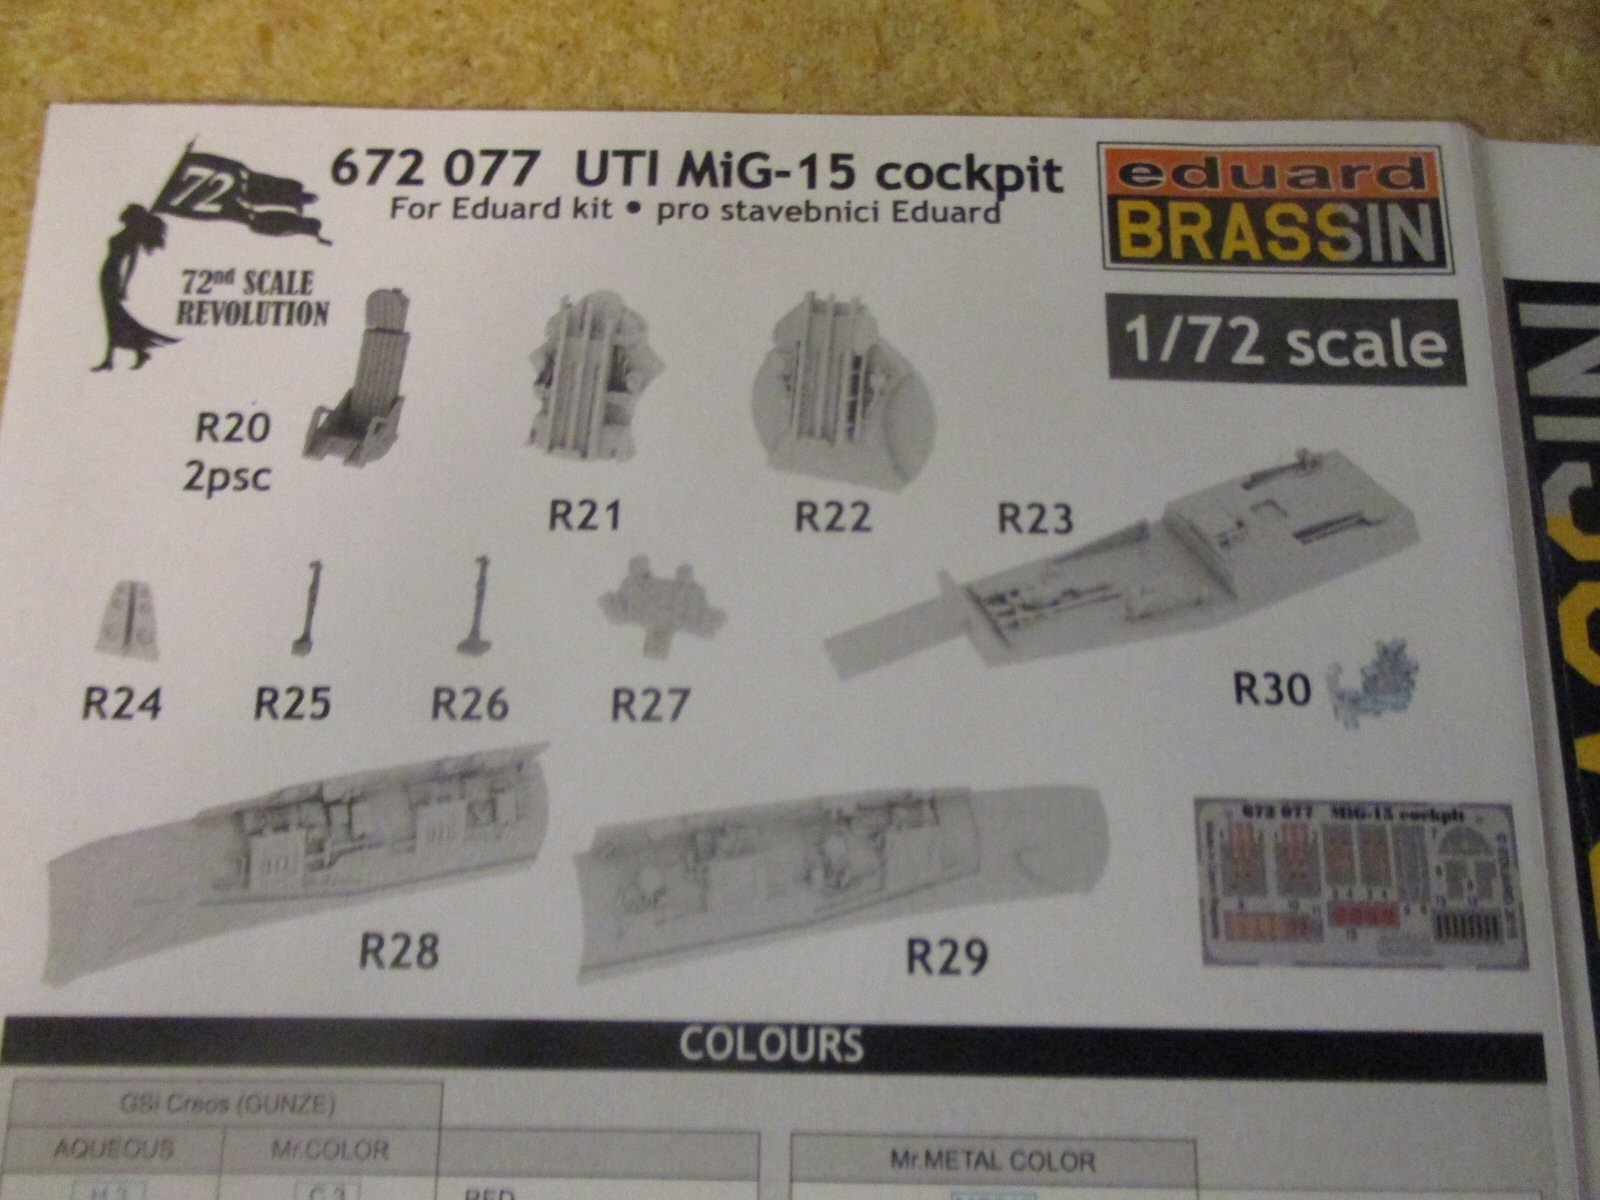
- 672 077 - Eduard Brassin UTI MiG 15 Cockpit (Resin) - $19.95
- CX 427 - Eduard UTI MiG 15 UTI Die-Cut Canopy mask - $9.95
Eduard Brassin Resin Cockpit Interior For MiG 15 UTI
This kit contains 13 resin-cast interior parts plus one small PE sheet for the Eduard MiG 15 UTI jet trainer kit. Included are a cockpit floor, two seat mounts, two ejector seats, one rear canopy part, one front instrument panel, two control sticks, two cockpit side panels, one clear plastic forward gunsight, and a PE sheet containing such things as seat belts, rudder pedals, and other very small details.
The detailing of these components is excellently done, and very complete painting instructions are included. Certainly, if you use this set, you’ll have a MiG 15 UTI trainer that has a lot more interior detail than an out of the box kit. The parts fit together quite well, and are good replacement for the less detailed parts provided in the kit.
In my assembly of the MiG 15 UTI, I used the resin unit, and was very impressed with it until I assembled it and attempted to join the fuselage halves. Fit appeared tight, but it seemed to go together smoothly. I used super glue to attach the cockpit unit to one side of the fuselage half, and then glued the other half using regular MEK, which I use for basic assembly. I was surprised when I looked at the unit several hours later, as one whole side of the fuselage on the right side had cracked, showing that the whole unit was slightly too large for the fuselage. This was not obvious when I first assembled it. My solution to the problem was to reglue the cracked sections, and fill them in with putty, smoothing them over. I got rid of the cracks, and the rest of the assembly of the kit went according to plan. If you use this unit, and remember that you will have a much more detailed cockpit, especially if you leave the canopies open, you will need to trim the sides down to avoid this kind of structural failure. One solution might be to assemble the cockpit interior parts included in the kit, check their fit (They are probably right on the money) and then measure the resin units at various points so that they are the same as those of the kit parts.
This is an expensive addition, but the effect is probably worth the effort. Recommended, with reservations noted above.
Eduard Die Cut Canopy Mask For Mig 15 UTI Kit
This mask is designed for the Eduard MiG 15 UTI kit canopy, and consists of a small yellow sheet of adhesive masking paper which masks off the clear surfaces of the canopy. The instructions are very clear, and after separating the clear parts from the sprue, the masks can easily be applied to the appropriate areas of the canopies. Be careful with the kit windshield, however, as mine broke in two when I tried to remove it from the sprue. The windshield should be attached to the model after trimming, while the canopy sections should be painted individually unless you plan to leave them closed, which prevents a good view of the cockpit details.
The masks cover the windshield and the outer parts of the canopy sections. They suggest the use of liquid mask for the center sections, which probably works OK. I just trimmed off some of the excess mask, and used that instead.
These masks save a lot of work, and they are easily removed from their original card and applied to the canopy surfaces. Sharp tweezers are useful in removing them after painting. The masks save a lot of time, and are definitely worthwhile. Highly recommended.
Thanks to Eduard for the review items


Comments
Add new comment
This site is protected by reCAPTCHA and the Google Privacy Policy and Terms of Service apply.
Similar Reviews