
Messerschmitt Me 163B "Komet" Rocket-Powered Interceptor
This is not your father’s Me-163 Komet! This first release by Meng Models in their 1/32 scale Quetzalcoatlus Series may be a long waited for item for those who enjoy this scale. Although the venerable Hasegawa kit can still be found, the level of detail in the Meng release is truly in line with what can be accomplished with modern technology. The kit built up well with few issues being encountered during construction, and the model looks great once assembled. Covers may be left off to display ammunition trays, the guns themselves, and fuel lines above the rocket motor. This was my second experience with a kit by the newcomer, Meng, and I will have no hesitation in purchasing more of their kits in the future.
Following the successful flight in 1936 of a tailless Delta IVc (RLM designated DFS-39) designed by Dr. Alexander Lippisch, work began on the DFS-194, which was the predecessor to the Komet. The DFS-194 made its first flight in August 1940, attaining a speed of 550 km/h (342 mph). In October 1941, the Me-163A took flight and accelerated to an amazing 1004.5 km/h (624 mph). The Me-163B was the production variant of the aircraft, and was powered by the Walther HWK 109-509A rocket motor. The initial thirty aircraft were armed with a pair of 20 mm MG 151/20 cannons, while the remaining four hundred were armed with a pair of 30 mm MK 108 guns.
My build represents the aircraft flown by Major Wolfgang Späte on 13 May 1944 during the first combat mission for the Komet, during which a pair of P-47 Thunderbolts were chased briefly, but not fired on. In all, there are only nine confirmed aerial victories for the Komet as compared to the loss of fourteen aircraft from all causes. The Komet measured 19.6 feet in length, was 30.6 feet long, and could reach a maximum speed of 959 km/h (596 mph) at 12,000 m (39,370 feet) with a range of 40 km (24.8 miles).
Upon opening this kit, the modeler will find two hundred and nineteen parts; one hundred and forty-nine of them are molded in a smooth, dark gray plastic distributed across five sprues. The dark gray is nearly a match for RLM 66 paint, and it was a little difficult telling what interior parts I had and had not painted. The remaining consist of thirty-one items on a black sprue, ten on a clear sprue, twenty-three photo-etched parts on two frets, three rubber tires, and two poly caps. The decal sheet contains markings for three different aircraft, “White 13” from 2/JG 400 stationed in Brandis in early 1945, the red PK + QL piloted by Wolfgang Späte on 13 May 1944, and VF 241 that was captured by the British and flown by Eric Brown on 7 July 1945. The instructions are beautifully printed in a twenty-four page, color booklet with the painting guides and color references at the end. As mentioned previously, this is the first kit released in the Quetzalcoatlus Series (Meng uses dinosaur names for their different series).
My kit went together well overall, with my only fit issues being the fuselage halves and top cover part C33, which took some filling with Mr. Surfacer 500 as well as some strip styrene to conquer. The detail was very crisp throughout the parts, and the options are provided to open the gun bay covers, ammunition cover, top fuel lines cover, and air brakes. The wing leading edges are molded separate from the wings, providing very good detail in that area. There are options of using either the 20 or 30 mm cannons, so any B-model Komet can be rendered with this kit. There are also options for the tail wheel and cover, and the skid can be mounted directly to the fuselage, or in the extended position.
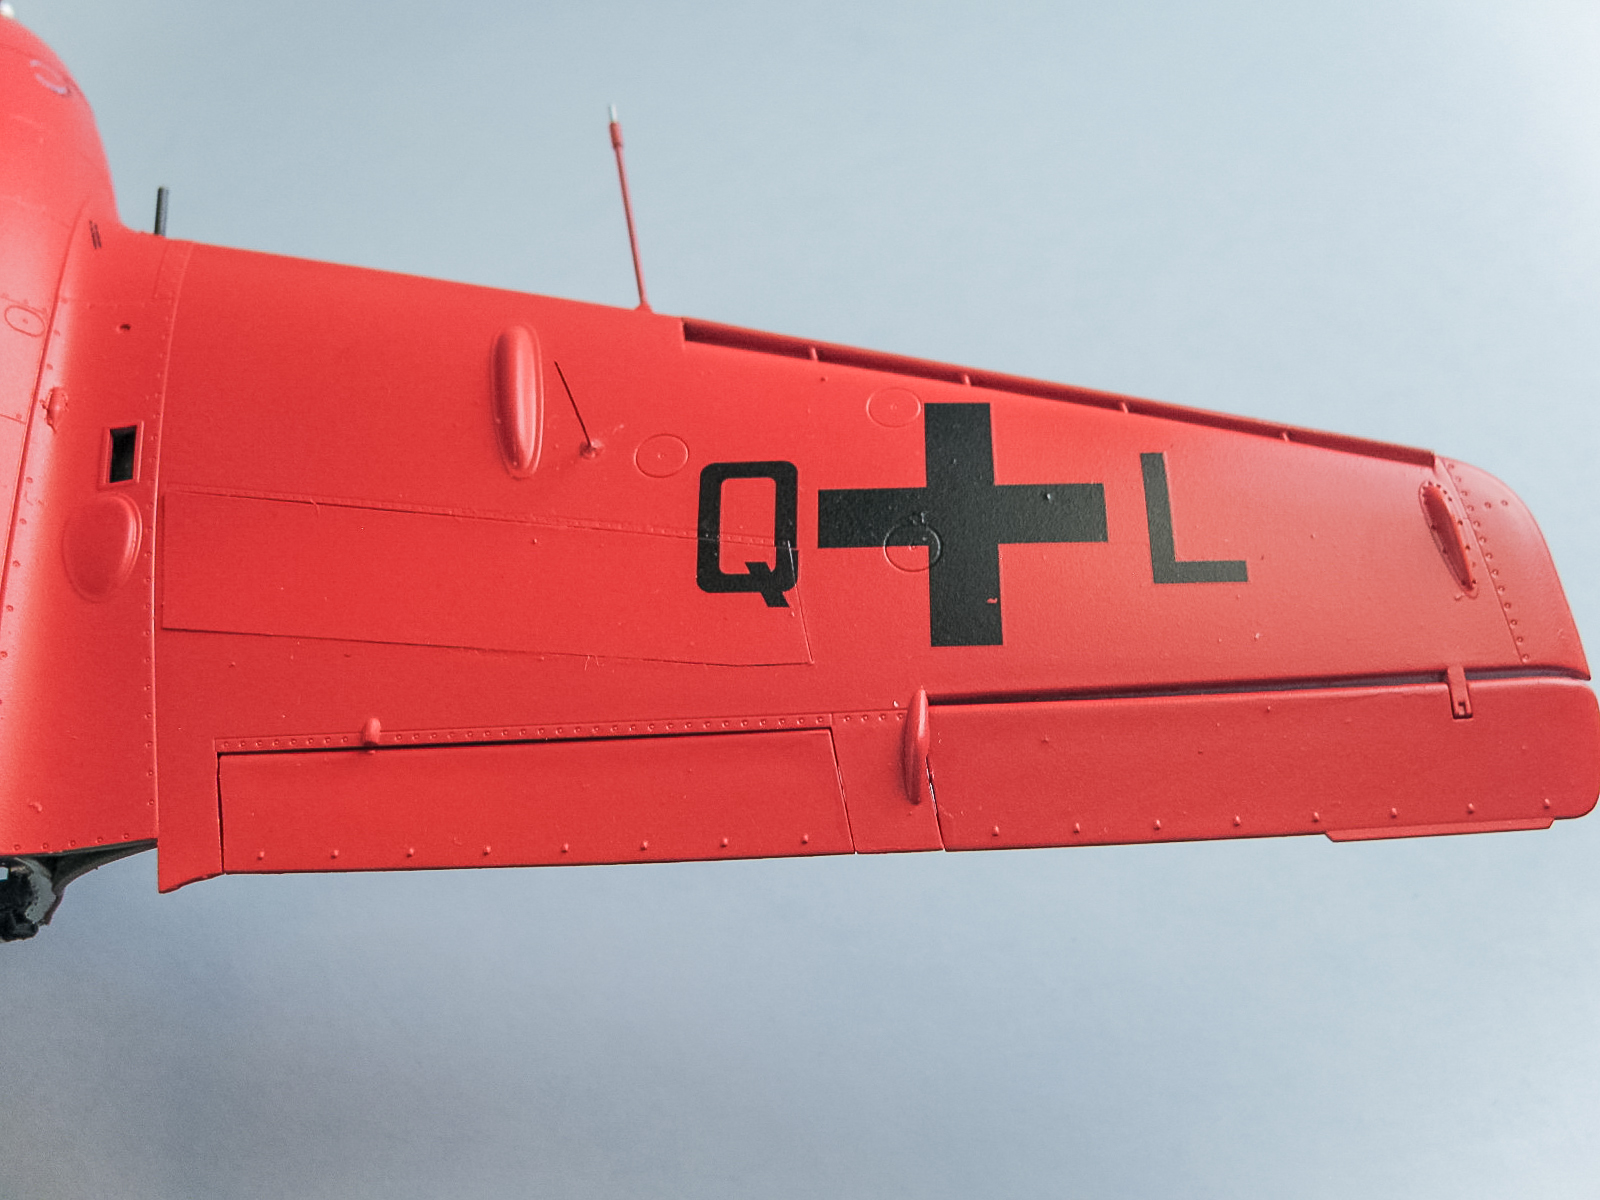
As I mentioned, I opted to model the aircraft flown by Major Wolfgang Späte on 13 May 1944 in the combat debut of the Komet. I built the older Dragon 1/48 scale version of this plane a few years ago, and again found in my research that Major Späte called the red similar to that of a tomato. Again, this time I used Model Master Acryl RLM 23, but my new paint looked a little too pink to me as compared to my old bottle, so I added a little Insignia Red to darken it (probably five parts RLM 23 to one part Insignia Red). As a side note, the red color was only used on the initial flight, and was then changed back to a camouflage scheme.
To finish my model I used Model Master Acryl colors (RLM 02, RLM 23, RLM 24, RLM 66, Aircraft Interior Black, Gloss Black, and Insignia Red) as well as Model Master Metalizer Burnt Iron, and Model Master Lacquer Silver. I also used Vallejo Khaki for the seatbelts. I used Model Master Metalizer Sealer to seal everything prior to decaling, and as the final coat. The decals went on just fine using Micro Set and Micro Sol to get them to lie down over the panel lines. The color reference section is set up for using Vallejo paints, and the instructions reference the paint numbers for Vallejo, but the actual colors are also spelled out by name in the reference to allow other paints to be used.
As far as my hits of this kit are concerned, the instructions really blew me away with how well they were manufactured, and they include a brief history of the plane, which many manufacturers do not include. The moldings were all clean with only minimal flash removal being necessary, and the panel lines and rivets were all nicely done. The photoetch hinges for the two top covers are a very nice touch in this scale. The clear parts were among the best that I have worked with for clarity and detail, and they come packaged in both a folded over protective clear sheet as well as an individual bag. I also really liked the options available to show some of the details inside the plane and the control panel can be either painted plastic, or one with photoetch sections and decals for the dials.
Concerning my misses of this kit, my only real misses were the fit issues I encountered with the fuselage halves and installing the middle top cover along the spine. I am curious why no parts are included to route the ammunition to the cannons? There is a slot in the fuselage side of the gun bay that looks like it is there just for this, but no parts exist. There is also a likely fit issue if the modeler wants the tail permanently installed, but Meng does not recommend gluing it in place. In addition, the decals for the control panel dials are white backgrounds with gray needles and markings; I am not aware of the use of any such dials by the Germans during WWII. Although not a miss, it is unfortunate that once the aircraft is assembled that you can no longer see the T-Stoff tank or rocket motor detail. I did quite a bit of unnecessary painting because of the hidden details, but I know the work was done, and I have photos to prove it.
In conclusion, I would highly recommend this kit for anyone wanting to add a 1/32 scale Me-163B Komet to his or her collection. The kit builds up with relative ease for any experienced modeler.
I would like to thank the folks at Meng Model for providing this fine kit to the IPMS/USA to review, thanks to Dave Morrissette and the rest of the crew who keep the Review Corps running along, and as always, my appreciation to all who take the time to read my comments.

Boxtop Outer Sleeve
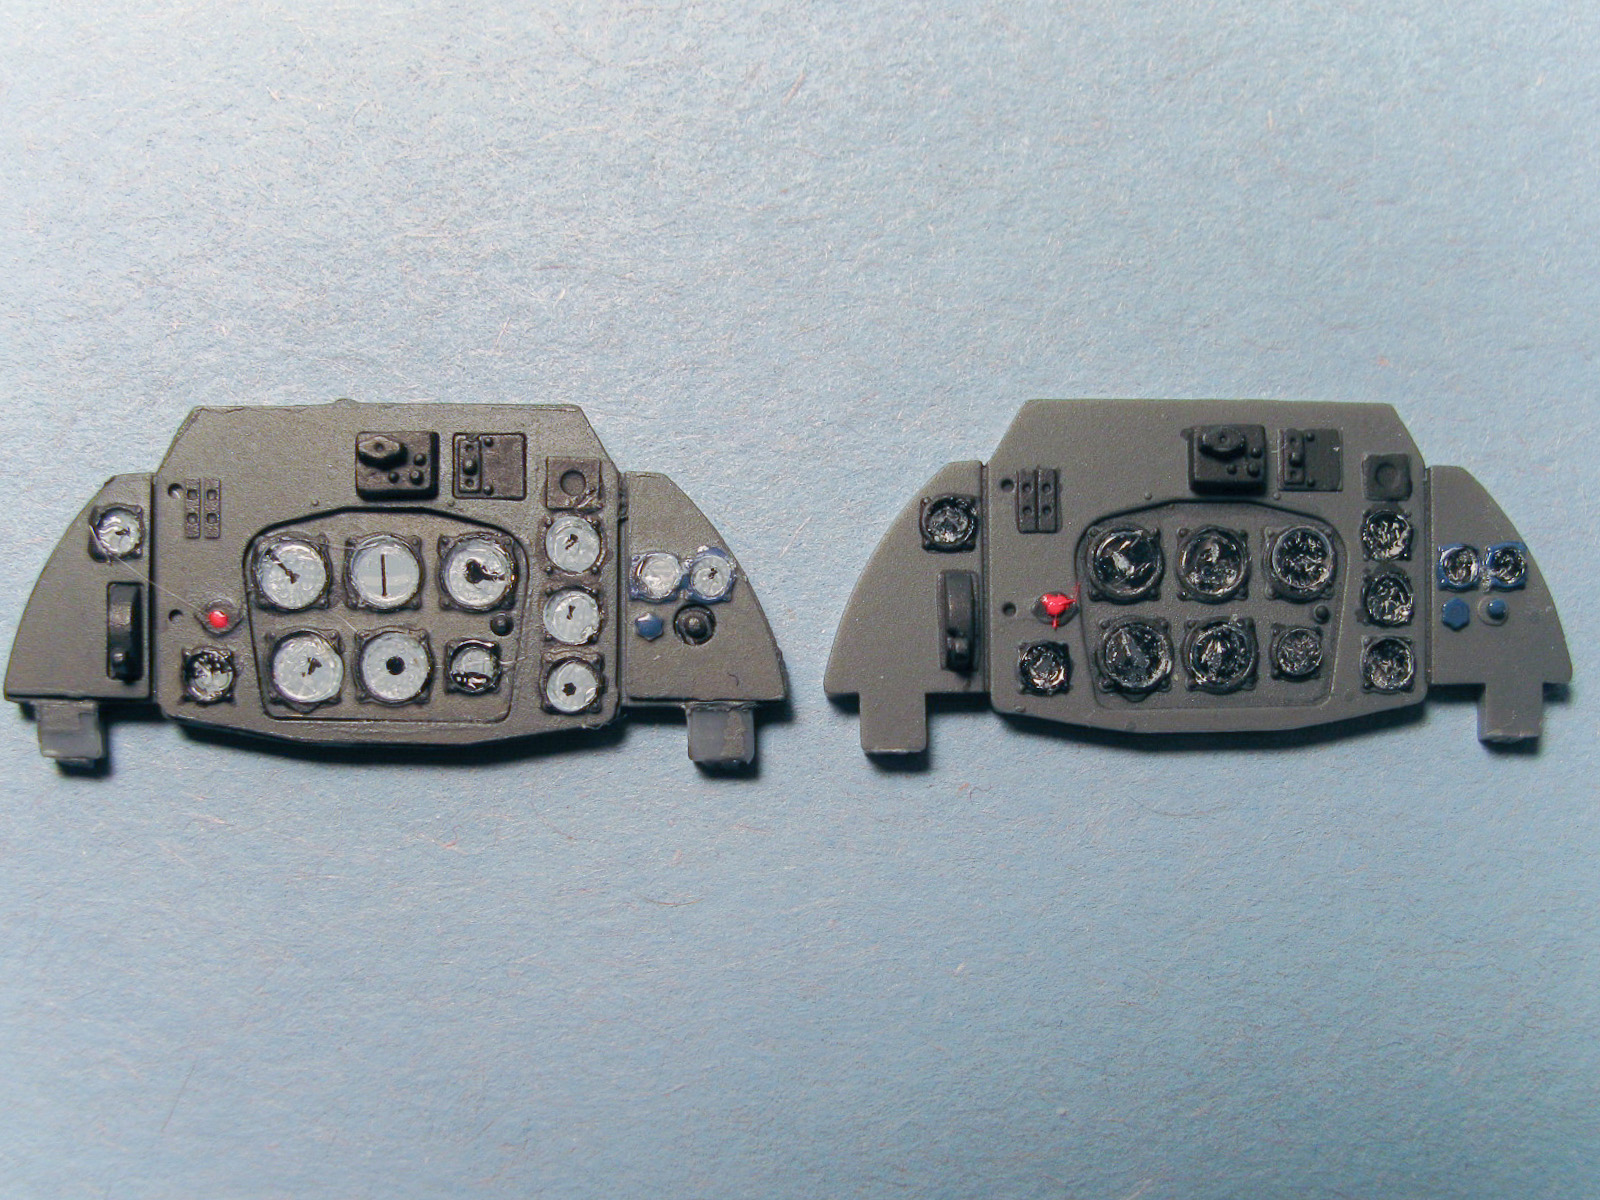
Optional Instrument Panels - Photo Etch with Decals (Left), Hand Painted Plastic (Right)
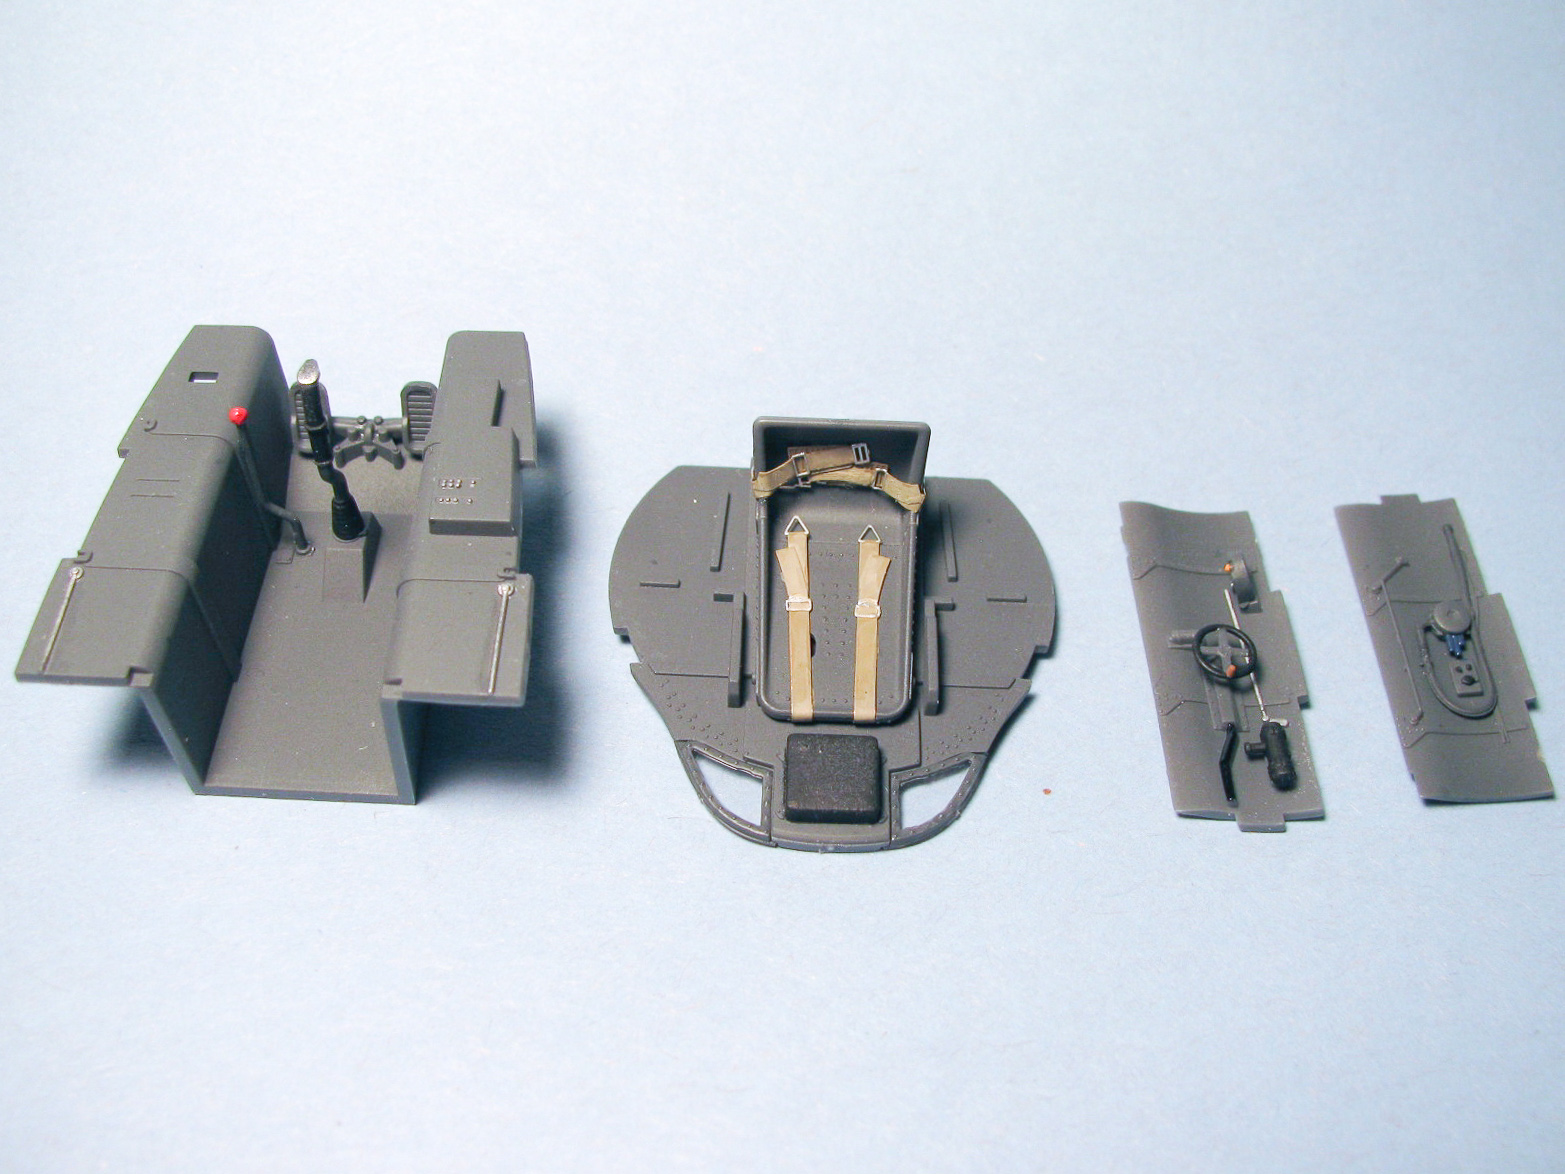
Cockpit Ready for Assembly
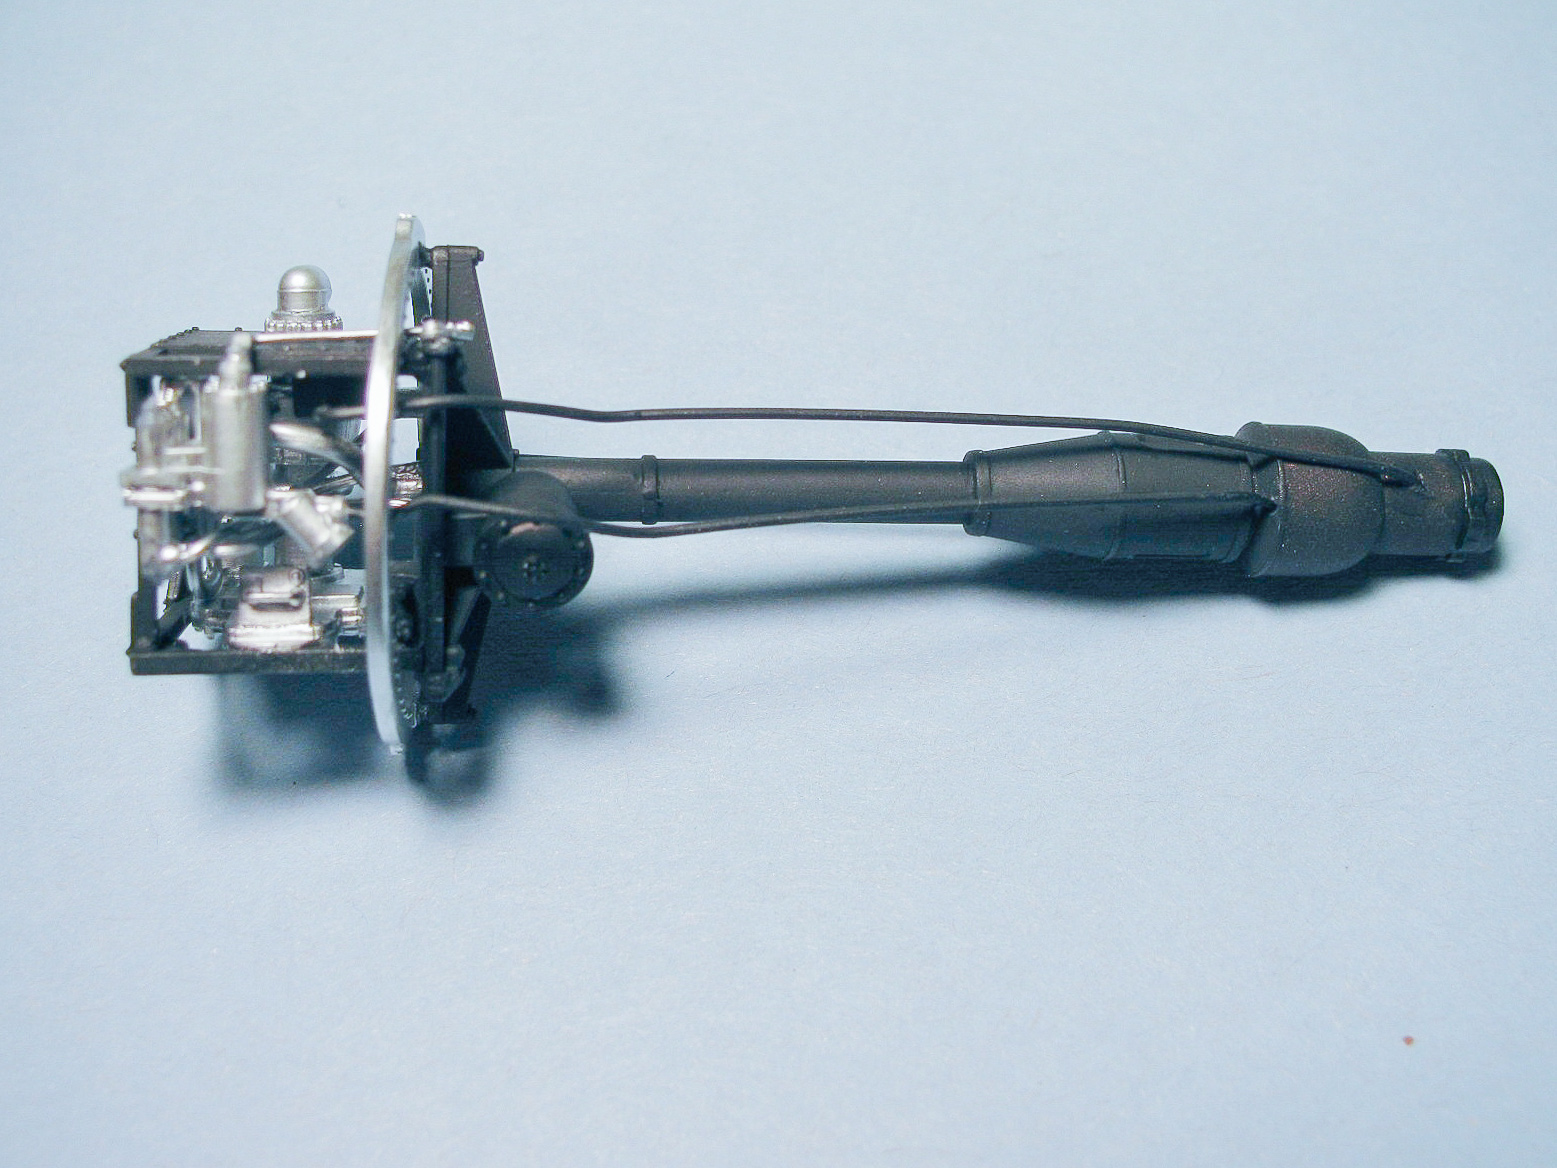
Rocket Motor
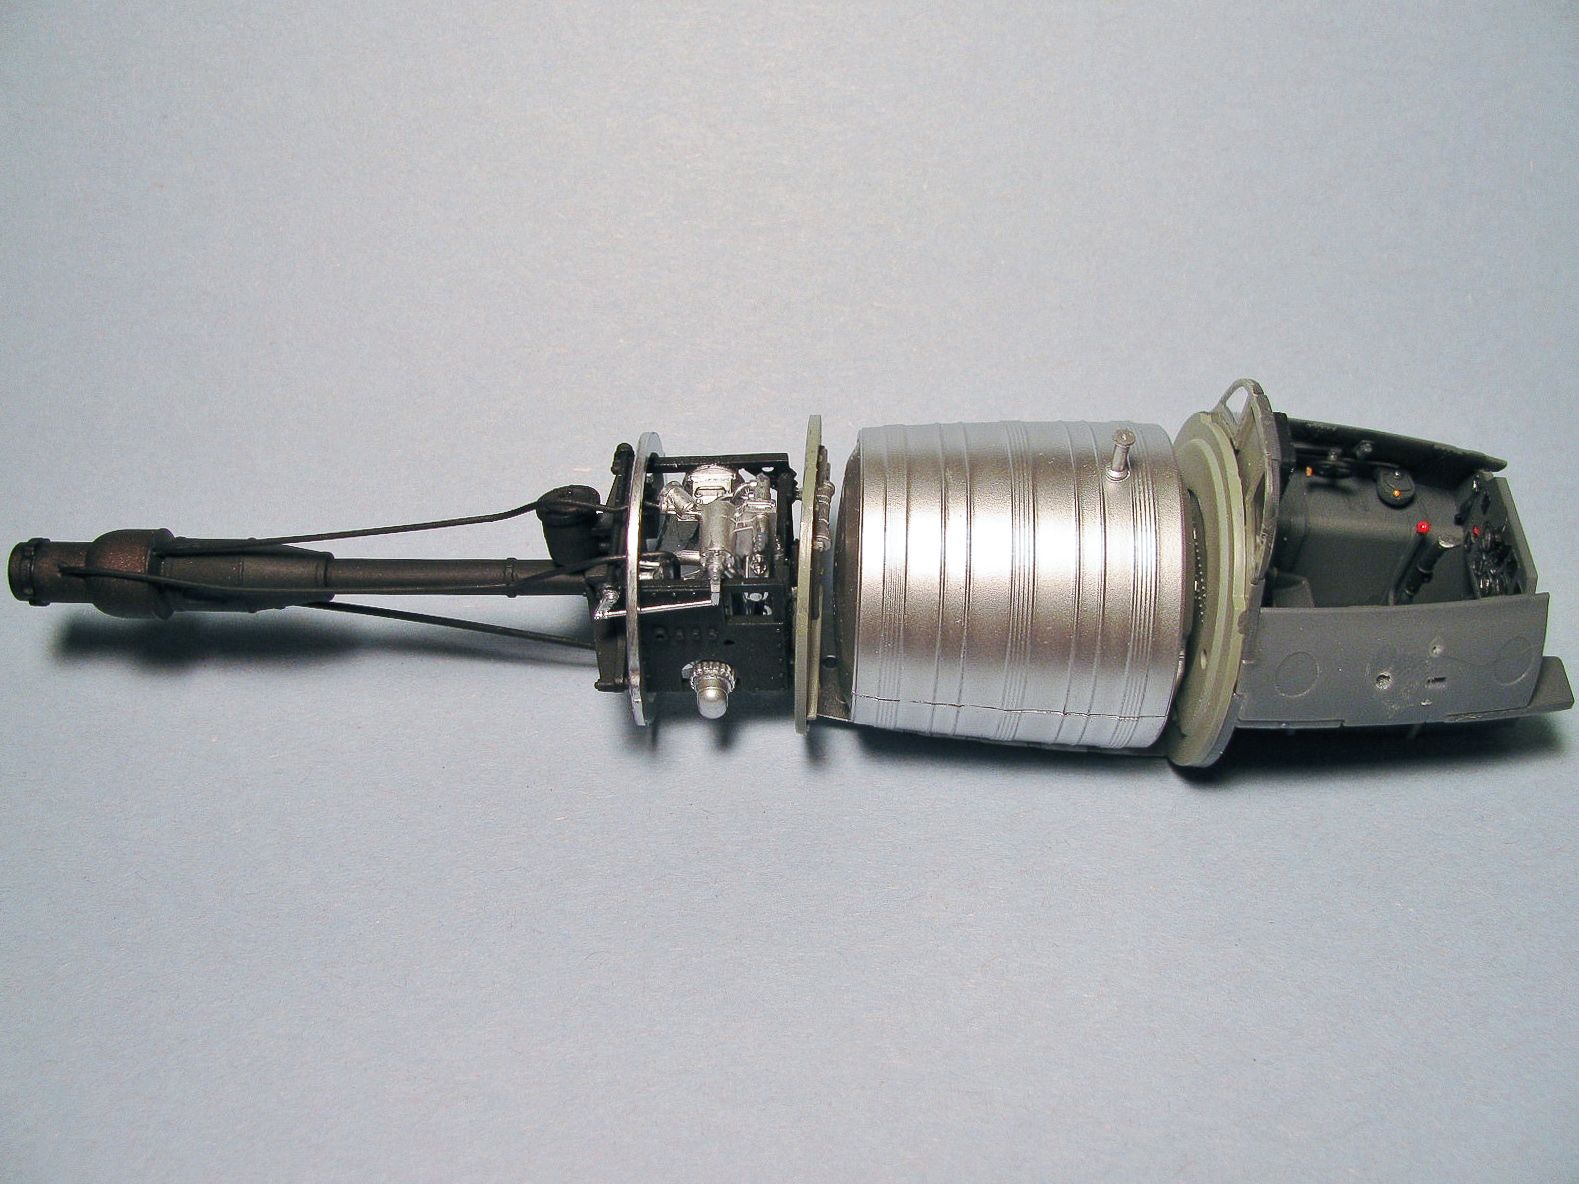
Finished Interior Assembly
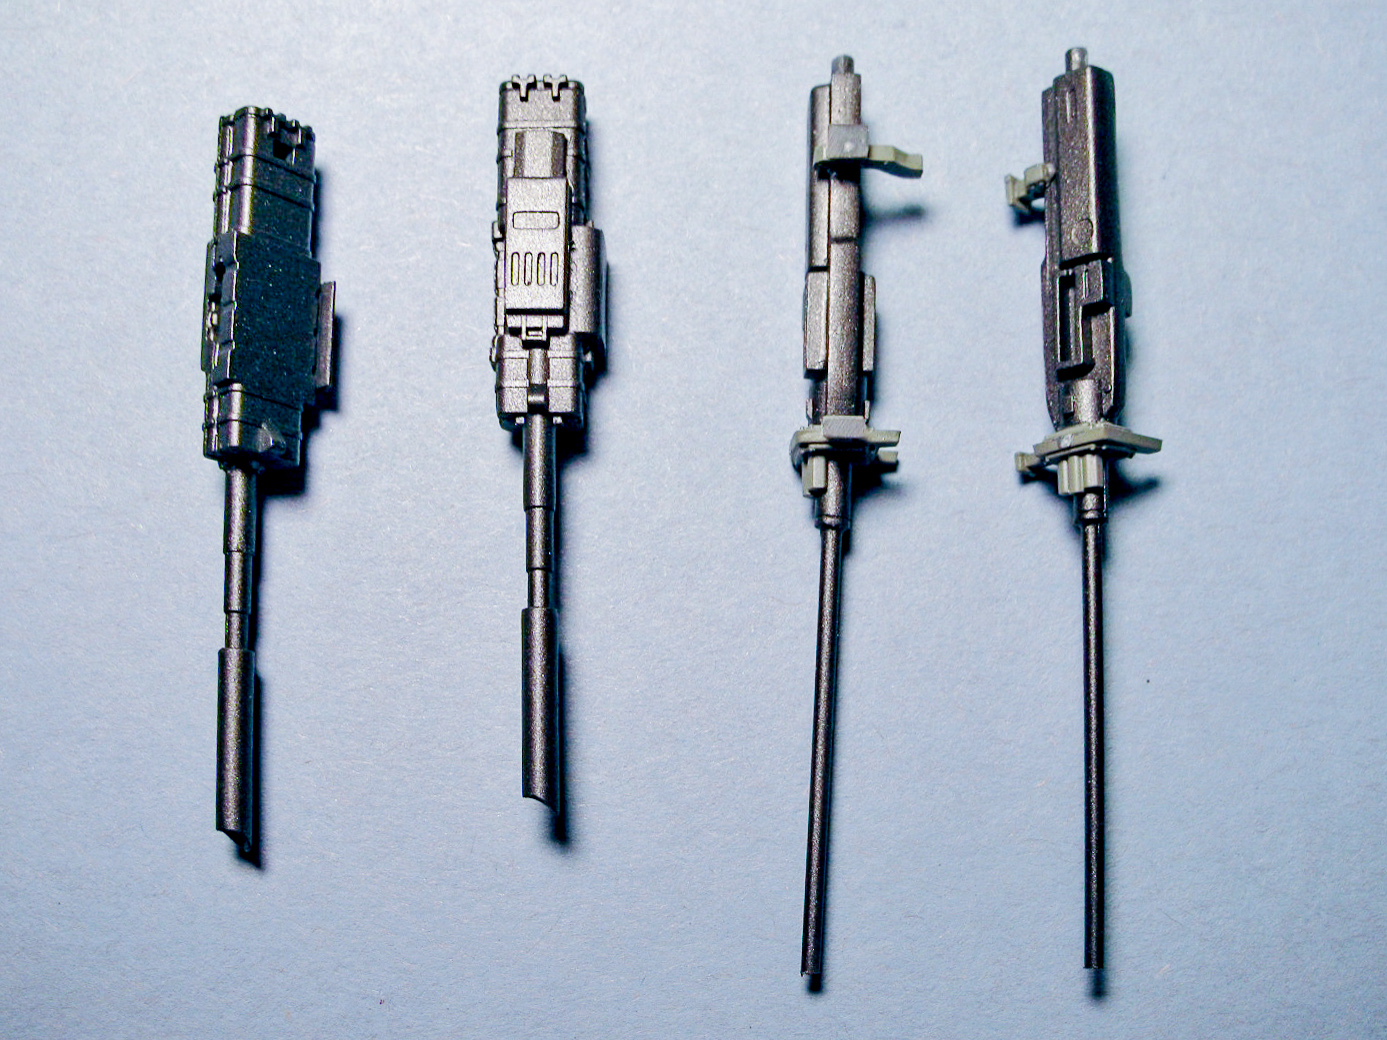
30mm (Left) and 20mm (Right) Guns
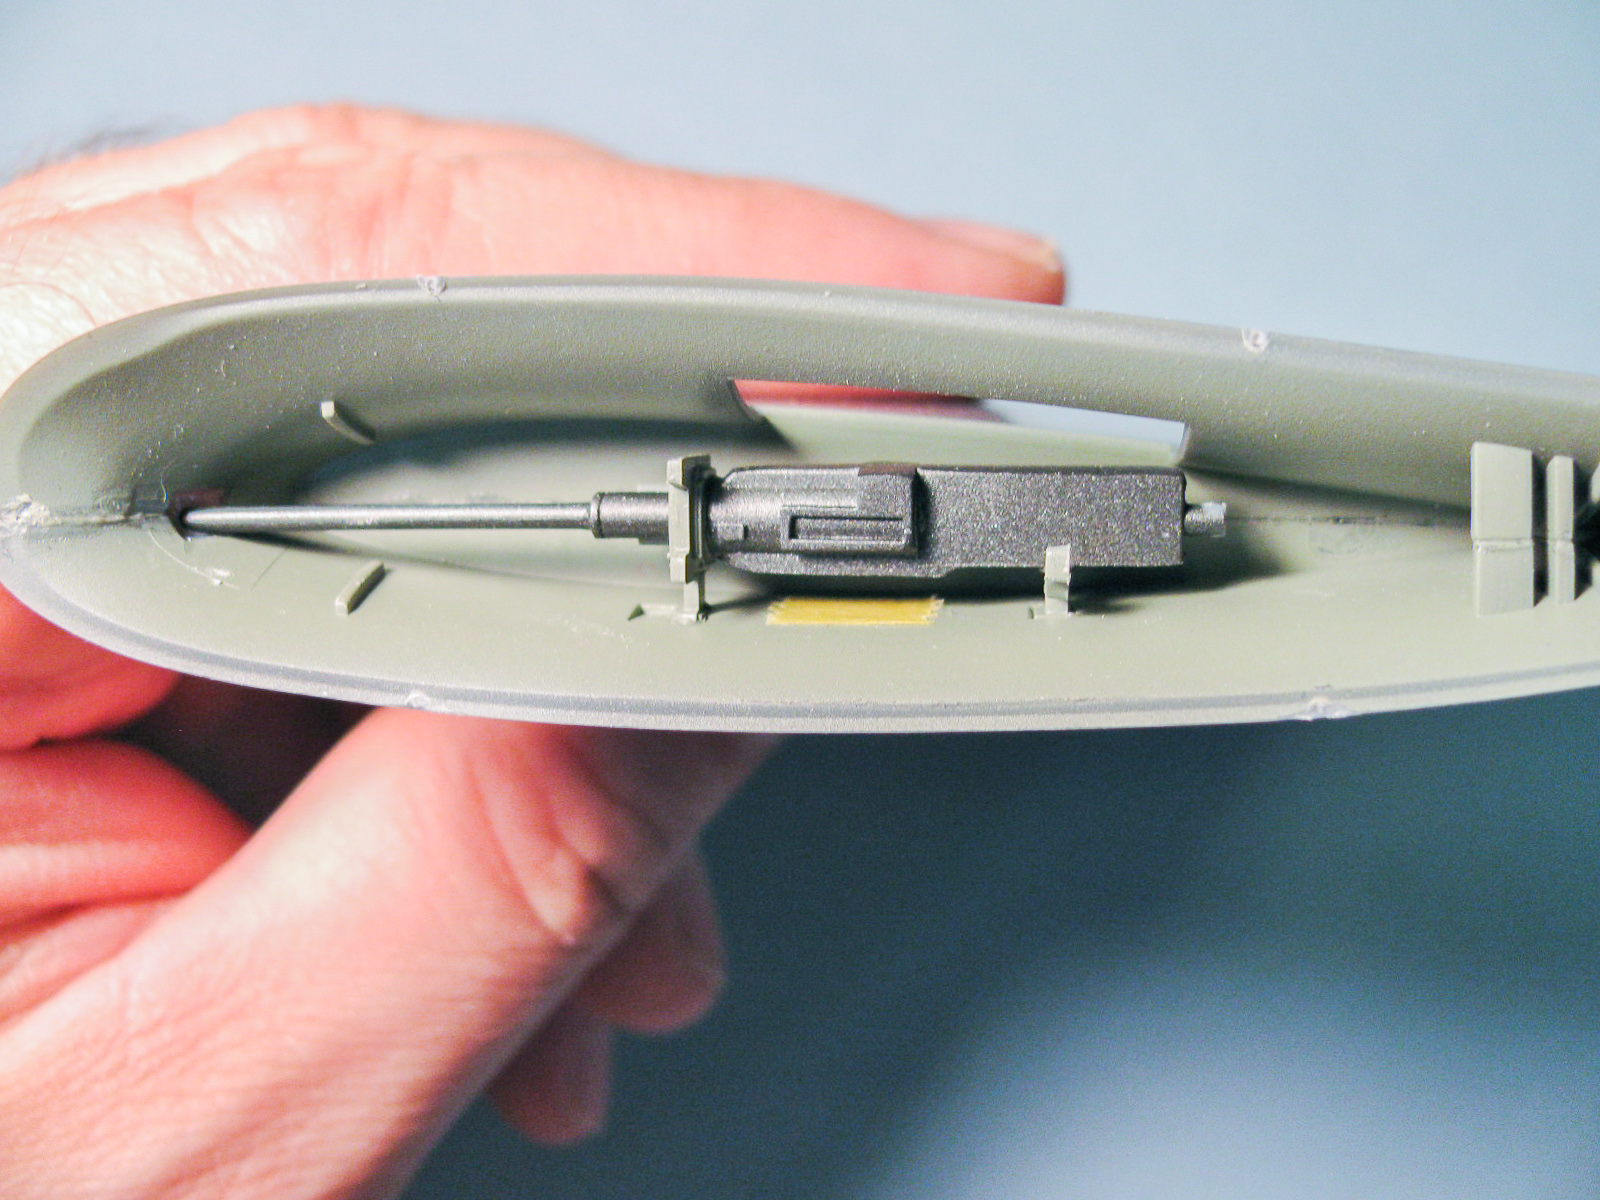
20mm Gun Installed in Wing
Completed Model
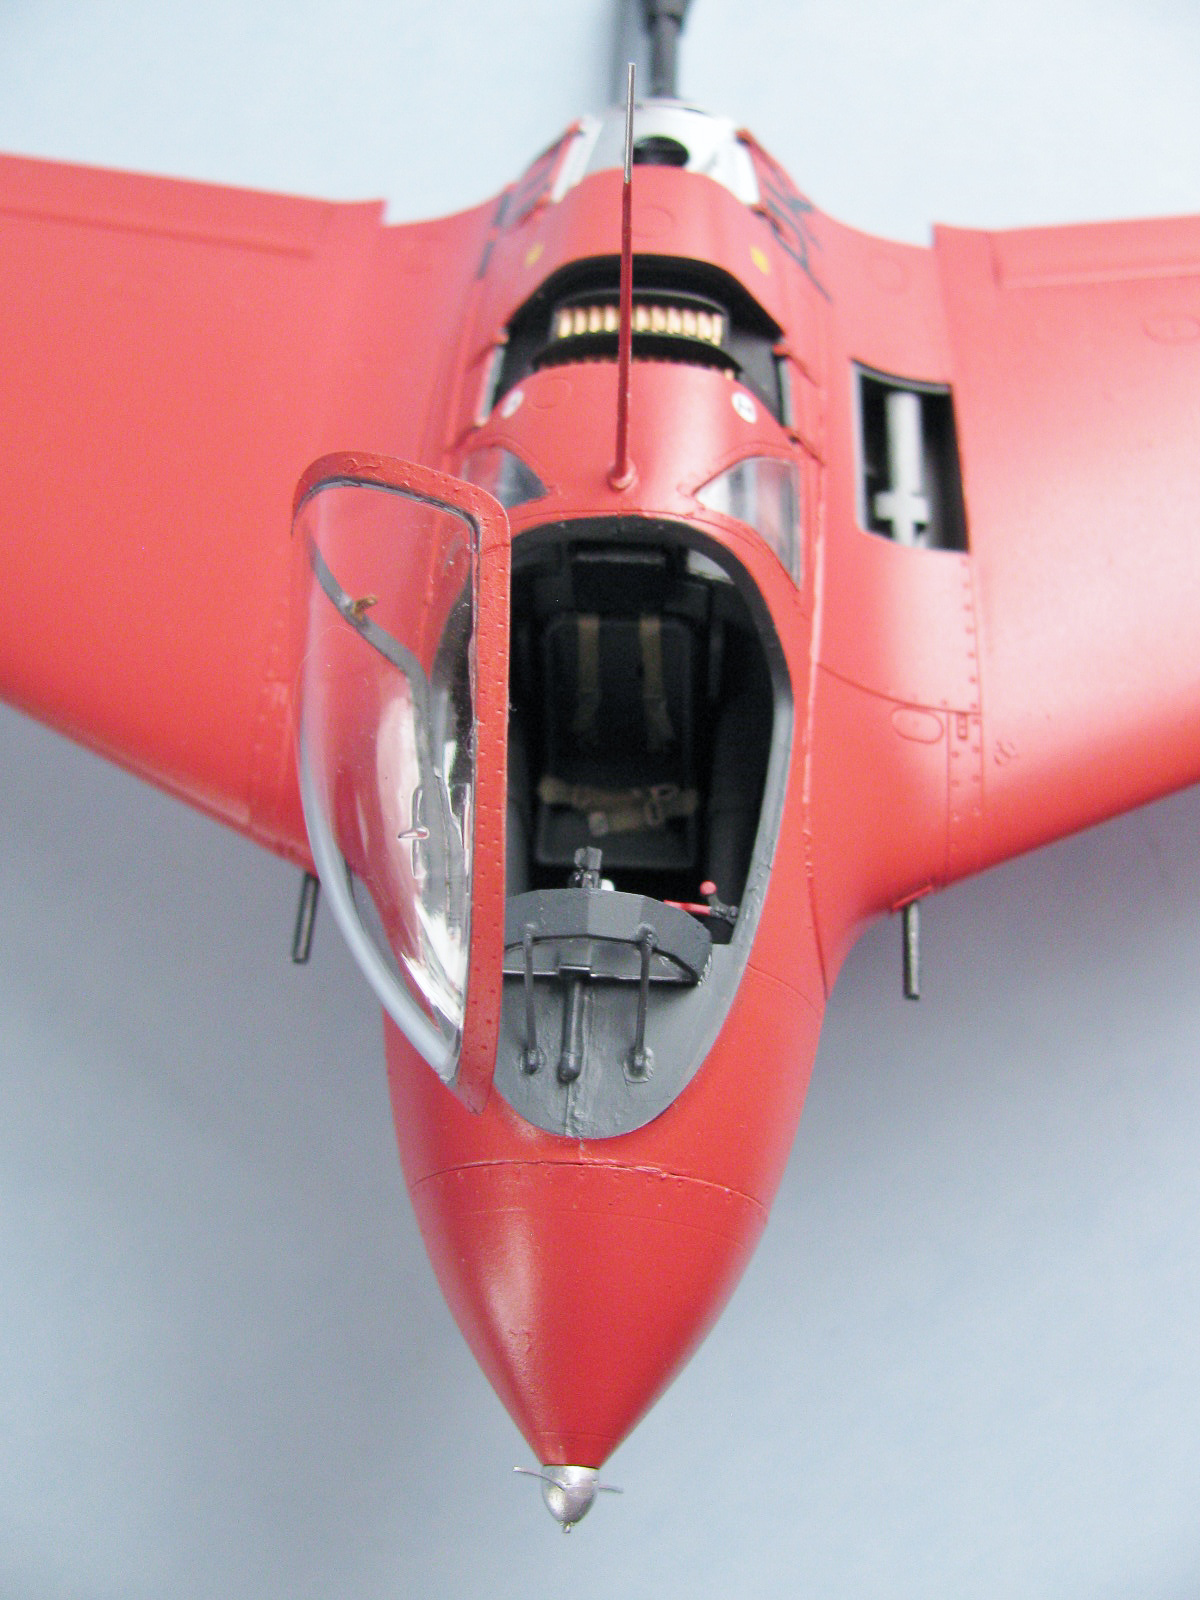
Completed Cockpit
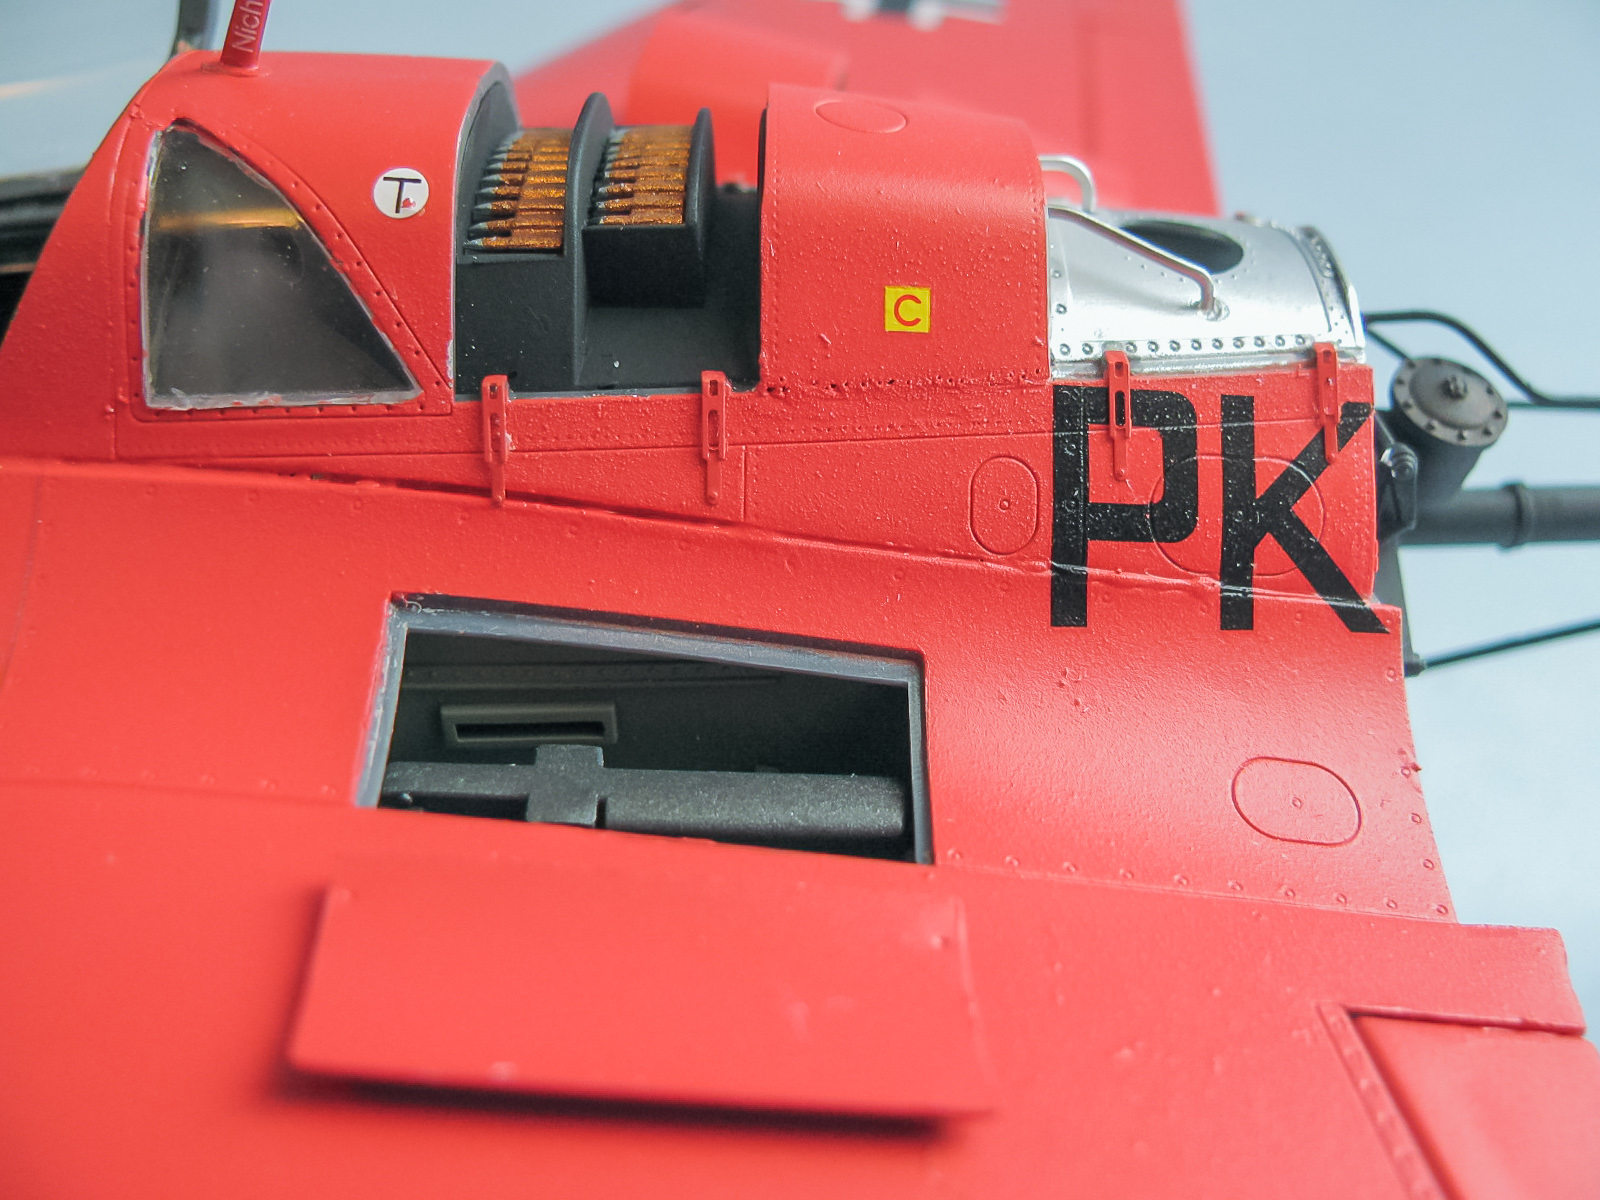
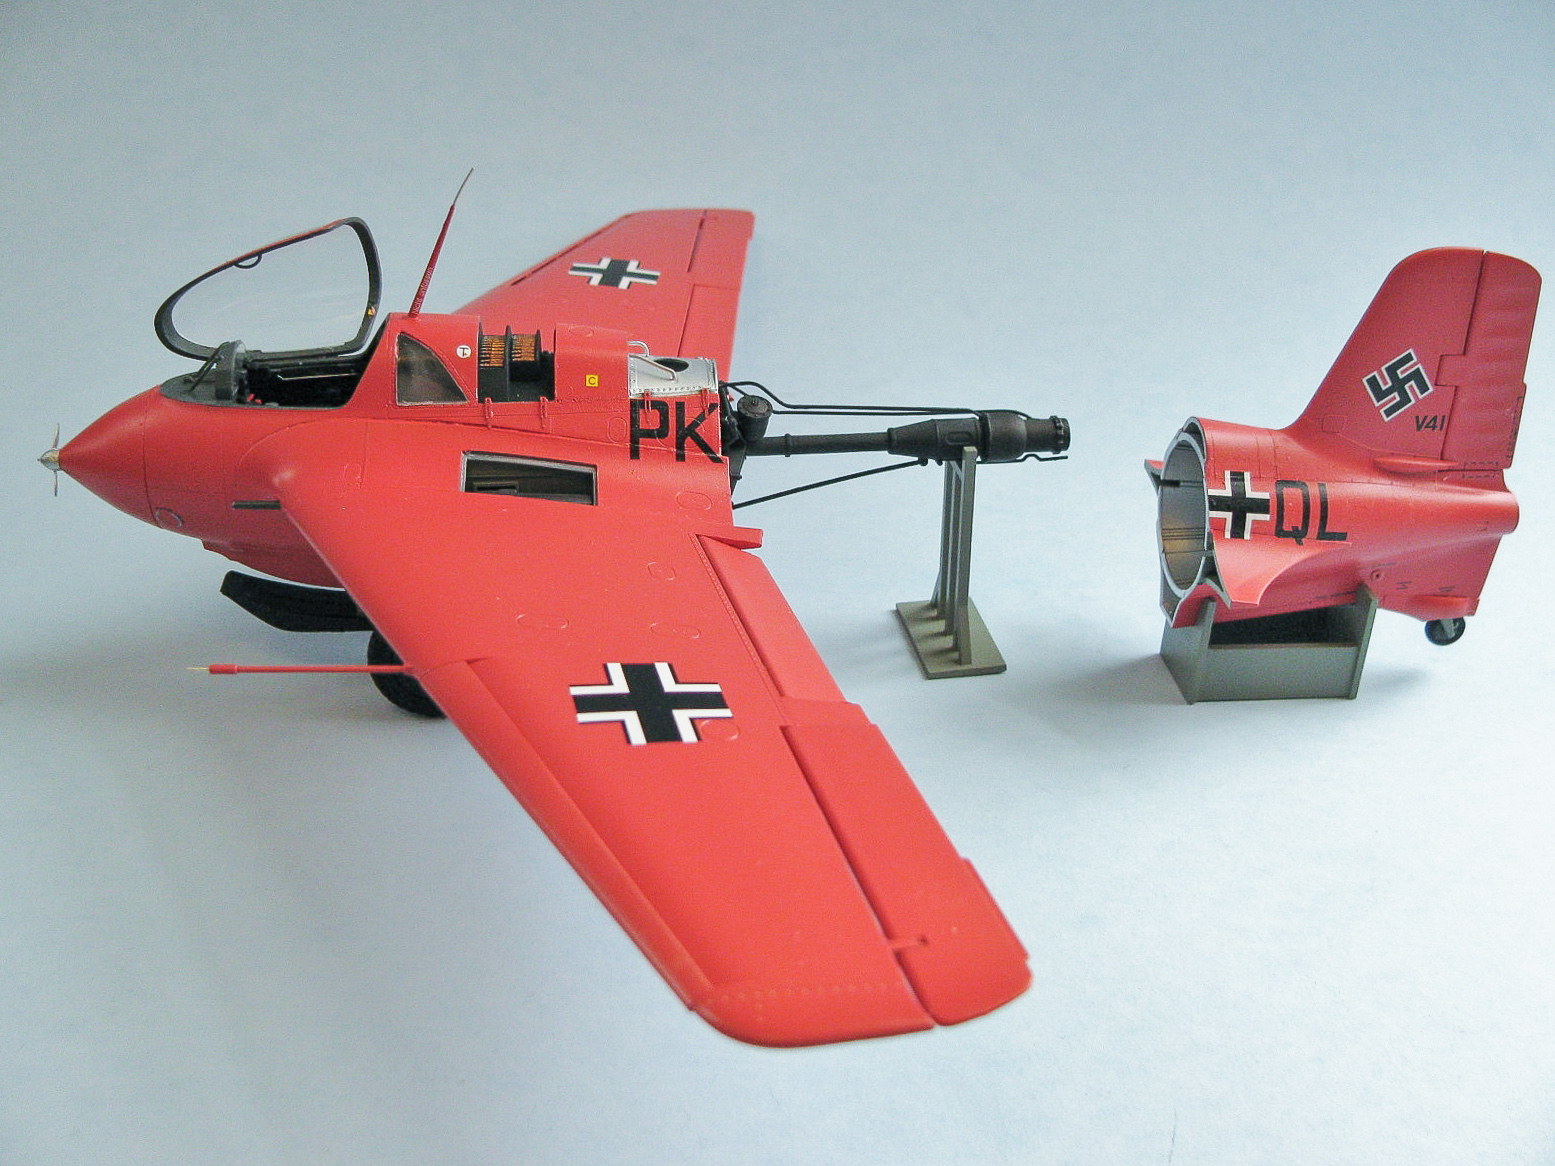
Open Covers
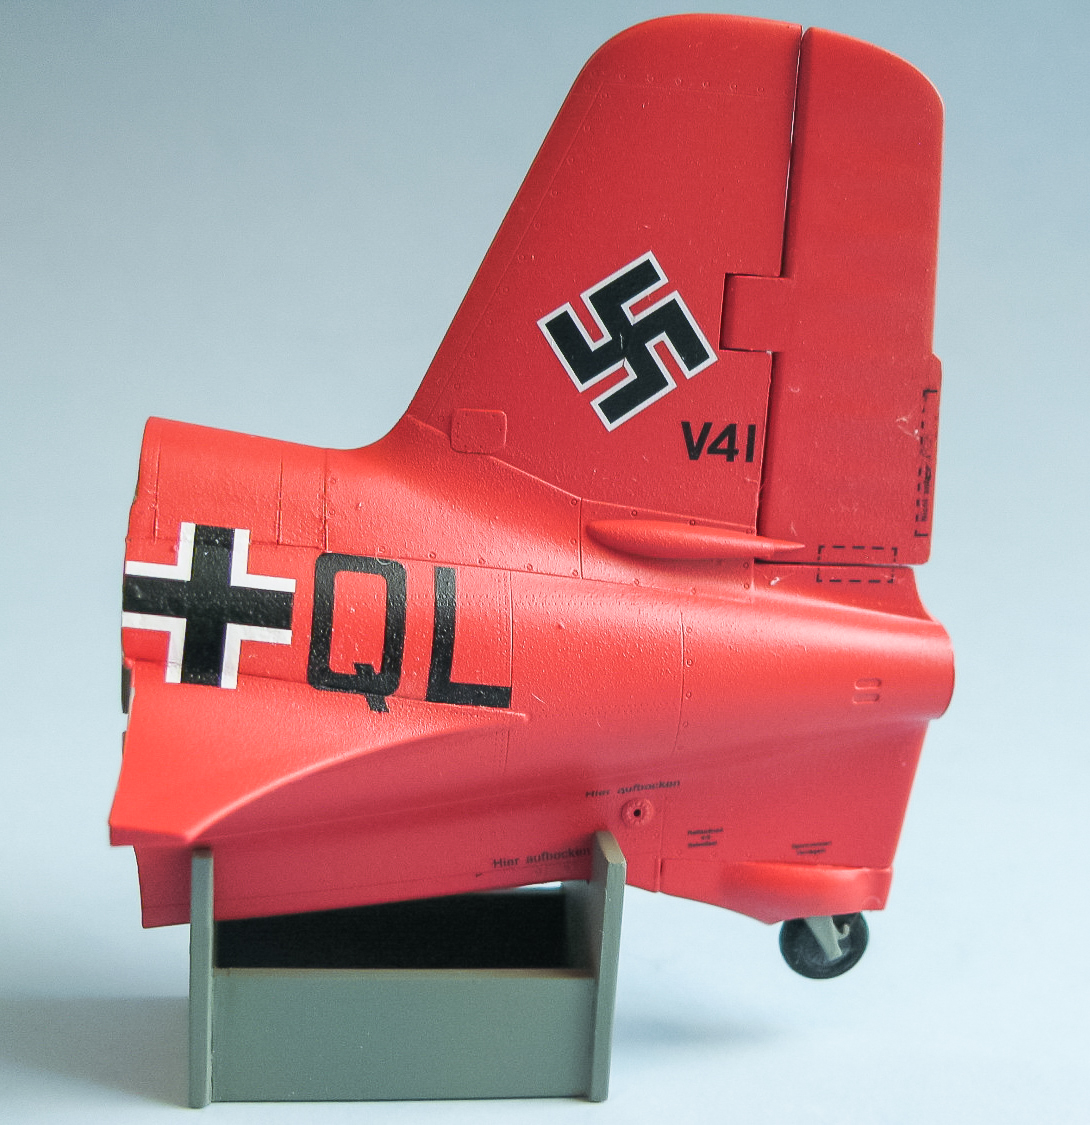
Removable Tail Section and Stand
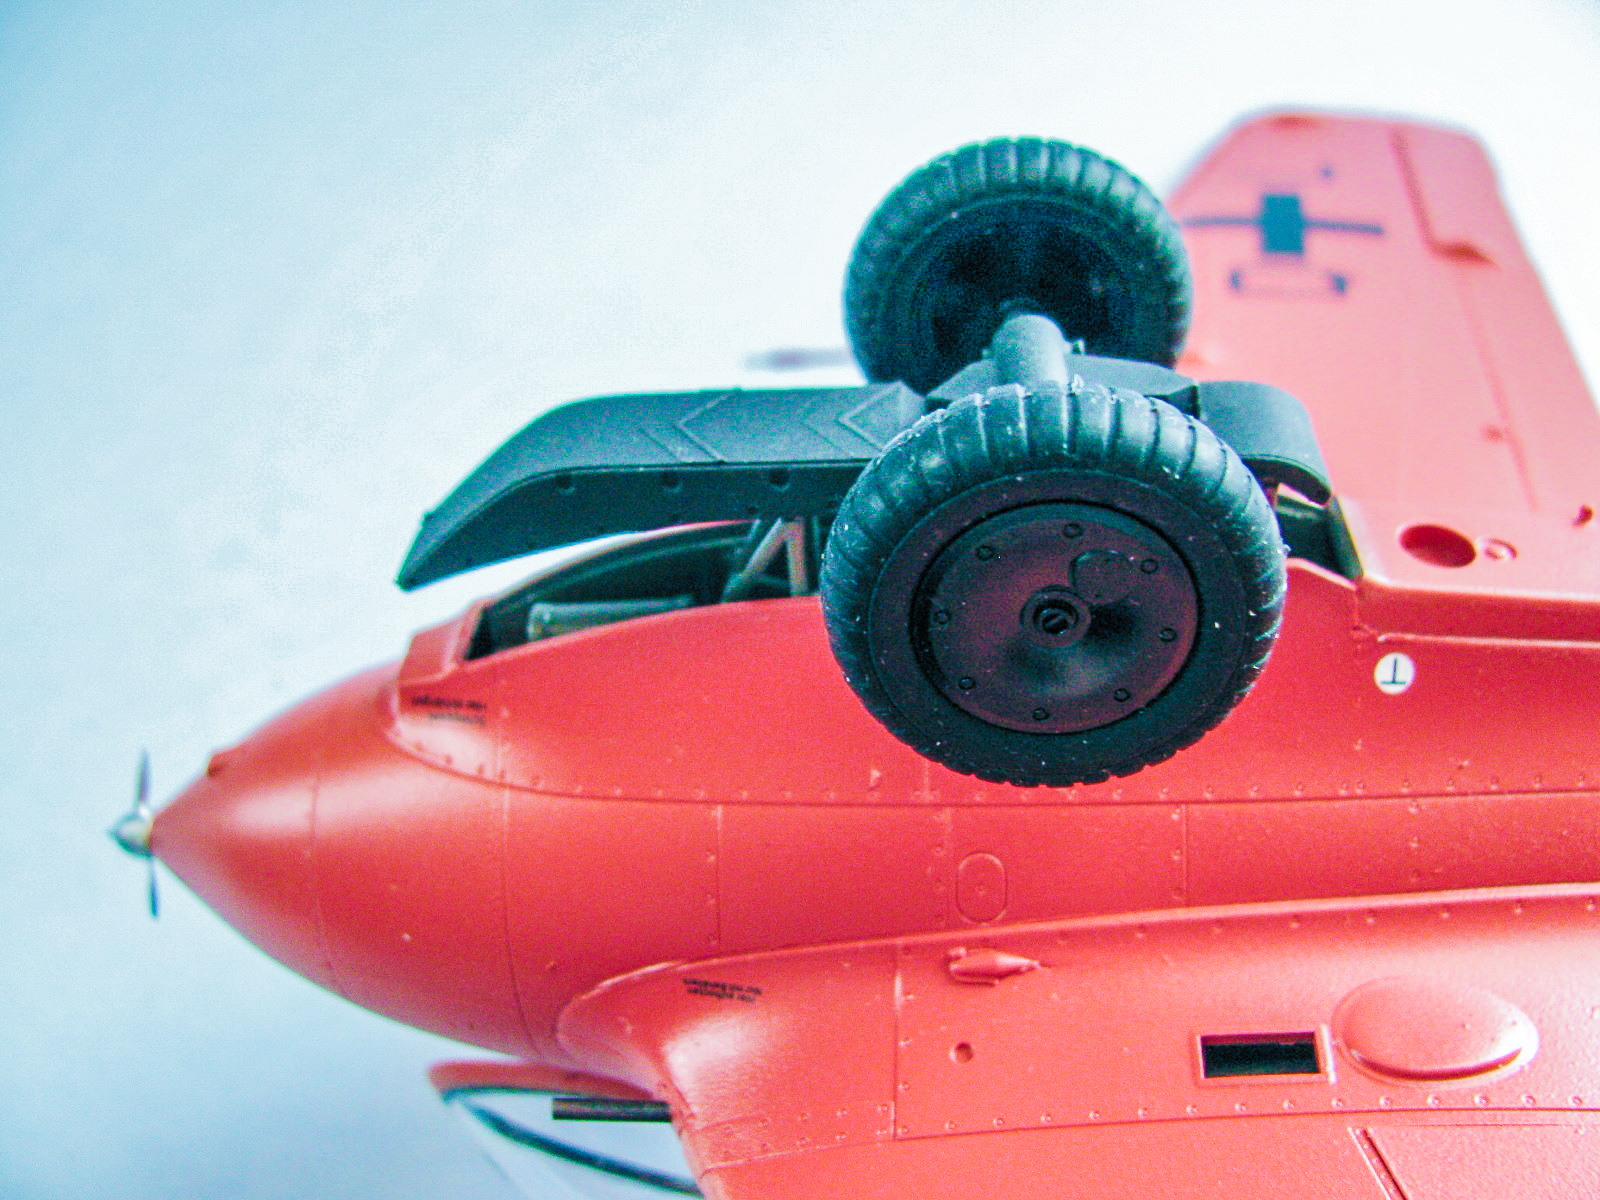
Trolley Detail
Underside Detail
Reviewer Bio
Scott Hollingshead

Scott retired from the commercial nuclear industry with over thirty years of experience in Maintenance, Engineering, and Training. Prior to that he served on two aircraft carriers during his time in the U.S. Navy. He has been building models for over 50 years with his first kit being purchased with money from his grandparents for his sixth birthday. With a stash that consists of more aircraft than anything else, Scott still enjoys building a little bit of everything (including but not limited to tanks, cars, show cars, military vehicles (aside from tanks), ships, figures, real space, and some science fiction), which keeps his stash growing. Scott and his wife Fern reside in southwest lower Michigan, not far from South Bend, Indiana, and have three adult children and currently three grandchildren as well as a small dog and a large cat.
Comments
Add new comment
This site is protected by reCAPTCHA and the Google Privacy Policy and Terms of Service apply.
Similar Reviews