
Messerschmitt Bf109E Sept. 1940
Brief History
The Messerschmitt Bf109 is probably one of the most well-known WW2 fighter planes ever made. Also the most prolific at 35000 produced. They were produced well into the 1960s by the Spanish Air Force and by Czechoslovakia. It was a plane developed in1934 by Willy Messerschmitt to a Luftwaffe specification for a high performance single seat fighter. The Bf109 was, in essence, the smallest airframe that could be wrapped around the most powerful inline engine and still carry a useful armament load. The first prototype flew in October of 1935, powered by a British Rolls-Royce engine, the Jumo engine not being ready at that time. The Jumo powered Bf109B entered service in 1937 and was used in the Spanish Civil War. Meanwhile the fuel injected Daimler-Benz DB601 engines in the 1000 hp range had become available, resulting in the Bf109E armed with two wing mounted 20mm cannons and two 7.62 machine guns mounted in the engine cowl firing through the propeller, also later models had a 30mm cannon firing through the propeller hub. This is the model that I have successfully reproduced here and that I will be reviewing.
The Kit
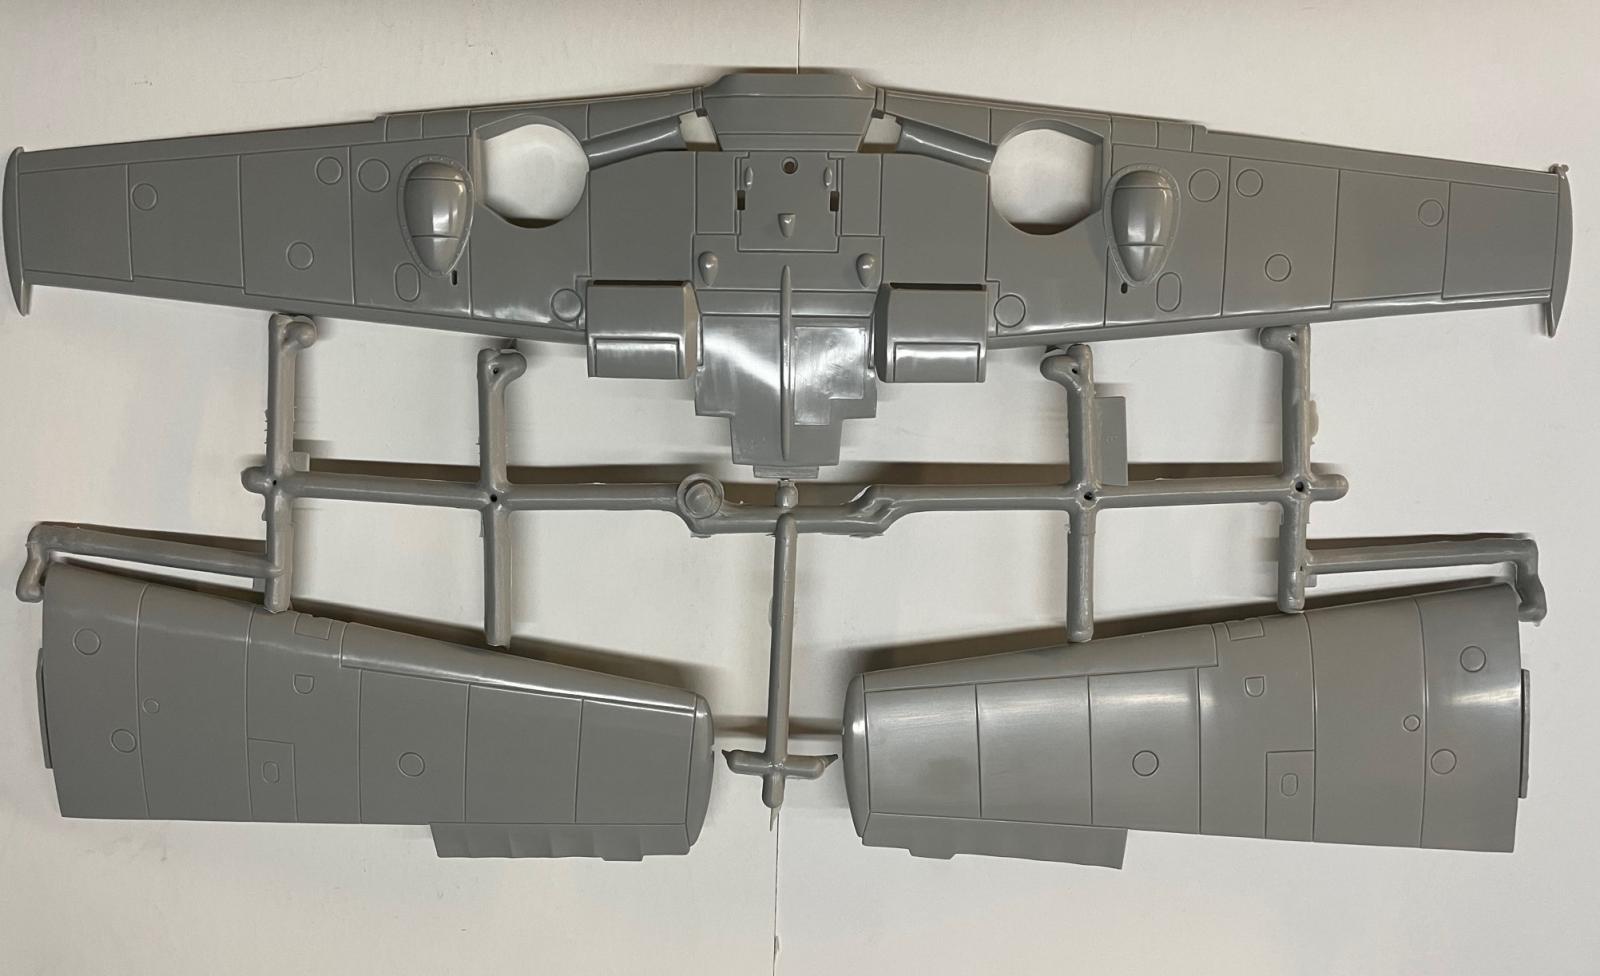
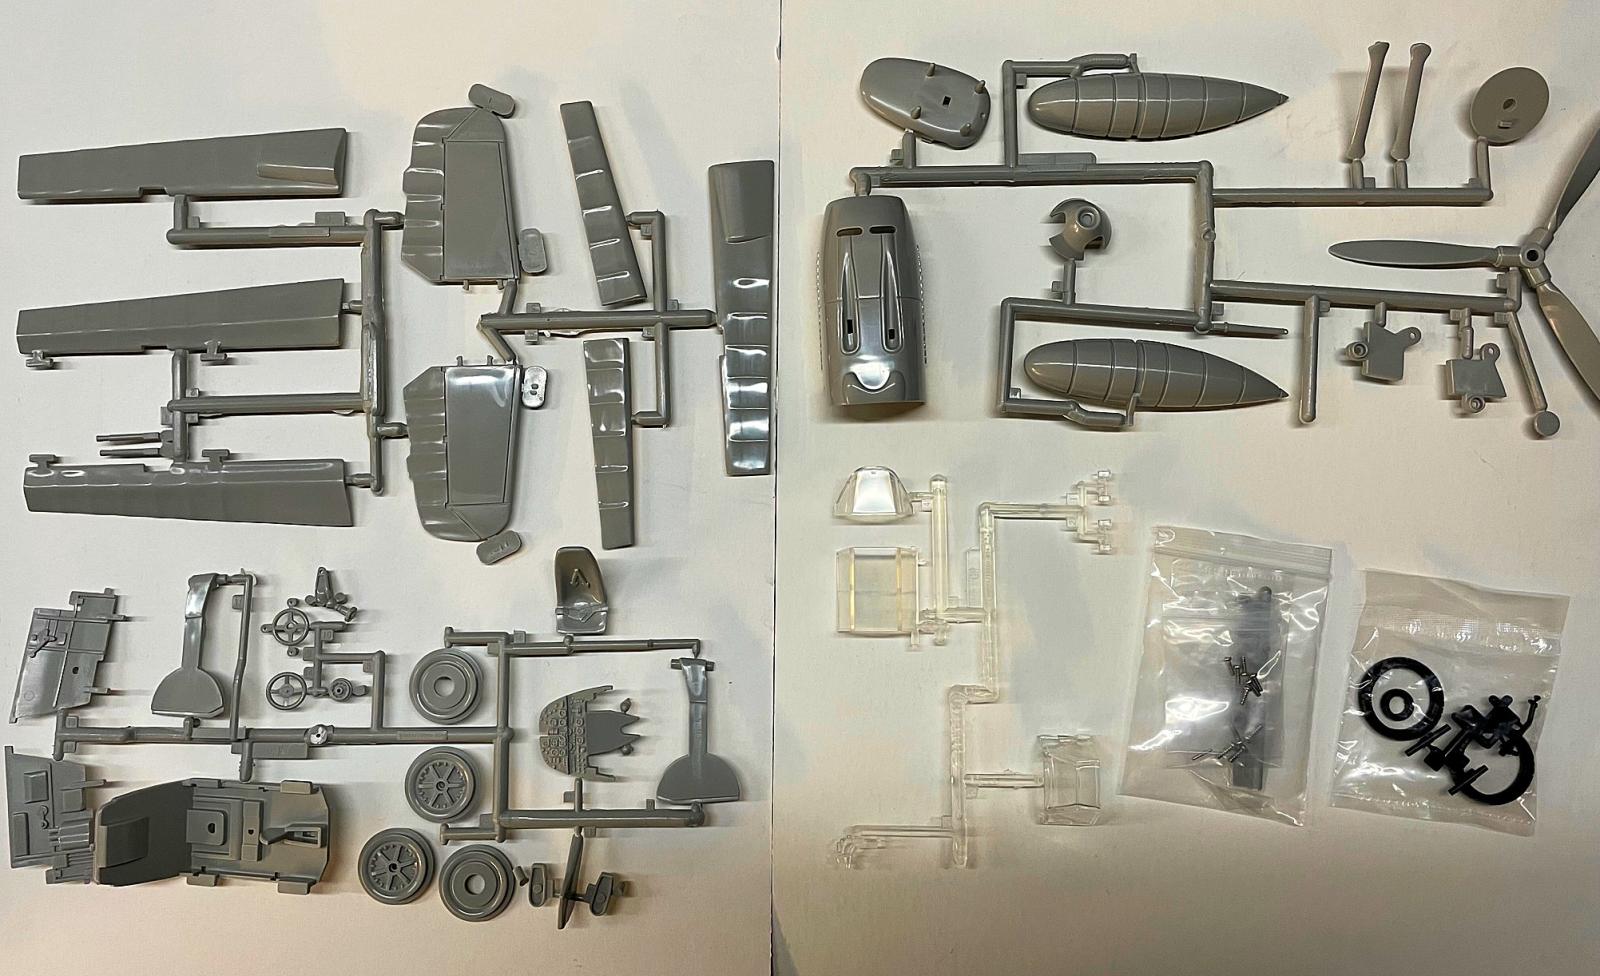
When I first received the kit in the mail I was excited to see this massive 1/18 scale aircraft. As I opened the box I pulled out the instructions, the color paint and decal guide and was a little let down with what I was looking at. First was the fuselage with huge deep panel lines, then the wings with the same. I then realized there were not many sprues and not many parts along with a bag of screws. Screws I thought to myself, this is a screw together kit? I was kind of hoping for something a little more detailed with a few more parts. So as I pulled everything out and looked everything over I contemplated how I was going to attack this model. Was I going to slam it together and get it off my bench as quickly as possible? Or try to make this the best possible screw together kit I could out of the box. I chose the latter.
The Build
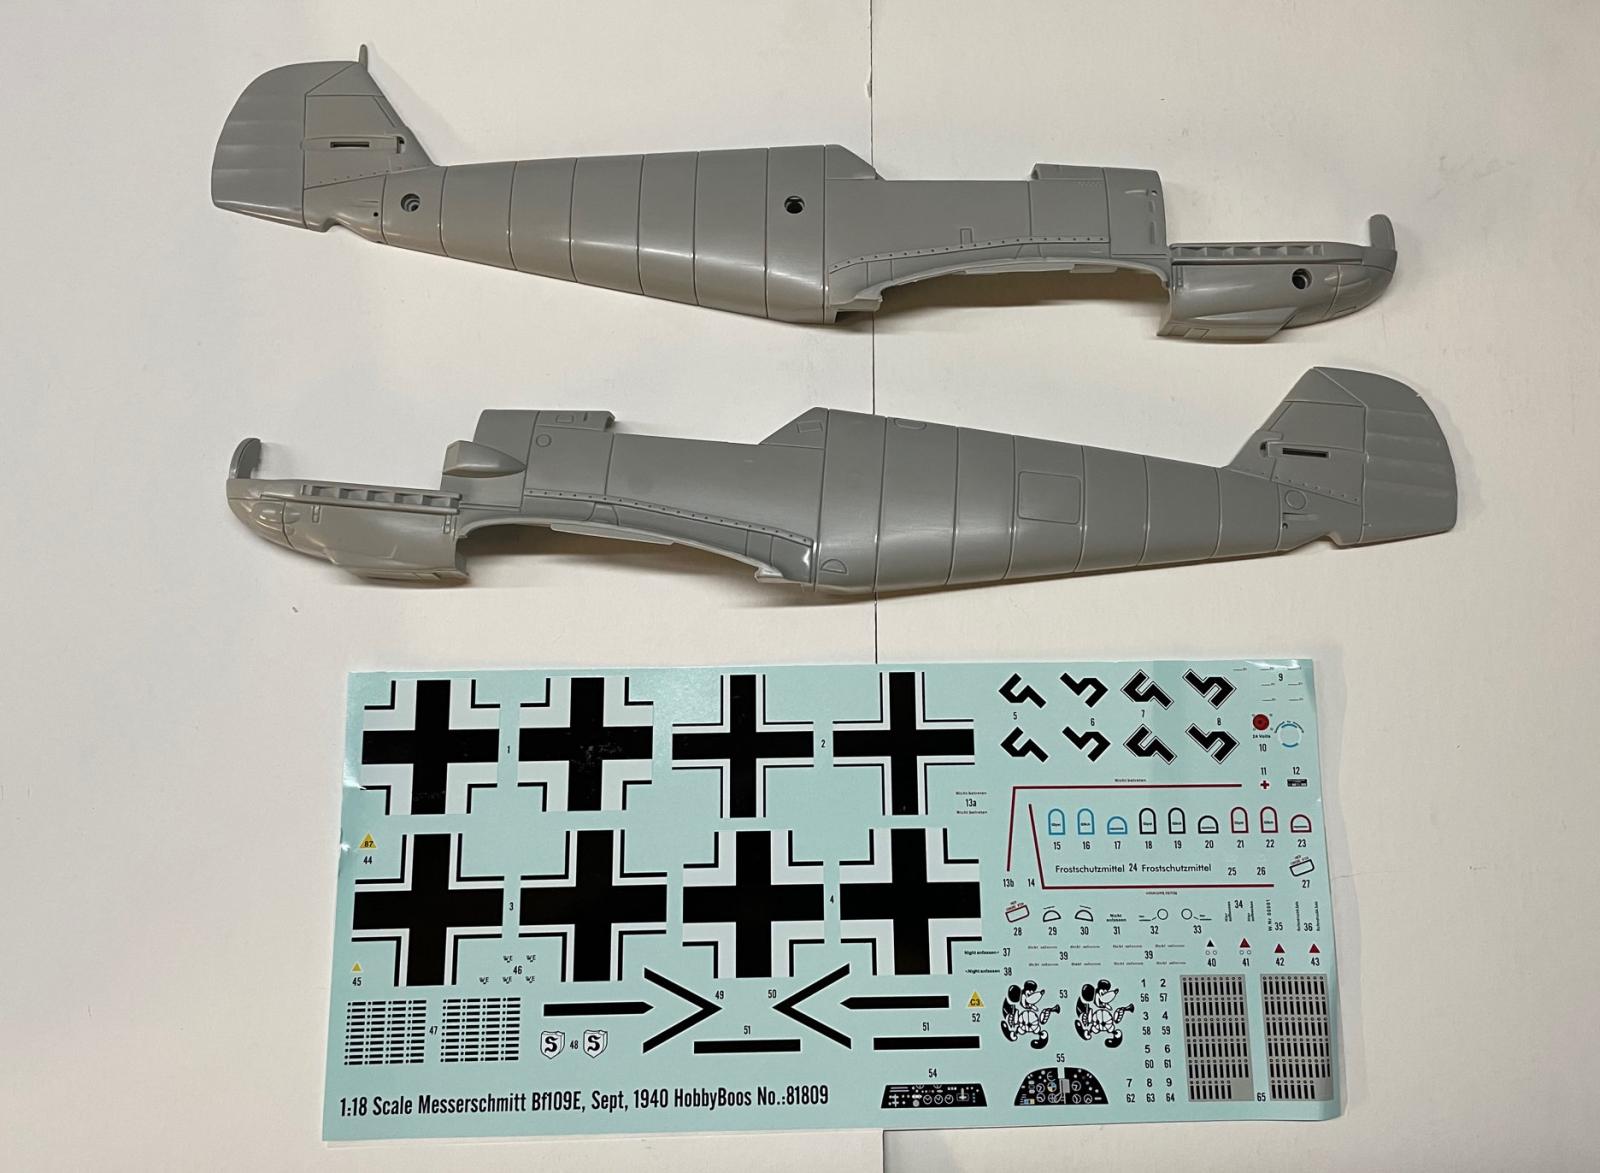
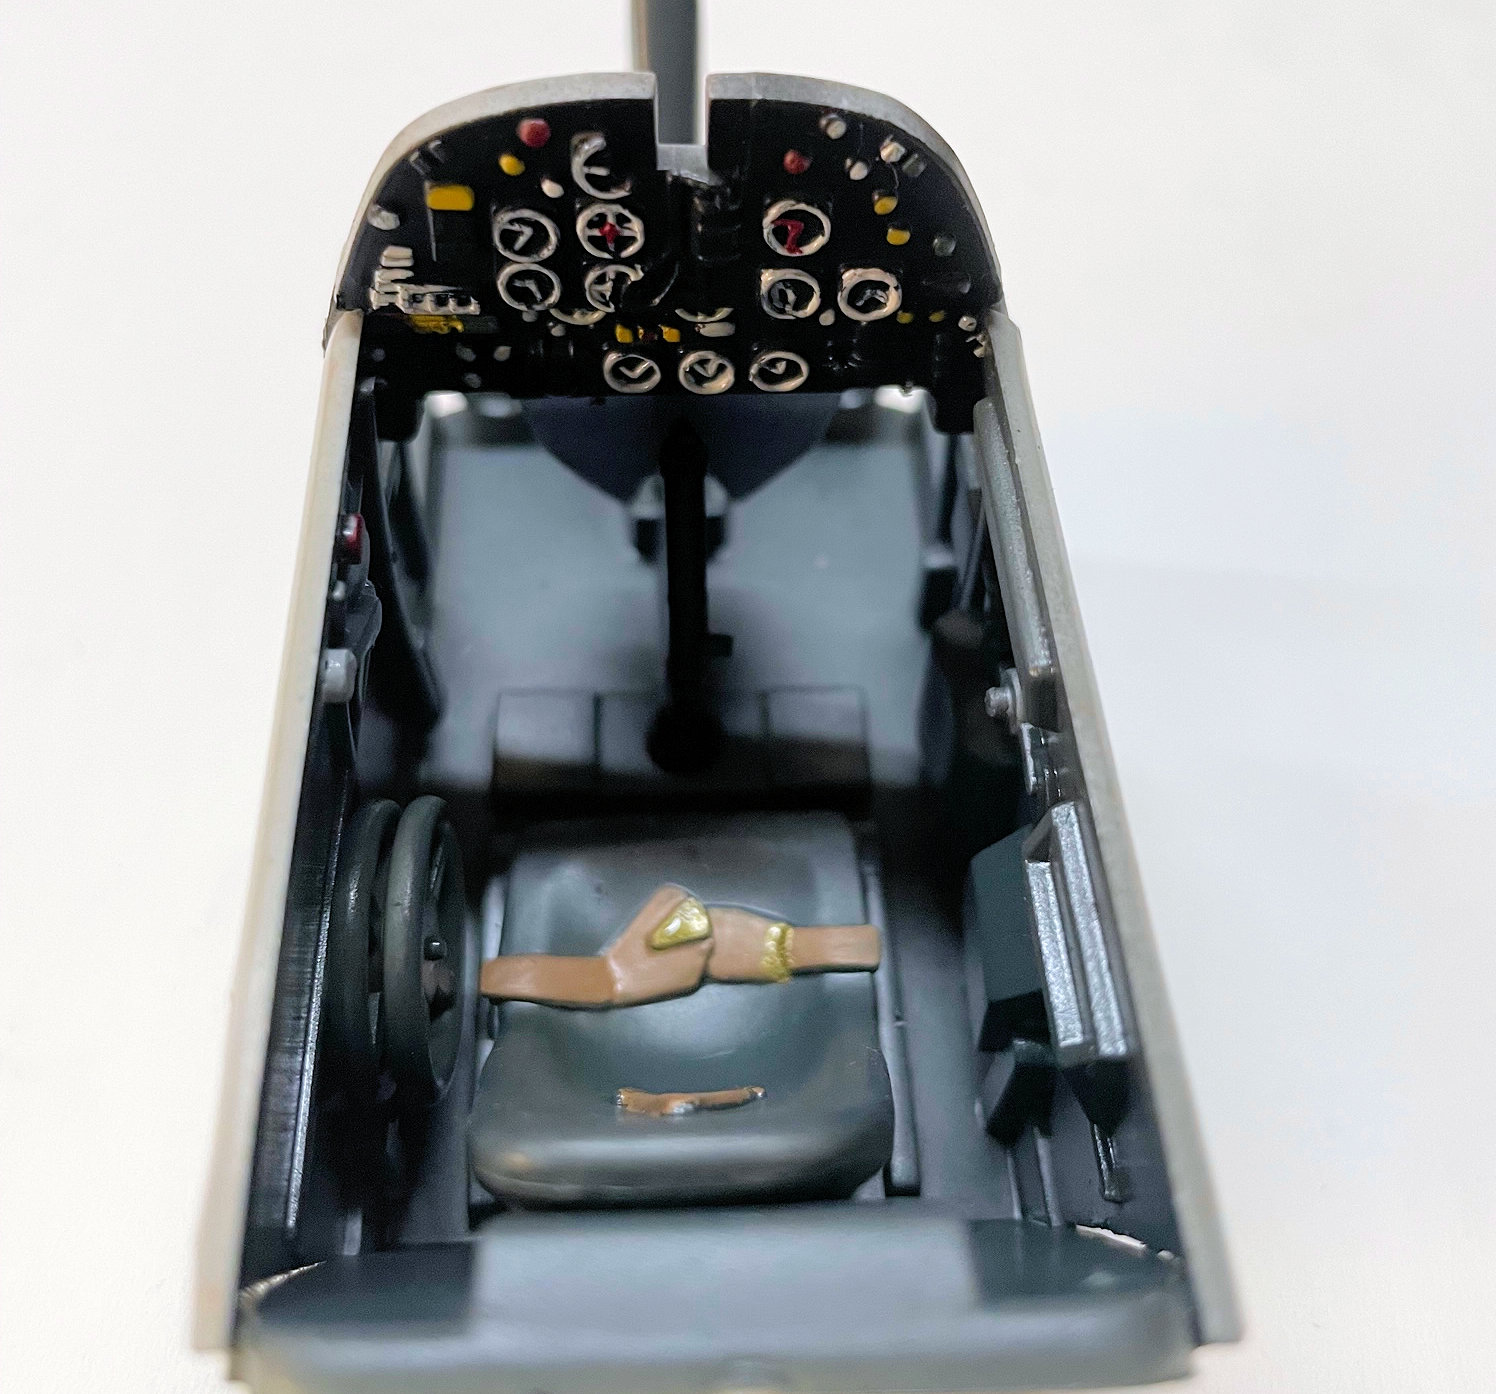
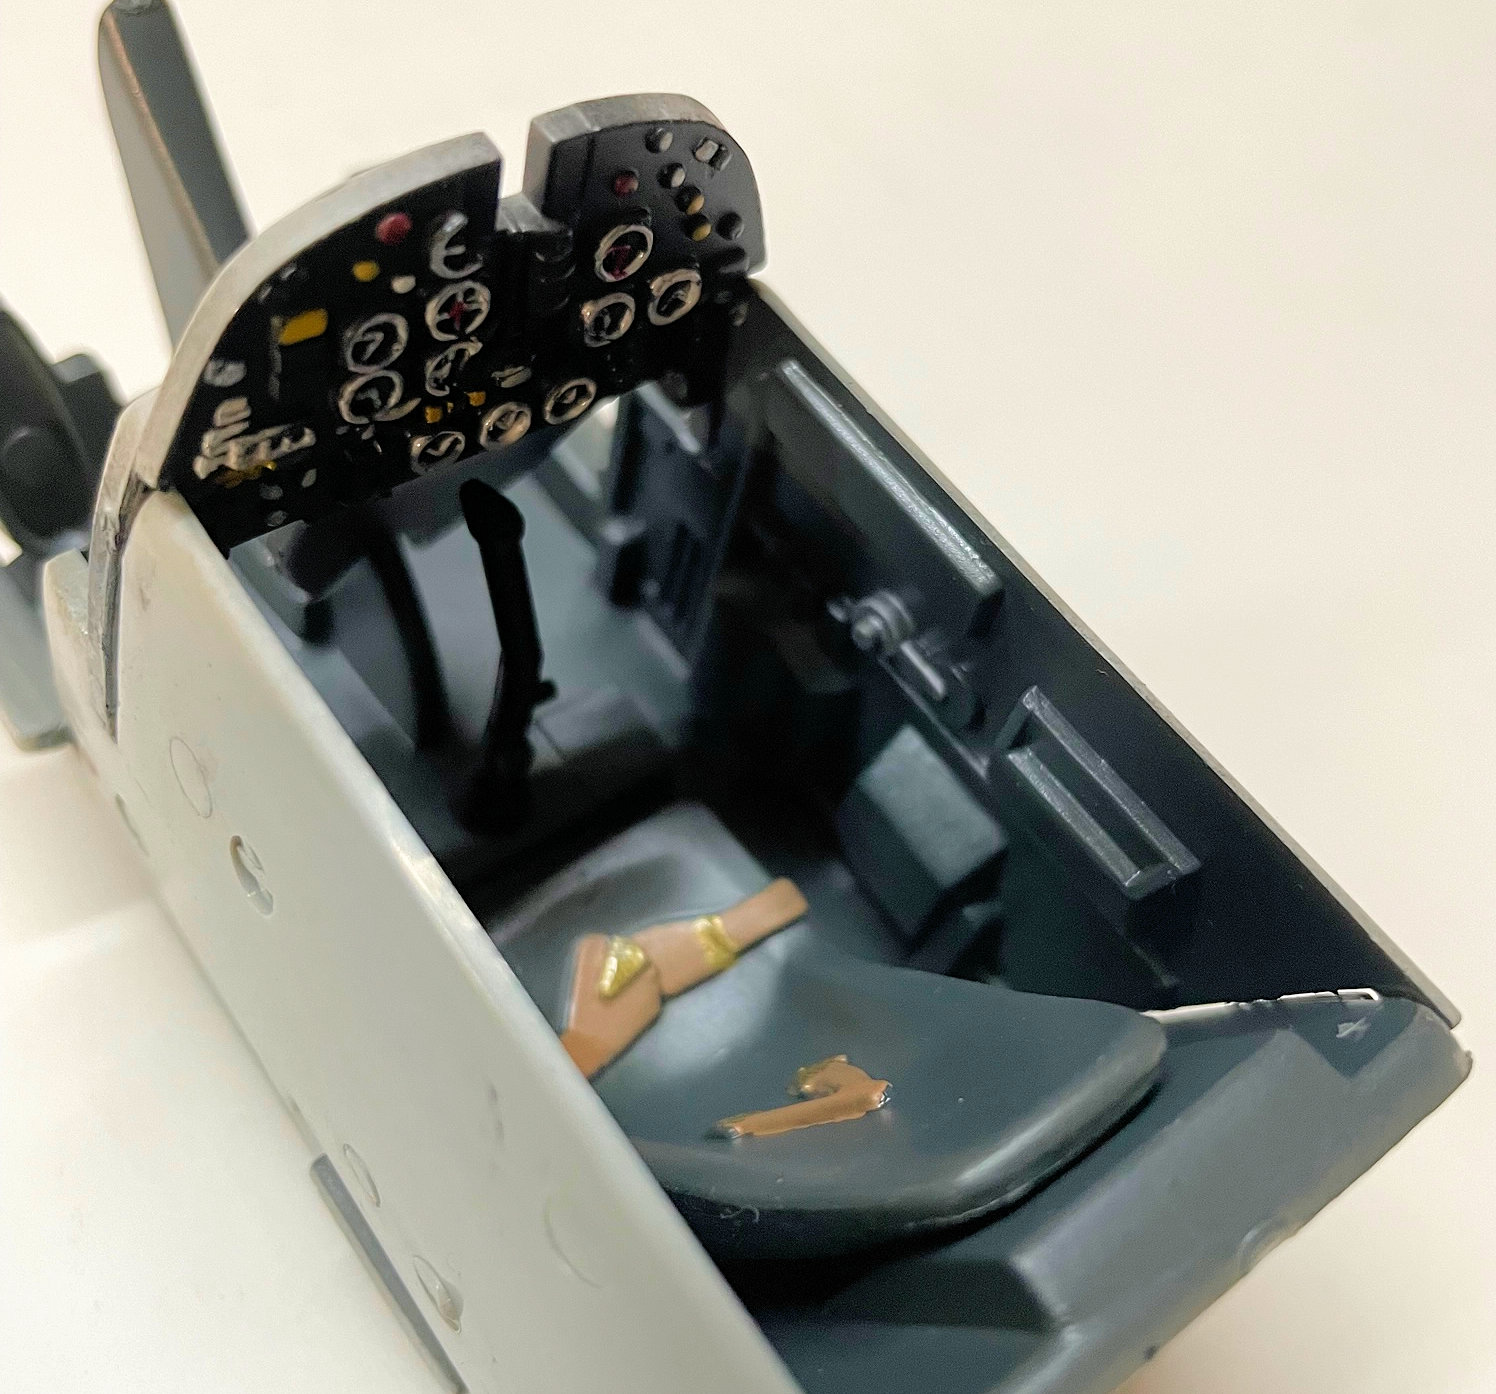
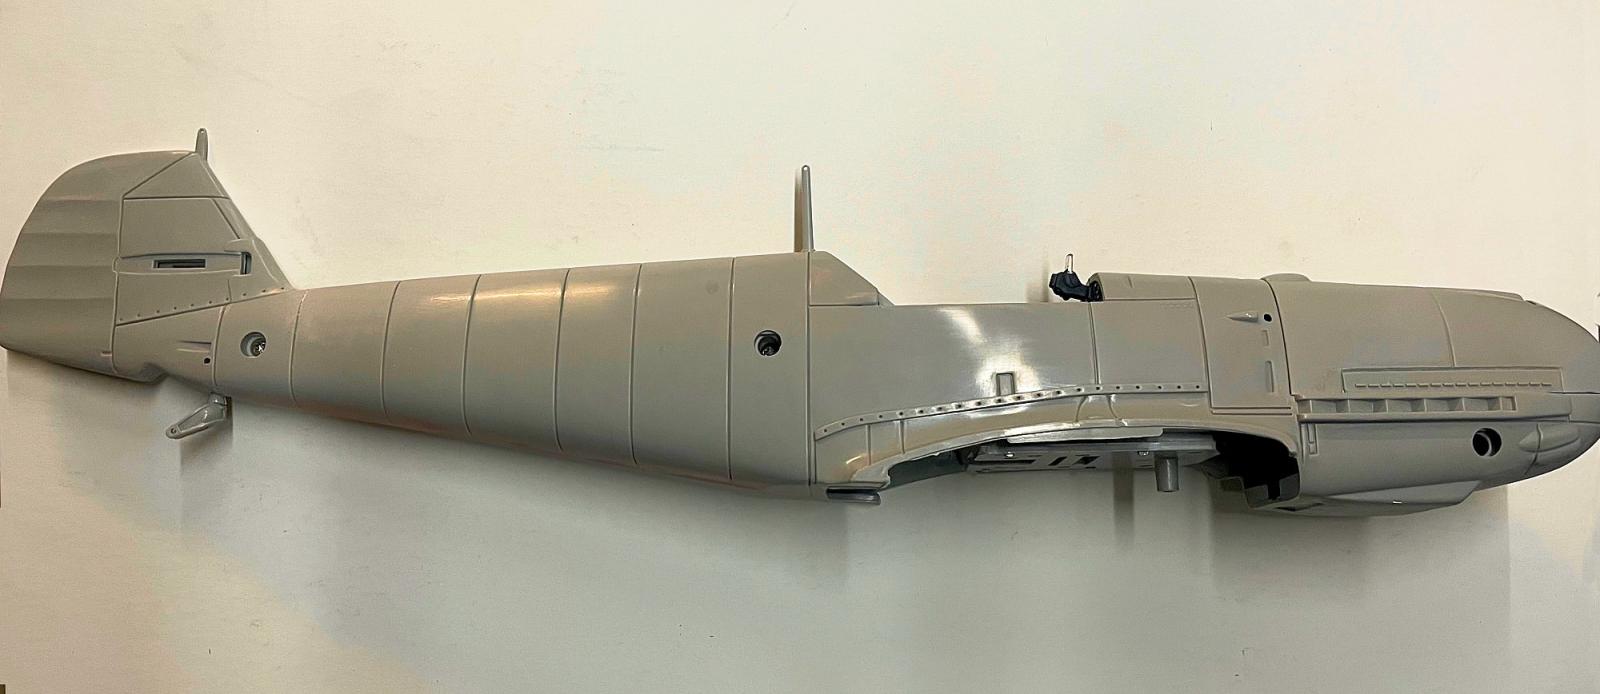
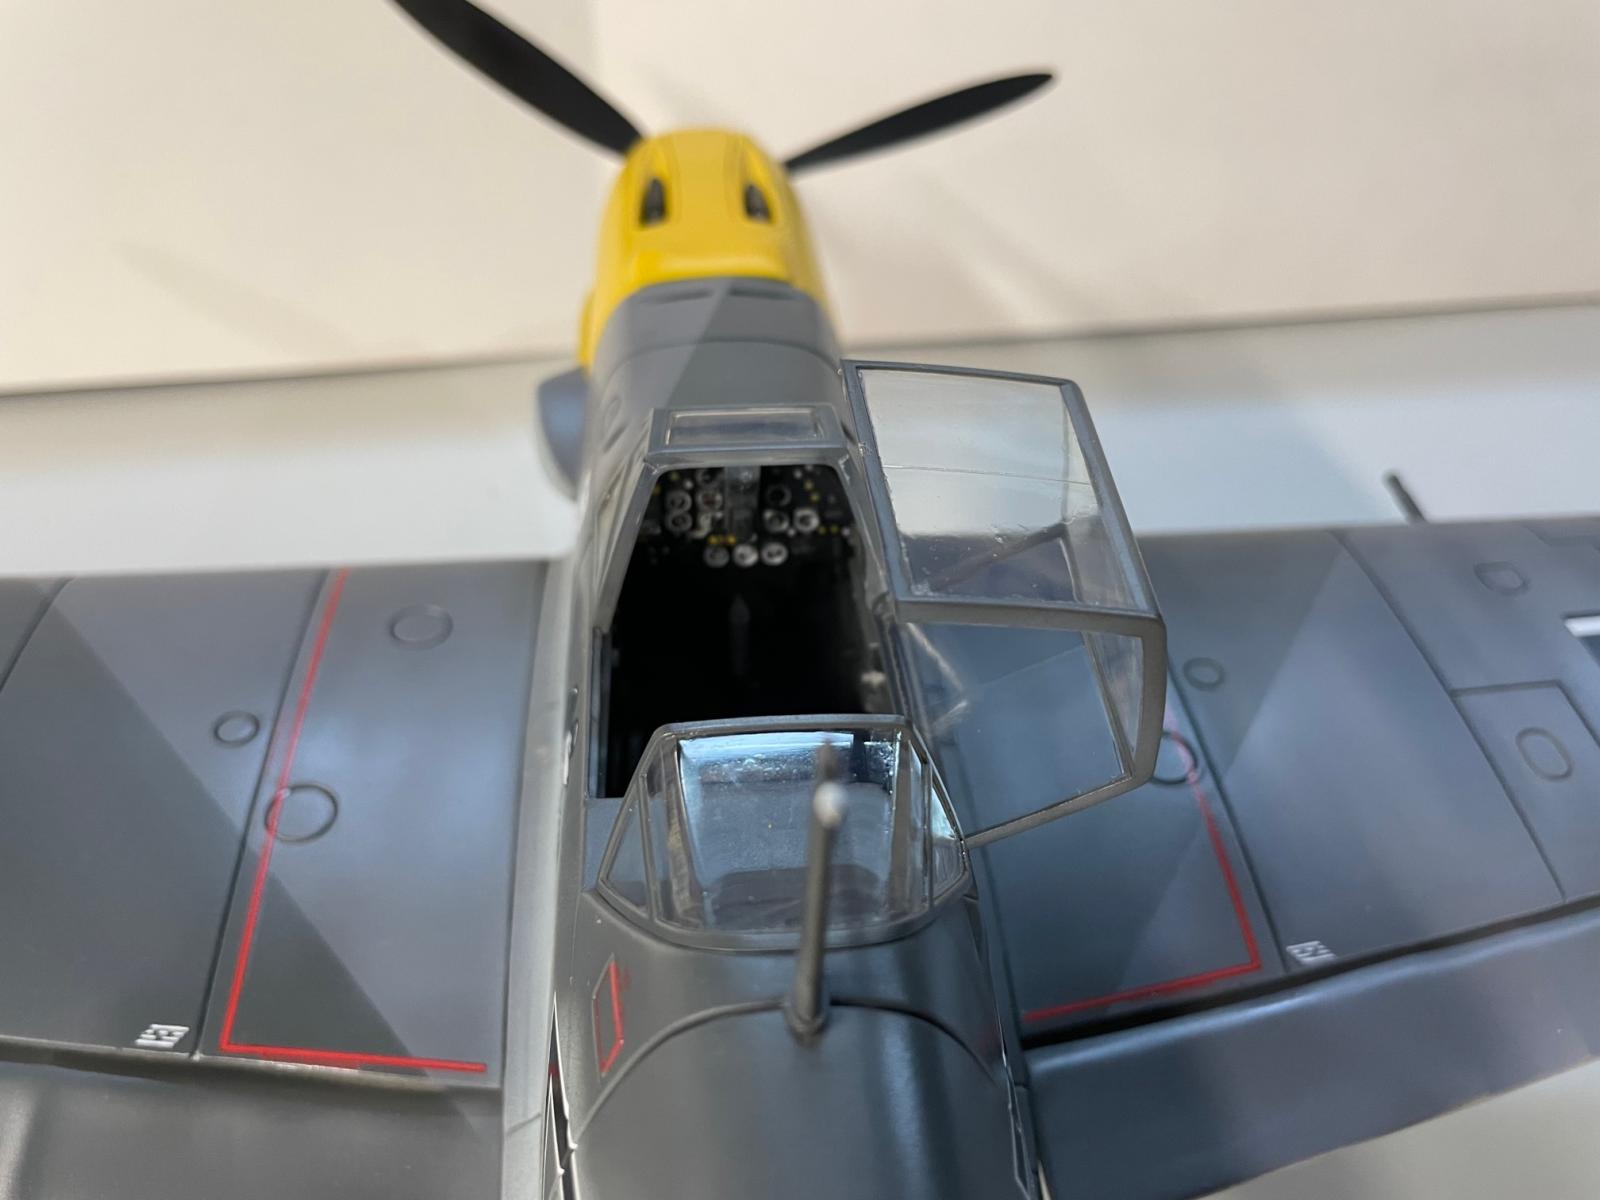
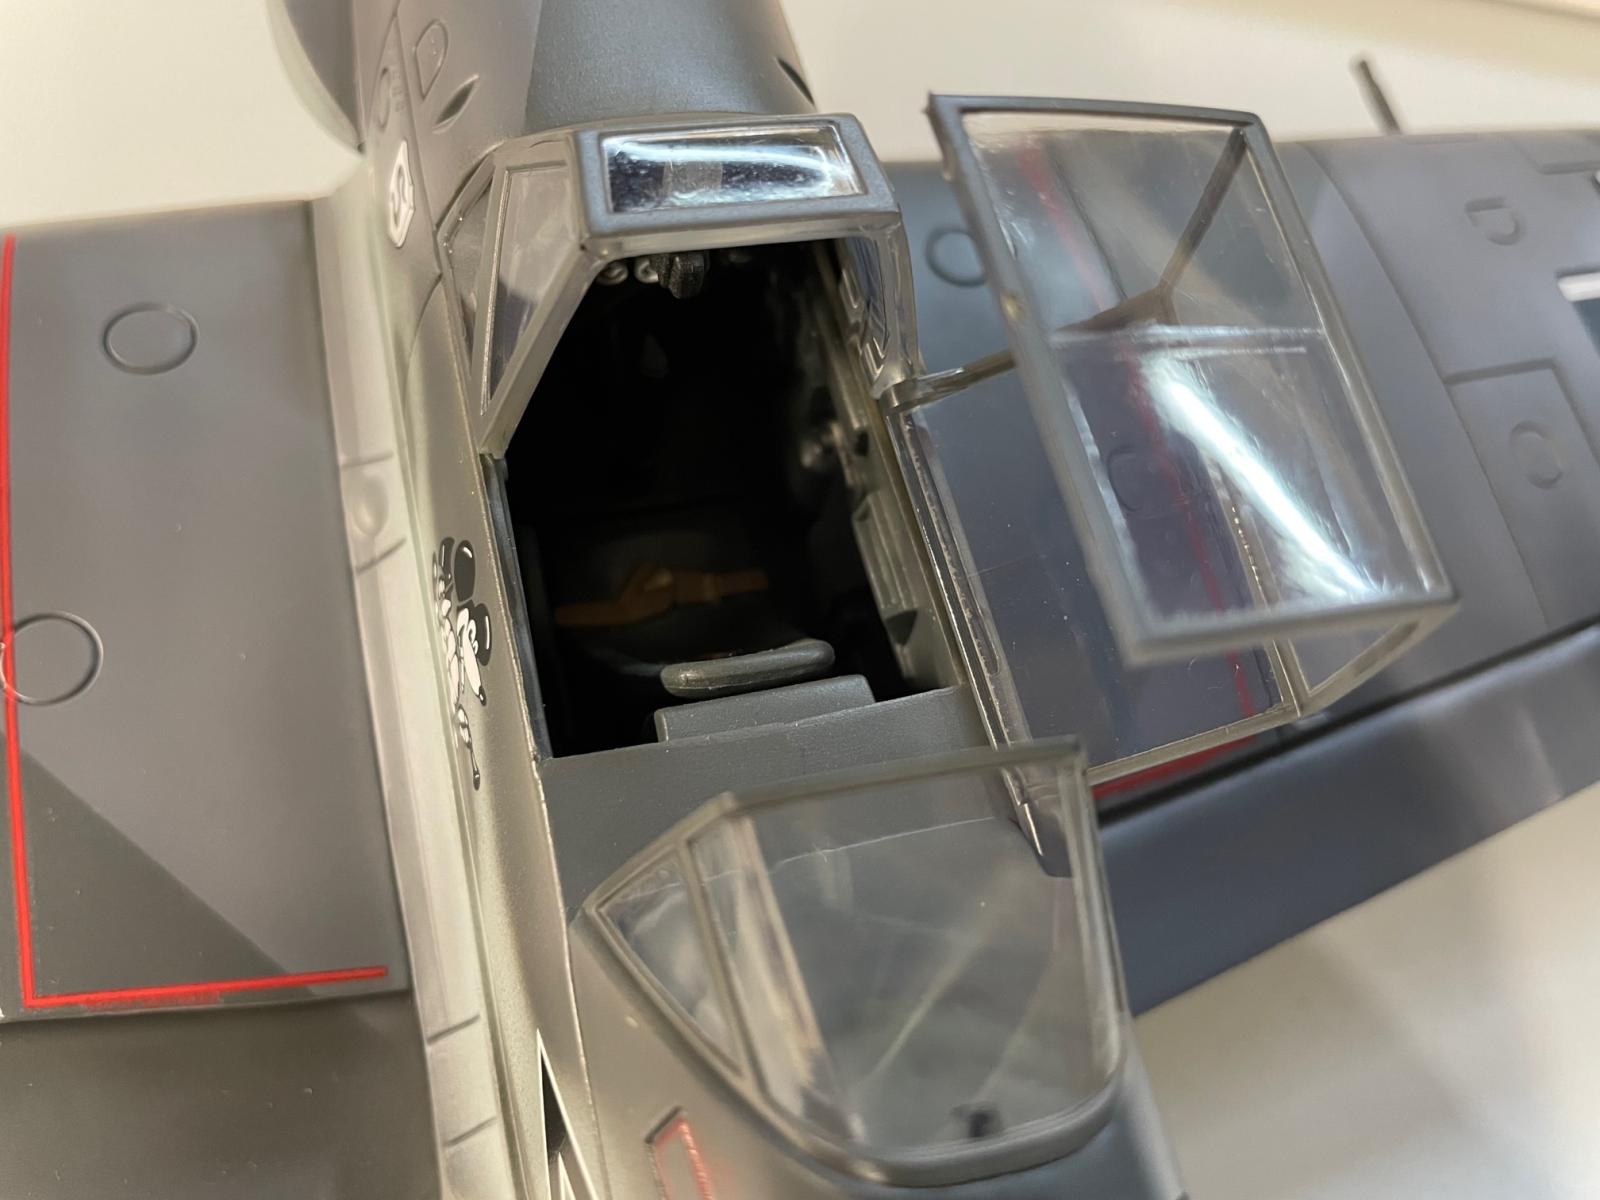
As with most aircraft I build I start with the cockpit first, a total of ten parts. I pre-painted everything and glued it all together. The seatbelts were molded into the seat and looked nothing like the real harnesses and were out of proportion. The instrument panel had raised bezels that I thought were a bit too raised so instead of using the decal on the sheet, I hand painted the instrument panel which I thought turned out pretty well. After the cockpit was done I pre-painted the interior color of the cockpit area on the fuselage and inserted the cockpit into the fuselage halves, along with the tail gear. Everything seemed to go together fairly well and I screwed the fuselage together along with generous amounts of thin glue. I had to do a lot of pushing and pulling and clamping to get everything lined up halfway decent as far as the seams go. The screws had covers that filled the holes that didn’t fit the best. Then came the hours of seam filling and sanding trying to get the fuselage looking good.
Next were the horizontal control surfaces and struts. The shape of the horizontals were a bit on the thick side and the elevator trailing edges were squared off which I thought was strange. I attached the horizontals along with the struts which didn’t fit quite right and had to do some massaging to get them sitting right.
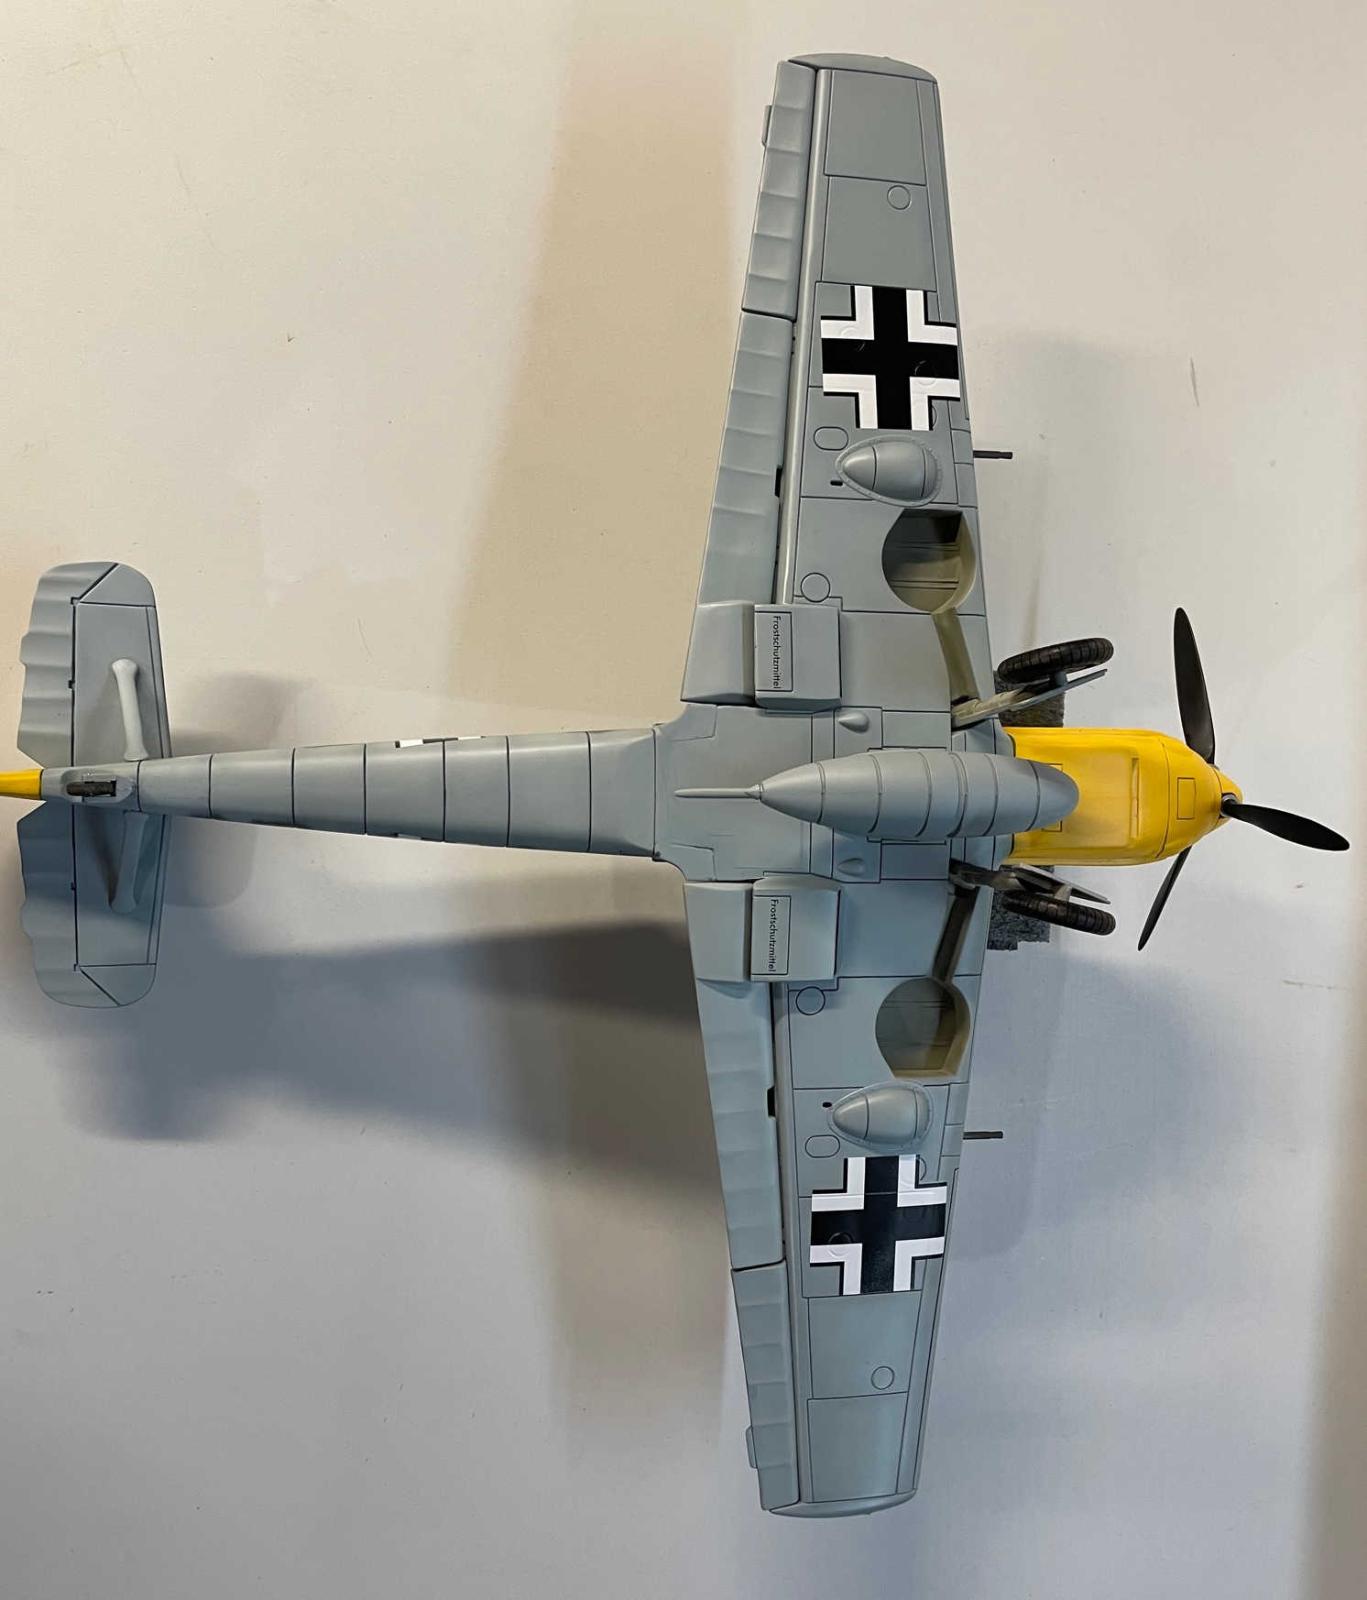
The next step had you attaching the engine cowl, propeller and canopy which I did not do. I set them aside to be painted the appropriate colors. I instead went to the next step of assembling the wings. The landing gear was attached to the wings and is screwed in to the wing half and is able to retract and extend. The rims and tires were set aside for paint. The cannon barrels and clear navigation lights were installed along with the flaps and ailerons halves. Both wing halves were put together and copious amounts of thin glue were applied. Again a lot of manipulating trying to get everything into place, along with many clamps. Then another few nights of filling and sanding (there is a lot of surface area on this size model) once done I proceeded to attach the wing to the fuselage, with one screw, needless to say it did not fit the best on the bottom, topside was fairly good. Once again lots of filler and sanding.
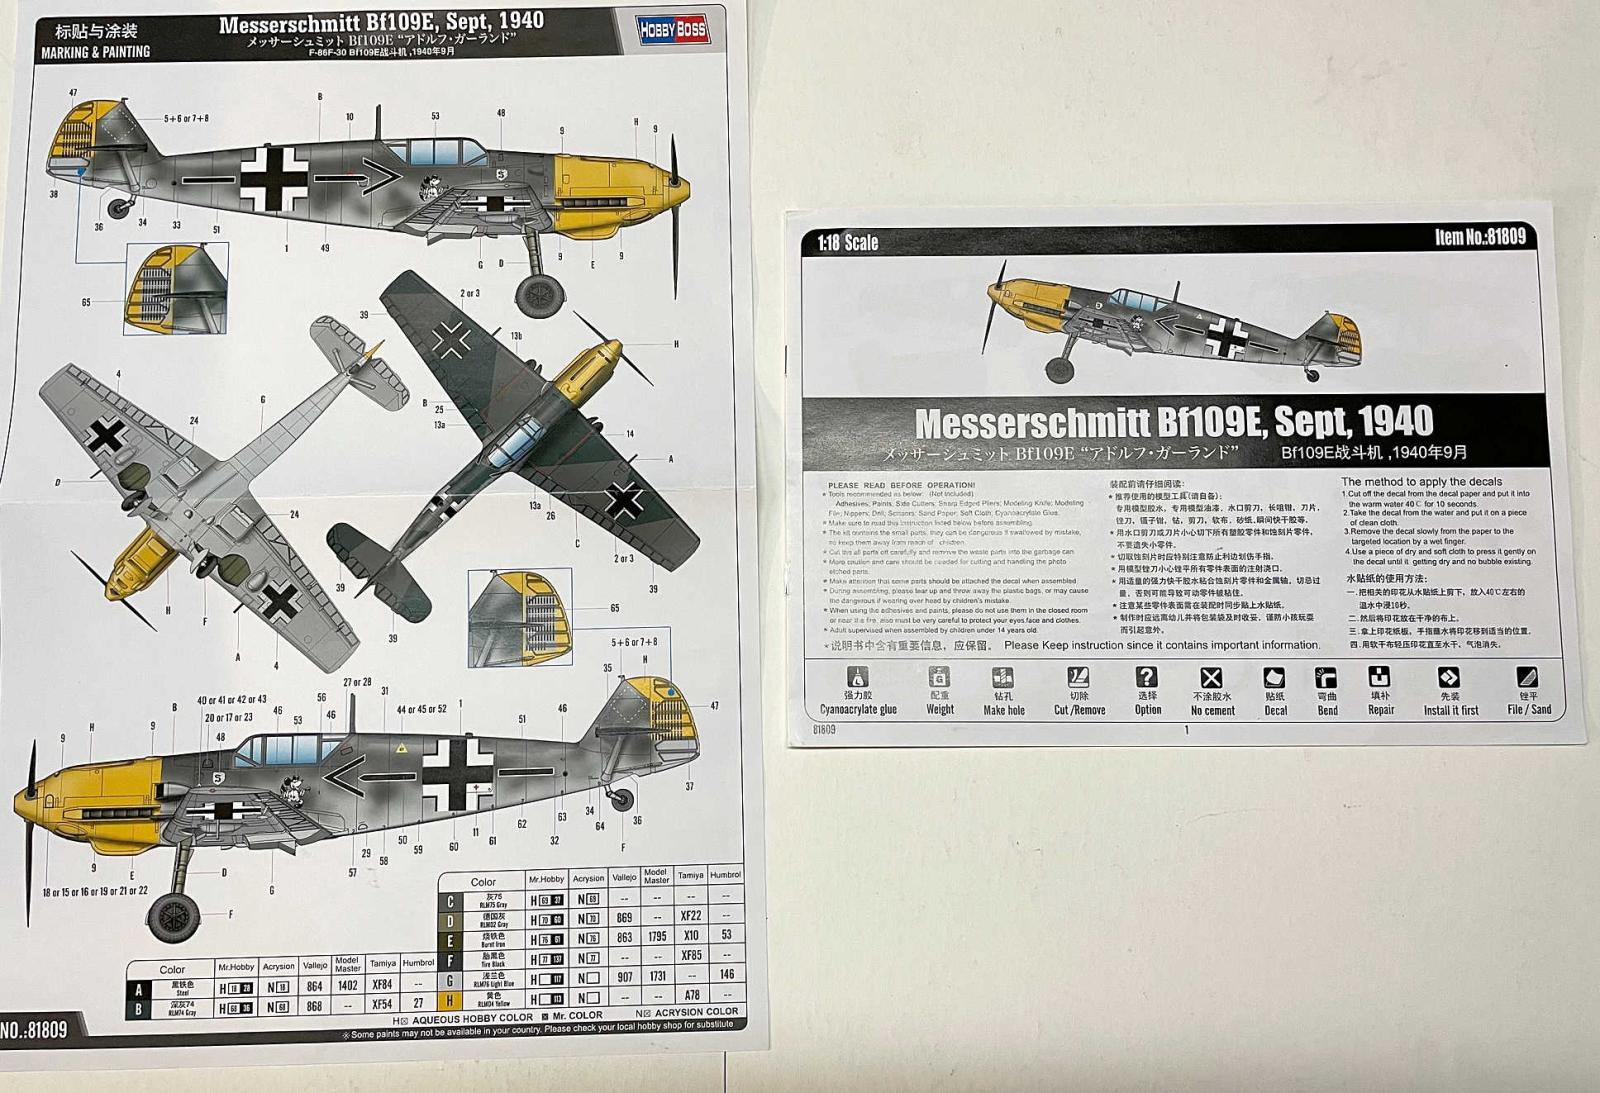
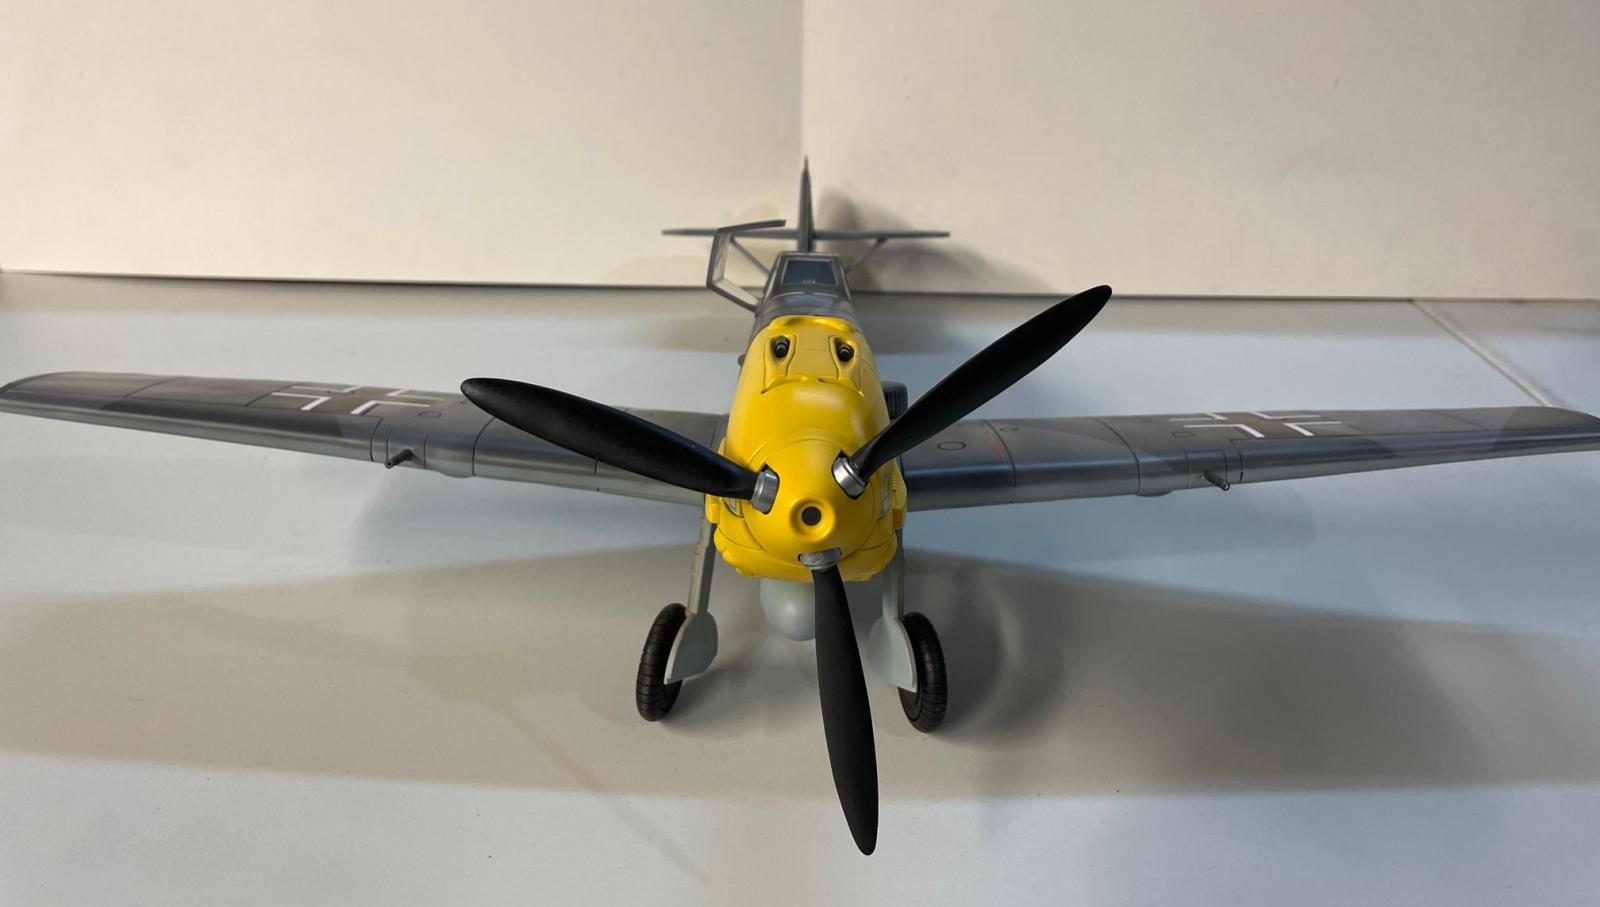
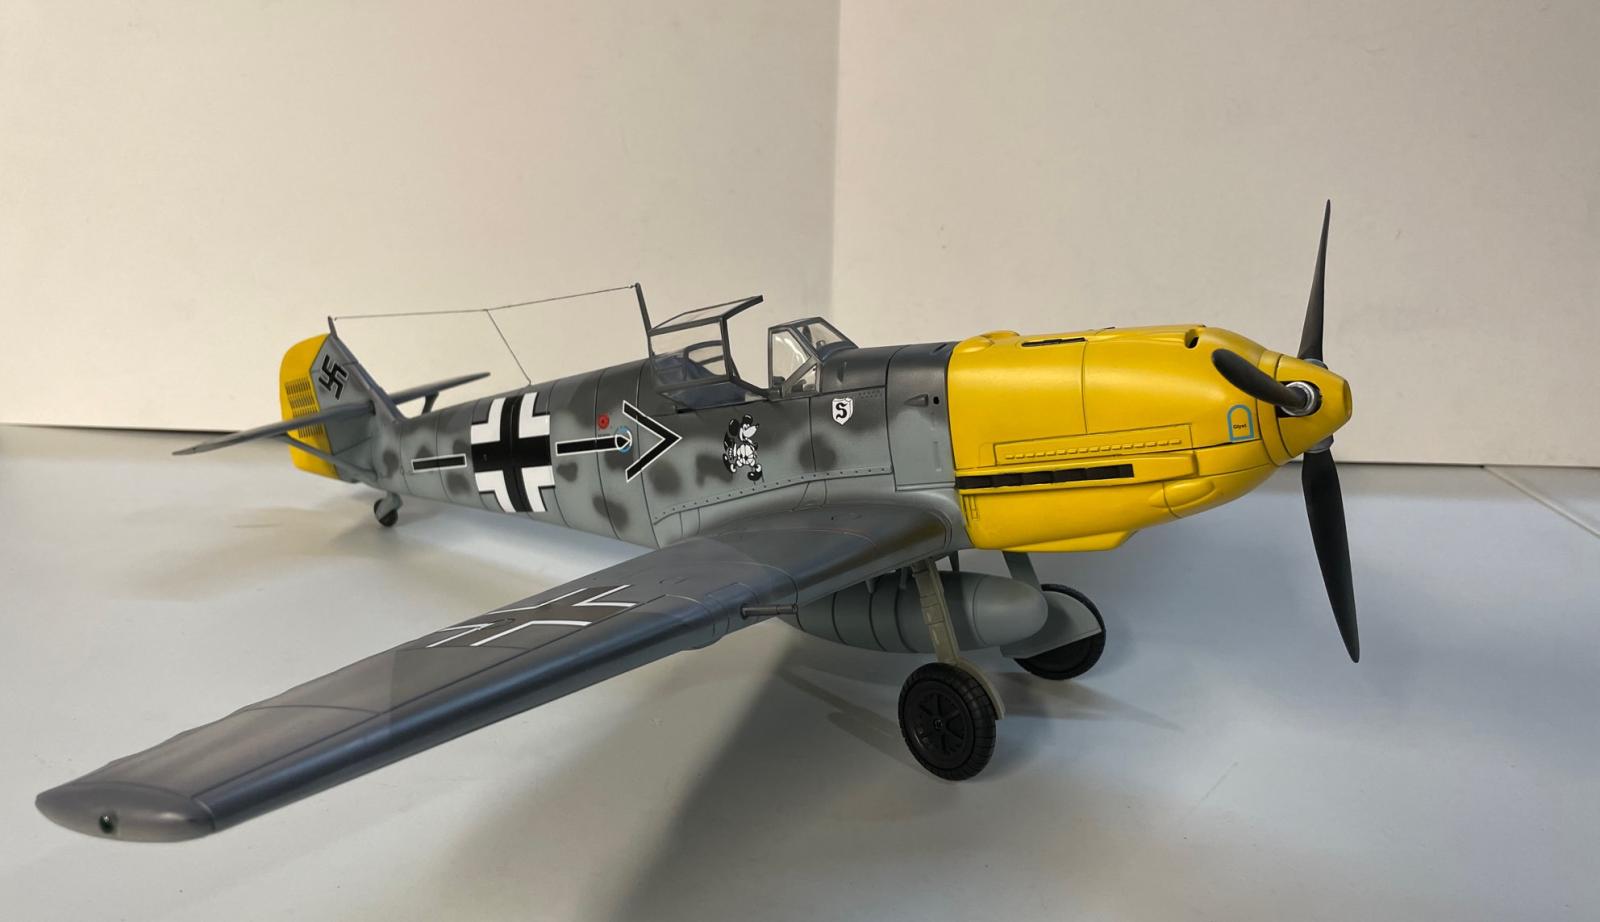
Now on to the painting and decaling. I used the painting guide supplied for the paint scheme I was going to use. After some primer and a little more filling and sanding of sink marks, I pre-shaded all the panel lines with flat black, then I applied the color of RLM 76 light blue to the bottom and sides of the fuselage and bottom of wings and horizontals. The engine cowl, spinner and rudder of the aircraft received RLM 04 yellow. The top side I applied the two tone splinter colors RLM74 gray green and RLM75 grey violet also going down the side of the fuselage. I then added the splotches of grey green to the side of the fuselage over the light blue. The canopy was masked and painted the appropriate top side color and the propeller was painted semi- gloss black with a steel hub. Lastly I sprayed the interior gear well and gear legs RLM 02 grey and the rims a semi- gloss black. After the rims were dry I installed the rubber tires onto the main and tail gear and screwed them on the gear legs. Things were looking good once painted so onto the decals. I started with the crosses on the wings, dipping them in warm water with just a little dish soap added. Wouldn’t you know it the first decal would not separate from the backing on one corner and I wound up tearing it at that point trying to loosen it. I eventually put both pieces together and applied some micro sol to soften them. From then on the rest of the decals went on without too much trouble, I had an issue with one of the swastikas on the tail but got it fixed. After a couple days of drying I applied a coat of semi-gloss clear over the whole model and let it dry a couple days. In the end I added the canopy and antenna wire and set it aside for the pictures.
Conclusion
In the end I think the model turned out pretty well. When I first opened the box and looked at what was I thought to be a toy, I was a little disappointed, but once I got into the kit and started building, even though it was pretty simple, I made it look fairly decent. My cons on the model are, 1) fit, the fit isn’t the best in some areas. 2) The cockpit is pretty simple and the seat is wrong with molded in seatbelts. 3) The gear legs are in the wrong position, with the tires having too much toe out. Also the wheels are too big to fit into the gear bay when retracted. 4) The vertical and horizontals are squared off and should be rounded. 5) Big, deep panel lines. 6) The shape of the rudder is wrong.
Would I recommend this kit to anyone? I believe this kit would be great for a young person getting into model building, its simple but a little demanding with fit. I don’t think a very experienced modeler would care to do this model unless he really wanted to do a 1/18 scale Bf109 and wanted to do a lot of upgrading. An average modeler probably would build this model if he were into 109s.
Thanks to MRC and Hobby Boss for supplying the model.
And thanks to IPMS for the opportunity to build it.


Comments
Add new comment
This site is protected by reCAPTCHA and the Google Privacy Policy and Terms of Service apply.
Similar Reviews