
McDonnell Douglas FG.1 Phantom
History
(From the Airfix site)
With regard to aircraft that have operated from the decks of a British aircraft carrier, there can be little doubt that the McDonnell Douglas Phantom FG.1 was the most spectacular. Purchased to replace the Sea Vixen in the role of all-weather fleet defense, the Phantom was the largest and heaviest aircraft ever operated from a British carrier and required a special breed of airmen to fly them.
As one of the most successful jet aircraft of all time, the American McDonnell Douglas F-4 Phantom was to see service with a number of overseas air arms, with Britain being a significant operator. Originally purchased by the Royal Navy as a modern replacement for their De Havilland Sea Vixens, Fleet Air Arm Phantoms would have the primary role of defending the fleet at all times and in all weather, with a secondary role of strike attack. Designated Phantom FG.1, these Navy jets certainly made for an impressive sight and were some of the most attractive aircraft ever to serve with Britain’s armed forces. Operating this huge aircraft from the relatively diminutive deck of HMS Ark Royal required a number of significant modifications to these Phantoms, as well as to the ship itself – they would also require the very cream of Britain’s fast jet pilots to operate these fighters successfully.
The sight of a Royal Navy Phantom preparing to take off from the deck of HMS Ark Royal must have been awe-inspiring. With the two Rolls-Royce Spey engines in full afterburner and the nose wheel oleo extended to its maximum height, these must be considered some of the most iconic images of any British naval aircraft and have enthralled enthusiasts for many years. With the withdrawal of HMS Ark Royal from service in 1978, all remaining Fleet Air Arm Phantoms were transferred to Royal Air Force operation, but still able to display their naval heritage.
The Kit
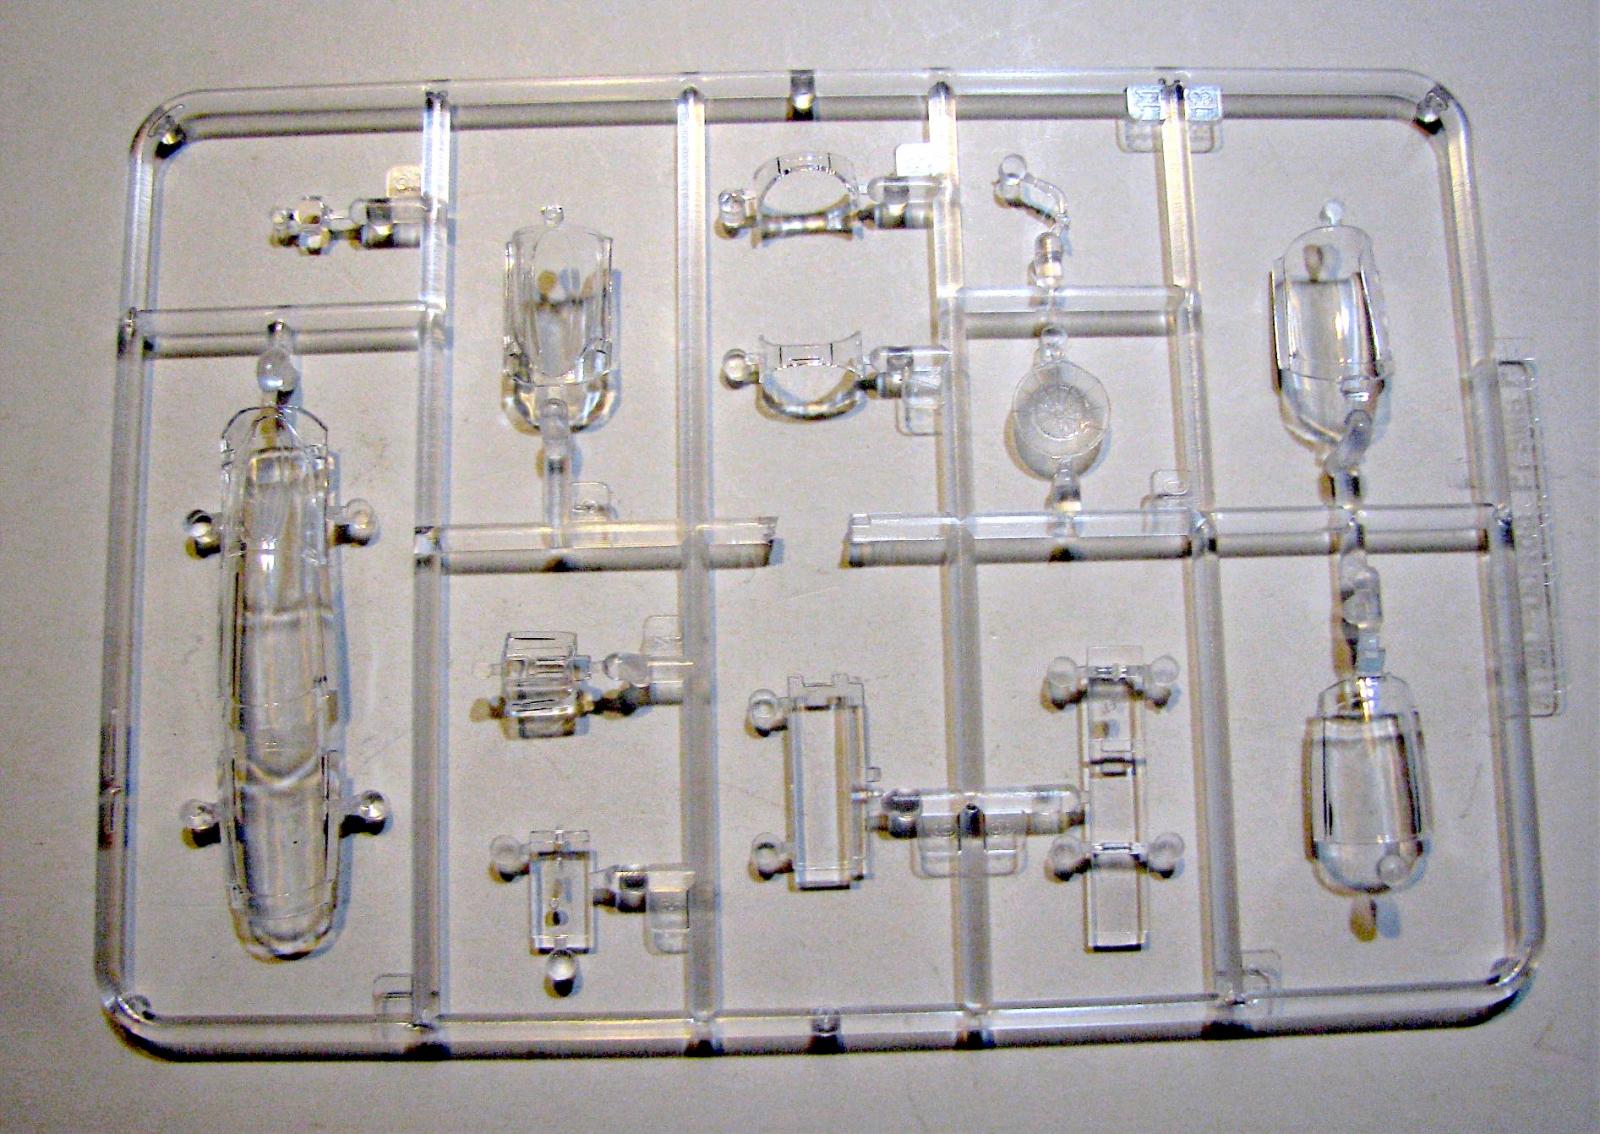
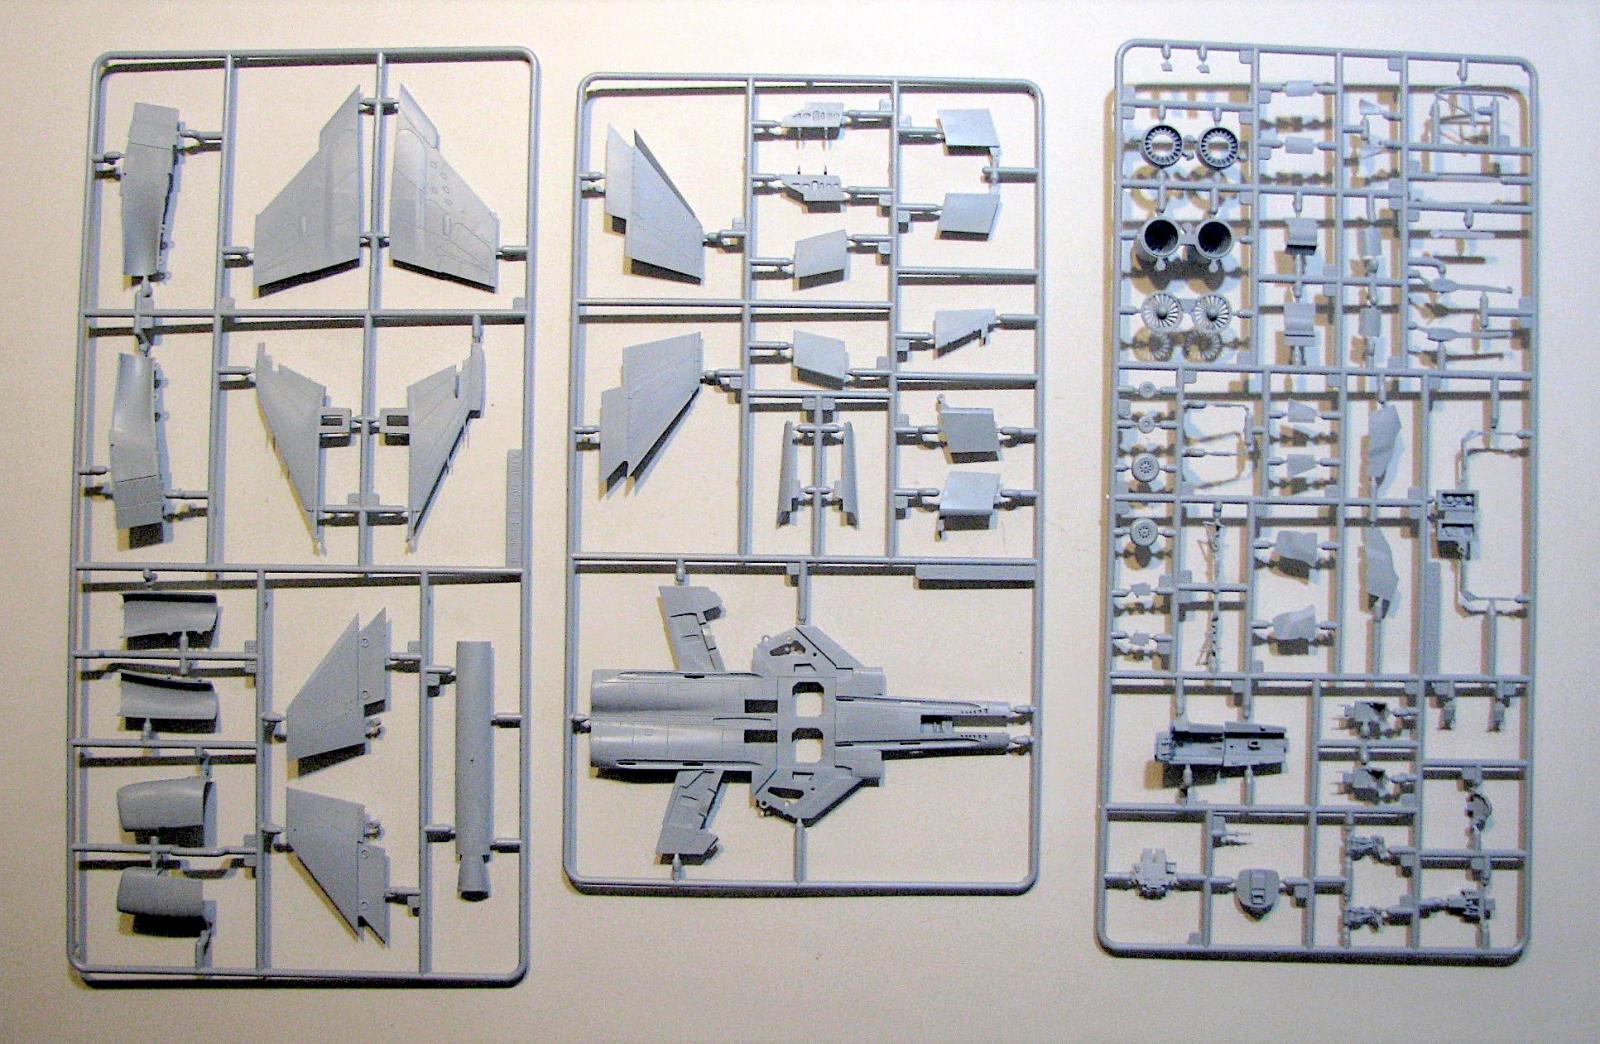
Upon opening the box you will find 6 light grey and 1 clear sprues, a 20-page instruction book, a decal sheet and two 2-page color painting & marking foldouts. The plastic is molded nicely with recessed detail and no noticeable sink marks. The clear parts are clean and distortion free. The decals are printed clean and in register but are rather close together.
Construction
Before you begin, you must decide how you are going to display it. You are given 3 options:
- In flight.
- Ready for launch.
- Stowed on or below deck.
You have to decide now as there are different parts for the different options. My choice was #2 and I wish I hadn’t because it totally slipped my mind that there are no figures in this kit.
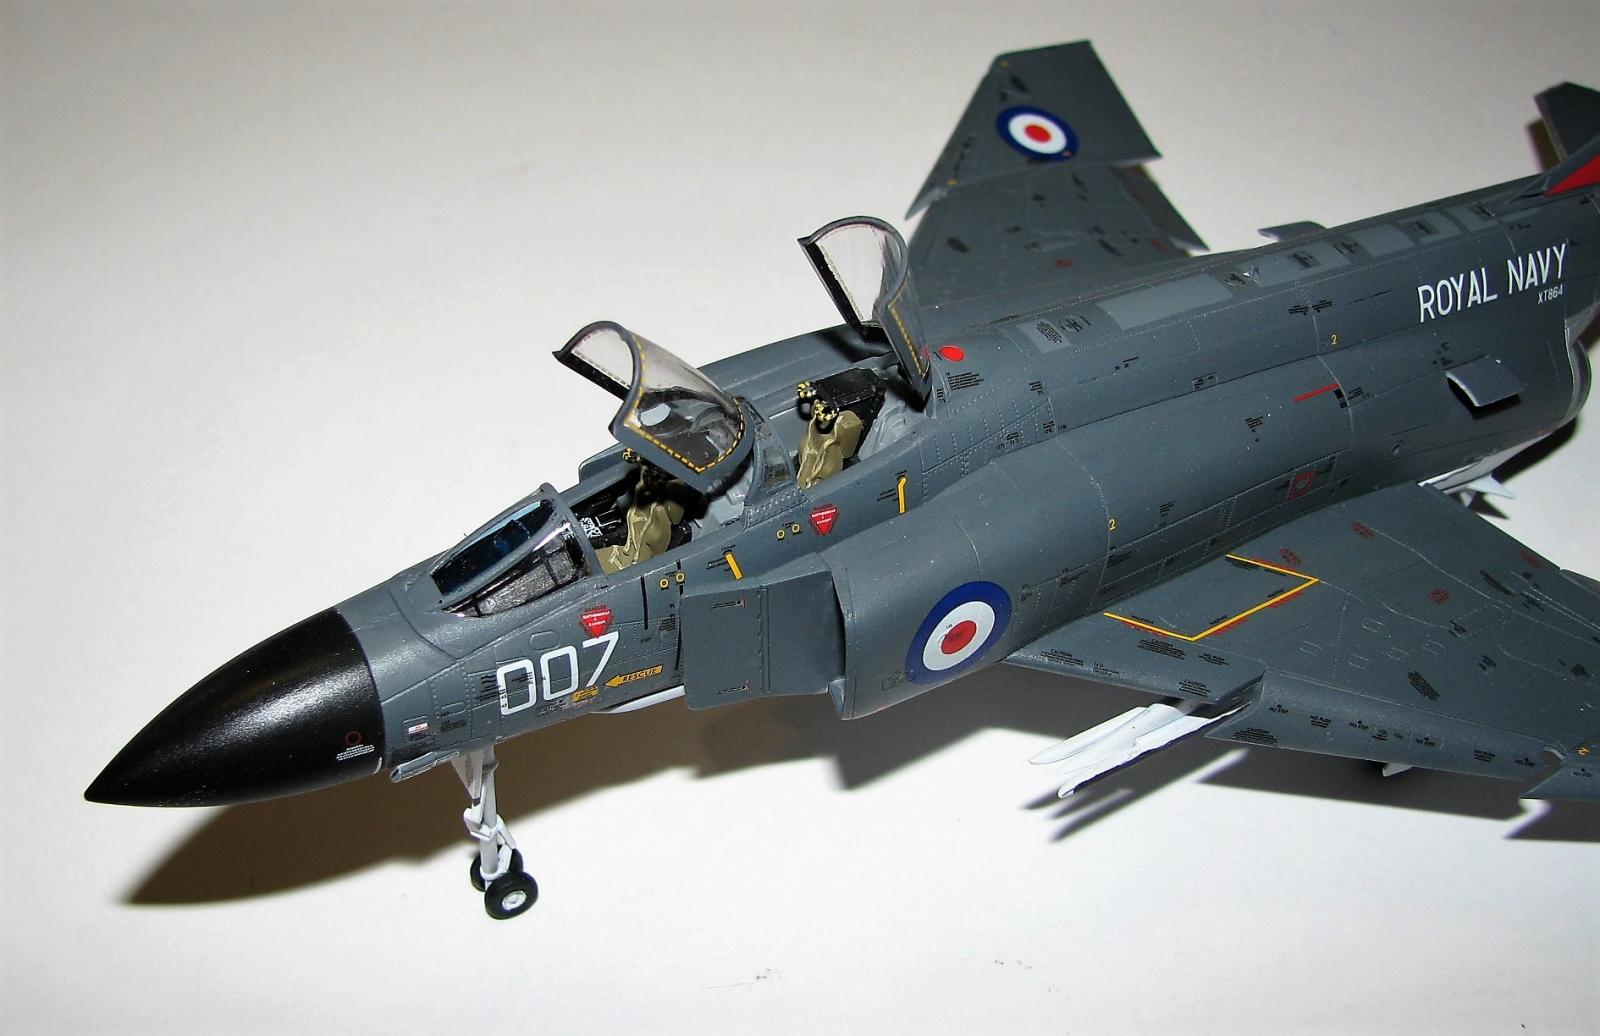
We start, steps 1 -9, with a pretty detailed cockpit (12 parts and 9 decals) and for out-of-box it does not look too bad. The seats have molded in harnesses and the decals look pretty good. One item to note here is that the front bulkhead of the cockpit (part #D46) must be set perfect or you will have problems later on…. I found this out the hard way!
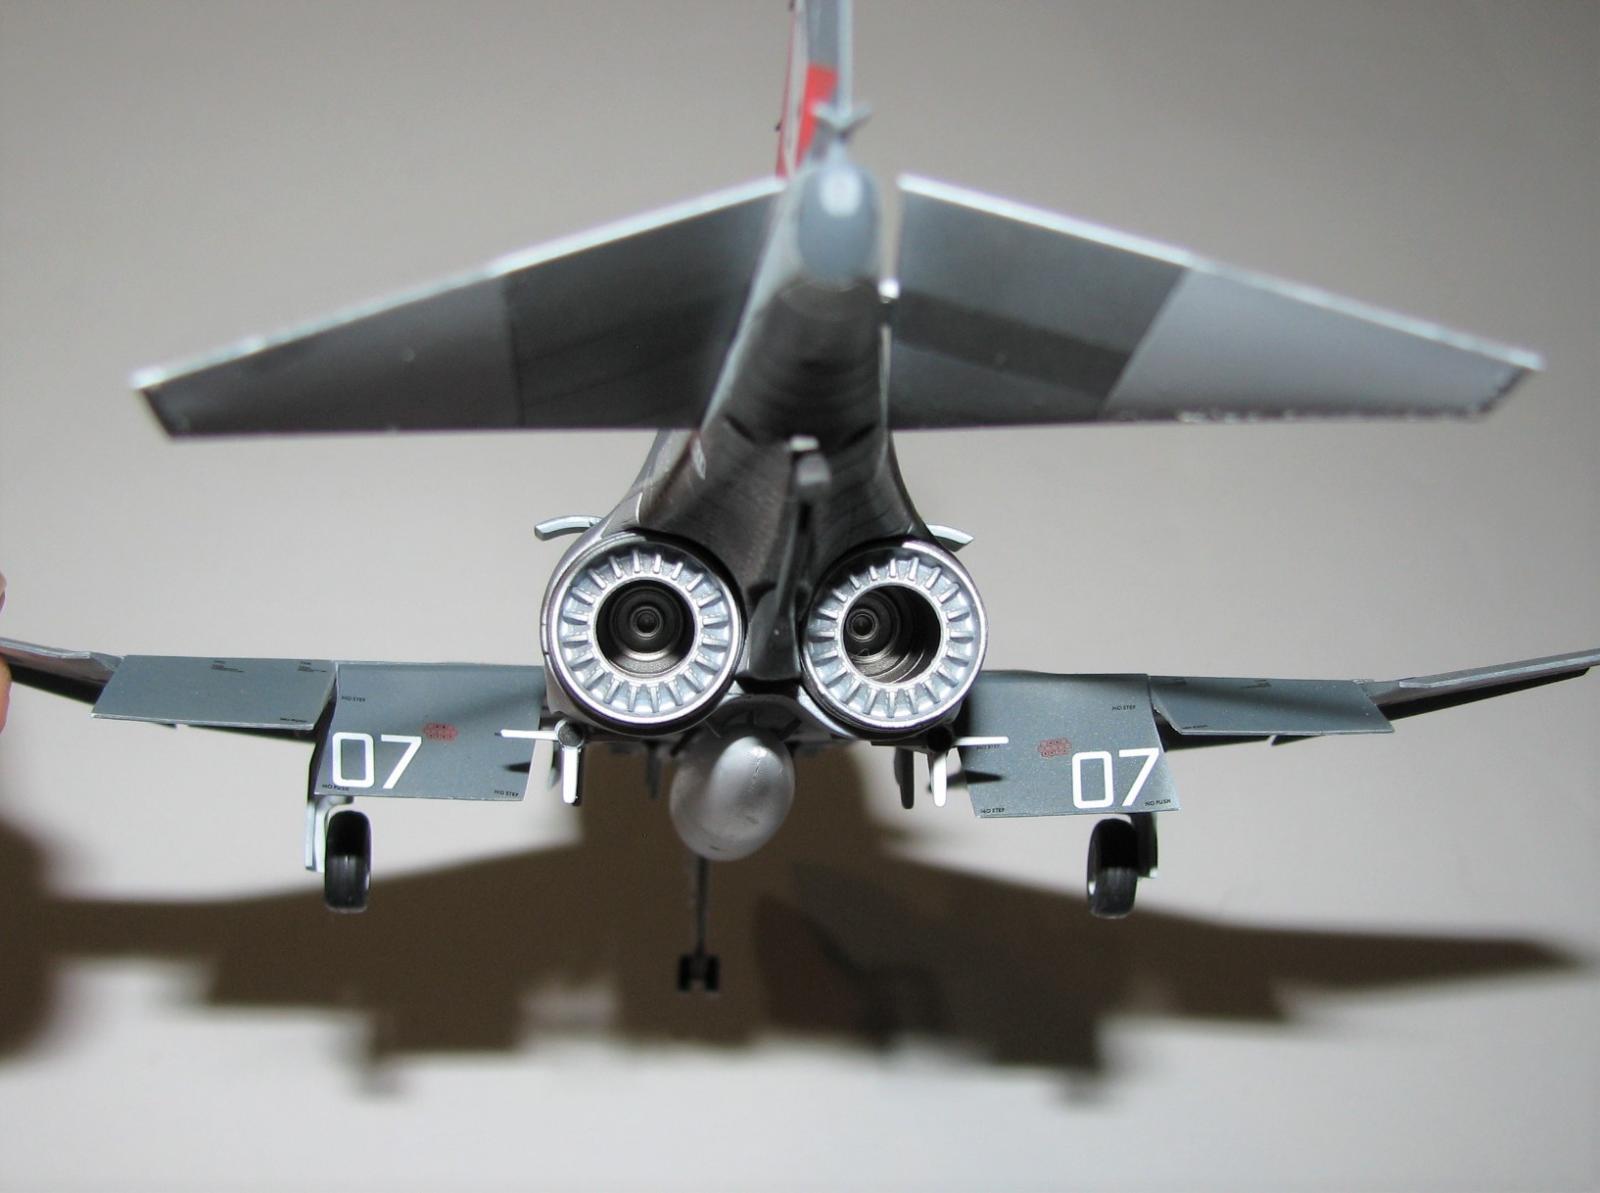
Steps 10-22 deal with prepping and constructing the fuselage. YES, I said prepping! If you are building option #3 now is the time to carefully cut off the nose and if not, don’t worry about it, but do it right because you get extra parts for the various options but no extra nose, which would have been nice. Next on the fuselage are different parts for the horizontal stabilizers as you have a choice how you want to pose them. The intake trunking are next and pretty simple, once these are in place you can now assemble the fuselage and this is where I had my first of many problems. The spine (Part B7) fit well except at the forward part as there was a large gap on one side. The last item to add are the afterburners. I had problems as they didn’t want to sit right, and care must be taken placing these or you will have problems attaching the nozzles.
Next up are the underside, intakes & wings (Steps 23-30) and a problem area, for me at least. Part #A2 (remember this part!!) attaches to the main underside part (C14) then placed on the fuselage. No problems here but when attaching the intakes, I could not get the lower part of them to fit right so some sanding was needed. The intakes themselves both have a gap at the aft end of them so a bit of filler is going to be needed. After this you can attach the upper surface of the wings and I had a gap on the left wing root that needed filling.
The next steps (31-34) add the tail and horizontal stabilizers and I recommend, STRONGLY, that you wait till the very end to add these. The stabilizers (G14 & 15) fit so well that no glue was needed so that was easy but the tail has the antenna and pitot tube molded on. As I had attached these now they were very easy to break off while painting and decaling…. which is what happened to me.
Steps 35-64 deal with the wings and I know you’re asking, “why so many steps”? Each option has its own page for construction as there are different parts for each (folded wings, in flight wings, or dropped slats). After attaching the wing tips, you will have a gap between them and part A2 (I told you to remember this part!) and in my sample, it was a big gap. Next you can attach the flaps and slats and speed brakes which all fit nicely.
Next on the agenda are steps 65-69 and this is where you add the auxiliary air intake covers, ram air cooling inlet and afterburner cans. You will know if you placed the afterburners correctly now!!
Steps 70-84 deal with the under carriage and again you have some different parts to choose depending on the version. Since I was going with the ready to launch option I had to use the extended nose strut. It is a multi-piece assembly and the two parts making up the main strut (G4-G5) did not fit together well and I had to use a little filler on this. These all went on pretty easy and I had no other problems.
The external tanks and ordnance are covered in steps 85-97 and again you have a few options to choose from. Steps 98-101 deal with the final bits & pieces and the canopy. You have the option of a one-piece canopy or multi piece open canopy. YES, I know the canopy should be closed but I dropped this and the canopy came off and I could not find it. After putting the multi piece one on I found the single piece one a couple days later!! Also, you have different parts options for the arresting hook and refueling probe which is a nice feature. One item to note here is on step 100 where you attach the shroud under the windscreen. This is where you find out if part #D46 is placed correctly and mine wasn’t so some sanding/carving was in order to get it to sit right (If it’s not right the windscreen will not fit).
If you have decided to display the nose open steps 102-111 deal with this. You do have the option of posing the radar retracted or slid forward, and that is nice.
Finishing
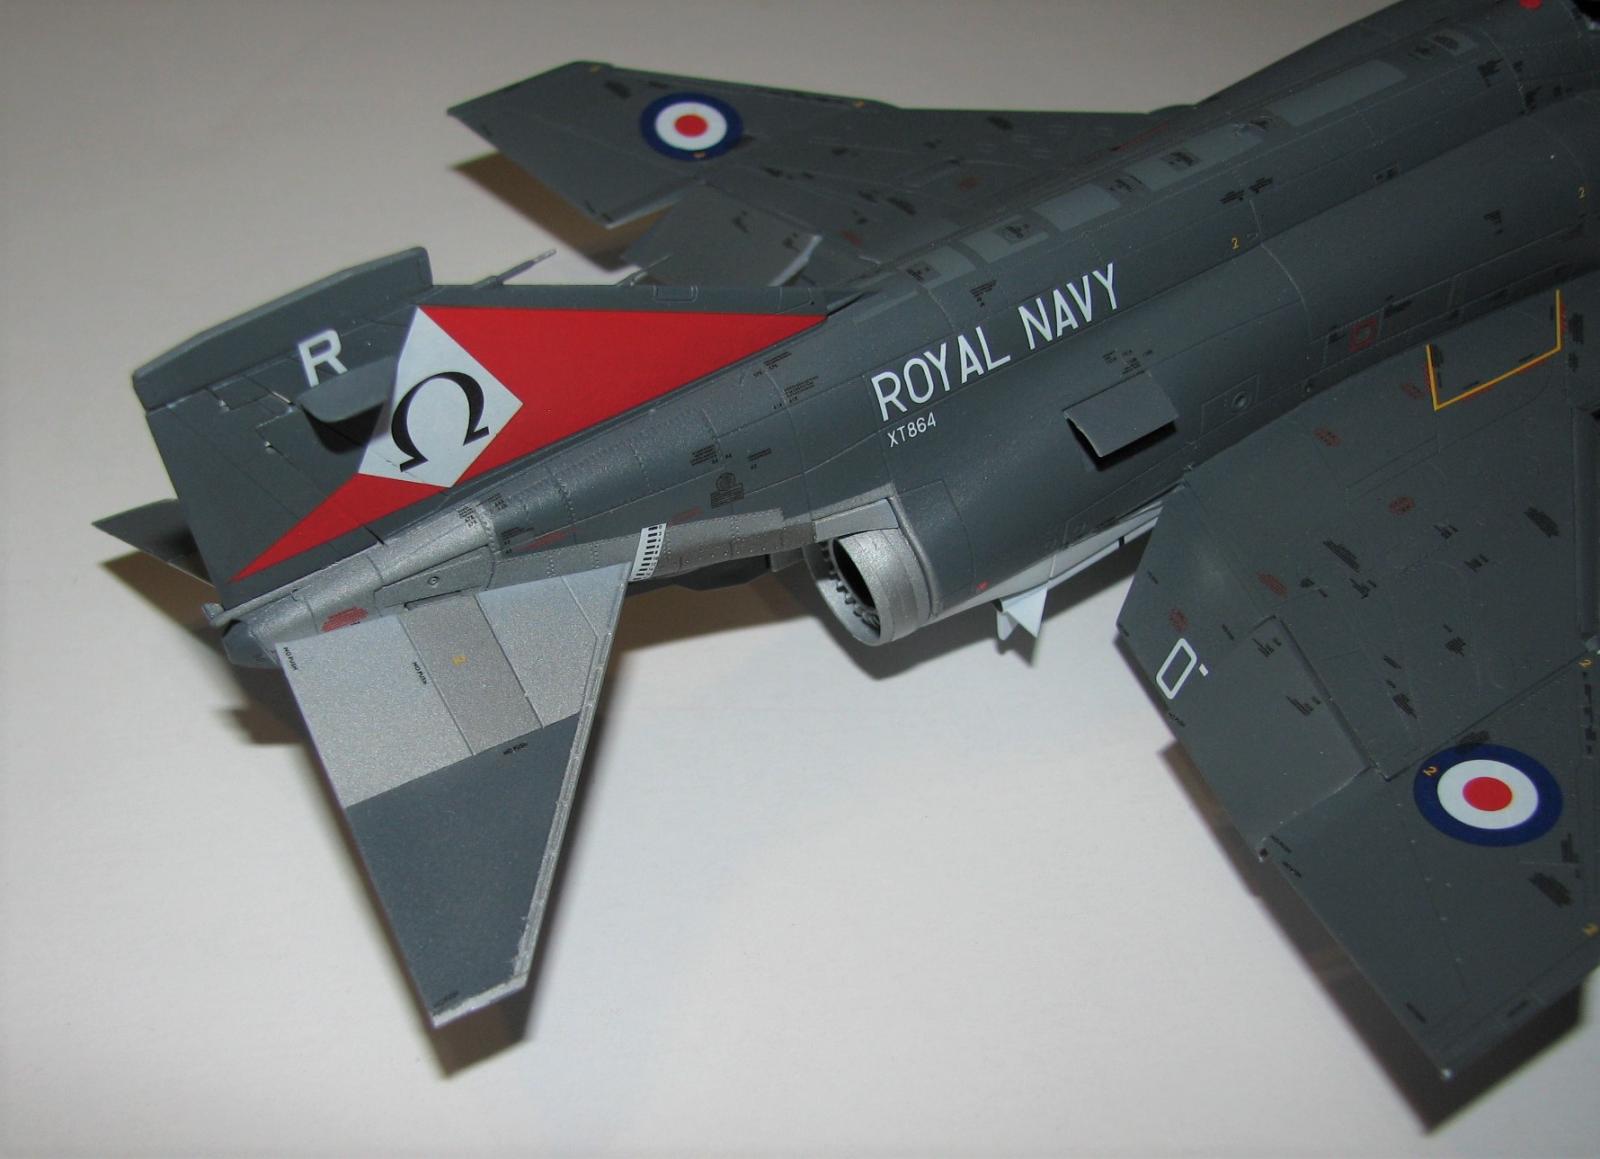
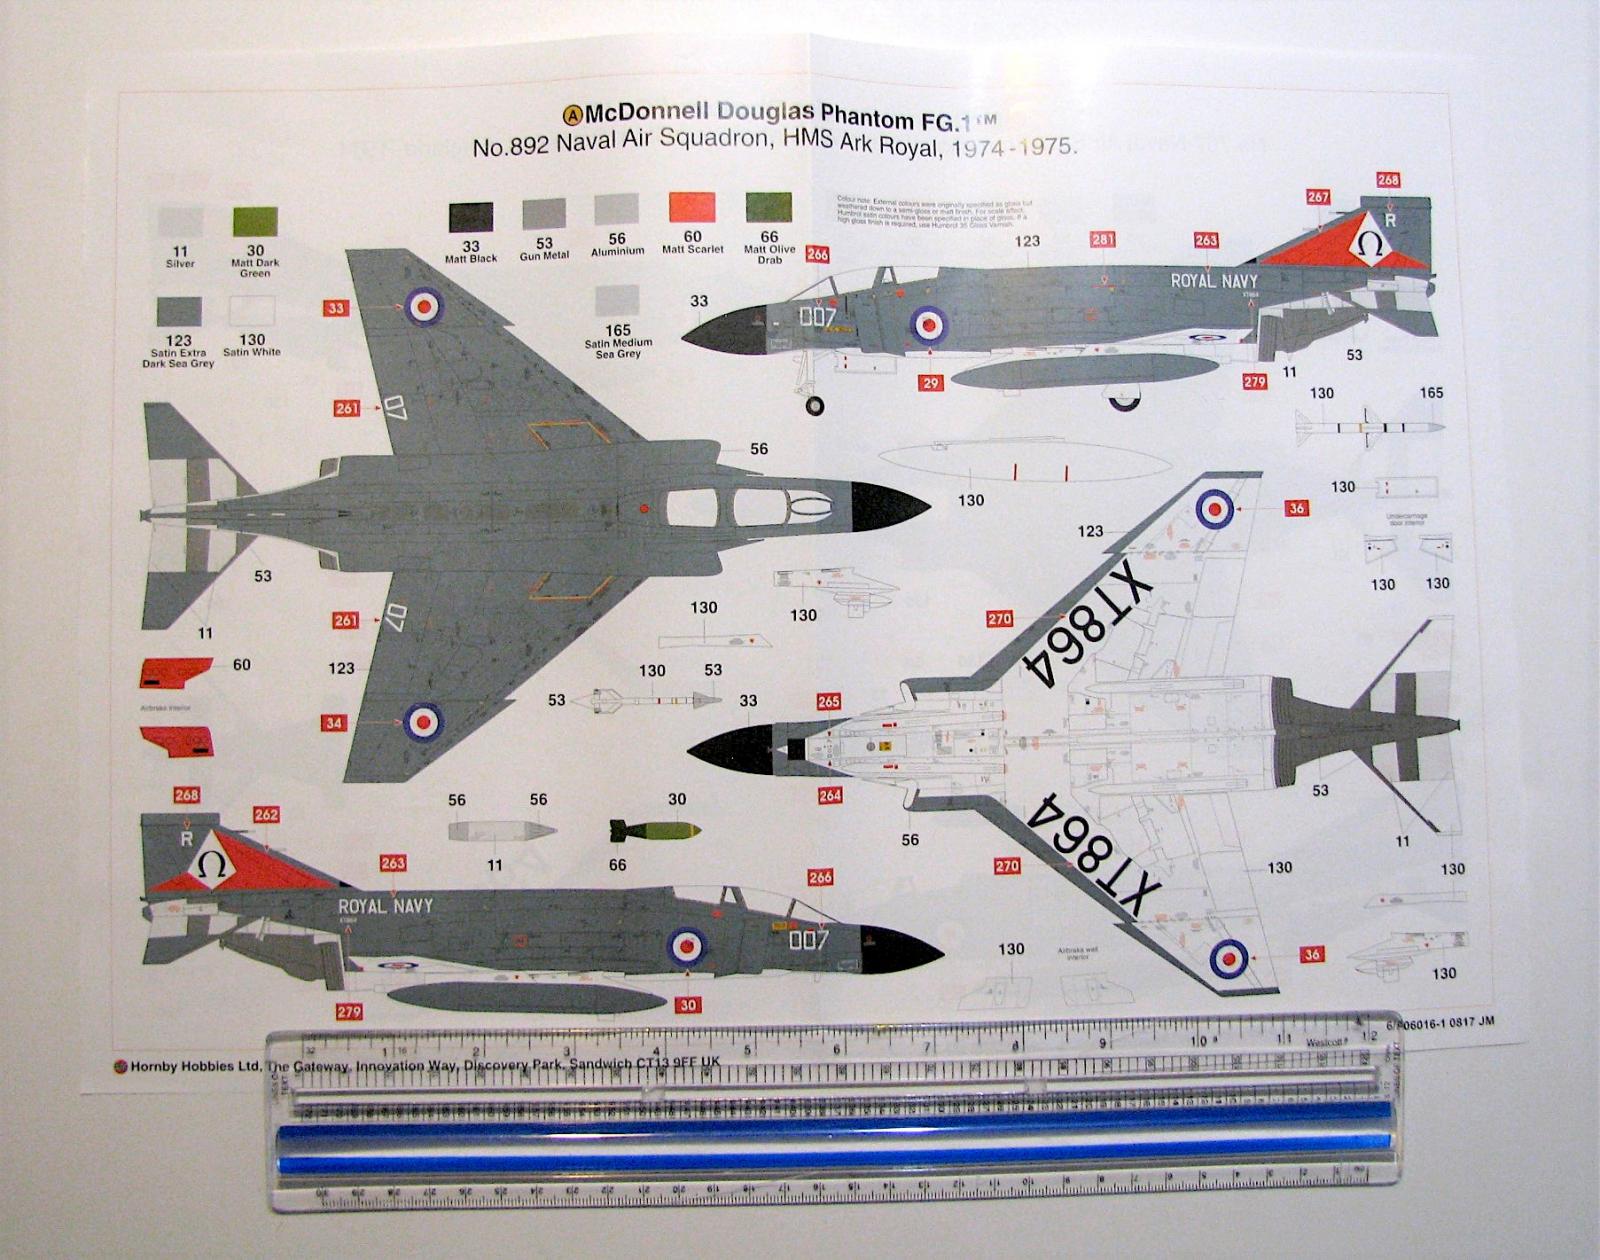
I used Humbrol 123 (Satin Extra Dark Sea Grey) and Tamiya XF-1 (Flat white) and different shades of Alclad for the paint scheme. Marking options for 3 aircraft are providedand they are all in this same paint scheme:
- No.892 NAS, HMS Ark Royal 1974-75.
- No.767 NAS, Royal Naval Air Station Somerset, England, 1971.
- Naval Air Support Unit, Royal Naval Air Station Yeovilton, Somerset, 1969.
If you like decals the F-4/FG.1 Phantom is the aircraft to build as there are MANY to place on the a/c!! The decals went on very easily and set down nice with some help from Micro-Set. BTW…. You also get decals for all the ordnance, which is nice.
Conclusion
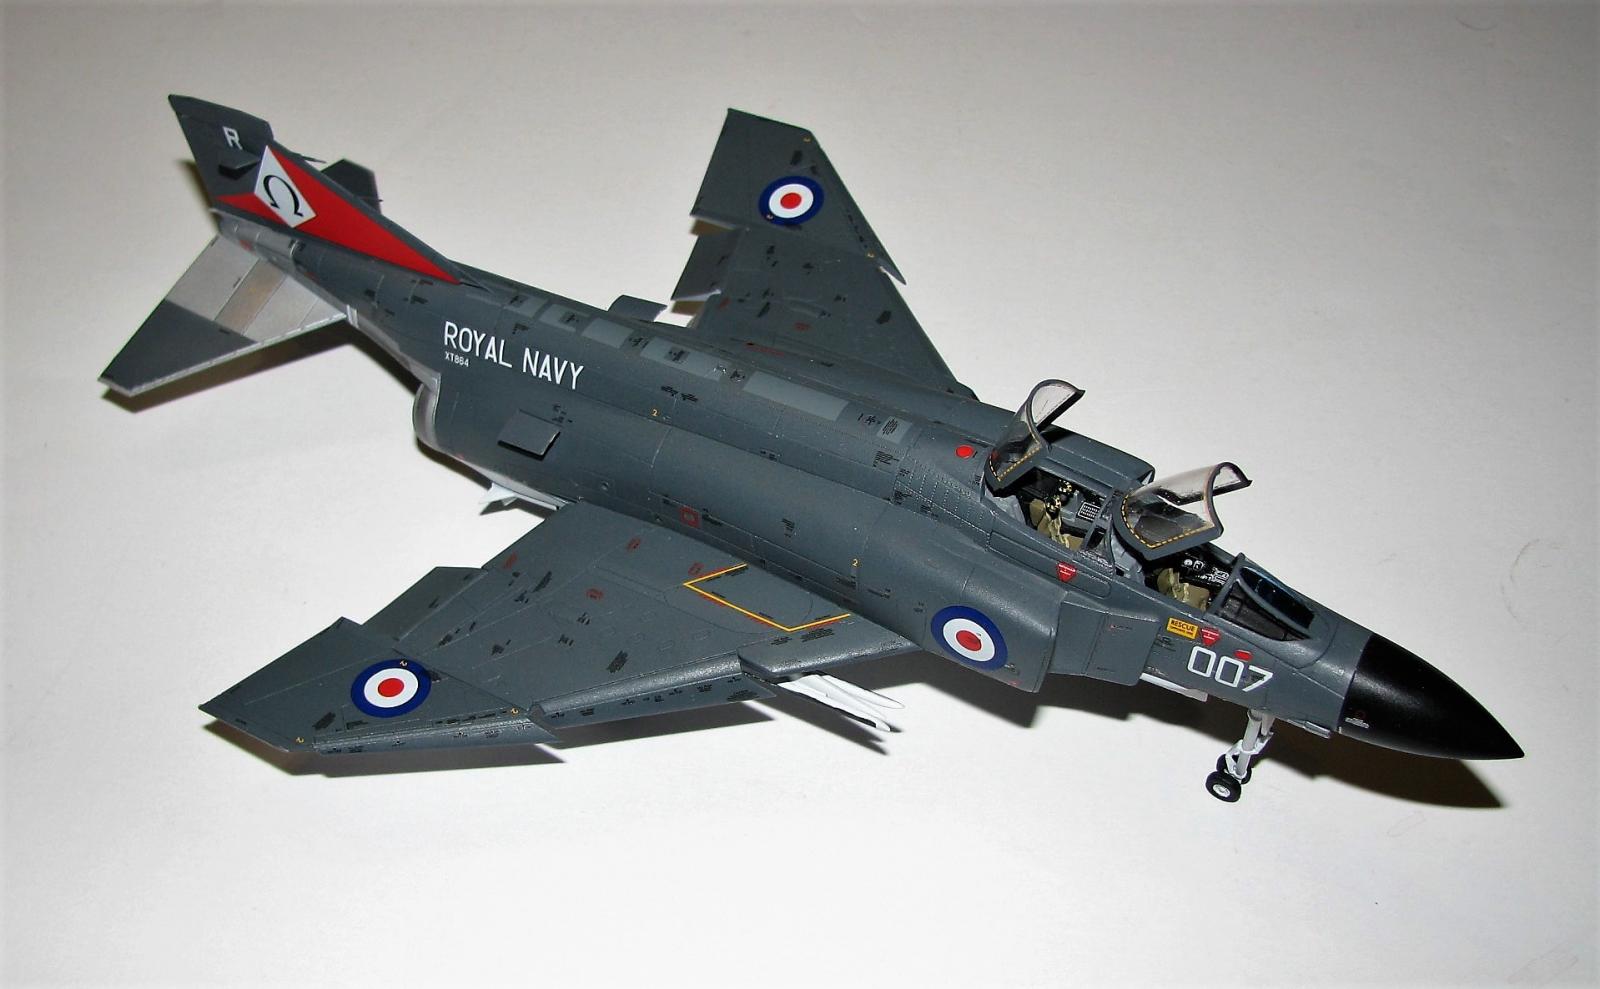
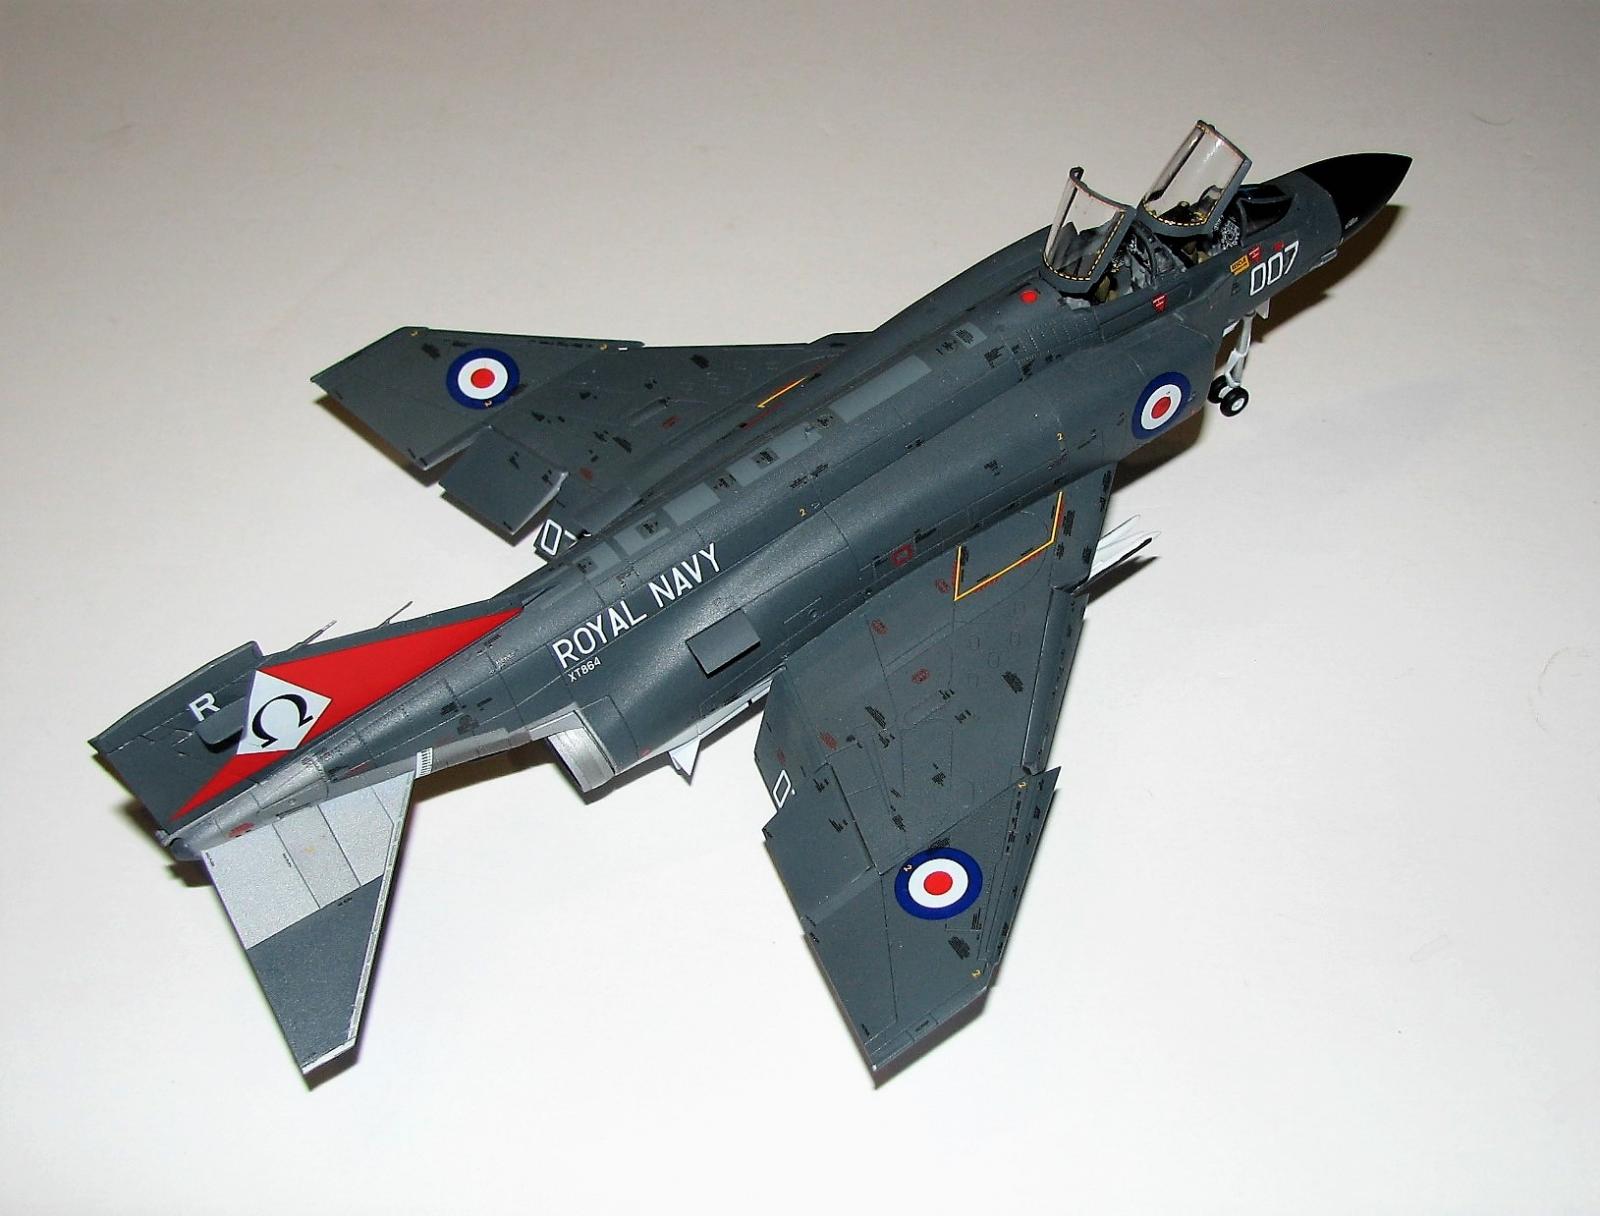
Well…. after all the minor problems during construction it is done!! It can be built and it looks like an Fg.1 but with all the fit issues I recommend experienced builders tackle this one.
I would like to thank Hornby USA for providing this kit, the review corps for letting me build it and all of you for reading this…. MODEL ON!


Comments
Add new comment
This site is protected by reCAPTCHA and the Google Privacy Policy and Terms of Service apply.
Similar Reviews