
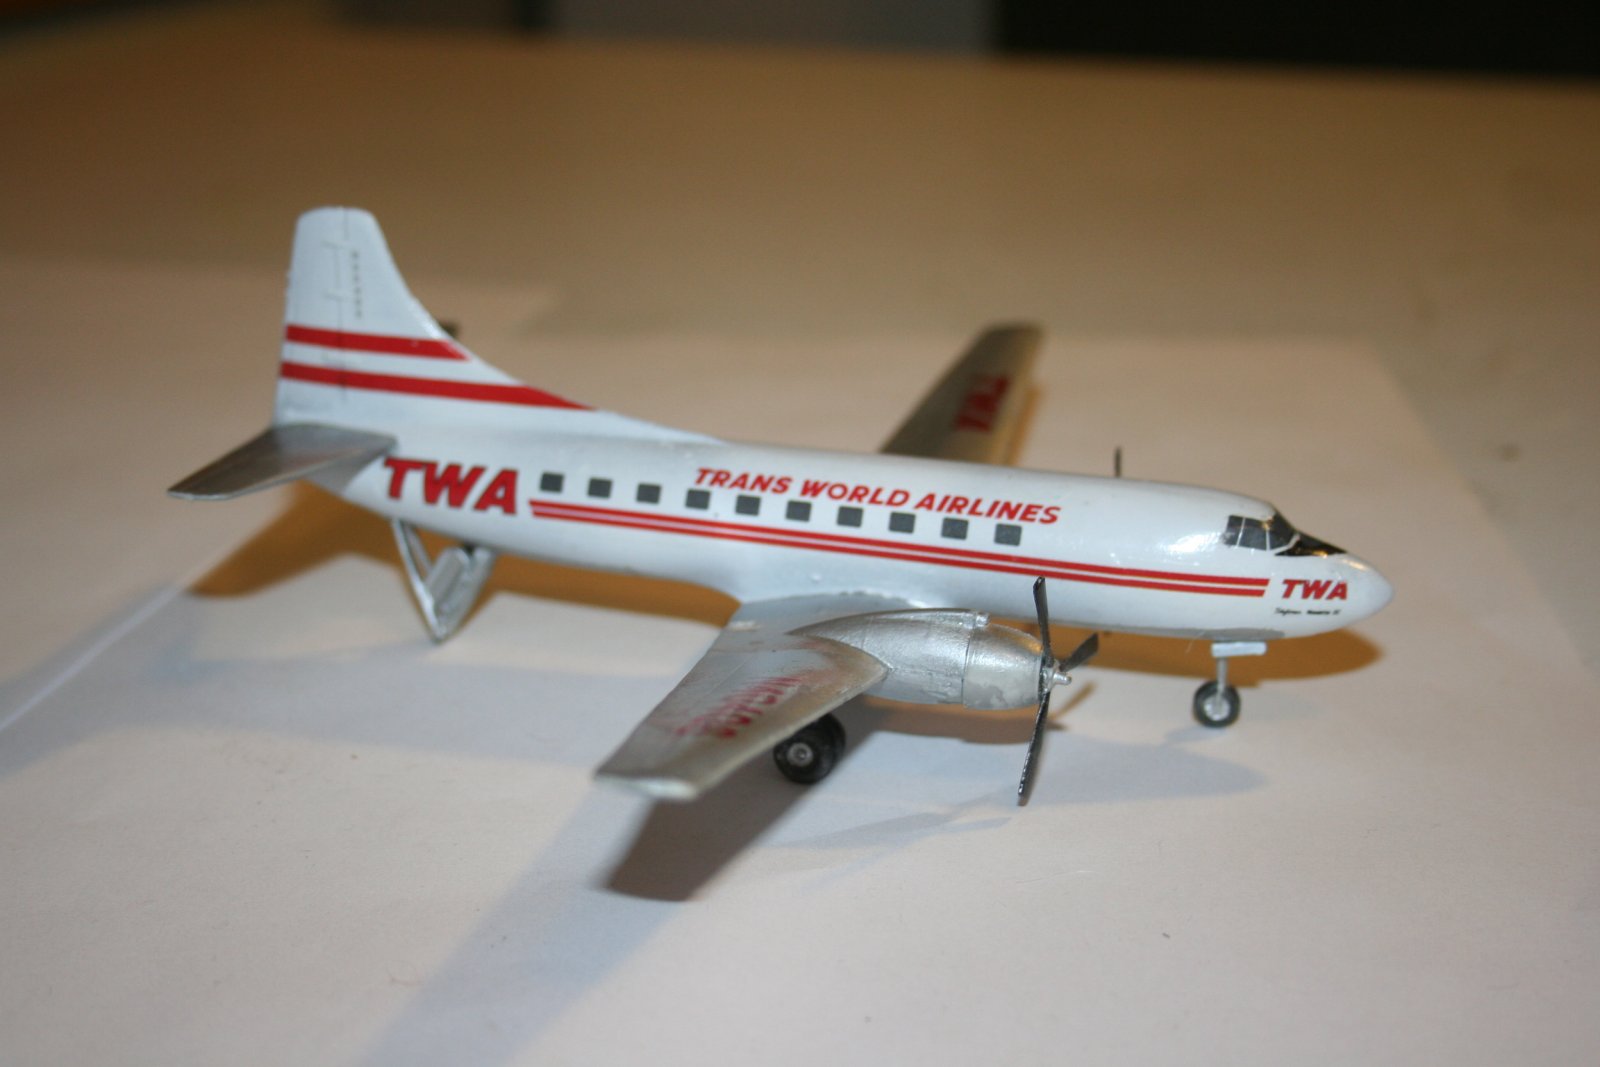
Martin 404 TWA
The Kit
This was my first F-Rsin kit. Probably won’t be my last, though. Their catalog is just full of airliners that don’t make the cut for the major manufacturers. This isn’t F-Rsin’s first Martin 202/404 either. They have a resin version of this aircraft too, but it costs about twice as much. I hope they produce their NORD 262 in plastic. Or I may just buy the resin kit anyway. I may be the only IPMS USA member ever to get a ride in a NORD 262. Yeah, that’s a war story.
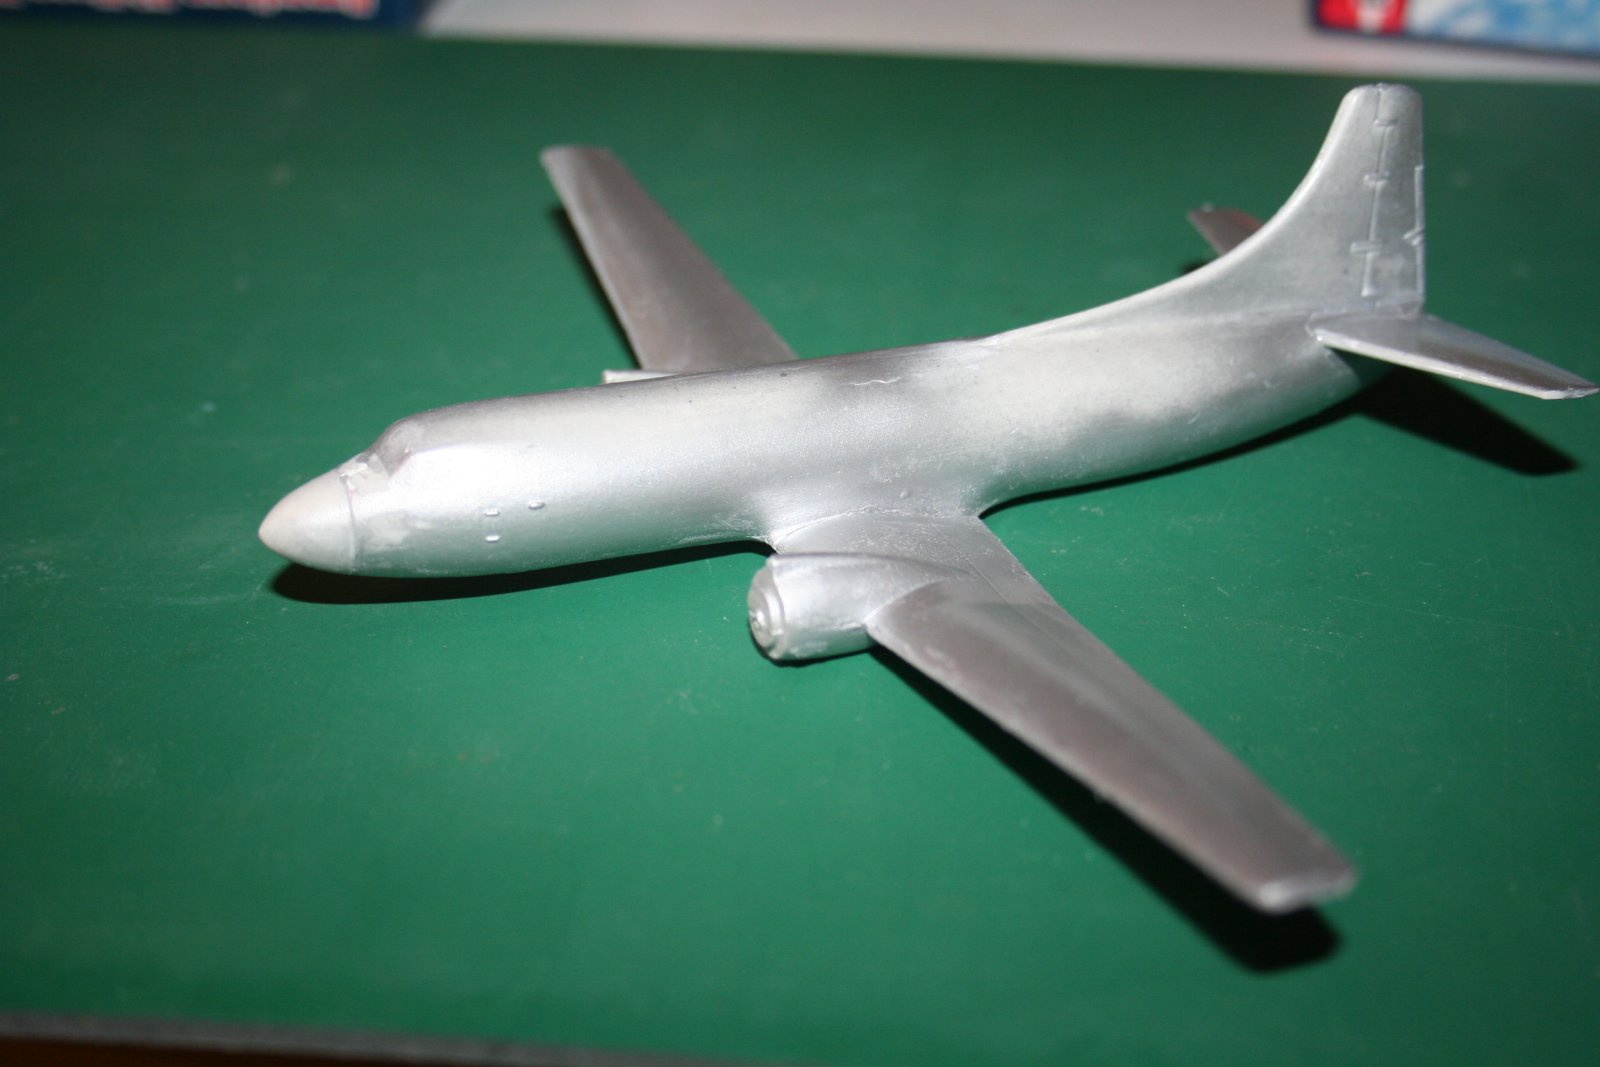
The kit is very simple. Two fuselage halves, wings are 4 pieces: left/right, upper/lower, with separate nacelles. Cockpit and passenger windows are done with decals.
The model is a limited-run kit, so the molding is not as crisp as a major manufacturer kit, and there is minimal molded-in detail, like panel lines. The other thing that removes this kit from the “newbie” modeler’s realm is that many parts have extensive flash. I’ve got a picture of a wing with a truly grand flash. On the other hand, there are engineering reasons for making these plastic plugs on the inside of the parts, so the mold fills cleanly.
Fit is pretty good. I had to use a little putty on the wing/fuselage joint and the horizontal stabilizers needed a little sanding to get them to fit cleanly to the tail. Some scraping was needed to get the props into the engine nacelles, and since the main wheels come in halves, there was some work there to get them to match up. Generally the project was very reminiscent of the models I built back in the 60s and 70s.
I put some birdshot and white glue in the nose to keep the plane from being a tail-sitter.
Painting
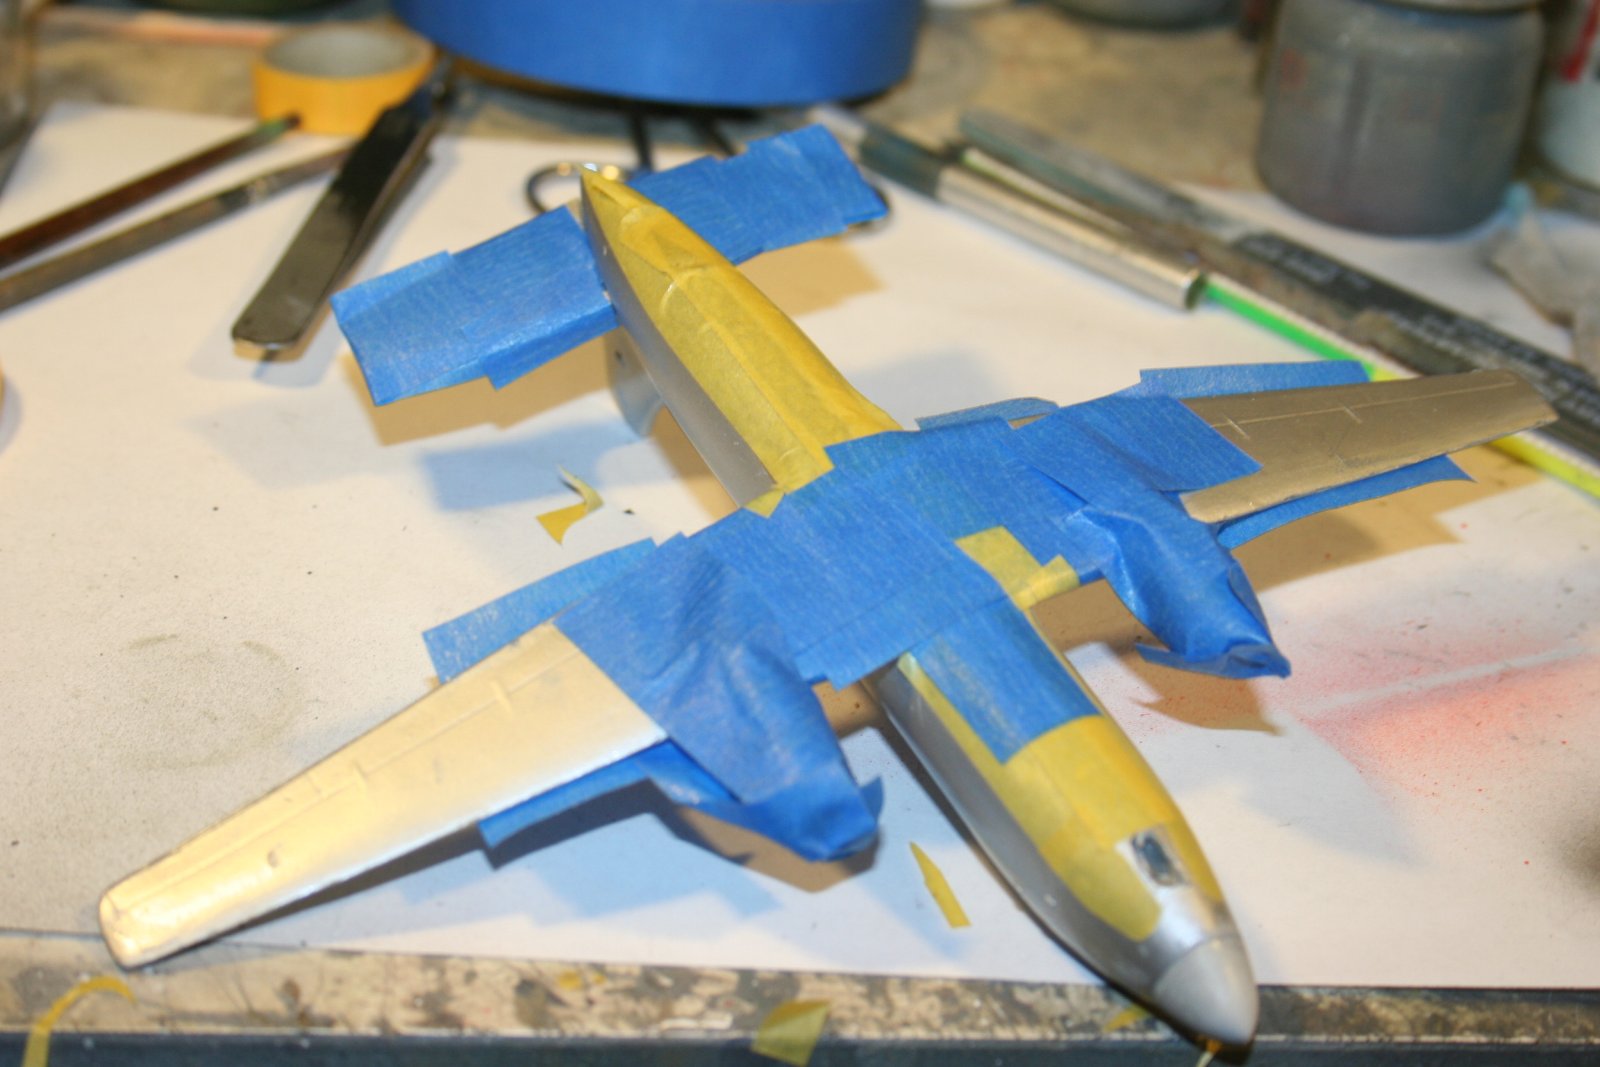
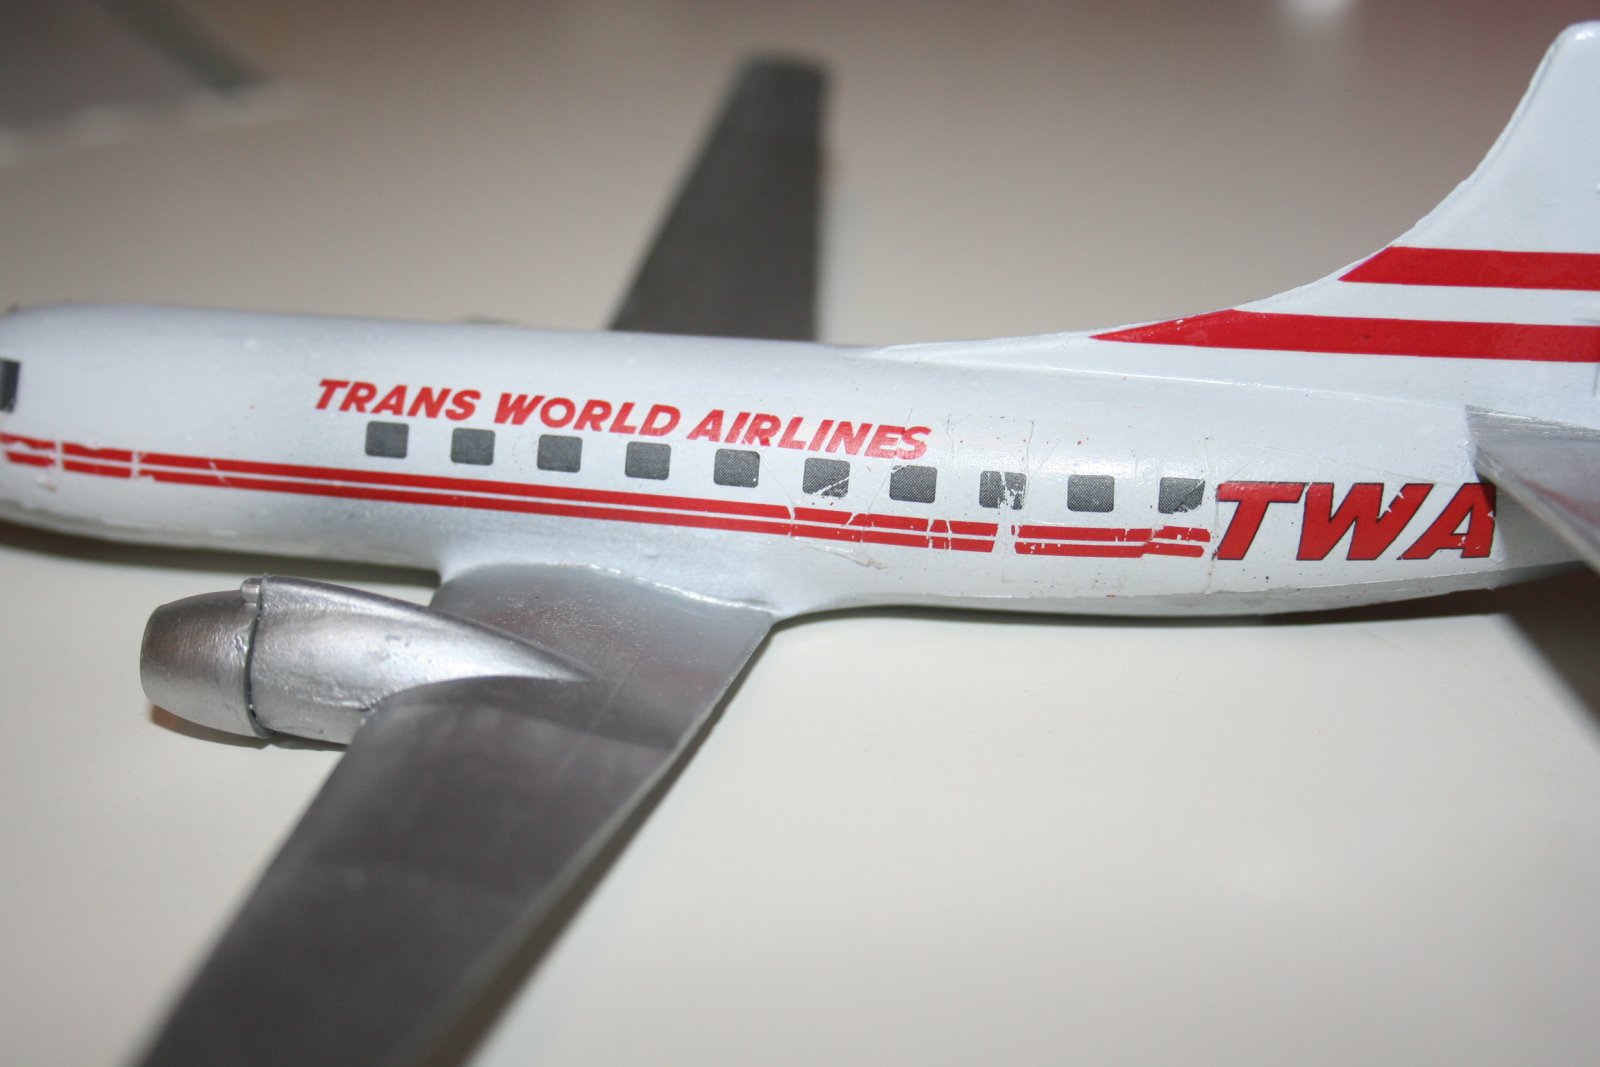
Once I had the major assemblies in place, I painted the wings, horizontal stabs and fuselage bottom with Testors Aluminum Metalizer (Non-Buffing). I then put a coat of Future on, because the aluminum tends to come off on my fingers when I handle the plane. Then I masked and painted the white on the fuselage top and tail. Another coat of Future, and it was time for markings
Decals
IF YOU BUY THIS KIT, READ THIS FIRST…
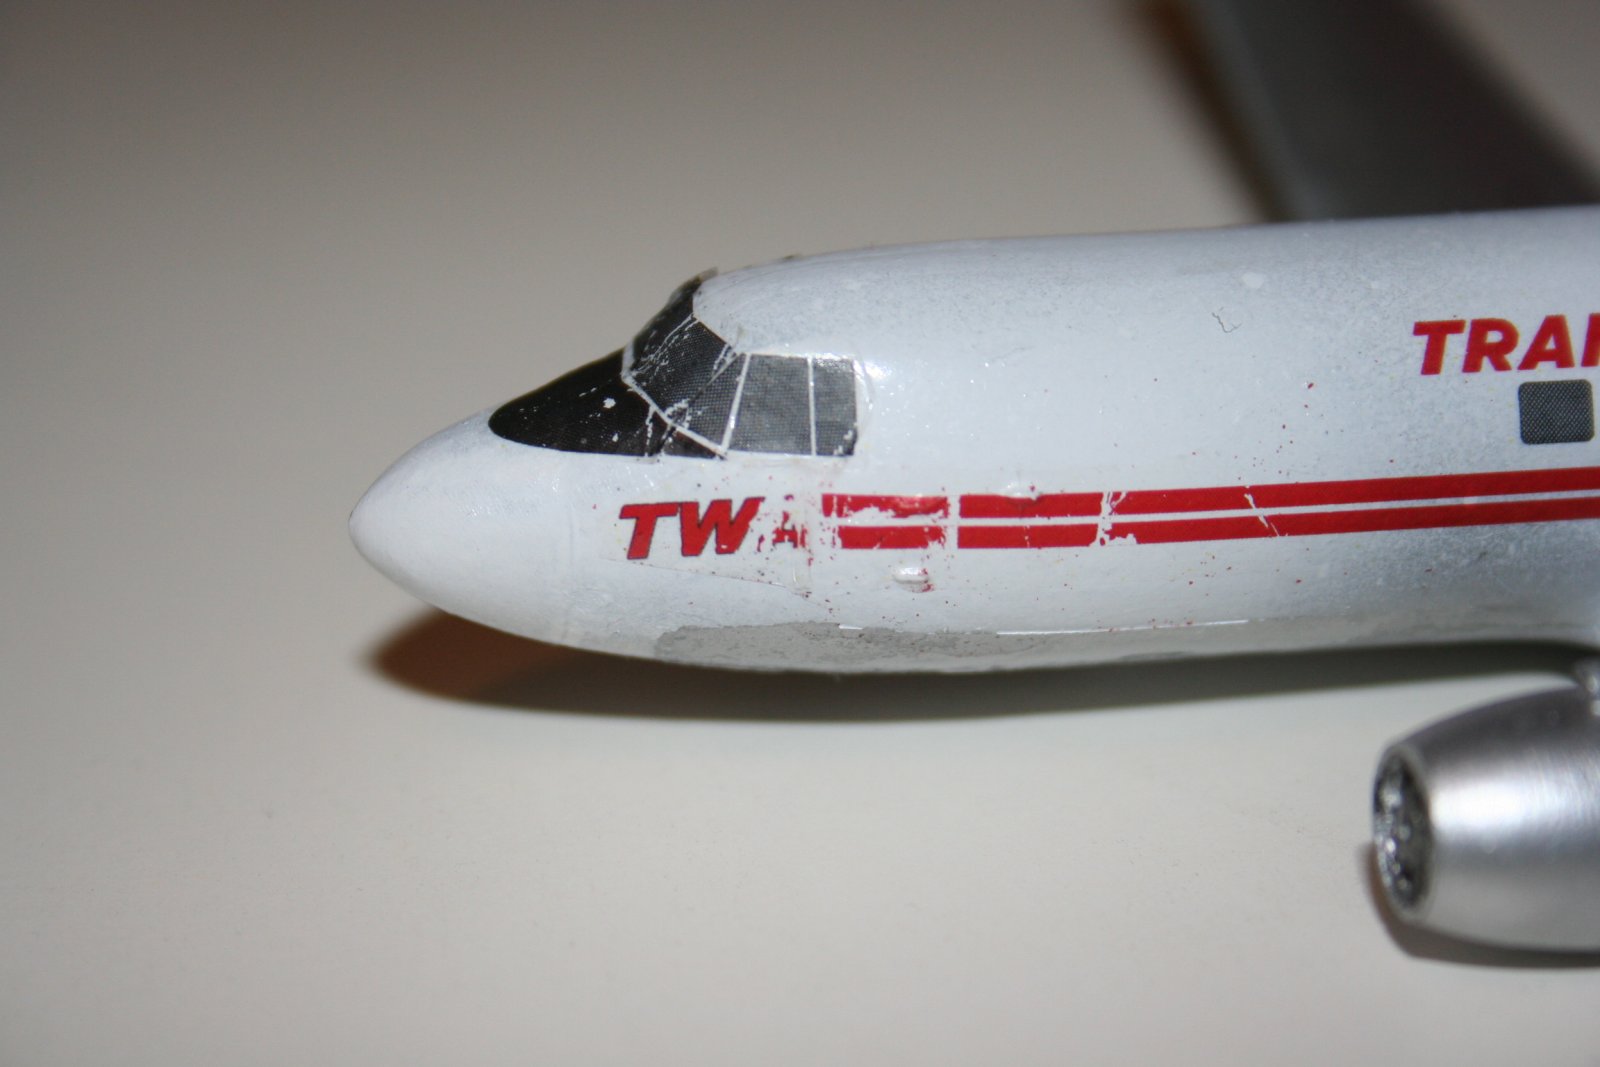
I screwed up the decal on the left side of the fuselage. It’s laser printed, and it’s fragile. I just dipped it in water and put it on the fuselage. And it shattered. The fix is to put a coat of clear acrylic ( I use Krylon, #303 Crystal Clear) on the decal sheet before you dip it in the water.
The rest of the decals went on nicely, trouble free. Please learn from my mistakes. Also, I shouldn’t have started with such a large and complicated decal. Fortunately I had scanned the sheet, and was able to print repair decals.
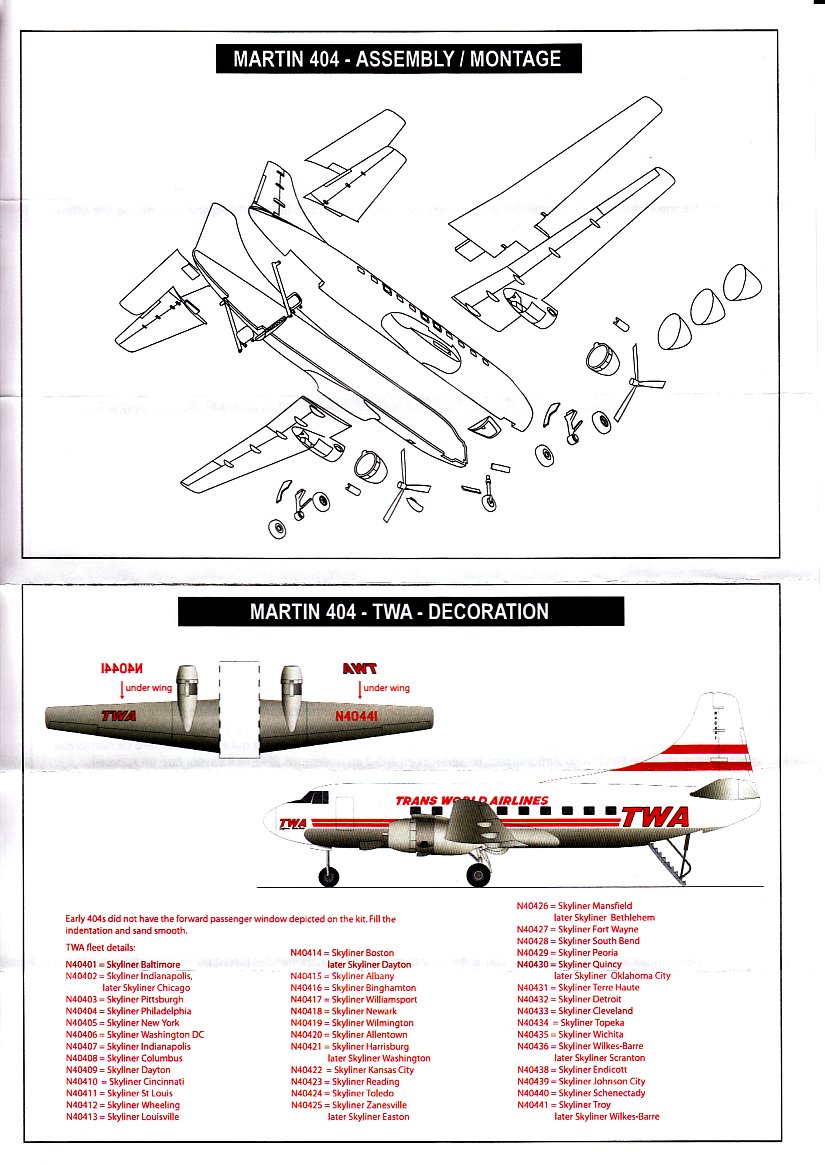
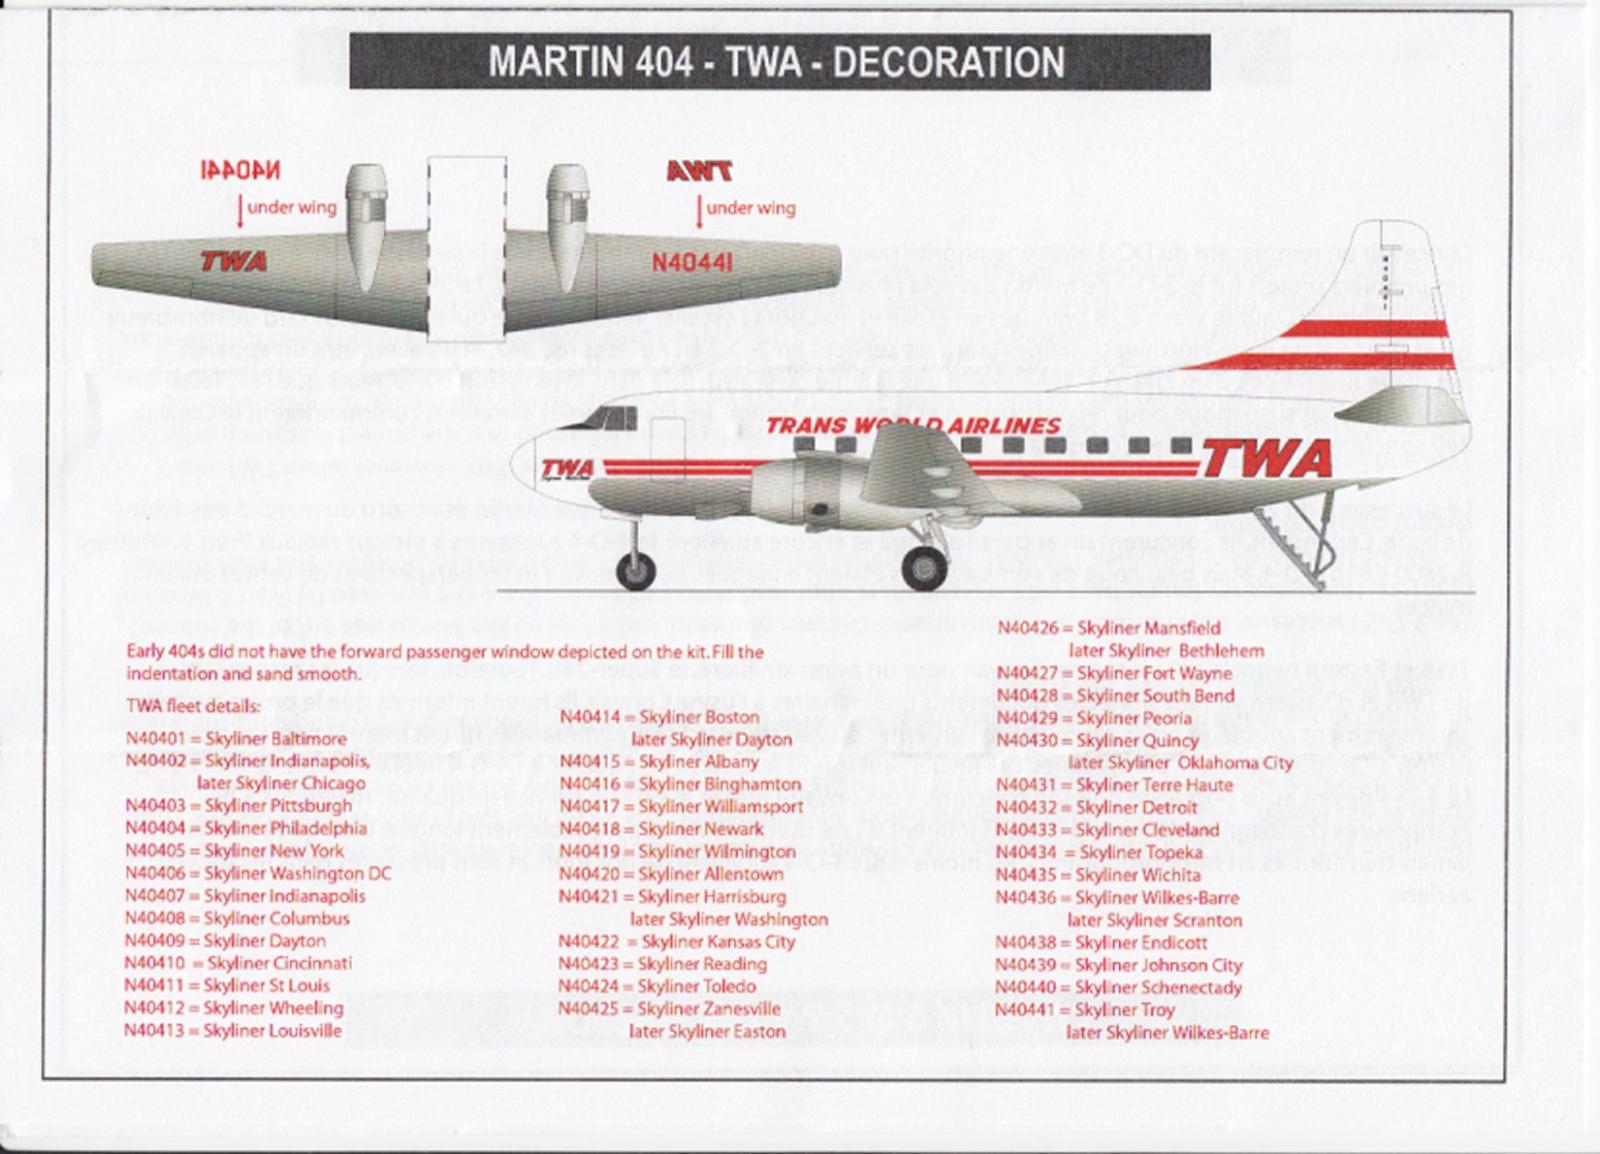
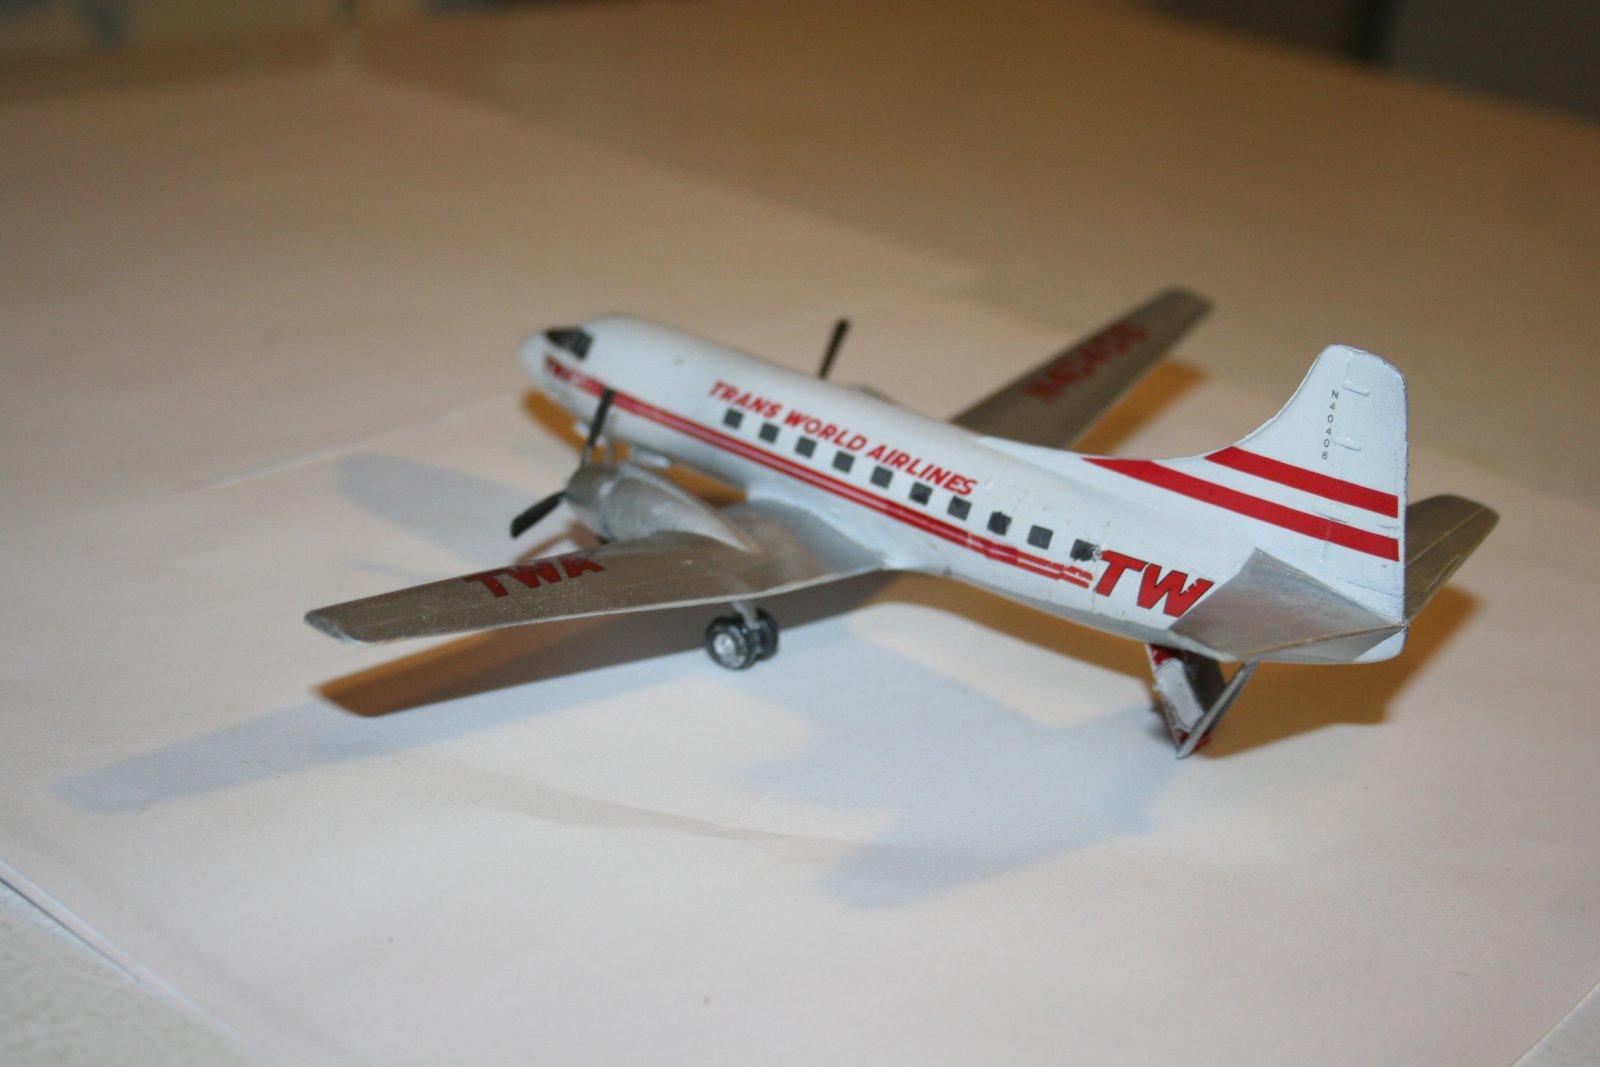
The other neat part of the decal is that you are given a choice of 25 different TWA 404s. The decals for the N numbers start with N404, and you add the last 2 numbers, N40401 through 25. And there are 29 different names, as 4 of the planes had different names early and late.
Finishing Touches
I always do the decals before installing the landing gear, props, etc. because I have a history of knocking these parts off while fooling with the decals.
I painted the wheels and props black and silver in the respective areas.
The shafts on the props were a little too big for the holes in the engines, but a quick twist with a #11 blade took care of that. I had no issues with the main gear or nose gear except for removing a little flash from the front and rear of the gear legs. The nose gear wheel is molded into the gear leg, so there was no problem with it. The main gear doesn’t have a very deep hole for the attachment point, but it’s large, and a drop of Tamiya extra thin on the wheel and a bit of Testors liquid thickened with tube glue on the leg made a super bond which didn’t move or let go.
The gear doors were a bit on the thick side, but were easy to get in place.
The final assembly was the “air stairs” at the back of the plane. The parts have pins to go inside the fuselage, but there are no locating holes. I had a really tough time getting the stairs in place and then attaching the supports, which are also the handrails. After doing this, when I went to the F-Rsin gallery, I understand why the model shown has the stair closed. Kinda wish I thought of that.
Overall Evaluation
Recommended. This is an historic airliner, which flew with TWA from 1950 to 61. The decal problem is easy to fix, and the general fit of the kit is OK. If you’re an airliner buff, or a TWA fan, this kit is for you. Additionally, for us Midwesterners, I found that Ozark used 404s from 1964 to 1966.
Many thanks to F-Rsin for the review kit, and to Dave and IPMS USA for the chance to build it.


Comments
Add new comment
This site is protected by reCAPTCHA and the Google Privacy Policy and Terms of Service apply.
Similar Reviews