
M1A1 Gun "Long Tom"
Introduction
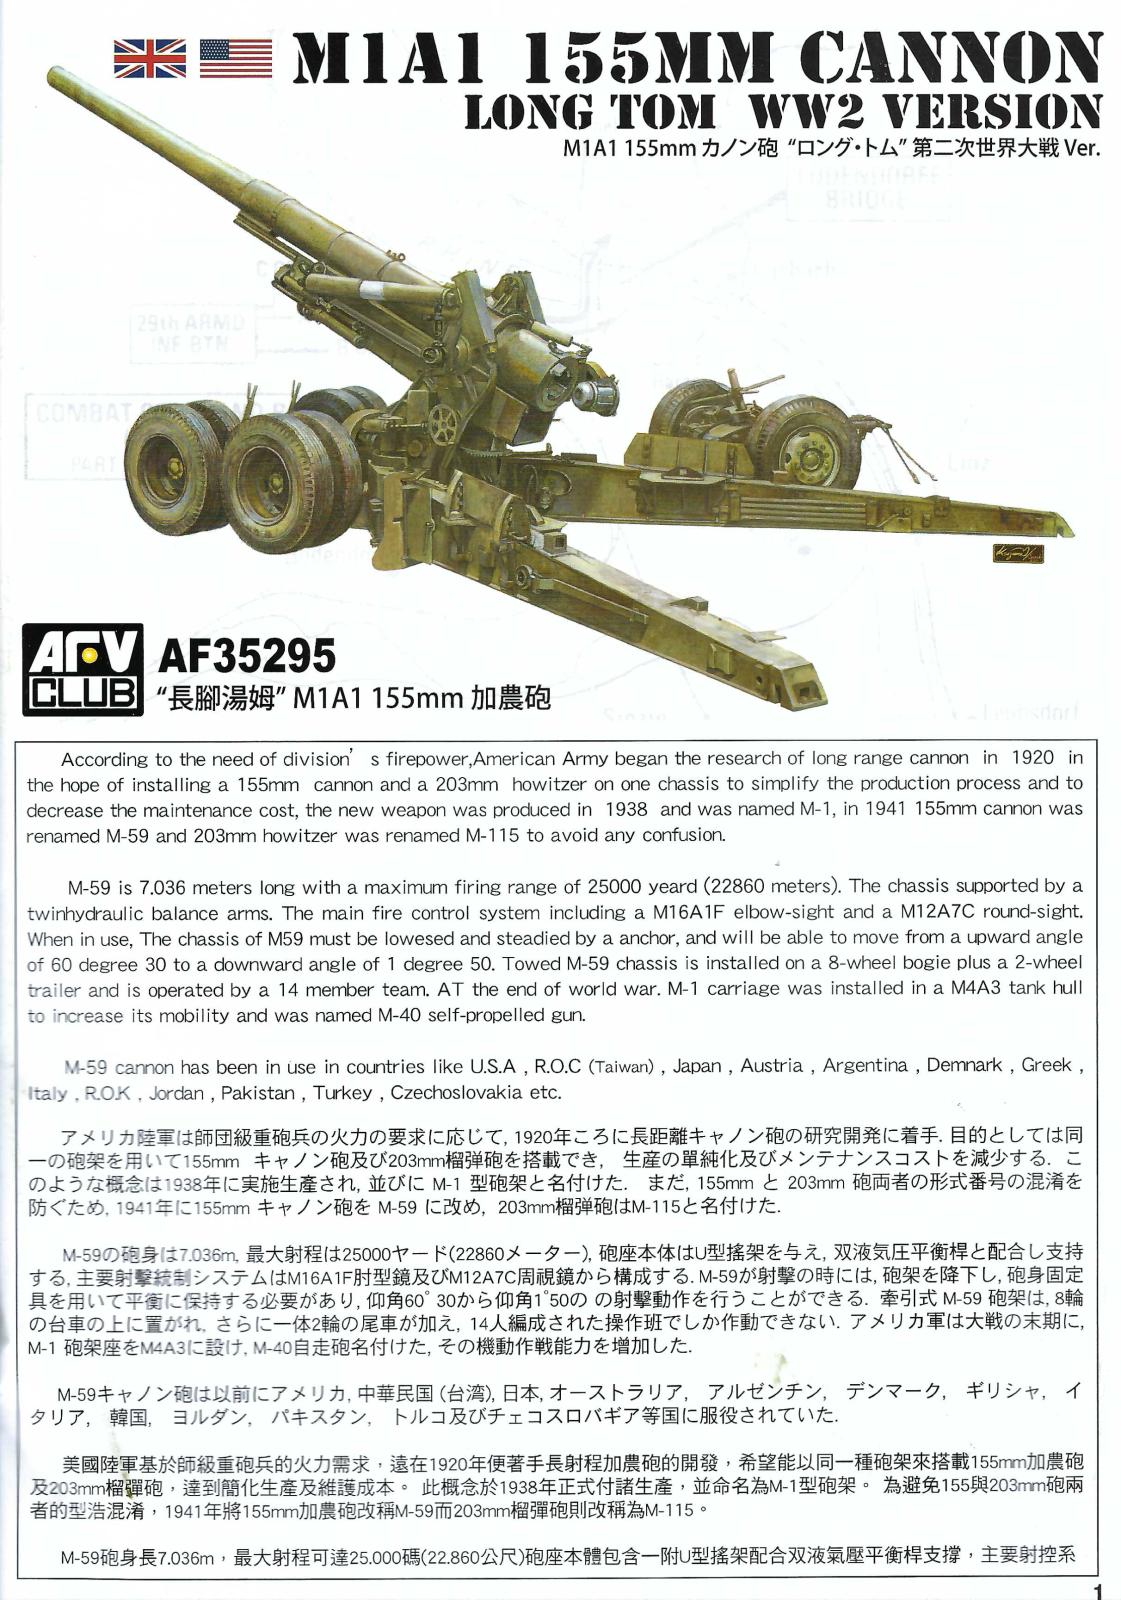
The M59 is a heavy towed howitzer from the World War II era with its origins in the United States. Initially developed after World War I as the 155mm Gun M1 due to the limited heavy gun capabilities identified in the U.S., it underwent redesignation as the M59 after World War II. However, it continues to be commonly referred to by its popular nickname, "Long Tom." Functioning as a gun, the M59 was specifically designed for a long-range and flat trajectory, distinguishing it from traditional howitzers that typically have shorter ranges and much higher trajectories.
AFV Club is a well-known plastic model company based in Taiwan that specializes in producing high-quality scale model kits, particularly focusing on armored fighting vehicles (AFVs) and military-related subjects. The company has gained a reputation for its attention to detail, accuracy, and innovative model kits that cater to the needs of both casual model builders and serious hobbyists.
AFV Club's latest addition to their product line kit #35295 is the M1A1 155mm Cannon Long Tom WW2 Version, which includes the M2 limber.
Box and Contents
The dimensions of the box are 9.75 inches in width, 15 inches in length, and 2 inches in height. On the box's lid, you'll find a vibrant depiction of a Long Tom cannon, while the sides of the box showcase supplementary illustrations and include an image of the decal sheet.
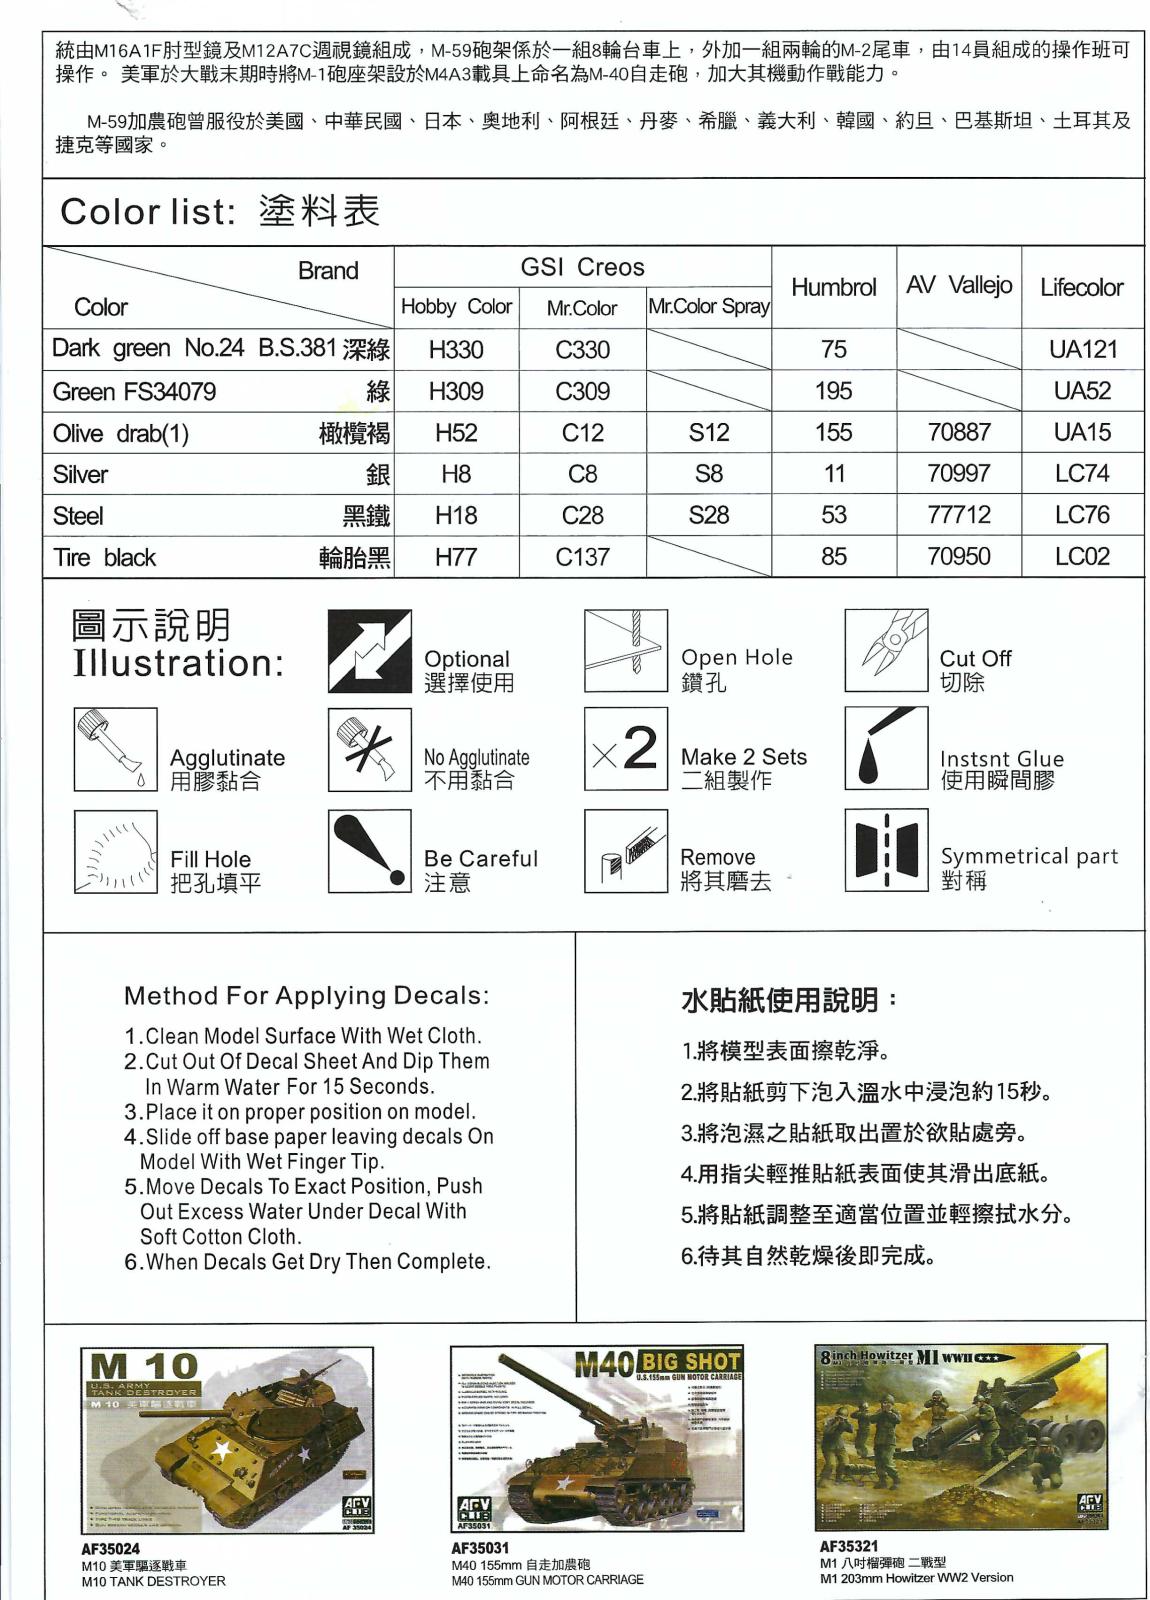
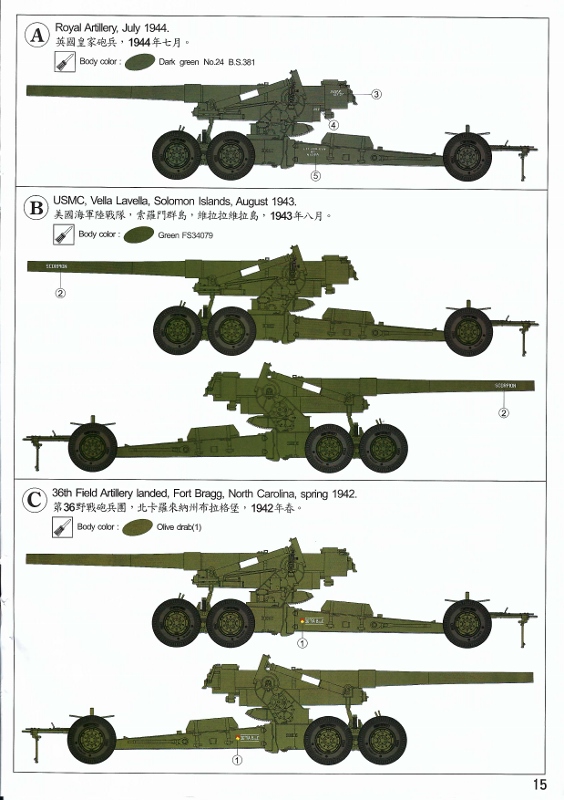
There is a sixteen-page instructional booklet printed in portrait orientation on glossy paper with black and white print. Page two contains a color reference list for GSI Creos, Humbrol, Vallejo, and Lifecolor paints. The subsequent twelve pages provide a detailed description of steps one through twenty-one. On page 15, you'll find the painting and markings guide for three different versions. The final page features a diagram listing all the parts.
A single-page box art with a painted design, perfect for framing.
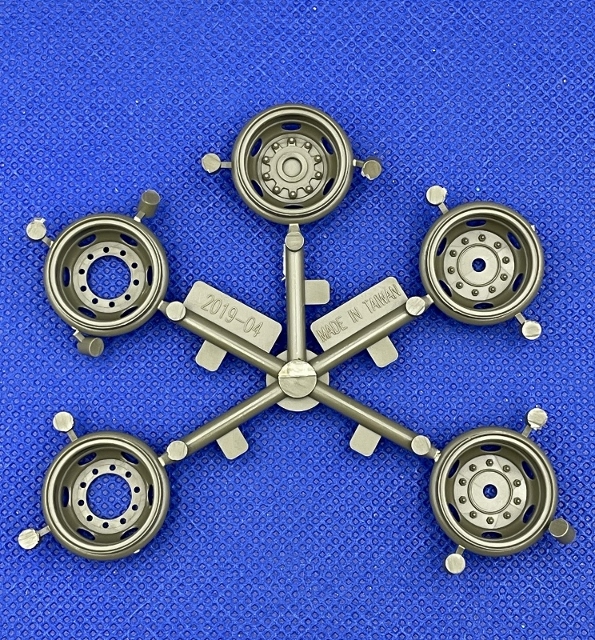
A package comprising one aluminum 155mm barrel with rifling inside, two metal equilibrator tubes made of brass and aluminum, and two small sprues labeled as 'H,' which contain the wheel hubs.
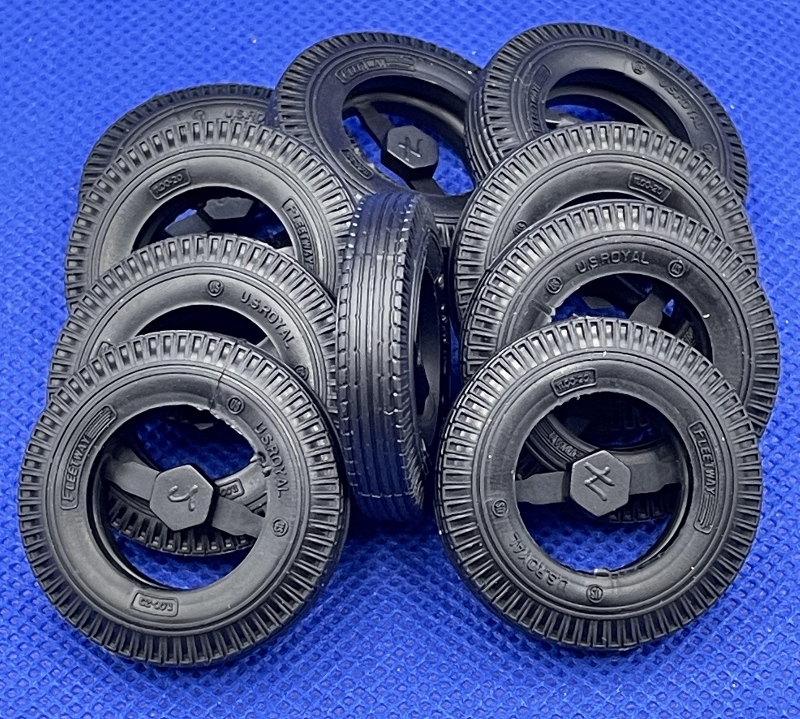
Ten vinyl tires with highway treads.
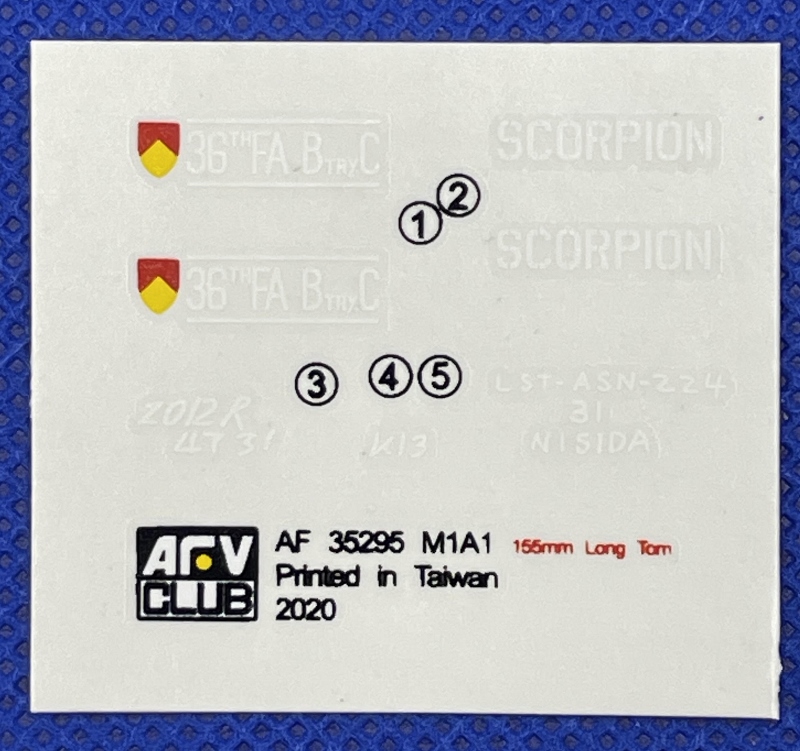
A single small decal sheet containing decals for Royal Artillery, July 1944, USMC, Vella Lavella, Solomon Islands, August 1943, and the 36th Field Artillery landed, Fort Bragg, North Carolina, spring 1942.
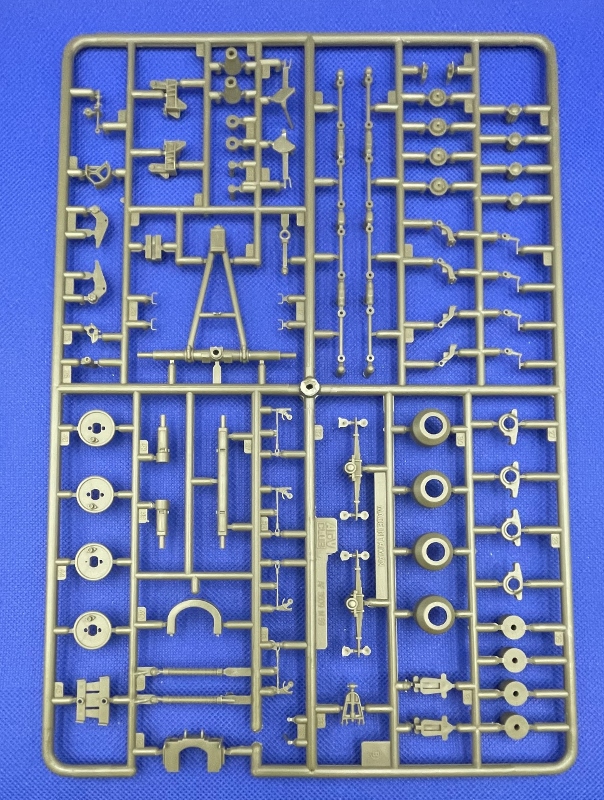
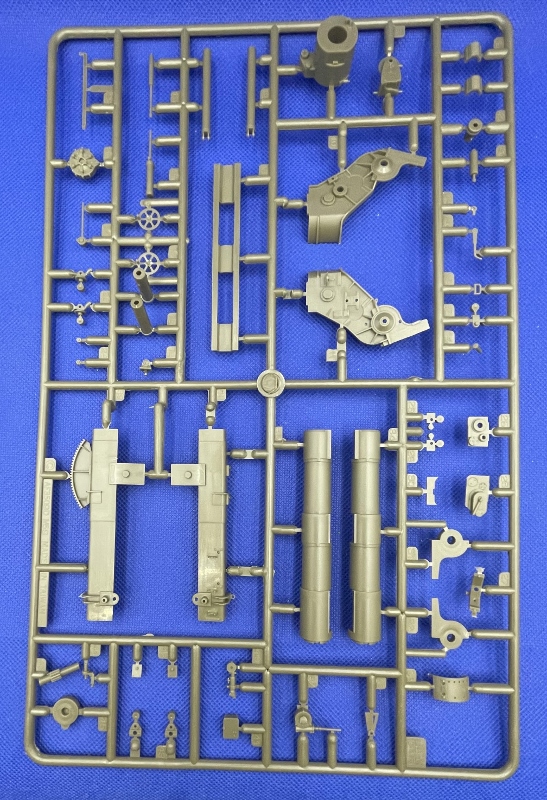
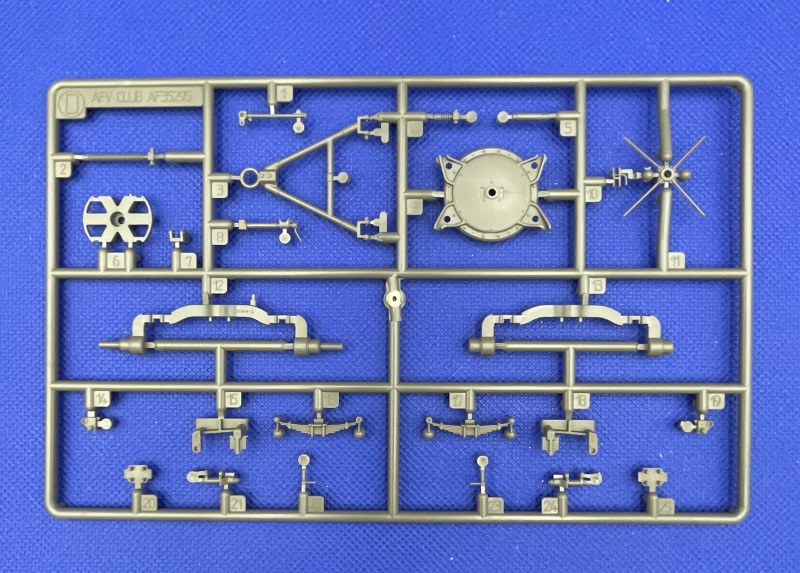
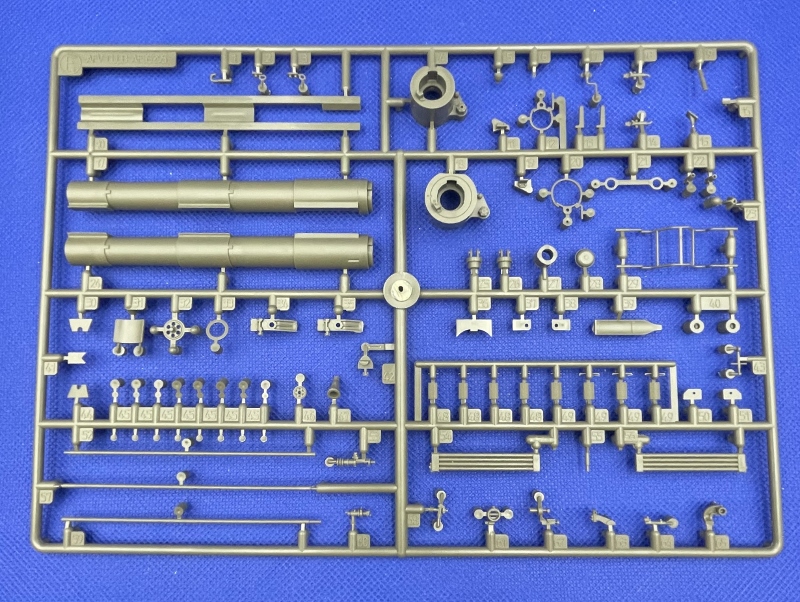
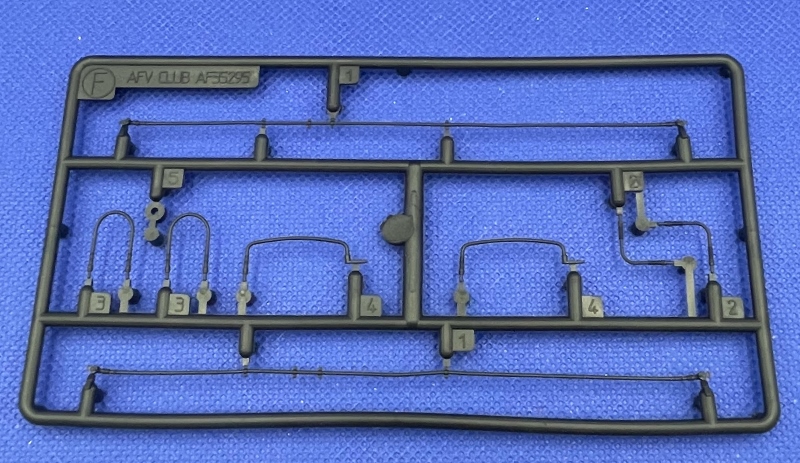
Five green sprues, denoted as A through C from AFV kit 35009, Sprues D and E from AFV 35295, and one black vinyl sprue labeled as F from AFV 35295. Note: AFV Club Kit # 35009 is from 2000.
There is no photo-etch contained in the kit.
Cable marked J was not in the box.
Steps 1-6
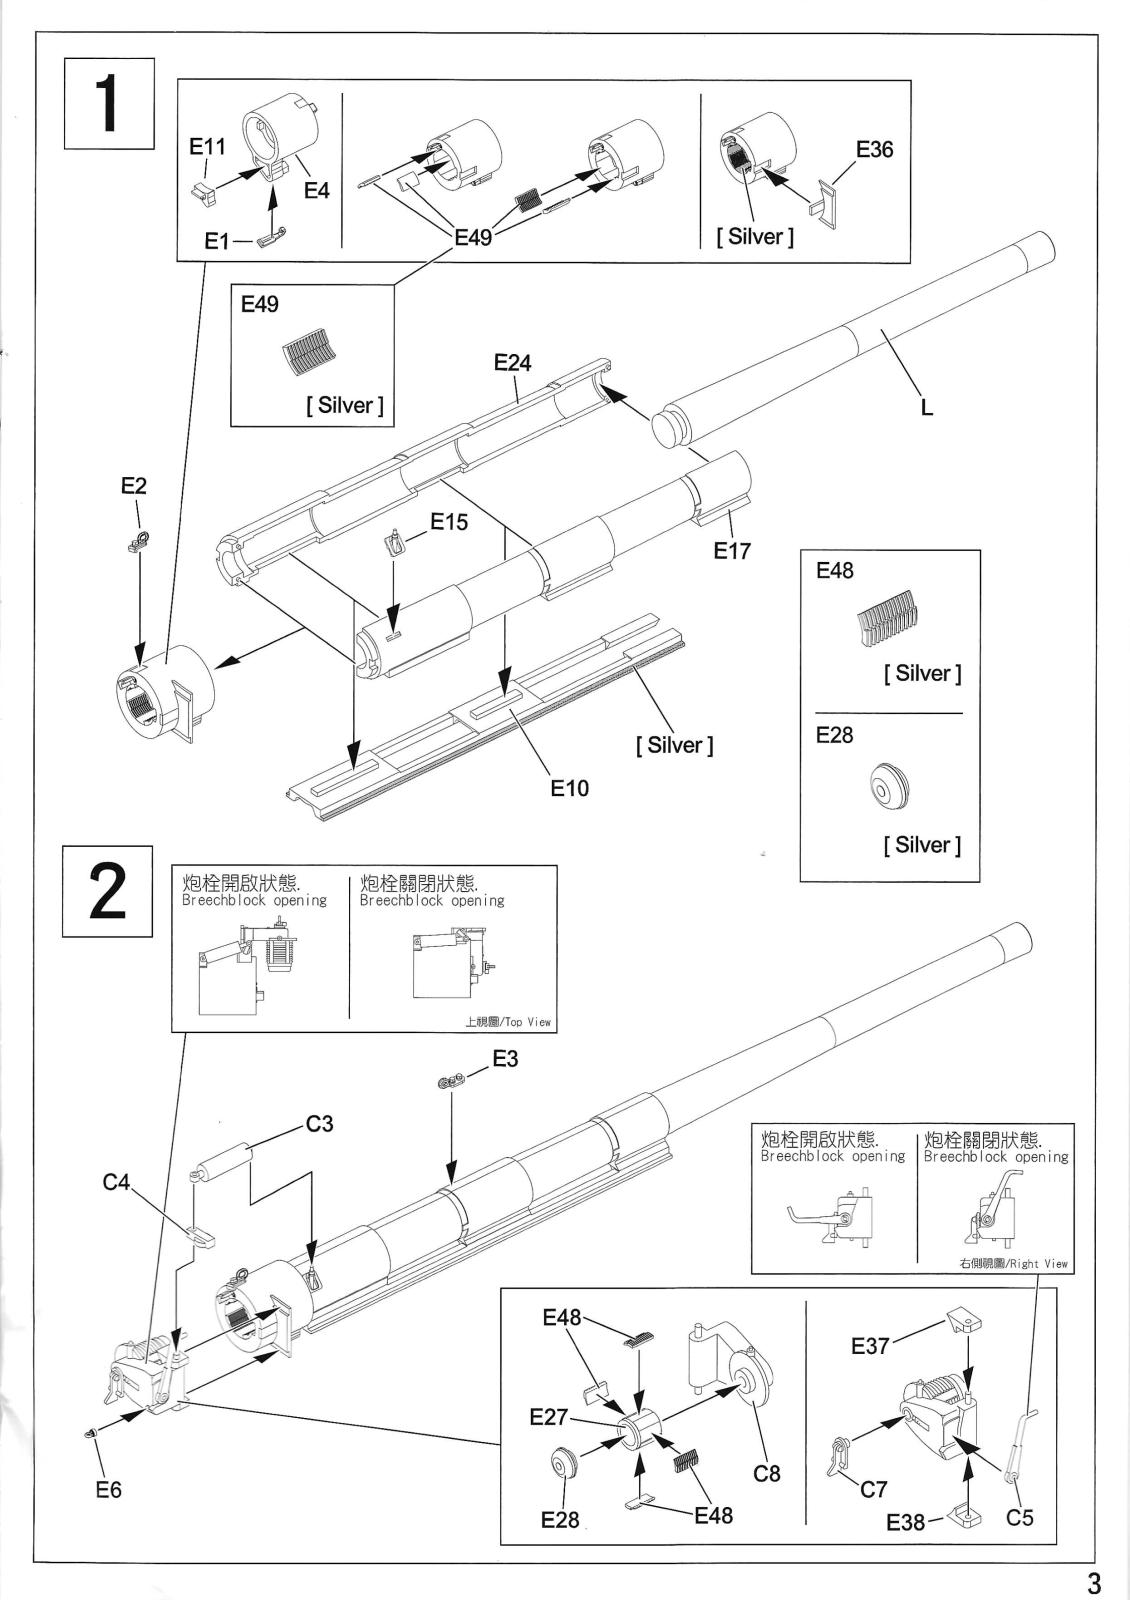
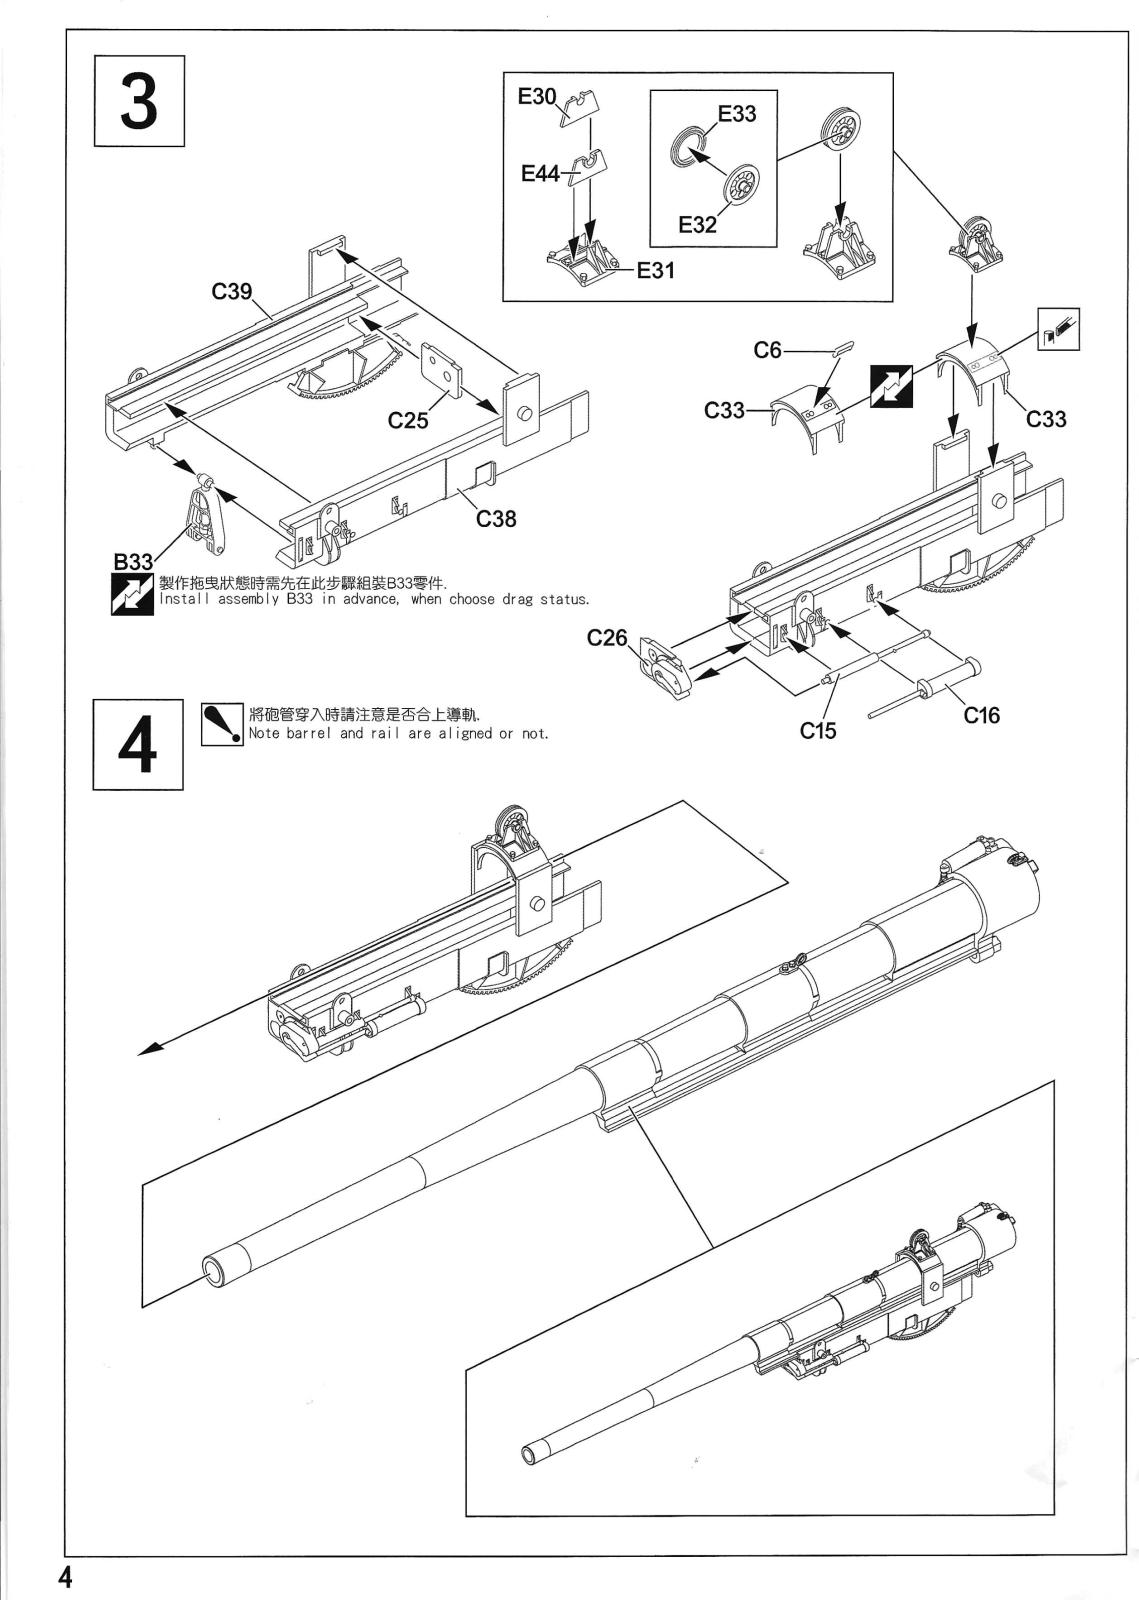
The first six steps involve assembling the 155mm barrel along with the rails. The kit's breech is meticulously molded to enable it to be displayed in either an open or closed position, showcasing exceptional detail. For the build, I opted to have the breech closed. Step five involves positioning the optics. At this point, I also opted to delay gluing them on until the final stages of the assembly due to their small size. Additionally, steps 5 and 6 involve the assembly of the loading tray and the M7 rammer. At this point, the barrel on the rails is capable of movement as well as the gun carriage and trunnions in an elevation attitude. This will be particularly relevant when deciding whether to depict the artillery piece in a firing or towing configuration. At this point in the build, there were no challenges encountered. The assembly proceeded smoothly with excellent fitting, and each component exhibited intricate detailing.
An advantage offered by AFV Club is the inclusion of a loading tray, which could prove beneficial for creating a diorama featuring figures.
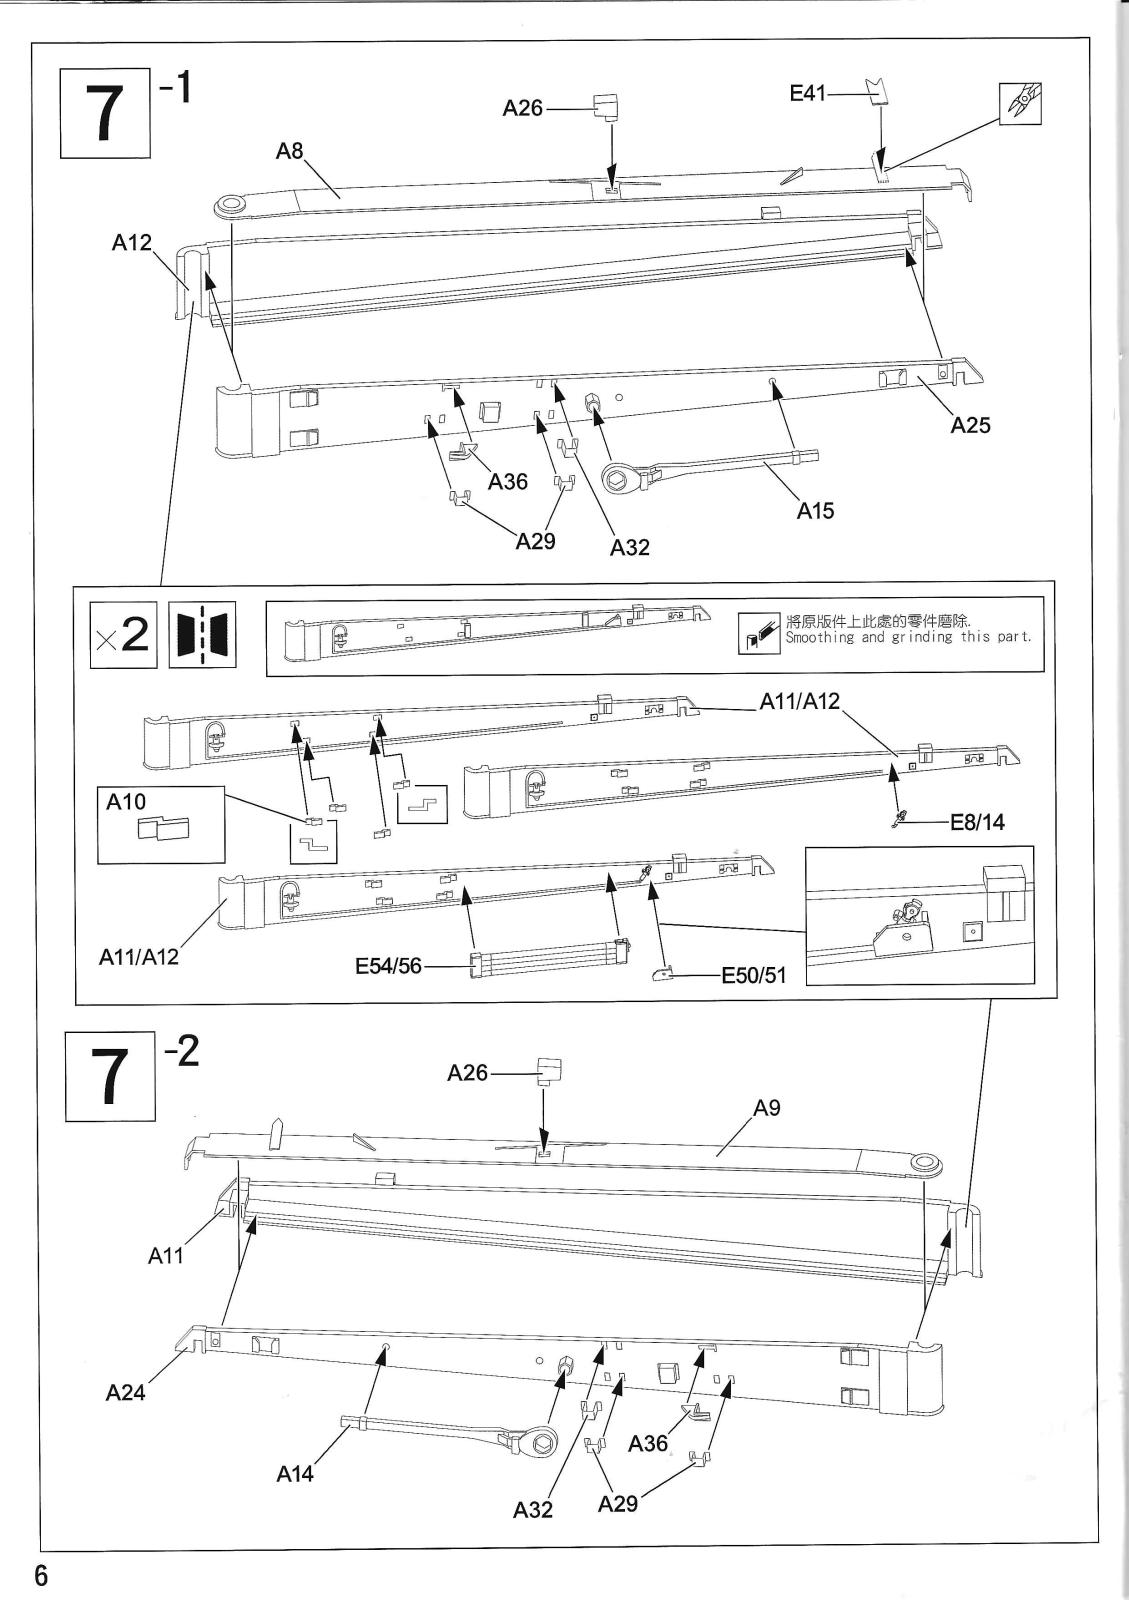
Steps 7-9
Step 7 initiates the assembly of the gun trails and the accompanying components, including tools like wrenches, cleaning rods, and various parts required for stowing the spades depending upon the firing position decided upon. In step 7, the instructions guide you to remove the brake line connection covers and substitute them with parts E50/51. Step 8 involves assembling the two equilibrators, both of which AFV Club provides in brass and aluminum. These components easily snap into position, enabling adjustments in the gun barrel's orientation. Step 9 consists of constructing the gun carriage with the trails.
Steps 10-11
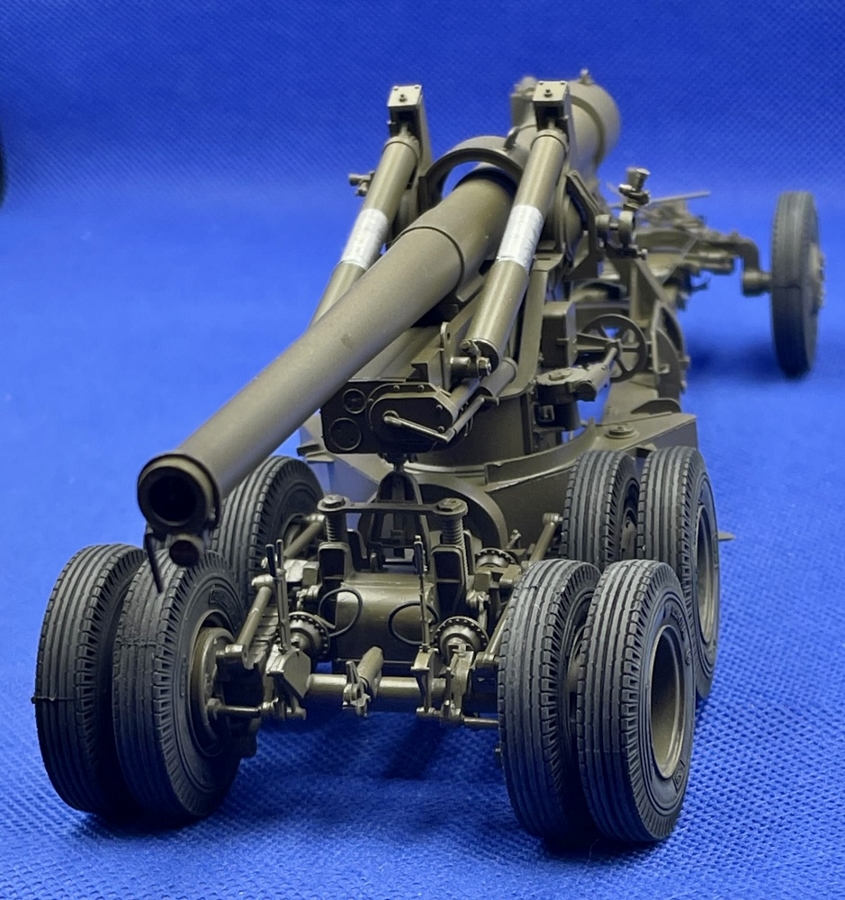
Step 10 starts the construction of the two-axle dual-tired bogie assembly. Axles, leaf springs, hand brake levers, and brake chambers need to have a 0.5mm hole drilled to accommodate the vinyl brake lines supplied by AFV Club.
Steps 12-15
Precision is crucial when positioning parts B27 and B28, as they contain receiving holes for attaching the brake lines in step 12. The bogie wheel hubs are connected using part B29, with no need for glue to allow for wheel movement. In step 13, you attach the bogie lifting screws (parts B41), the travel lock (part B33), and parts A19, which require filling sinkholes. Step 14 requires attaching the vinyl airbrake lines. Despite multiple attempts, I found it challenging to glue the lines in place. Consequently, I opted for a 24-gauge copper wire instead. In step 15, you assemble the four sets of wheels. The wheels display superb detailing, and the vinyl tires fit seamlessly with just a slight adjustment. Following the test fitting, the tires were removed, leaving the wheels for painting at a later stage.
Steps 16-17
Step 16 involves installing the air filter for the compressed airlines used for the brakes and attaching the vinyl airline tubing. AFV Club offers an exploded view, simplifying the process. Step 17 entails adding part C20, a component of the variable recoil housing, and attaching plates A38 and A23 to the gun trails. It's essential to address the sinkholes present in parts A38 and A23. It’s important to note that part C20 should only be attached once the barrel's angle is determined and set.
Steps 18-19
The construction of the M2 limber itself is quite intricate and detailed in these two steps. Due to the small and delicate nature of some parts, caution is advised. Part D11 has four handles that can be broken if not glued on at the end of step 19. Although the steps are fairly simple, it might be beneficial to consult a reliable reference for guidance. Furthermore, in step 19, you proceed with attaching the air brake lines and assembling the two wheels with tires.
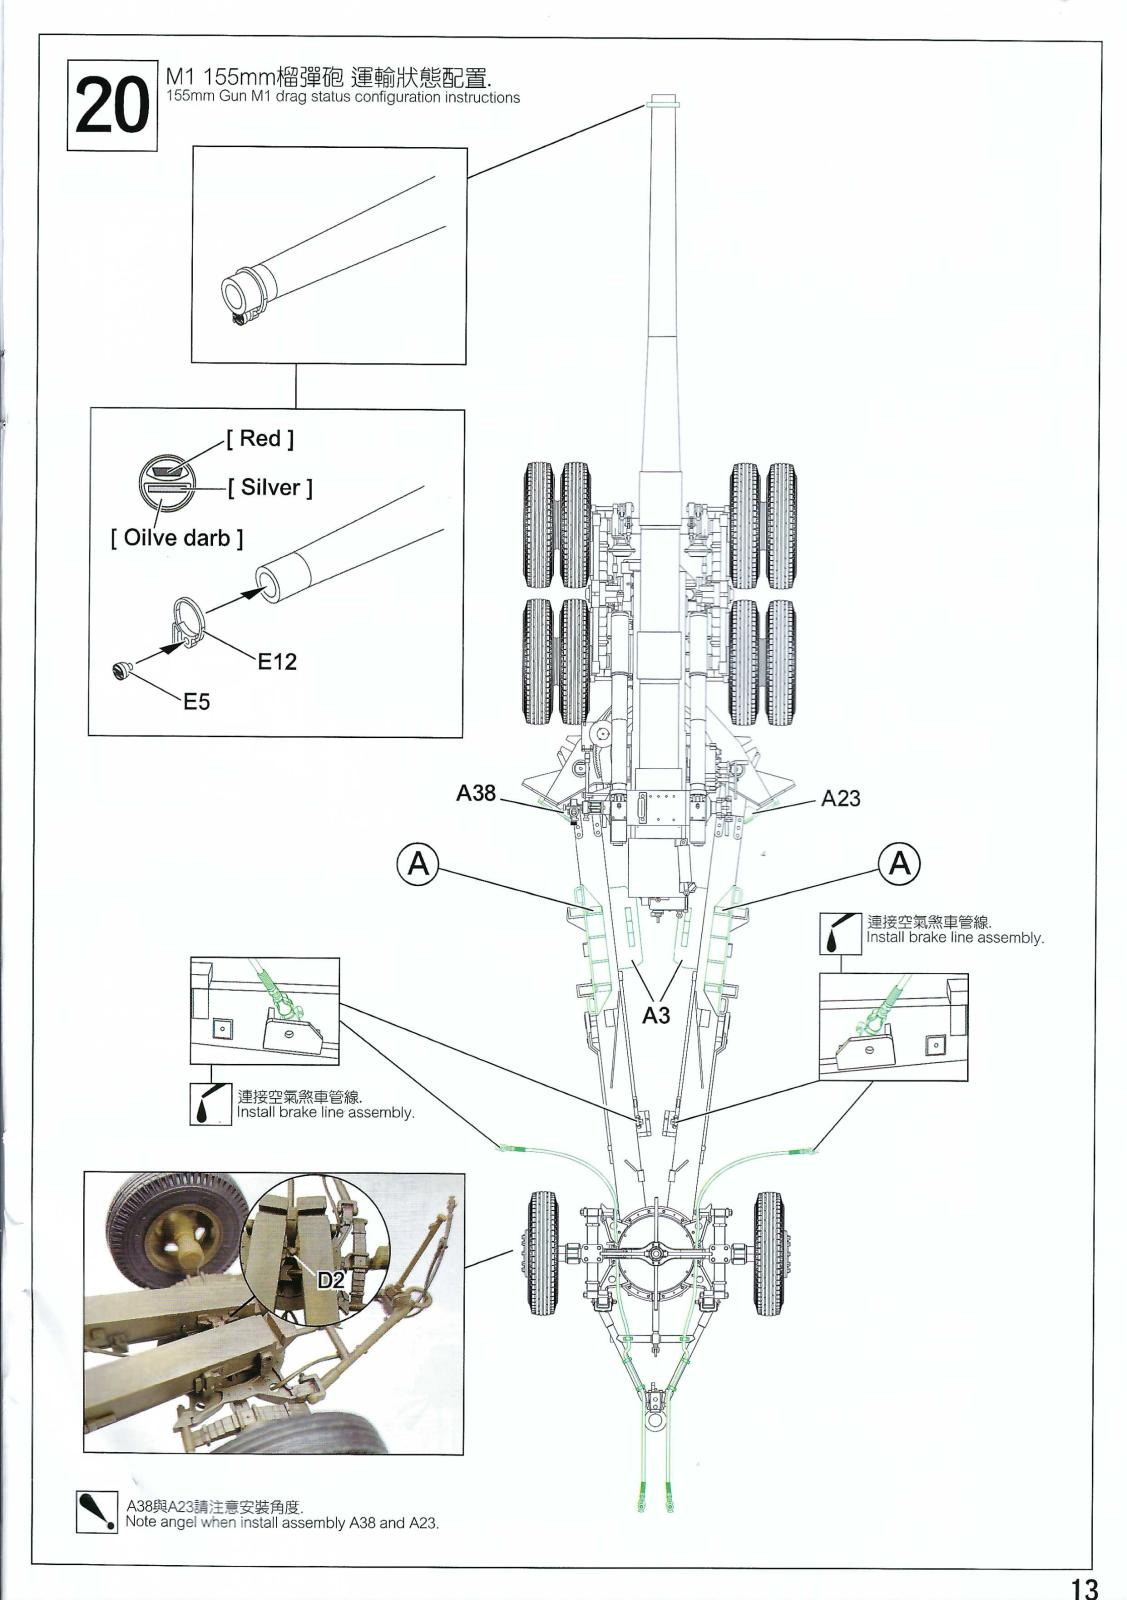
Steps 20-21
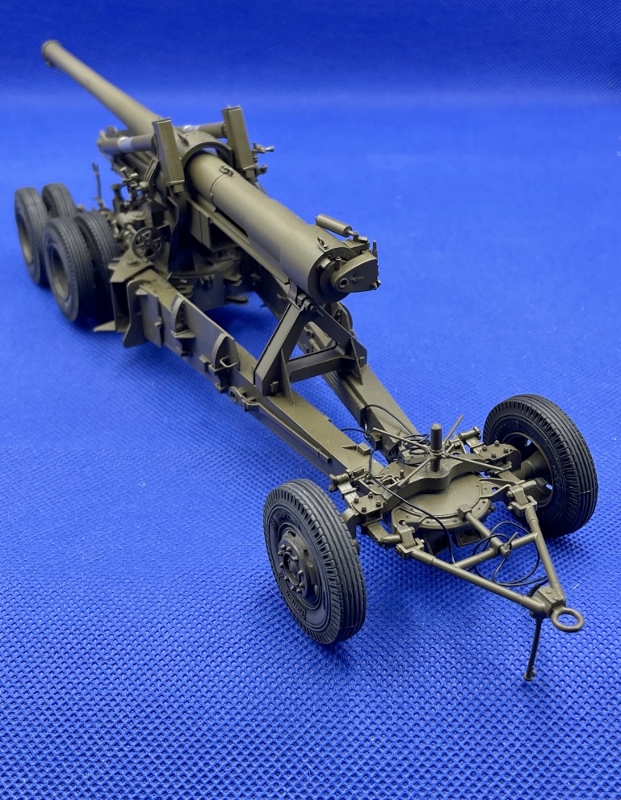
The final two steps mark the culmination of the construction process. Step 20 involves adding the travel backup light to the barrel for towing and brake lines to the trails. The wire rope is attached to the travel lock and rear of the carriage when in travel mode. Additionally, the placement of the travel lock (parts A20 and A21) on the tops of the trails is either included in the travel position or omitted when in the firing position.
Decals
With the application of Micro Sol and Micro Set, the decals were affixed smoothly, showing no signs of silvering. They adhered nicely to the surface.
Painting
Painting was done in stages with a first application of A. Mig One Shot Grey Primer #2024, then two light layers of A. Mig Olive Drab Base #926 was applied. After allowing it to dry for 24 hours, a gentle spray of Model Master Semi-Gloss Clear Acrylic #4637 was added for protective purposes. The tail/stop light lenses were painted with A. Mig 191 Steel and Tamiya X-7 Red. A blend of Vallejo 73.115 black pigment and Vallejo titanium white 73.101 pigments was used on the tires to reduce the glossy appearance of the vinyl. Weathering was deliberately omitted to ensure the noticeable visibility of the intricate molding details by AFV Club.
Conclusion
Having previously built numerous AFV Club kits, I eagerly anticipated this updated version of the 155mm Long Tom. It certainly lived up to expectations. While I noticed minor flashes on some delicate parts, it didn't pose a major problem. Although the cable marked J was missing from the box, it was easily replaceable from my existing stash. The inclusion of a loading tray by AFV Club is a particularly useful addition, especially for diorama enthusiasts. Additionally, AFV Club has effectively resolved previous issues with the older kit, addressing concerns about barrel and breech assemblies, updating tires, and introducing vinyl tubing for the air brakes.
Thanks to IPMS/USA and MRC for allowing me to review this kit.
References used for this build:
Doyle, David. 155 Mm Gun M1 “Long Tom”: And 8-Inch Howitzer in WWII and Korea. Schiffer Military, 2022.
United States. War Department. TM 9-350 155-Mm Gun M2, Carriage M1 and M1A1, Gun Mount M13, Heavy Carriage Limber M2 and M5, and Firing Platform M1. Internet Archive, 7 May 1945, archive.org/details/TM9-350.

Long Tom page 1
Long Tom page 2
Long Tom page 3
Long Tom page 4
Long Tom page 6
Long Tom page 13
Long Tom page 15

Long Tom layout

Long Tom sprue A
Long Tom sprue B
Long Tom sprue C
Long Tom sprue D
Long Tom sprue E
Long Tom sprue F
Long Tom tires
Long Tom wheel hubs
Long Tom rear left
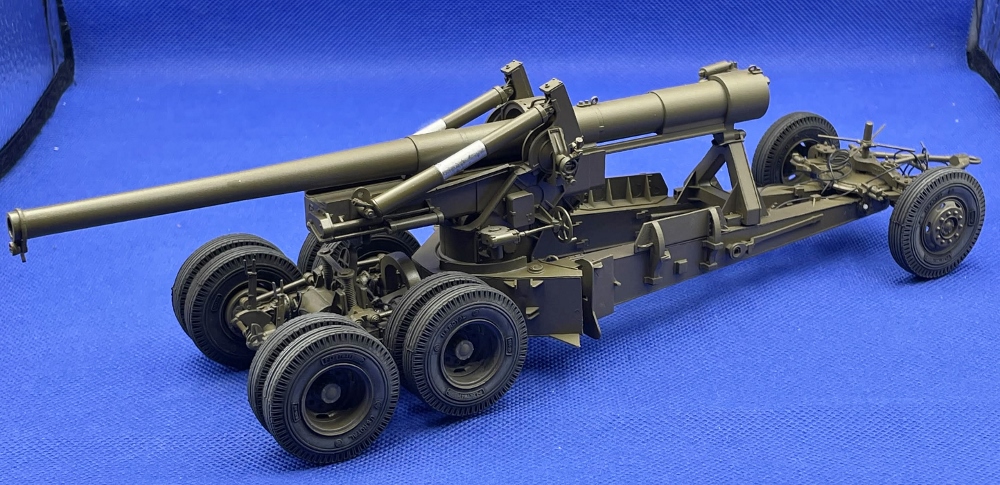
Long Tom front right
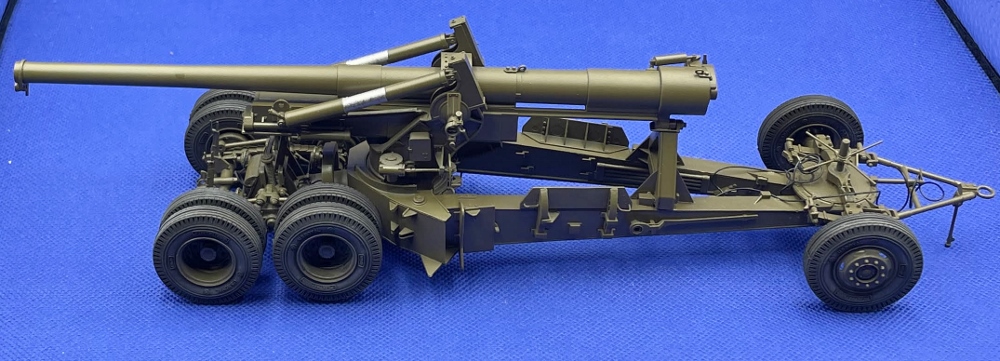
Long Tom side
Long Tom front left
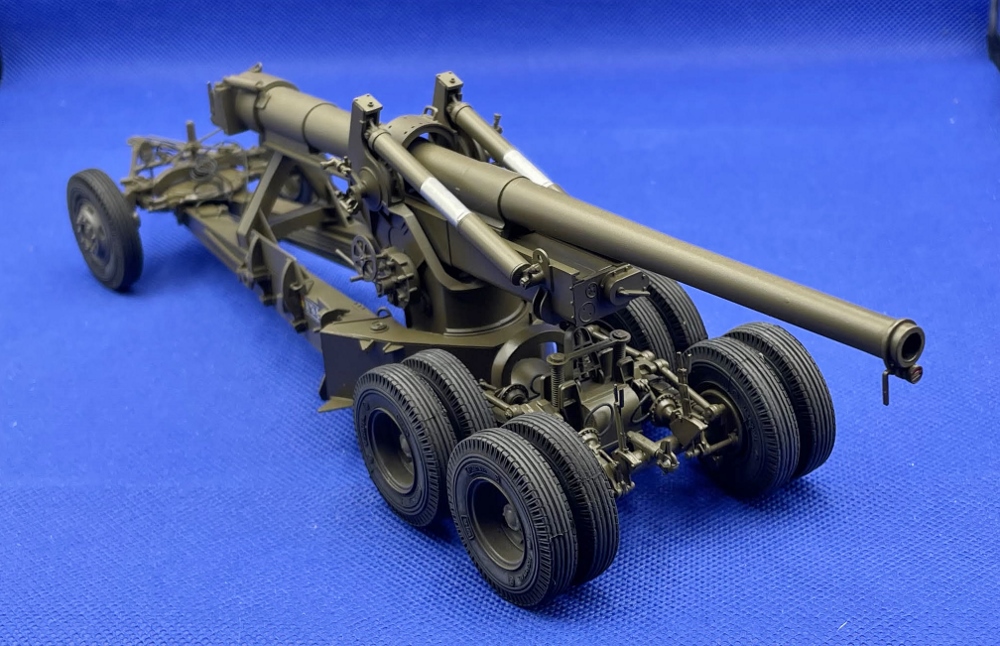
Long Tom front left
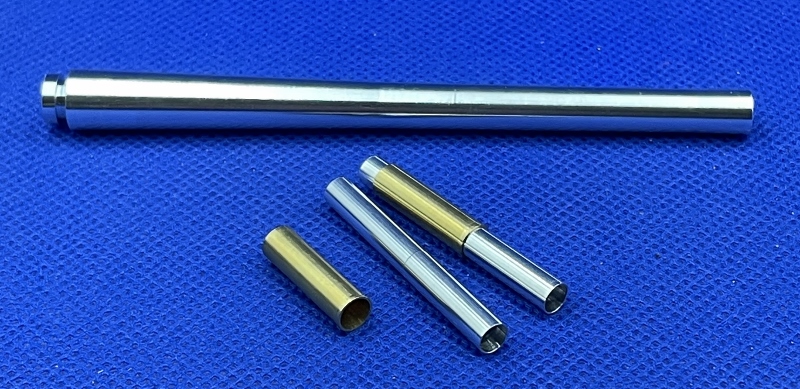
Long Tom barrel
Long Tom decals
Reviewer Bio
Phillip Cavender

Phil Cavender, IPMS/USA #50085, is a retired pharmacist from the Veterans Administration, having retired in 2011. While he explored model car building as a child, it wasn’t until 2015 that he rediscovered plastic scale modeling. His renewed interest emerged while researching his father’s military history, which led him to a local hobby shop. There, he met a former UK military tanker who reignited his passion for the hobby. After relocating to Myrtle Beach, Phil teamed up with six skilled modelers to co-found the Grand Strand Scale Modelers chapter of IPMS/USA. He now focuses on building armor models in scales from 1/35th to 1/16th.
Comments
Add new comment
This site is protected by reCAPTCHA and the Google Privacy Policy and Terms of Service apply.
Similar Reviews