
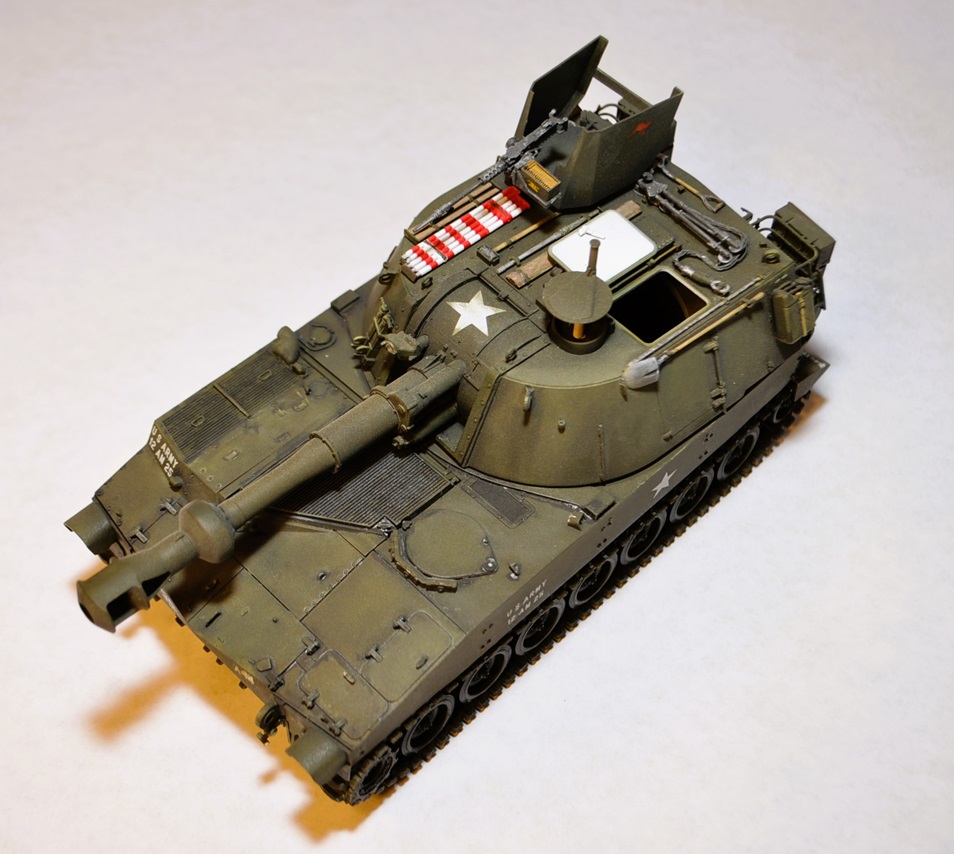
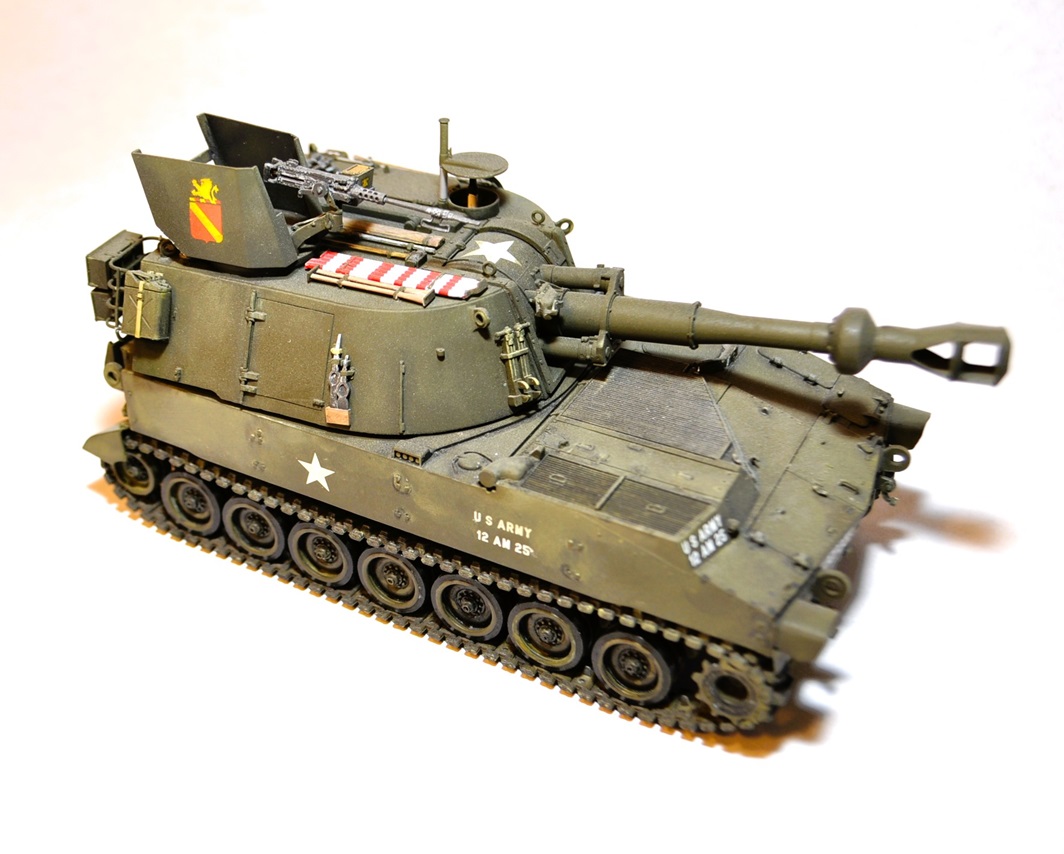
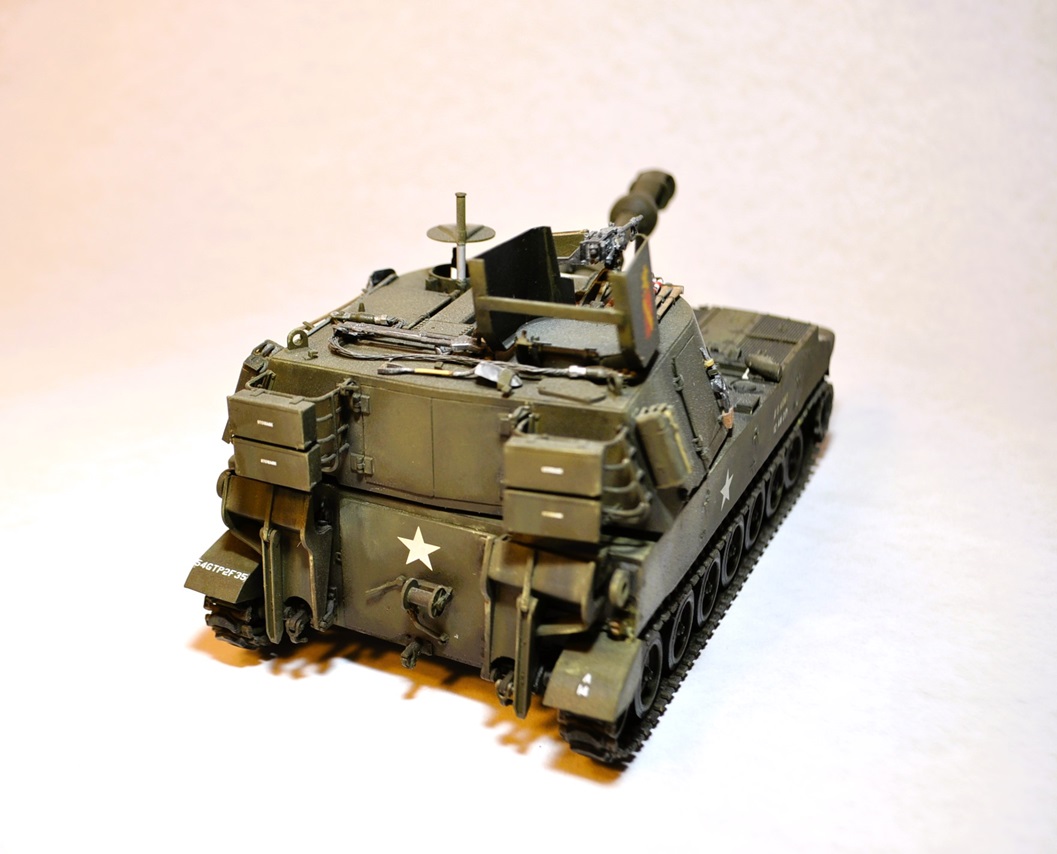
M109 155mm / L23 Self-Propelled Howitzer
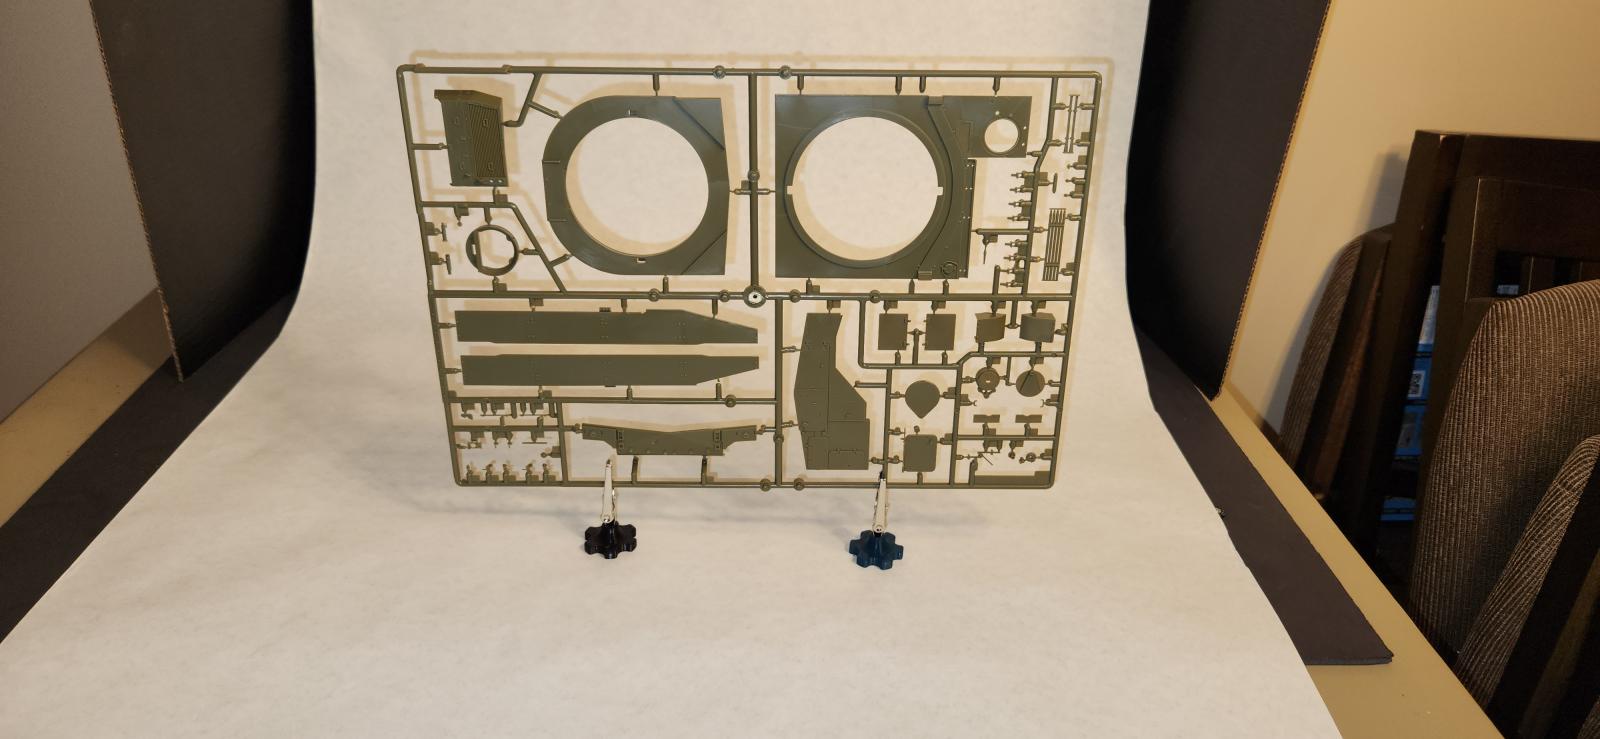
Although I was pleased with the kit by the very end of the build, I was not very happy with the kit itself. When I received the shrink-wrapped review sample, I discovered that two sprues were missing. This is actually the second AFV Club kit I’ve come across with missing parts.
Because these parts were critical to the build, I first looked for a way to get replacements from the manufacturer. Nope. The instructions has a parts list (in this case on page 18) and a replacement order form. This is great and all, but where should it be mailed? There is no address. There is no website URL anywhere on the box or in the instructions and there no customer service number. I was stuck. I turned to eBay and was very fortunate to find a seller who had exactly what I needed. It would seem there may be some manufacturer quality control issues.
Indeed, I was very pleased with the end result of this build, but the kit is a bit over-engineered for my tastes. The sprues have an excessive amount of ejector pins, while other parts such as AB11 (one of the hatch coverings) had a pin about one inch long that had to be removed.
Per Scalemates, this kit harkens back to the 2012 kit 35109, which was released as a new tool. From that kit, there were four subsequent releases-each with new parts: kits 35248, 35272, 35293 and this review kit 35329. This this kit is essentially a 2012 base kit with new parts added in 2022.
The Build
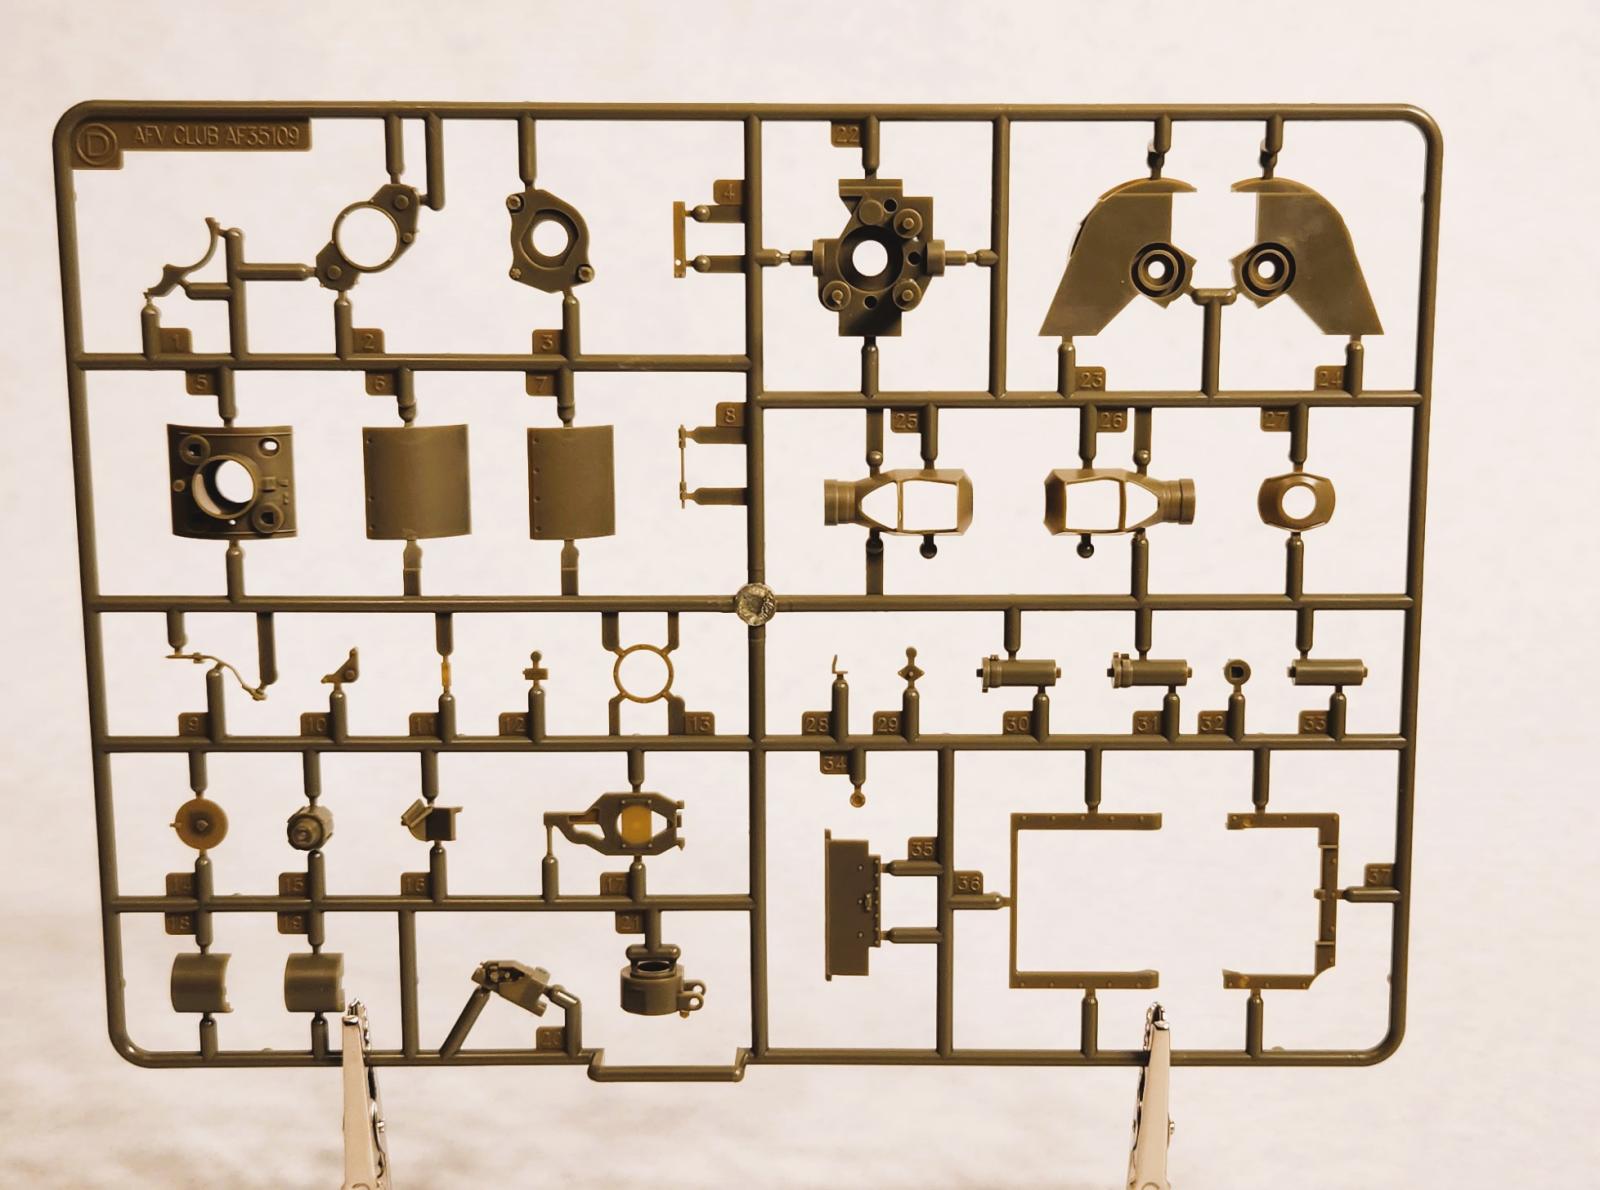
Construction begins with the hull tub. Assembly went fast and the parts fit very well. The road wheel suspensions as well as the front and rear suspension arms lock into place. I was very happy with the fit of the road wheels. The nylon washer (part I) mounts snugly and allows the wheels to rotate. What I did not like is that the wheels are molded in two parts (A2 and A3). This creates a seam through the center of the of the wheel. Pay attention to Steps 5 and 6. The callouts indicating No Glue are easy to overlook.
With Steps 7 and 8, hull construction continues. Again, pay attention to the callouts. In Step 7, there are small pieces of plastic to shave off the surface of part 26 and there are additional No Glue callouts. Another word of caution: there are many very small parts used in these steps. Be sure to work in such a way as to minimize the risk of losing parts. I learned the hard way and was a victim of the carpet monster (but I eventually recovered them).
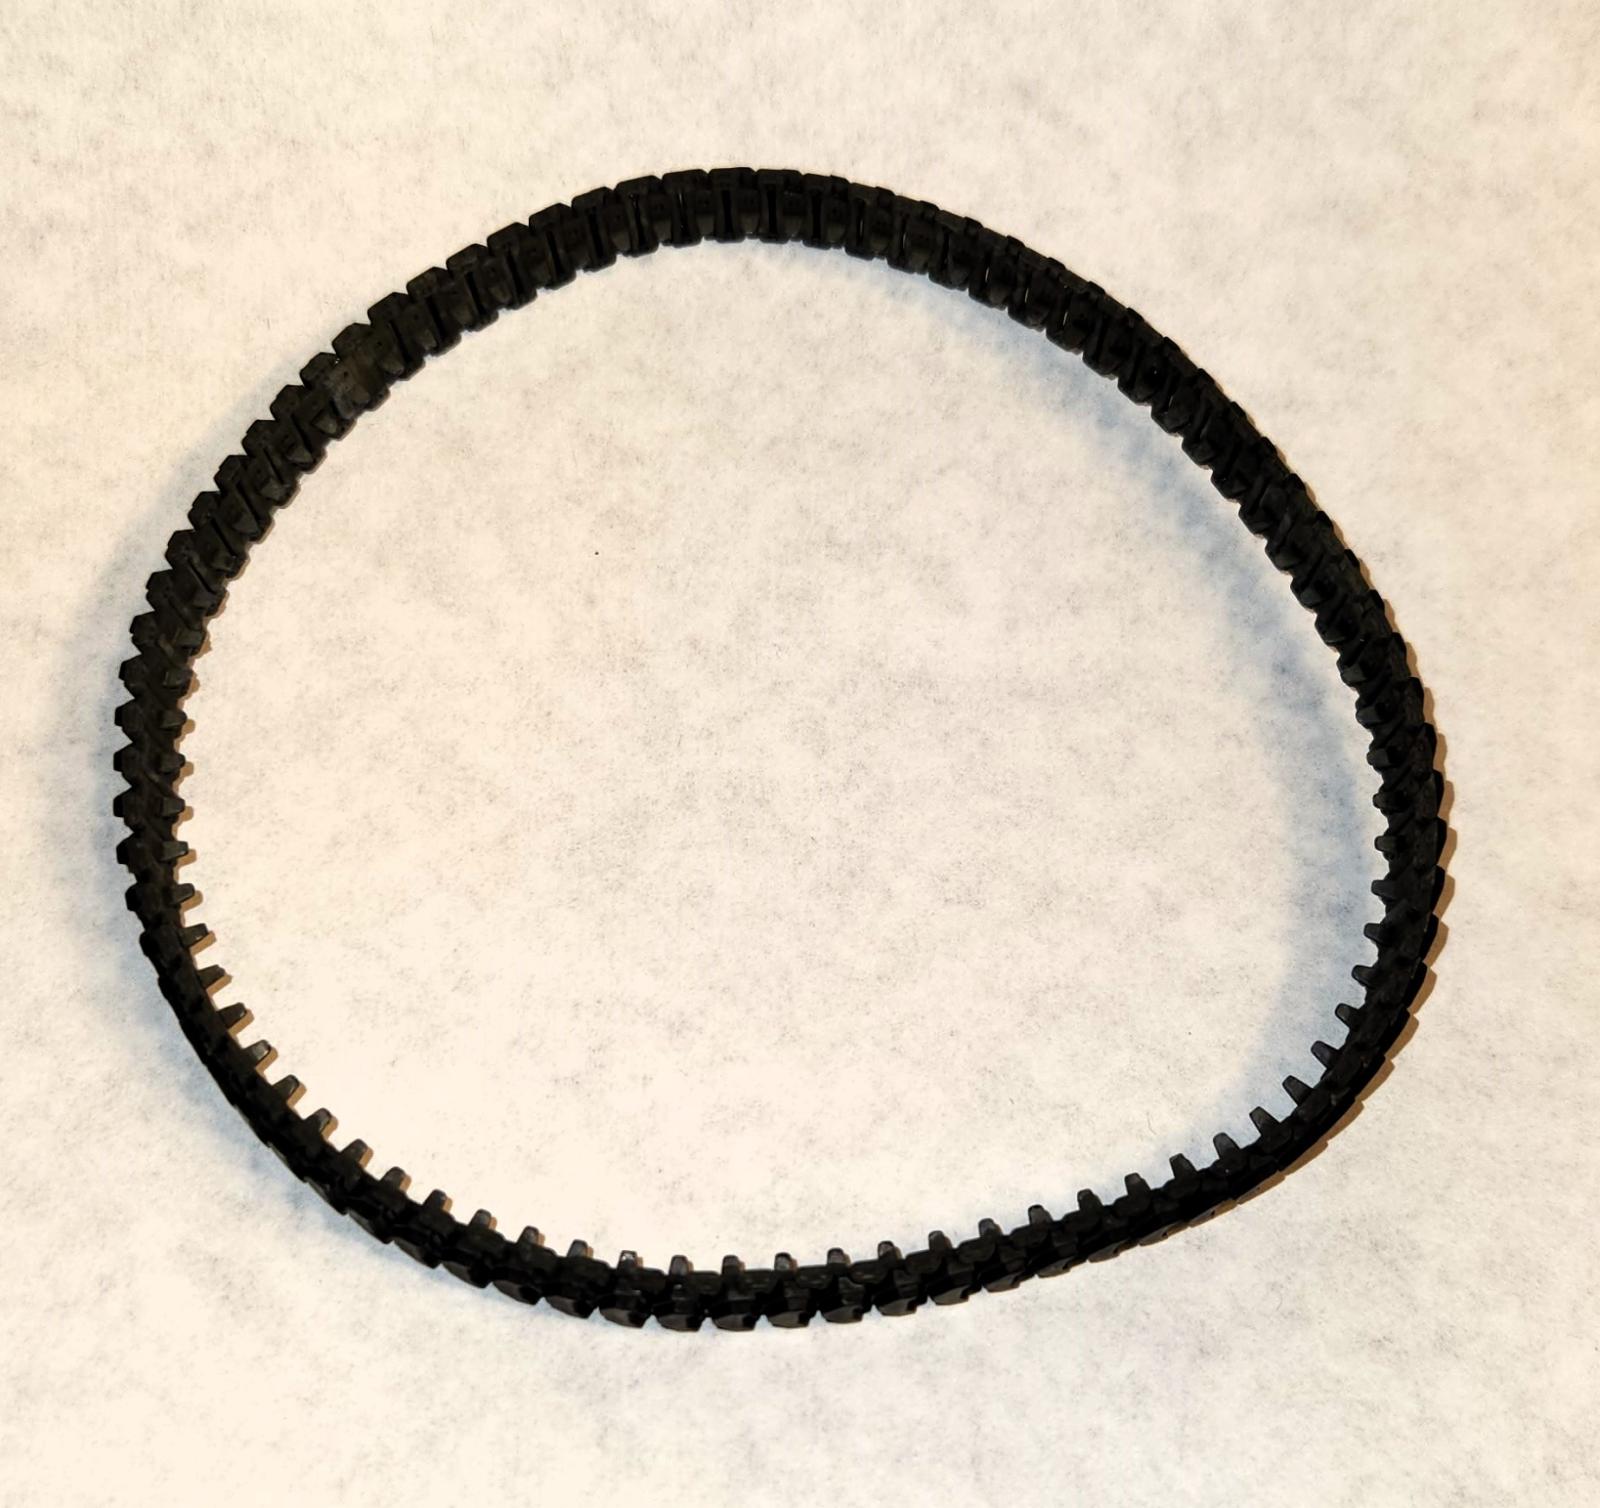
The vinyl tracks (parts J1) are some of the best I have personally worked with in a long time. Although Step 16 calls for them to be put into place, I decided to wait until the very end. The seam fit perfectly.
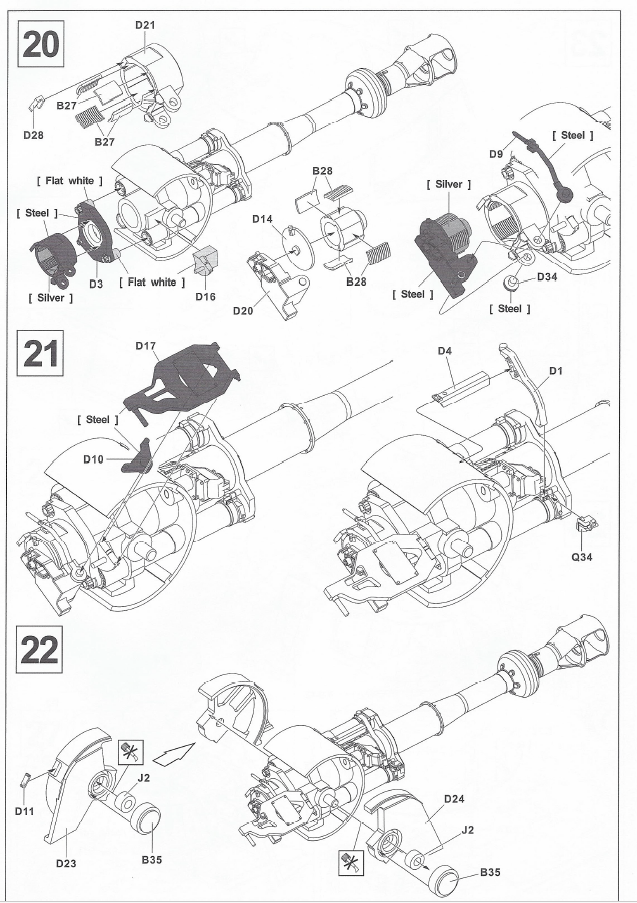
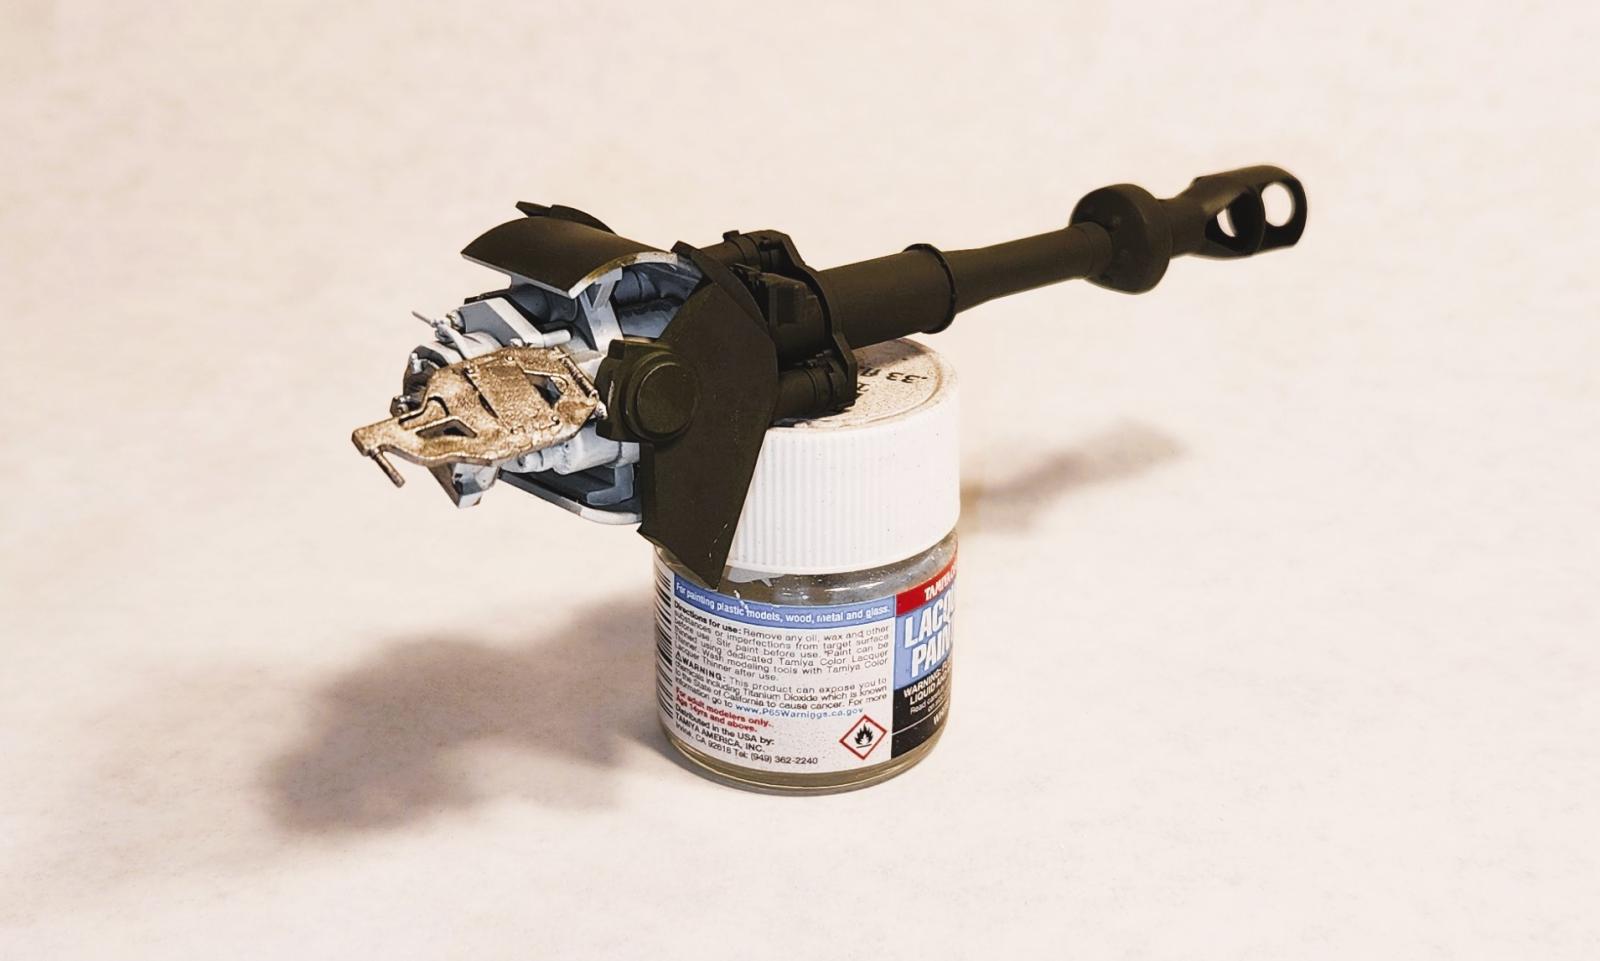
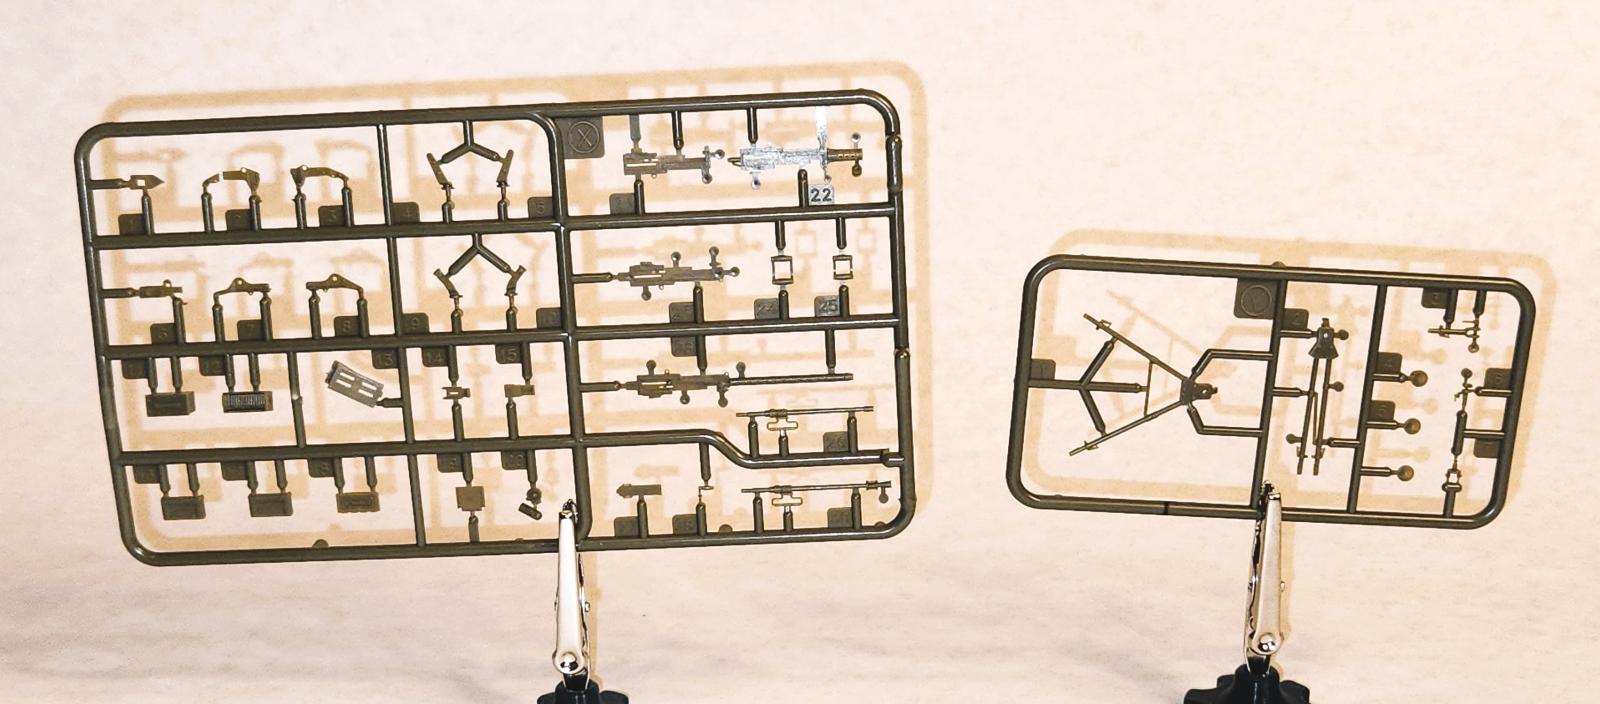
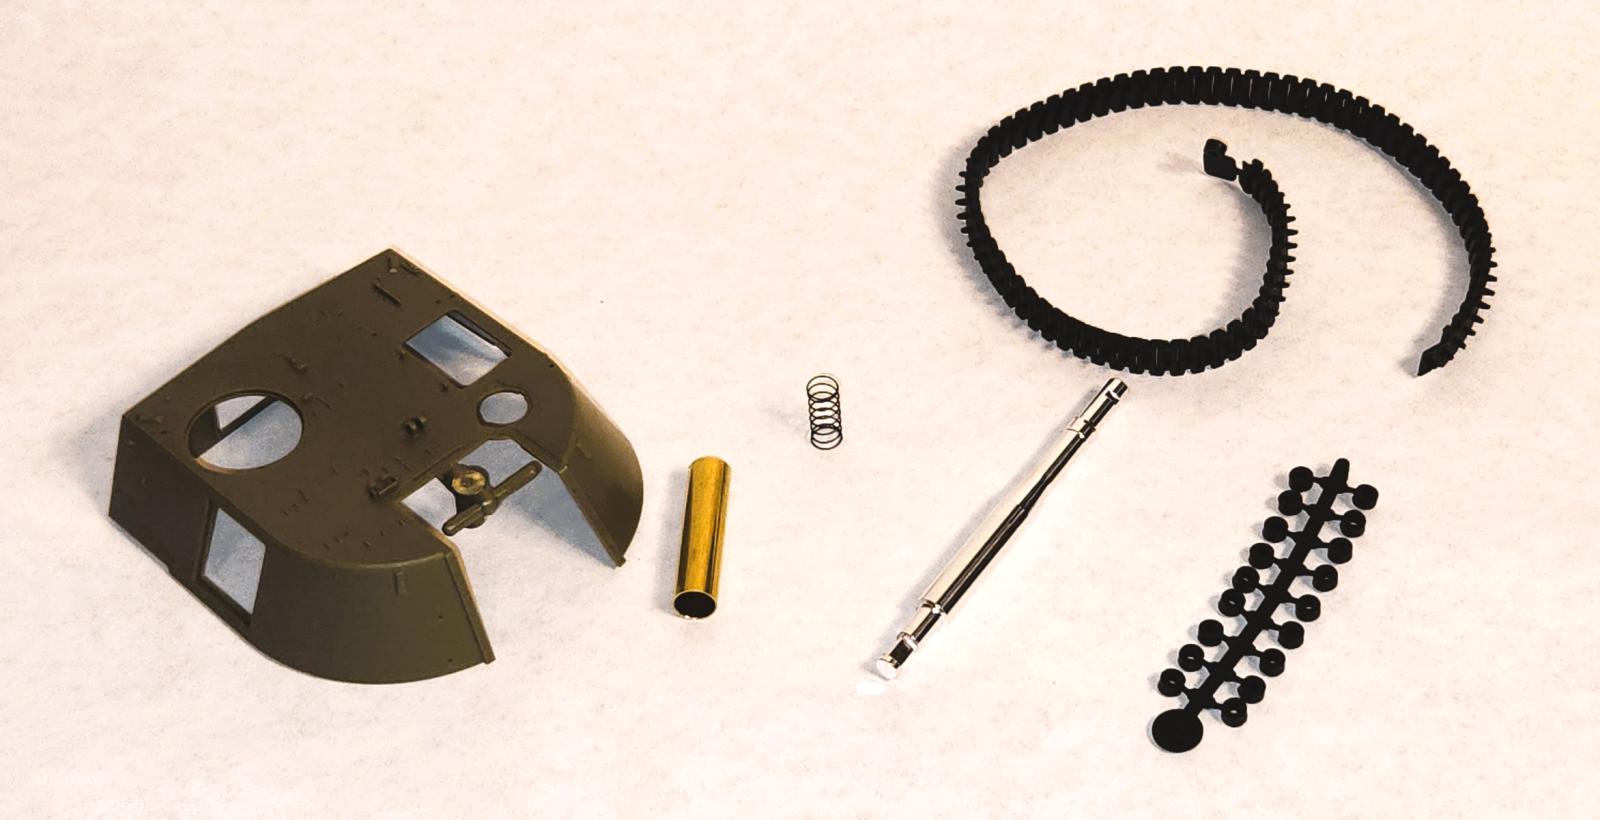
The main gun assembly happens through Steps 18 – 22. For a model that has no interior detail, the main gun is very detailed. The breech is impressively intricate and can be positioned open or closed (although the instructions to not explicitly state this). I was happy that a turned barrel was provided (part M), but the muzzle brake is made from two pieces (AC6, AC8). This was a minus in my scorebook. Pay attention that in Step 19 you have the barrel oriented properly—groove facing up.
Steps 23 – 32 cover the turret. Watch for parts removal and drill hole callouts (Step 23). The rear turret baskets are made from nine parts each basket. Pay attention to the alignment of parts P3-P7. I added all of the tools and the cable at the very end.
Painting
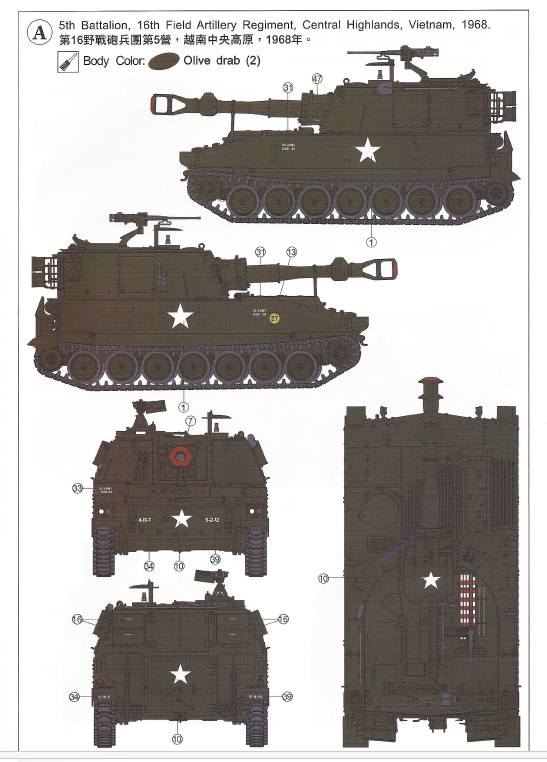
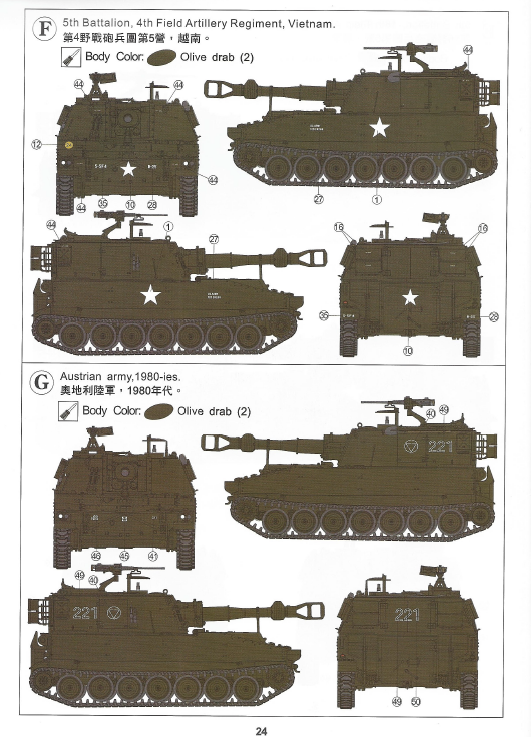
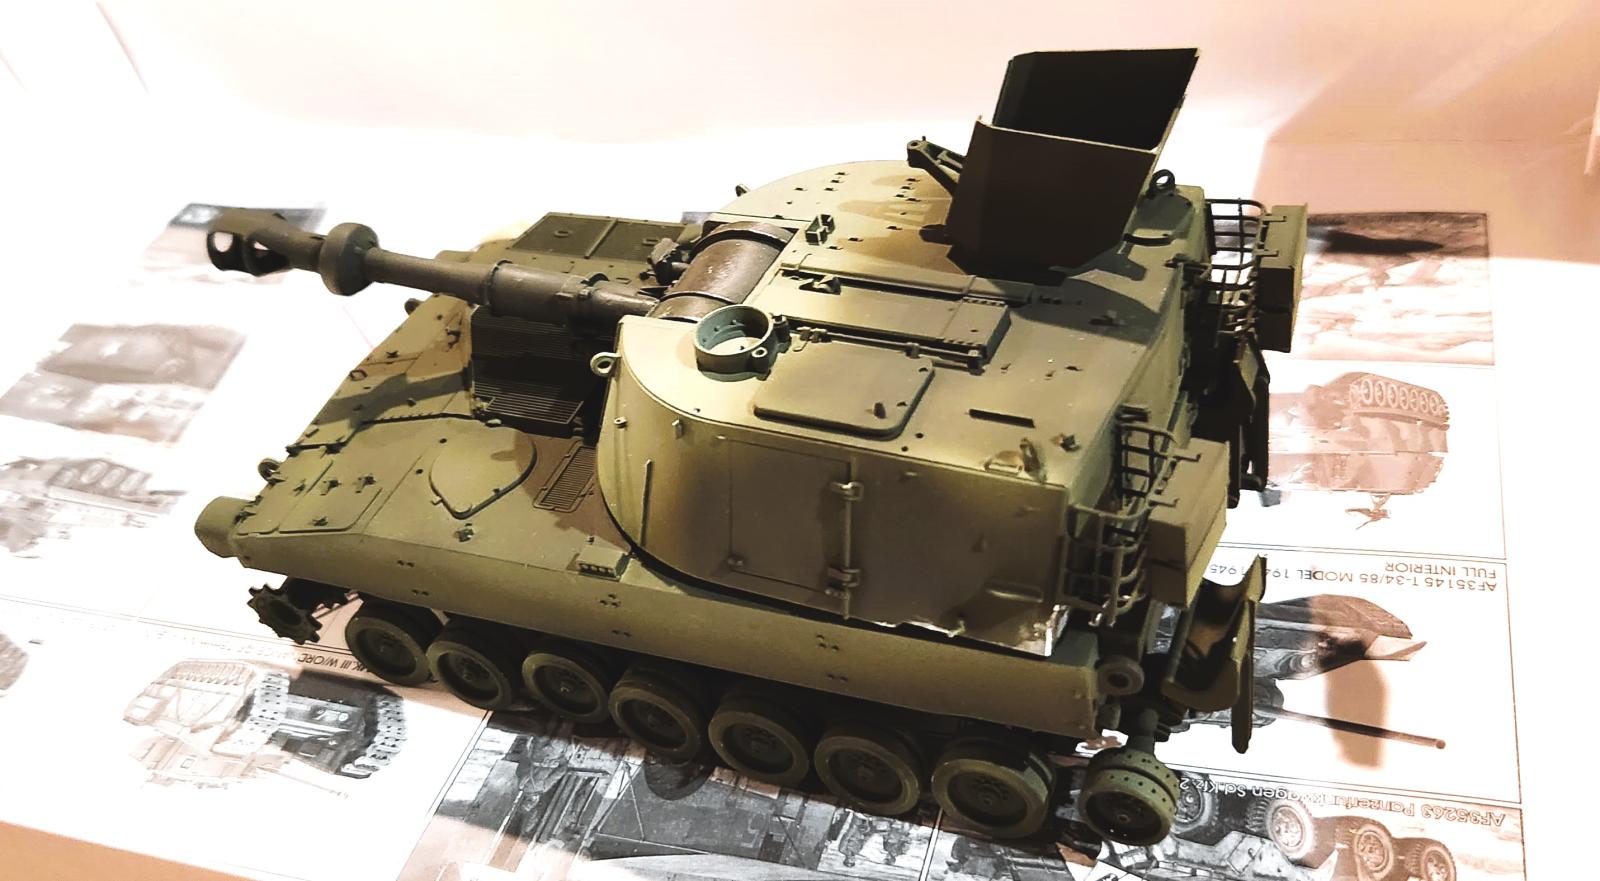
When full assembly was completed, I primed used Tamiya Fine Surface Primer. I used Mission Models MMP-058 DS Dark Green (FS34079) as the base color. I painted the all tools separately before attaching them to the turret. The weathering was accomplished with oil paints.The decals were very good. After a proper clear coat, I applied them using MicroSet. I had no silvering issues.
Conclusion
In the end, I was very pleased with this kit. There were hurdles-namely the missing parts-which I’ll assume was a fluke. This is a challenging kit due to the many parts involved (and the many very small parts). But with patience and careful attention, you’ll end up with an excellent model in the end. If I had one single recommendation to offer AFV Club, it would be to please provide a way for customers to order replacement parts.
Thank you to AFV Club for supplying this sample, and thank you for IPMS for the privilege to review it.


Comments
Add new comment
This site is protected by reCAPTCHA and the Google Privacy Policy and Terms of Service apply.
Similar Reviews