
M-60 Patton
History Brief
In March 1959, the M-60 was officially standardized as the 105 mm Gun full tracked combat vehicle. Then in December 1960 the M60 Patton was introduced as the Army's main battle tank and became the primary tank during the Cold War. Bearing a strong resemblance to the M48 Patton and continuing in the namesake, the M60 series was a product-improved descendant of the M48 in the Patton tank series. Powered by a 750hp Continental, the V12 air-cooled twin-turbo charged engine gave the M60s had better range and fuel consumption than the M48s. The M60 underwent many updates over its service life. It was widely used by the U.S. and its Cold War allies and remains in service throughout the world today. More than 15,000 examples were eventually manufactured.
The Product
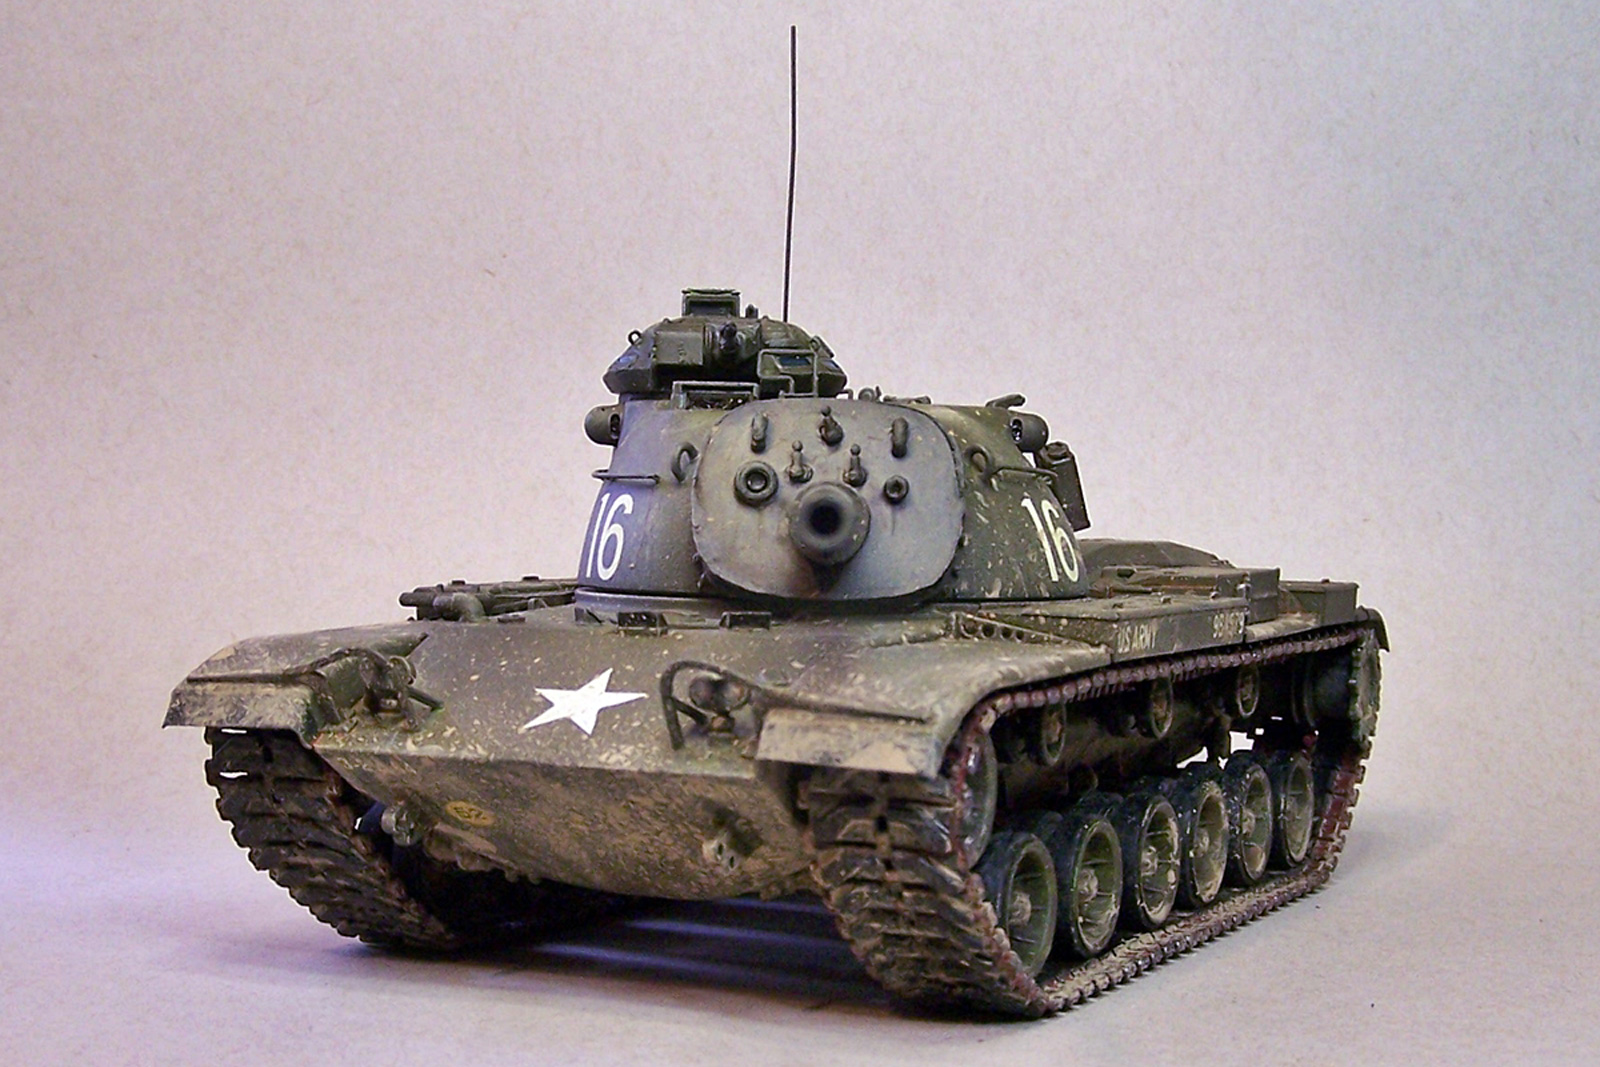
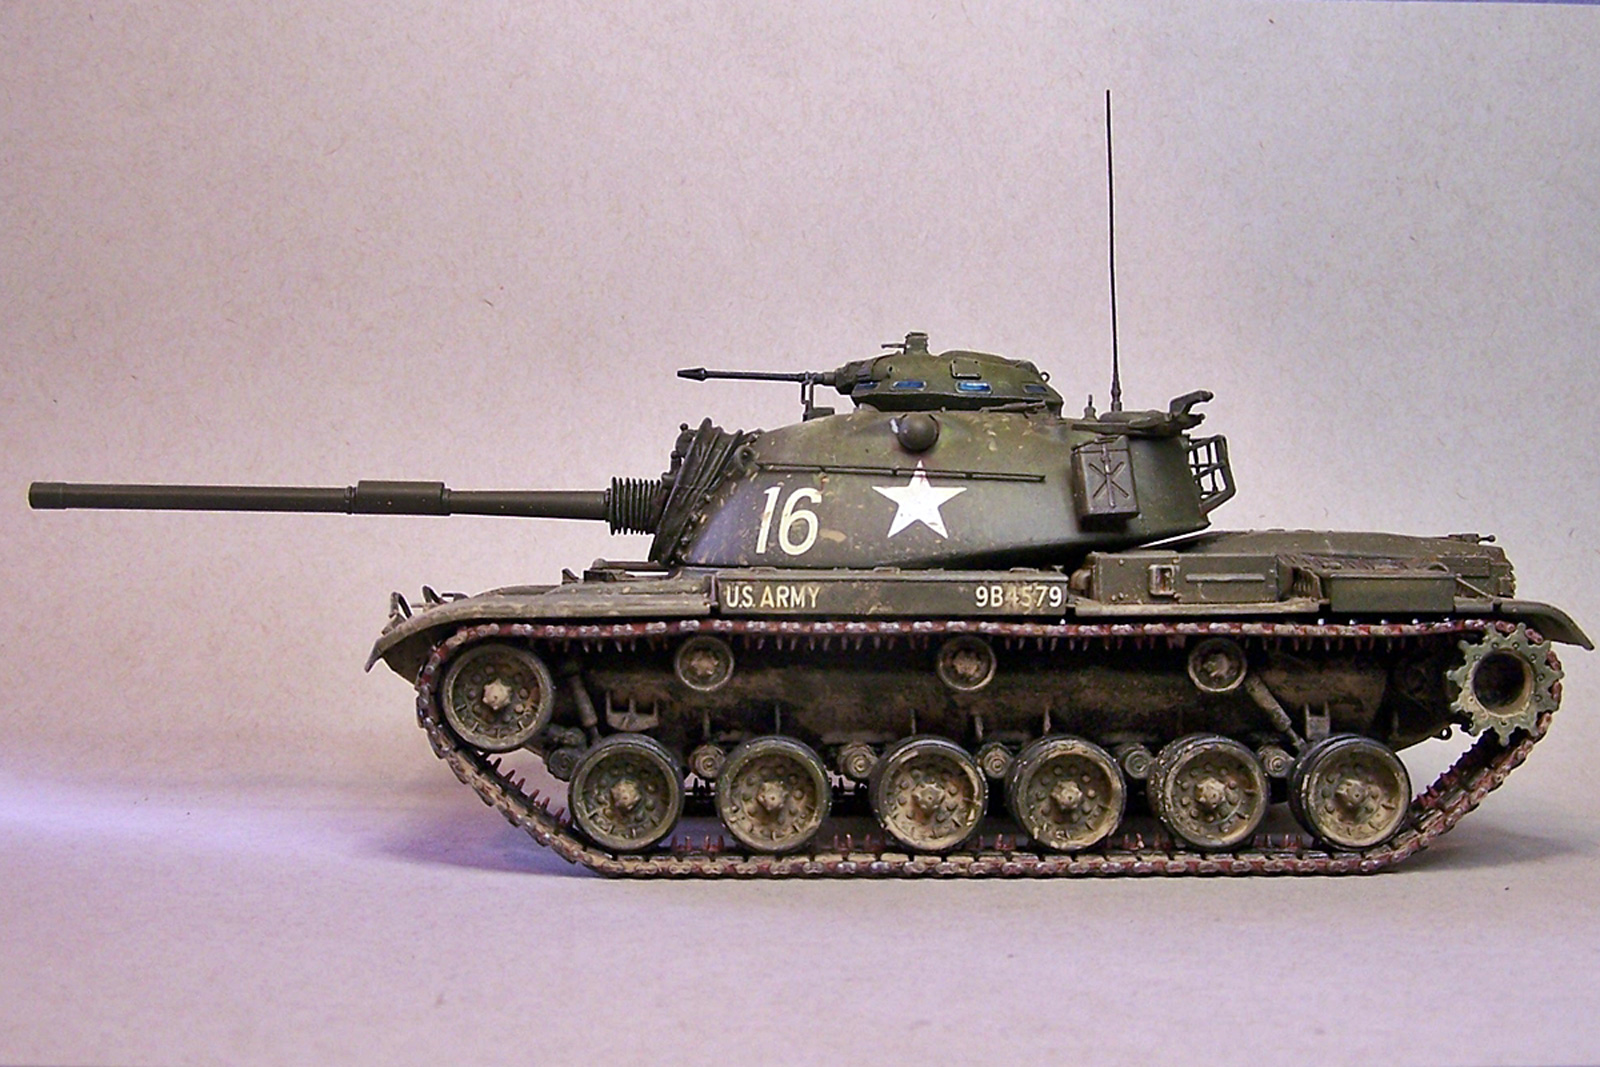
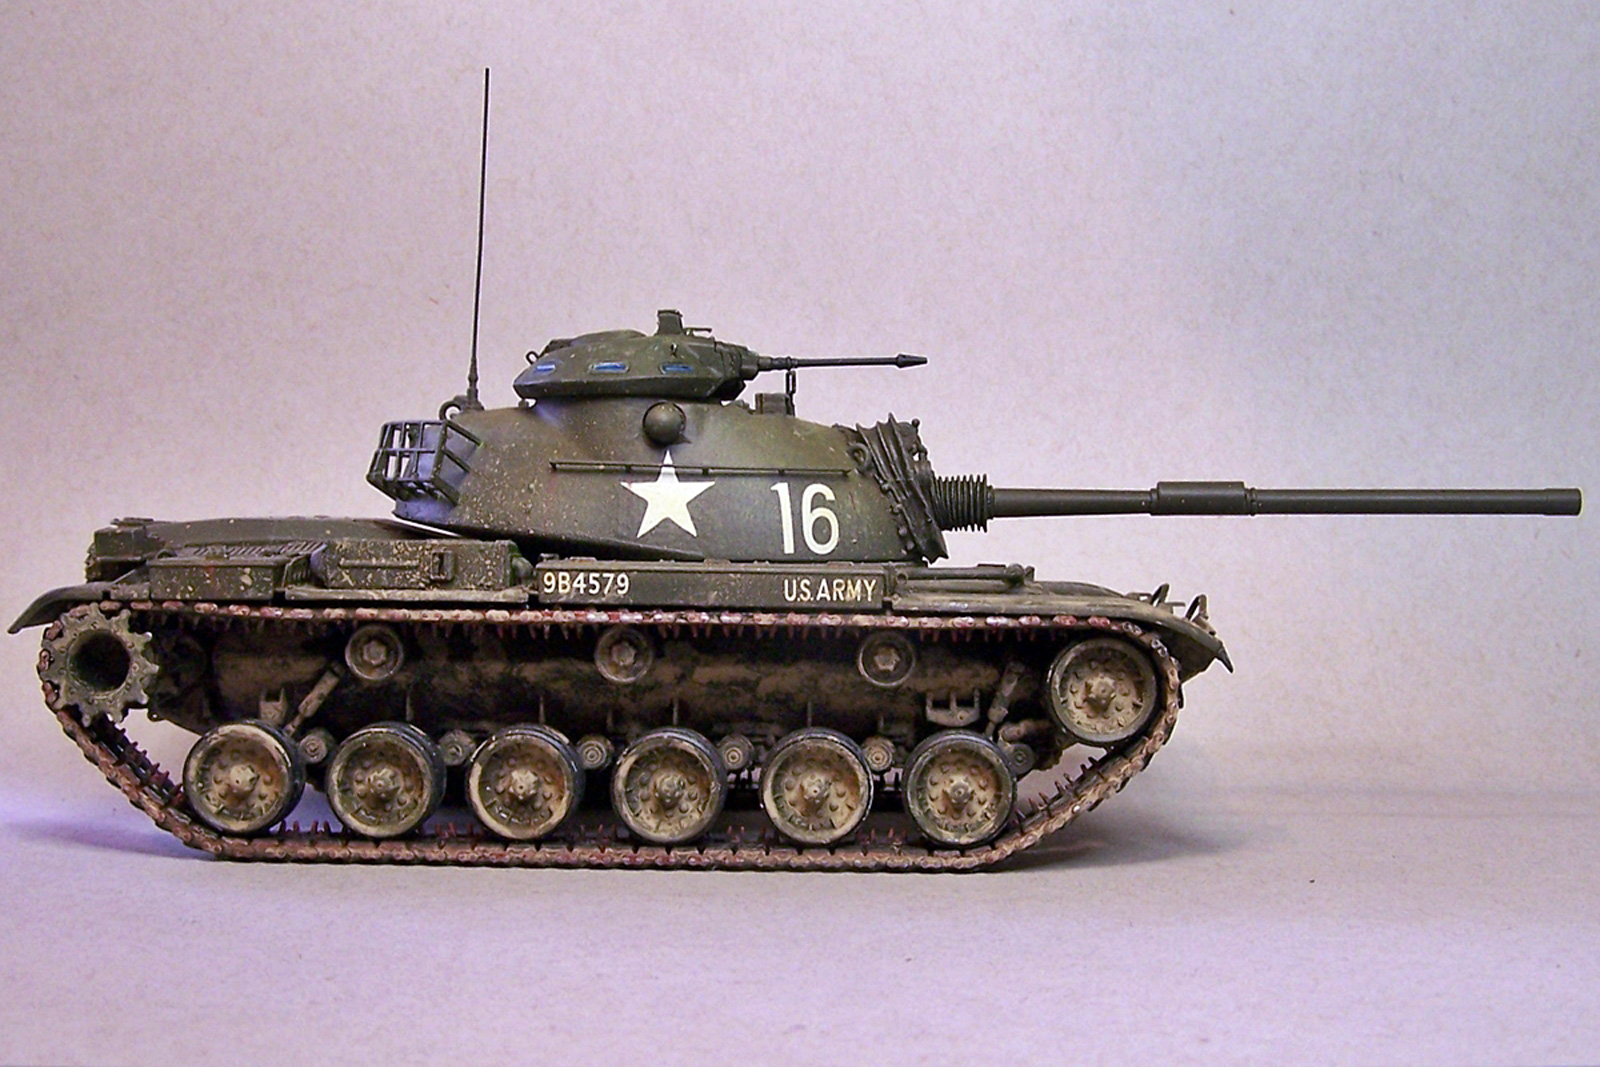
My sample arrived in a large sturdy box featuring an artful painting on the box top. Inside I found the parts to be well packaged in poly-bags. The contents include: 9 gray parts sprue, 2 clear parts sprue, 1 photo-etch fret, 1 poly cap sprue, 1 metal tow cable, 1 DS-tan sprue, DS Tracks, decals, and Instruction sheet. All the parts exhibit excellent workmanship, design, and attention to detail. Two U.S. Army decal options provided for tanks numbered 15 and 16, both of the 2nd Battalion, 64th Armor Regiment, circa 1964.
The Build
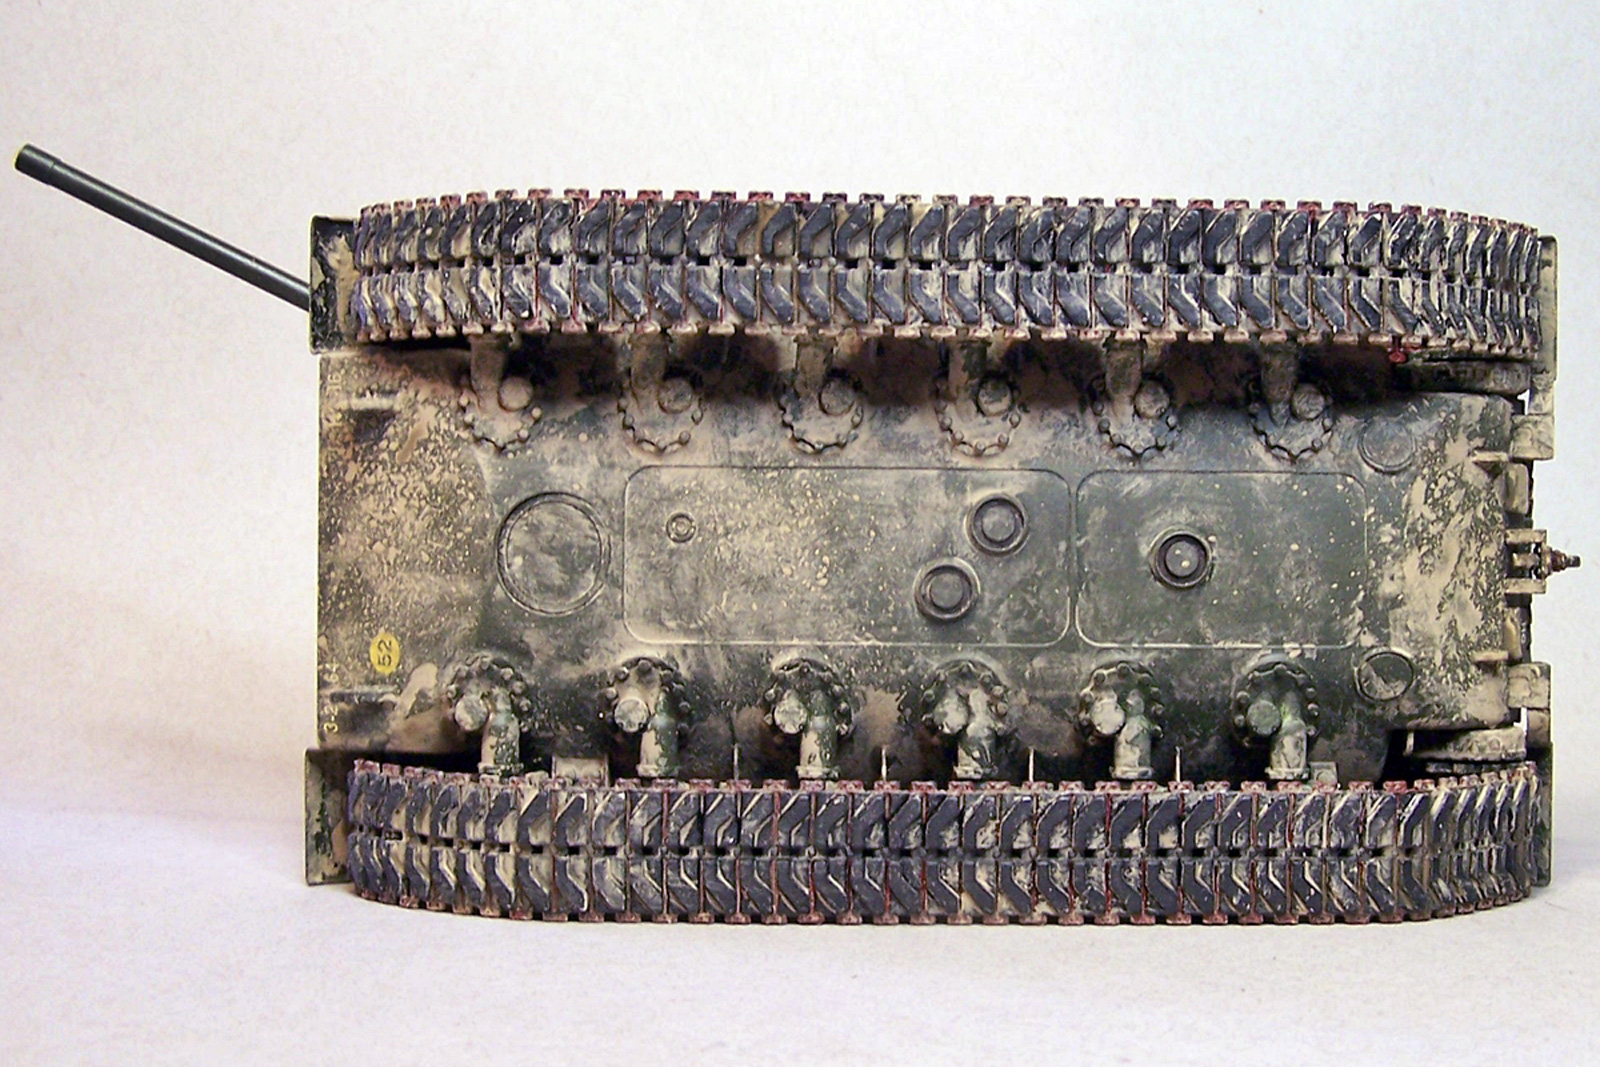
After reviewing the instructions I began the build by following the steps laid out by Dragon. The first step covered all the wheels, I started with the two piece return wheels making six total. Then the road wheels, they’re made up of 4 pieces each and there are fourteen of those. Lastly, the drive sprockets and they’re also made from four pieces. Now, Dragon shows adding the gear cases to the drive sprockets in this step but I decided not to join them together as a unit just yet.
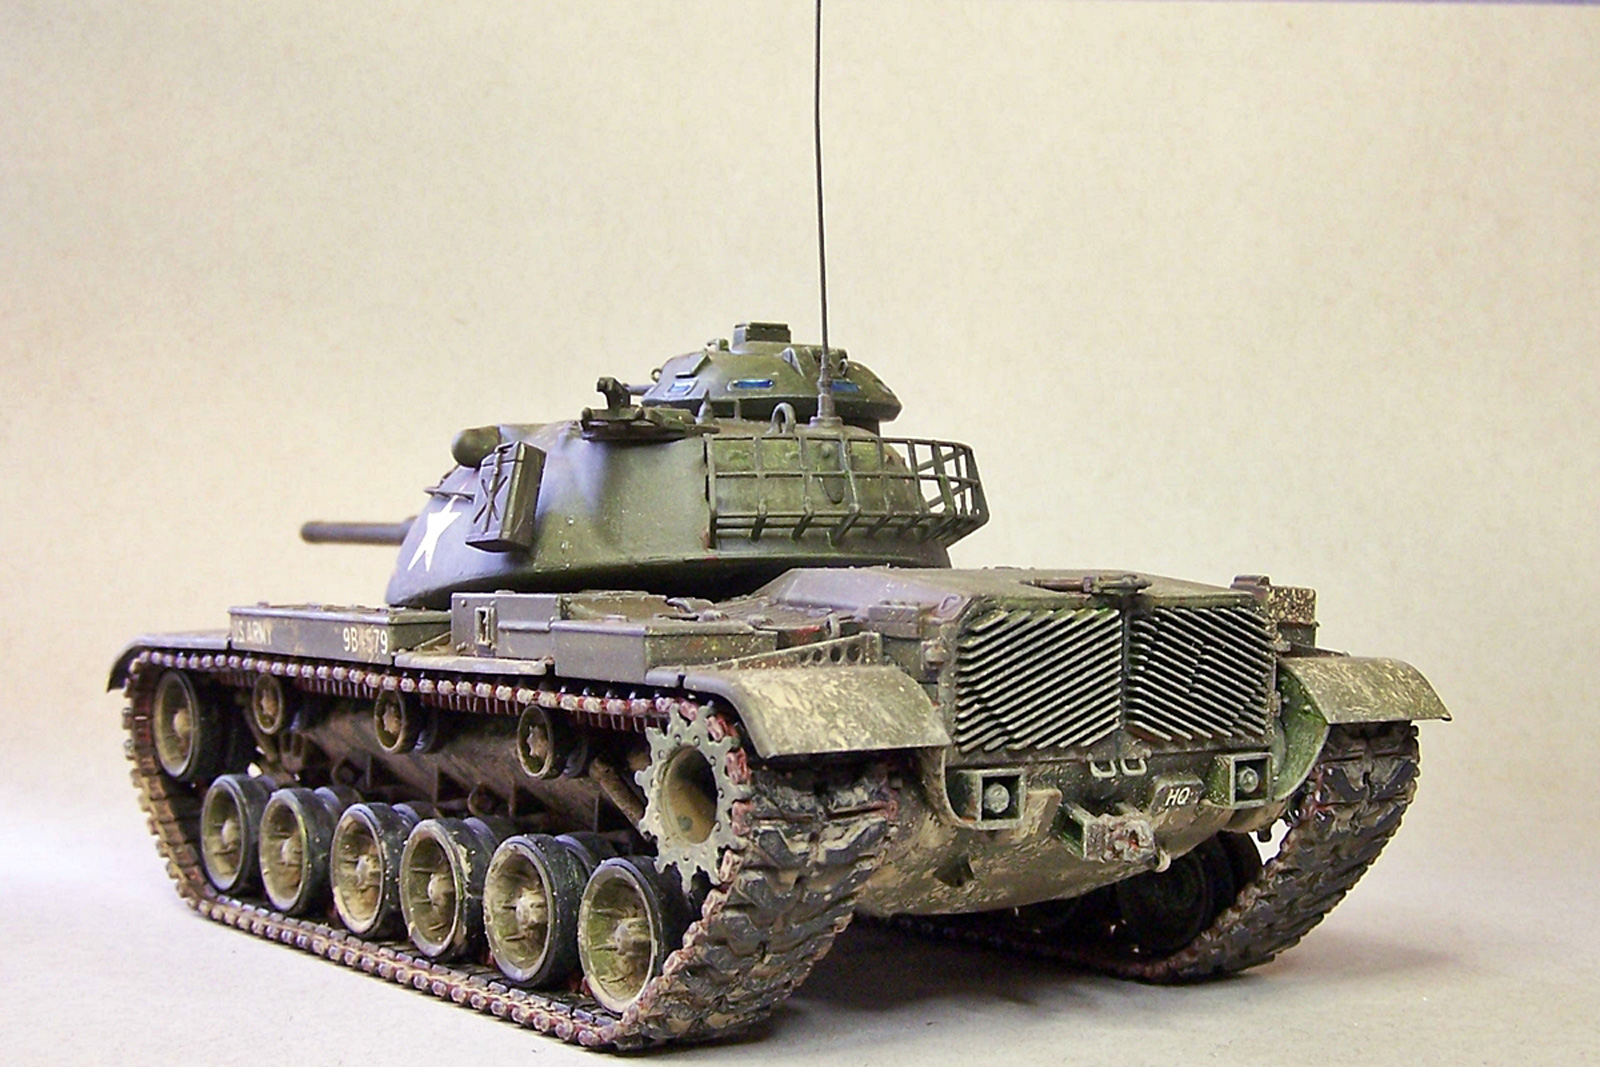
The upper and lower hull were joined together next in step two and in step three the exhaust boxes are built up, each made up of five parts. In steps four, five, and six the hull is focal, and it is covered with a lot of add-on parts to the bottom, top, and rear, respectively. It was here that I added the gear cases for the drive sprockets. It’s worth noting that the instruction misidentified parts B-36 and 37 in step five as B-6 and 7. Continuing on, for some strange off the wall reason, Dragon has you build up the searchlight in step seven only to return to the main hull in steps eight, nine, ten and eleven. The searchlight comes together easily and uses only fourteen pieces, it’s highly detailed and well appointed. Step eight covers attaching the road wheels to the axles. The fit is sloppy and required a jig to align them. The fenders are easily built up in steps nine and ten then mated to the hull in step eleven. The headlights and brush guards finished out the completed hull in step twelve.
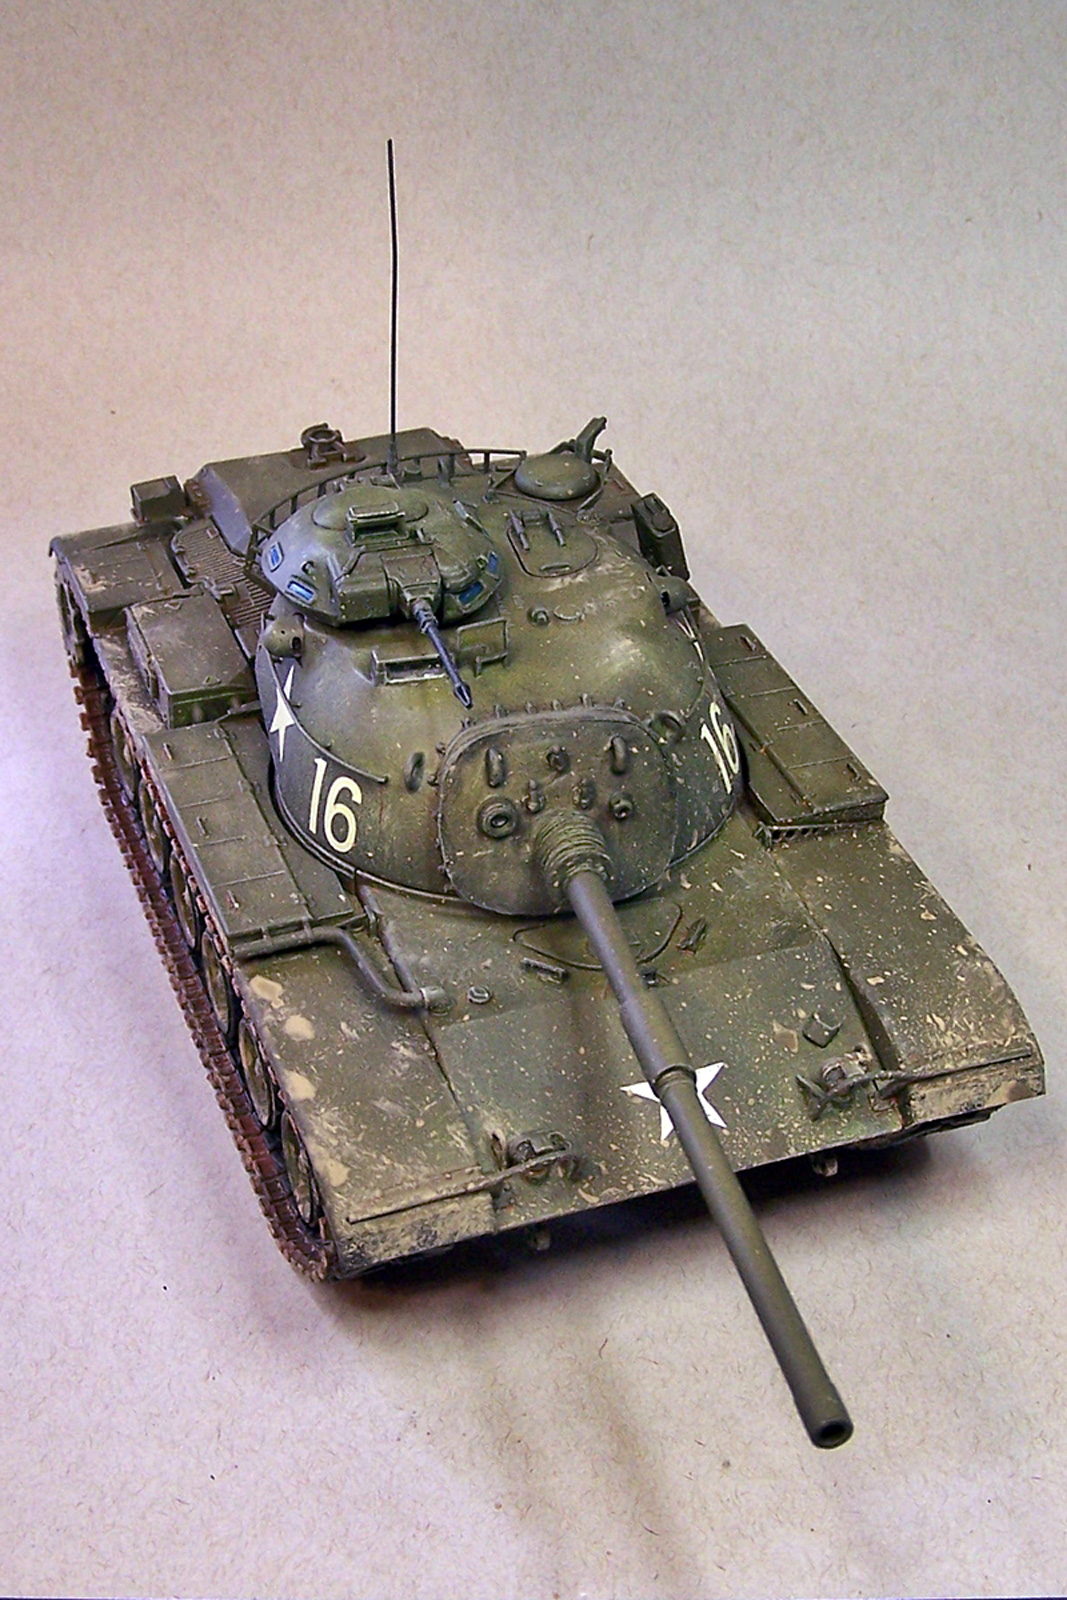
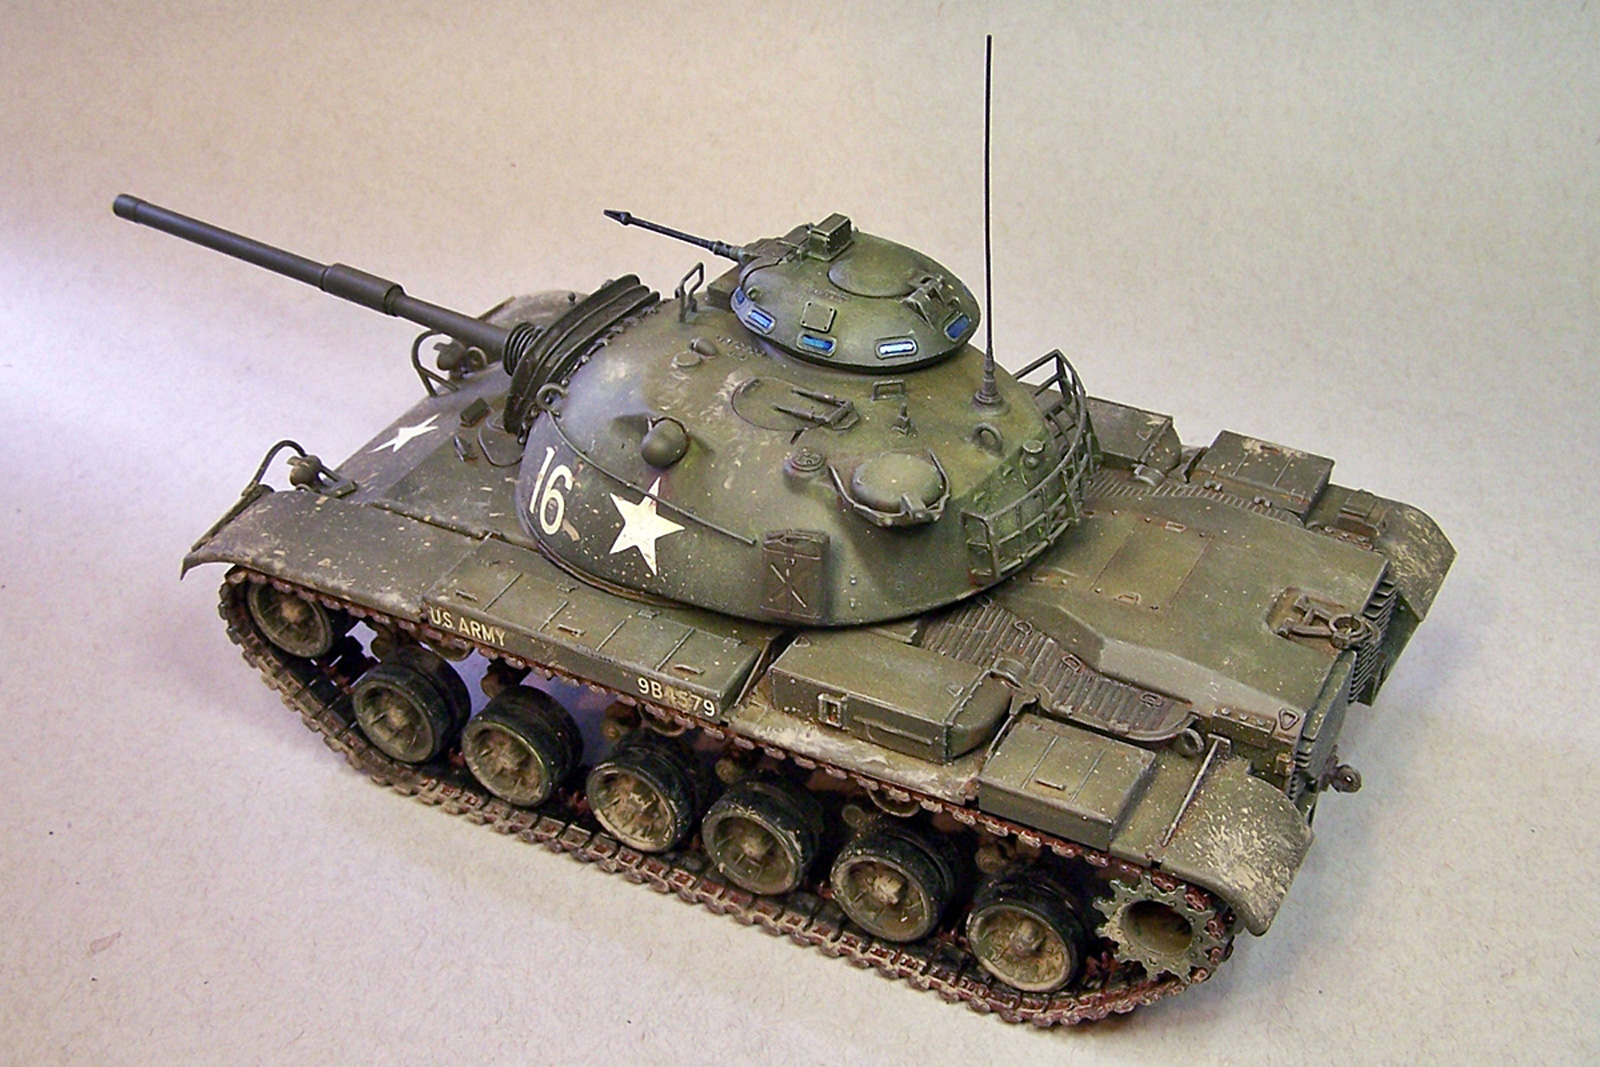
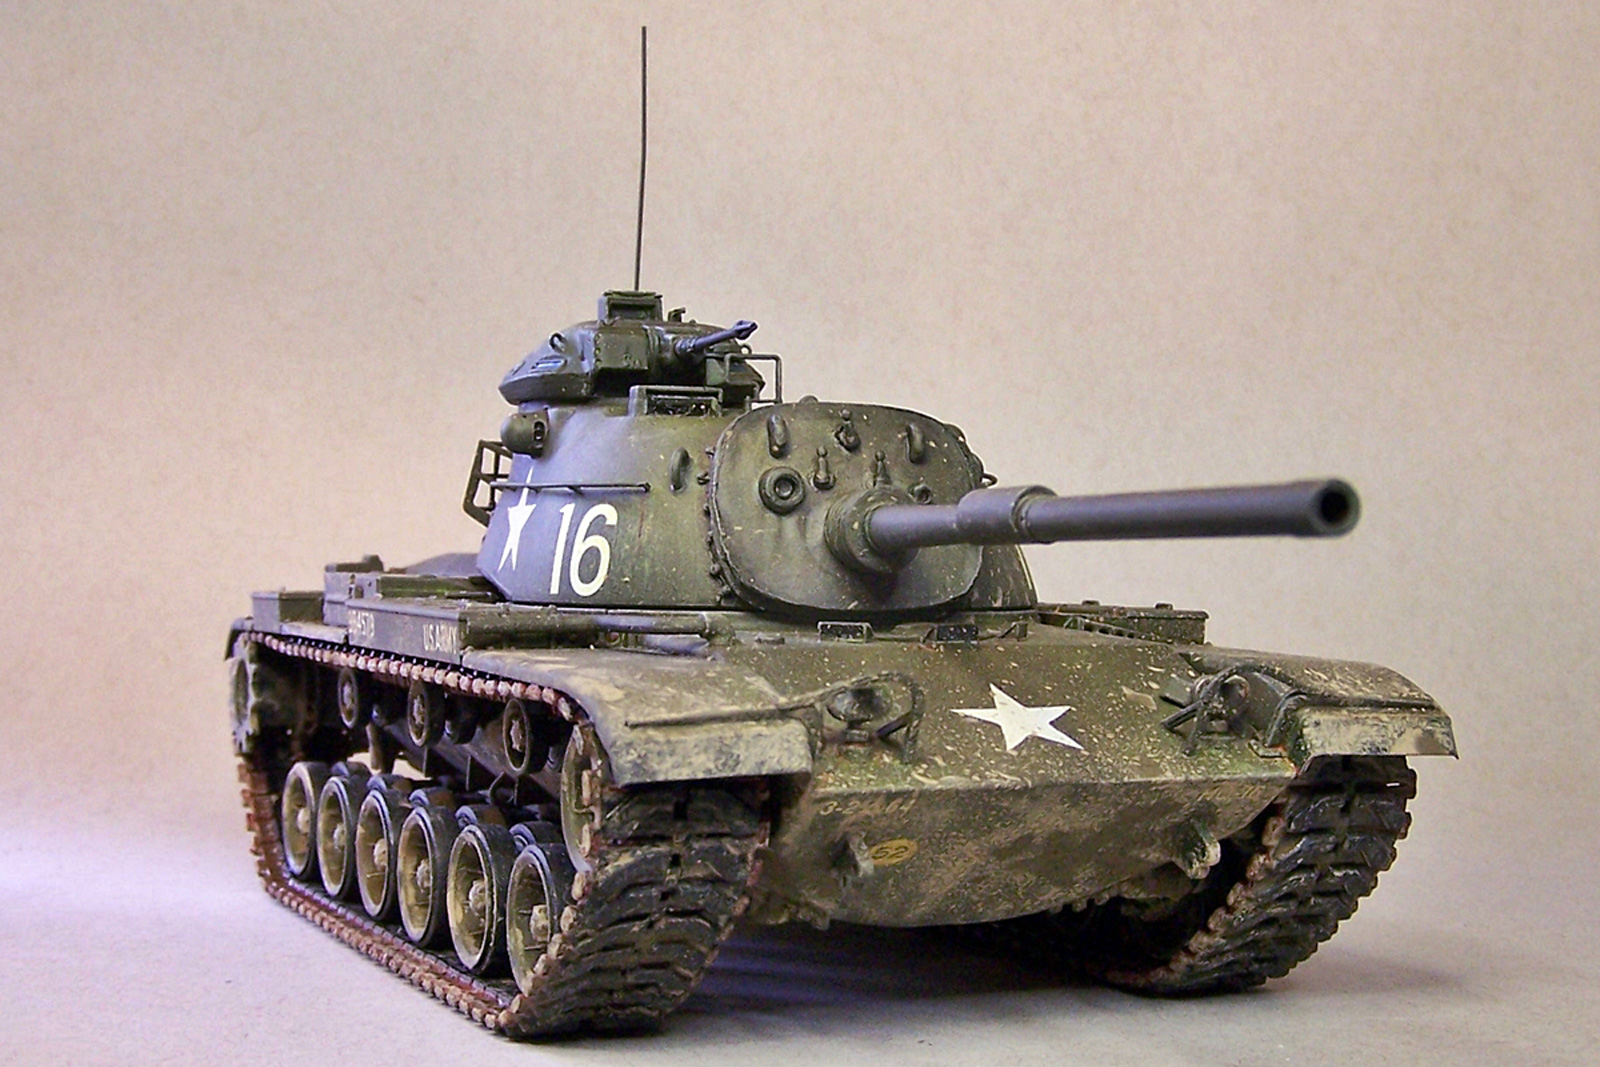
Moving away from the hull, the commander's cupola is built up in step thirteen, noting the hatch position is optional. Next, the turret was built up in steps fourteen and fifteen This is where I encountered the only real problem with the kit. I discovered that the 130mm long metal tow cable is too short to work, at least 165-170mm is required. The instructions then incorrectly have you cut it into two 62mm lengths, the lengths should be at least 82mm in order for them to fit correctly, so I left them off.
Finishing up the build in step sixteen, the gun and tracks, both involved DS plastic parts. Dragon Styrene or DS plastic is awesome stuff, and it’s the medium used for the full-length tracks and gun mantle cover. It’s heavier than rubber and more pliable. I’ve never worked with it before and I had a few questions, so I called up my little buddy, Lt.Vann. I asked him what kind of glue and paint to use. He told me Tamiya paint, and thin cement or superglue would work fine. So I used the Tamiya stuff with no problems. The gun mantle went together just fine but I decided not to add the searchlight. The tracks went on last and adding the drive sprocket here paid off. The painting was next, then the decals and they worked just fine and I finished with a little mud weathering.
The Bottom Line
I would like to thank Dragon USA and IPMS for the opportunity to present such an outstanding model kit. I highly recommend it.


Comments
Dragon M60 "slick"
Roughly four years ago I bought this kit and looking in the "sturdy" box immdiately I was disappointed.
This kit isn't worth the money!
Road wheels too small, the barrel of the M68 main gun too shorts, the mantlet shows it's M48 original. M19 cupola has wrong dimensions. The idler wheel is mounted too far backward. The hatches have no interior details! NO mud holes on the sprocket!
Summa summarum.
I throw it to the trash can. Not worth any work. The worst kit I have ever seen.
If you want to build an M60 "slick" the best approach is as follows:
Buy the TAKOM M60A1 and the DEF Model M60 conversion set, add an Aber M83 barrel and the Legend Production M19 cupola and VOILA, you'll got it.
An advice: You must buy the TAKOM M60A1. This kit is the only one on the market that has the correct early hull with three small eyelets on the hull on both sides! Don't go with the Legend Production M60 "slick" turret! I had the Legend Production turret; - it can't hold a candel to him
The DEF MODEL turret is the better one. Don't forget to eleminate the second forward shock and move the front support roller backward; roughly between first and second forward road wheels! Then you'll get a perfect M60 "slick"!
Happy modeling
Add new comment
This site is protected by reCAPTCHA and the Google Privacy Policy and Terms of Service apply.
Similar Reviews