
Lockheed F-35B Lightning II
Tamiya follows it 1/48th F-35A Lightning kit with a new and very updated 1/48th F-35B. I have been lucky enough to review both. Read the F-35A review.
For this review, I will focus on the differences between the two kits. Inside the box, you will find 14 sprues with trees A, B, C and E being carryovers from the A version. There are sprues to make weapons also:
- 2 of AIM-9X
- 2 of AIM-120C AMRAAM
- 4 of GBU-12 Paveway II
- 2 of GBU-32 JDAM
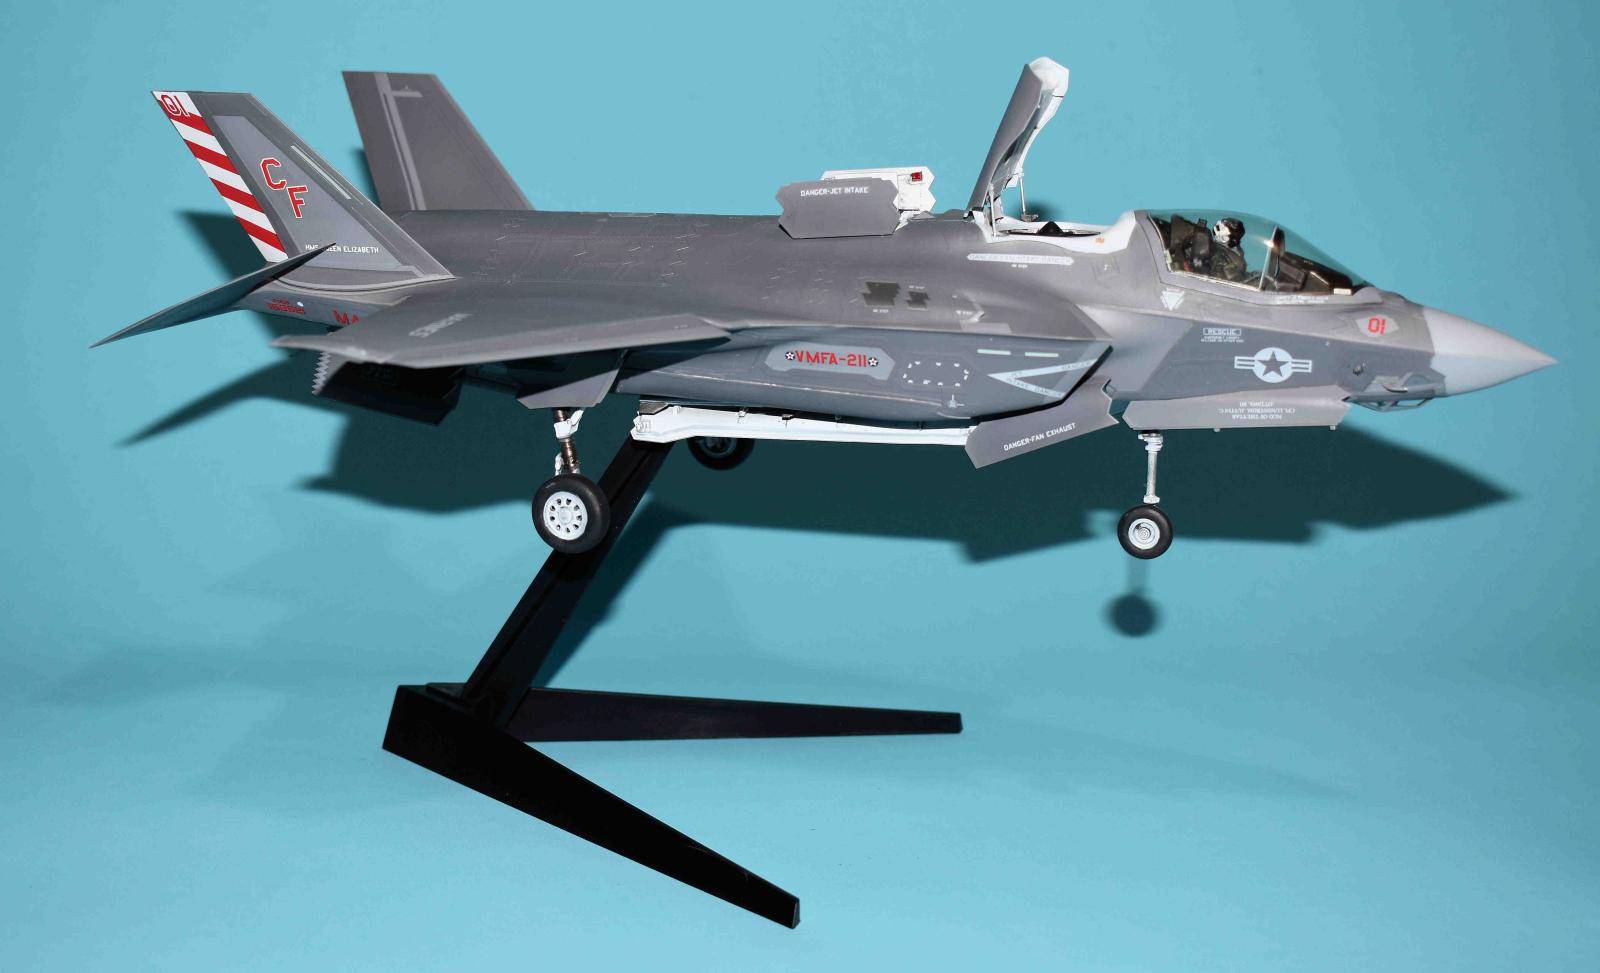
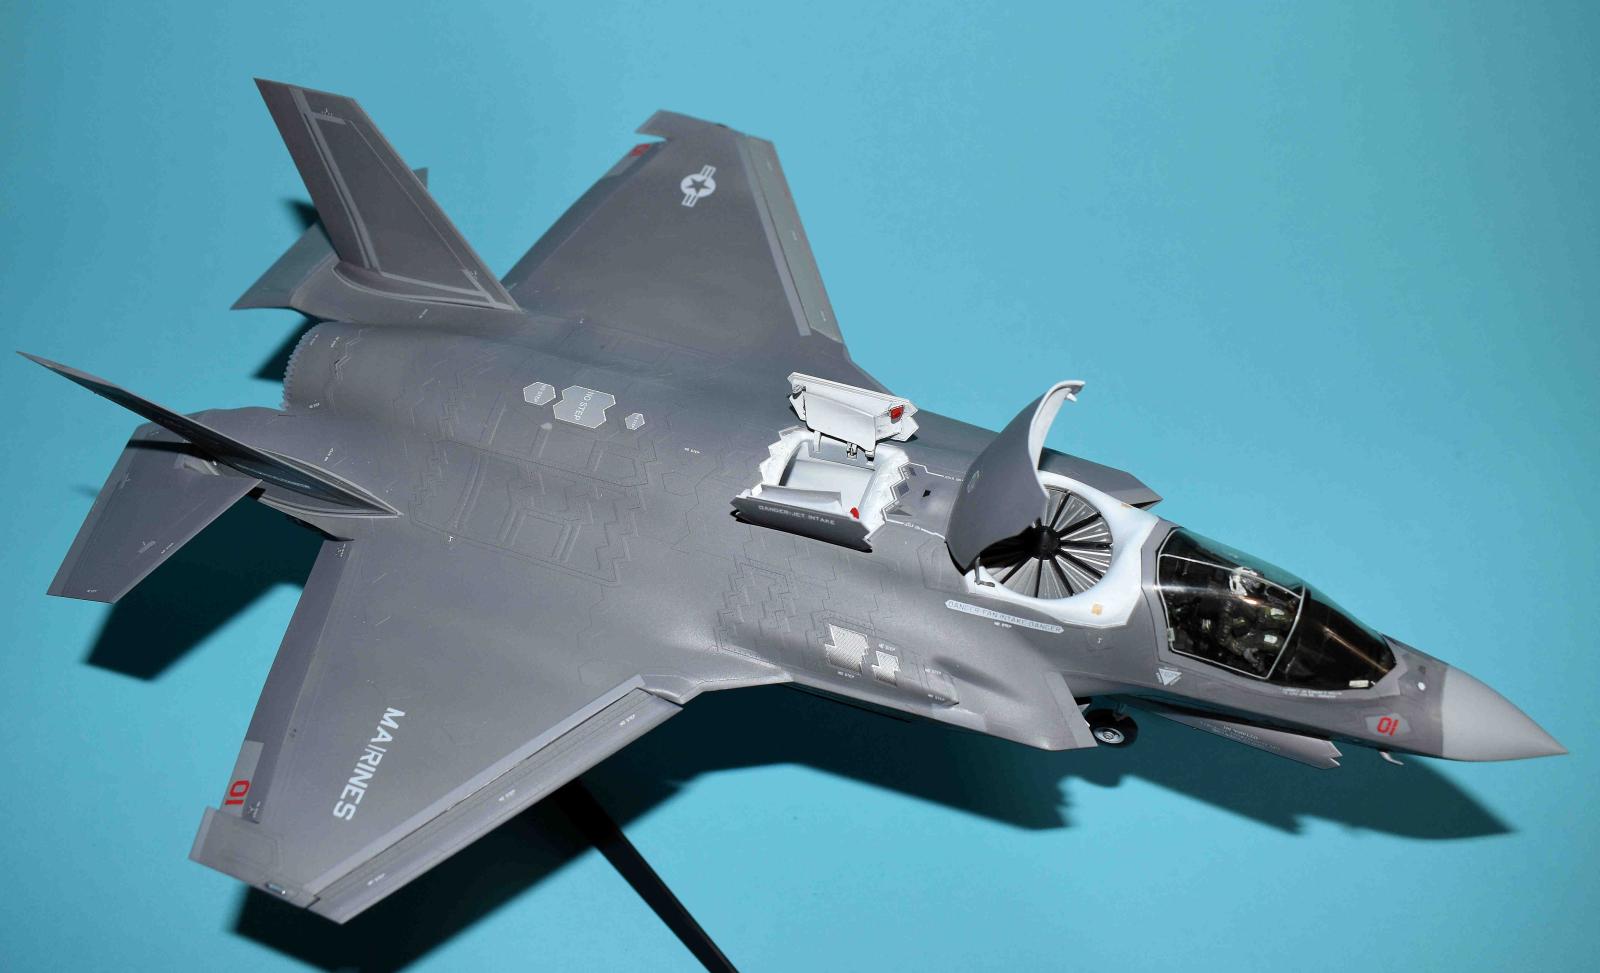
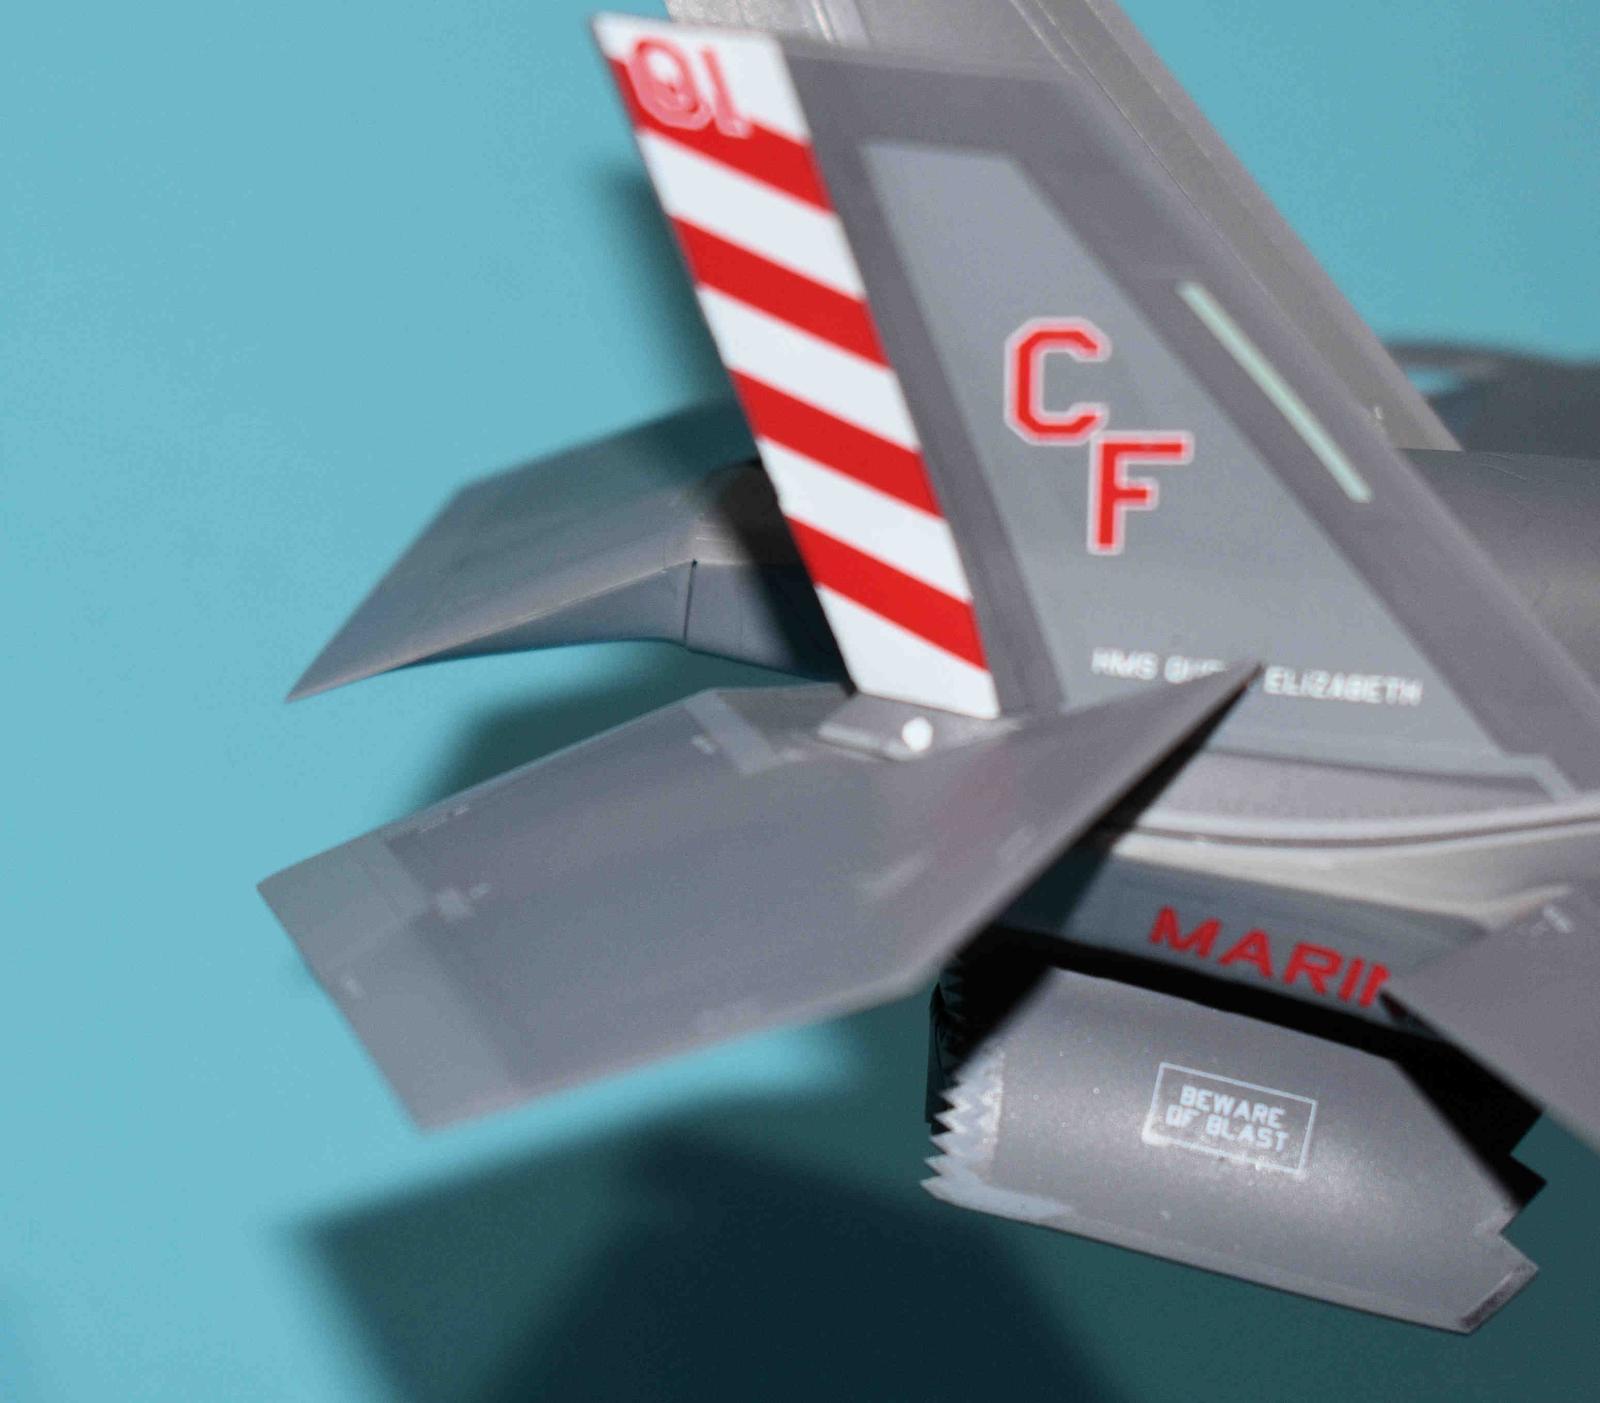
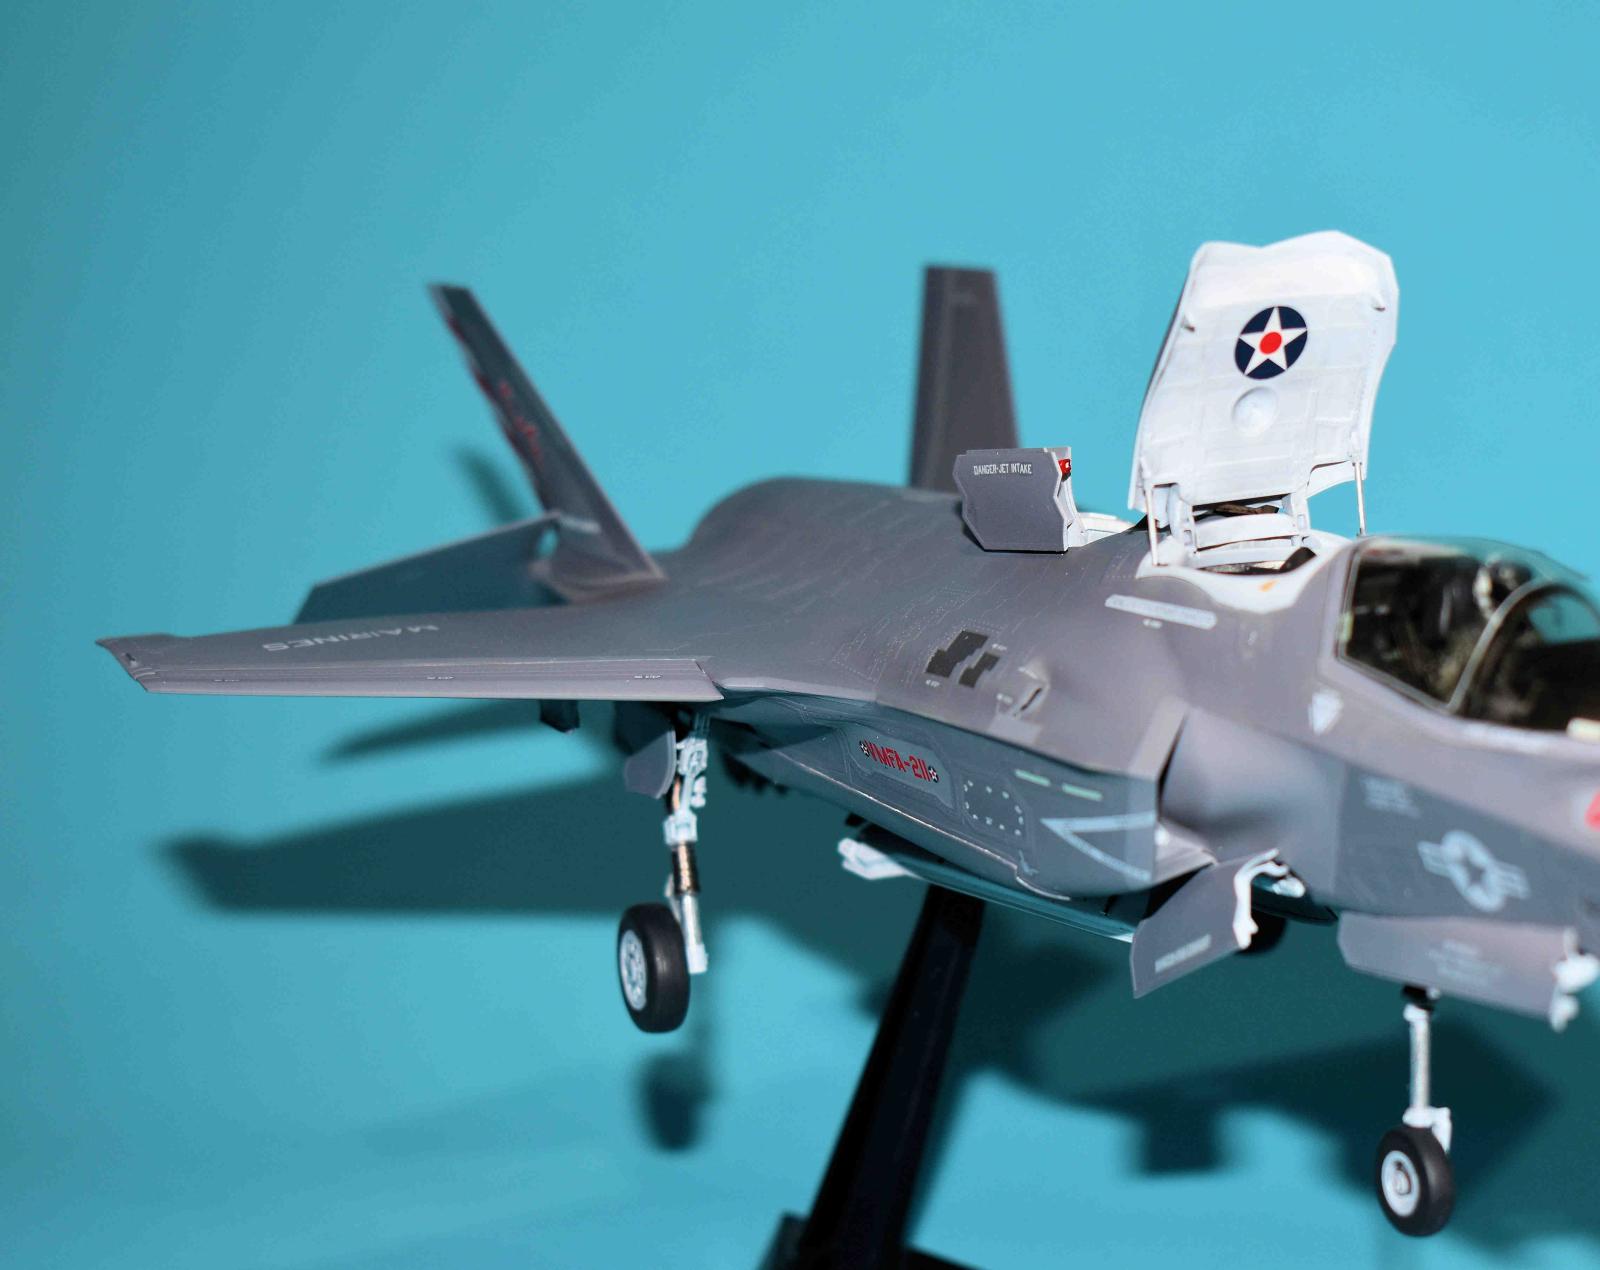
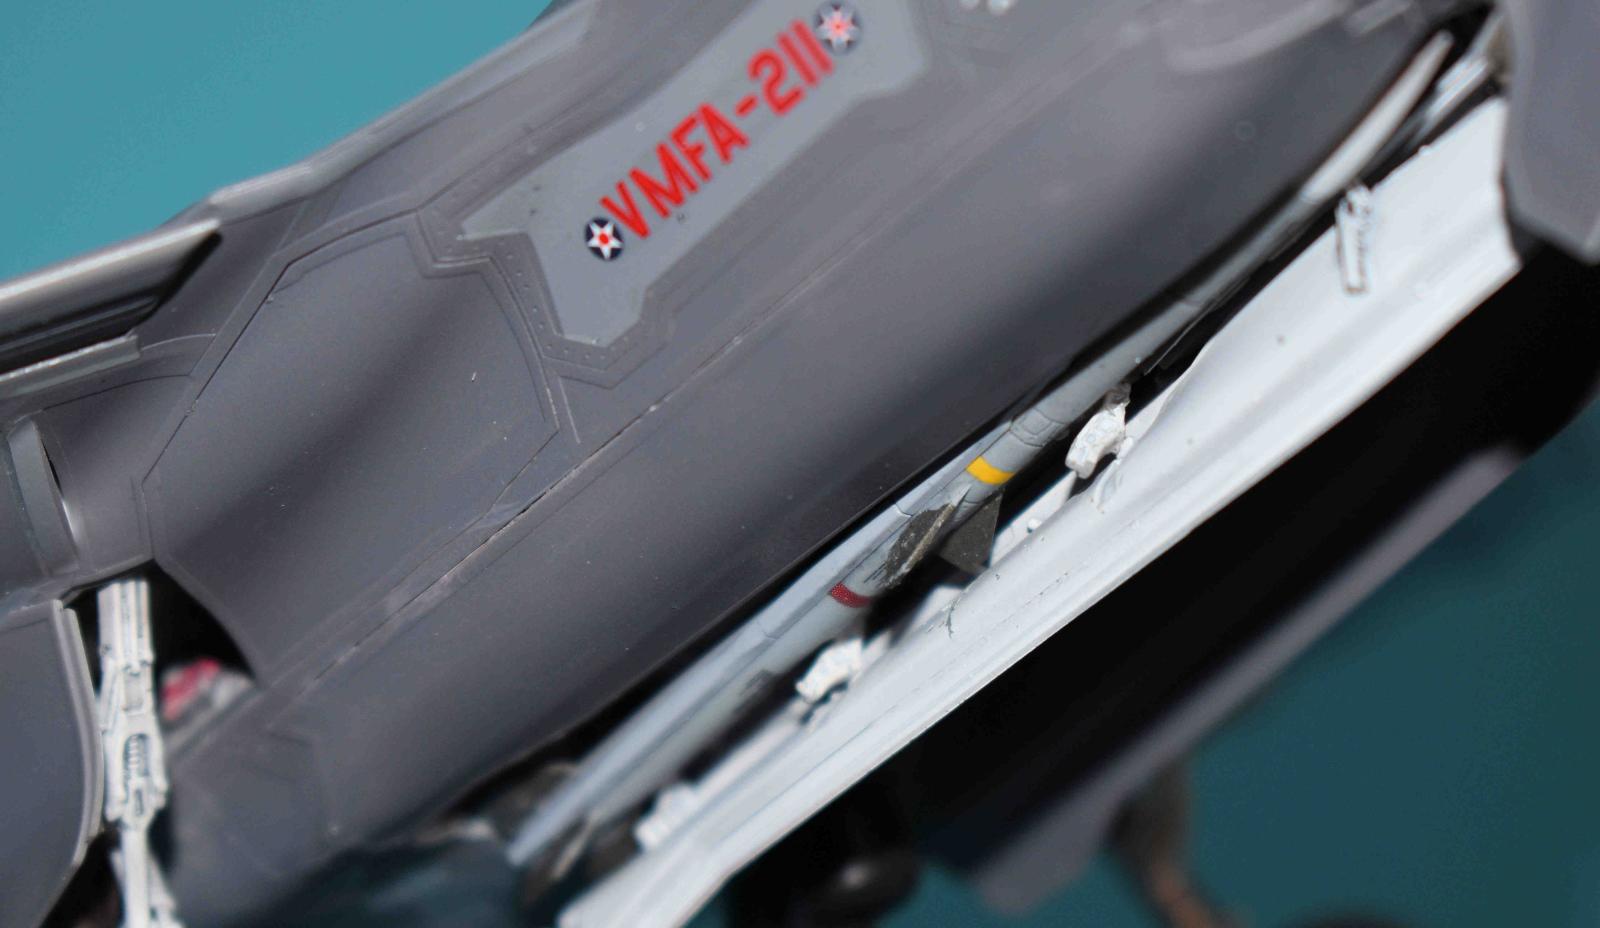
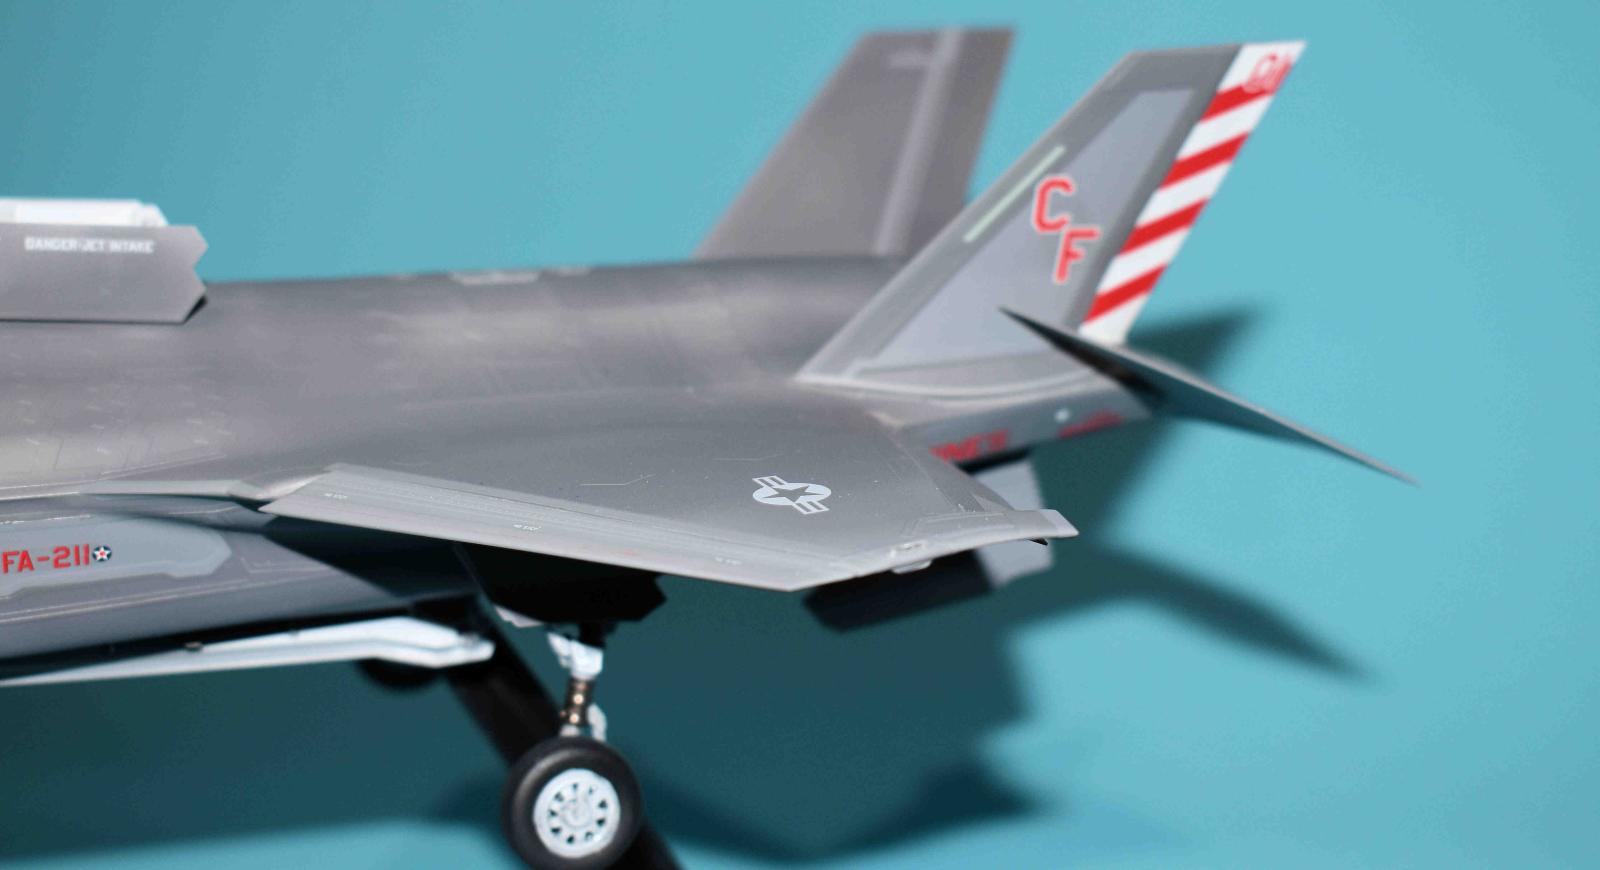
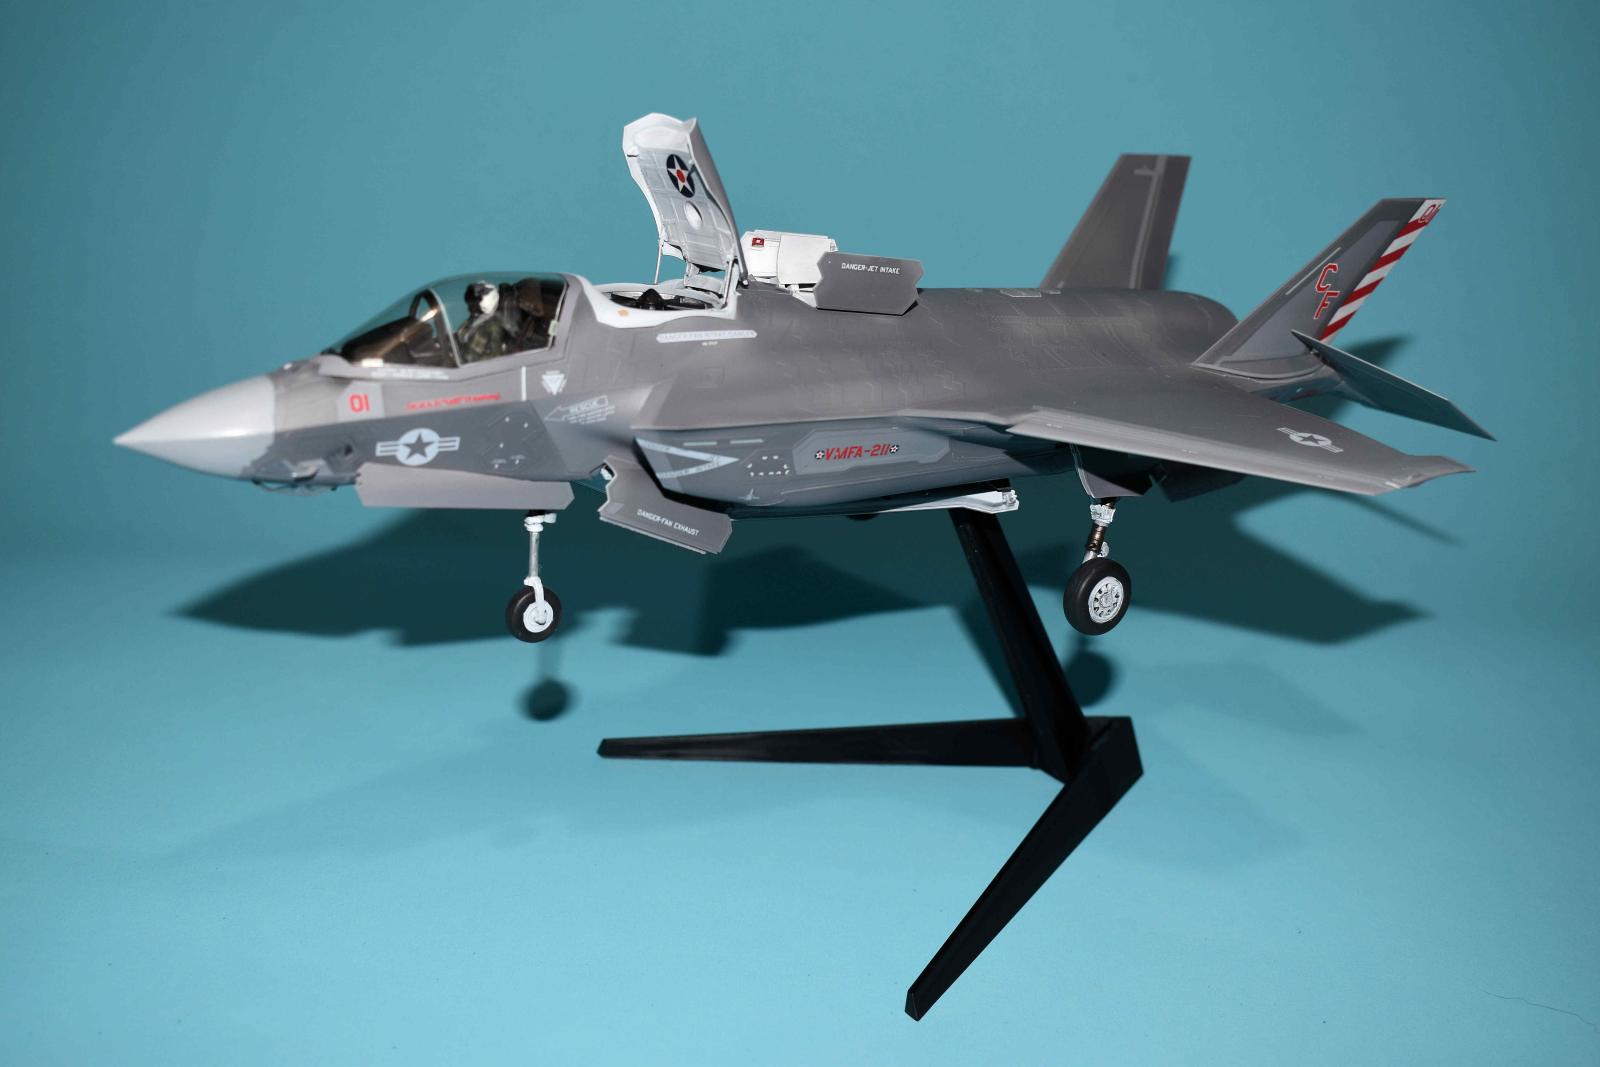
There are seven marking options (USMC, Royal Air Force, Italian Air Force/Navy). There are well done decals for all the markings, large color profiles and a masking set in the kit also. The first thing I noticed was the huge size of the instructions; 60 pages worth. The reason for that size is the reason the kit is so neat- it can be built in any one of three configurations - parked, short take off or vertical landing. With either of the landing configurations, there are multiple doors that need to open to represent the configuration. Options include:
- Stowed or open ladder door
- Stowed or open top and bottom lift doors
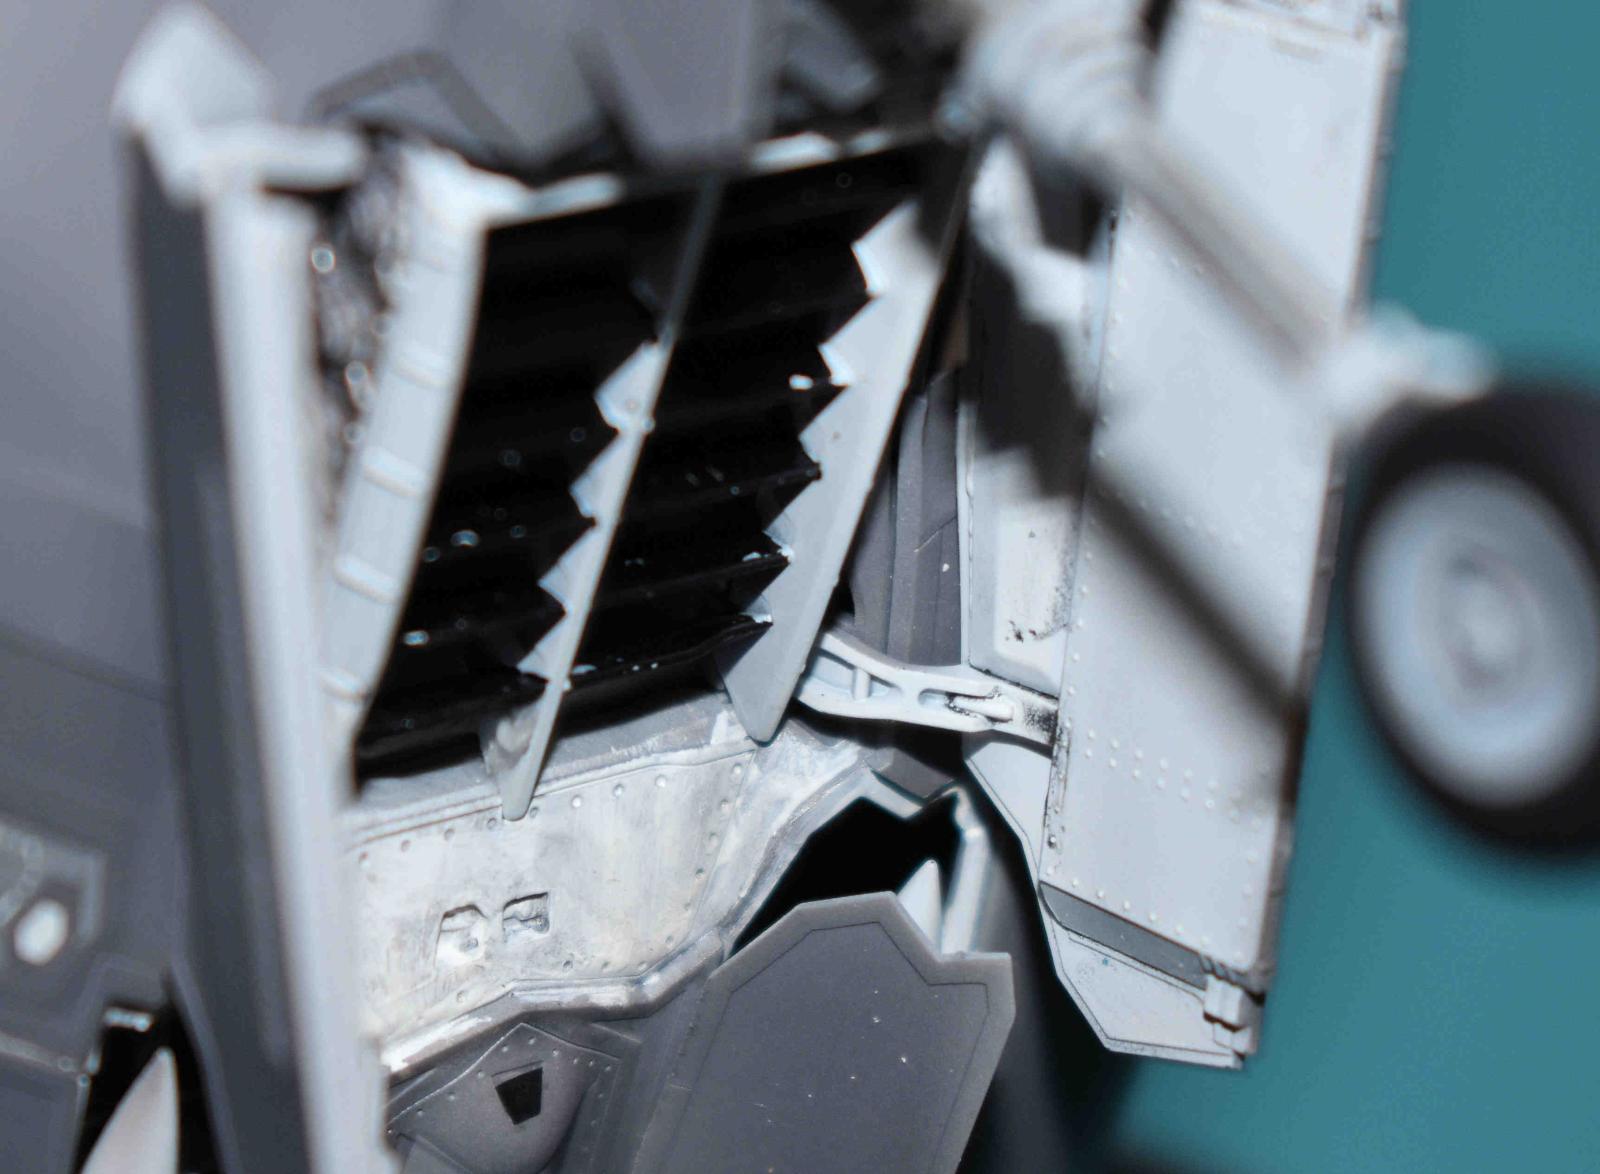
- Stowed or open Auxiliary Air Intake Doors
- All weapon bay doors
- Tailerons up or down
- Main and front landing gear extended or loaded
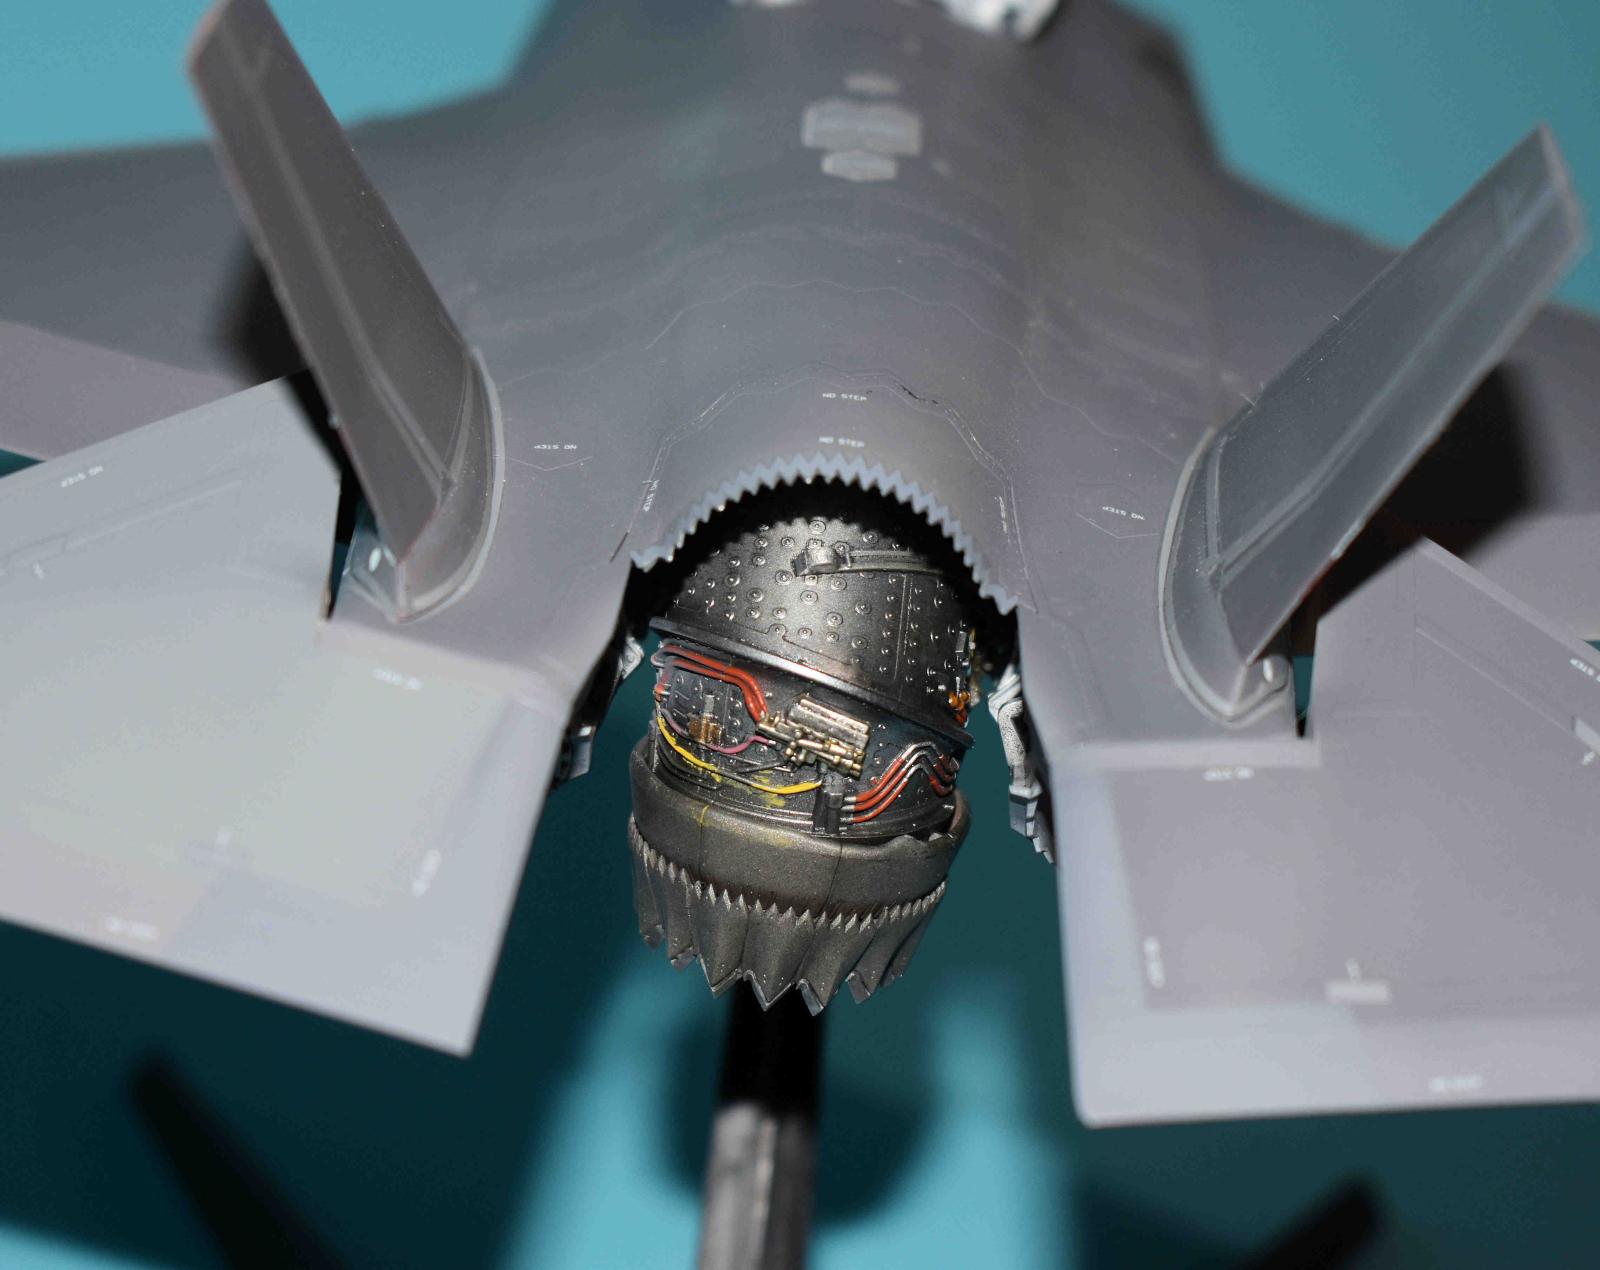
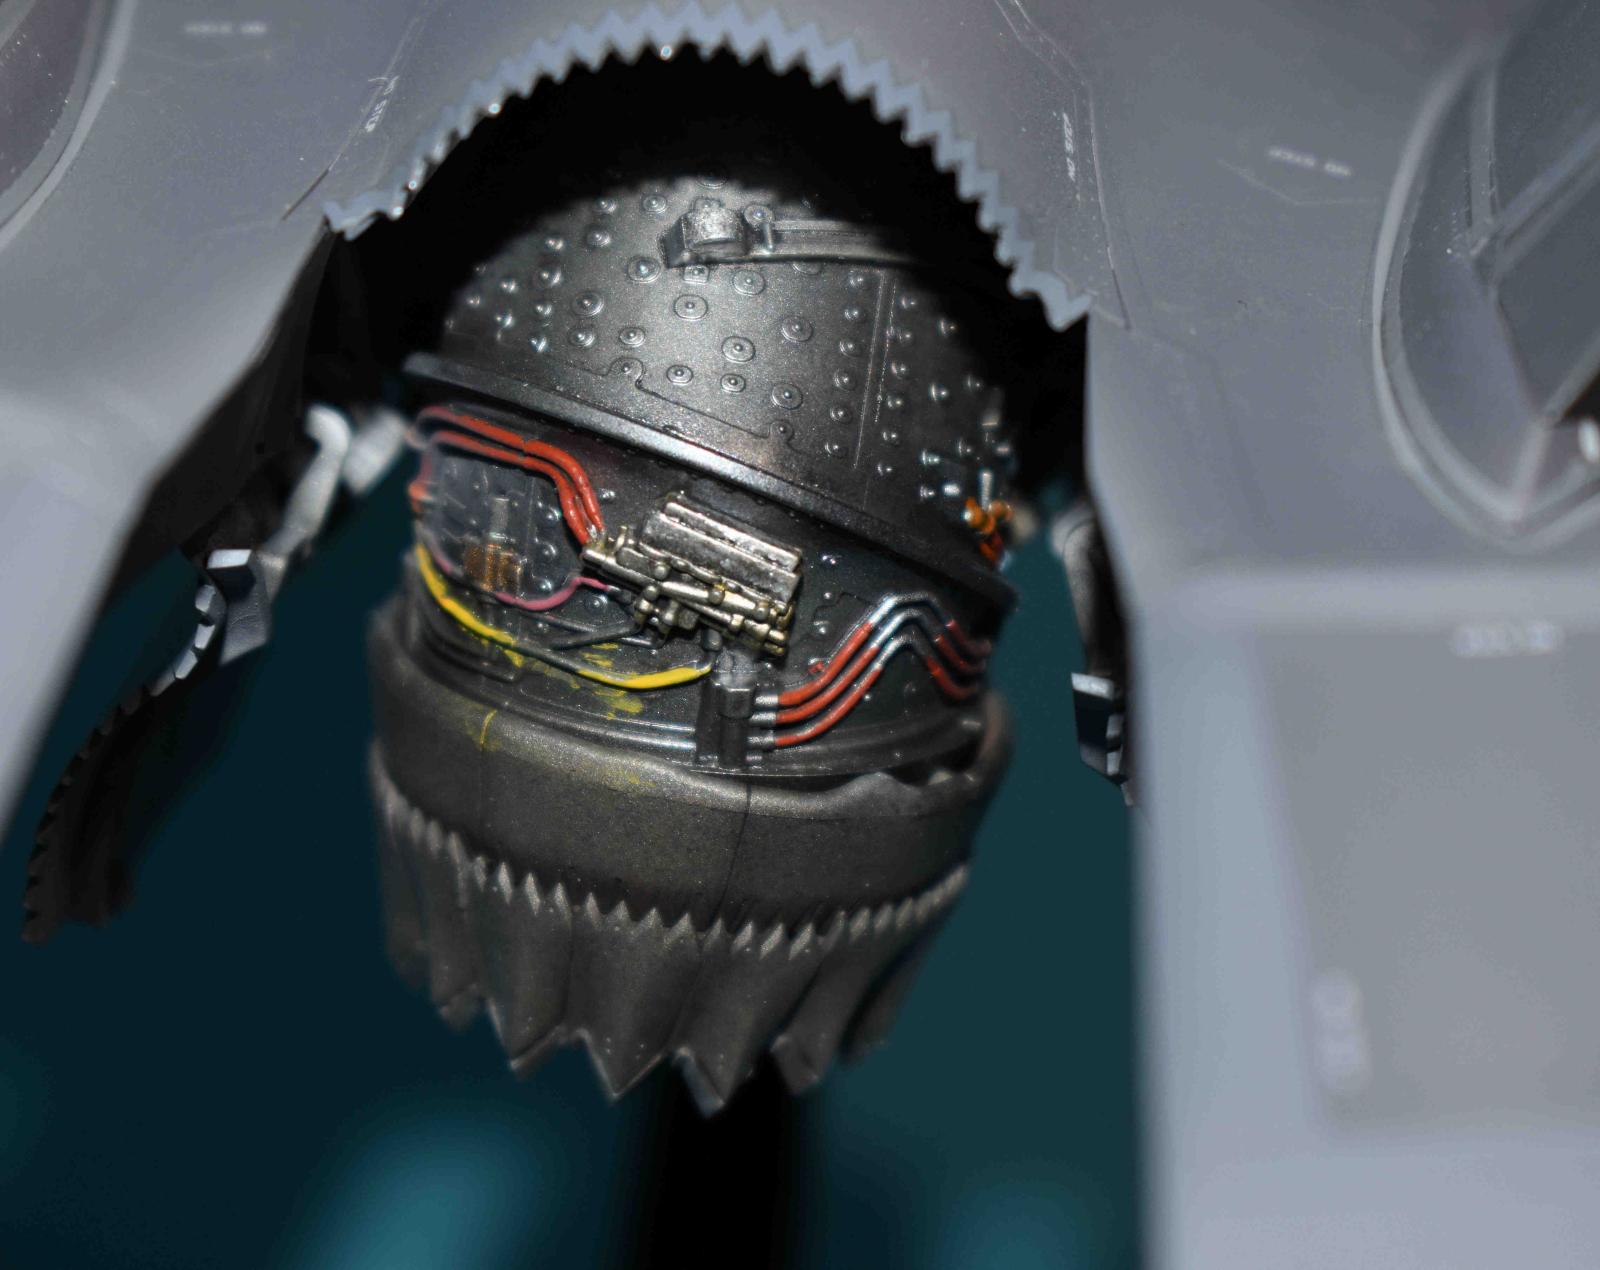
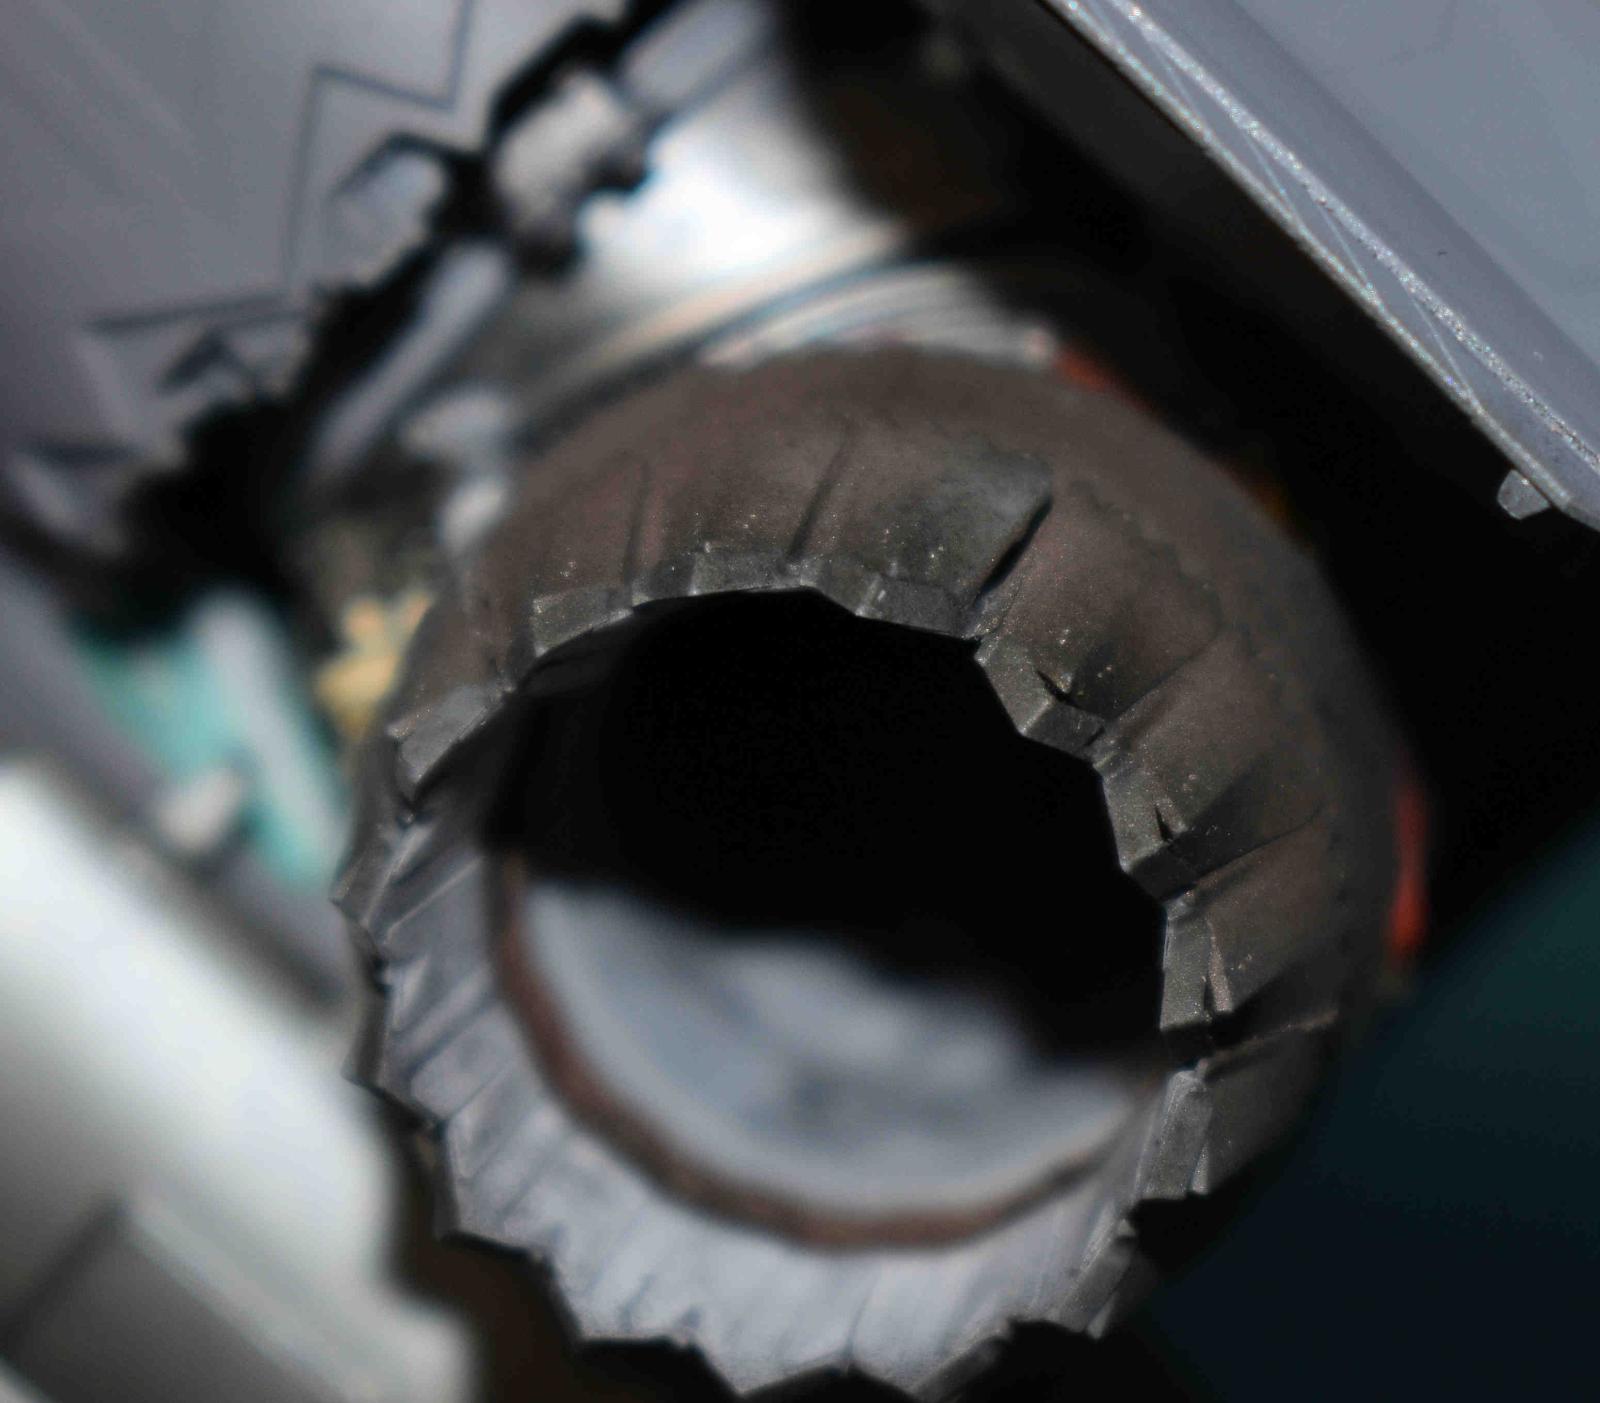
- Engine nozzle angle
- Roll post doors
- Flap and slat positions
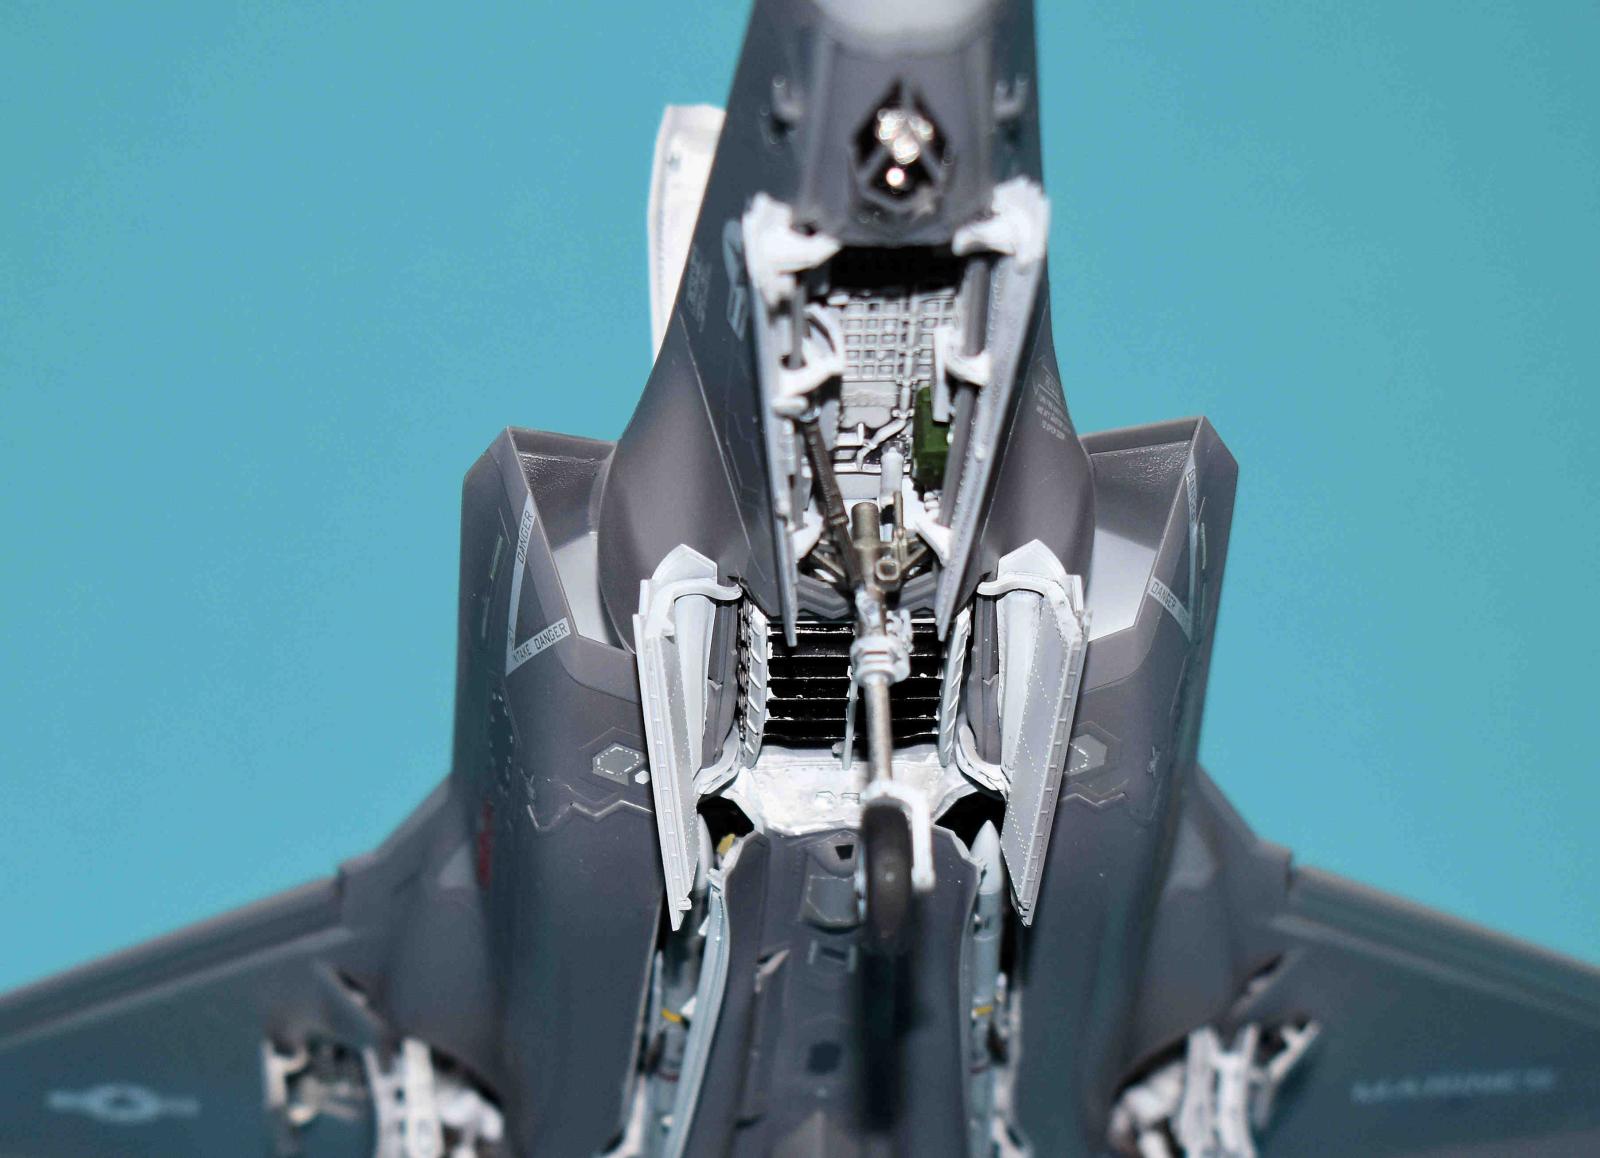
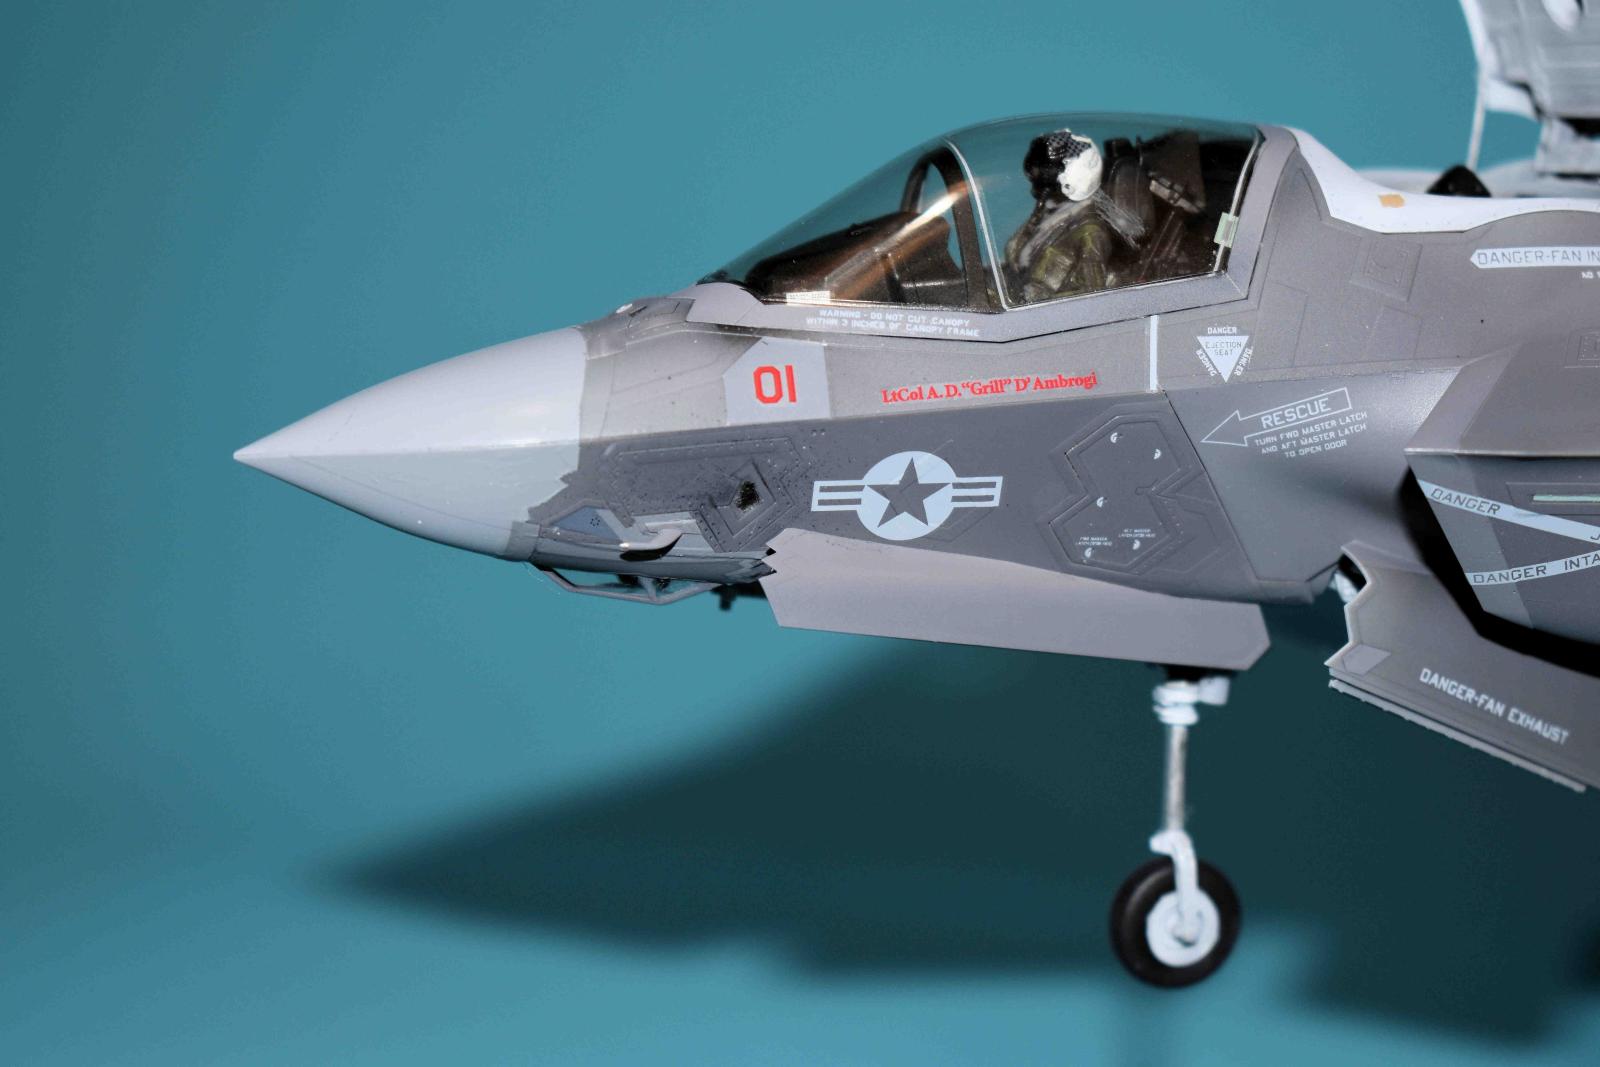
With these options, it creates more parts and as Tamiya instructions are specific, there is the large size. The initial part of the instructions is construction of the cockpit, intakes and weapons bays. It is a virtual duplicate of the previous version with a few exceptions such as the addition of some parts visible from the open doors. This is all done in the first 14 pages. There are also some holes to open depending on your choices. Once you have made a choice (I chose vertical landing to show the plane in motion), I moved to page 43 where the specific instruction were located.
The remainder of the construction starts with the exhaust nozzle and doors. The landing gear is next- make sure to double check the parts as there are multiple sets. I did not add all the doors until painting was complete. There are a lot of paint details so proceed slowly. The front landing gear is done next and then the doors. Each door also has the need for decals so watch for those and their circled numbers. I added weapons at this time. The slats and flaps were built and again, watch your part numbers. The tailerons were next and the attachment lugs provide the correct angles. I elected to not add exterior weapons.
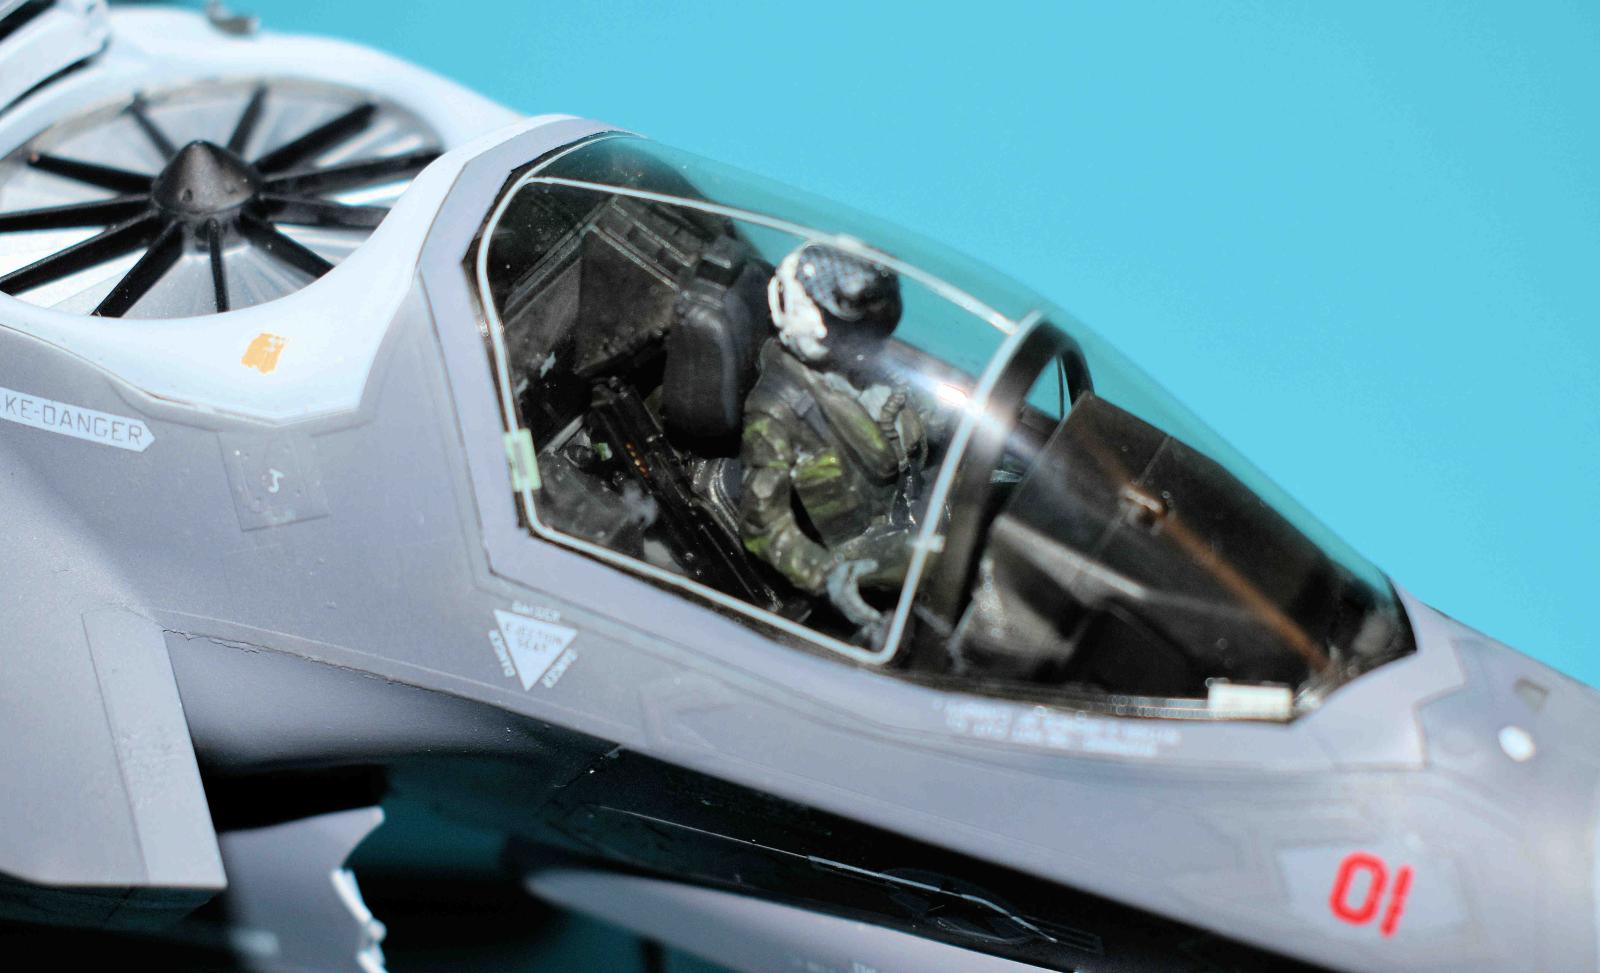
The tails are built and then the cockpit finished off - seat, pilot and instrument panel. The canopy is built, decals and masked for paint and then added to the kit. Step 144 builds and paint the upper lift fan door and there are specific markings. Once all was done, I had lots of pieces doors and the like ready for paint.
You might notice that I have not mentioned any filler- Kit needs none, anywhere, the fit is perfect. Paint call outs are for Tamiya’s newish lacquer line and I tried them. They paint wonderfully and mix well as each of the larger colors is a mixture of two base colors. I thinned mine with lacquer thinner. They do have a strong smell.
Once all the painting and touch up is done, I glossed the kit and added decals. It took over a week as there are a lot of markings. They go on well. At least with the new kit, there are no RAM markings. Once the decals added were flat coated, I used some oil wash to highlight some lines. Another flat coat and adding the parts that was all that was needed. Lastly, I added the stand. There are actually parts to add and remove the stand. The masks were pulled off and the kit was done.
This is another absolutely phenomenal kit- perfect fit, lots of options and markings and a blast to build. I cannot say enough good things about it. Go get and build one and enjoy yourself. My thanks to Tamiya and IPMS/USA for the opportunity to review this kit.


Comments
Parts
I. Wonder how many parts this F-35B (Tamiya)
Add new comment
This site is protected by reCAPTCHA and the Google Privacy Policy and Terms of Service apply.
Similar Reviews