
Lockheed C-130H
The Aircraft
If you’ve never seen a C-130, and never had a ride in a Herk, you’ve probably been living under a rock somewhere. There are more than 40 variants, serving in 60 countries. The C-130 has been in service with the US Air Force for over 50 years, albeit with several different models and many improvements along the way.
The Story
I served in the Illinois ANG for 30 years, from 1966-96. Just as I was retiring in 1995-96, the 182ndbecame an Airlift Wing, with C-130Es. When I heard that this kit was available for review, I begged and pleaded with John Noack to get this model. I wanted to build one of the Peoria C-130s. When I was informed that I’d get it, I called one of the kids, Tony Johnson, who worked at Peoria when I was there, to ask him if there were any good photos of the C-130s. The 182AW web page has nothing useful for the modeler on the C-130. I suspect that this is for Operational Security, as they’re flying missions into Iraq and Afghanistan on a regular basis.
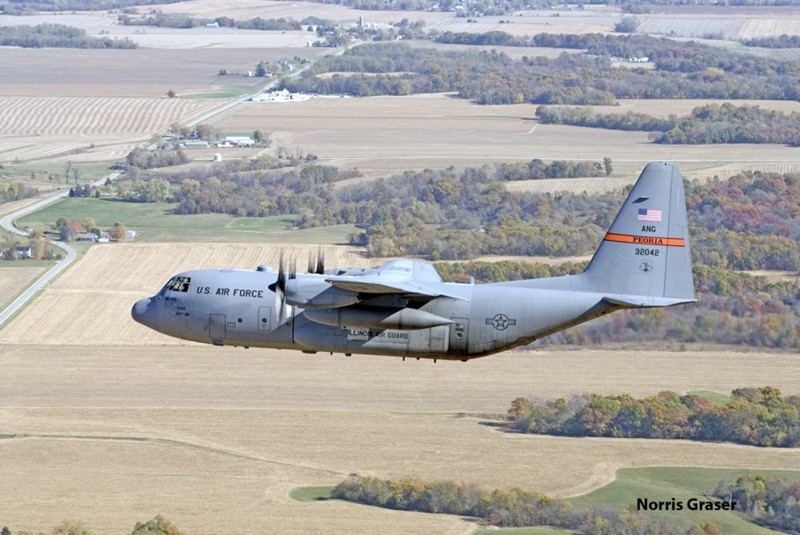
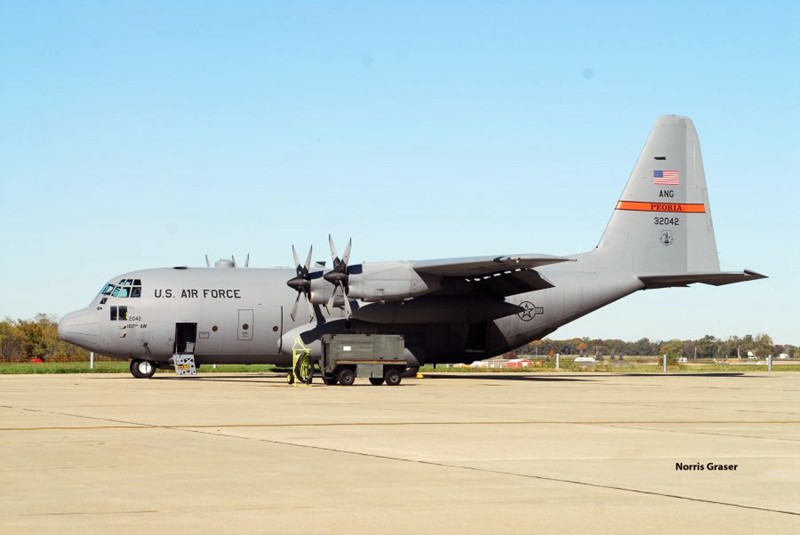
Anyway, Tony, who is now a Chief Master Sergeant, and said he’d see what he could do. Meanwhile Brian Baker suggested I get with Doug Slowiak, who is an aviation photographer and a good guy. Doug suggested Norris Graser, who has some magical connections which allow him to take photos unavailable to mere mortals. Norris e-mailed me several great shots of a Peoria 130. Here’s one.
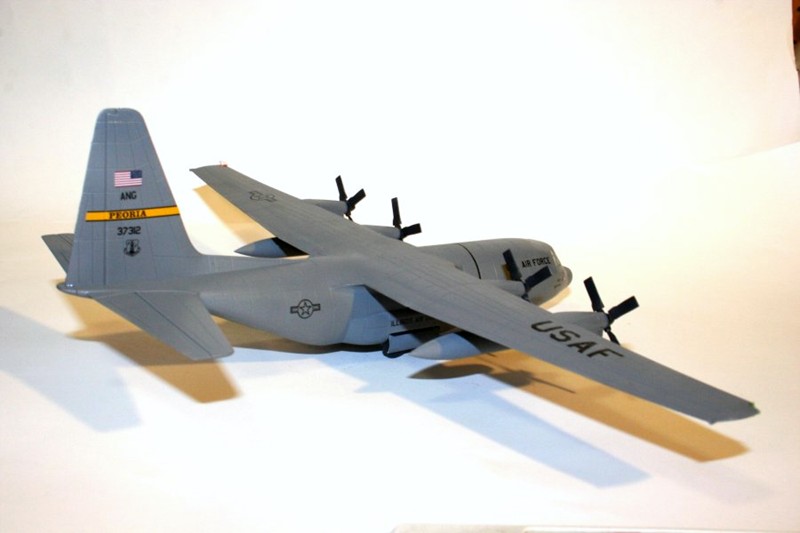
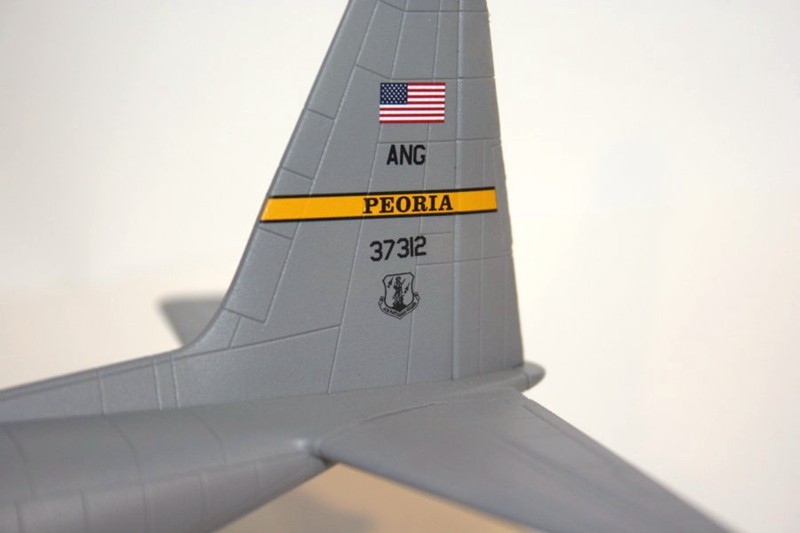
When I received the kit, I was somewhat amazed and relieved; there were markings included for a Peoria ANG C-130, as well as a Pittsburgh AFRES Herk. I was planning on making some decals, and Minicraft saved me the trouble. Thanks, guys. They deserve the recognition.
Construction
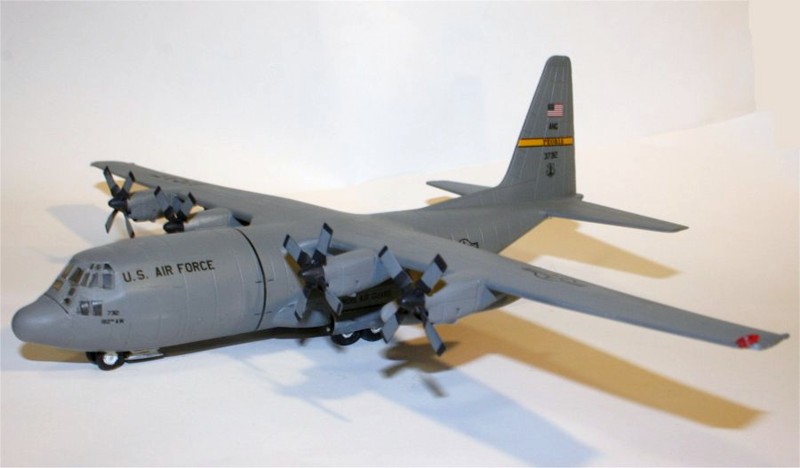
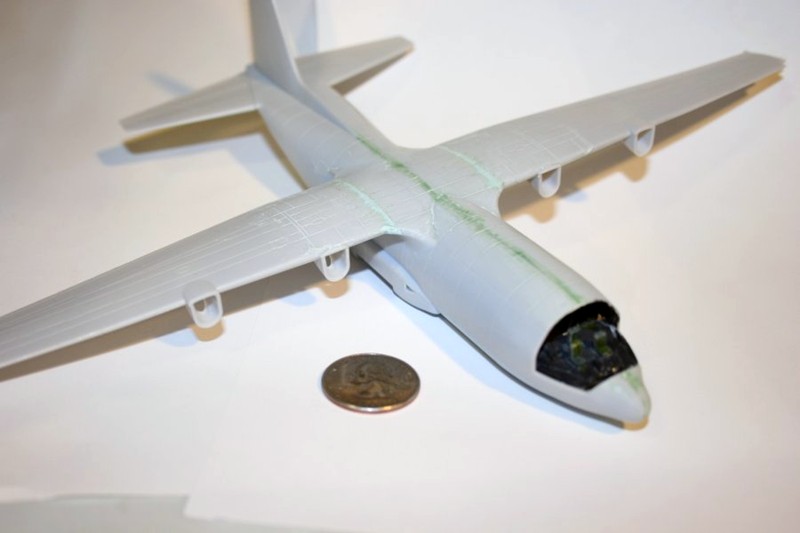
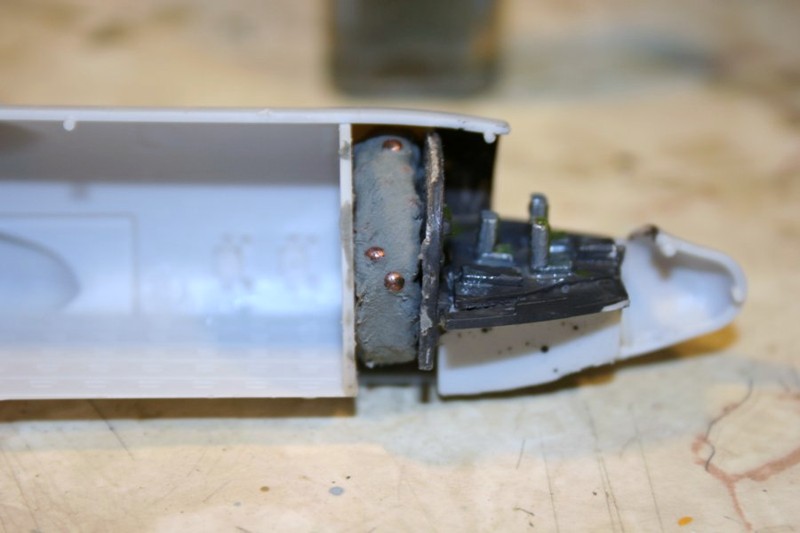
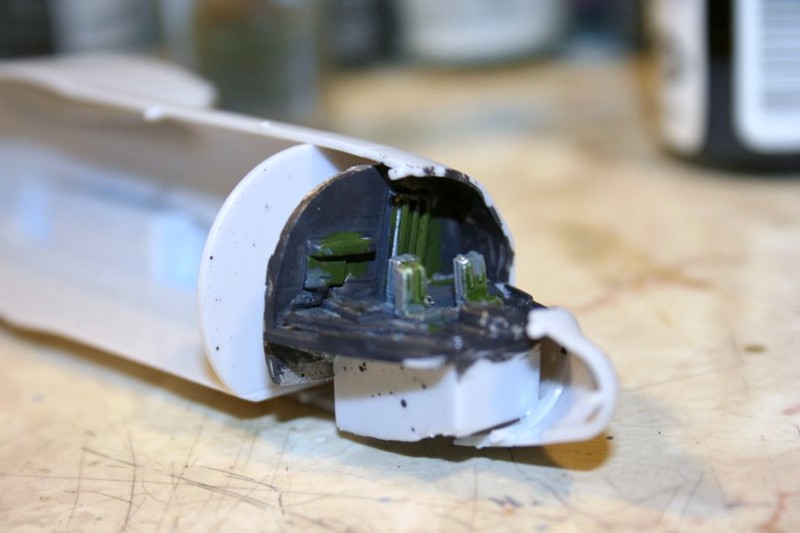
This is a pretty straightforward kit. There’s an interior for the cargo bay, and a flat plate for the flight deck. Years ago I bought a bunch of 1/144 cockpits from Matador Models in England, (http://www.matadormodels.co.uk) and I still had a 130 cockpit left. I put it in there, and it looks pretty good. Even in 1/144 a 130 has a lot of windows, so an interior is useful.
The instructions suggest you add 8 grams of weight to the nose area. The Matador cockpit has a back bulkhead, and the cargo bay has one. The two don’t quite meet. This was a great place to put birdshot and modeling clay where it won’t come loose and bounce around.
Fit was generally pretty good. I usually have some issues with getting the fuselage halves to match cleanly, but with a little putty and re-scribing, it was just fine. Once I got the engine nacelles installed, it was ready to paint.
Paint and Decals
Paint was Model Master ® 36163, AMC Gray overall. I was pretty pleased that the cockpit clear part only needed a little fiddling to get it to line up with the fuselage. I installed the cockpit before I painted, using tape to protect the windows, then following up with a combination of masking with the airbrush and some hand painting. This was a really, really easy paint job. One color, overall, with a coating of Future, and it’s ready for markings.
The decals came off the paper easily, could be moved around with a little water and a soft brush, and mostly stayed where I put them. I was also gratified that the panel lines indicated on the decal instructions matched the panel lines on the model. Makes it a LOT easier to position the decal and get it straight when you’ve got good visual reference. Another coat of Future to seal the decals, then a shot of clear flat.
Finishing
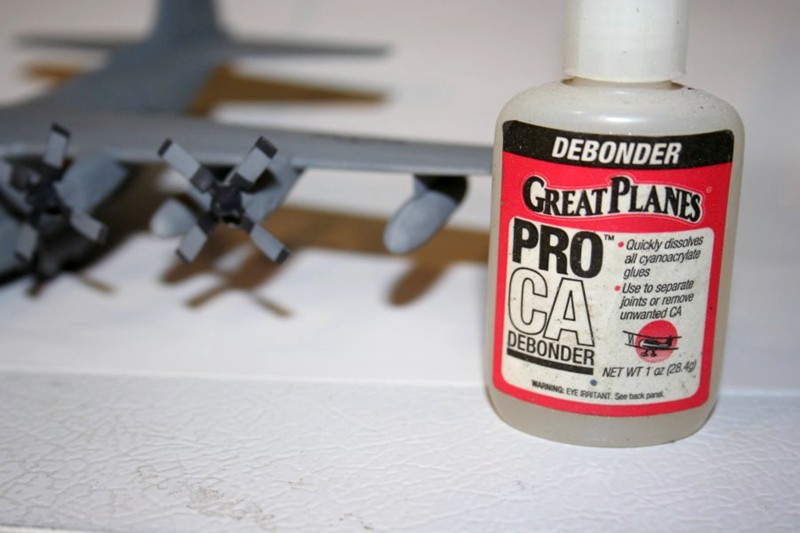
I installed the nose gear door and nose gear. No problem, everything fit. The main gear was a different story. The main gear legs are little struts which have pins that fit into holes in the side of the gear well. You can’t see those holes, the pins didn’t want to fit, and it’s a constant struggle to get them even and straight. Next time, I’m going to install the main gear struts in the wheel wells before I install the wells in the fuselage halves.
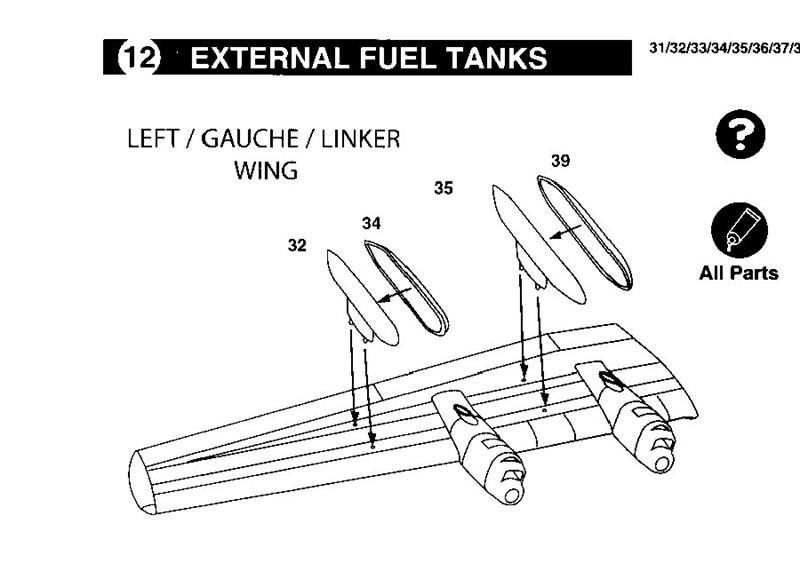
I installed the external fuel tanks, and painted and installed the props. Here’s where another of Norris Graser’s photos was highly helpful. Minicraft gives no indication of how to paint the props. I thought they might be solid black. The photo shows gray blades with black tips and black at the roots. The photo also confirms that the color for the wheel hubs is white.
The Final Spasm
I took the finished model to the monthly chapter meeting, along with a printed photo of the airborne C-130. Doug Slowiak was glad to see I’d used Norris’s photos. Then he dropped it on me. C-130s after the A model are not plumbed for external tanks between the outer engines and the wingtips. So I went home and pulled the outer tanks off, filled the holes, and gave it another shot of 36163.
Overall Evaluation
Highly Recommended. This kit stands head and shoulders above the old Revell C-130. Except for the main gear, which I’ll do better next time, and the fuel tanks, it makes up into a lovely model just following the instructions. I suspect they’ll sell dozens of this kit in the Greater Peoria area just for having the 182ndAW markings.
Thanks to Minicraft Models, Inc. for the kit and IPMS/USA for the chance to build a part of my personal history. Also thanks to Tony Johnson, Norris Graser and Doug Slowiak for info on planes that are now 1700 miles from my home.

Comments
Add new comment
This site is protected by reCAPTCHA and the Google Privacy Policy and Terms of Service apply.
Similar Reviews