
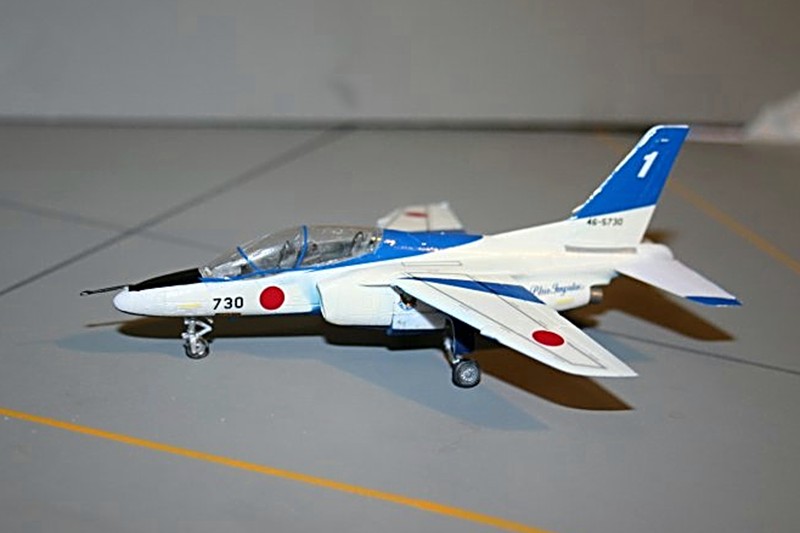
Kawasaki T-4, Blue Impulse
The Aircraft
The Kawasaki T-4 came out in the late 1980s as a replacement for the Lockheed T-33s and Fuji T-1s in the intermediate trainer role. One of the reasons for the T-4 appears to be that it is built in Japan from mostly Japanese sources.
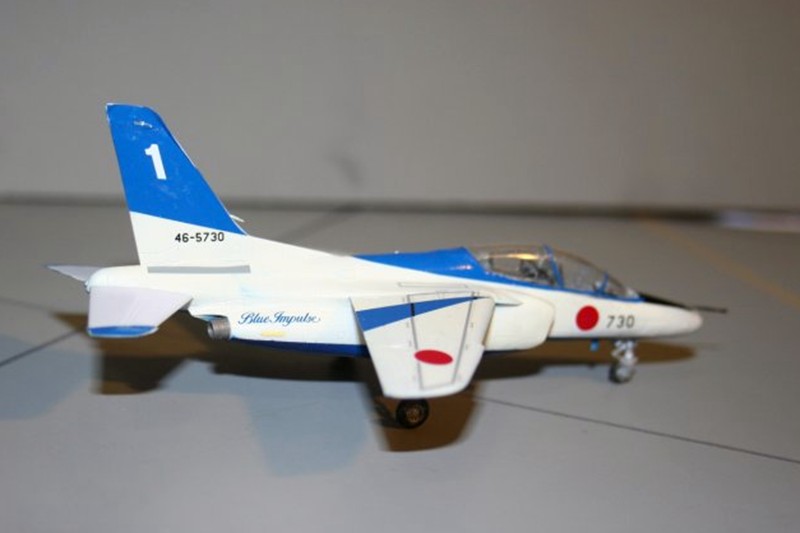
The T-4 is the third aircraft flown by the JASDF’s Blue Impulse demonstration team. The first two were the F-86 and a Mitsubishi T-2.
The Kit
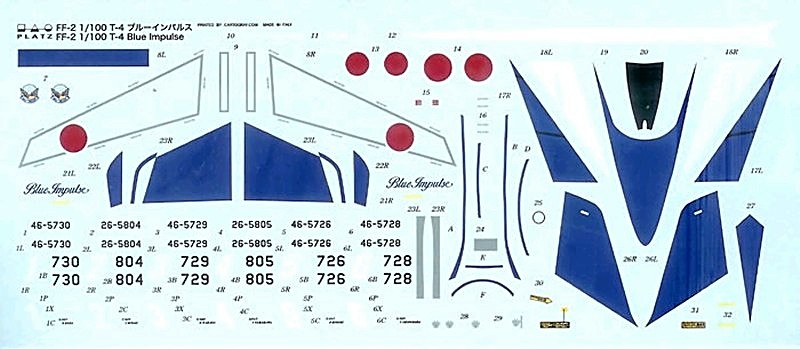
The box contains two sprues of bright white plastic, with a clear sprue which has enough clear parts to do two kits. This makes perfect sense when you remember that Platz 1/144 kits are “twofers”, 2 kits in one box. All parts are cleanly molded with no flash. As I did the assembly, I noted that there are no warps, mold flaws or short shots anywhere. The decals are by Cartograf of Italy.
The Build
This kit is designed for ease of assembly. There are several places where there are large (for 1/100) tabs and slots for parts, such as where the aft doors for the main landing gear fit into the wheel wells. If you have a budding modeler in the family who needs something beyond a snap kit, but not too difficult, this kit would easily fill the bill.
Some clean up is required where parts attach to the sprues, especially where the wings and horizontal stabilizers attach. The attachments are pretty fine, and can be easily smoothed out with a fine sanding stick. And here’s where I give the first “Atta boy” to Platz. The attachment of the sprue to the canopy bends down and back up so that it meets the mating surface instead of the side of the clear part. This means that any cutting and sanding is done on a surface which will then be glued to the fuselage, requiring a lot less finesse.
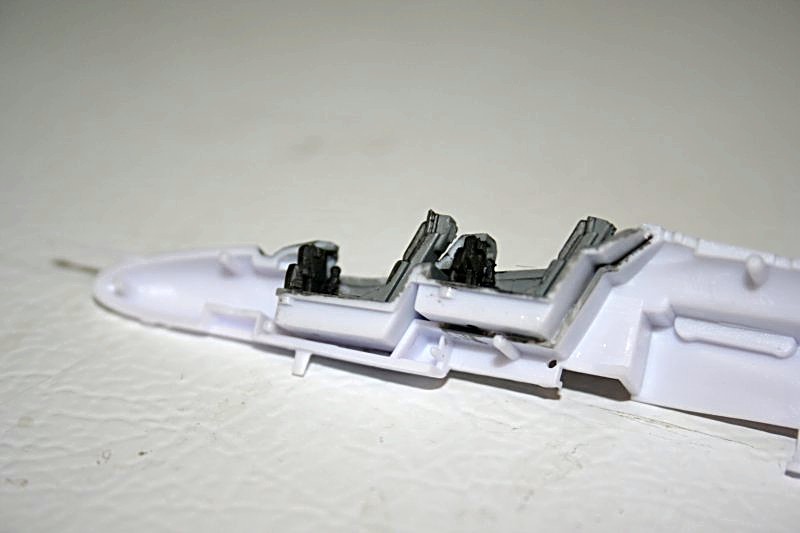
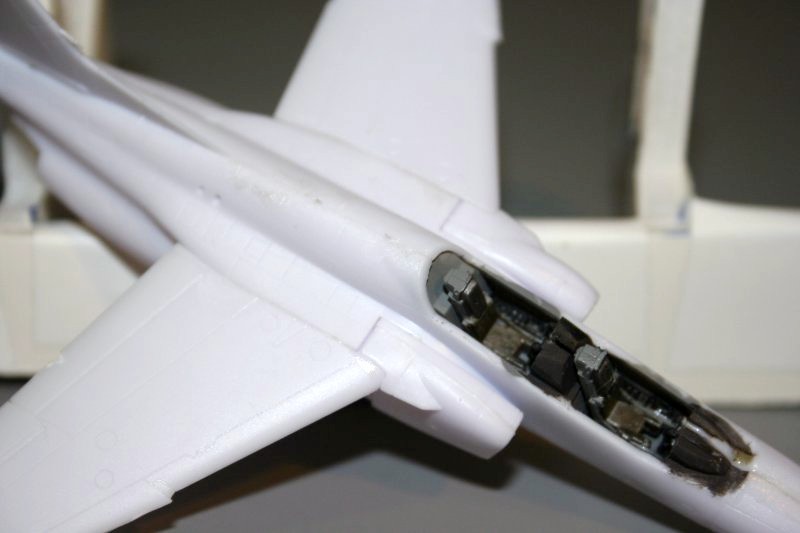
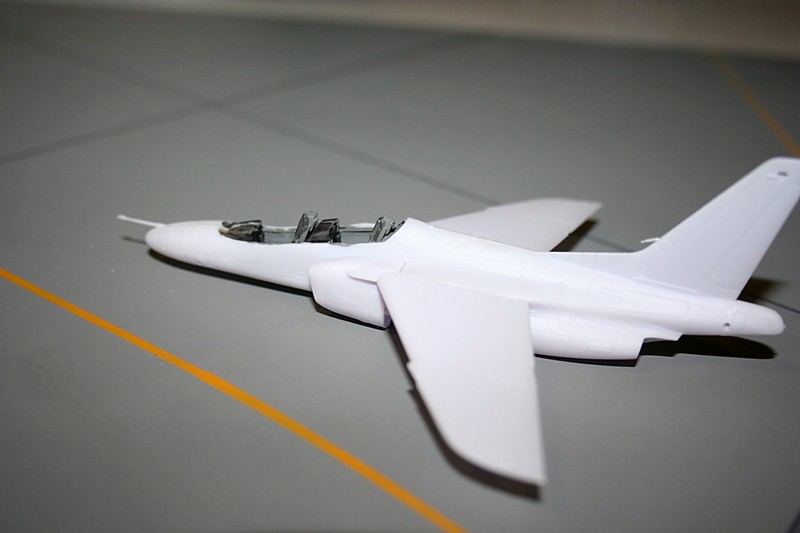
The cockpit assembly is fairly simple, with a tub, 2 seats and instrument panels. You get 4, you need 2. Someday I’ll need a panel or 2, so into the spares box. Then the fuselage halves, the intakes and the wings. The fit on this kit is excellent. I only used putty on the seam where the intakes meet the fuselage.
Paint and Decals
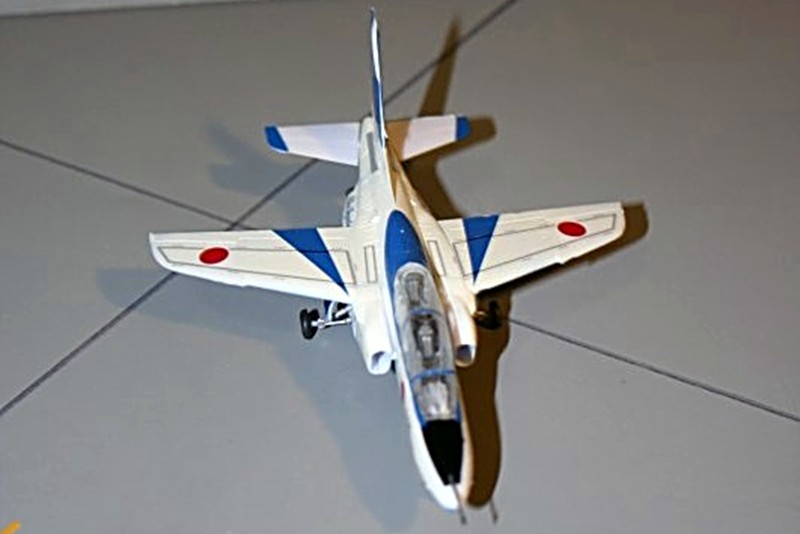
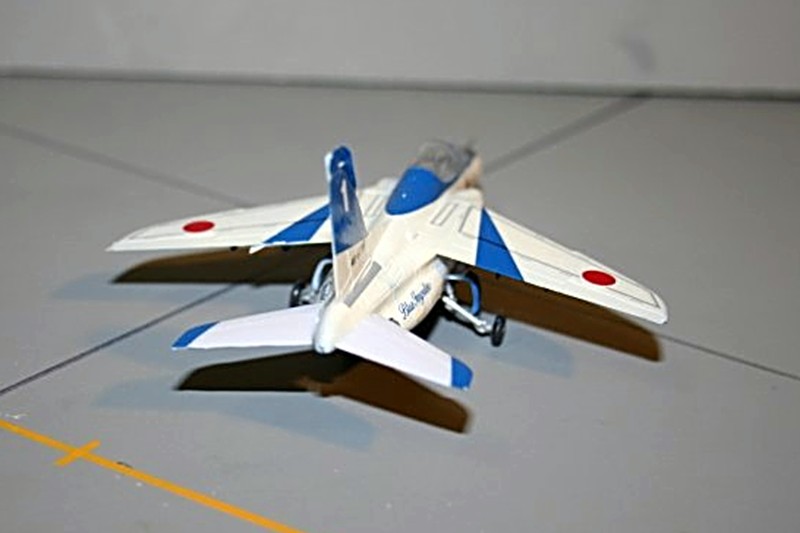
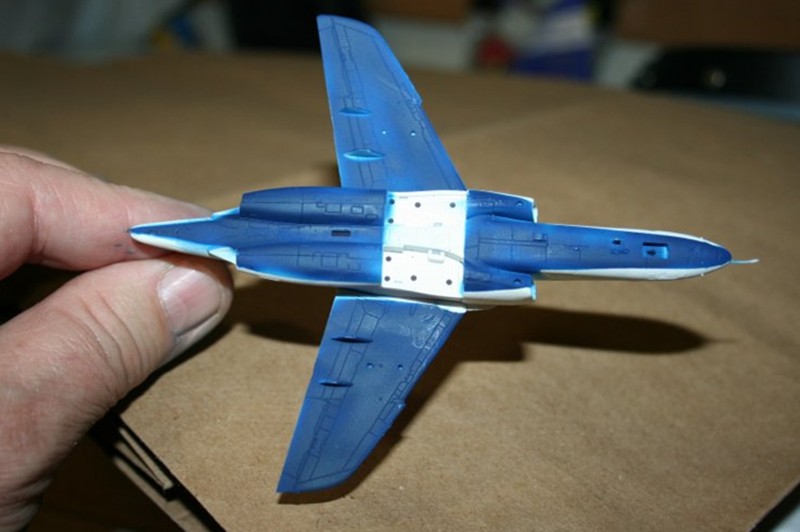
Painting was not very complex, as the bottom of the fuselage and wing are painted dark blue to match the decal, and the rest is done with decals.
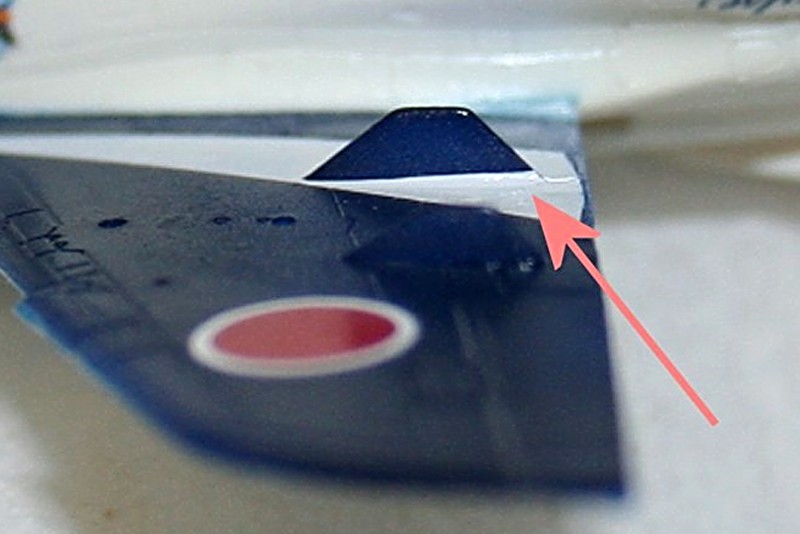
The decals are the part of the project that require some modeling experience, and move the kit out of the “beginner” category. I left the horizontal stabilizers off the kit and put those marking decals on. And here’s the second “Atta boy” for this kit. The underwing white triangle goes over the large triangular flap actuator; a difficult fit for the decal, except the decal has a hole which exactly fits the actuator. Wow!!! Cool! Give the decal designer an extra coffee break tomorrow.
The rest of the decals were excellent, coming off the sheet nicely. They’re thin enough, but tough enough to stand up to the need to move them about to get alignment.
Then there’s the decal for those of us who have problems painting canopies. There are colored decals for the canopy rails and bows. The lesson here for me is that I’m better with Tamiya tape and airbrush than with decals.
With all these decals, it took 4 sessions, each about an hour to do this part, over about 10 days.
Final Assembly
After the decals were set and a final coat of Future, I attached the horizontal stabs, the canopy and the landing gear. The main landing gear legs have a link which is far easier to assemble while the leg is not on the aircraft. The Voice of Experience speaks here. The main landing gear doors are perfectly idiot proof. There are two large (for 1/100) pegs on the door and two large holes in the wheel well. As long as you get the left and right doors on the left and right sides, it’s idiot proof. Yeah, I figured that one out too.
Overall Evaluation
Recommended. If you’re looking for a good starter, with adult help for the decals, this is a great kit. It you’re just looking for an addition to your collection of demonstration teams, it’d fit too. Thanks to Platz for the kit, and to IPMS/USA for the chance to do this fun build.

Comments
Add new comment
This site is protected by reCAPTCHA and the Google Privacy Policy and Terms of Service apply.
Similar Reviews