
Kawasaki Ki-61-Id Hien (Tony) and Camouflage Decals
The one thing all Japanese fighters in WWII had in common was a radial engine, except for one plane, the Ki-61 Hien which the allies named Tony. This was powered by a licensed built version of the Daimler-Benz DB601 and not only faced the allied fighters of the day but also had the performance to get to the B-29s altitude.
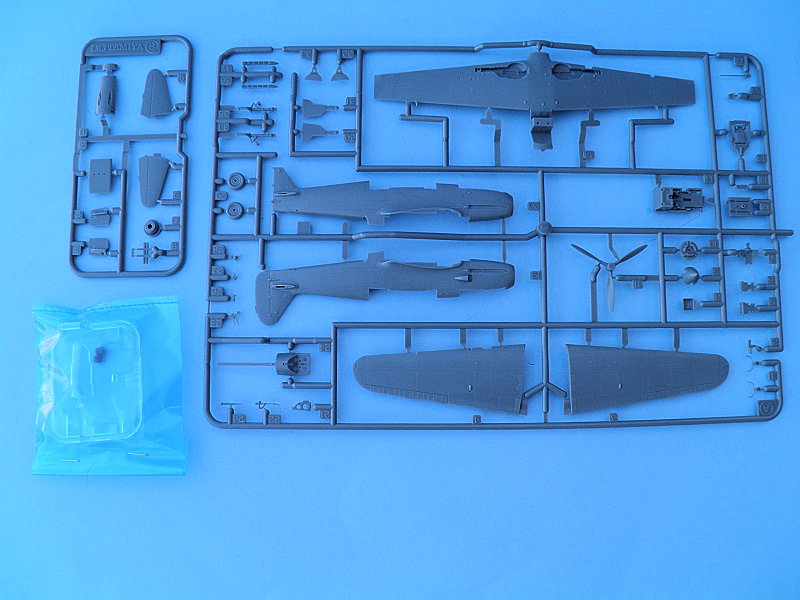
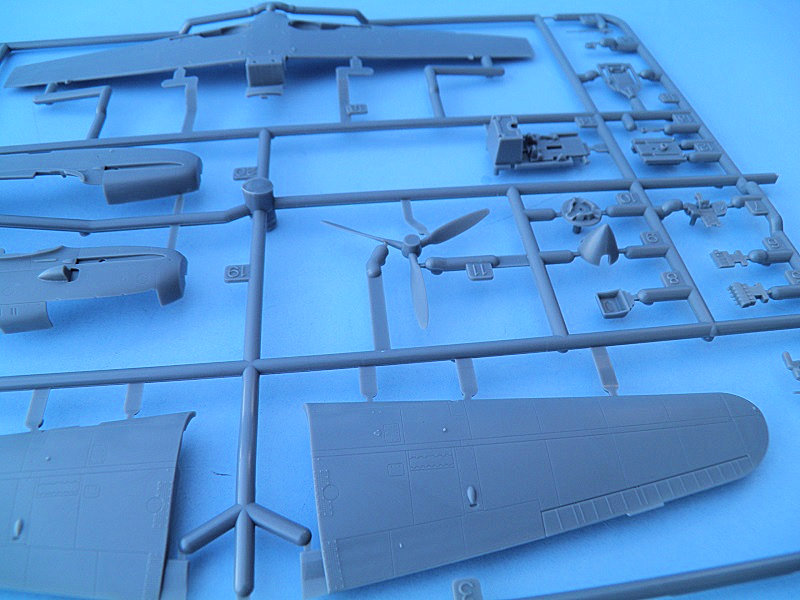
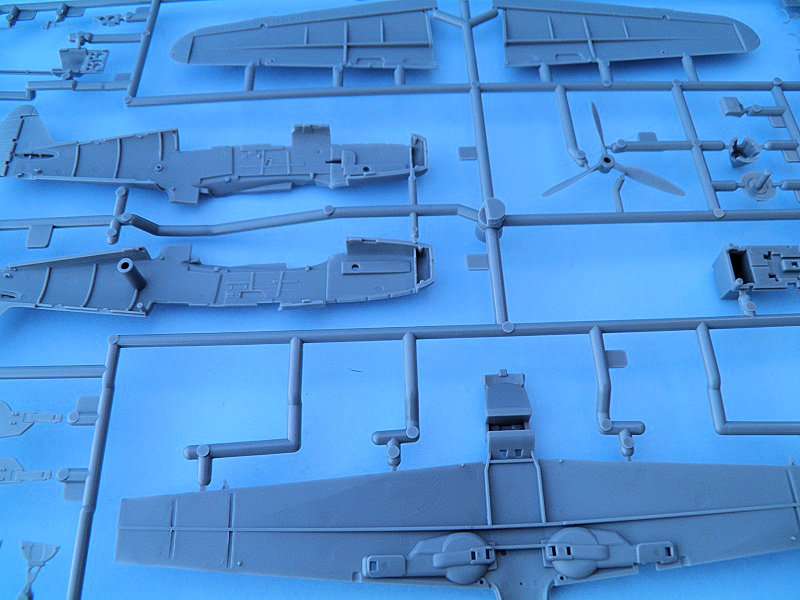
Tamiya released a new tool of the Tony in 1/48th scale back in 2016 and now has finally shrunk it down to my preferred scale of 1/72nd and a beauty of a model it is. The 45 grey and 3 clear parts are beautifully molded with fine scribed details. The low parts count leads to a quick build. A lovely cockpit is included and the wheel wells look nice. Markings are included for 3 airframes. One from the 19th Air Group in Luzon, Philippines, 1945 and two from the 244th Air Group based in Japan. More on these in a minute.
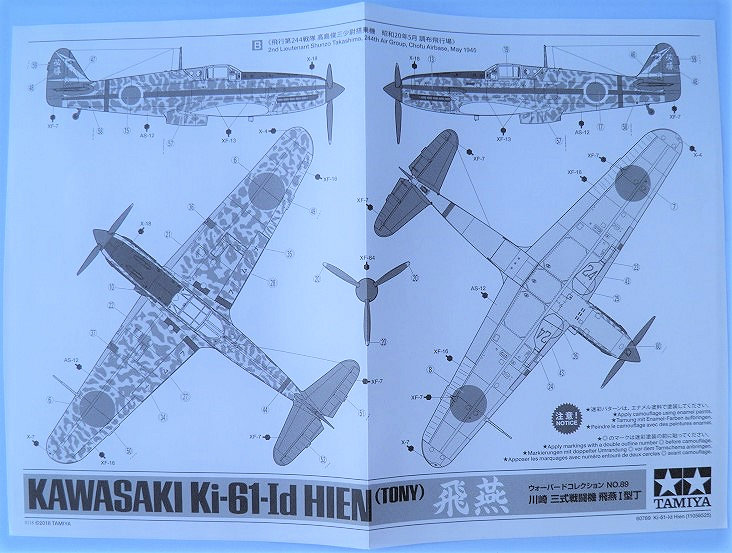
The instructions contain 12 steps and 4 view drawings for the 3 schemes including decal locations. Color call outs are for Tamiya paint and the colors are notated throughout the build.
The build starts with the, wait for it, cockpit which is made up of 12 parts and includes side details molded to the fuselage insides. A decal is included for the instrument panel and it conformed well with an application of Micro Sol. There is also a decal for the lap belt which surprisingly worked very well. Unfortunately, the canopy is one piece so it is very hard to see the details in the finished model. No figures are included so you will have to find your own and modify the landing gear doors for an inflight display.
Next up is adding some parts to the fuselage before closing it up and here I proved that I can mess up any kit, even a Tamiya one. There are two parts that attach to the inside of the fuselage that make up the under-fuselage radiator. The parts are supposed to fit flush with the sides but that isn’t very noticeable in the instructions and for some reason, mine did not and I didn’t know this was wrong until later. I am still not sure what I did wrong.
The build continues with an upper engine panel that includes the cannon barrels and a piece that fits behind the cockpit and basically these two remove the need to fill a top seam. In fact, I didn’t need any putty until I came to fit the wings and ran into my radiator issue.
The cockpit is then added into the fuselage from the bottom which insures a solid fit. Tailplanes and a 3-piece wing finish the main parts. This is where I noticed my issue with the radiator as I just couldn’t get the wing to slot in perfectly as the radiator is molded as part of the under wing. I ended up doing a lot of carving and test fitting before I was finally able to get a good fit. Adding the radiator cover confirmed I had messed up when adding the sides as you can see how it should look. I had to resort to some sheet plastic and putty to true up the sides.
The exhausts are separate and can be added after painting which is something I think most inline engine kits could benefit from. The detailed landing gear, propeller and canopy were left off until after painting and decaling.
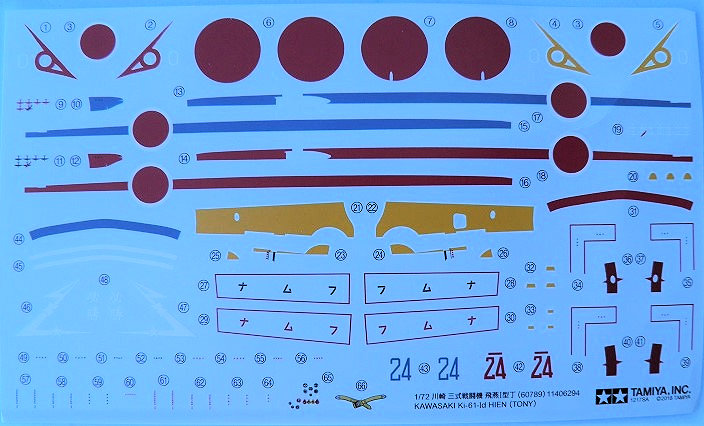
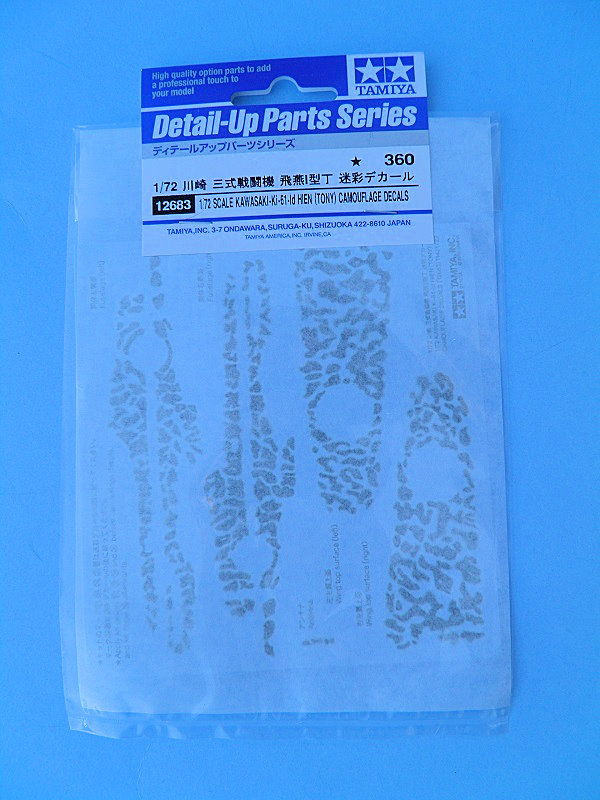
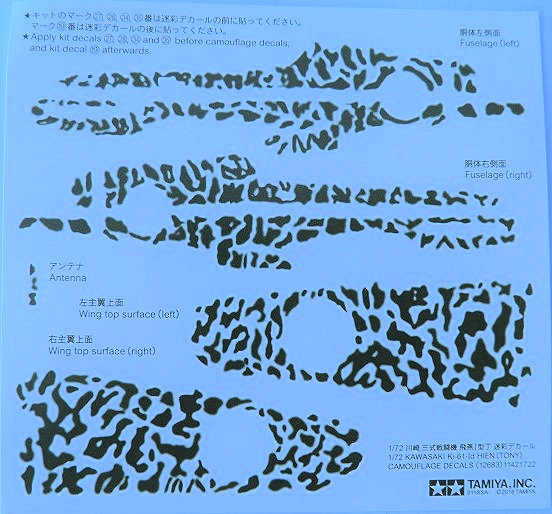
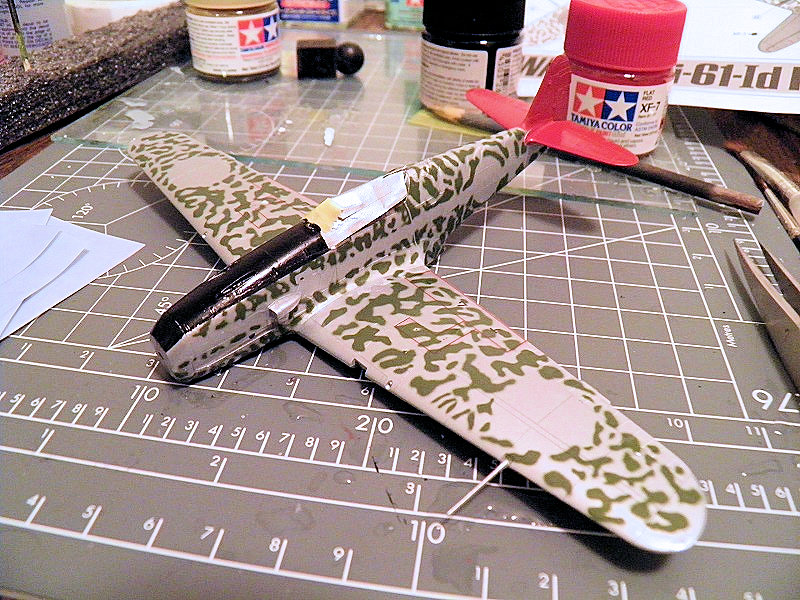
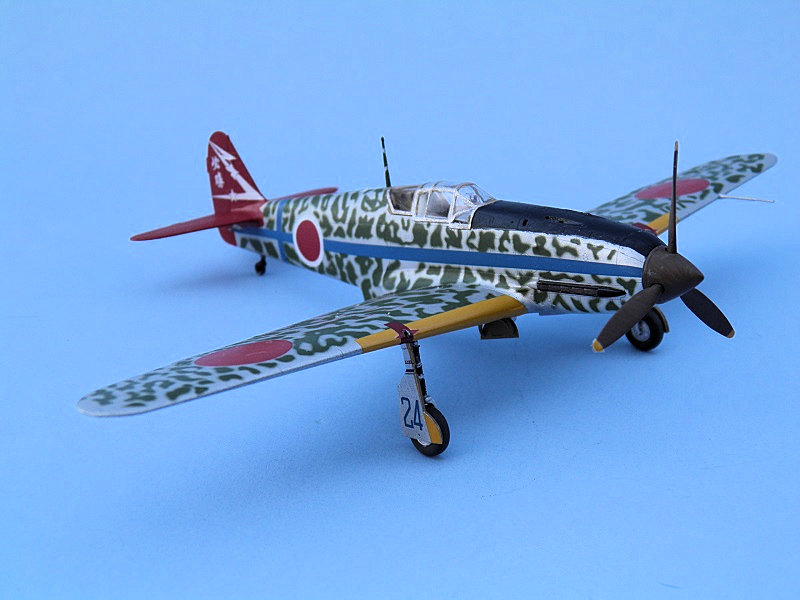
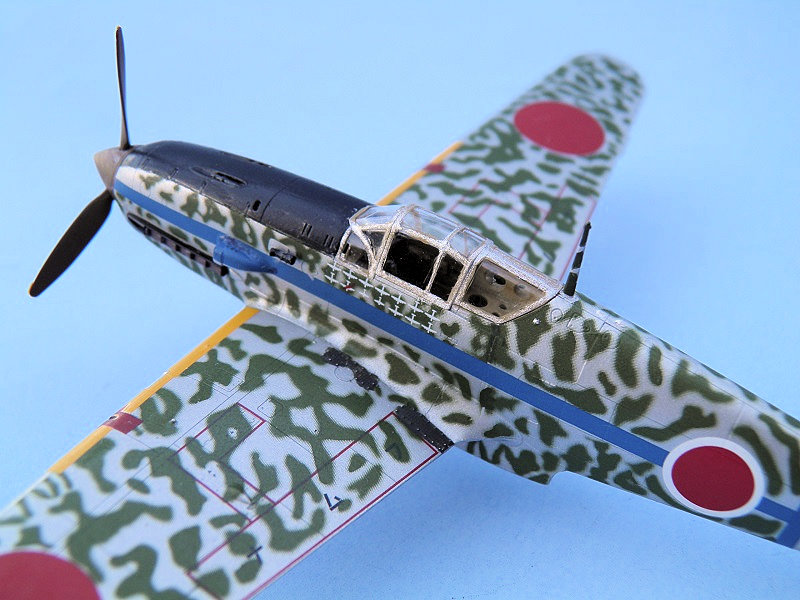
Out of the 3 options one is Dark Green over bare metal, the second is bare metal with a red tail section and the last is a very colorful camouflaged version also with a red tail. This last option is definitely the one that stuck out and is pictured on the box art but trying to do that mottle camo with no airbrush would be a challenge. And to top it off, the deals are only $4.50. I mean it would be if Tamiya hadn’t enclosed a separate set of mottle decals designed specifically for this version and for a small extra fee they are darn worth it if you want to do this scheme.
I used a rattle can of Tamiya AS-12 for the overall silver color, hand painted the tail feathers with XF-7 and hand painted the canopy. The only instructions for the decals is to add a couple of the wing markings before applying them so that was done. The camo decals worked really well but I cut the fuselage sets into front and back pieces to make it a little easier to get them around the radiators. I even used the yellow leading-edge wing markings and all worked well with Micro Set and Sol.
All in all it was a mostly pleasant build barring whatever I did to the radiator sides and it is definitely one of the most colorful models in my display case.
I highly recommend this kit and can’t wait to build some of the other Tamiya aircraft in my stash.
Thanks to Tamiya and IPMS/USA for the review kit and the decal sheet.


Comments
Add new comment
This site is protected by reCAPTCHA and the Google Privacy Policy and Terms of Service apply.
Similar Reviews