
Junkers Ju-88A-10 (A-5 Trop) North Africa Limited
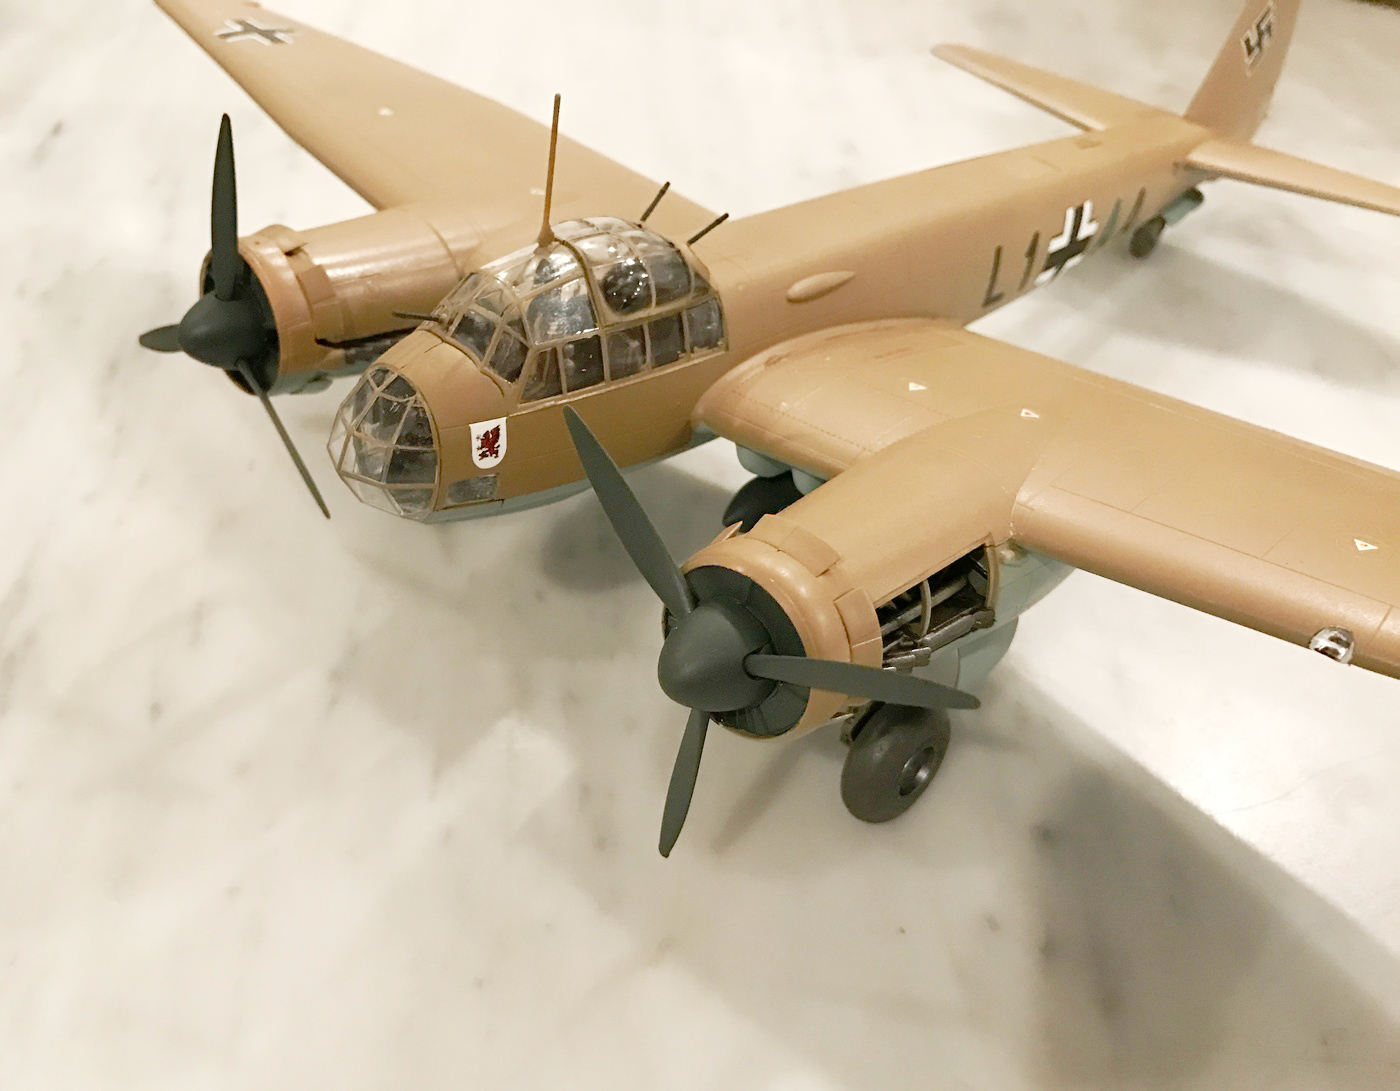
Dive-bombing. Torpedo-bombing. Night fighting. The Junkers Ju 88 could do it all - and then some. Over the hot, dusty battlefields of North Africa, the A-5 tropical relied on extensive air filters to keep out sand and dirt. Rommel's Afrikakorps relied on the Ju 88 for support strikes against Allied armor and positions. The broad-winged Ju 88 could carry 3-4,000 lbs. of bombs to targets at moderate range. Used effectively as part of Rommel's combined arms strategy, the Ju 88 helped Germany reverse Italian losses in North Africa and nearly carry the continent.
Kit
Hasegawa Junkers Ju-88A-10 (A-5 Trop) North Africa Limited Edition is a re-box of the ICM Ju-88 A-5 that was released in 2015. Hasegawa has added decals for 2 options Luftwaffe Stab / LG1 Kommodore Oberstleutnant Friedrich-Karl Knust Code: L1+AA Mediterranean Sea 1941 and Luftwaffe 12. / LG1 Code: L1+LW North Africa 1942. This kit is made up of 230 pieces molded in light grey and 20 clear. Quality of molding is very good with a few slight imperfections. Surface detail is very nice with crisp recessed panel lines. Sprue gates are narrow, but some do join on highly visible areas, you will need to be careful when cleaning up the parts. Instructions are very detailed and easy to read, and decals are nice and seem to be in register and with good color saturation.
Build
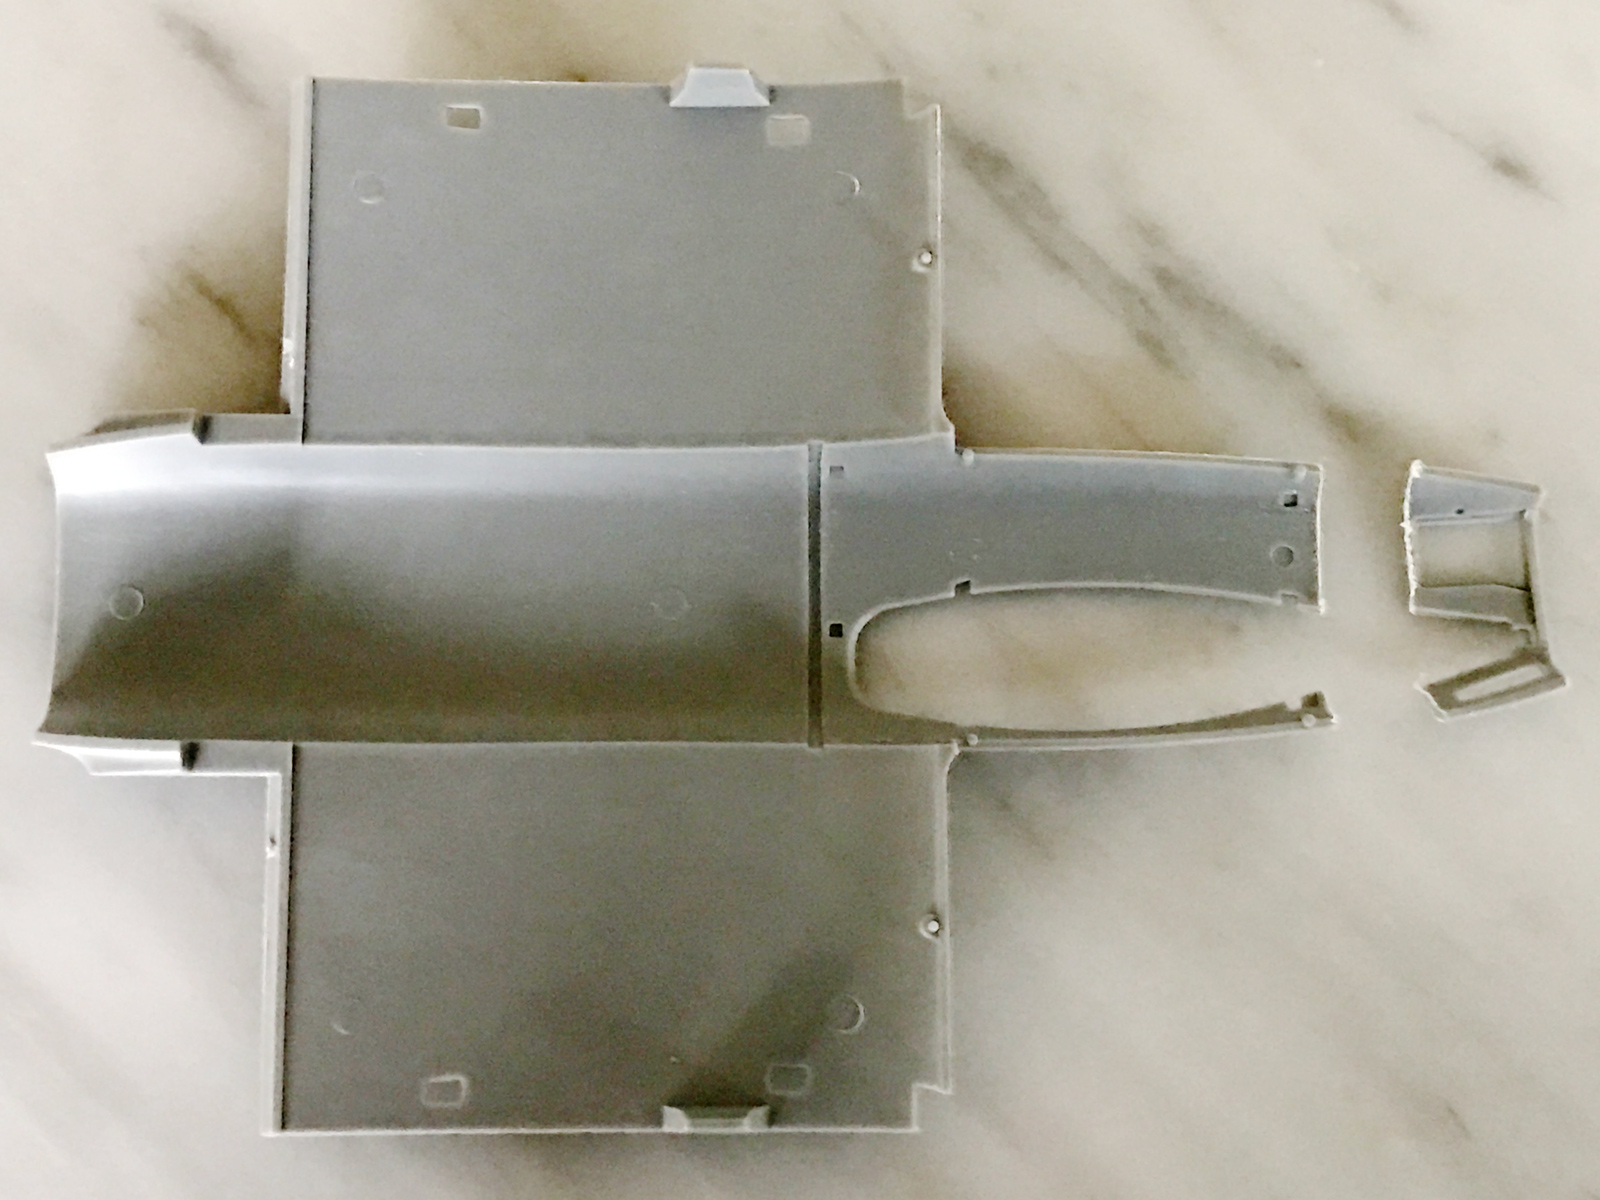
As with most builds I started out with the cockpit. Upon removal of some of the parts for the cockpit I noticed a major difference in the floor of the ICM based on what I have seen in the DML1/48 Ju-88 series and also the Revell 1/32 Ju-88. After a lot of research on the web I came across a correction set for this kit from Aims Models in the UK that would correct the floor with a step in it and also correct the access panel which is way too big on this kit. Once this arrived I was able to cut off the front portion of floor, attach new resin cockpit floor and finally I was ready to build the interior. After spraying the interior with Vallejo Model Air 71.055 (RLM 66) it was time to put together. There is a lot of side wall detail in the kit plus the added detail from the AIMS correction set (PE details) you get a nice looking finished product. The seat frames are built as separate pieces but the seats themselves lack detail and no seat belts are provided. I went with resin seats from CMK which are detailed with molded seatbelts and used the framework from the kit to provide a nice looking replica of the real cockpit. Also used the PE pedals from the AIMs kit, once in kit lack detail.
After the interior was completed and glued in place, the fuselage and wings were ready to be assembled. Both the fuselage and the wings went together with not many problems.
The plastic seems to be a little more flimsy than most kits I’ve dealt with, so I found myself gluing things into place systematically to obtain a good fit. The kit is apparently broken up into many pieces, I assume so that they can come out with different versions without making all new molds. Overall good fits, with putty needing to be used here and there, excluding the top wing seam which went together nicely.
The engines, shrouds, and nacelles are built as separate pieces and then attached to the wings. The engines are a nice compliment to this kit, each engine comes in around 20 pieces and when finished you have a nice representation of the Jumo 211 that can be displayed full or partial. The other glaring lack of detail is the radiator face that does not have the cutouts for the air flow to get to the exhaust. Once again with the correction set from AIMS Models that was mentioned previously you will receive resin replacements for these. I have shown the resin and the one that came in the kit in the pictures. The resin requires some work which may not be something that matters in the long run to most builders. Once you have built the landing gear and mounted these assemblies to the wings you are ready to mount engine and engine shroud assemblies to the underside of wings.
Upon sanding and priming to make sure all my seams where good, I was able to finish putting the rest of the pieces together without any problems arising. The canopies fit together with minimal fit issues, and I used Montex masks to help speed up the masking time (a lot of glass on the 88). After masking was complete, I picked the Mediterranean Sea version of the aircraft. I painted the lower surfaces with Vallejo Model Air 71.101 (RLM 78) and the upper surfaces with Vallejo Model Air 71.278 (RLM 79). After the paint had dried, I sprayed a gloss over the entire plane, and was ready to begin with decals. The decals went on with no problem, and laid down with minimal effort and a little help from Solvaset.
After another coat of Future had dried and the fine detailing was done, I applied dullcote over the entire plane and the canopy masks were ready to be removed.
Overall
This is a nice kit, and a good representation of the Ju-88 A-10. The fits are manageable, and there is as much detail as other manufacturers straight out of the box. There are some glaring mistakes that most builders will not take the time to correct, and some I didn’t even tackle. It took some extra time and a couple of detail aftermarket add-ons to get to the finished product that I desired. Being that the ICM and the re-boxing of their kit are the only mainstream offerings of this version that we have in the 21st century, it will give you what you want with better fits and ease of build over the Dragon kits. I would like to thank Hobbico, Hasegawa USA and IPMS USA for the opportunity to review this kit.

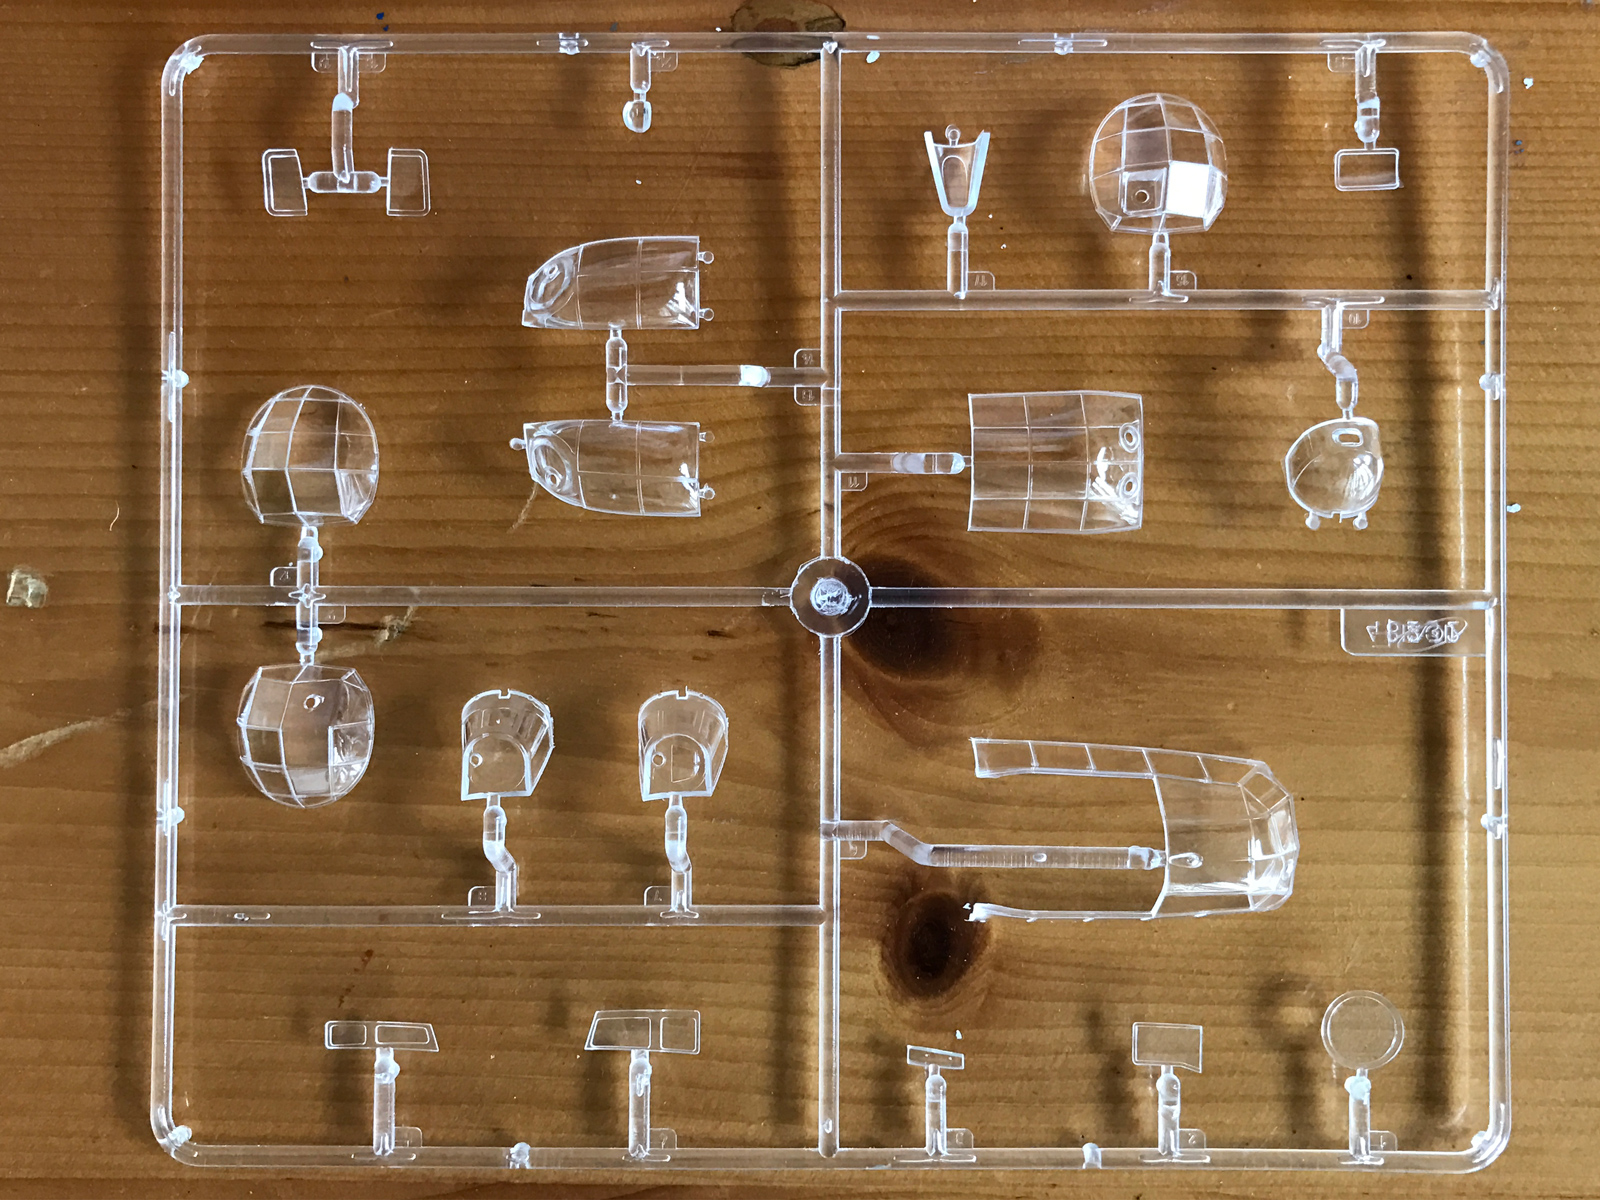
Clear sprue
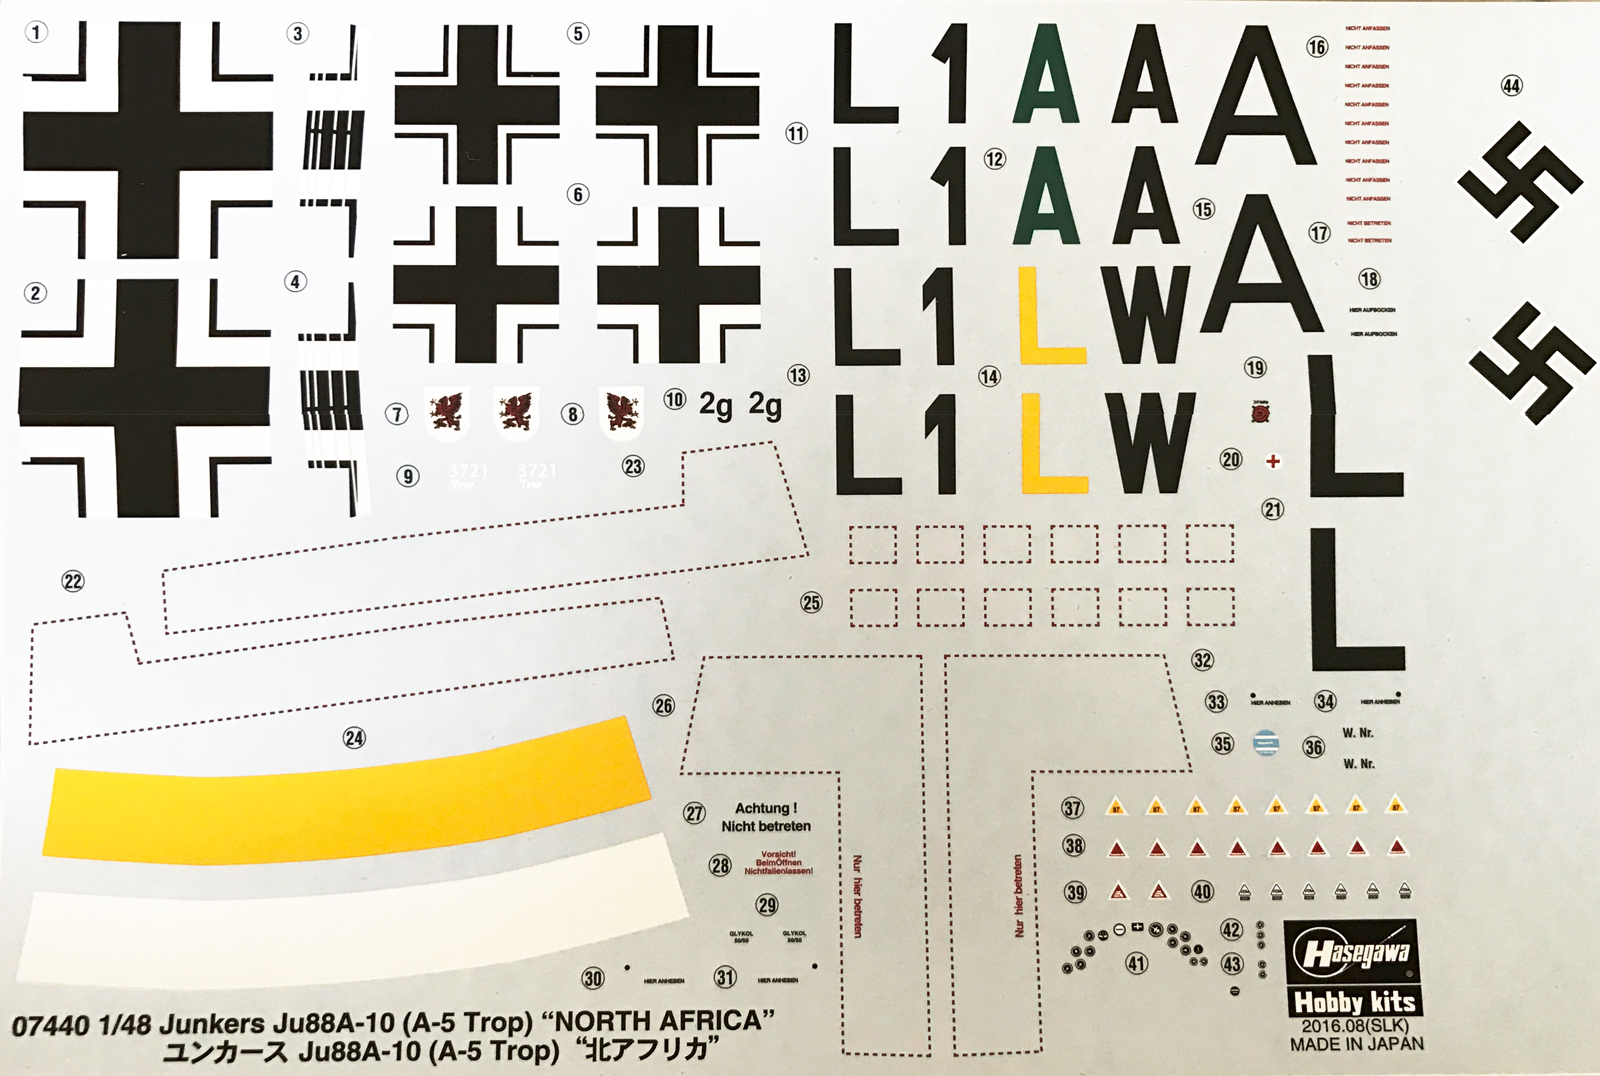
Decals supplied with the kit are sufficient, and applied nicely to the finished aircraft
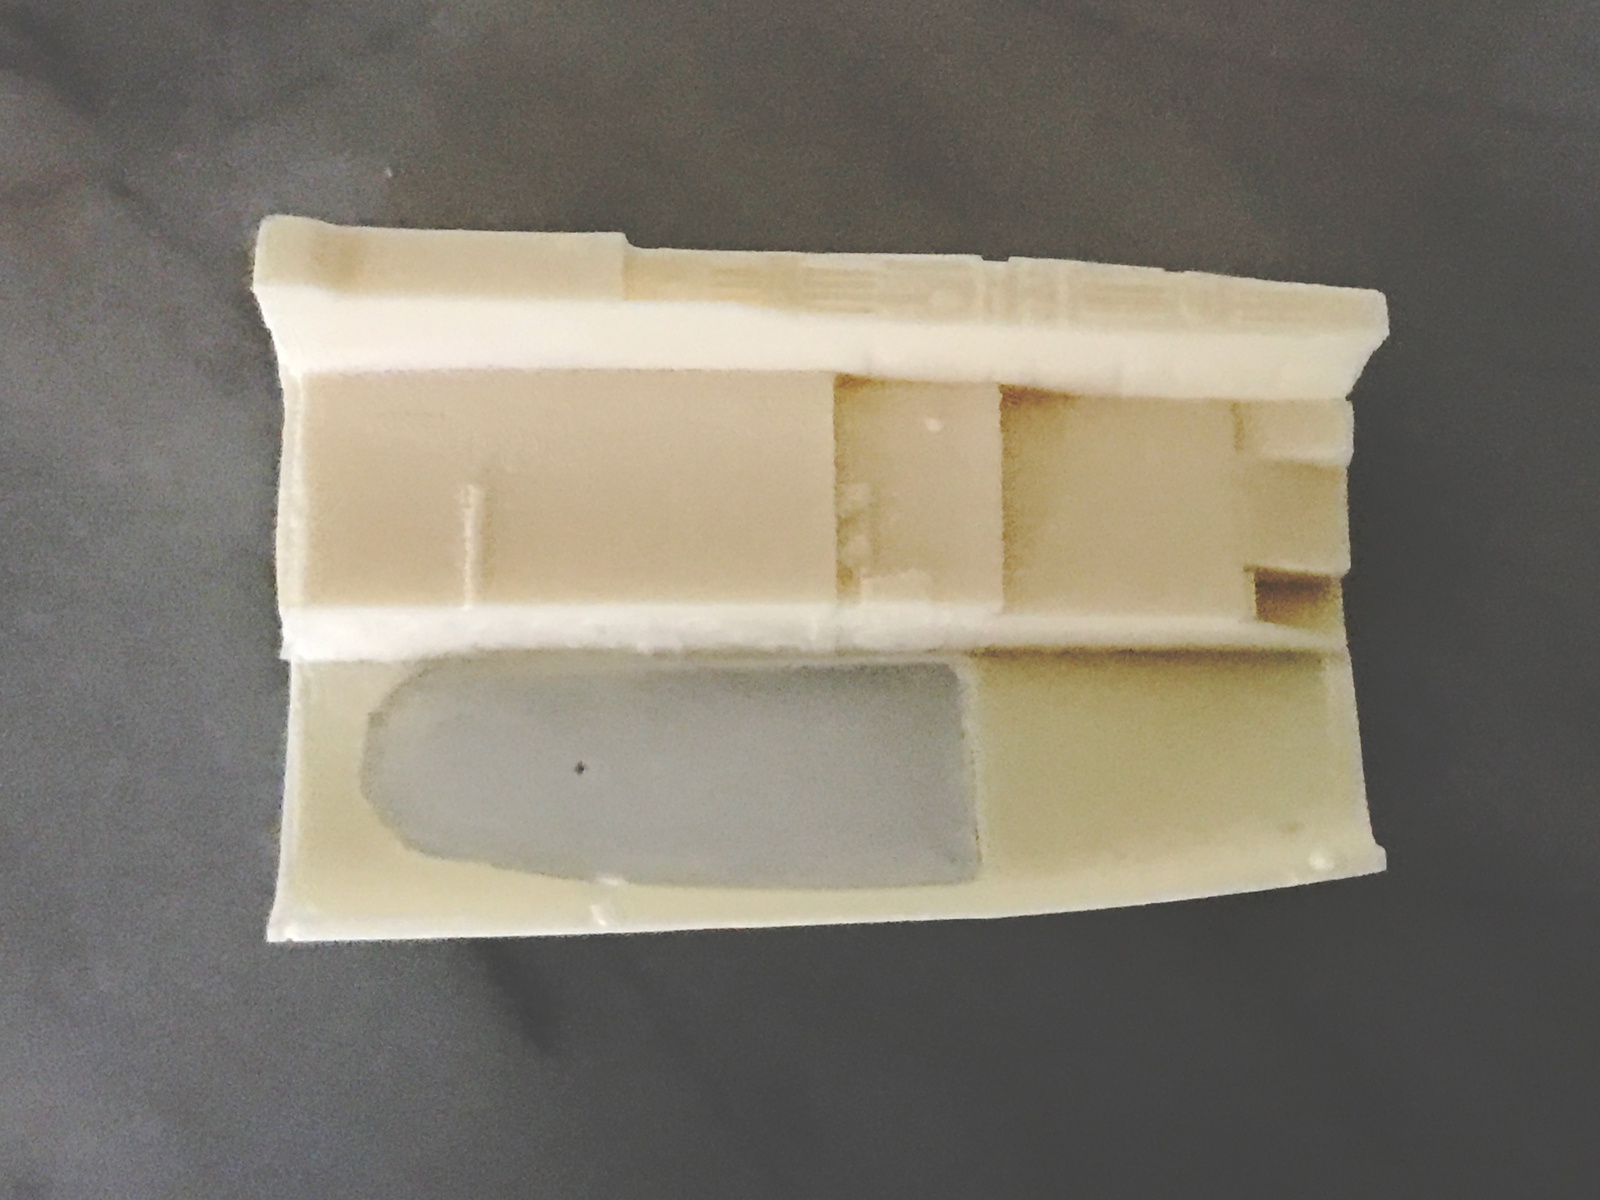
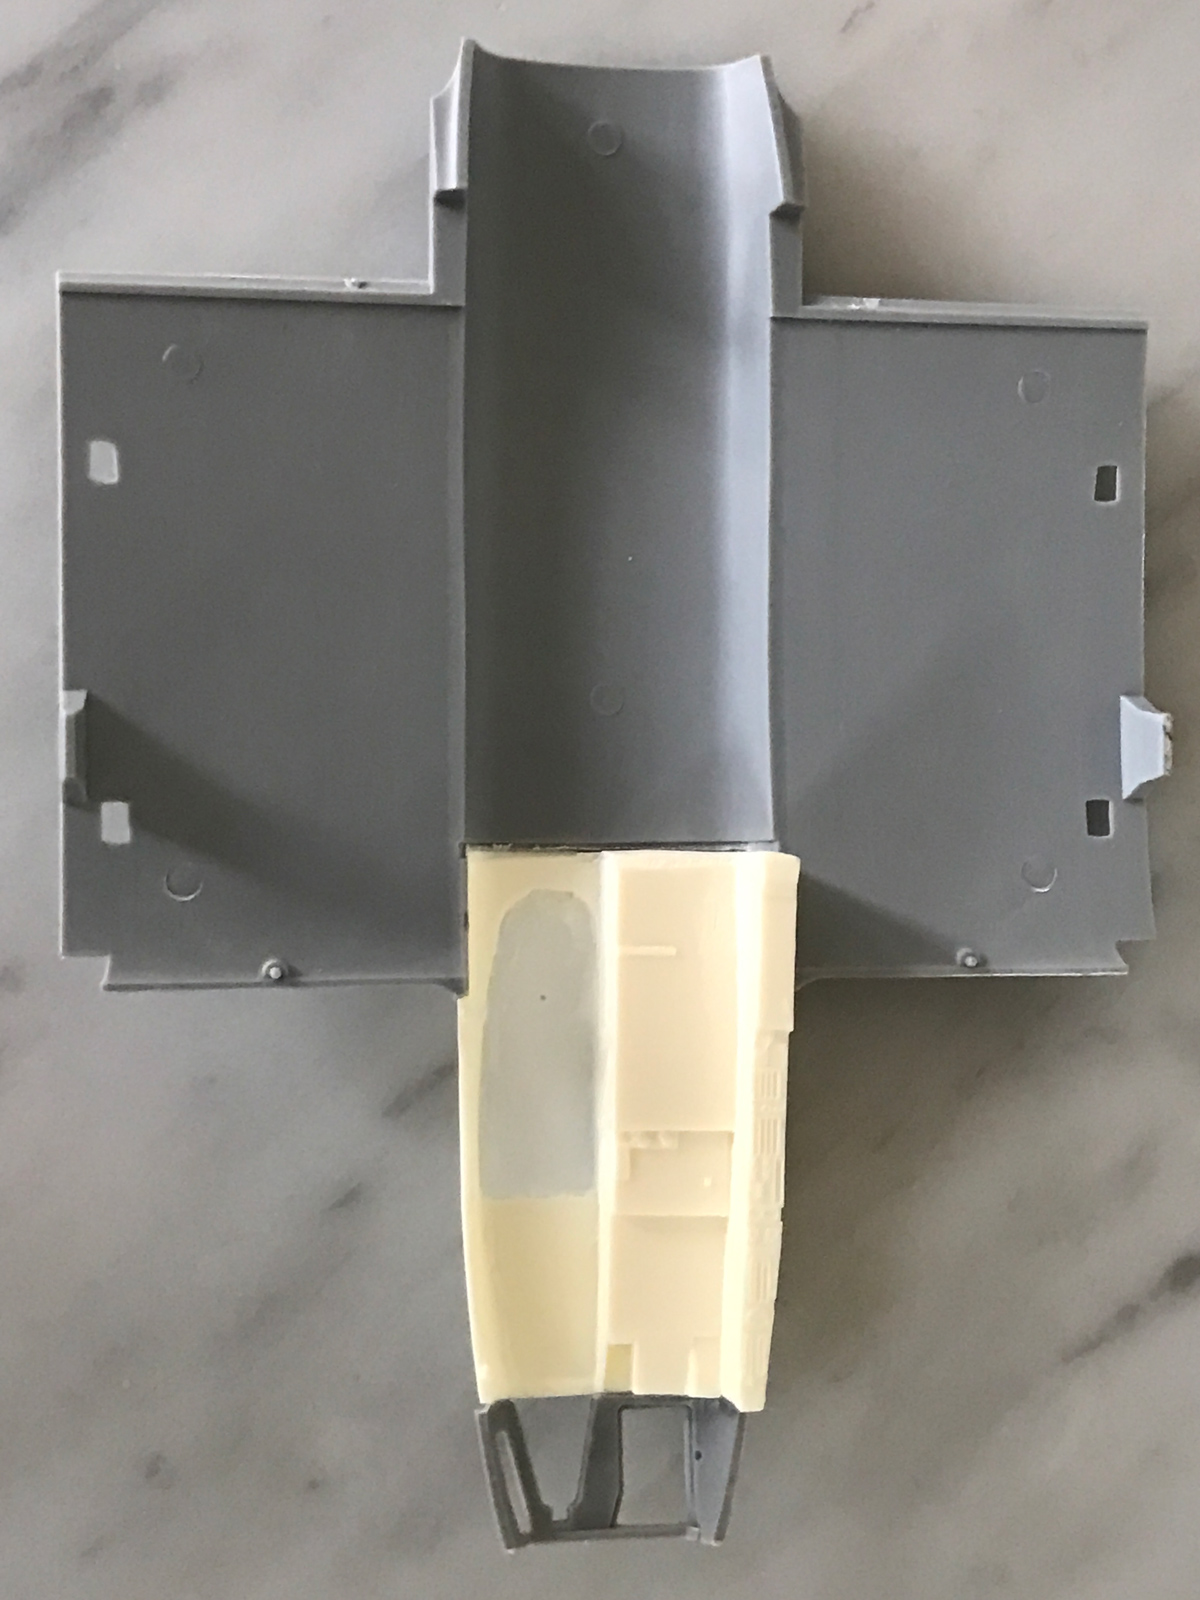
Aims resin cockpit floor
Cockpit cut apart in preparation for replacing the floor with the Aims resin part.
Aims resin cockpit floor installed
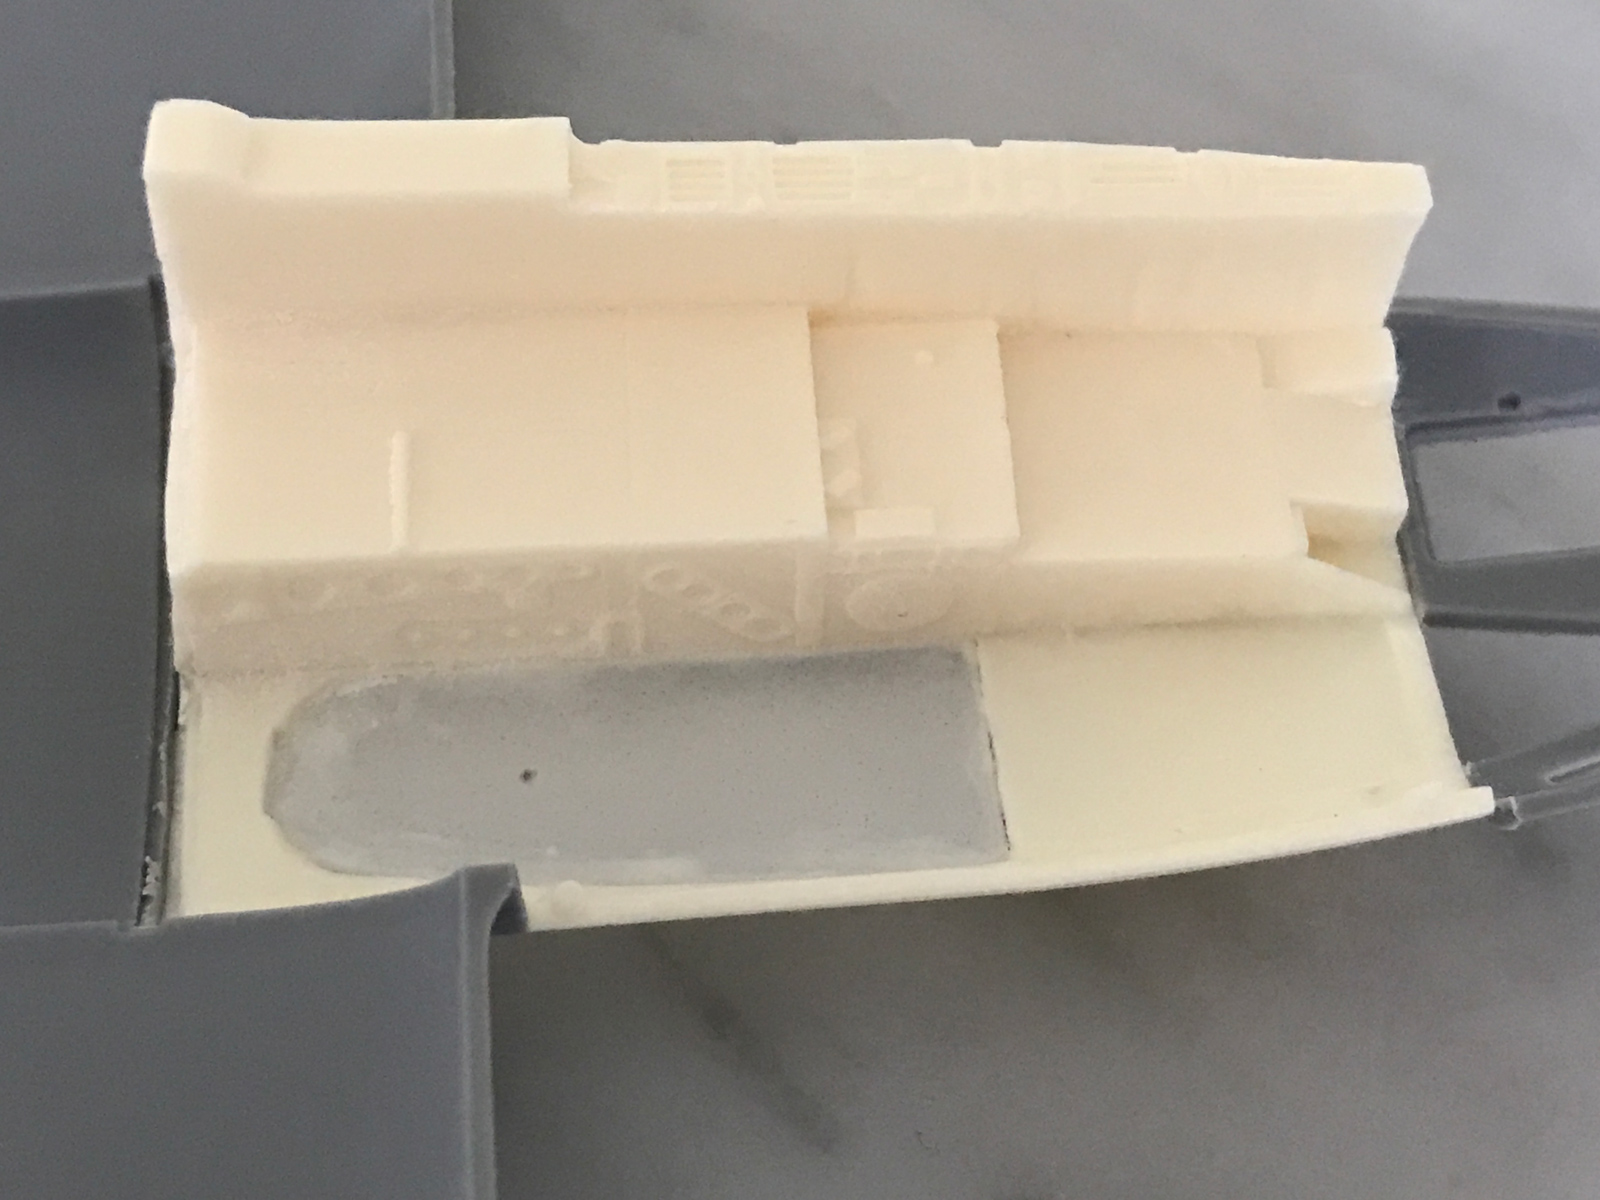
Aims resin cockpit floor installed
Kit-provide engine nacelle front
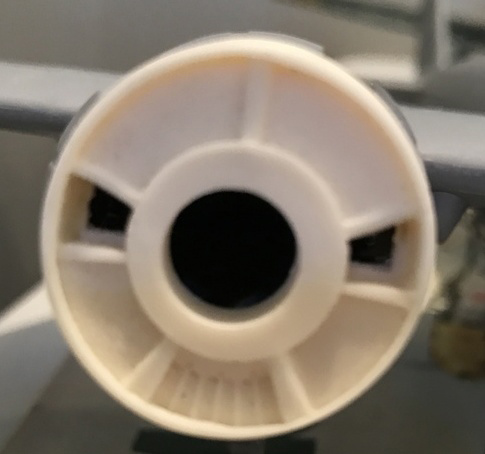
Aims resin engine nacelle front
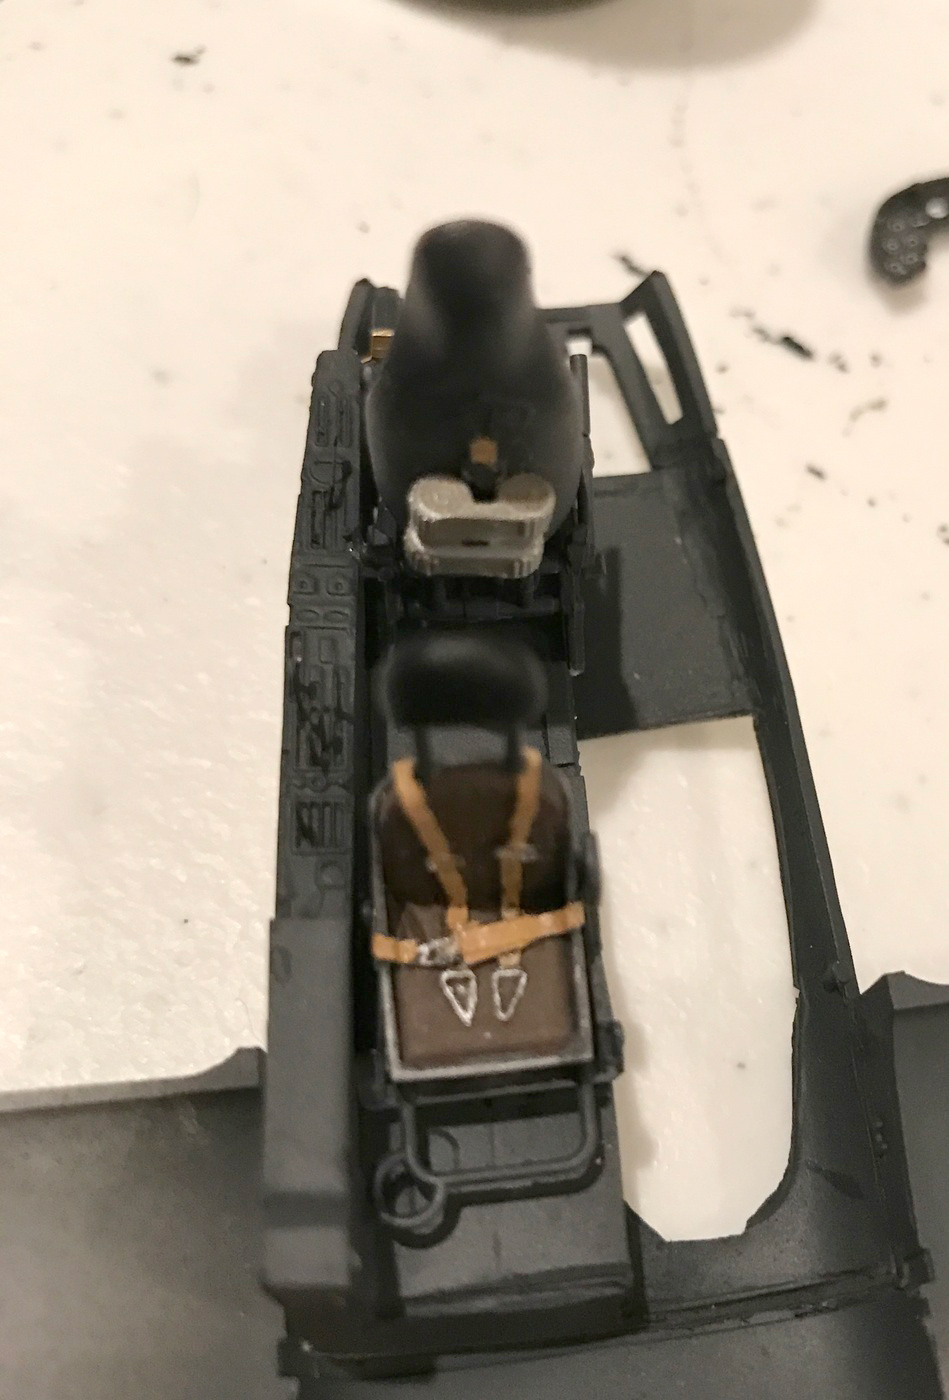
In-progress view of aircraft interior
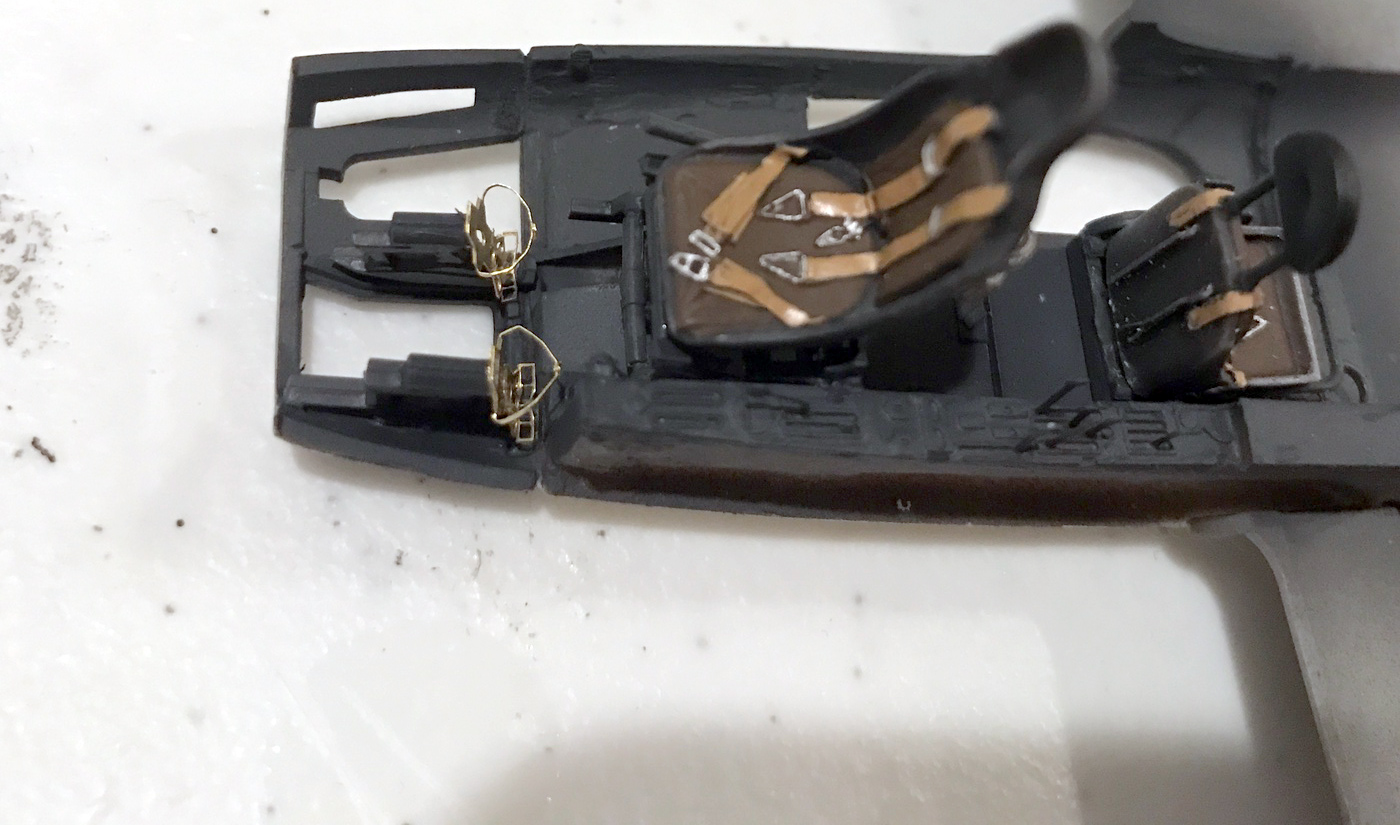
Side view of aircraft interior
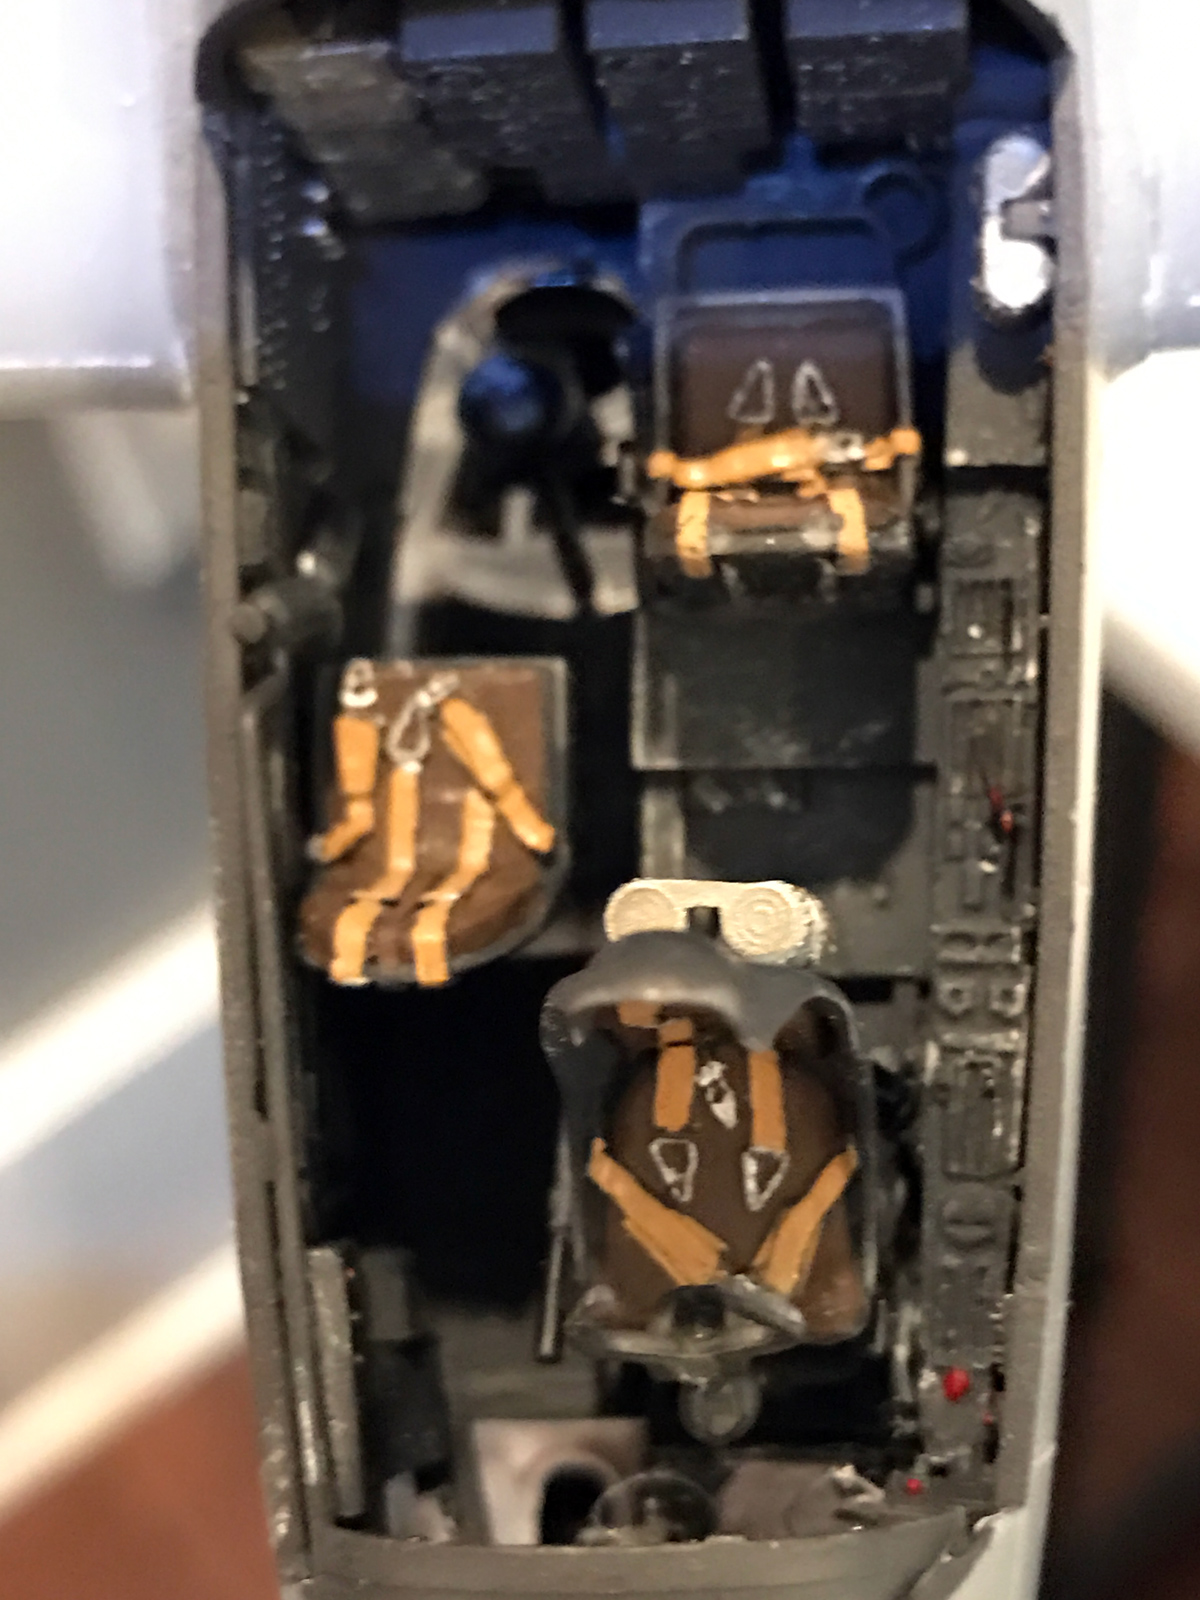
Finished aircraft interior detail, mounted on Aims resin cockpit floor
Finishing touches on aircraft prior to painting.
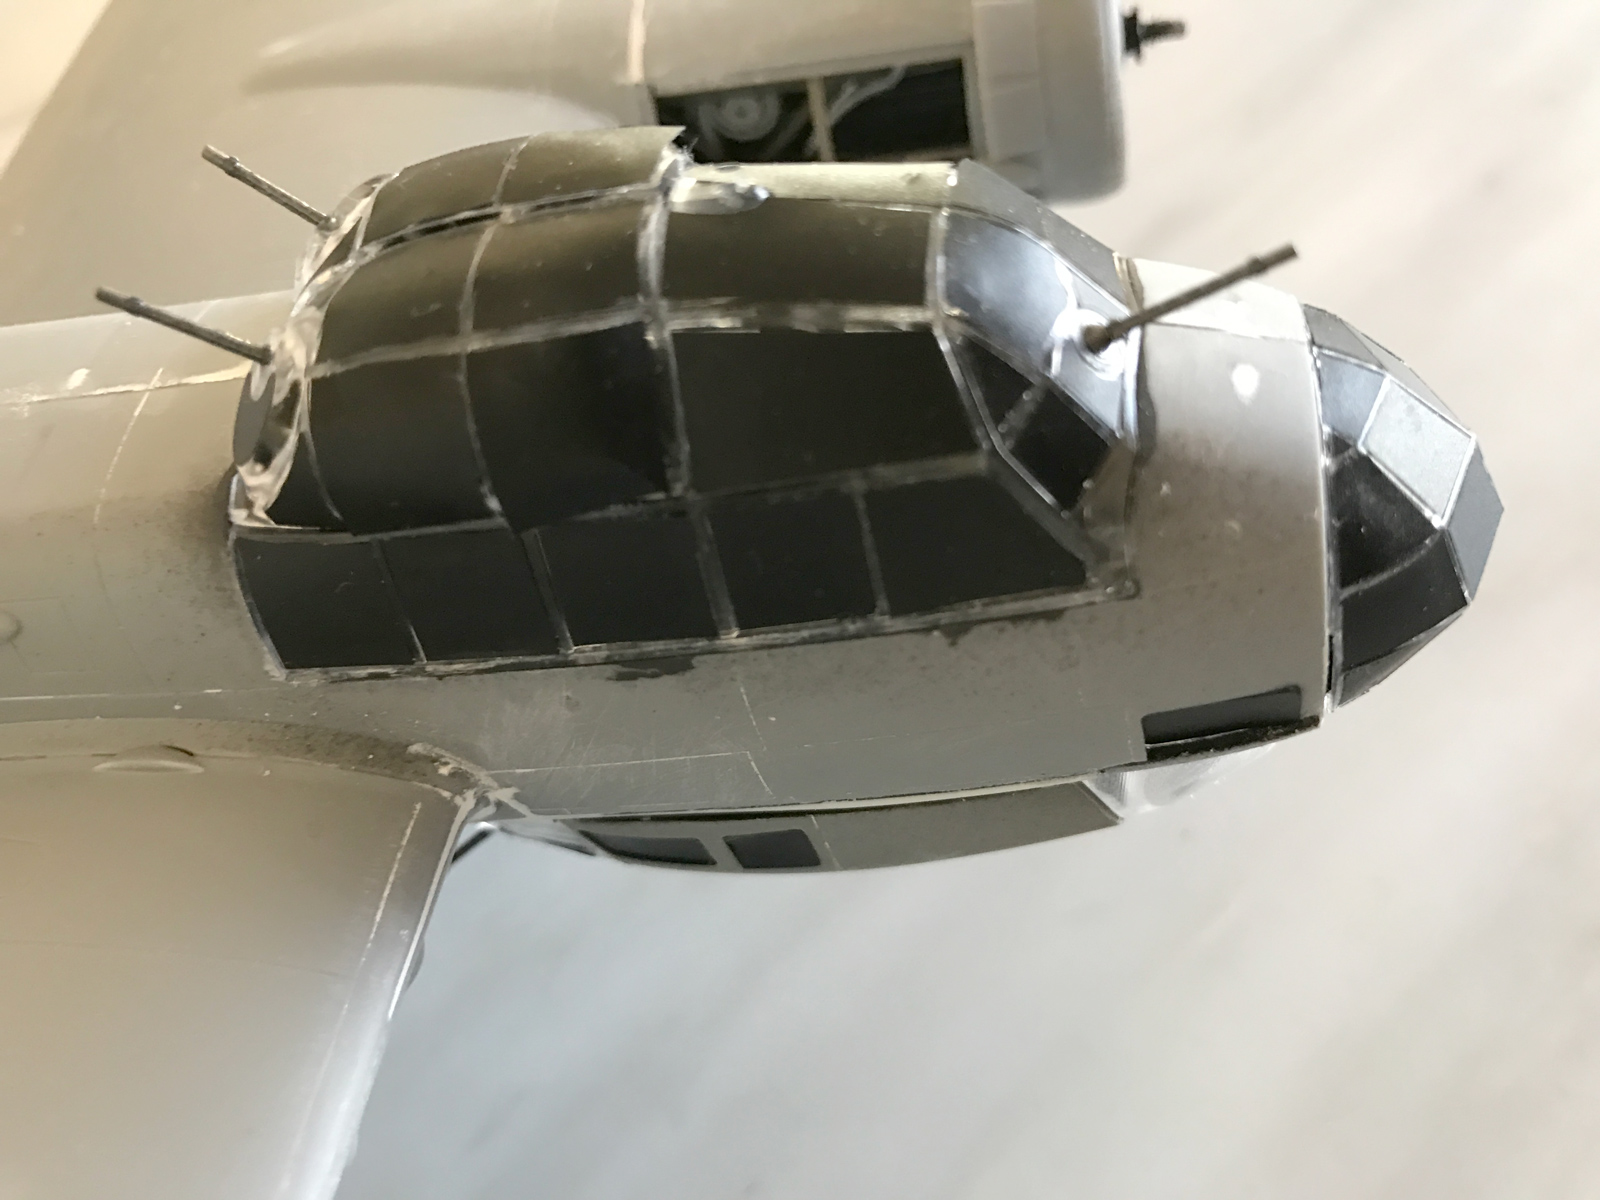
Canopy masked and ready for painting.
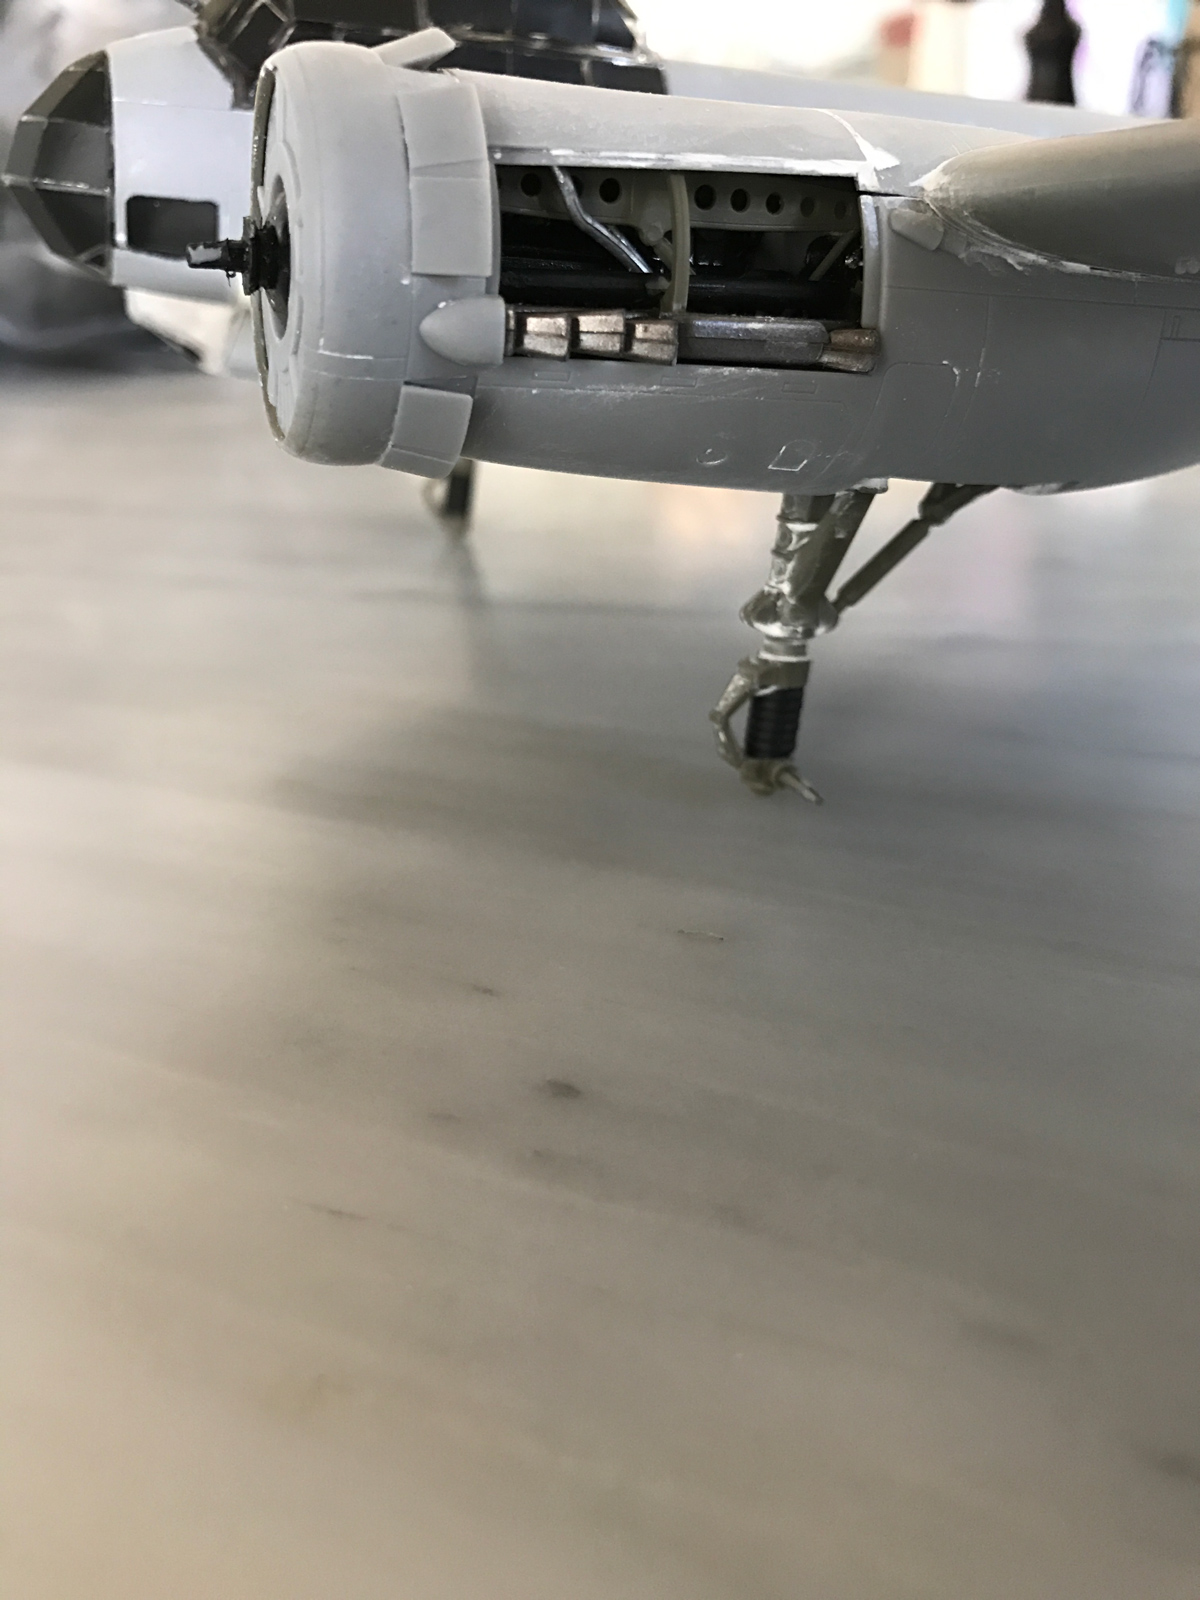
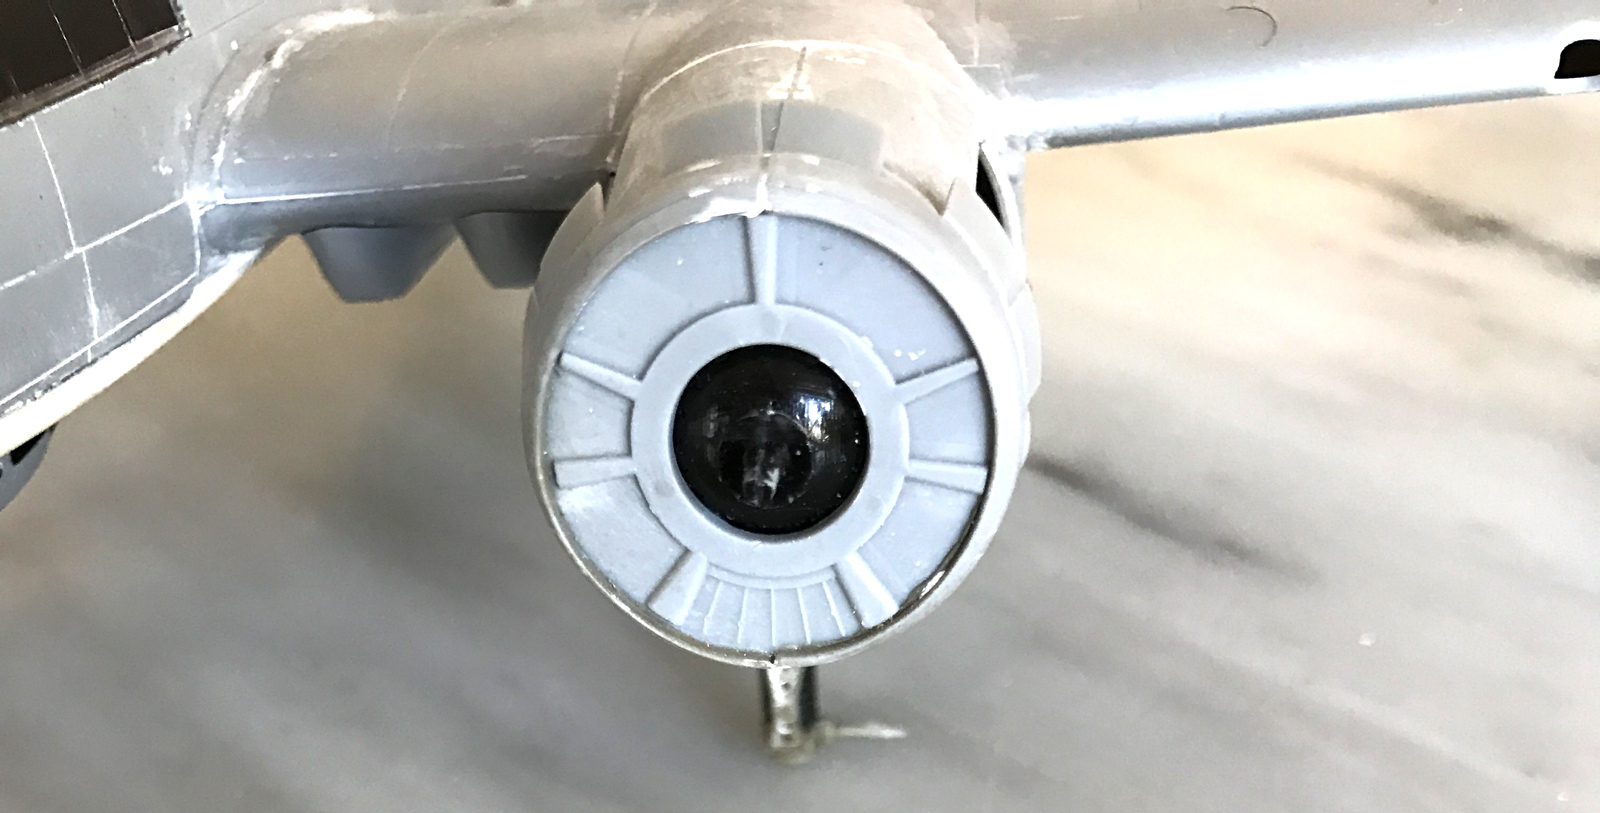
Engine detail
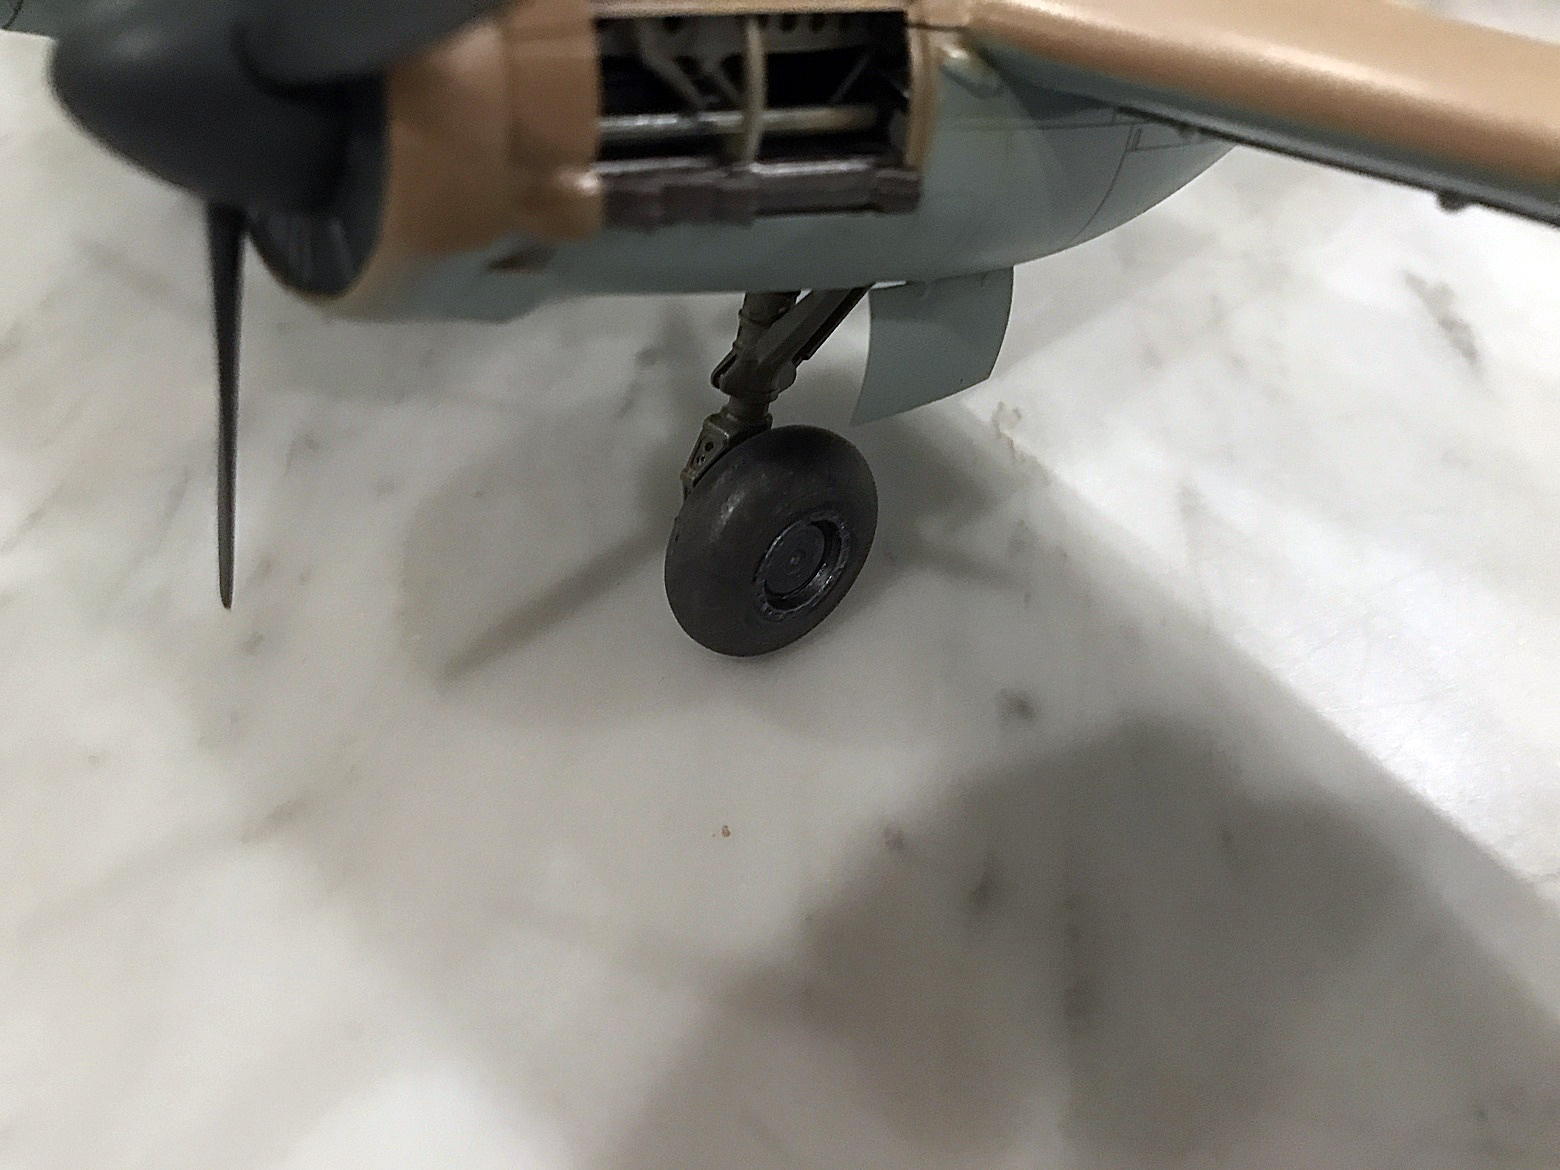
Details of engine nacelle and landing gear
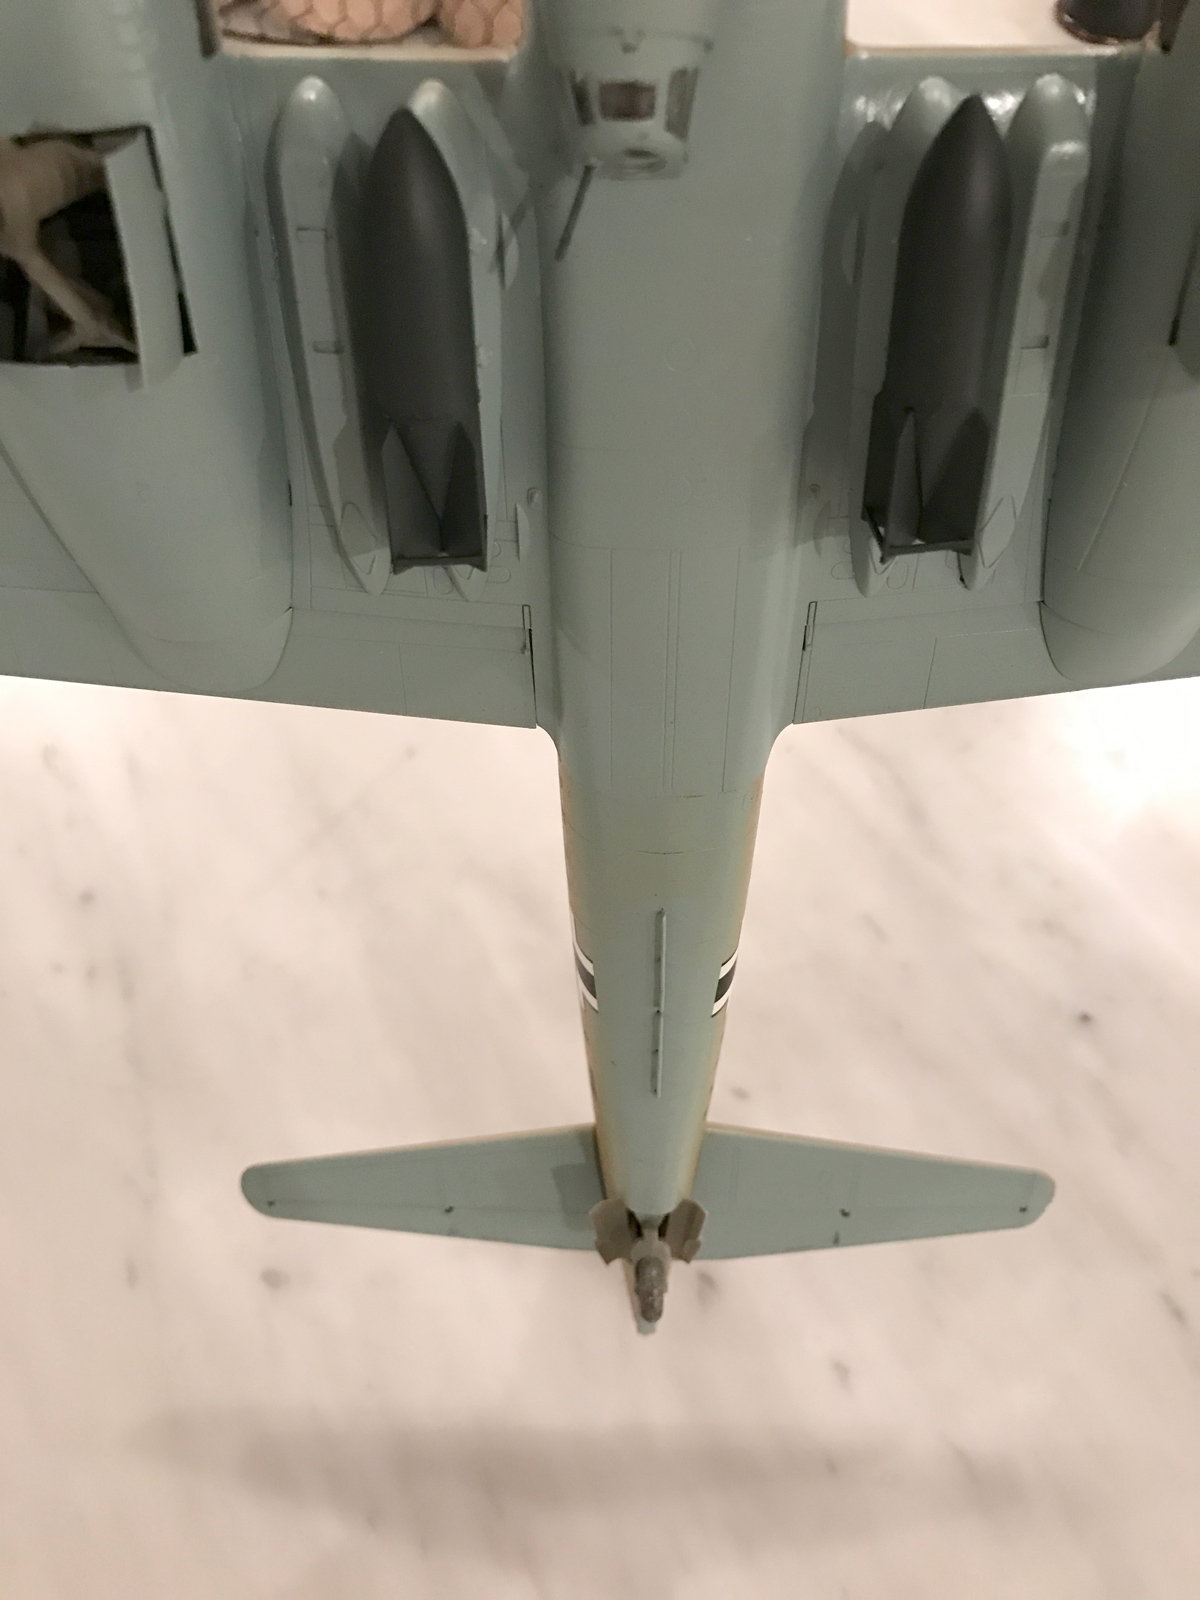
Bomb rack
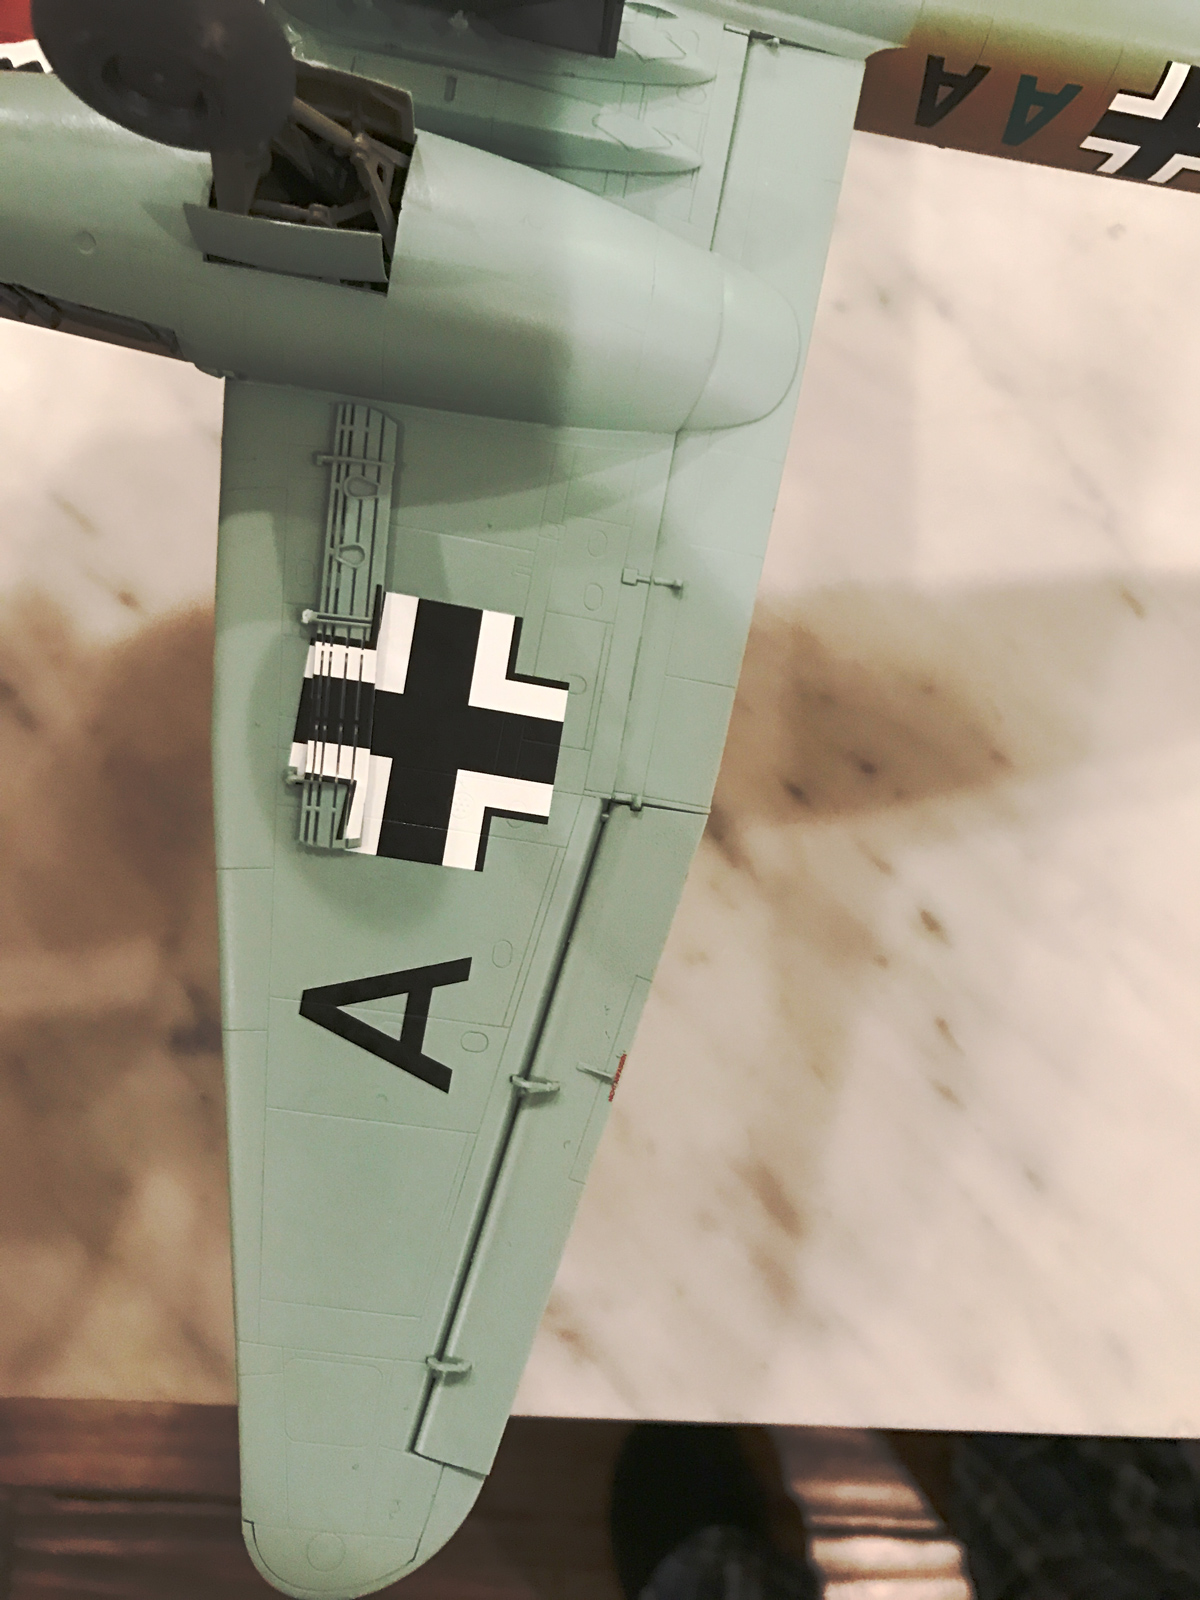
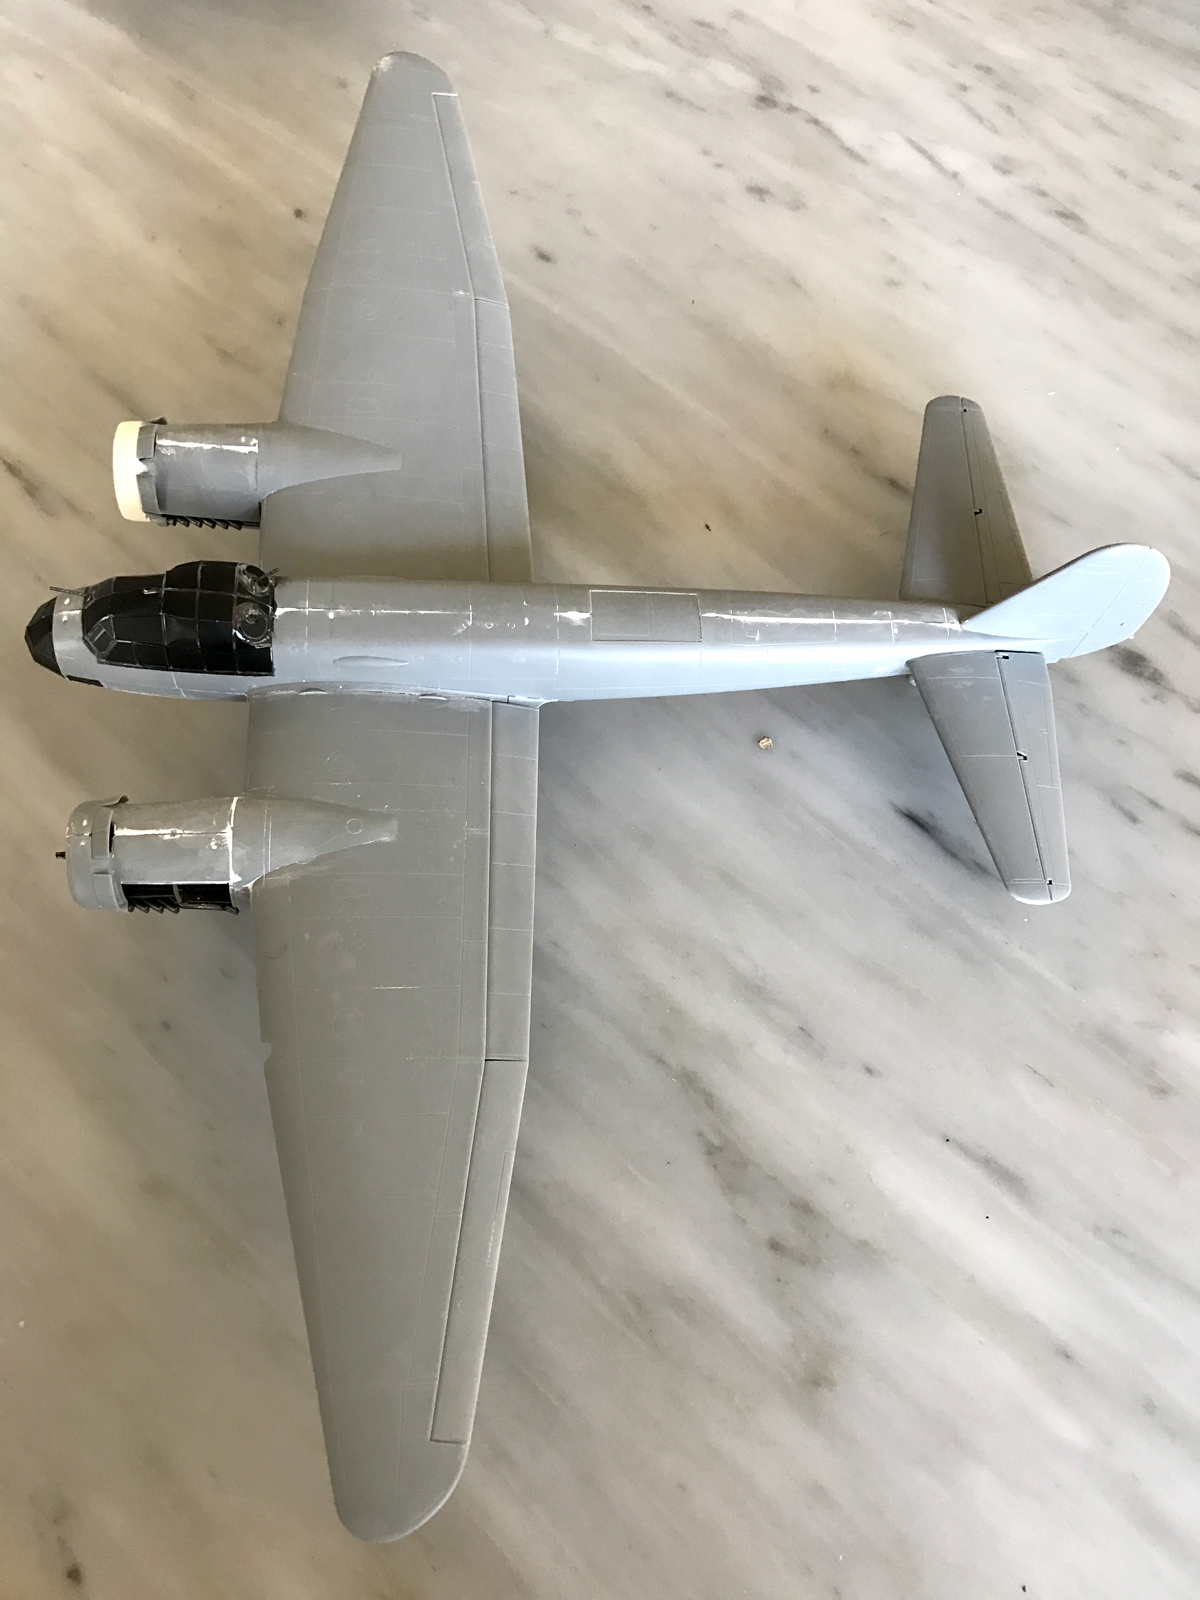
Underside of aircraft
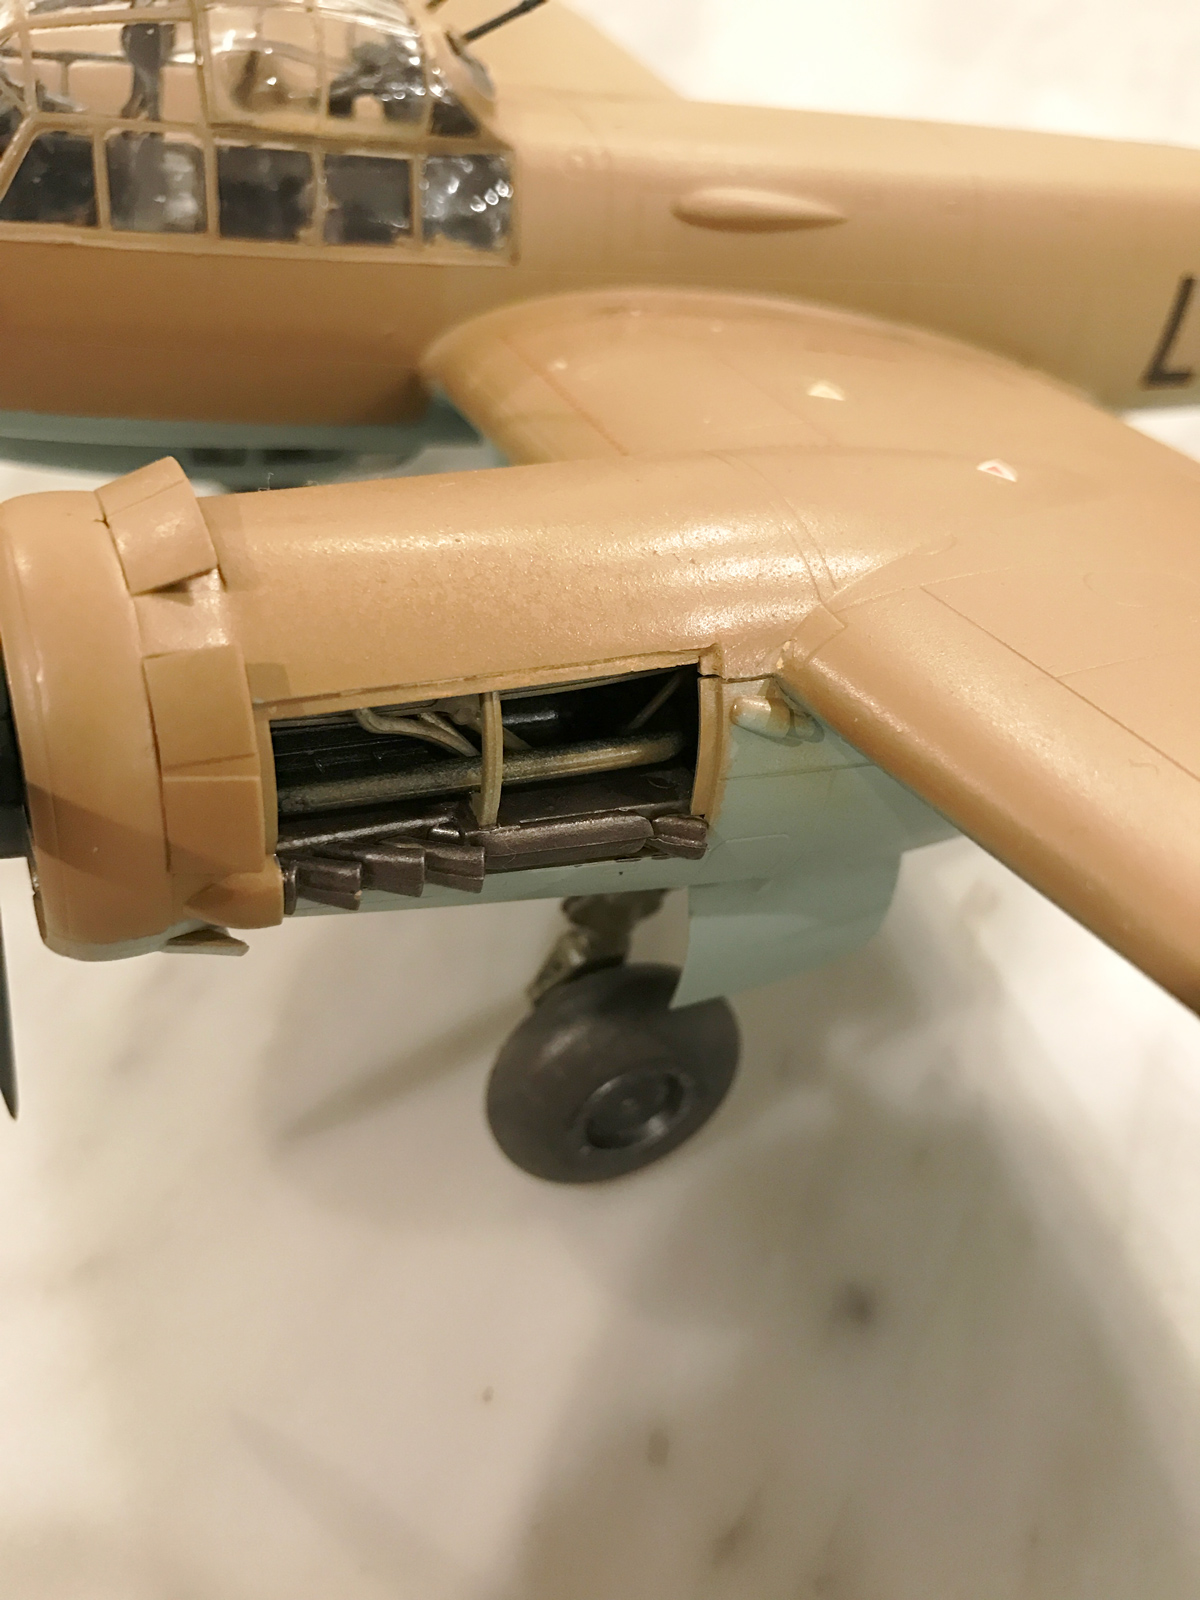
Engine detail as viwed through nacelle access panel
Comments
Add new comment
This site is protected by reCAPTCHA and the Google Privacy Policy and Terms of Service apply.
Similar Reviews