
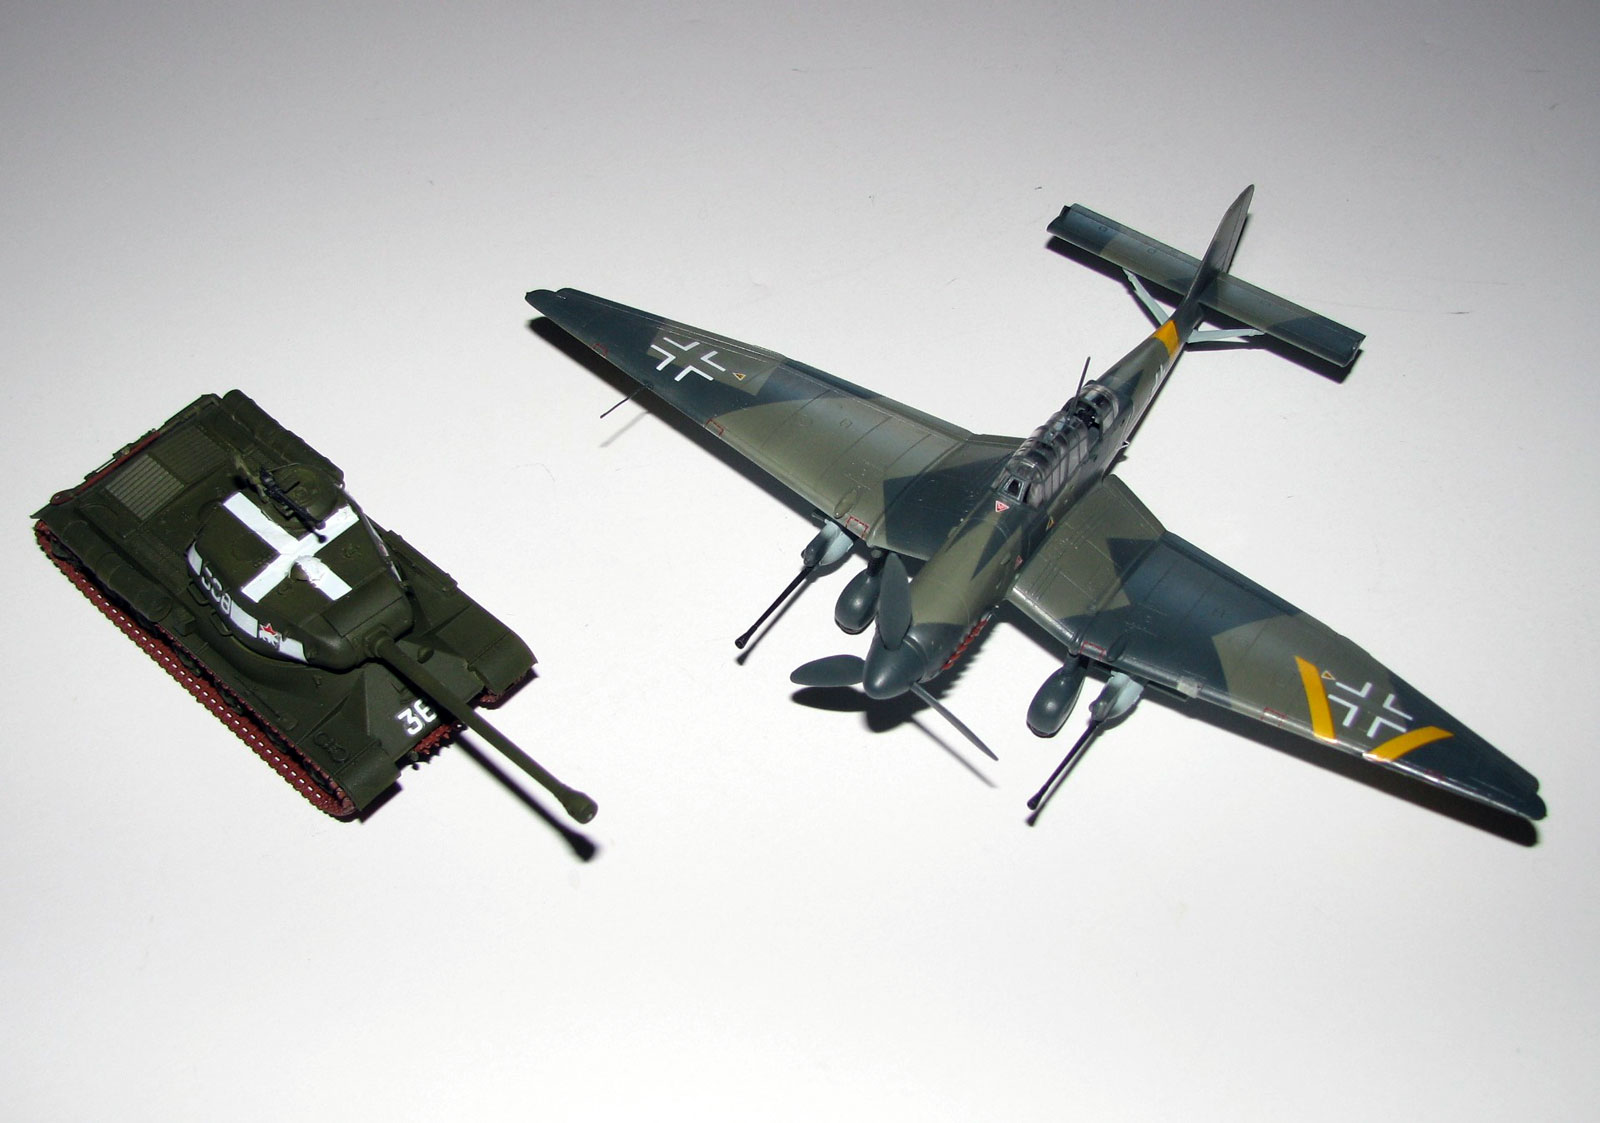
Ju87G-2 & JS-2
History
Ju 87G-2…The First flight of a Ju 87 occurred in 1936, and although obsolete by 1943, the airframe found a new lease on life with the addition of two 37 mm (1.46 in) Flak 18 guns under the wings. The first flight of the G model occurred on January 31st, 1943. In April of '43 the first production G models were delivered to frontline units and, even though obsolete and outnumbered, proved very successful in their role as tank killers.
JS-2…. Designed as a breakthrough tank with armor that could withstand the fearsome German 88mm gun and an armament that could take on the Tiger and Panther tanks, the JS-2 (named after Joseph Stalin, IS-2 Iosif Stalin in the original Russian) entered service in 1944. Armed with a massive A-19 122mm main gun and up to 120mm of armor in vital areas, the JS-2 was a very formidable weapon that was better in every way than its predecessor, the KV-1.
The Kits
The Academy Ju 87G was first released in 2002 and is, IMHO, the best 1/72 G model out of box. The plastic is crisply molded & free of flash, no noticeable sink marks with raised and recessed detail. The clear parts are actually very clear but the framing is raised a bit too much.
The JS-2 is the Zvezda snap kit and was first released in 2013. The plastic is molded crisply with no flash or sink marks and has very nice detail. The one-piece vinyl tracks look nice also but are a bit stiff.
The decal sheet is printed well and in register with markings for one Stuka and an option for just about any JS-2.
Construction
The Ju 87 goes together very easily and quickly. Starting with the cockpit, 9 pieces make up the pit along with some molded on detail on the fuselage halves, out-of-box it has a pretty fair amount of detail. There is aftermarket out there for this kit if you want to dress it up more though. The forward section of the fuselage is separate and the instructions show to add the prop before attaching this but I left it off so as to make painting the fuselage easier. The wings and stabilizers are next and went together without a hitch, but don’t forget to drill the holes in the lower half of the wing!!! The landing gear are, as are the gun pods, a simple assembly and fit perfect but I left these off until after painting the underside. You are given a choice of canopies, open or closed and I decided to go with the open version but found the sliding part does not fit. I had no problems with this kit as it basically fell together and it does look like a Stuka!
The JS-2 is a snap kit but I ended up gluing some of it due to some problems I had. Construction starts with the turret and was simple and easy. Next is the upper hull and again everything went well. The fit was perfect. On to the lower hull and that’s where I started to run into trouble. The suspension arms for the road wheels fit perfect but the road wheels themselves would not fit on to these and had to be sanded out a little (I found this out the hard way, yep, broke one arm….sigh) The drive sprocket and idler arm fit good and then it was time to put on the tracks. Disaster!!! The vinyl tracks have mounting tabs for the return rollers to go through and into a corresponding hole in the lower hull, a great idea as it will secure the track nicely. The tracks were just a bit short or maybe it was because they were too stiff but when I tried to put them on…A: The roller didn’t fit into the holes and B: The idler arm and one roller snapped off!! I ended up pinning the roller and arm back in place but it looks a bit off now. I am not sure if it was something I did or if in fact it was the kit but BE AWARE of this assembly.
Finishing
I used Testors Acrylics (RLM 70/71 & 65) on the JU 87 and Tamiya acrylics (XF-61) on the JS-2. The decal sheet gives you markings for Ju 87G-2 flown by Maj. Hans-Ulrich Rudel during the summer of 1944, but no swastikas are given so you’ll need some aftermarket ones, and generic marking for the JS-2 including multiples for the numbers. The decals went on well with the exception of the yellow markings on the Ju 87 and the white stripe on the Js-2. For whatever reason the yellow markings pealed up repeatedly and the white stripe would not set down. Even SolvaSet didn’t faze them. I ended up using a small bit of Future to glue them down, so a word of warning, (I looked at the box AFTER applying the decals and noticed that whoever built the example for Academy painted the white stripe!) paint these!
Conclusion
These are very nice kits and, even with the problems I had, can recommend these to all modelers.
I would like to thank MRC Academy for this kit, the review corps for letting me build it and all of you for reading this...NOW GET BACK TO THE WORKBENCH!

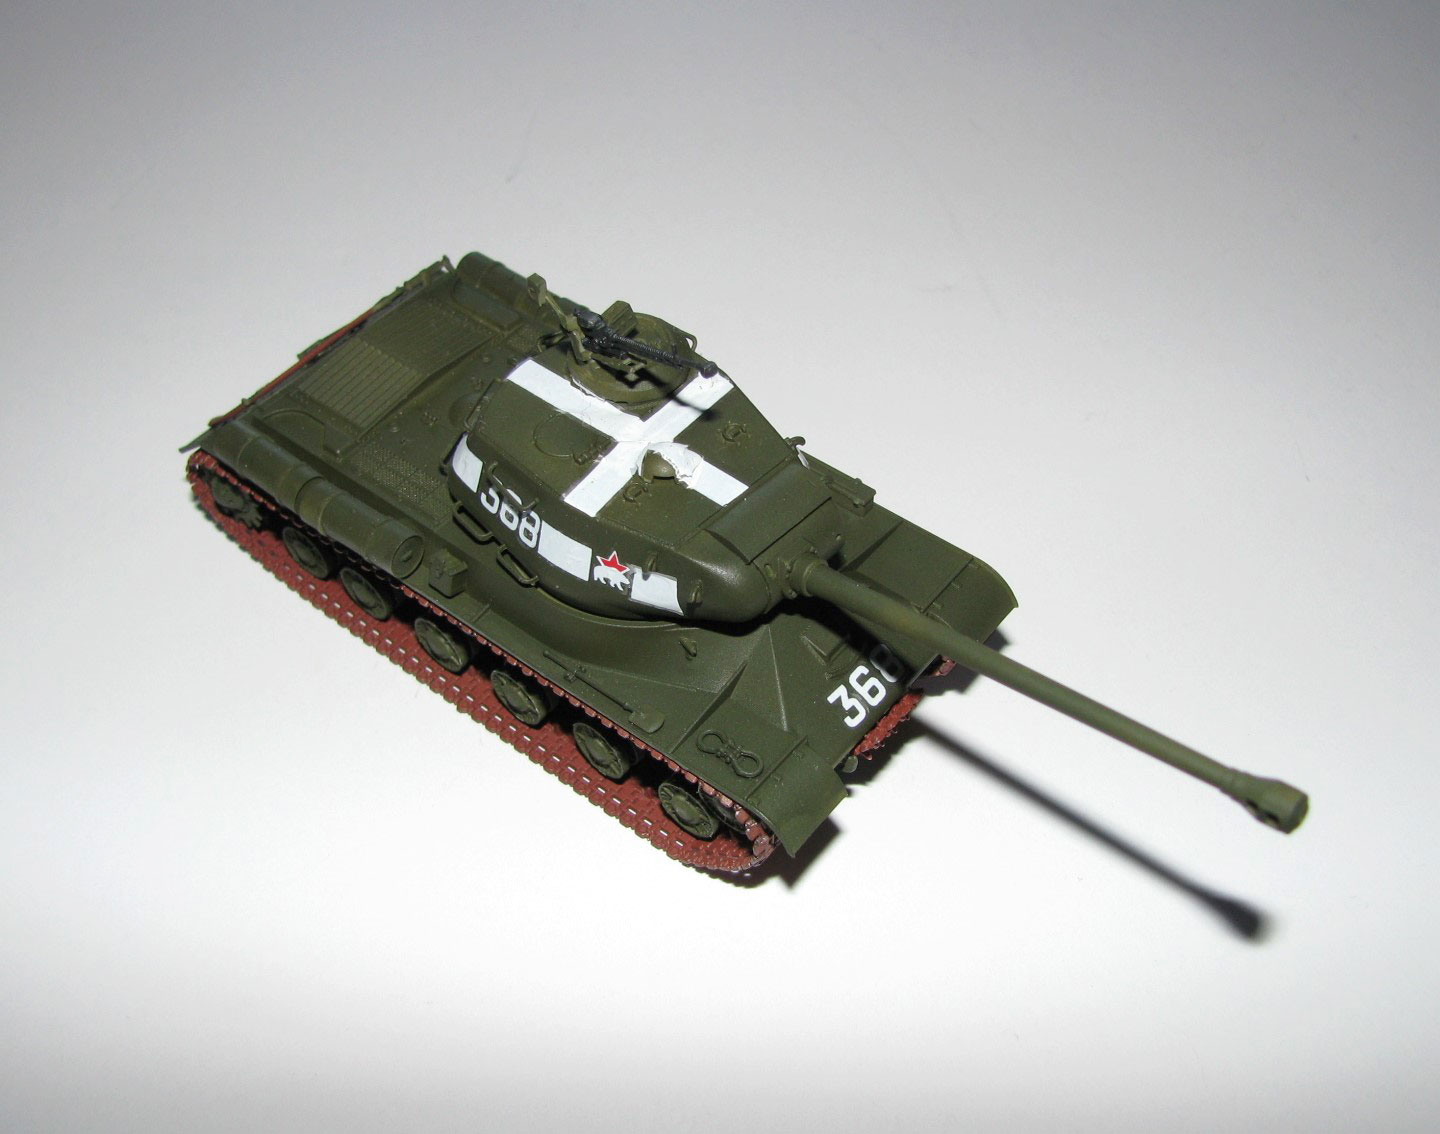
Right-quarter view of JS-2, above
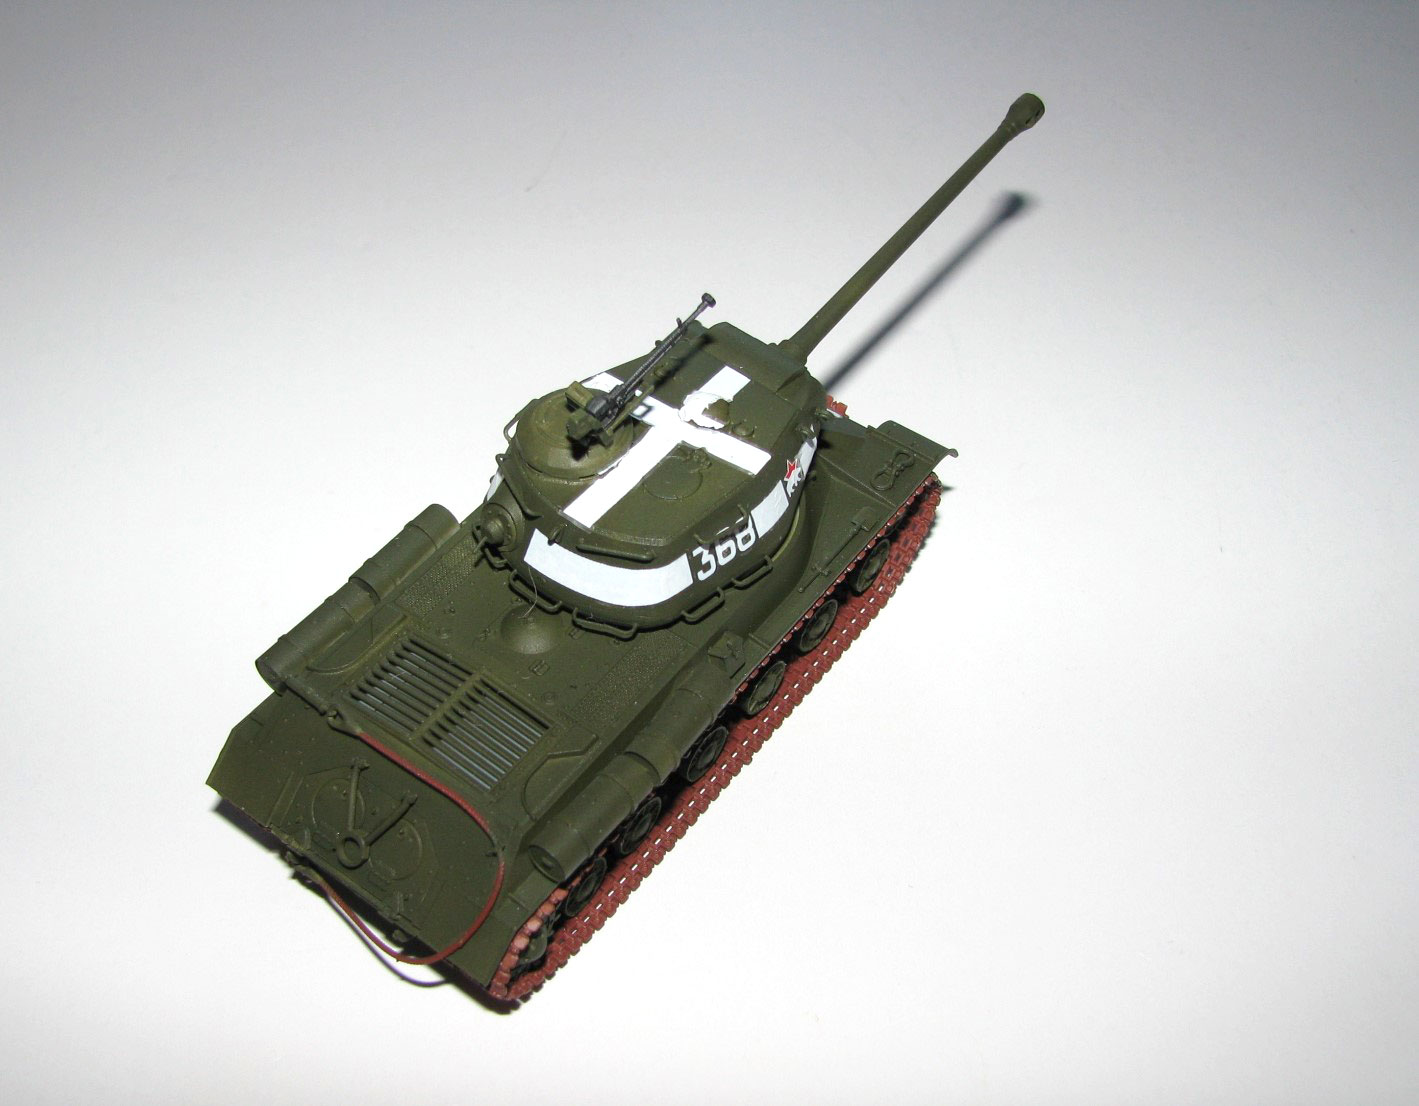
Rear-quarter view of JS-2, above
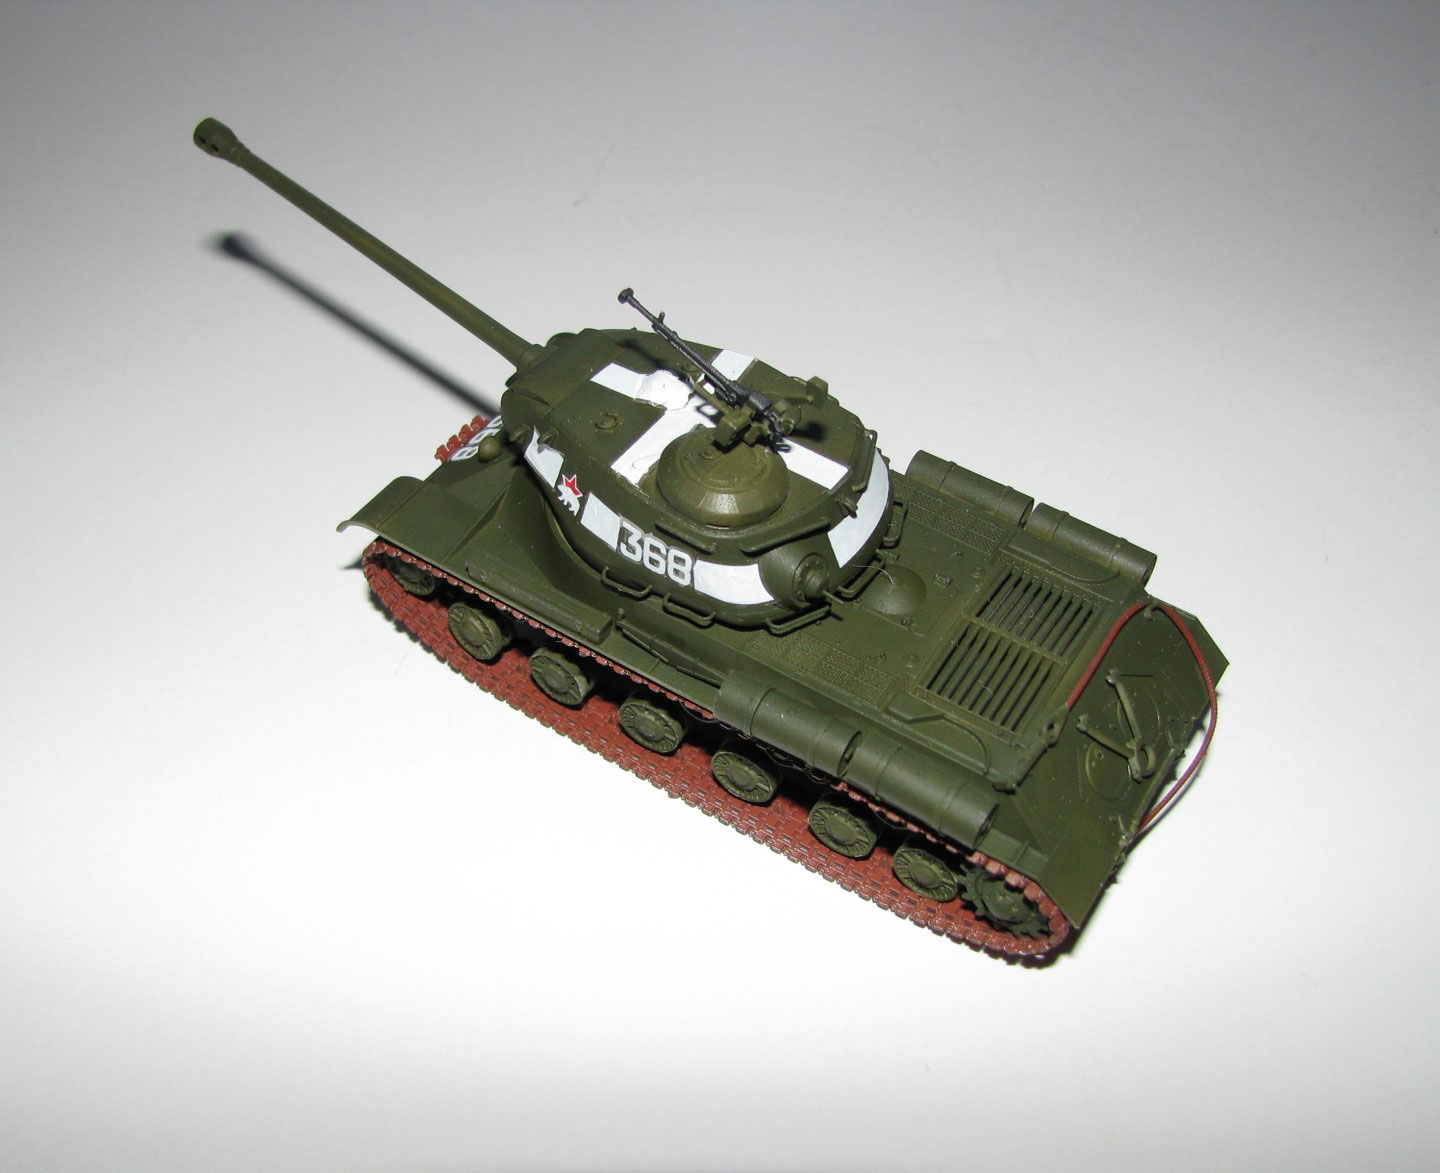
JS-2 Left side view
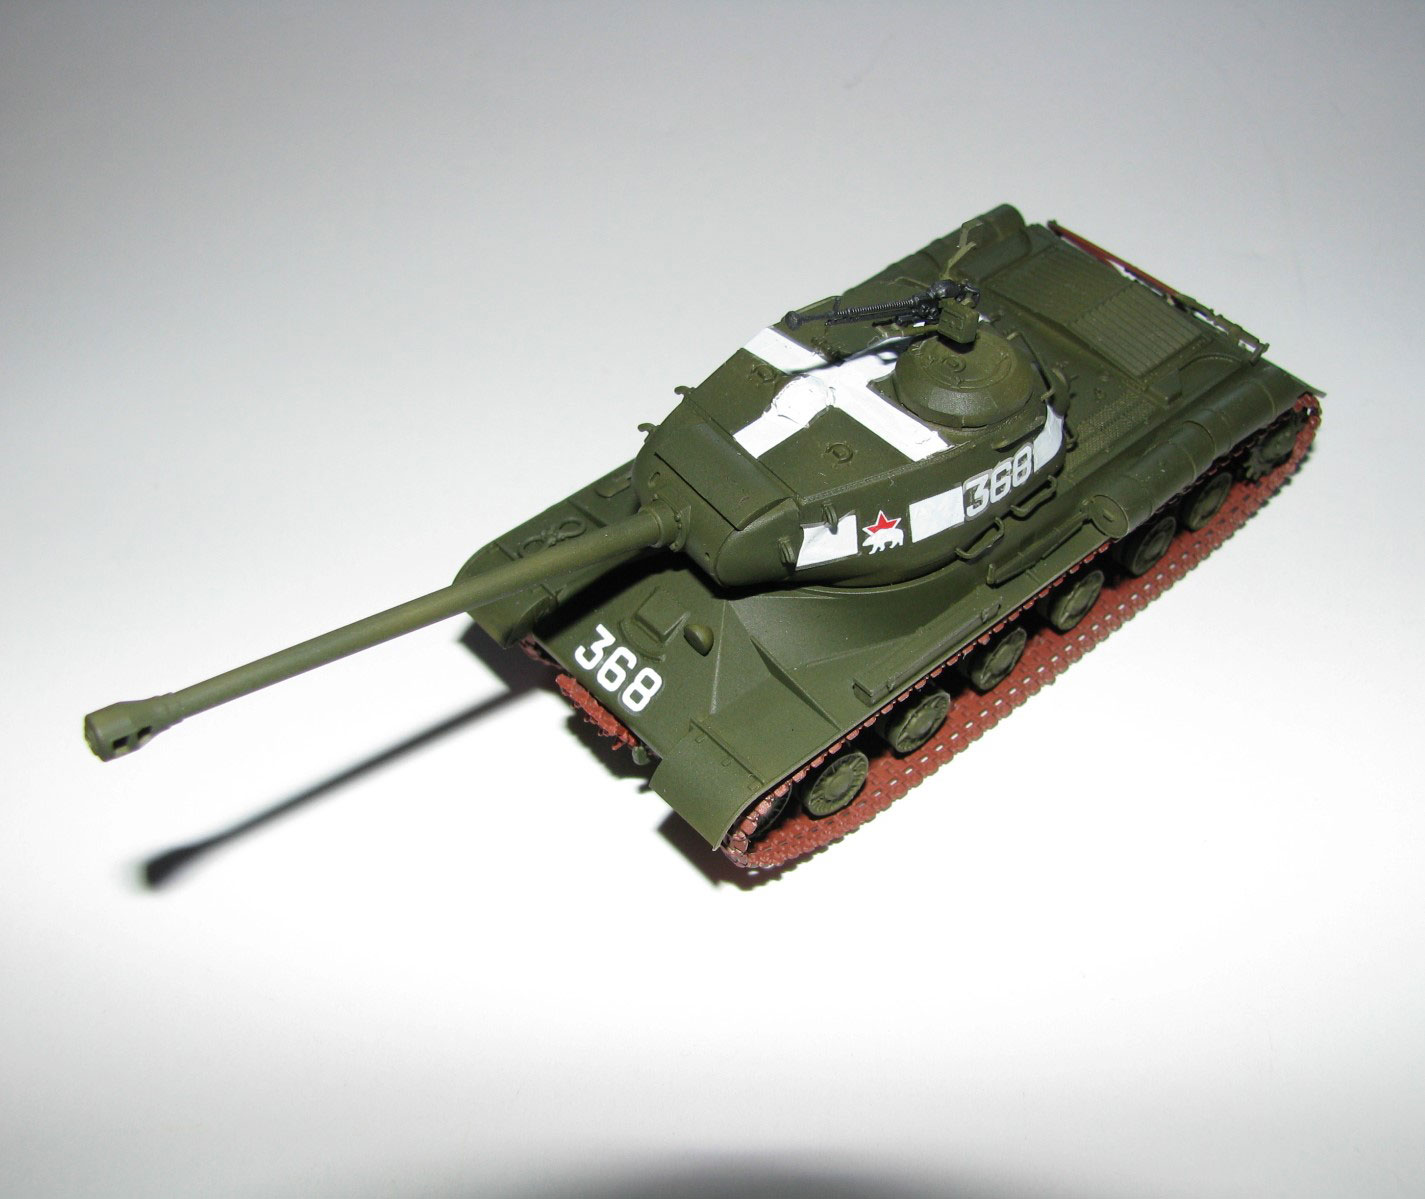
Left-front quarter view, JS-2
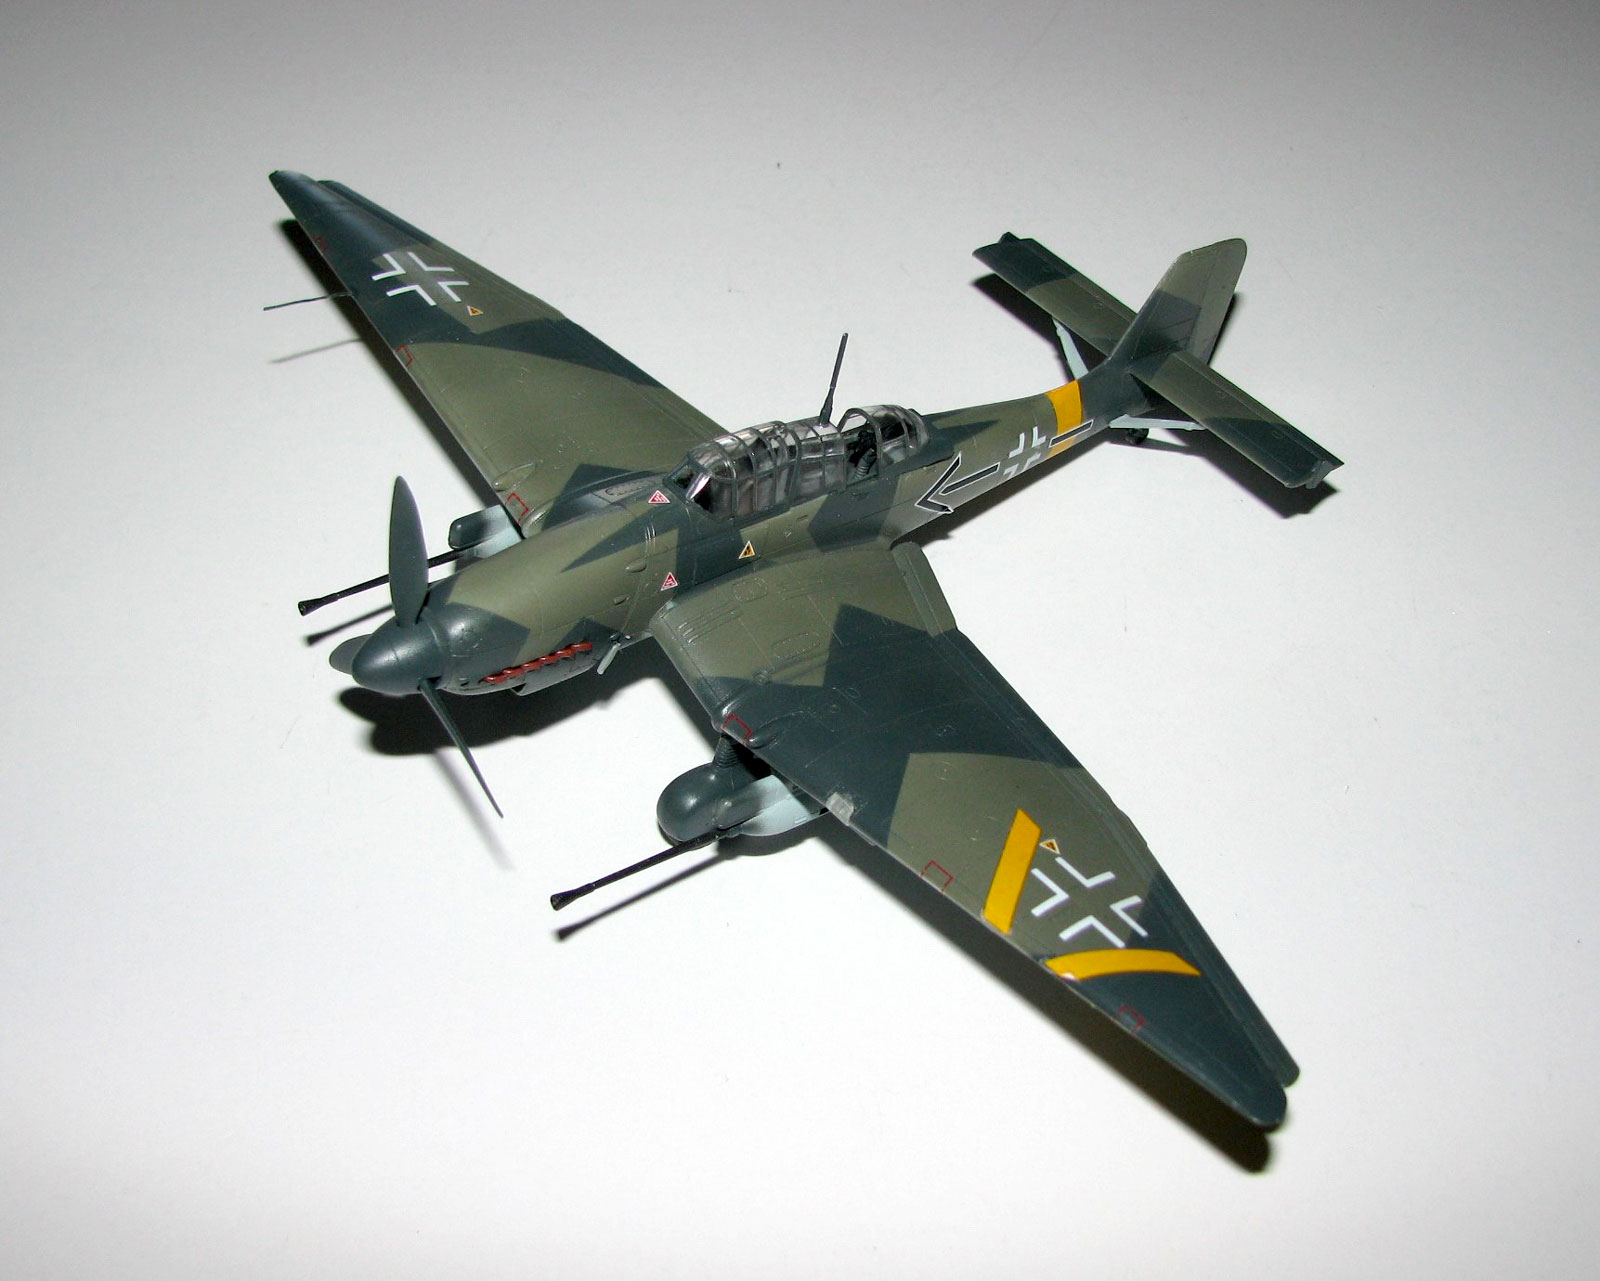
Left quarter view of Ju87G
Right side view of Ju87G, showing the two 37mm Flak 18 guns mounted under the wings
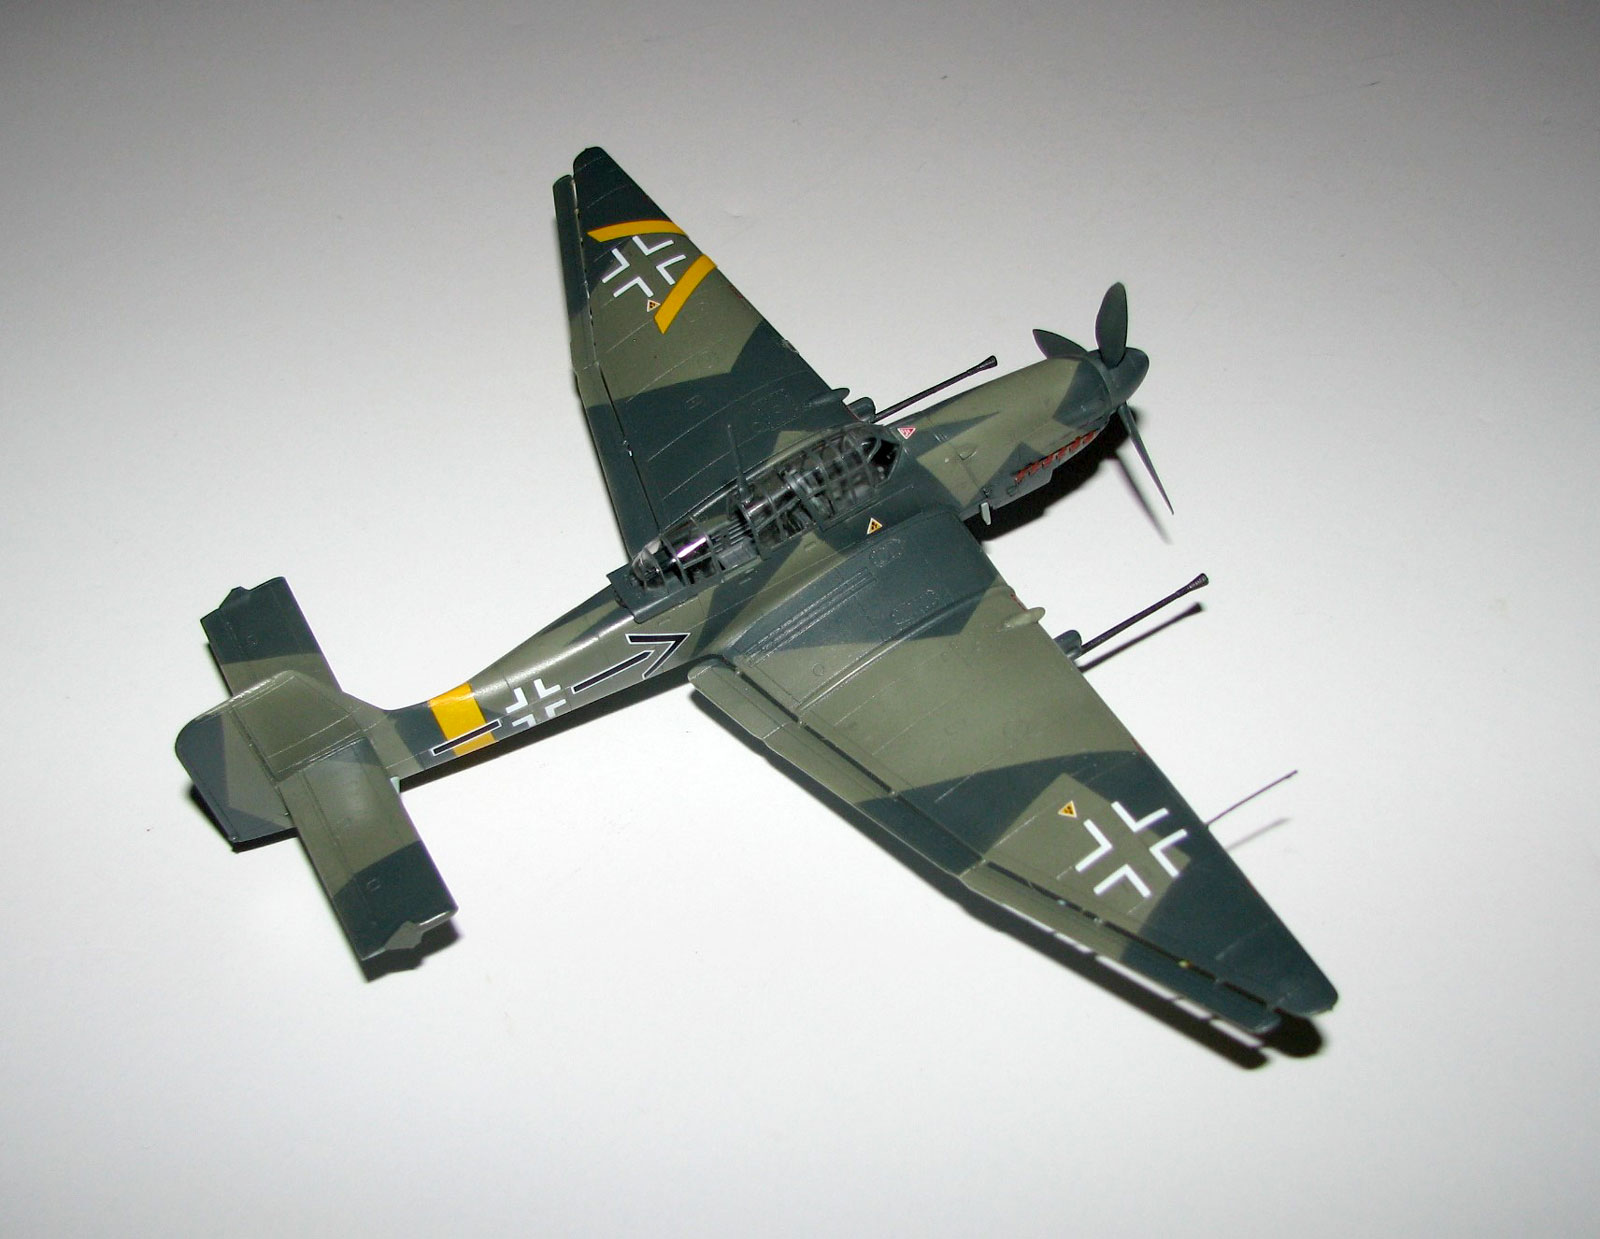
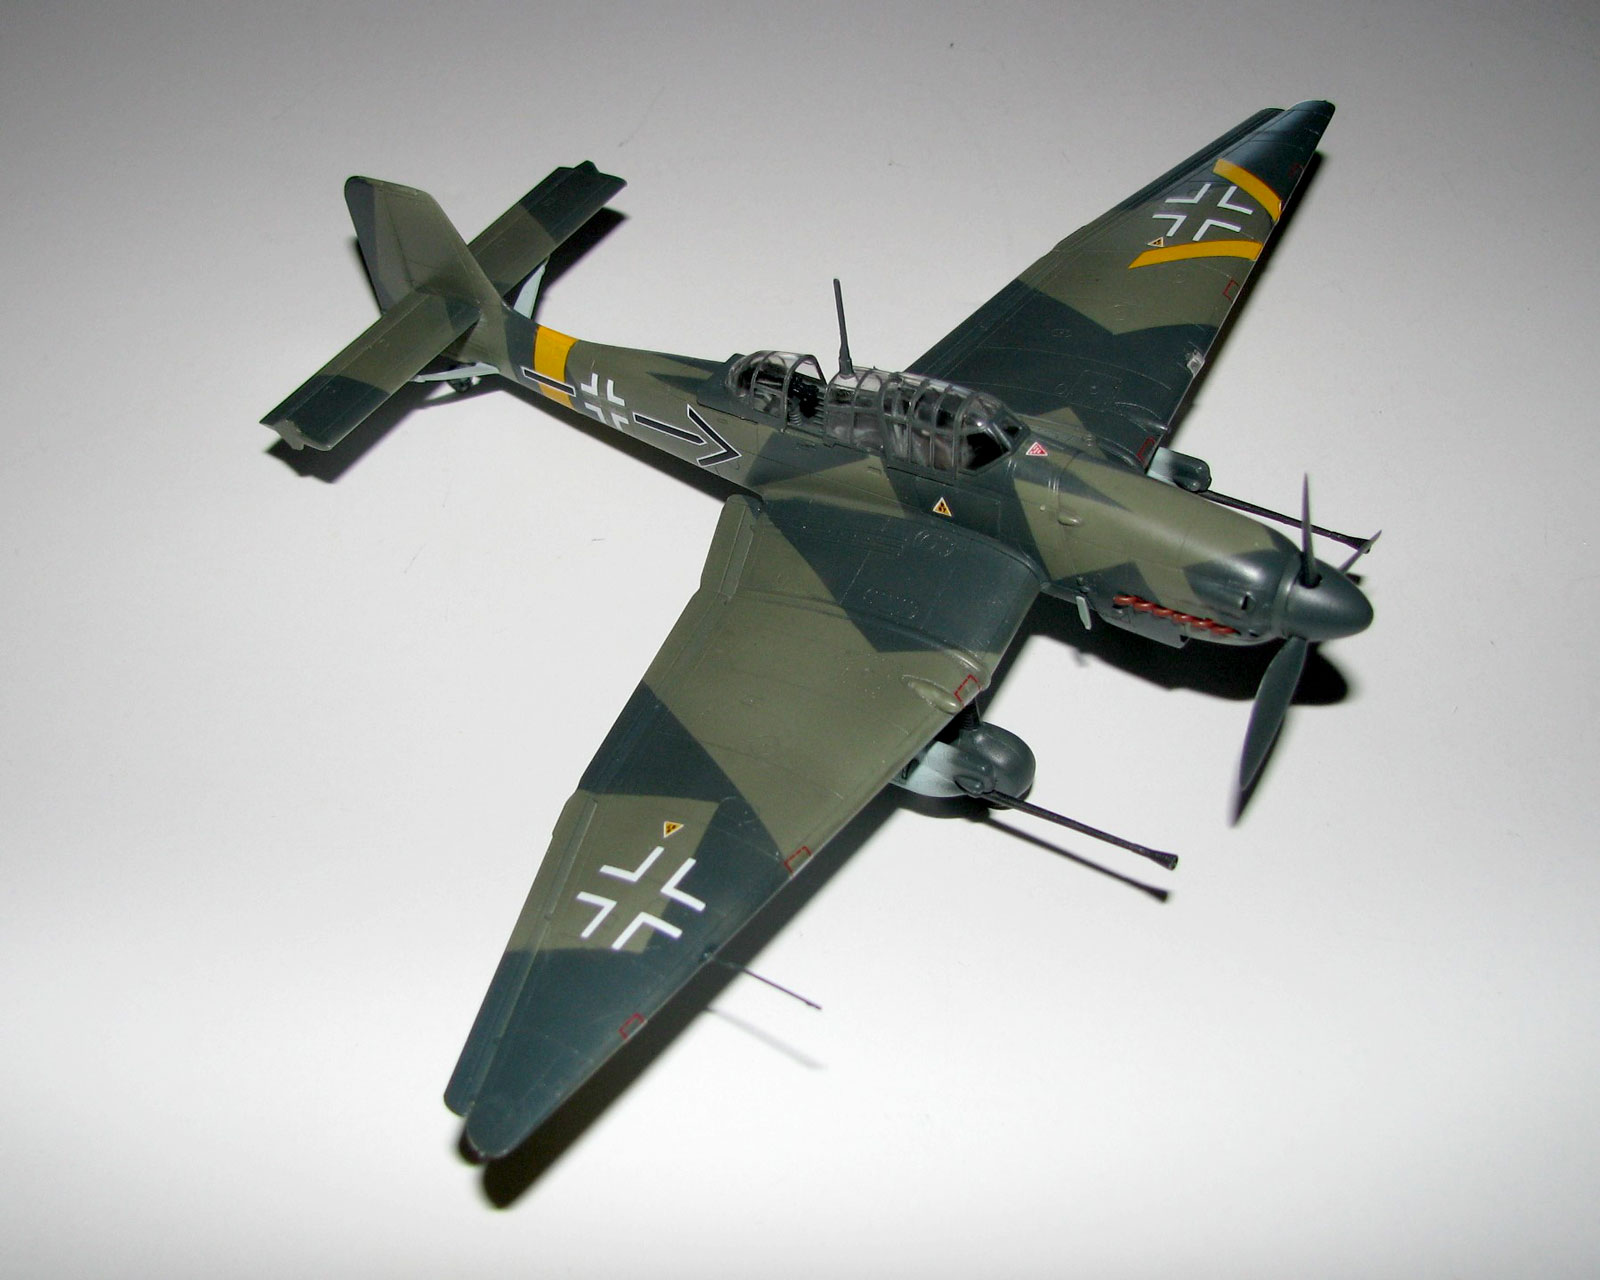
Right side view, nicely showing the kit markings

Left-rear view of Ju87G
Comments
Add new comment
This site is protected by reCAPTCHA and the Google Privacy Policy and Terms of Service apply.
Similar Reviews