
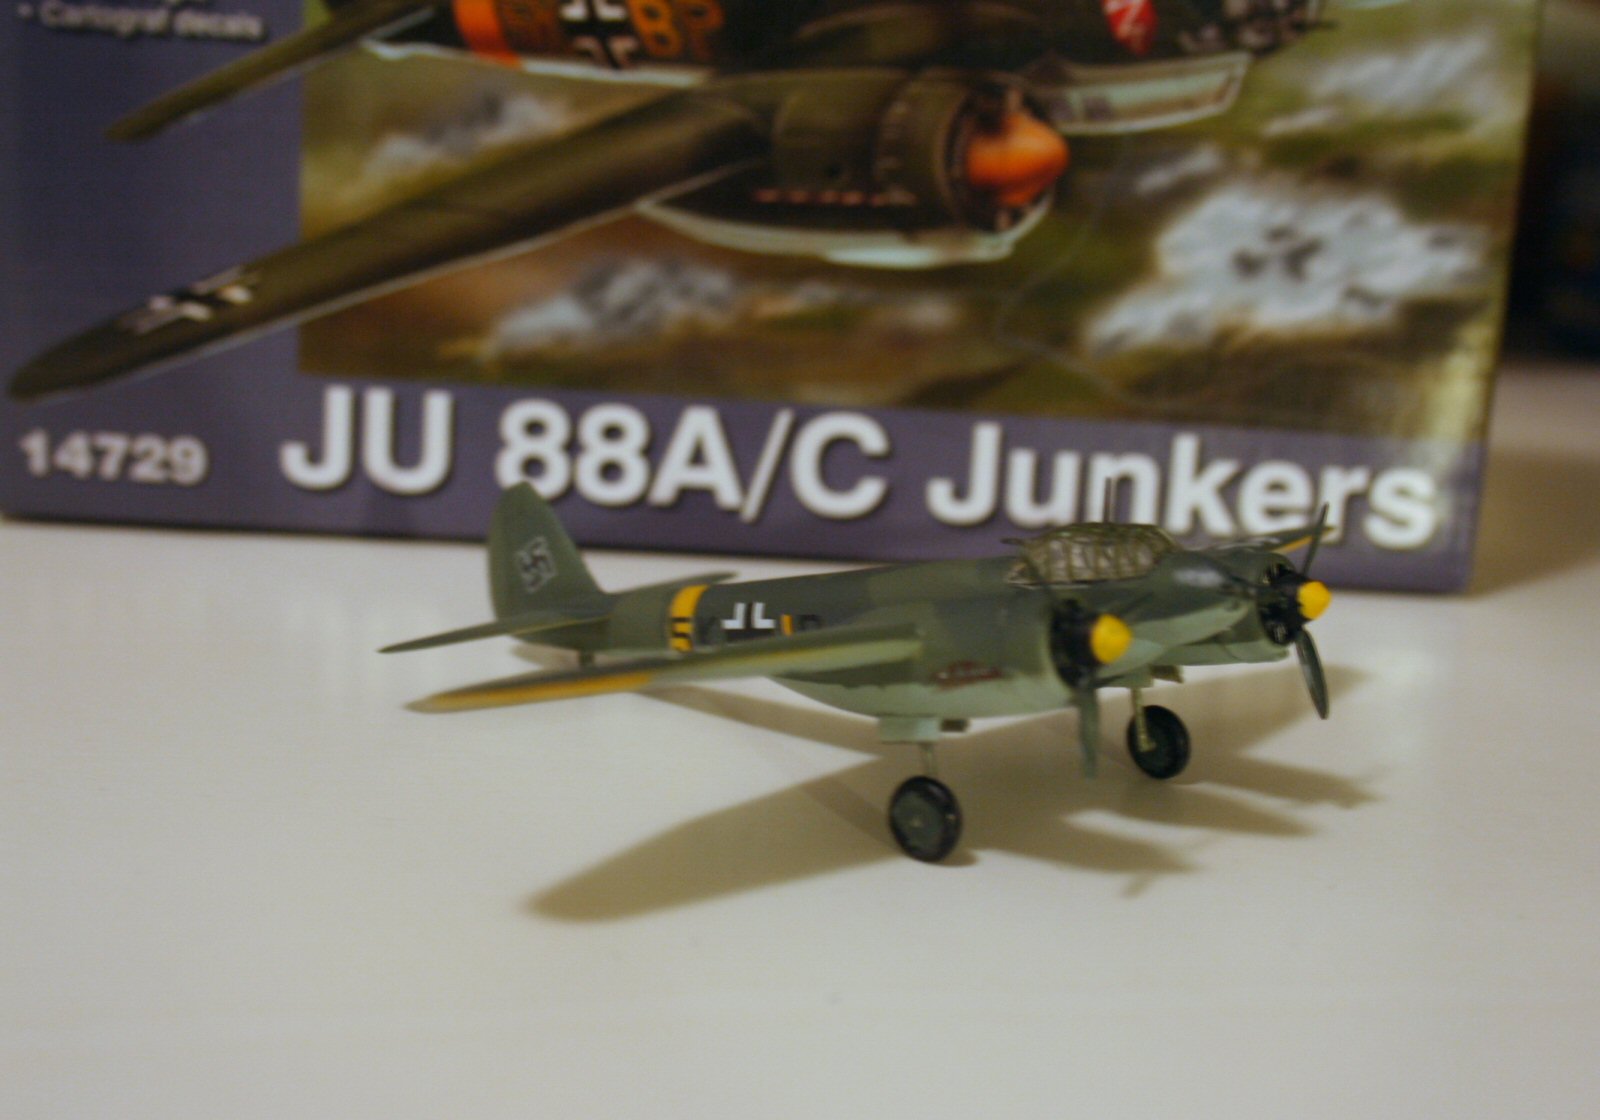
Ju-88A/C Junkers
The Aircraft
When the Luftwaffe came to Junkers Aircraft in the mid-1930s, the concept they were looking for was a schnellbomber (fast bomber) which would be faster than a fighter or interceptor. When the prototypes were built, the fast part was true, but as time went on, the fighters got faster. The Ju-88 was used as a bomber, dive bomber, night fighter, torpedo bomber, reconnaissance aircraft, heavy fighter, and at the end of the war, as a flying bomb. It was certainly versatile and performed very well for its crews.
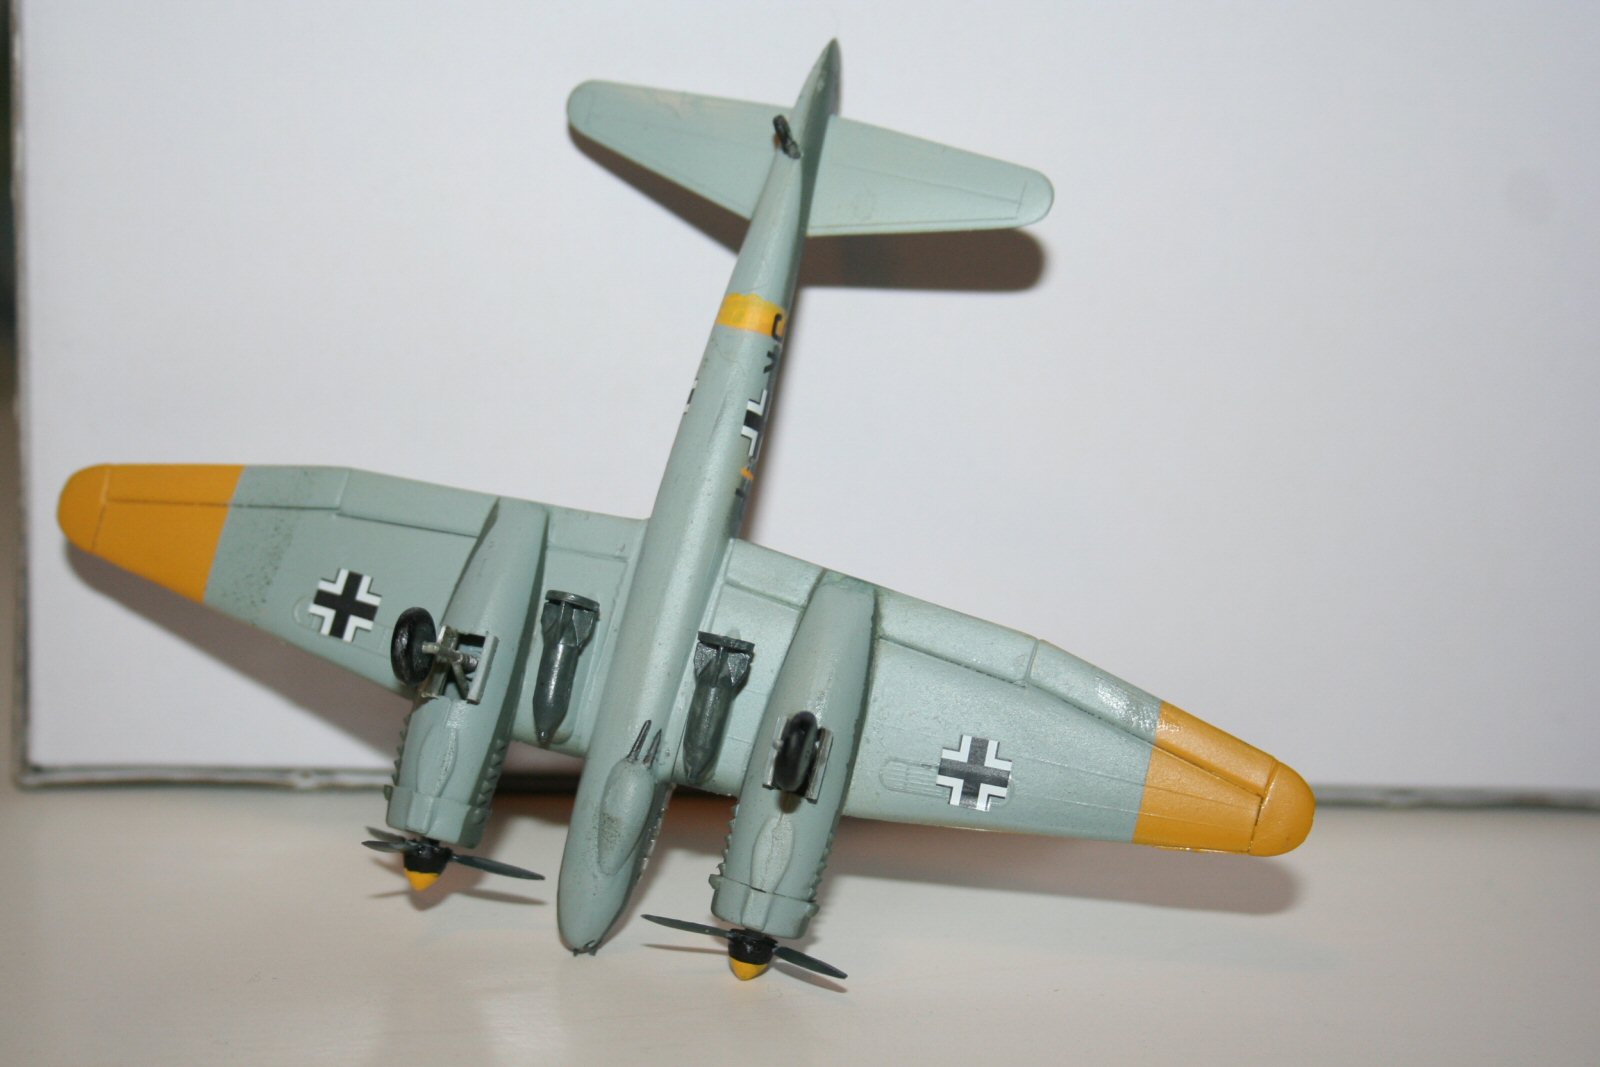
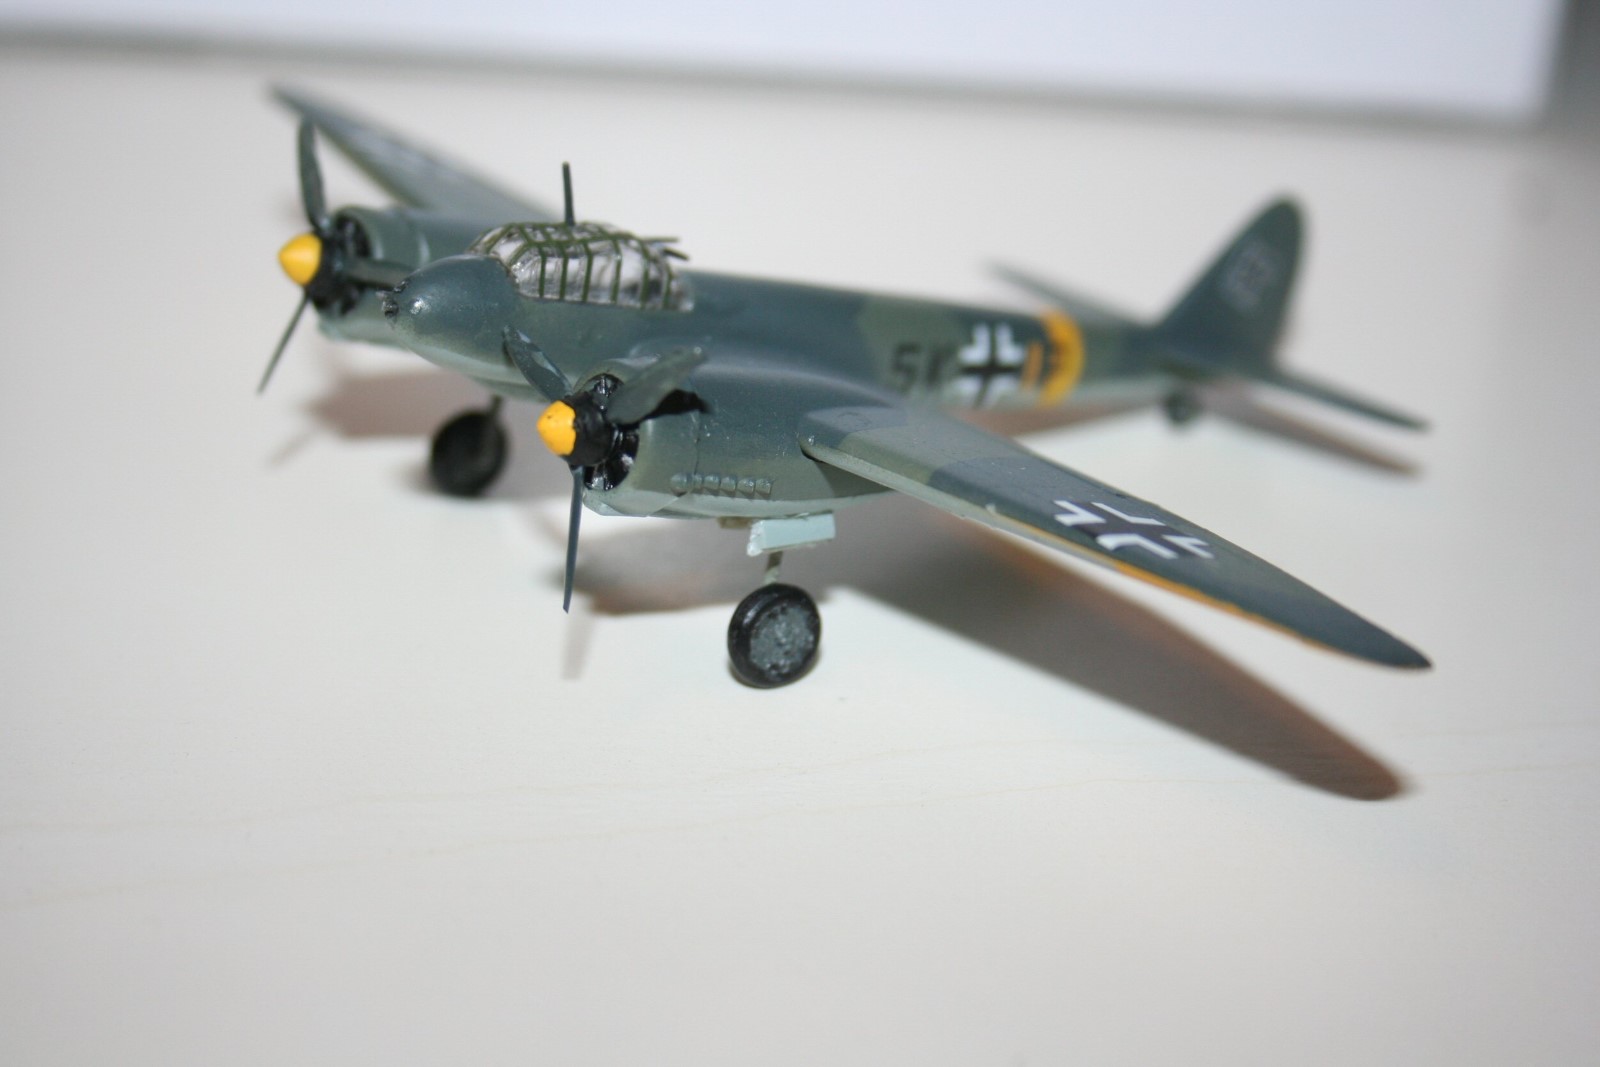
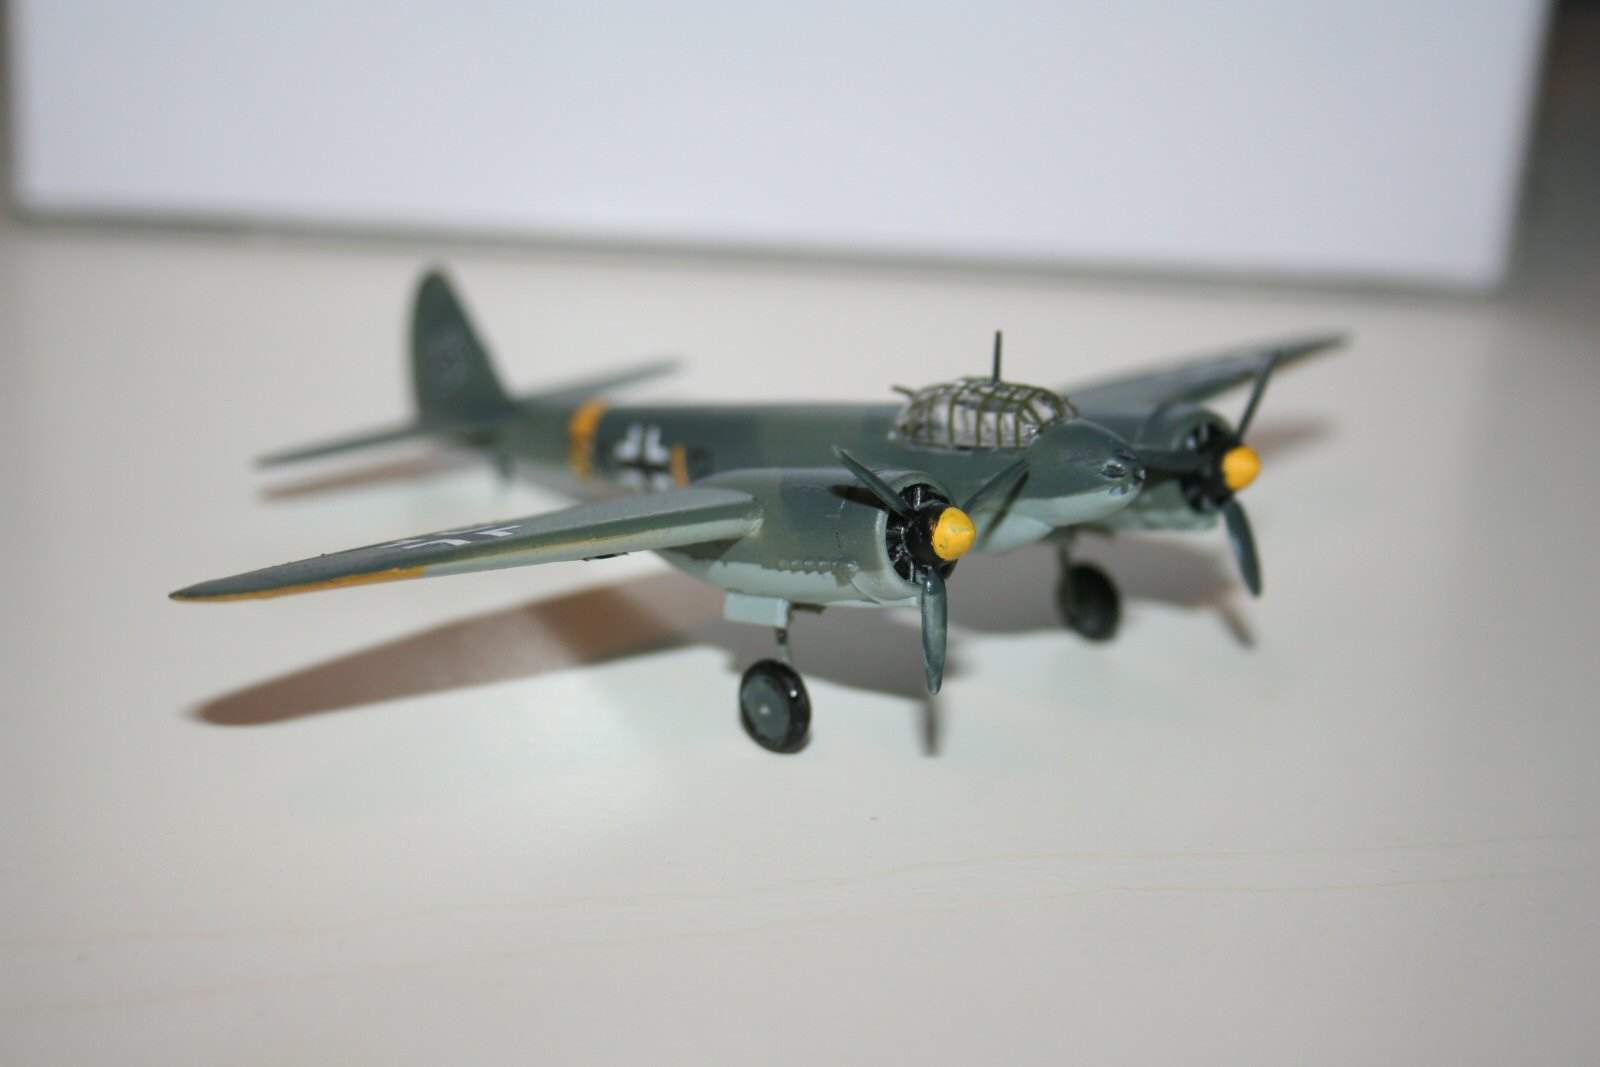
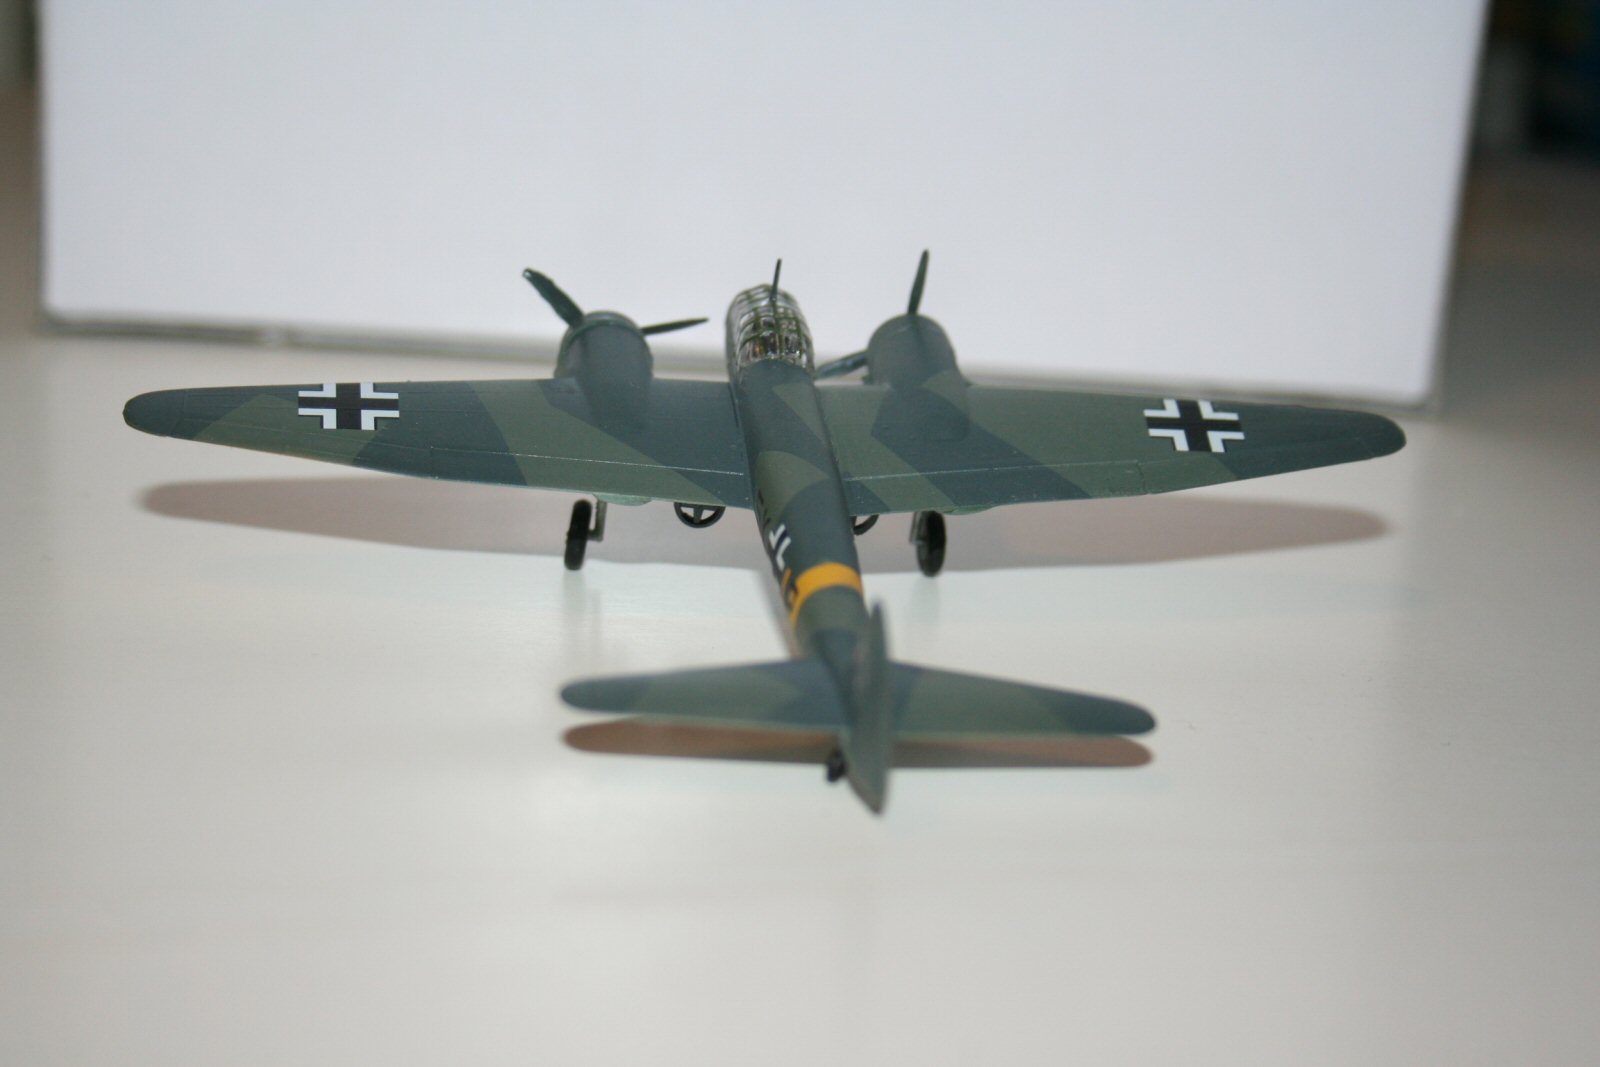
The newest version of the Minicraft Ju-88 is for the A or early C model. The A was the bomber version, with a glass nose for the bombardier. The C version was originally a heavy fighter or fighter/bomber, with the glass nose replaced by a solid nose containing a 20mm cannon and three 7.62mm machine guns, all firing forward. The C retained the rear-firing machine guns of the A model and the bomb racks under the wings.
The Kit
Minicraft has previously done a Ju-88A, as well as a Ju-88C in 1/144 scale. This kit has the same fuselage, wing, stabilizers and propellers as the earlier versions, but it has parts for both the A and C versions. I know this because I did a review of the earlier kit of the A model, back in 2010.
Because I’ve already done the A model, I did the C.
The new kit has a couple of advantages over the earlier kits. It has a pre-painted nose for the A model and pre painted canopy for the A or C models. The other really big selling point for this model is Cartograf decals. In my experience, these decals are up there with the very best.
Assembly
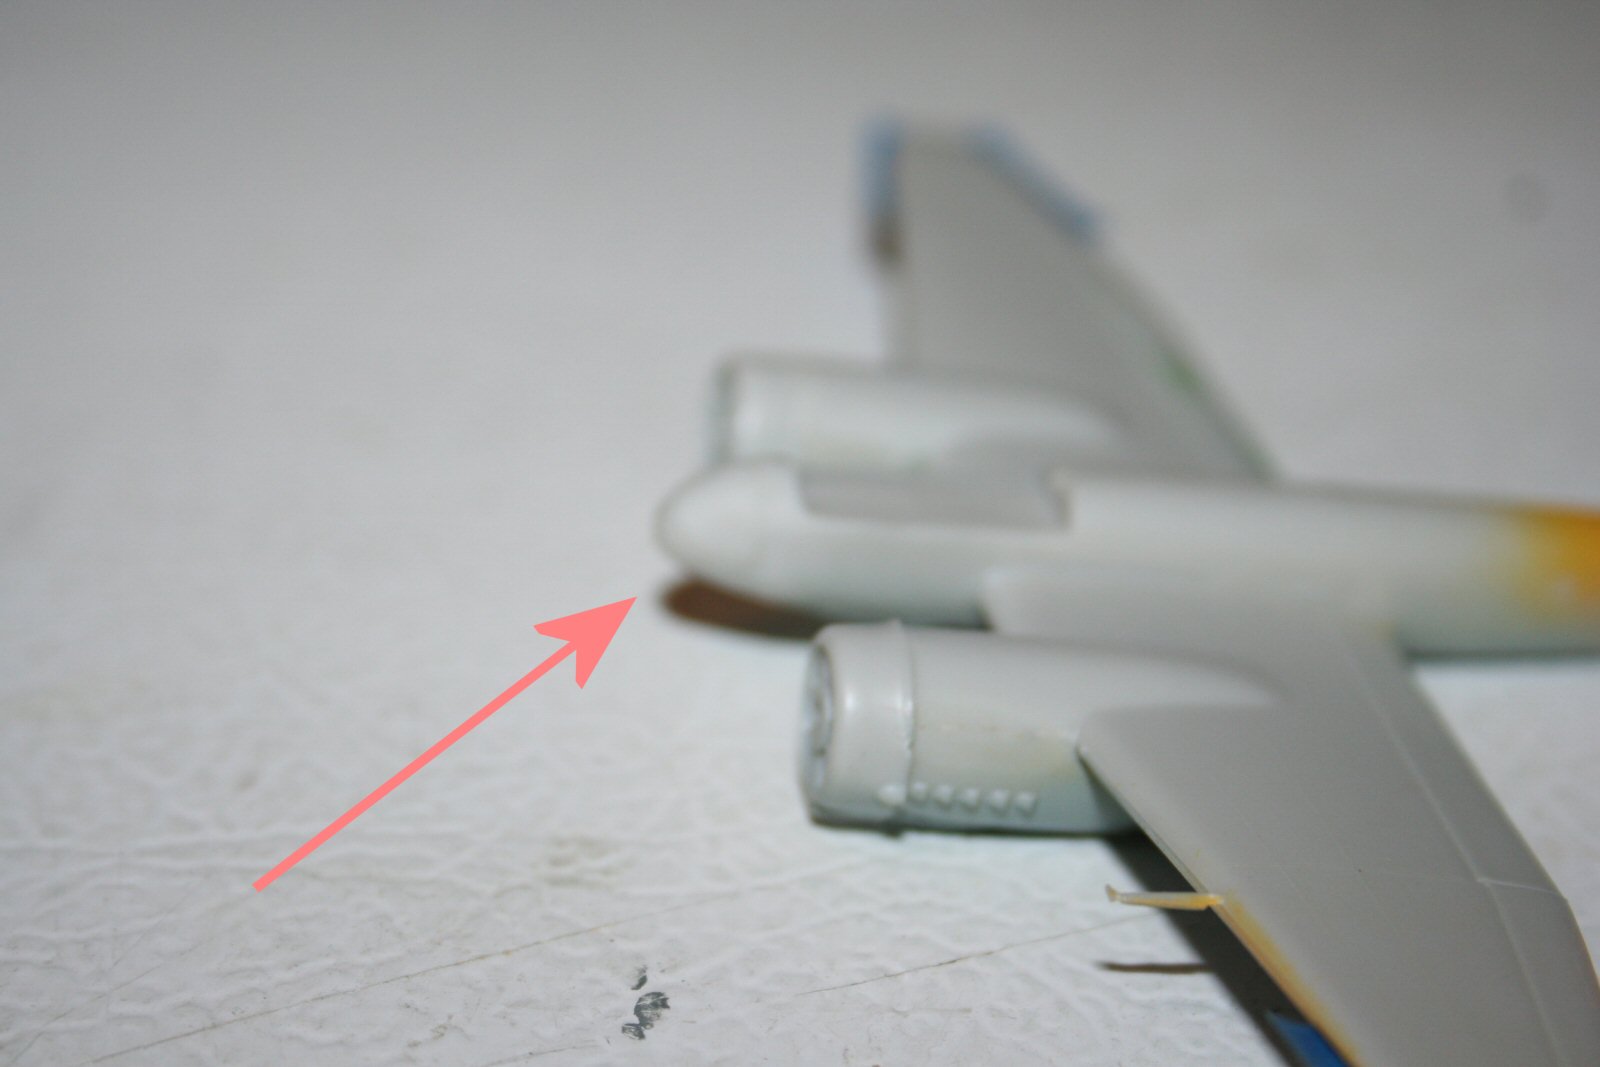
Just following the instructions and having a little patience gives a solid and nicely aligned basic airframe. I did use a little putty on the wing roots and stabilizers, but generally fit was pretty good. The engine assemblies required some putty on the trailing edges of the wings. I’m still not sure if this is the kit’s problem or mine, having to do with the removal of the parts from the sprue.
The instructions cover the assembly nicely, including letting you know what parts you need for gear up or down, or what to use for the A or C model.
Painting
The paint job was pretty basic, although it did take some finesse. I painted the yellow stripe on the rear of the fuselage, then put on a tape mask. I then painted the 65 blue underside, and put on a mask along the fuselage bottom, the wings, and the engine sides. I painted the 71 dark green pretty much overall, then added more masks and painted the 70 black green. The only other painting required was some 02 on the inside of the wheel wells and extra dark gray 66 for the cockpit interior.
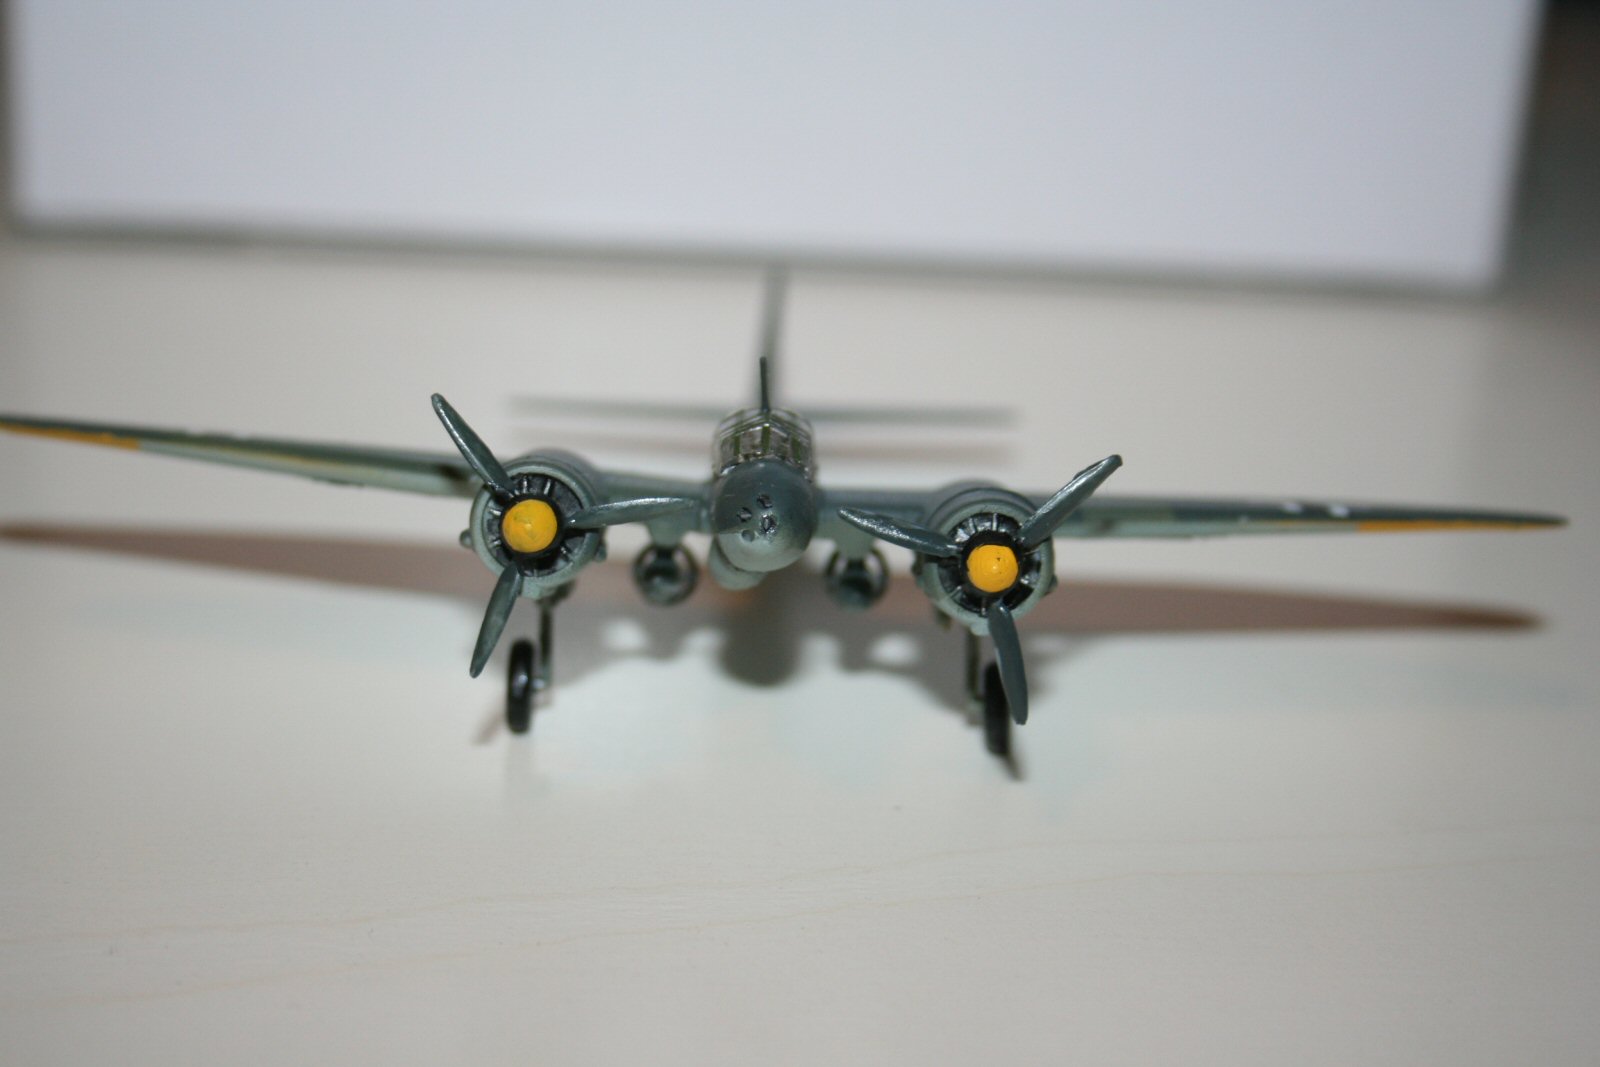
I painted the props, engines, wheels, and wheel doors during this stage.
Once I had the paint on and the masks off, I sprayed the whole thing with Future to give a smooth surface for the decals.
Decals
One of the things I love about Cartograf decals is that once I dip them in water, I have about 15 seconds to find the tweezers, fine brush I use to move decals and the decal solvent. These weren’t that fast, but after about 30 seconds, they could be moved off the paper. The decals were thin enough to snuggle into panel lines, but thick enough to stand up to handling. It was in this stage that I discovered I had painted the yellow stripe too far forward. Too late to fix. My bad.
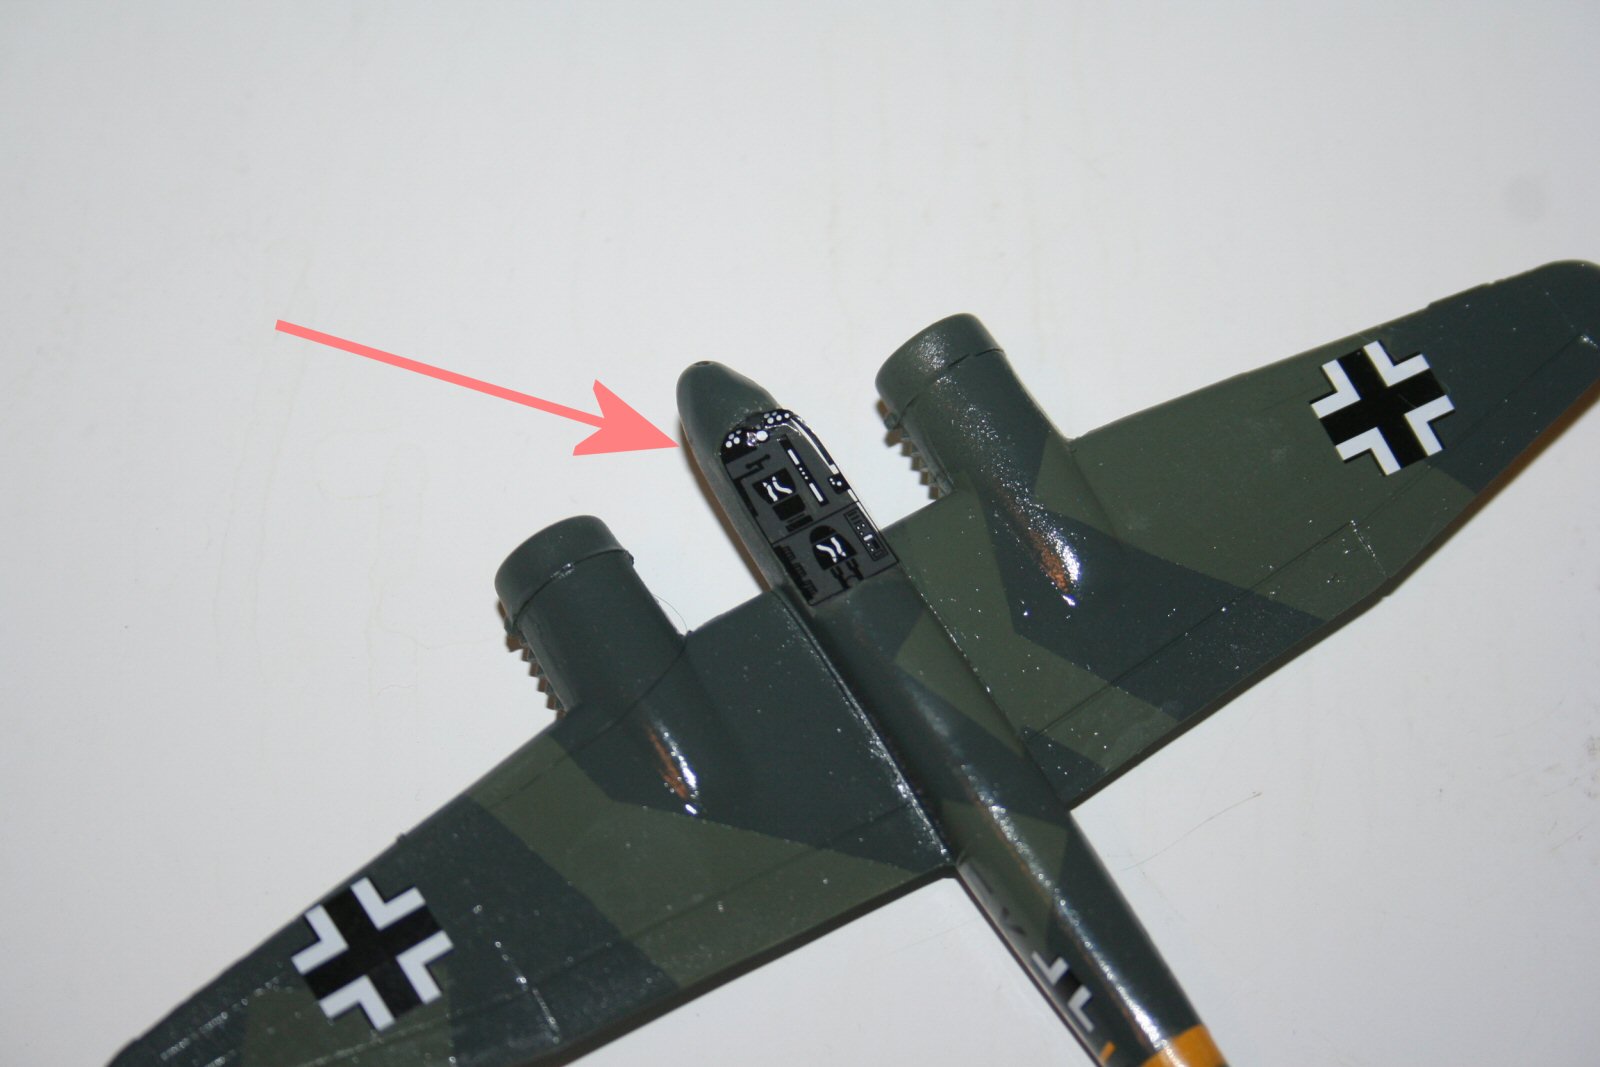
There’s also a marvelous decal for the cockpit interior. It really looked good, and it even sits up at the front to provide the instrument panel, as well as seat belts and consoles. This makes up for the fact that the interior is just a flat spot under the canopy.
After the decals set up, I put a thin coat of Micro Scale Clear Flat to make the decals look better and remove that gloss I had to put on to apply the decals.
Final Assembly
I always save the small parts like the wheels, bombs, props, guns, and antennas until I get the decals on because I invariably bend or snap off something small. So now it’s time to put the bombs on the bottom of the wings, install the landing gear and tail wheel, put on the gear doors, and add the machine guns.
I put the canopy on before adding the guns, as there are two sticking out the back. The canopy is wonderful, pre painted and just marvelous. It probably saved me an entire evening’s work on this kit. The down side to this marvelous canopy is that it pretty much obscures the interior decal. OTOH, it fits very nicely, thank you.
The guns were not easy, because they’re pretty small, and there’s only a small recess to indicate where they go on the underside gondola and the canopy rear. I couldn’t use regular glue on the canopy, instead using Micro Krystal Kleer to insure I didn’t injure that nice painting job. On the underside I used Testors tube glue thinned with some of their liquid cement. It worked pretty well, giving me a couple of chances to fix the alignment as the glue set.
The guns for the nose were a smallish problem. The instructions say to take one of the regular guns and cut it into 3 pieces, then glue them into the holes in the nose. The holes were much better for assembly than the recesses on the underside, but even though I’ve been building 1/144 scale for about 15 years now, the parts were just too tiny to manage. So I fell back on an old trick and stretched some sprue, painted it gun metal, and then cut it into manageable sized pieces. Once the pieces were installed in the nose, I trimmed them off to approximate length.
The last item was the antenna on top of the canopy. I knew that I’d ruin it if I put it on too soon and then had to turn the plane on its back to install something. Krystal Kleer did the job nicely.
And I was done.
OVERALL EVALUATION
WELL RECOMMENDED. The change to make it buildable as either an A or a C makes it desirable. The pre painted canopy and bomber nose are real selling points. And the Cartograf decals are very nice.
The kit has some age on it, but it’s still got decent fit and good shape.
Many thanks to Minicraft for the review kit, and to John Noack and IPMS for allowing me to build a new version of the Ju-88.


Comments
Add new comment
This site is protected by reCAPTCHA and the Google Privacy Policy and Terms of Service apply.
Similar Reviews