
Ju-88A-5
Sometime back in 2015 it was announced that ICM was going to produce a new 1/48 Ju-88 series kit. I was rather intrigued as the Ju-88 is one of my favorite aircraft of WWII and that the last time I actually built a Ju-88 was an old Hobbycraft kit back in the late 1980’s. Then sometime in the early 1990’s a new model company DML, later Dragon, came onto the market with a whole series of the Ju-88 family. At the time these were top notch kits but some of the engineering in order to produce a wide variety of variants made things slightly complicated for some, myself included. So with this announcement of a new Ju-88 kit coming out I was excited but at the same time very reluctant as my past experience with ICM not being favorable.
Here in Columbus, Ohio there is a local hobby shop where on Friday nights some of the local IPMS club members gather to talk shop, show off builds, and look at/buy new releases that come in. It was here I saw the ICM Ju-88 for the first time and was blown away at the details and simplicity of construction in the instructions. My past conceptions of ICM from years prior went right out the door.
The Kit/Assembly
The kit consists of 6 plastic sprues, 1 clear sprue, and decals for 4 versions with full stencils. The finished detail of the plastic is very finely engraved and the quality is excellent and the frame detail of the canopy glass is superb.
The construction of the kit begins with the panel details on the side of the cockpit fuselage and tail wheel. On step 6 I had the only major issue with this entire kit, where you join the two fuselage halves together I had to do some minor sanding and fitting of part C1. There was a lip that I had to sand to fit so that the fuselage would fit properly when joined. After some dry fitting and sanding it went together seamlessly and I then applied the glue.
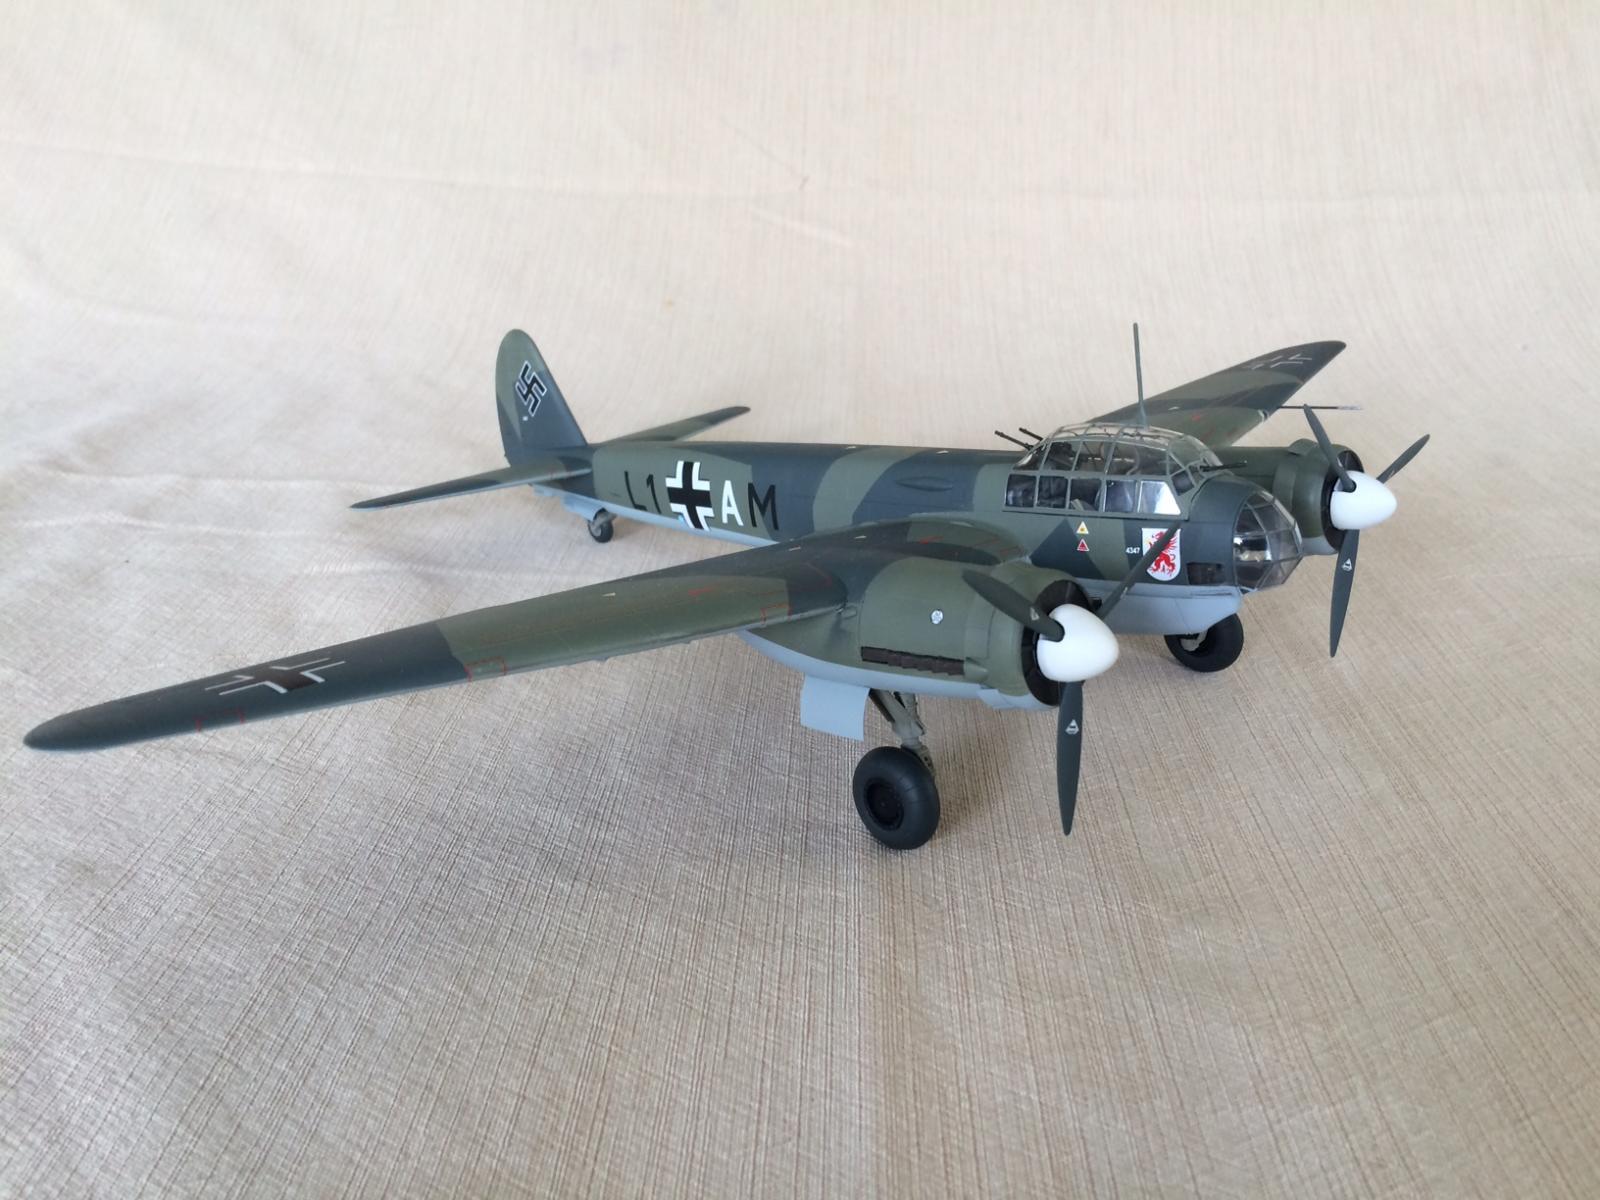
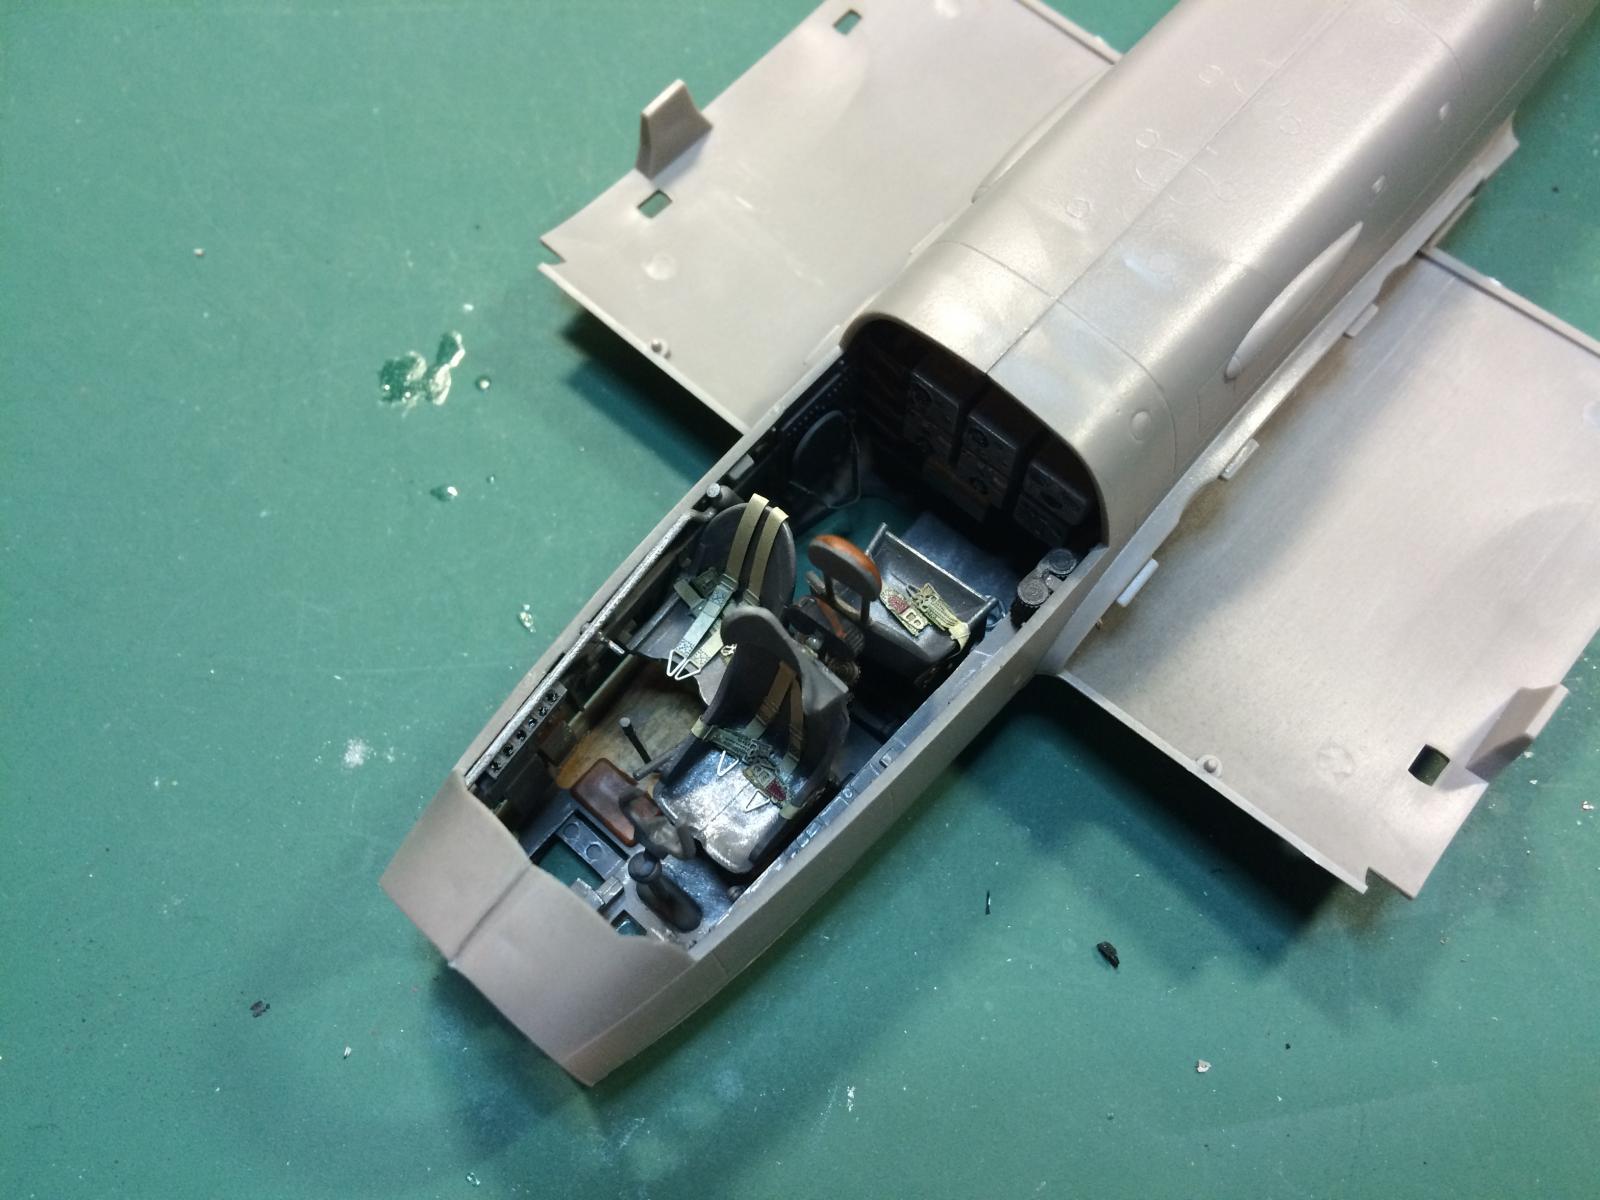
After the fuselage was together the next step was mounting the bottom of the wing and cockpit details. The cockpit details for this kit are excellent. These are possibly the most intricately detailed seats for the Ju-88 I have ever seen in this scale. The dial details and extra machine gun drums make this tiny little cockpit cramped with detail. If you are familiar with the Ju-88, and some other German aircraft, they liked their ‘greenhouse’ canopies. Being that you can view so much detail inside after it is finished I decided to add some aftermarket Eduard seat belts which totally make the interior complete.
Once the cockpit is completed you begin working on the control surfaces and wings. One of the great details of the kit is that all the moving surfaces are separate i.e. ailerons, flaps, rudder, etc. so you have the option of positioning them any way you like.
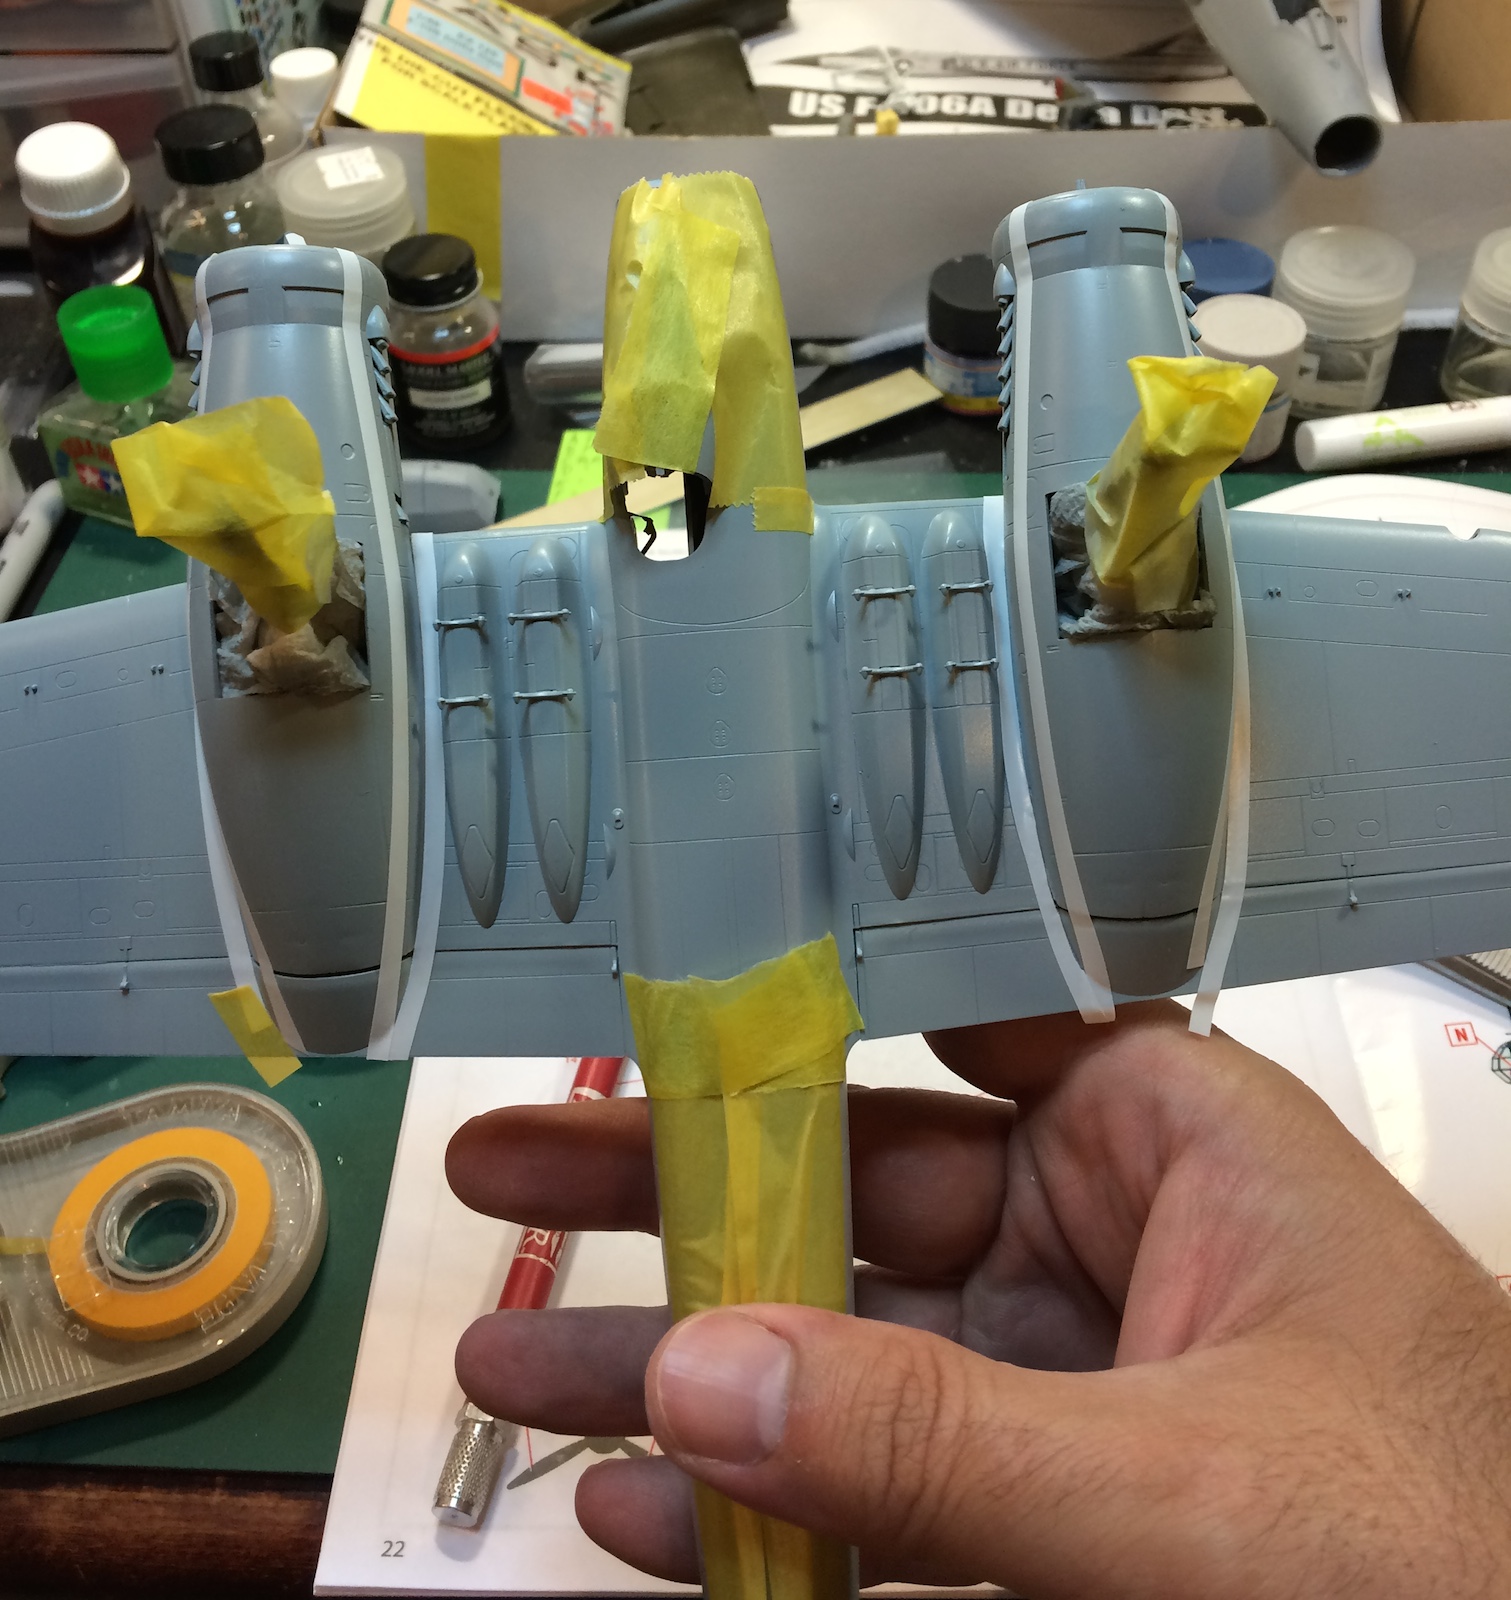
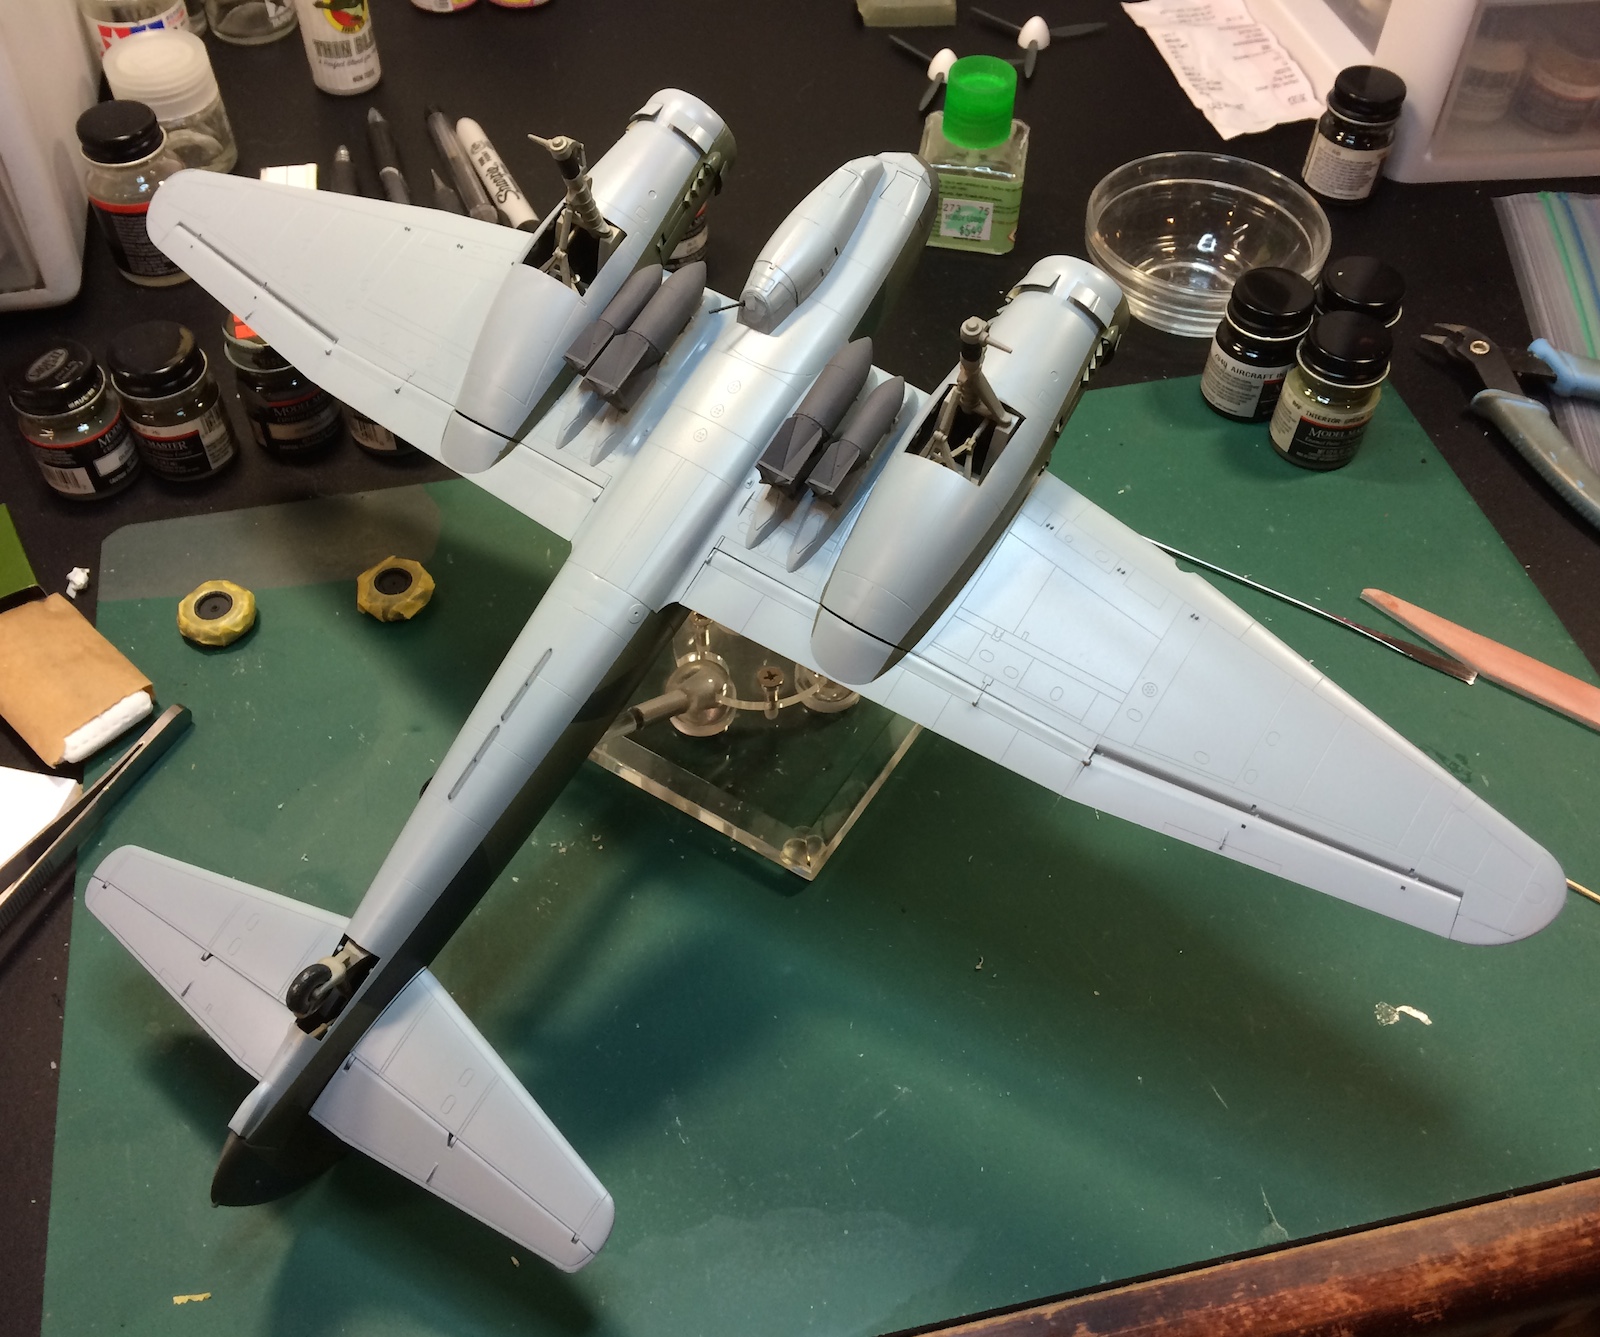
The next step is working on the engines and the engine nacelles. I was actually worried about this part as I don’t do engines and was concerned as to how much you would see after it was completed. However for those of you who like to show off the engines or for dioramas etc. they give you a good amount of detail as well as the engine access doors are separate parts.
My personal taste in building aircraft is to make them sleek and clean so I wasn’t interested in doing the kit with the engine access covers open. I was concerned that the fit wouldn’t be that great but I was shocked as to how well they went together. The only thing that I didn’t particularly care for was you only have the option for open cowl flaps. It would have been nice to have an option available for having closed cowl flaps.
At this point the kit is about 85% together and there was some slight filling and sanding needed on the fuselage. I think it was mostly caused by me in assembly as the rest of the kit is flawless and seamless for the most part.
Now that I was in the home stretch of assembly with the smaller detail parts such as gear doors, bomb racks, propellers, and canopy glass remained. One thing I would like to point out is that the fine detail parts such as the pitot tube, gear actuators break very easily, and are very hard to get off the sprue without breaking the parts. I was able to repair these parts all except for the pitot tube which I had to make out of Evergreen plastic rod.
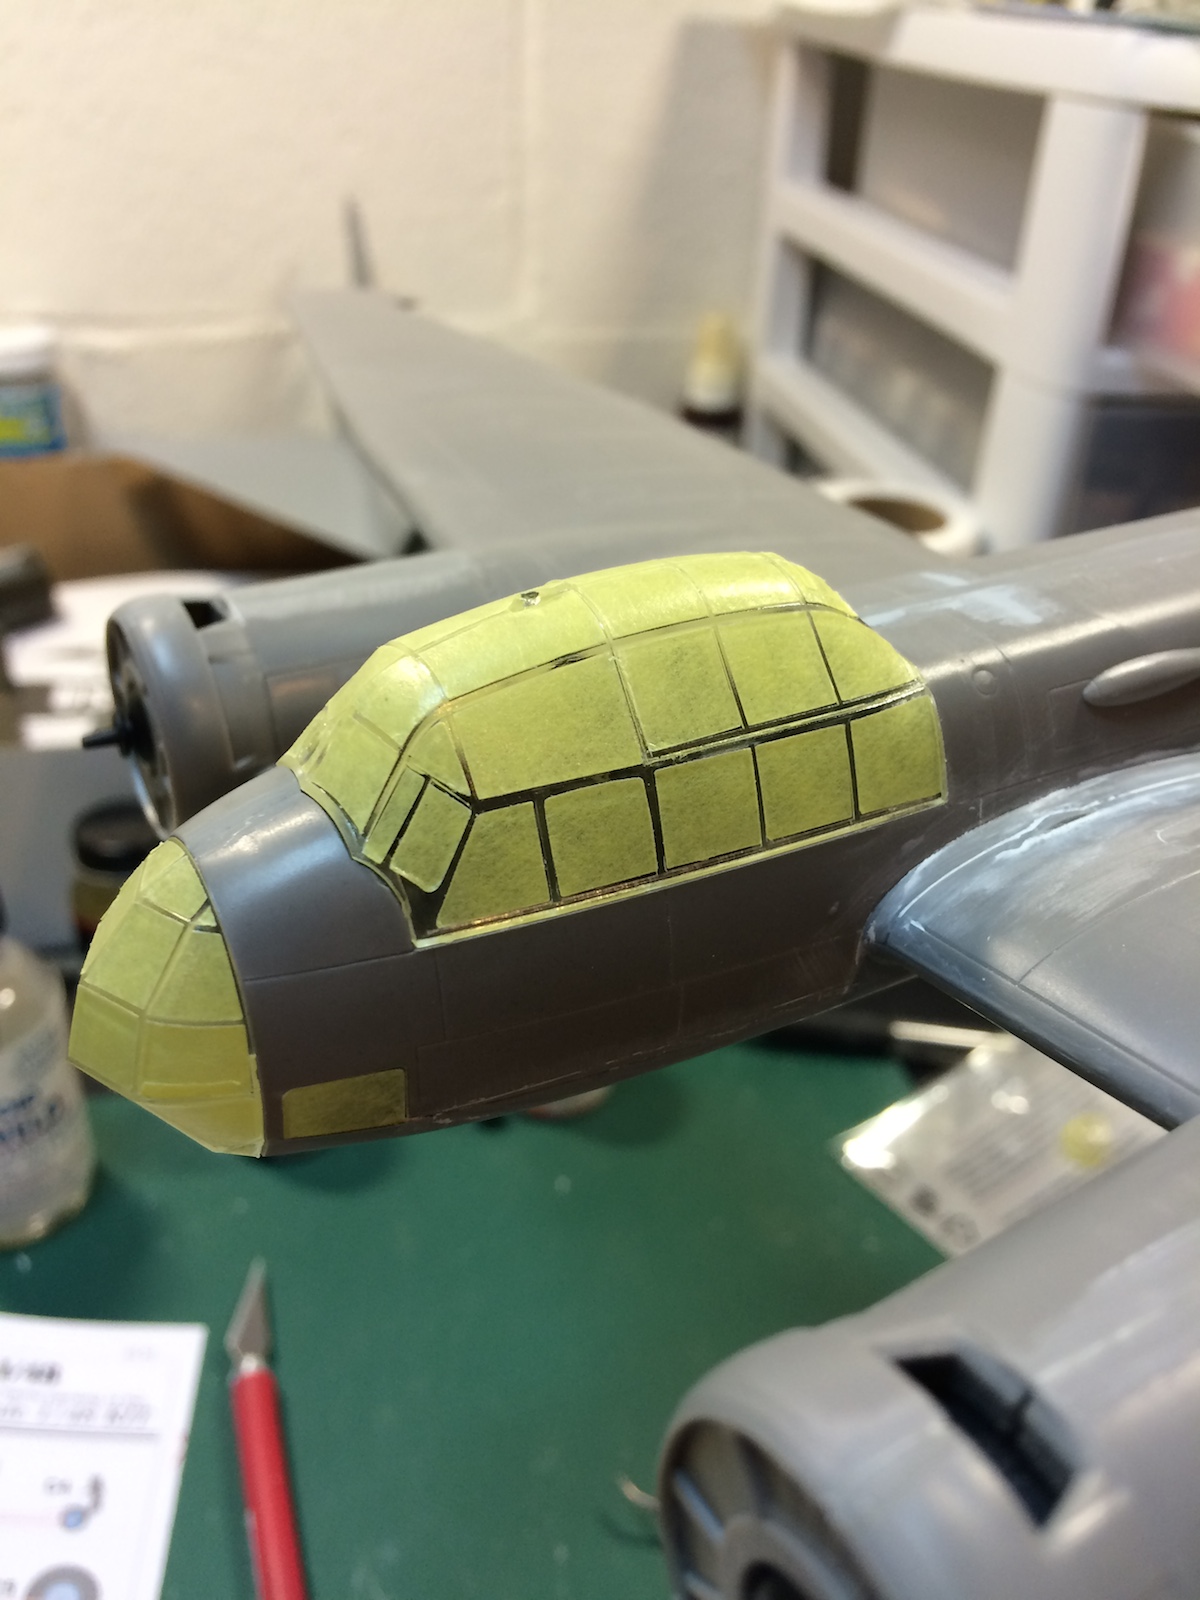
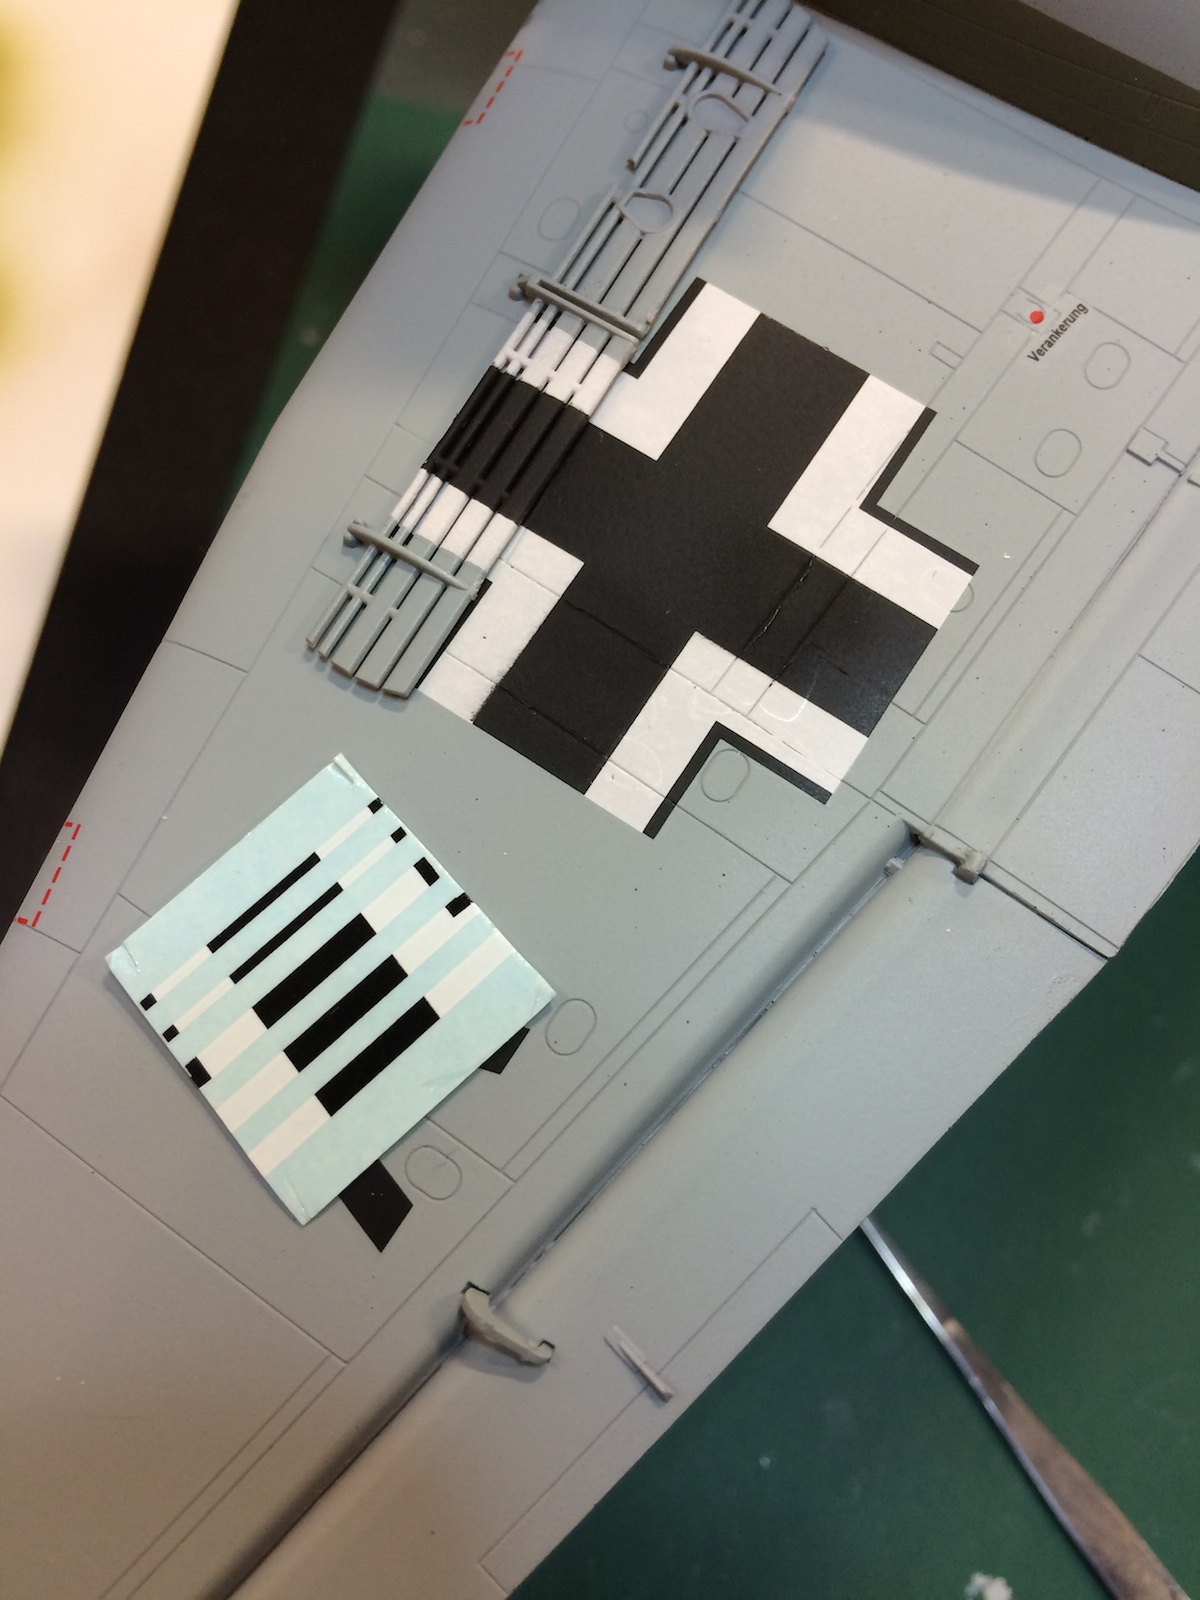
For masking the canopy I purchased the Eduard canopy mask set for this. It took me exactly 2 ½ hours to complete this task alone mostly because of reaching the edge of my sanity and needing to take a break. In the end though, the results are totally worth it.
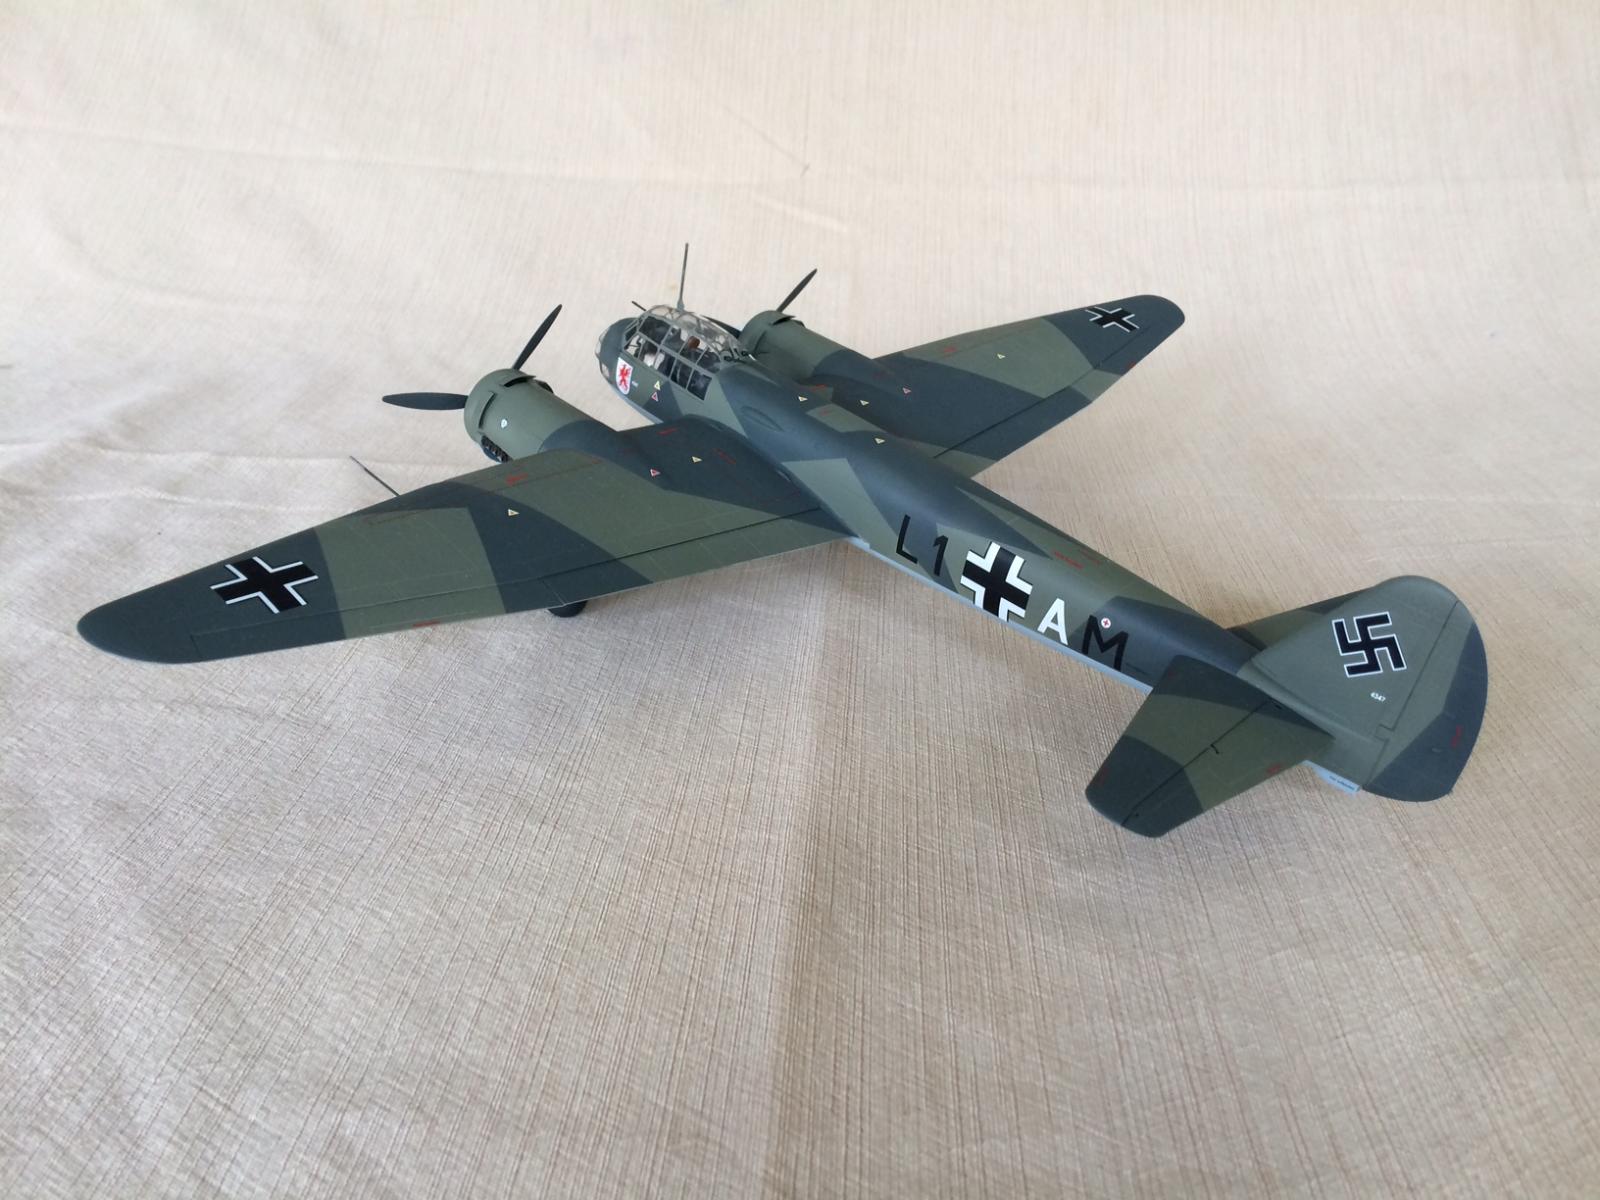
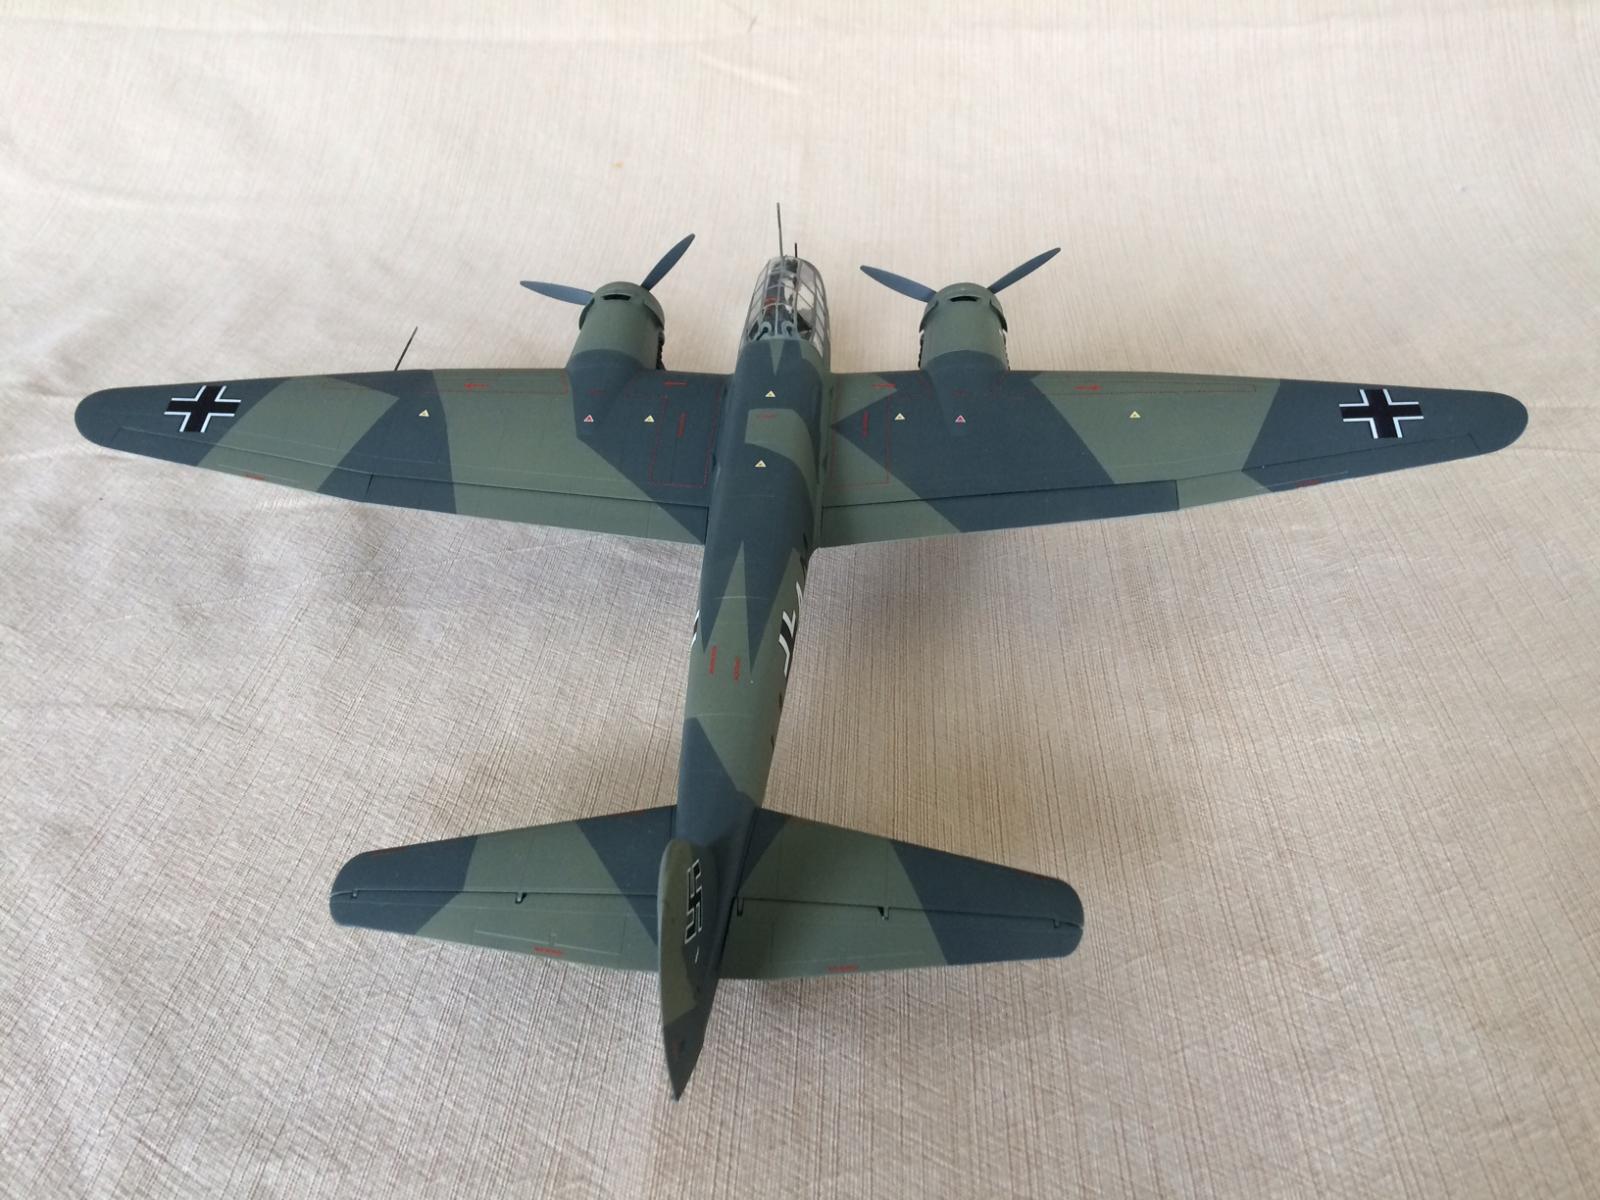
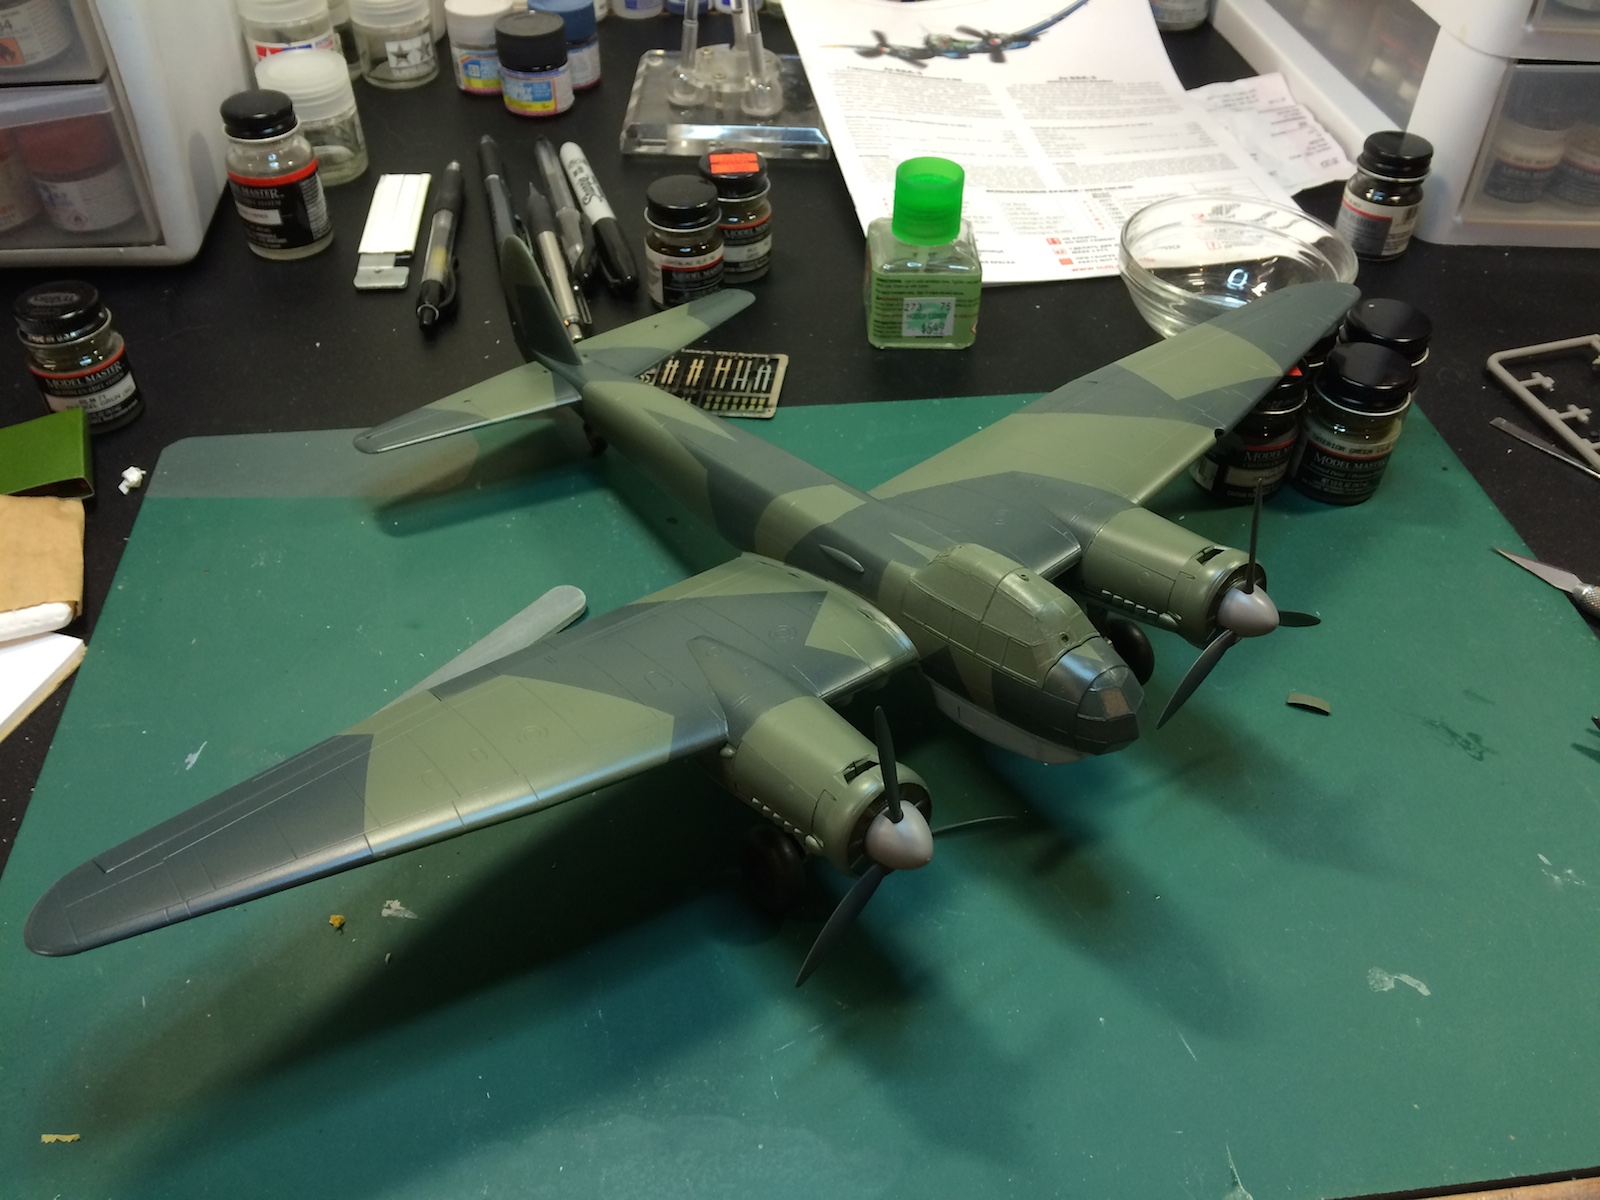
The final task was priming the entire kit with Alclad Grey micro filler and fixing any seem flaws etc. Once that was completed I applied RLM 65 Model Master enamel to the underside and then after a day of dry time the masking began. Splinter camouflage has always intrigued me especially on German aircraft. Some have hard finishes and some soft, but for this I decided to go with a hard edge. I masked off the lower sections and applied RLM 71 and then more masking and painting of RLM 70. I won’t comment on how much Tamiya tape was used.
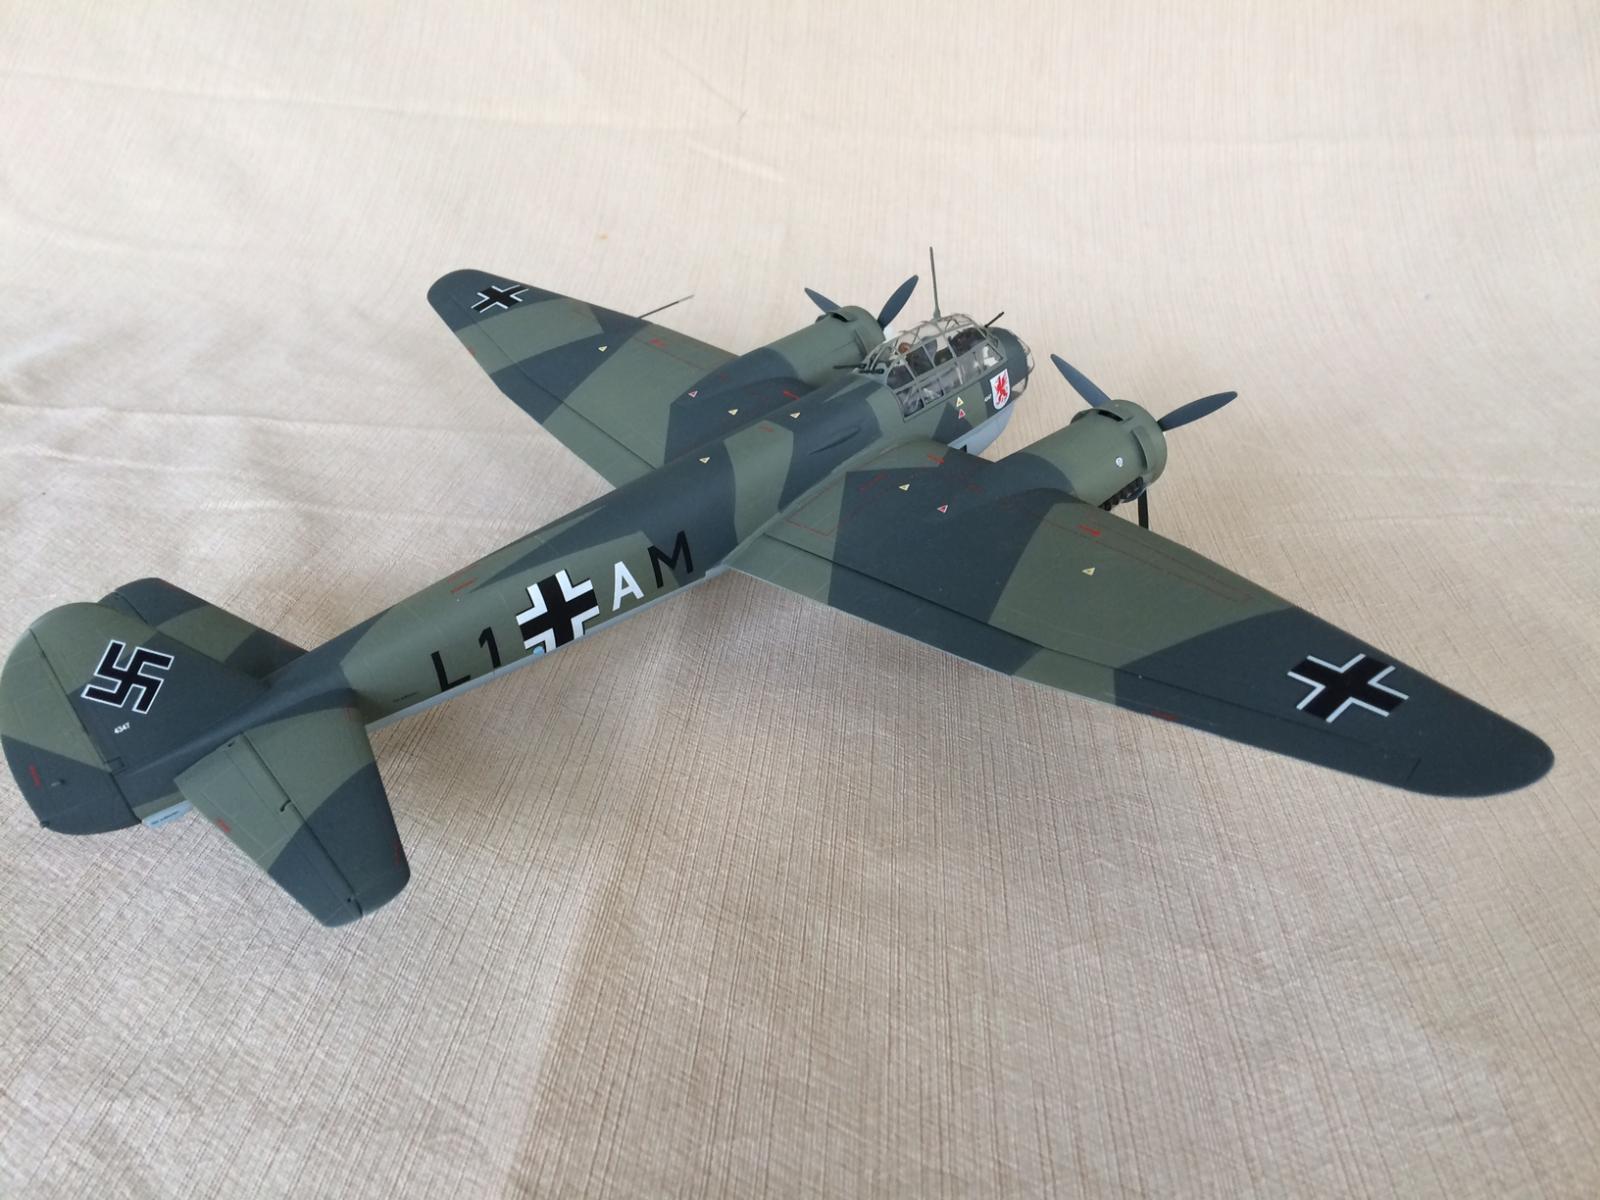
The kit provides 4 marking options and I was set on doing an early Battle of Britain aircraft to go with my new Airfix Defiant. The options included are for 3 65/70/71 scheme aircraft for France 1940, Greece 1941, Finland 1941, and a white and RLM 65 aircraft on the Eastern Front Russia 1941. I was tempted to do the last version with the winter wash but perhaps another time.
The decals are thin and took very little time in the water at all before they were ready to use. Decals were applied and then given a little Solvaset and they snuggled right down into the panel lines with no issues at all. They did provide decals for the dive brakes and I did attempt to use them but it was essentially a lost cause as the decals were too wide for the thin and finely molded dive brakes. So I did it the old school way and airbrushed and hand painted the markings.
Lastly, a great addition to the kit is that it also included full stencils. Unfortunately the location of the stencils was on the last page of a black and white page on the instructions so it was difficult to see where they went exactly as well as direction to be affixed. I ended up finding an aftermarket instruction sheet for stencils on the internet to help guide me. Upon completion of the decals I applied a Model Master semi-gloss clear coat.
In the end I was really pleased with this kit and my perception of ICM kits has changed for the better. The details and ease of construction is excellent in my opinion. The simplicity of the wing to fuselage joints are perfect and required very little clean up overall. One thing I would really stress is to dry fit and take your time in assembling. (That goes for all kits) I am really looking forward to adding some of their other aircraft kits available and I am contemplating in starting their 1/48 Do-17Z kit that I have. I would like to thank Squadron for providing the kit for the review.


Comments
Add new comment
This site is protected by reCAPTCHA and the Google Privacy Policy and Terms of Service apply.
Similar Reviews