
Iron Man Mk. III
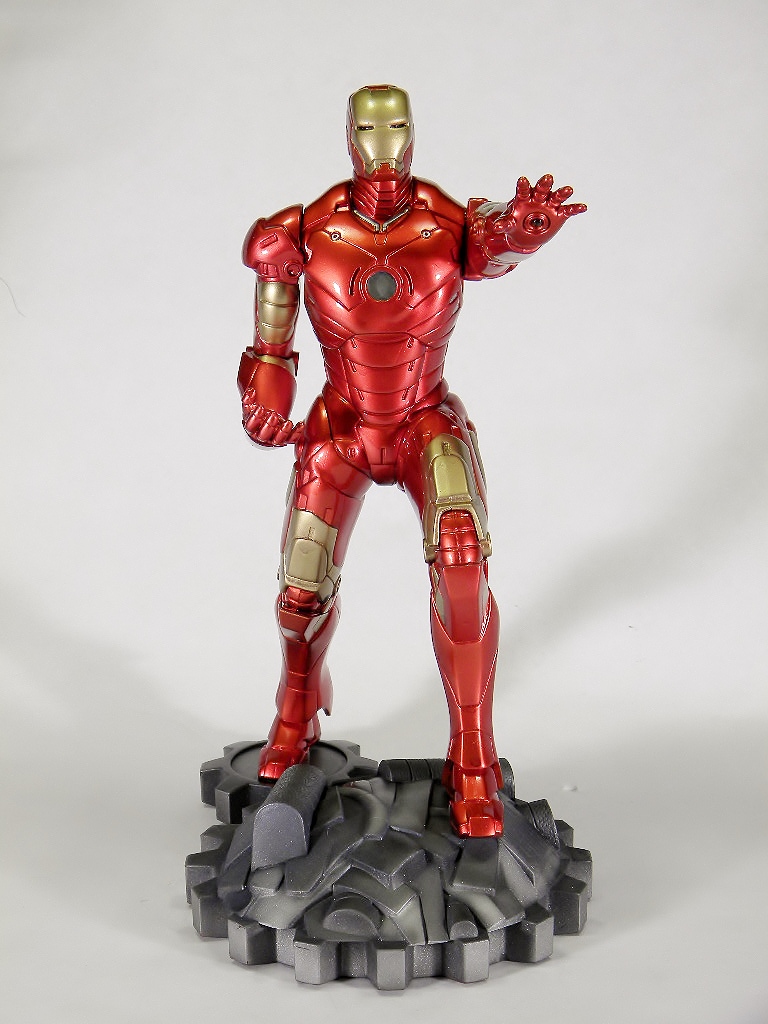
Having built the original release of the Moebius Models Iron Man Mk. II, I jumped at the opportunity to review the “updated” Mk. III kit. Prior to the kit’s arrival, I knew it was based on the original, but with an updated pose. When the kit arrived, I was pleased, yet also slightly disappointed.
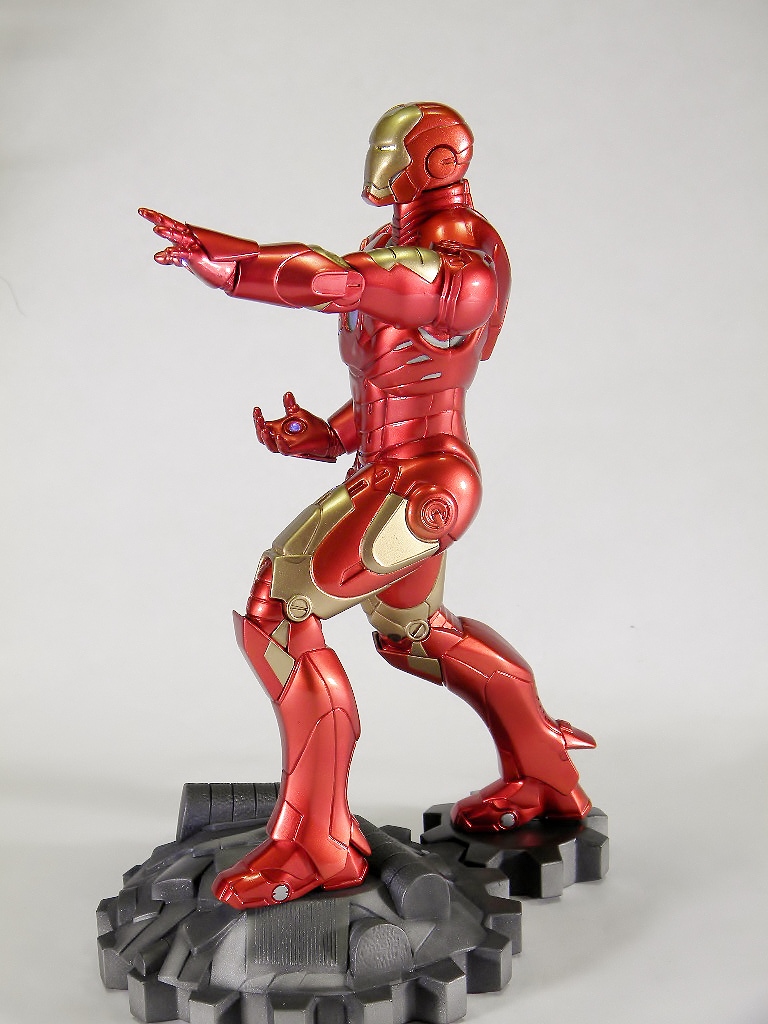
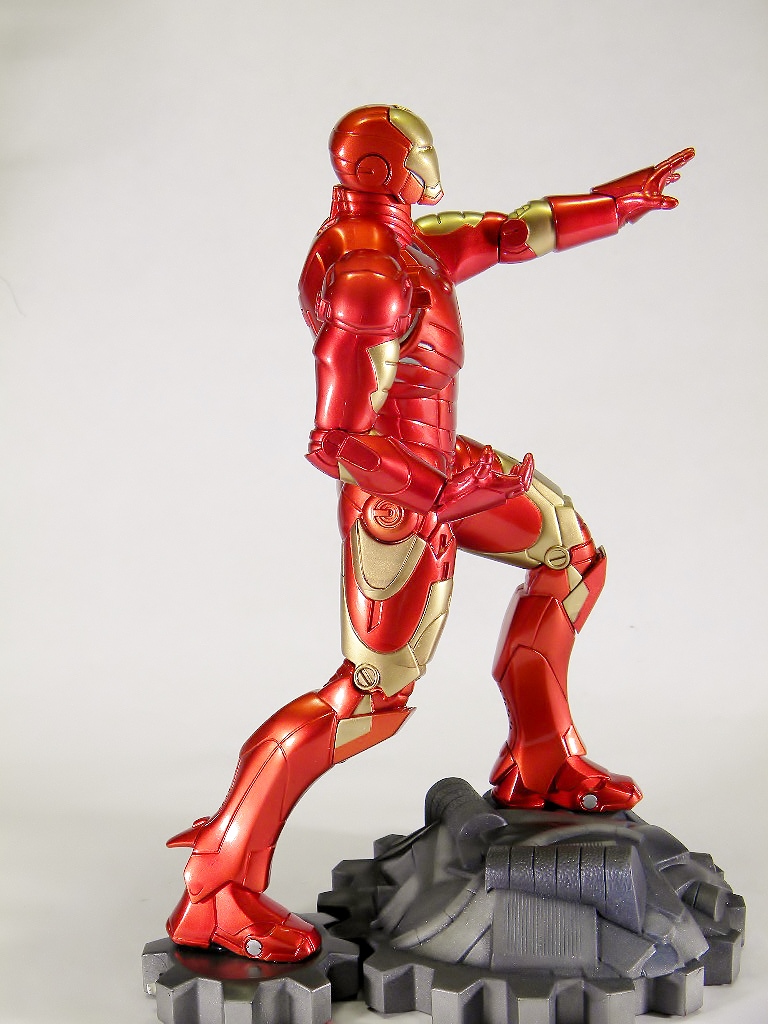
The kit features most of the original release parts. Moebius molded new (or at least modified) parts for the arms and legs to create a new action pose that still uses the original base, just turned around. While I welcome the new pose (it is MUCH better than the original standing pose), I was a bit let down on the quality of some of the parts. Now, it may just have been my sample, and I will note that I have several of the original release kits, and none of them have mold issues, but the sample I received had excessive flash and severe mold ridges. Also of note, this release does NOT include the decals for the eyes and arc reactor, which were part of the first release. I didn’t mind though, since I planned on lighting mine.
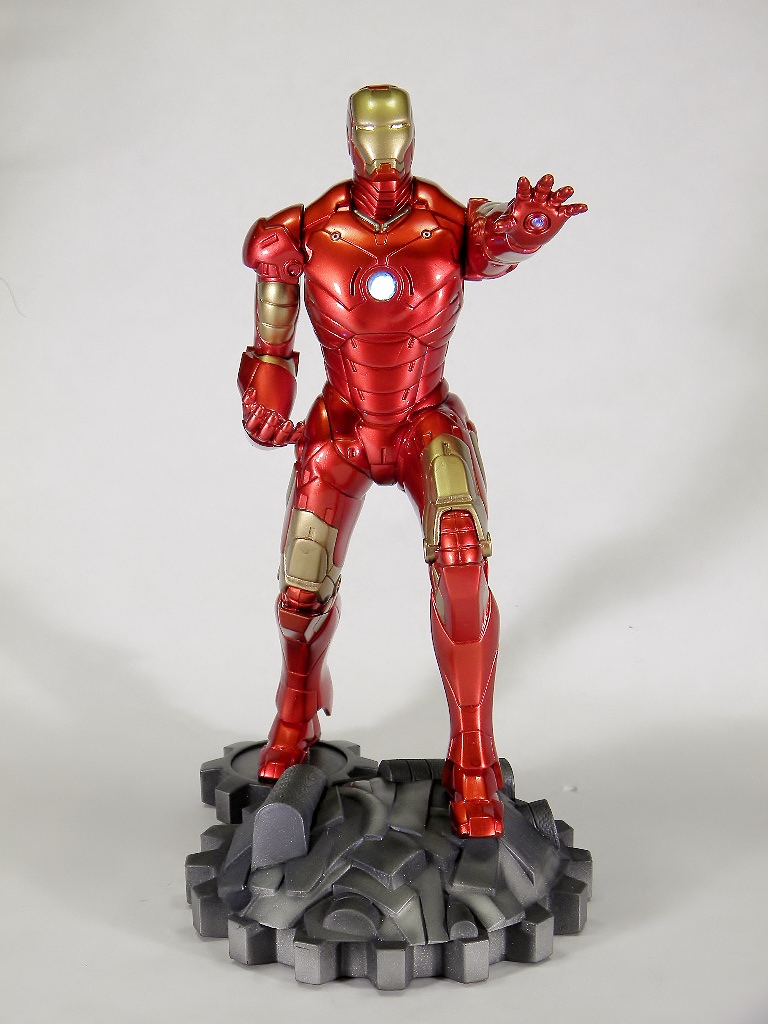
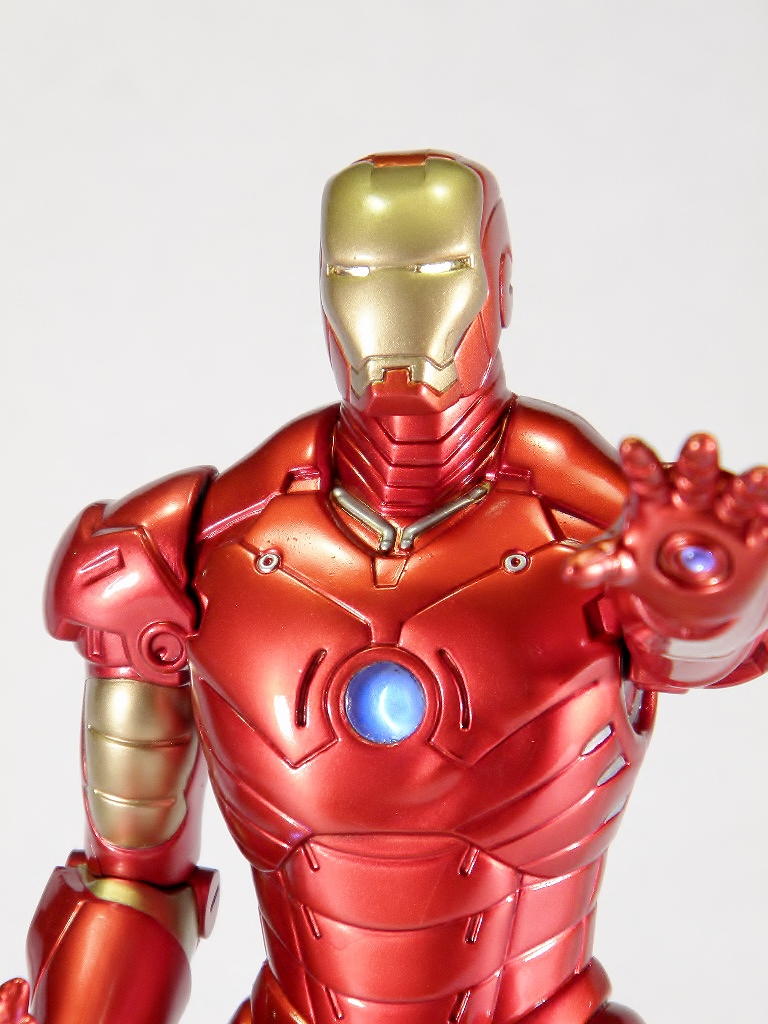
I started by building sub-assemblies. This makes it easier for painting and wiring. I did remove all of the locator pins/parts so that I could assemble everything after painting. For the head, I had to remove the area behind the mask. I then carefully drilled out the eyes, arc reactor, and hand repulsers. For the eyes and the arc reactor, I used a technique to create the glass that I figured out when I built the Mk. II. I took clear sprue, heated it CAREFULLY, and then pressed it into place from the back. It takes some practice, and for the arc reactor you may need to sand and polish, but it is great for creating the lenses. The inside of the head and chest were lined with foil, and then the lenses were put in place. The chest part was then shielded from light leaks using an aluminum tube. The eyes were lit using soft white 2mm Nano LEDs, while the chest used a 5mm white LED, and the hands used 3mm white LEDs that just happened to fit perfectly as the lenses. The lighting all runs off of a 9v battery with a resistor in place to adjust its current.
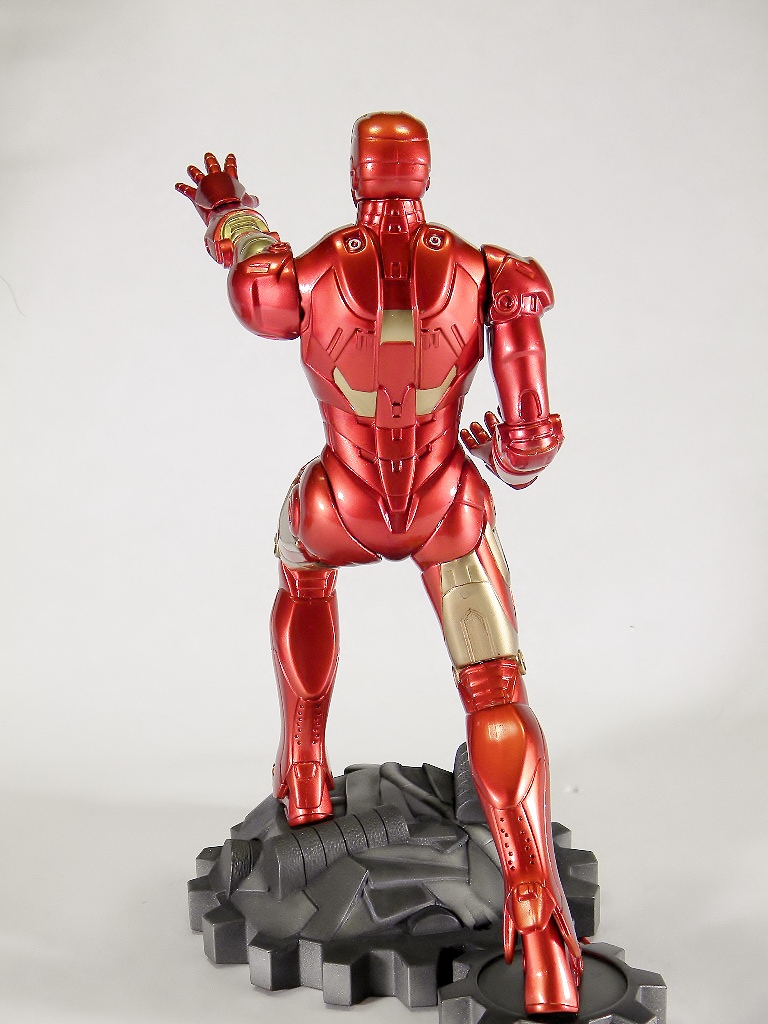
With the sub-assemblies built, I set out to putty and sand. I ended up using a lot of putty, and started with 200 grit wet sanding to get the seams to start smoothing out. Ultimately, I wasn’t able to make the seams vanish completely. Painting started with a primer coat, followed by Floquil Bright Gold. The gold was then masked off with Tamiya tape and Para-film, and the figure was shot with Gunze Sangyo Clear Red. After several coats, I was pleased with the look. A few small areas received some Floquil Old Silver, after which the model received a light wash with The Detailer grey wash. The model was then assembled and attached to the base, which was painted with various metallic paints.
Overall, I have mixed feelings about this kit. While I am pleased that Moebius put out an updated release of the Mk.III (which could also in theory be built as the Mk.II), I am a little unhappy about the quality of the kit. While I was still able to build it into a piece that I am pleased with, it was not up to the normal Moebius standards. Still, I would recommend the kit as it is a change from the original standing pose, and, of course, it’s Iron Man!!!
My thanks to Moebius Models for providing the review sample and to IPMS USA for allowing me to build it.

Comments
Add new comment
This site is protected by reCAPTCHA and the Google Privacy Policy and Terms of Service apply.
Similar Reviews