
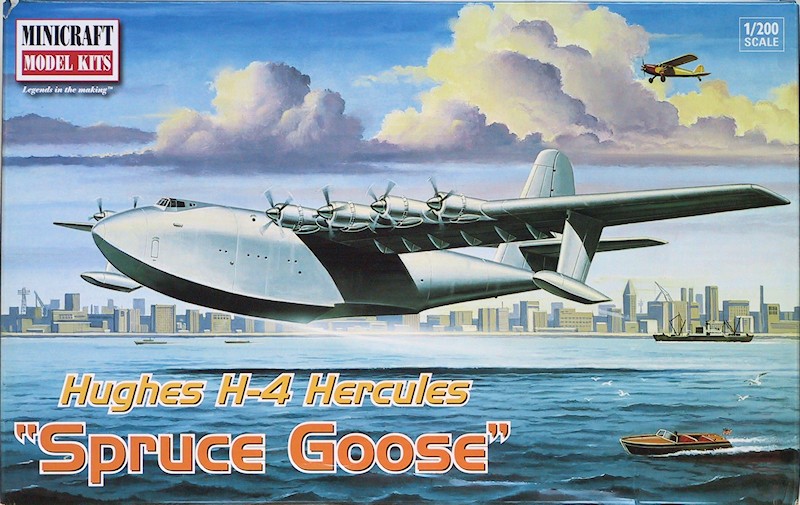
Hughes H-4 Hercules "Spruce Goose"
Background
I'll not spend much time here. Google for "Jane Russell", when you're done reading that, click any link to "Howard Hughes", and when done with that click the link to the "Hughes H-4 Hercules" to find out all you need to know about this aircraft.
I will add that SWMBO and I had a trip planned that would allow her to go to a big quilt show in Sisters, OR, and allow me to stop off in McMinnville and see the 'Spruce Goose' -- it didn't happen but is still in the back of our minds. Unfortunately, we'll never hear the sound of 8 R-4360's cranking over and running -- that's 224 cylinders generating 28,000 h.p. …. and 448 spark plugs to change ….
The Kit
This is a re-issue of the Gakken/G-Mark kit from sometime between 1965 and 1985; it has been (re-)issued by Minicraft and others through the years. I believe Minicraft also issued this kit in "what-if" TWA markings. Don't let this scare you -- if these are the original molds, they have stood up very, very well.
You start with a nice sturdy top-opening box containing each sprue in its own plastic bag. The plastic is very nice; the tiny props aren't at all clunky. One prop blade was broken in two places, otherwise there was no damage. There is very little flash, no sink marks, all the parts are neatly attached to their sprue and come off cleanly. There are four very shallow partial ejector marks, unfortunately on the top surface of each wing half; however they clean up very easily.
There are 51 parts, including the 3-piece stand. 32 of those parts are the nacelles, props, and intakes -- so you know it is a simple kit, too simple to bother with sprue shots.
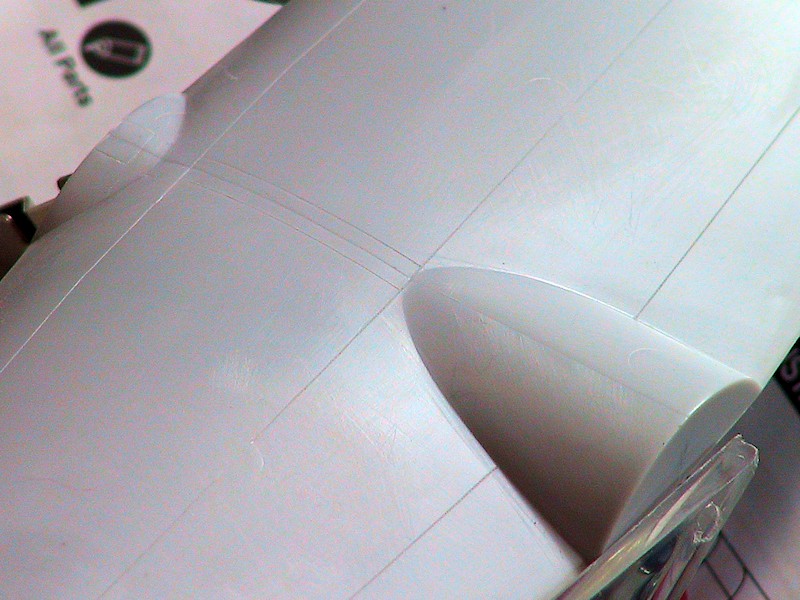
The surface is free of any panel lines, which mirrors the actual construction method. There are several that I will call construction seams where major components were joined together in real life. All this makes for easy clean-up as there is very little detail to damage. What lines there are, and the control surfaces, are well done.
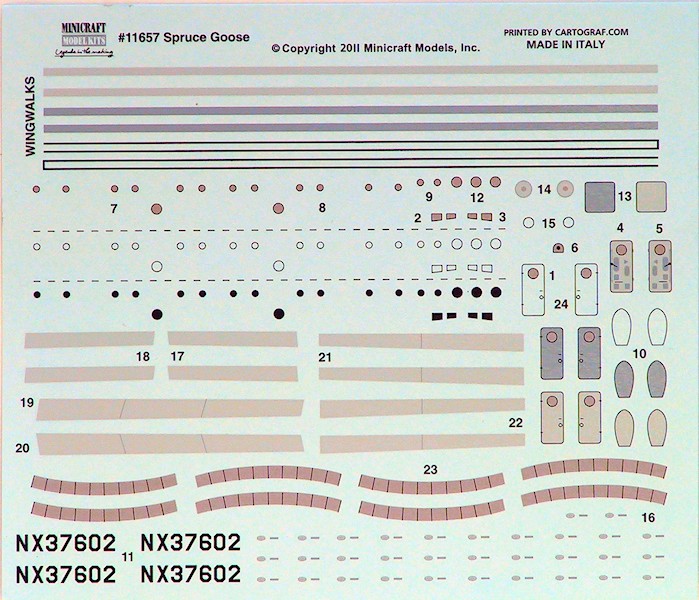
The decals are by Cartograf and not just nice but comprehensive. . There are registration numbers and wingwalks -- those you'd expect. Also included are the cowl flaps and trim tabs in a gray/silver color that could work in slight contrast to the paint job. There are little decals for the prop blades. Last the doors and windows are represented by decals -- in different shades and open or closed.
The instruction book is simple -- one page history, 2 pages of part layout and assembly, one page of paint & decal guide, and one page of instruction on applying decals. The only issue is that it shows adding nose-weight to get it to sit on the stand right, but doesn't say how much.
I will note one oddity -- the kit # on the box and the instructions is 11657, but on the Minicraft website, they list it as 11607.
The Build
Other than remaking the broken prop blade, I had no problems with this kit at all. It builds simply and cleanly.
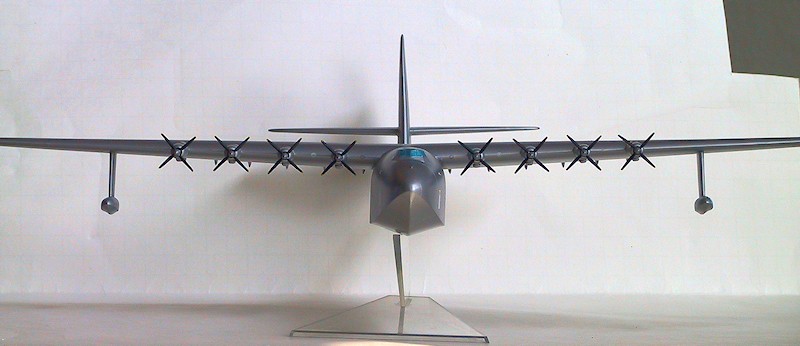
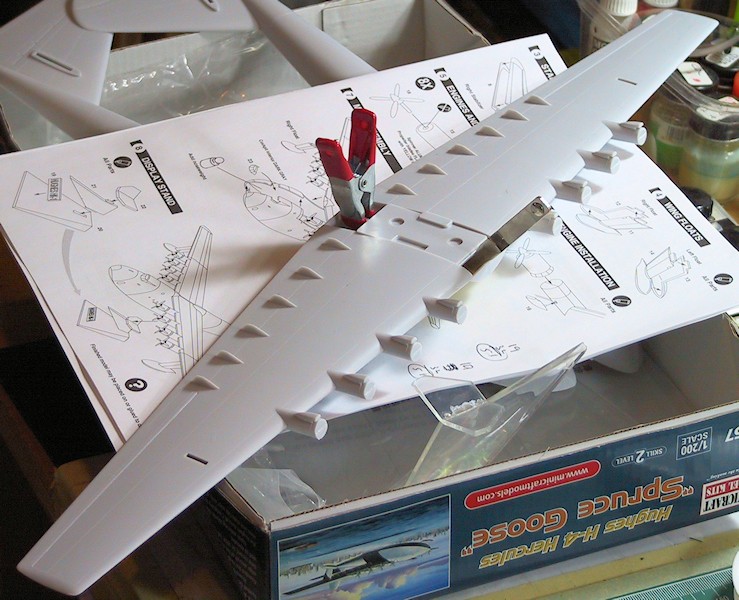
All the mating parts did so perfectly -- wing halves, horizontal tail halves, floats, etc. -- and required very little seam clean-up after gluing. There is a great scheme to join the two wing sections into one that not only makes a solid join, but virtually guarantees the correct dihedral. As you'll note, I only needed two clamps to hold the sections together and the resulting top seam is almost invisible.
With the wing together I taped most the parts in their approximate location, set it on the stand, and taped nickels onto the nose until it balanced. It took 5 nickels, which weigh out at 0.90 oz. or 25 gr. I measured out that weight of BB shot and super-glued them into the nose. Having a small scale near the workbench is handy at times.
The fuselage is big, the plastic is thin, and there are no formers -- but both halves mate perfectly. I used the Mark 1 Finger/Thumb Clamp and Tenax to align and glue it together by section. I started by putting two strong clamps on the fin and rudder to hold them in place -- but no glue. Then I glued the piece between the cockpit and the wing, followed by the piece from the cockpit to the nose. After that I did the underside of the hull back to the first step, then back to the end of the hull, then the top from wing to tail. Then I went back underneath to finish the fuselage to the tail and lastly ran a thin bead around the fin and rudder to seal them in place. Came out great!!! Virtually no filler needed!!
I could not get the wing to mount level even though it fit into the fuselage cleanly. It seemed to be high on the right side so I did some sanding on the right hull at the root until it leveled out. Most of this was eye-ball work. The net of doing this left a bit of a hump/bulge at the rear of wing when I glued it all down to the fuselage but I mostly fixed that with some filler and sanding. Could have all been my fault ….
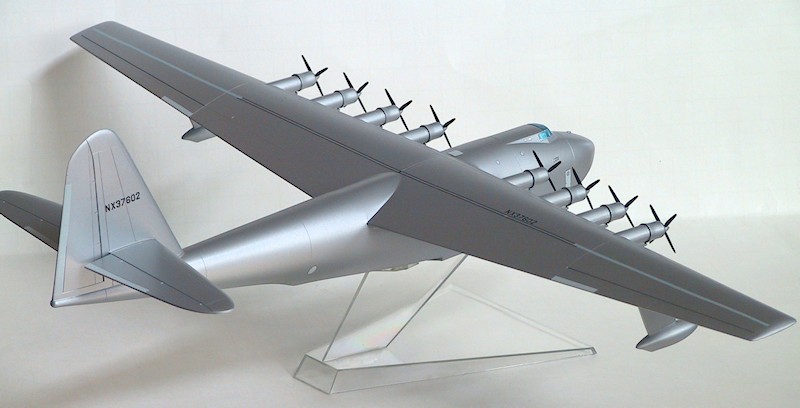
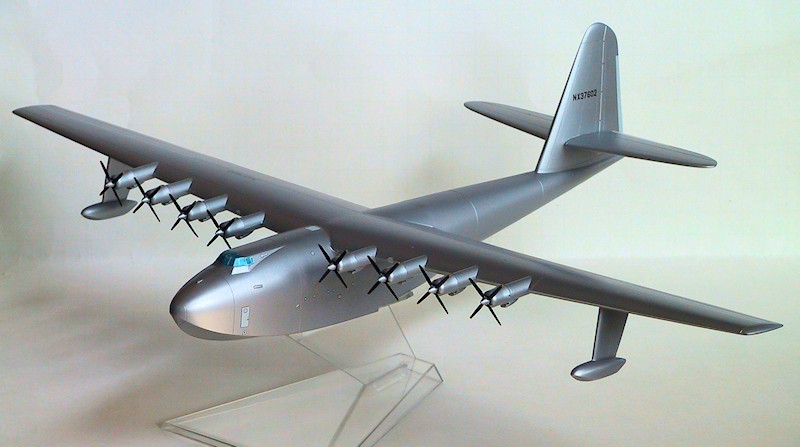
After that it was paint and decals. I did an undercoat of Tamiya rattle-can TS-29 Semi-Gloss Black and used that to clean up some imperfections. I did a second coat, wet-sanded it smooth, and did the final coat with Tamiya rattle-can TS-17 Gloss Aluminum, again wet-sanded to polish it out. You'll note the cockpit is "blue". I got nervous about dropping the glass into the hull and decided to just glue it in place and paint over it from the start -- there's nothing to see. I used Tamiya X-23 Clear Blue for the "glass effect" (but don't ask why the glass portholes are silver).
The decals go on very well -- I used Micro-Sol/Set to lay them down -- but there are a couple issues. First the right side portholes (#8) do not match up to the molded portholes, so you need to put the larger bottom one on separately. I found it impossible to get the cowl flaps on nicely and left them off. There are 3 style wing walks, but not enough of any to go from tip to tip. I ended up using two different styles. I do think the decals for the trim tabs, doors, etc., work well. I left off the prop blade decals -- all 32 of 'em.
Highly recommended. I really enjoyed this -- a fun kit that becomes an impressive model the wingspan is about 19 inches and the fuselage 13 inches) with very little effort. It's not a beginner's model because of the hull, but an "experienced" beginner could handle it given some guidance. I regret not having more construction pictures, but there isn't that much to it.
I'd like to sincerely thank Minicraft for supplying the review item and IPMS/USA for allowing me to review it.
Comments
Add new comment
This site is protected by reCAPTCHA and the Google Privacy Policy and Terms of Service apply.
Similar Reviews