
HU-16A Albatross
The wonderful folks at Stevens International Hobby Distributors deserve tremendous thanks for providing this review kit. I appreciate their work to bring new products to the scale modeling community. The IPMS/USA Reviewer Corps also deserves thanks for giving me the kit to review. I am only one member of a large staff in the Reviewer Corps, and I appreciate all the tireless team and individual work that goes into getting the material out to be reviewed and the finished write-ups published.
The Albatross was a common utility amphibian aircraft in the post-WW2 era, carrying a number of designations and operating with the USAF, USN, USCG and many foreign services. The distinctive high-wing, twin-engine plane worked mostly in the search and rescue role, with some examples serving in the unusual triphibian mode with snow-landing capability! Trumpeter provides markings options for two different aircraft, a USAF HU-16A and a Taiwan HU-16A.
Presentation, or How the Kit Looks in the Box
The box is about 18 x 8 x 4 inches, with a tight-fitting lid sporting colorful box art. Seventeen sprues molded in medium to light gray plastic were nicely packed and stacked in poly bags in the main compartment. A small interior box protected the foam-wrapped clear sprue, metal landing gear parts, rubber tires and a photoetch fret. No damaged or broken parts were found.
The panel lines are crisply engraved, yet subtle. Part numbers are very readable. Mold release agent was present on the sprues in some places, enough to show fingerprints, but I believe this is a fair tradeoff for excellent molding. I had no difficulty with surface prep, cleaning, or paint adhesion.
The photoetch fret was highly polished with nice relief etching on belts, hinges, latches and stretchers. The fret was carefully wrapped in clear plastic. The metal landing gear materials were also highly polished, to the extent that I thought I might be able to leave the exposed hydraulic cylinders unpainted. The kit features rubber tires as the only option; there are no molded plastic tire equivalents. I did find it odd that options for metal or plastic landing gear are included, but there is no choice on tires.
Instructions and Other Materials
Assembly instructions, a painting and marking guide and Trumpeter promotion materials were at the bottom of the box in a separate poly bag. The letter-size instructions are clearly printed in black-and-white in a landscape layout. Page 1 provides general information, with no aircraft historical overview, pages 2 and 3 have sprue “maps” and other parts drawings, and the remainder of page 3 through page 16 is devoted to the 14 assembly steps.
The assembly drawings are CAD generated and shading is used appropriately. All of the drawings are perspective views. Subassembly insets are commonly used, but I had a hard time following some of the connections between subassemblies. The instructions were not always clear about rotating or inverting subassemblies for the following steps. A few rotation arrows here and there in the connecting lines would really improve the clarity of the sequences. If you like to mark up instructions (mine look like highlighter wars), consider adding in your own helpers!
Decals
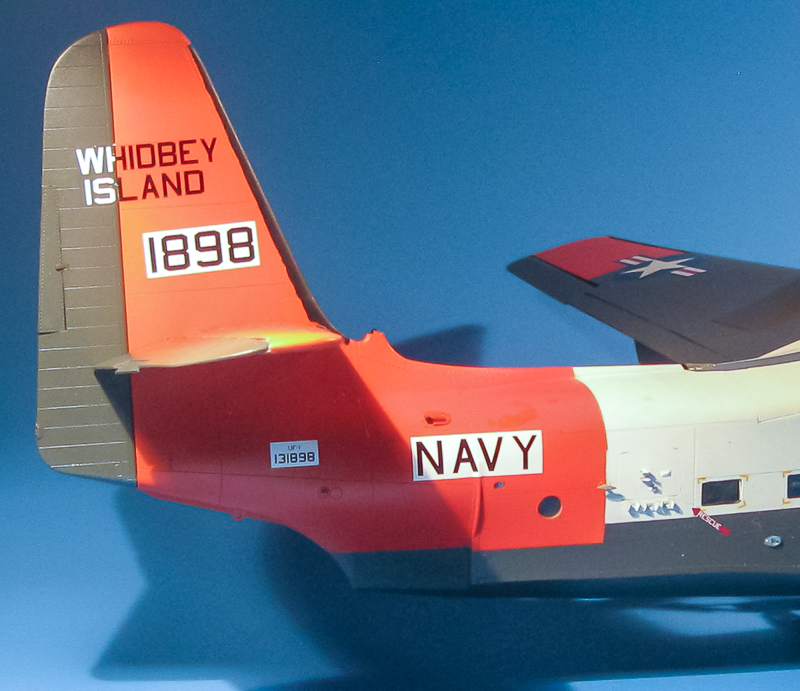
The decals were in the same bag as the instructions and other materials and protected with parchment paper. The decal sheets provide complete markings, including stencils, for two aircraft. The decals appear to be quite opaque and all have excellent registration. The US national insignia is nicely designed with cutouts in the decals to fit over door hinges, handles and other lumpy things that make for colorful language. The Taiwan national insignia are quartered, perhaps for the same reason that swastikas often appear in pieces for assembly on the aircraft. Instrument panel decals are excellent, if a little bright, but the decal fit the panels very precisely.
I was very disappointed to see no walkways on the decal sheets, even though walkways are shown on the box art and in the instructions. Additionally, no black stripes are included for edging the wingtips or the fuselage band. A fellow modeler suggested that it would be easy enough to mask and paint the walkways. I agree that painting the walkways is a great solution, but the walkways are curved in places, making for very challenging masking. Secondly, this is a premium kit that should have a near flawless decal treatment for the final result.
I chose to build this kit using an aftermarket decal set from Caracal that features colorful USN versions of the Albatross. These decals are reviewed separately on the site.
Construction Summary
The 14 assembly steps can be roughly divided into interior structures, fuselage, wing and detail sections. Steps 1 through 5 involve interior structure. Steps 6 through 8 bring the fuselage together. Steps 9 through 12 pull together all of the wing components and mate the wing to the fuselage. Steps 13 and 14 add the landing gear and compartment doors. In general, all assemblies went very smoothly. You may wish to consider how much small detail can be added after painting and decaling as I discovered that it was quite easy to add many of the small parts later, thus avoiding breakage.
Interior structures consist of a many small to large compartments, boxes and seats. No detailed painting suggestions are consistently included. I chose a restrained artistic license route and kept everything interior green, olive drab, brown or black, with a little bit of silver dry brushing as needed. The various instrument boxes sit up slightly on mounting pins when placed on their shelves, allowing for sharp edging while painting. There are a lot of little parts, and I found very thin CA to be essential. Careful alignment and fitting of the cabin assembly is very important for the next step of the fuselage assembly.
Plenty of detail is included in the cabin, but much of it will fall into the “hidden” category. I left the cockpit hatches open to show detail, and the cargo hatches closed as I had less-than-spectacular results applying the photoetch stretcher fabric, but one could leave the cargo hatches open to show off more of the interior.
The fuselage does not have a traditional 2-half design, but instead has 4 pieces. This seemingly odd approach is really a very clever design solution to keep kit seams mimicking the actual aircraft seams. If parts are not well aligned in the interior cabin section, the fuselage halves will not mate well. I had a few frustrating moments trying to force a good fit, but discovered that part B10 was about 0.5 mm off on one side of the joint with part G20. I removed the very small burr causing the problem, re-glued, and the fuselage halves lined up perfectly.
Wing parts include tip floats with tie-down loops, drop tanks with sway braces and fuel lines, and drop down landing/search lights. The engine assemblies are very detailed with many parts. Make sure you test fit the engines inside the cowlings frequently as the tolerances are very small. The completed engines look very nice. Multipart propellers are included, which provides the opportunity to paint many of the pieces on the sprues, and adjust the blade pitch. The pitch looked fine to me, so I did not adjust anything.
The instructions suggest that the entire wing assembly be completed before attaching it to the fuselage. I elected to complete only the center part of the wing first, and then attach it to the fuselage. This is possible as there are no tricky wing root seams that result from this approach. The wing fits very snugly onto the fuselage and pops into place with a reassuring click after a little wiggling and squeezing. The wing tips were easily added after the center wing was in place, and the ailerons and flaps have excellent attachment points that required no adjustment or modification.
I elected to use the metal landing gear struts. The hydraulics and hinges are well represented and all of the actuator arms fit well. The narrow compartment covers have “keyed” attachment points that allow a solid joint with the struts. I had no trouble getting the parts into place and gluing them tight after placement. All of the parts fit very well and built up into very nice, delicate-looking, gear set.
Finishing
I chose to complete the model as a high-visibility UH-1 stationed at NAS Whidbey. I found there to be little seam preparation needed before painting, which is a plus as I do not especially like seam prep anyway! I hand-painted the black leading edge boots, but discovered just how fine the engraving really is. Normally I am able to wick paint into an engraved line to produce a sharp edge, however I discovered that the boot edges were too shallow for this method to work without extreme care and a very slow pace. I used an Eduard masking set to cover the various windows. Vallejo and Model Master Acryl series worked very well, with no adhesion problems.
Conclusion and Other Wrap-up Thoughts
This is a wonderful kit, and I highly recommend it. I am delighted with the results, and the Albatross looks quite elegant next to my PBYs. The minor criticisms in the review do not detract from the value of the kit. The stance of the finished model looks right, for a fueled and ready-to-fly subject. If you want to show one a little down in the tail, on the hardstand, with dry tanks you may wish to shorten the main struts a bit. Doing this shortening at the top of the struts, at the wing, might be the least difficult way to do this.
Trumpeter could have improved the kit by including some of the features show on the box art: walkway decals, dorsal masts over the wing, the top masts and the side loop antennae on the tail, and the downward-pointing masts under the wingtips. It is fair to say that the missing masts and such can be easily scratch built. Furthermore, there are indications that Trumpeter may have planned different kit versions for later release. I certainly do not have any inside information, but the absence of some features like the masts, gaps in the sprue sequence (there are no sprues I, O, or Q included), the three-part wing span, and the separate aft fuselage pieces suggest that different sprues could easily be add to depict other variants in future releases. For example, later versions of the Albatross had longer wings without leading edge slots and a taller tail. Trumpeter may very well have this in mind for future releases, which is an excellent thought in my opinion.
Thank you again to the wonderful folks at Stevens International Hobby Distributors, and the seldom recognized but greatly appreciated IPMS/USA Reviewer Corps for getting me the kit to review. Thanks for letting me be on the team!


Kit Decals

PE Fret, Metal Struts and Rubber Tires
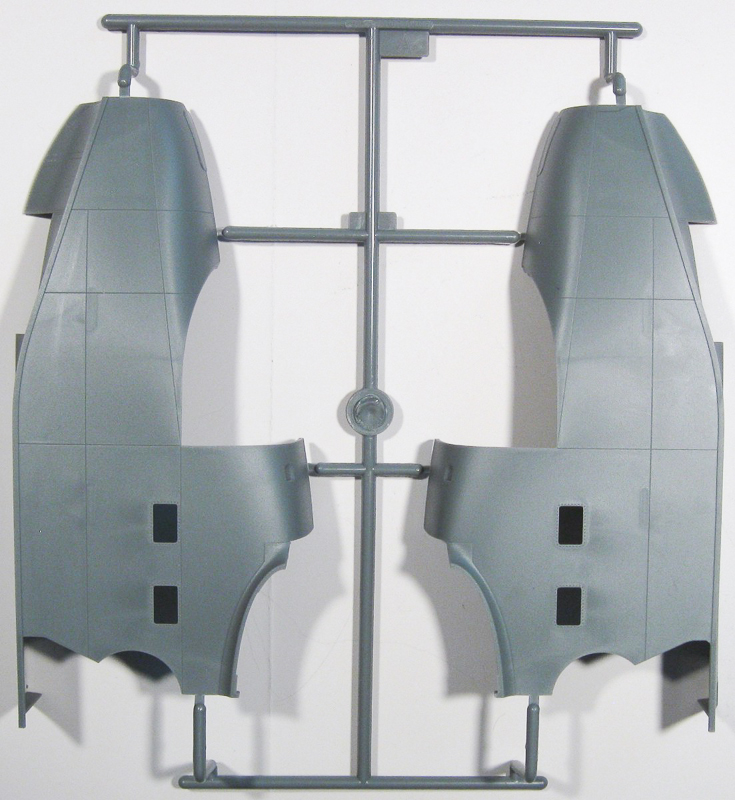
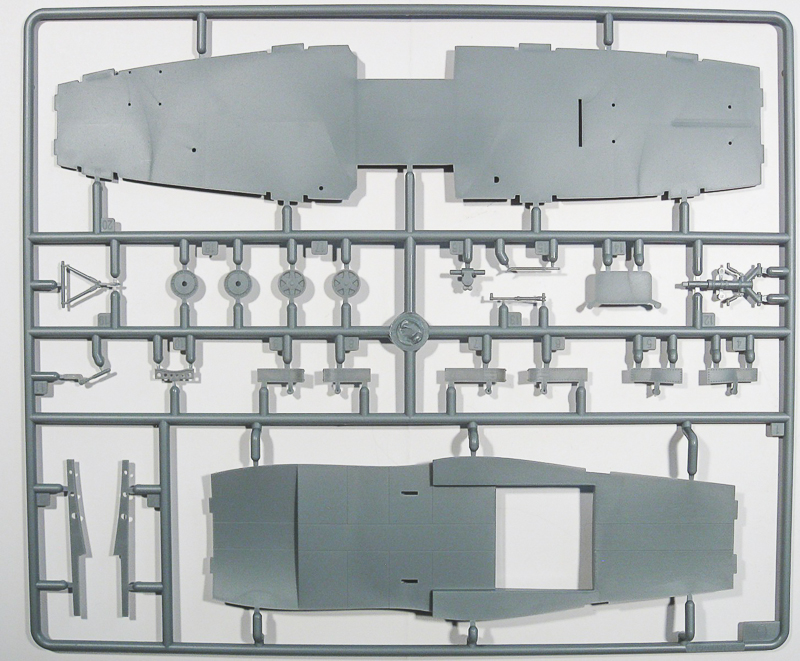
Sprue A

Sprue B
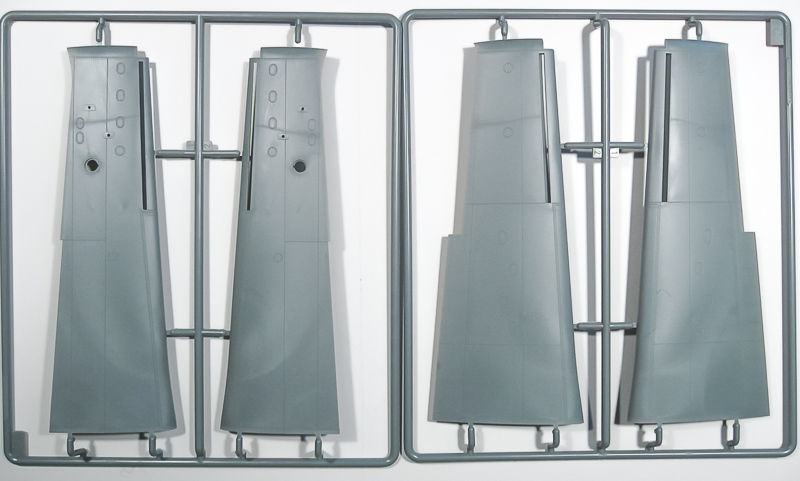
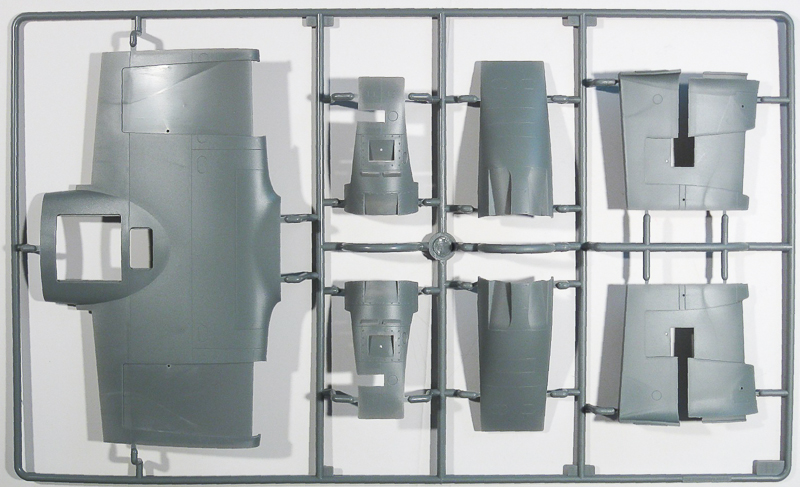
Sprue C & D
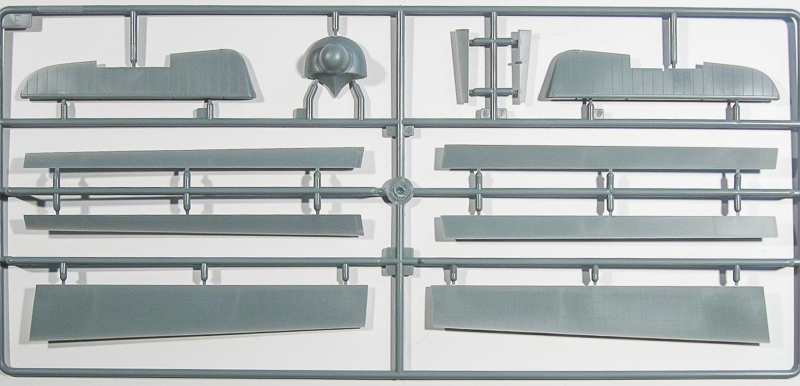
Sprue E
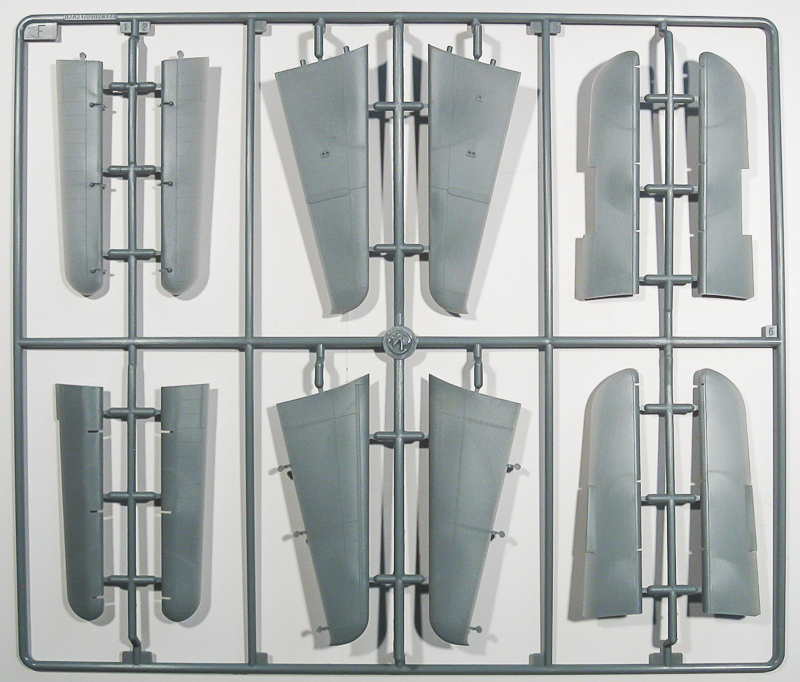
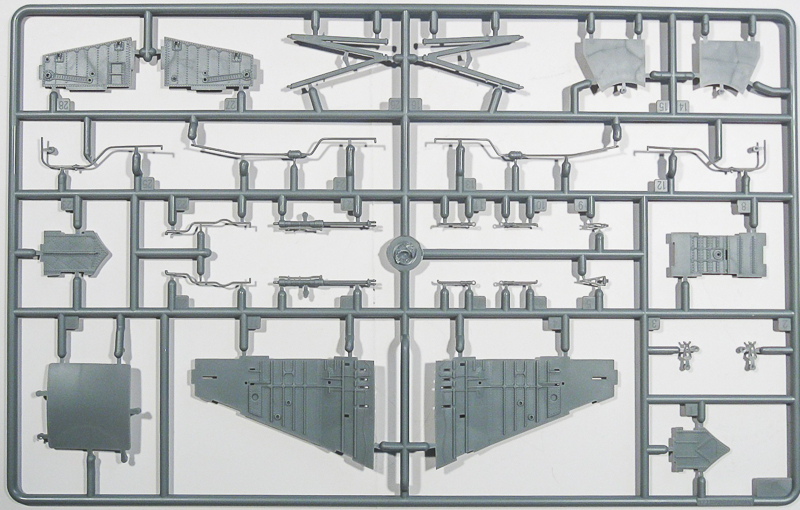
Sprue F
Sprue G
Sprue H
Sprue J
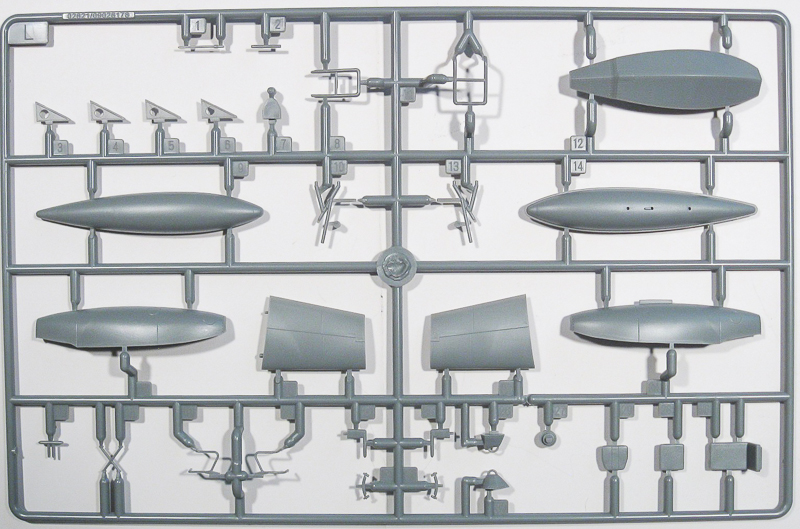
Sprue L (x2)
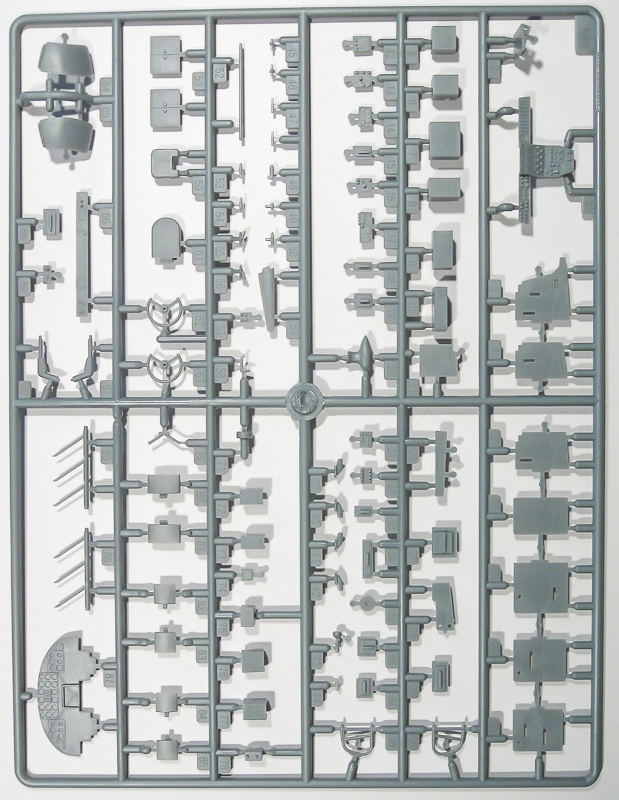
Sprue M

Sprue N (x2) & P (x2)

Sprue R
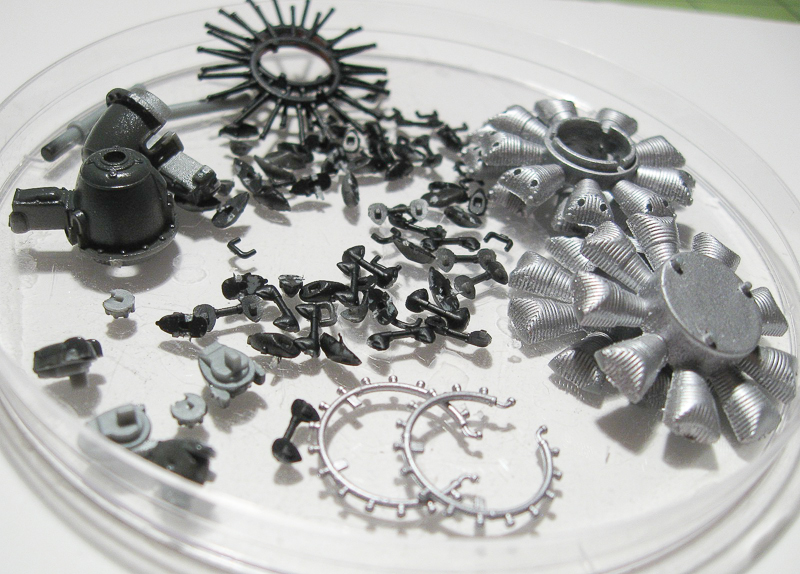
Engine Parts
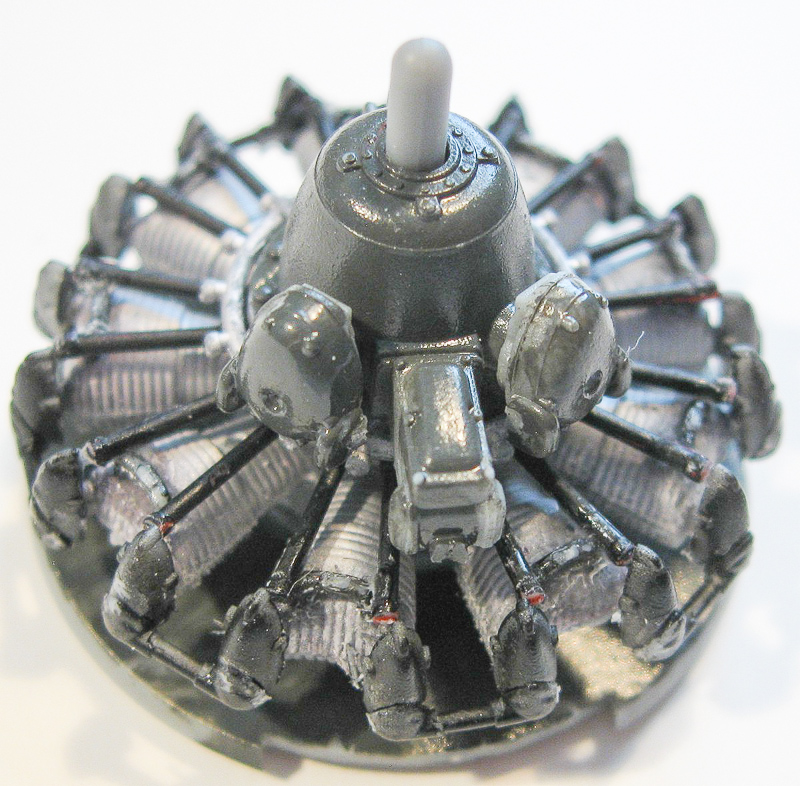
Completed Engine Assembly
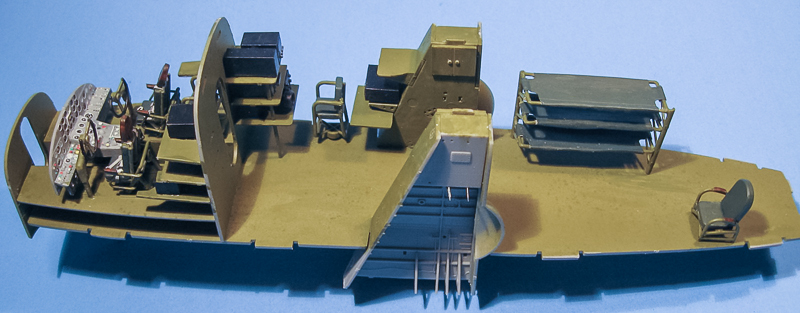
Cabin Assembly
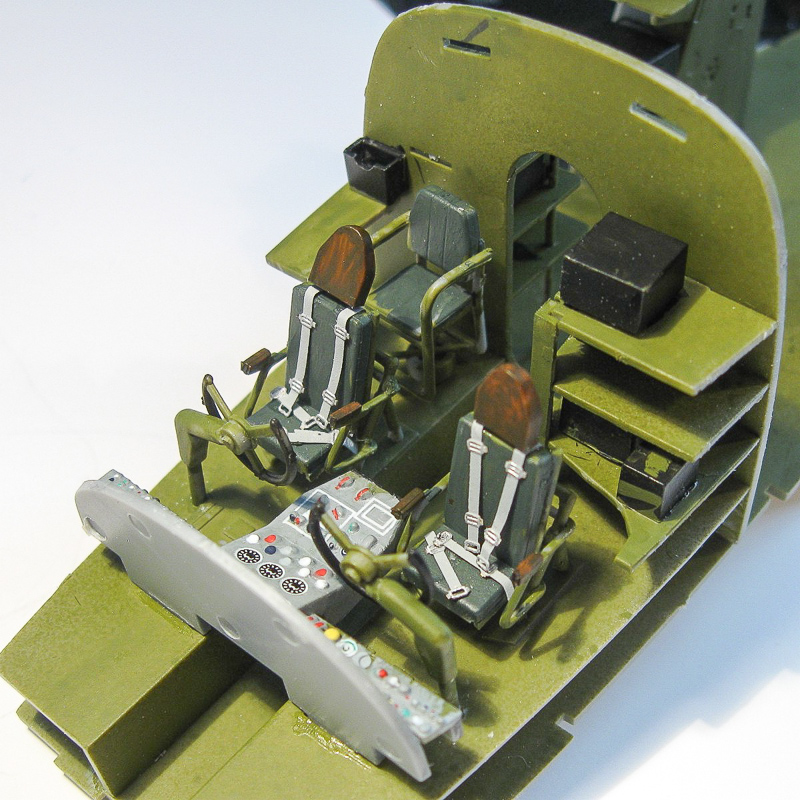
Cockpit Closeup

Instrument Panel Closeup
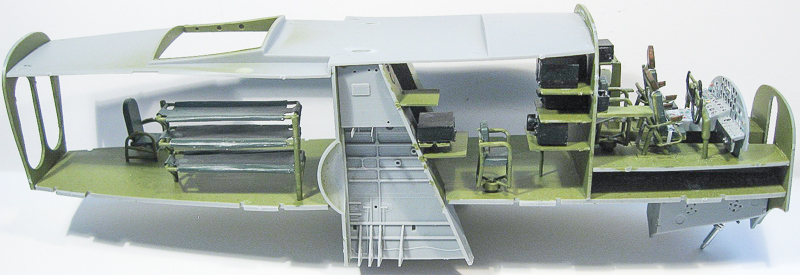
Full Interior Assembly
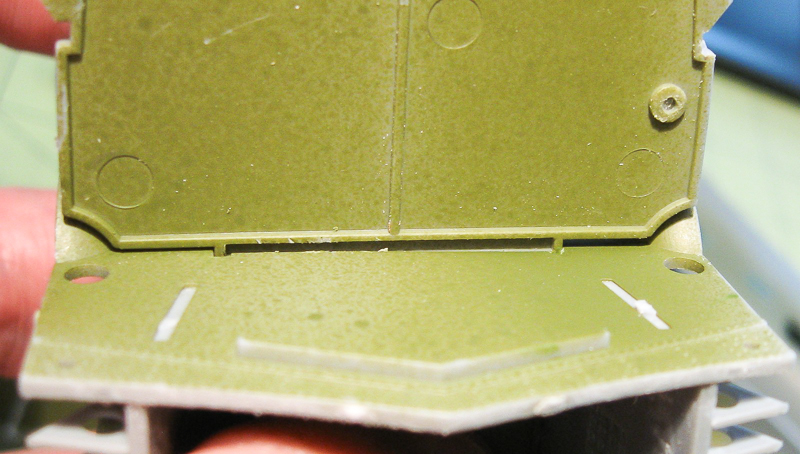
Misalignment due to Small Plastic Burr on Joining Surface
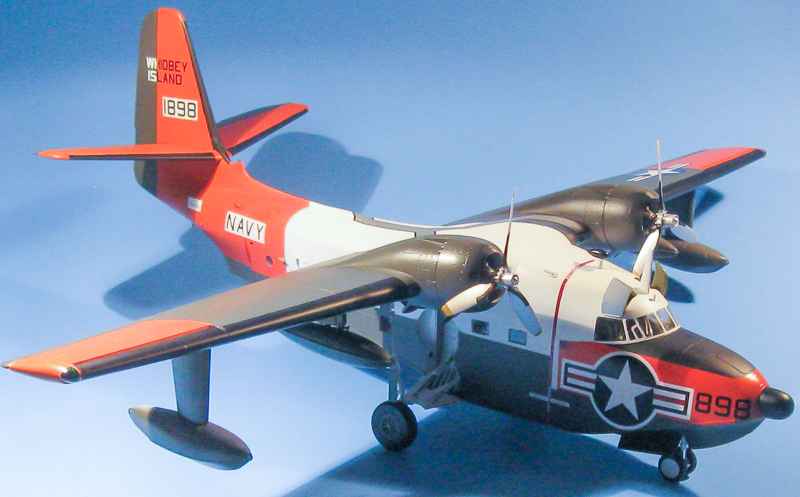
Completed Model - Right
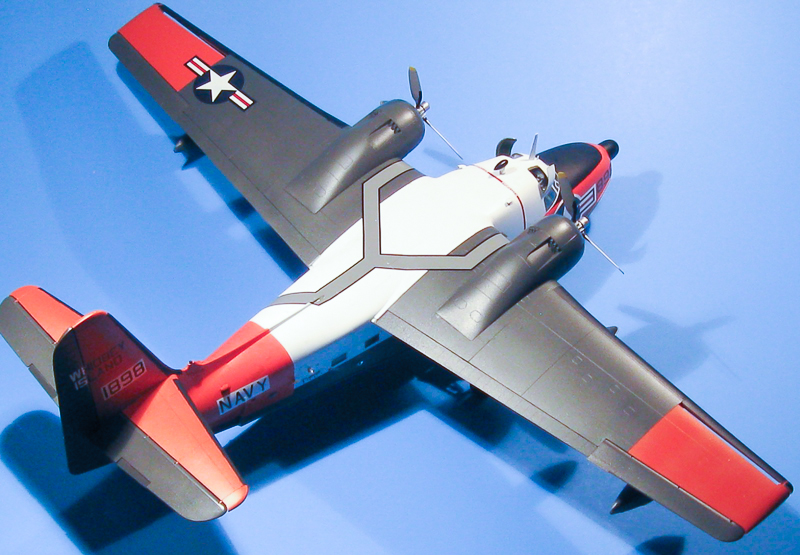
Completed Model - Top

Completed Model - Left
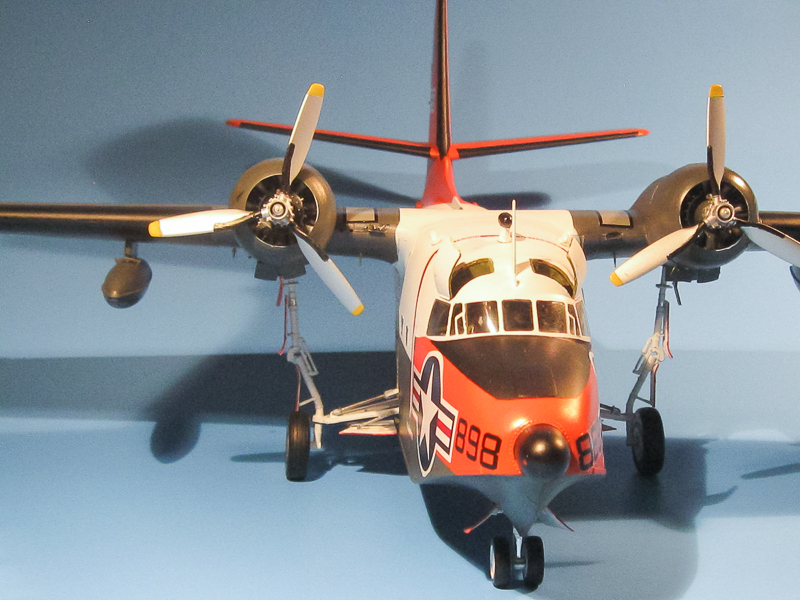
Completed Model - Front

Completed Model - Landing Gear Closeup
Comments
Add new comment
This site is protected by reCAPTCHA and the Google Privacy Policy and Terms of Service apply.
Similar Reviews