
Halifax B III
Thanks to Airfix for providing an excellent “blast from the past” for IPMS USA to review, and to IPMS leadership for providing it to me to review.
This kit first saw the light of day back in 1961; I remember seeing the advertisements in “Flying Review International”… Yes, that pretty well dates me as a ‘60’s child. So, now that you know the heritage, what can you learn from this review?
This kit is old technology. OK… The fit is not exemplary; in particular, the nacelles for inboard engines do not fit up to the wing. Same for just about all the clear parts; there were plenty of issues with the fit of them. But it’s a 1/72 Halifax BIII.
The rivets are not huge, but they are all over the model. If you want to remove them, be prepared to spend a lot of time sanding, etc., etc. It’s how things used to be. Bring wet/dry and get busy.
This kit is molded in the newer, softer gray plastic verses the old brittle, black plastic. MUCH easier to work with. See #2.
Details, are, as to be expected, not up to current standards. See #1.
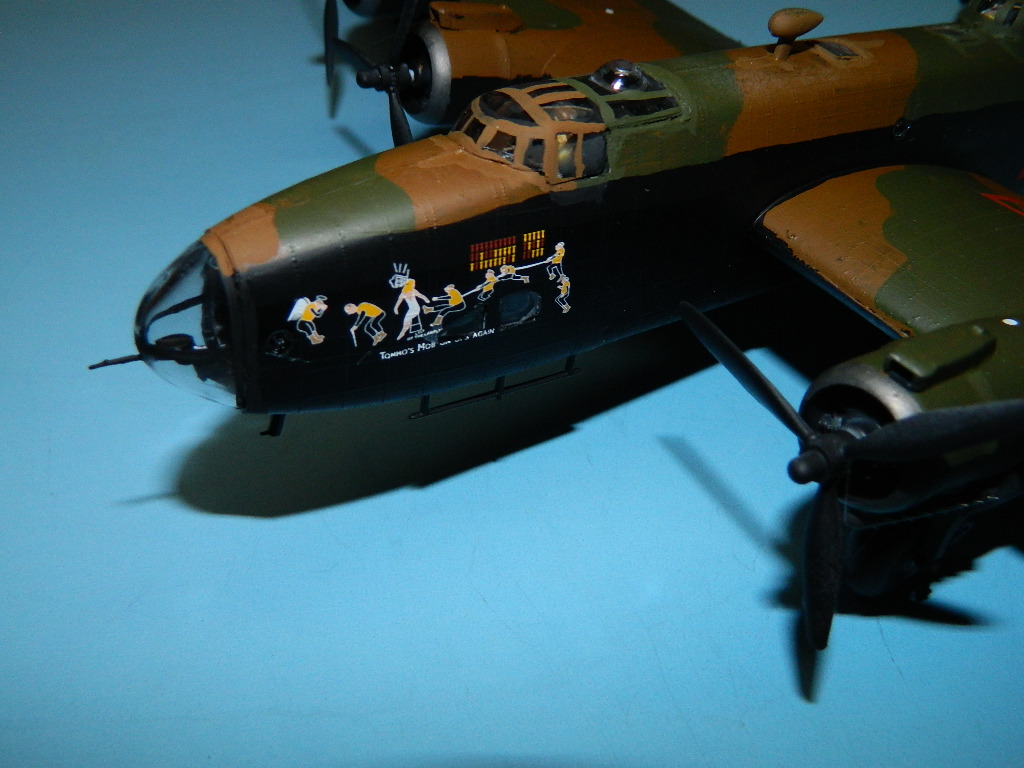
Decals are FAR better than the original and subsequent re-releases… Airfix have made great strides in this area, to the point they are up to current standard. And the markings are different… not that I disliked “Vicki”, but… this kit’s decals worked great. In register, in the correct color, and they did not silver. Excellent.
To confirm (through my meager research) this is the only Halifax BIII kit out there in this scale; so, with work and aftermarket (if you so desire; Falcon or Squadron canopies, and a PE set from a company in the UK that escapes me) you can have a pretty accurate model. …One that is cheaper than the larger, more difficult 1/48 FM kit.
It also seems there is an effort to re-release the old kits and get one more run out of them before a company submits a brand new tooling (PLEASE!) to the masses…
This model has action features that could, with skill and time, be brought to bear. The landing gear MIGHT be able to operate. Gun turrets turn, control surfaces move. My recommendation: Go with it either way. Your cash, your fun!
As this is an out of box review, and I hadn’t had a just plain “wahoo” build in a week or two, (!) I opted for heresy; Build like I was 12 again… no filler, with the exception of a bit of white glue, no sanding so I could leave all that rivet detail in place, and BRUSH PAINTING. This in itself is asking for a knife in the gut to some people… but I bravely strode on. The only concessions: No tube glue, I prefer liquid, and masking the clear bits at the end of the build and spraying flat black primer over all toward the end of the build, in order to prevent fisheye with the brush painting.
Interior
Swab liberally with Flat black. Reason? The detail is not to current standard, and I understand most interiors were flat black on these aircraft. The instrument panel decal fits, but you can’t see it through the 6” scale plexiglas. If I am wrong, build your own and do it your way!
Next up was to install the forward side windows on the fuselage. I did not use the porthole windows, as it is not worth masking in this scale in my opinion. Plus, Micro clear or some other substitute will work for these at the end of the build.
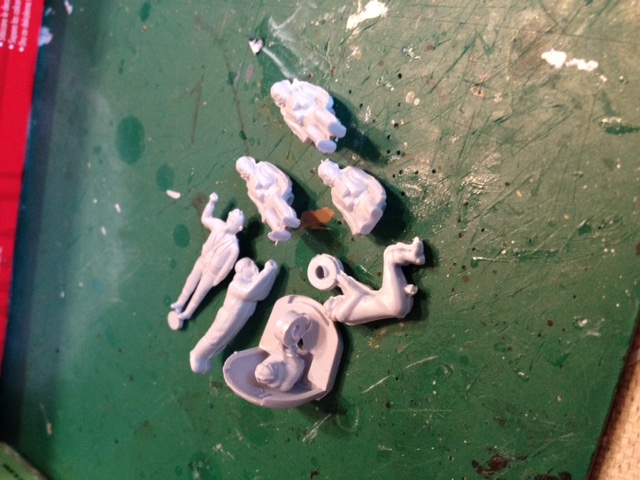
The “Men”, as we used to call them… Figures to purists… are included. These are straight out of the early 60’s, complete with prayerful poses holding a tire over their heads (for the pivot point for the moveable guns), the “I can’t hold it much longer” pilots with appropriate expressions, and the standing and prone “people”. Slather with paint. Have fun.
Install the forward bulkheads, the retractable tail wheel (friction fit and actually works!), and the upper turret well. I opted to leave off the tail turret to prevent breakage. None of them would work for me with the method of construction I had opted for, so…
Wing Halves
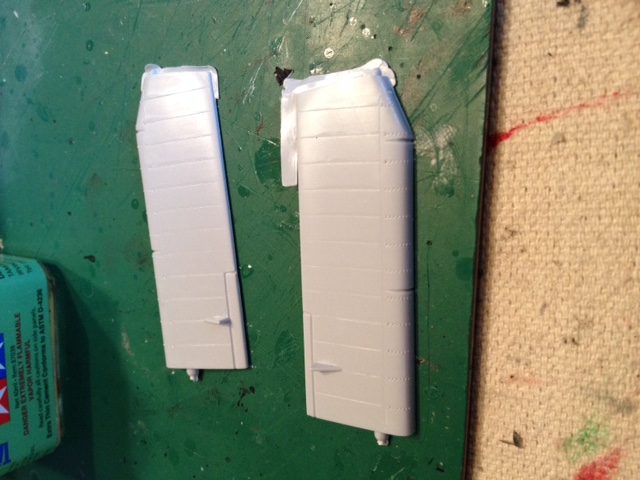
Upper and lower, left and right. Fit was ok. I forgot to install the ailerons here; you are supposed to trap the hinge pins at the extreme ends to allow them to move, but the pins were hidden in flash, so it was “Snip the outer ones off, use the inner hinge pins to hold in place, and glue the tip portion on”. Same for the elevators and rudders; you can, with time and patience, make them all moveable, and in my experience that means gravity works on all, i.e. the ailerons and elevators drop like the control cables were shot out. If that’s the intent, well, do so…
Did you forget to put the nose weight in? (Just seeing if anyone reads this stuff, of COURSE you didn’t, NO NOSE WHEEL and you AREN’T seriously contemplating trying to whip fly this one, are you?)
Engine Nacelles
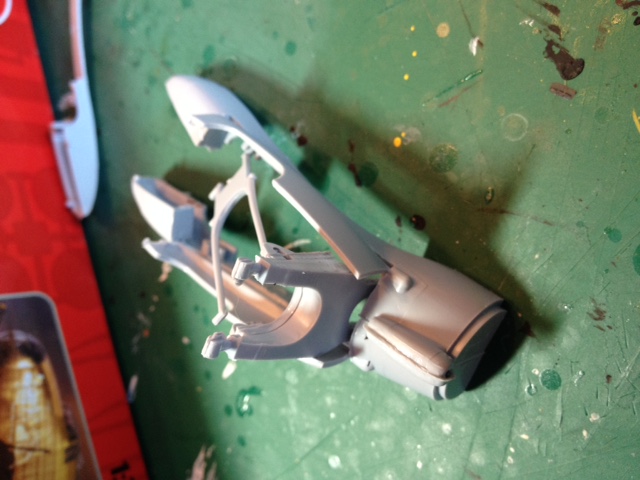
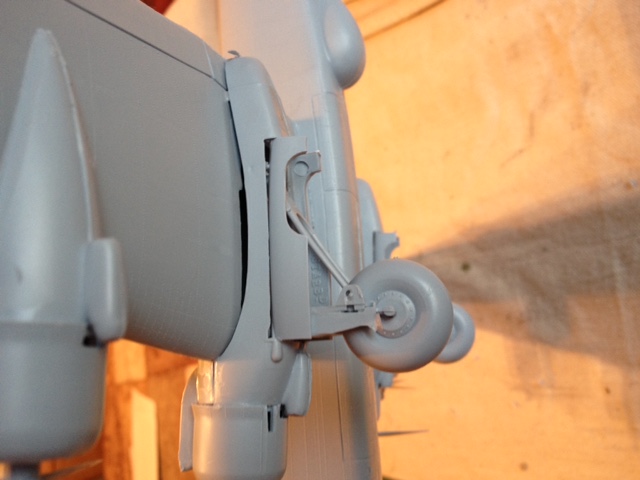
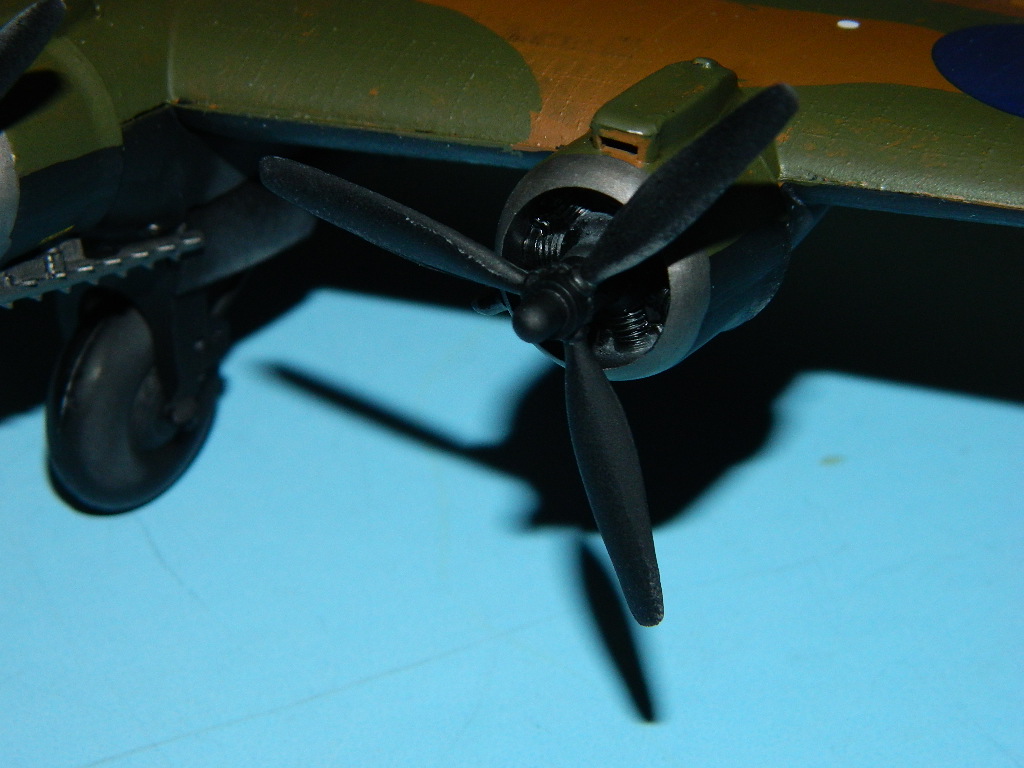
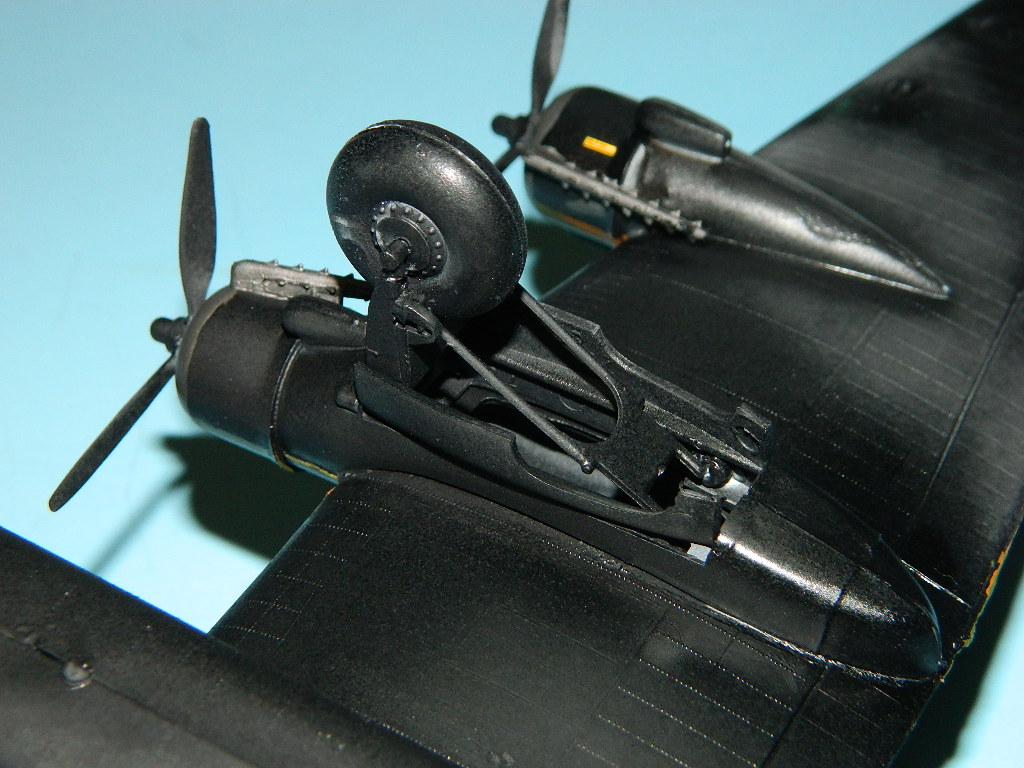
Check out the picture of the inboards; These were the most difficult part of the build, as there was a lot of flash in hinge points for the gear doors, and the warped parts were just difficult. Hot water technique brought them back in line, and liquid cement holds it all in place. The landing gear is not too onerous. Wheels are two-halves each, and detailed enough.
Speaking of landing gear (yes) I installed one of the extension struts backwards (how can I do that?) and caught it before the cement set. Dumb. But… fixed. (Hint: The wheel has to fit between the yoke. (Not “Yolk”; that is the embryo of an egg, the yellow stuff) BTW, that’s how a control “yoke” is spelled, too… and while we are at it, “too” for “also”, not “to”, (as in “heading toward”), or “Two” (as in “2”). Enough word corrections for the day…
The inboard nacelles have SEROUS gaps chordwise. (see the “gaps” picture). Fix them if you like.
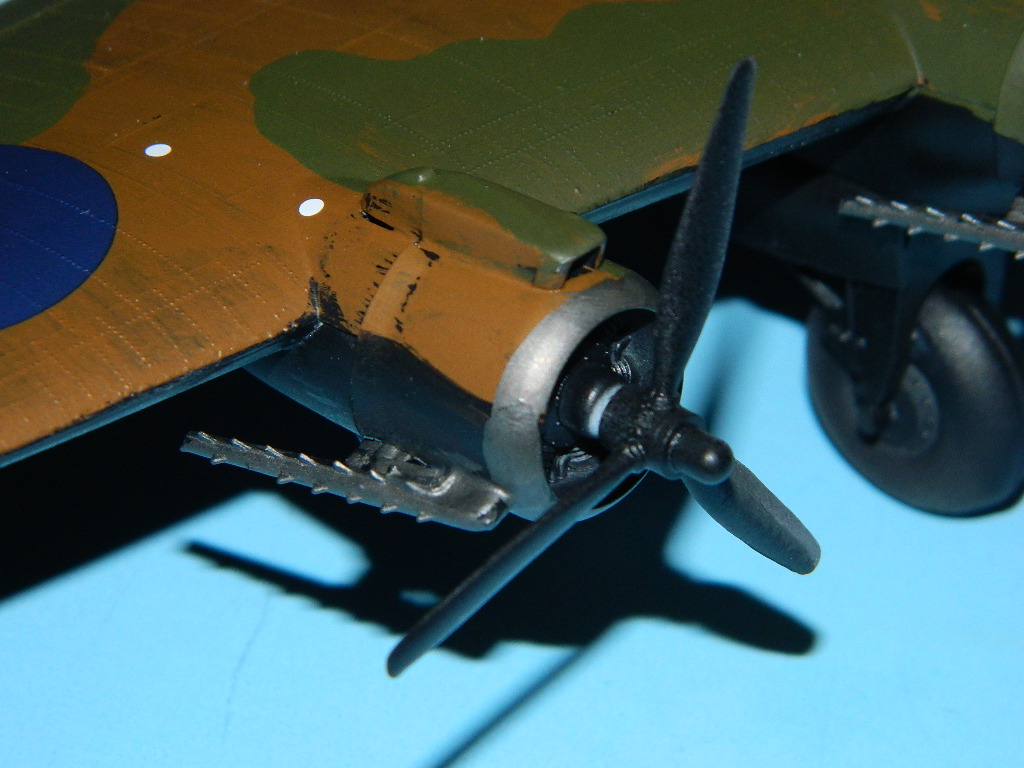
Outboard nacelles were fine… and the fit of the wings to the fuselage was actually very tight and required no filler. (The wing root fits into a pocket, along with the guide tab, so with liquid cement slid right into place).
Engines
For 1960’s injection molding technology, these are actually pretty decent representations of the Hercules radials. The propellers turn the correct direction (clockwise from the front) as well. Be careful with the glue when installing the retainers on the shafts, and they spin. Bring on the bomb run with the wind blowing…
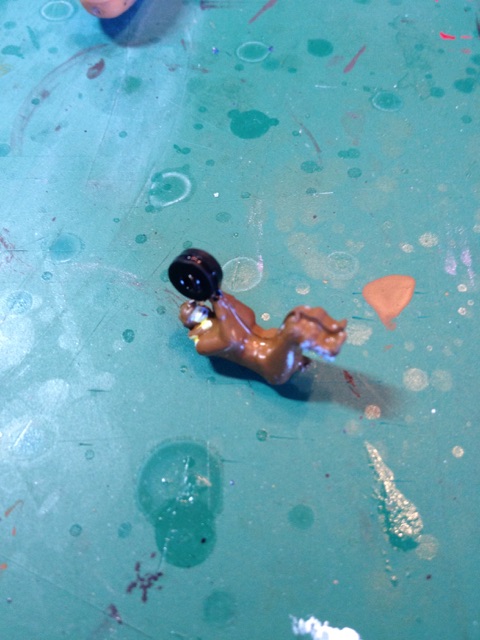
At this point I installed the crew and upper guns; then the clear parts. Installation in this case is tenuous; the forward canopy is, well, just a bit short in length, so you will need to fill it… and the upper turret has a ejector pin in the very center that is hard to remove (clear plastic being notoriously brittle). This prevented the part from seating to the gun tub. If I were to do this correctly, I would scratch build proper mounts, and not use the figure with the doughnut (previously mentioned and noted in one of the photographs).
This would have alleviated most of the turret fit issues, including the guns sitting too high in the turret. The tail turret, being a separate item, has two sides and a top blister. Fit was not what I would call it. More modeling skills required here… and if anyone remembers finger glue smears on clear plastic, it happens to us old guys too…
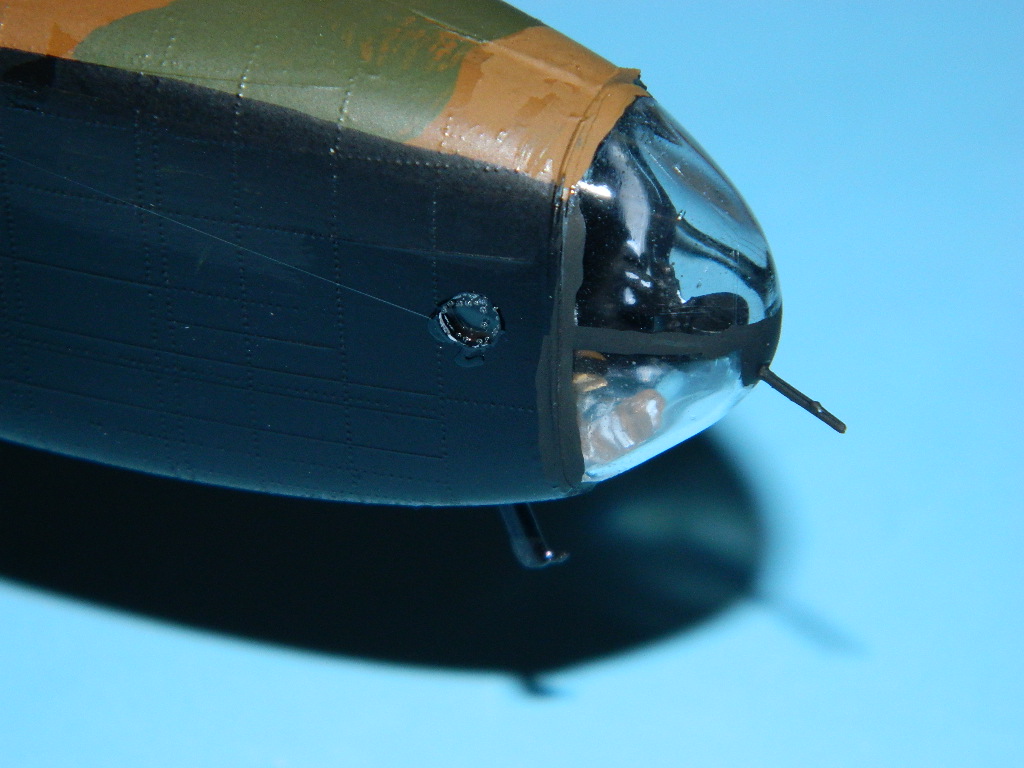
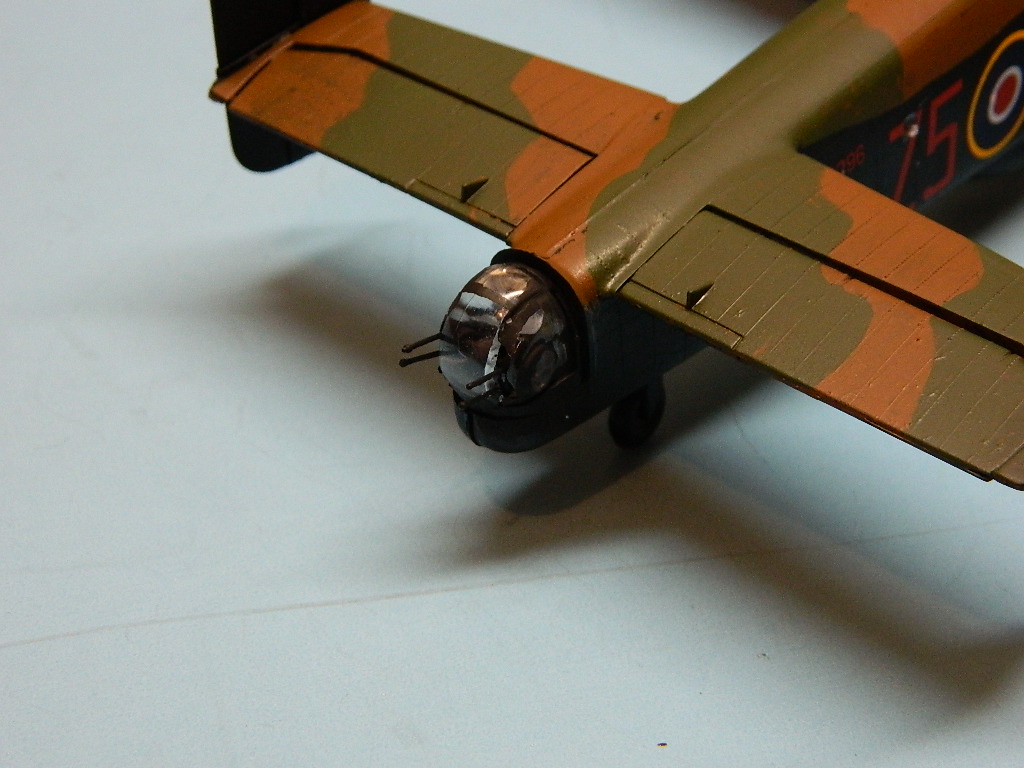
The clear nose perspex dome had the Vickers .303 installed, and went on without trouble. The Vickers was actually pretty well done for the age and scale…
When the cement on the clear parts had set, I taped them off in anticipation of spraying the whole beast Duplicolor flat black primer. This, as noted before, facilitated a final check of anything that REALLY stuck out as wonky, and gave a base for my hand-brushing the rest of the model.
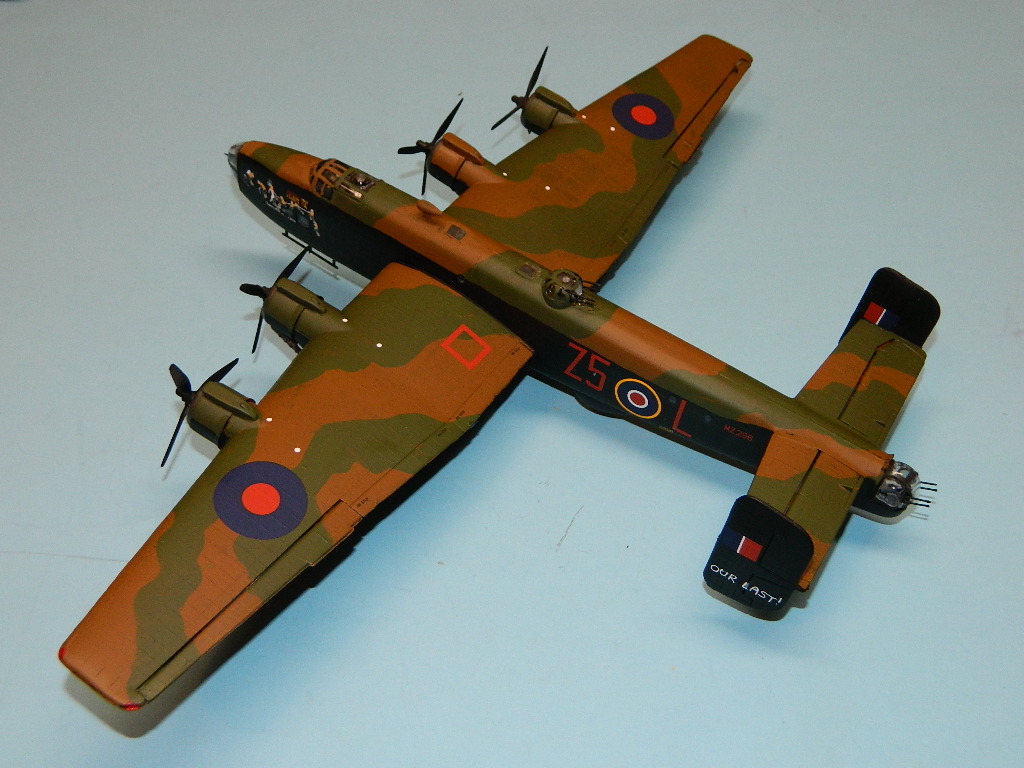
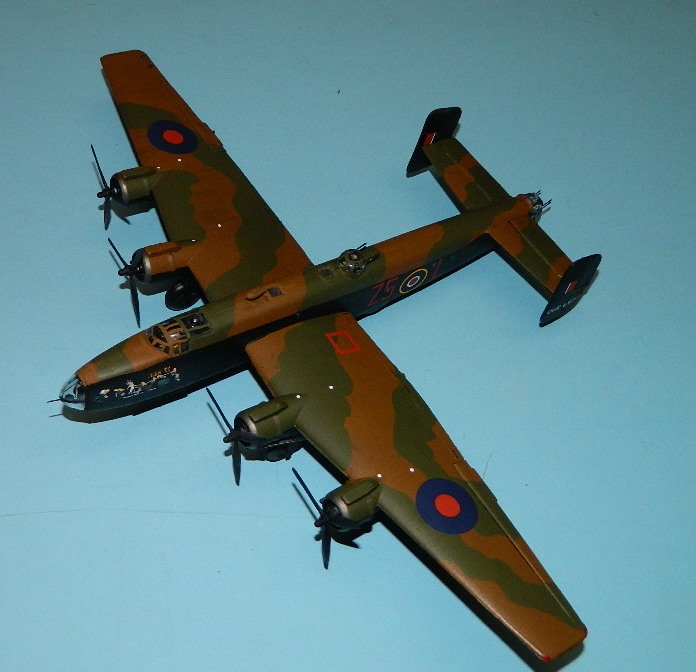
Brush painting was kind of fun; Using a 3/8” camel hair brush, slightly-thinned Vallejo Flat Earth was spread over all uppersurfaces requiring it, in two coats. Then it was time for Vallejo Flat Olive; this worked well, and I was very pleased with myself. A gloss coat of Testors Boyds wet-look Clear spray, and decals were applied. A bit of setting solution worked wonders, the decals behaved, then another gloss coat before final flat.(Testors Dullcoat).
Installation of the towel rack antenna and pitot probe, cementing the aft turret on its pedestal, and removal of the masking tape from the clear bits finished all. I had a few errors, and brush-painting the window framing taxed my patience, but in the end it was done and didn’t look too shabby.
Due to some of the difficulties in construction, and the lack of dedication to building I see amongst many these days, I submit this kit would be a great test of endurance for a beginner or experienced builder. Where this kit is as a worthwhile investment is, well, up to you: The subject is not a modified 50-year old mold, which has its own intrinsic value… and the thought it has potential for turning out a great finished product with work beacons. Thanks to Airfix/Hornby for this great, enjoyable step back in time and my IPMS reviewer corps leaders for sending it to me!


Comments
Add new comment
This site is protected by reCAPTCHA and the Google Privacy Policy and Terms of Service apply.
Similar Reviews