
Gulf War Anniversary Box Diorama Set: Part 4 - Iraqi MI-25 HIND-D
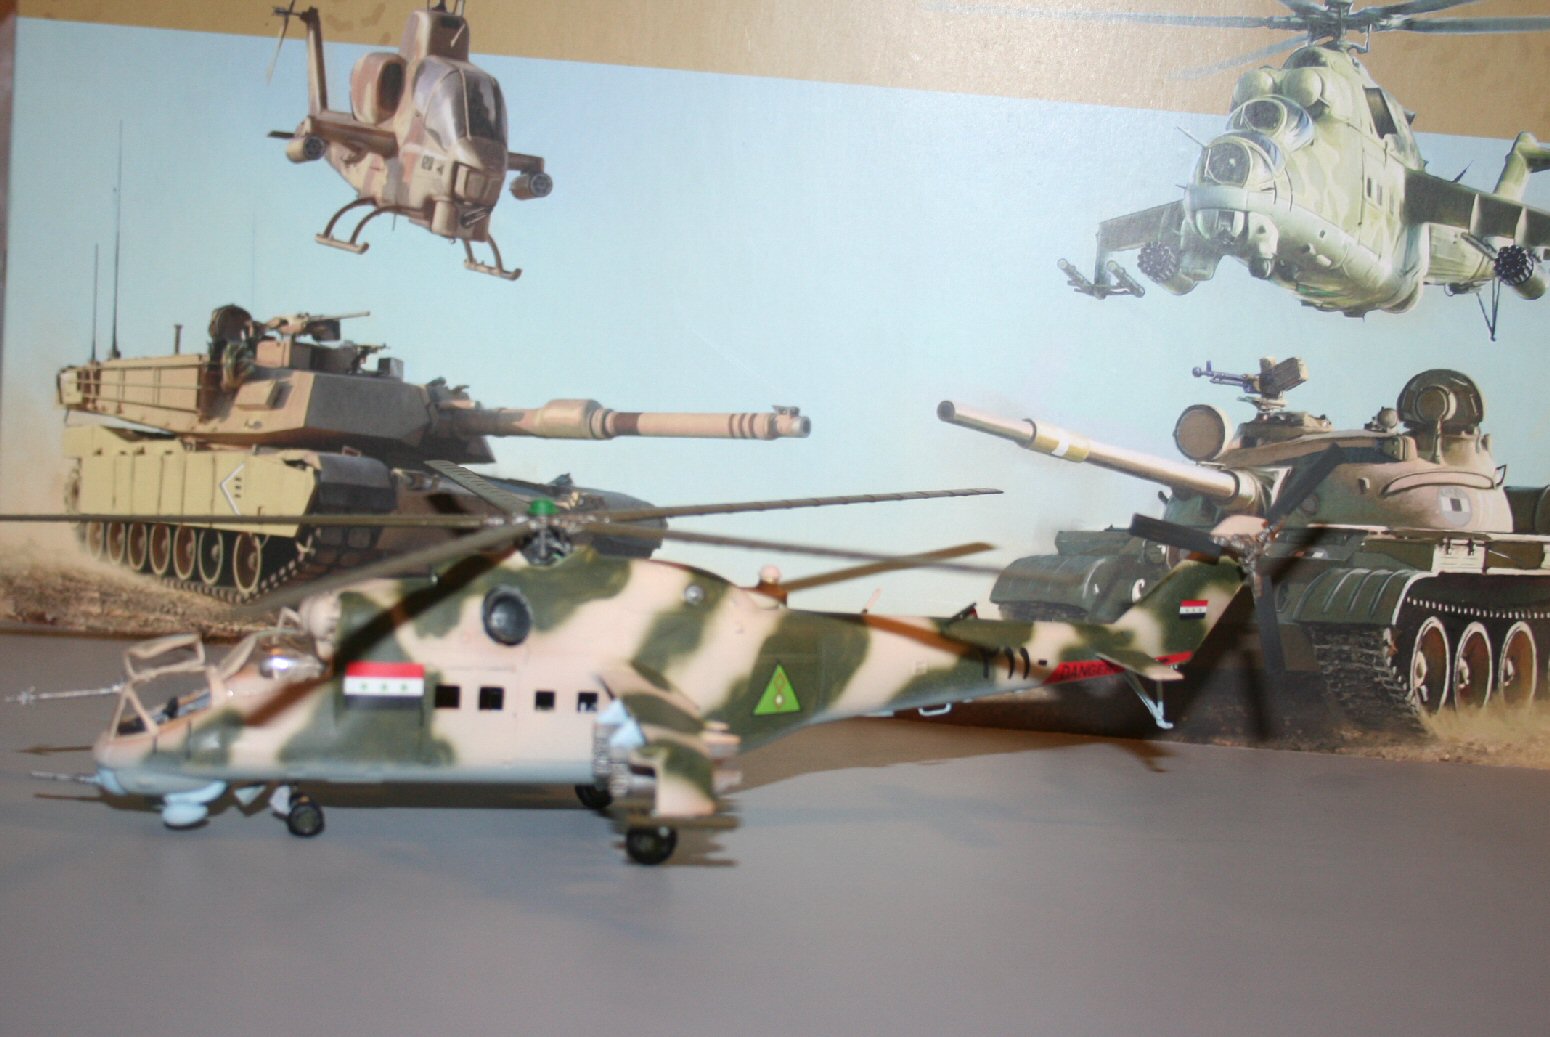
Italeri has put together a set of models to commemorate the anniversary of the Gulf War. The set includes tanks and helicopters from the United States and Iraq. Iraq is represented by the T-62 main battle tank and the Hind-D MI-25 helicopter, while the U.S. is represented by the M-1A1 main battle tank and the Cobra AH-1W helicopter.
Since this is a large box of models, Jim Pearsall asked me if I would like to build the Helos from the set. I was glad to accept because both of these models are on my “Models I want to build list”.
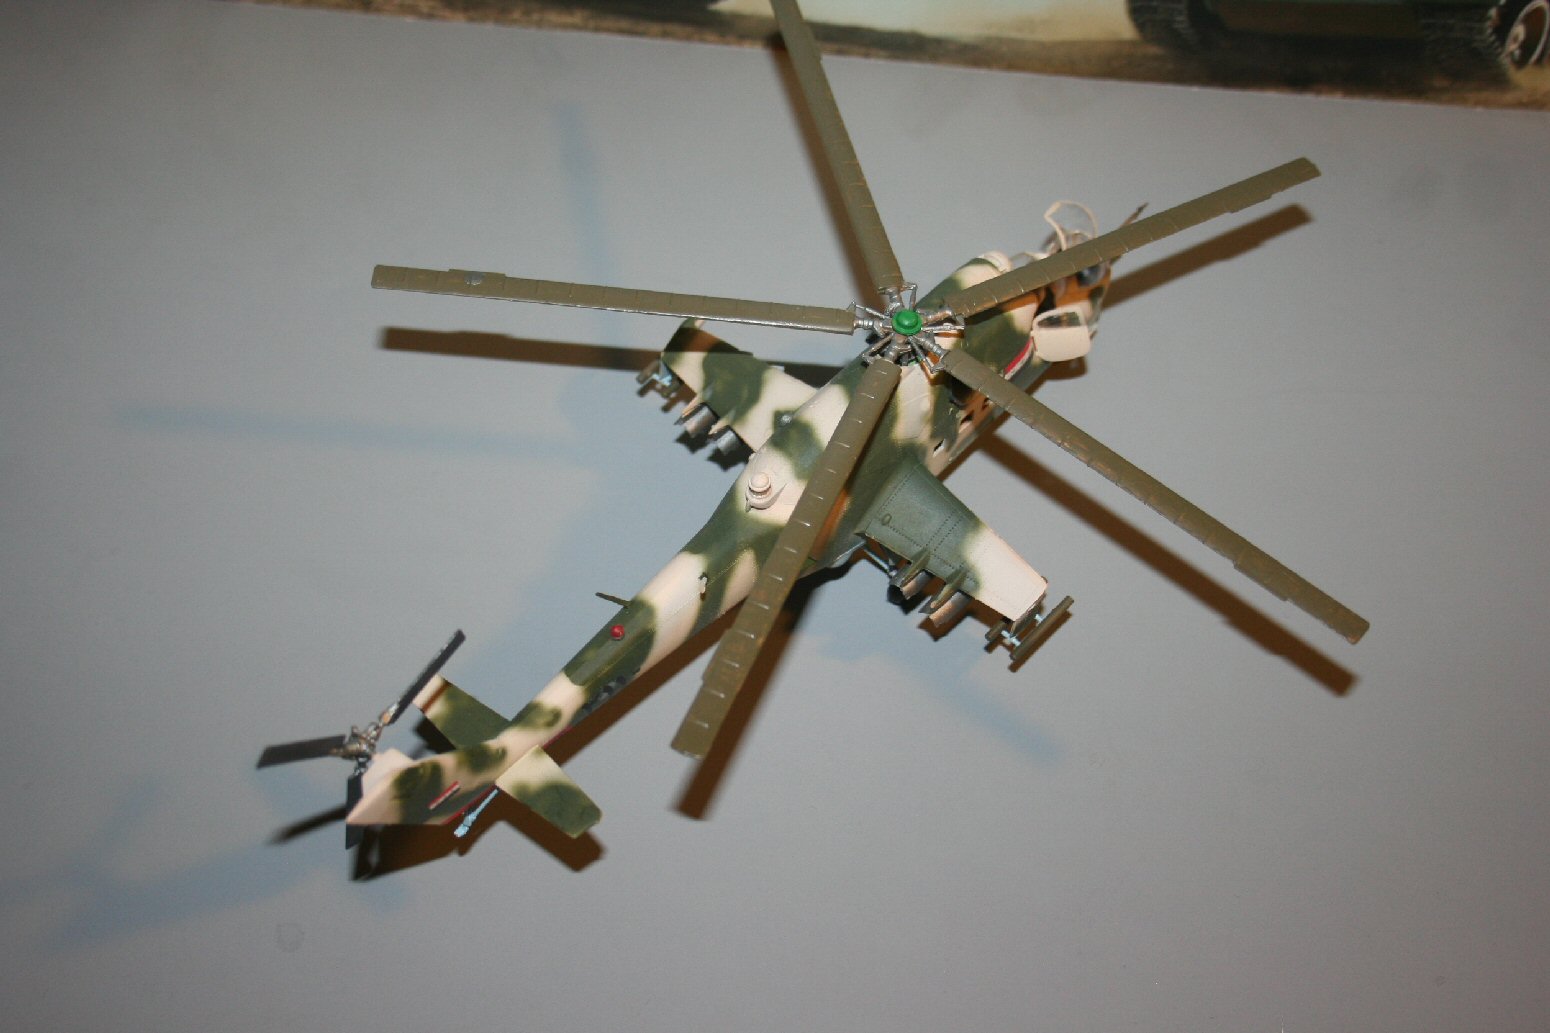
The MI-25 HIND-D Helicopter
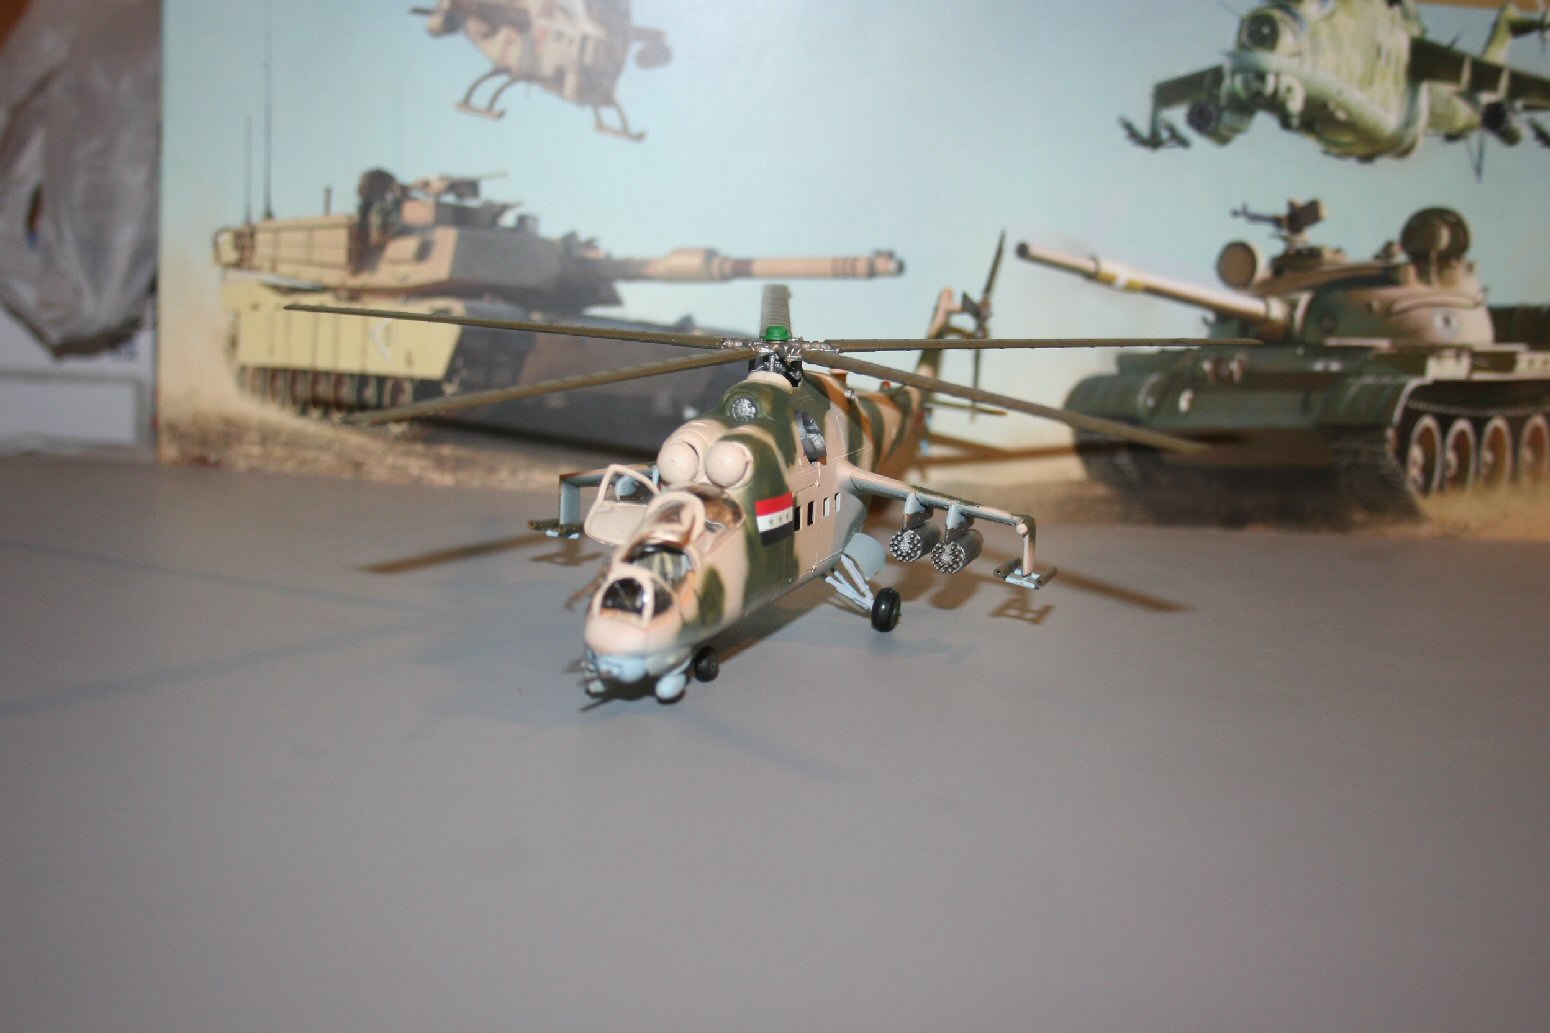
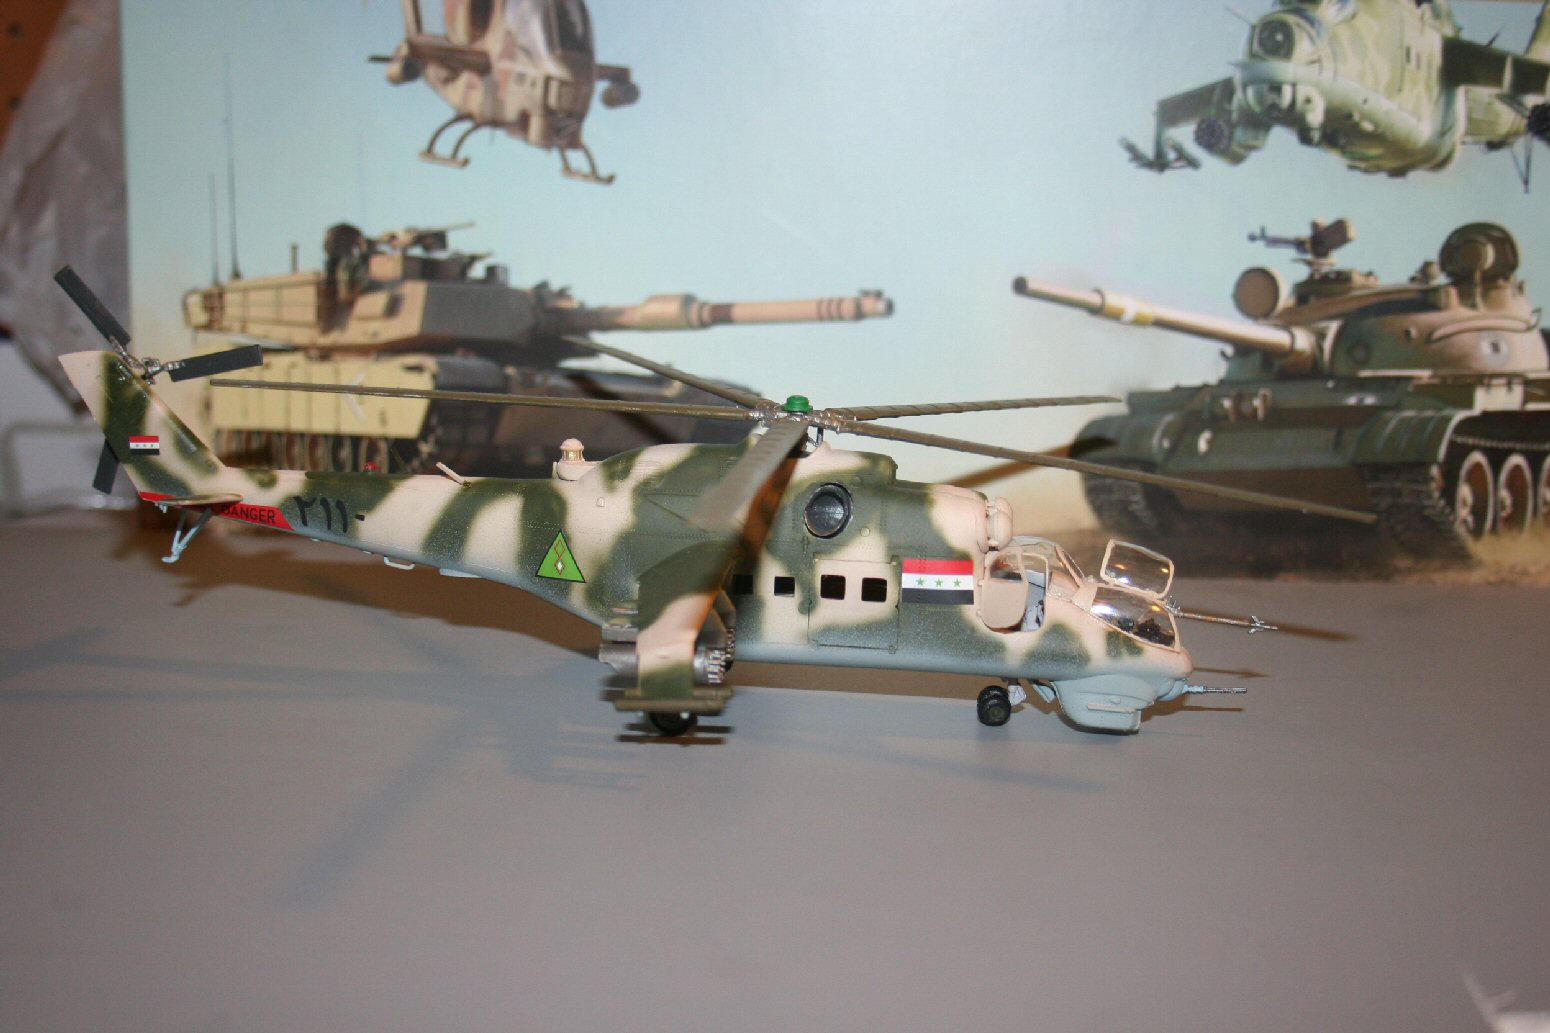
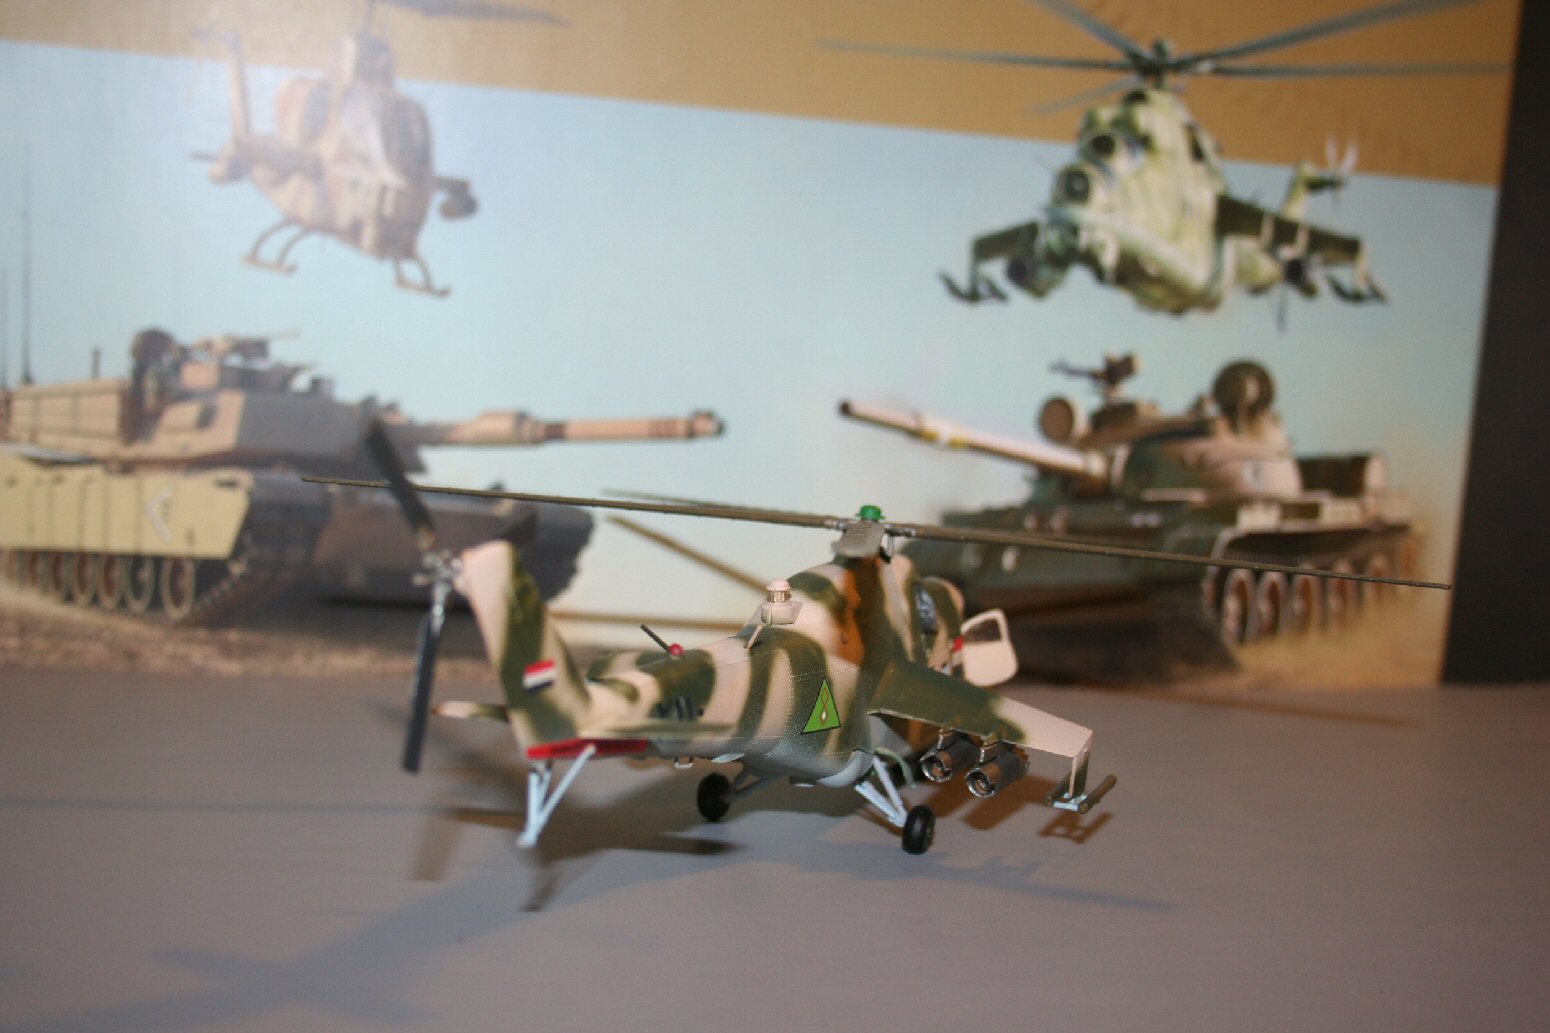
The MI-25 is an export variation of the Soviet MI-24 and is denoted with a letter suffix of “HIND-D”. It is a large helicopter that is used as a gunship/attack helicopter. It is also utilized as a troop transport that can carry 8 passengers. It is armed with a turret mounted 12.7 mm gatling type machine gun, 57 mm rockets, and AT-2C/SWATTER ATGMS.
The Kit
This kit is a reissue of the Italeri MI-24 and consists of 131 parts. It had some flash that needed to be removed; running an X-Acto blade along the parts seemed to do the trick. The fuselage fit well with all the parts but needed a lot of putty to mold the parts into each other. Not too big of a problem it just slows down the build.
Assembly
The instructions are divided into 6 steps. The 1st step, of course, is the cockpit and cargo compartment. The interior is flat light ghost gray and the seats are olive green. The instructions color call outs are for Italeri Acrylic Paint but it also has the F.S. colors noted.
The 2nd step is to put everything that needs to be inside the hull inside and then putting the hull together. That would include the cockpit, cargo compartment and forward wheel housing. One problem to note is that the instructions for putting the main rotor exhausts on top of the cargo compartment are backwards. The instructions show that the exhaust outlets are to be forward but if you do this they will not come out of the holes on the fuselage. They need to go the other way and face to the rear. Next you need to be very careful and glue the hull together so that the inside pieces stay in place. Usually, this can be kind of frustrating, but Italeri did a really nice job on the parts guides and nothing moved. I didn’t put the tail rotor on yet because I usually do that after painting.
Step 3 is to add the jet intake covers and a top plate then add plenty of putty to the top plate because it doesn’t fit very well. There is also a small piece in the nose of the cockpit to be added.
Step 4 is where the wings and a couple of probes are added. I didn’t add the rear antennas yet because I don’t want to knock them off and lose them from handling the model. I added putty to blend everything in and cover the gaps. Before going onto step 5, I painted the model. This kit comes with 2 options both are painted in the same camo with the designs pattern being a little different. Both options are from the Iraqi Army Aviation Corps, 4th Attack, Transport and Special Operations Squadron. I painted the camo scheme using Model Master Sand FS33531 and Dark Green FS34079. The bottom was painted with Model Master Hellblau RLM 65 FS35352 and the wheel wells in flat pale green FS34279.
Step 5 was done after the main painting was done. I installed the parts that I could easily knock off while I’m handling the kit; rear rotor, landing gear, nose turret, landing gear doors, weapons pods and probes. I then also did touch up painting and add the antennas. The wheels were painted with Tru-color flat grimy black TCP-804.
Step 6, the final step is to put the main rotor together and add the refueling probe. The instructions’ drawing was a little misleading for the rotor assembly. It appears, in the picture, that part 87a has a shaft that inserts into parts 88a and 85a. There is even an arrow pointing it out this way. I thought that maybe I had a part that the shaft hadn’t been fully formed. After playing with these parts I found that they do fit together okay but not with a shaft. Part 88a goes onto part 87a by using 4 small bumps on the rotor and the 4 stems facing up have 4 small divots that fit together from part 88a. This then connects onto 85a which then connects onto the model. When that’s all together it is capped with part 89a. It took me awhile to figure out but the rotor assembly was very sturdy and worked well when the rotor blades were connected and put onto the body. The rotor blades were painted with Model Master olive green while the central pieces were painted with Vallejo oily steel 70865. The top cap is supposed to be painted with gloss green but I didn’t have any so I raided my wifes Citadel paints and used a green called warpstone glow.
Decals
The decals were in register and went on well with the MicroSet and MicroSol system. These helicopters really didn’t have a lot of markings consisting of the Iraqi flag, unit number and the countries wing triangle on them.
Overall Evaluation
This wasn’t a kit I would recommend for a beginner, but rather someone who has more modeling experience, especially in the use of putty and can recognize when there is something a little off in the instructions. You’ll be fine if you test fit parts, which some beginners aren’t used to doing as automatically as an experienced modeler is. Other than that, I think it builds up into a nice model, it just takes a little longer to build. I am glad to see that there are kits being put out for the Gulf War so that we don’t forget what happened. I would like to thank Hobbico and Italeri for the kit and IPMS USA for letting me do this build.

Comments
Add new comment
This site is protected by reCAPTCHA and the Google Privacy Policy and Terms of Service apply.
Similar Reviews