
Gulf War Anniversary Box Diorama Set: Part 3 - US M1A1 Abrams
This is a diorama set which observes the 25th anniversary of the Gulf War. The kit comes with 4 - 1/72 models; The US AH-1 Cobra, the US M-1A1 Abrams, the Iraqi Mi-25 and an Iraqi T-62.
Because there are 4 models in the set, and we have time limits, the helicopters are built by Mike Hinderliter, and the armor by Jim Pearsall. The review will appear in 4 parts, as each of the 4 kits is finished.
M1A1 Abrams
Back before the turn of the Century (about 1997) I was employed by the Gulf War Declassification Project in Virginia, just outside of Washington, DC. I got to read and work with many interesting documents, many of them secret, and occasionally Top Secret. Since I had the clearance, I was the one usually picked to manage returning the TS stuff to the Pentagon. But I wander off subject. One of the most interesting after action reports I got to read was one about a battle between the 2nd Armored Division and an Iraqi armored unit. The US unit found the Iraqis in laager at night, and opened fire. The Iraqis started shooting in the air, because their IR capability couldn’t see the M1s, and they thought they were under air attack. The Abrams proved itself to be a superior weapons system with superior technology.
The Kit
The kit was originally produced by Esci. Italeri now produces the Abrams in a single kit #7001.
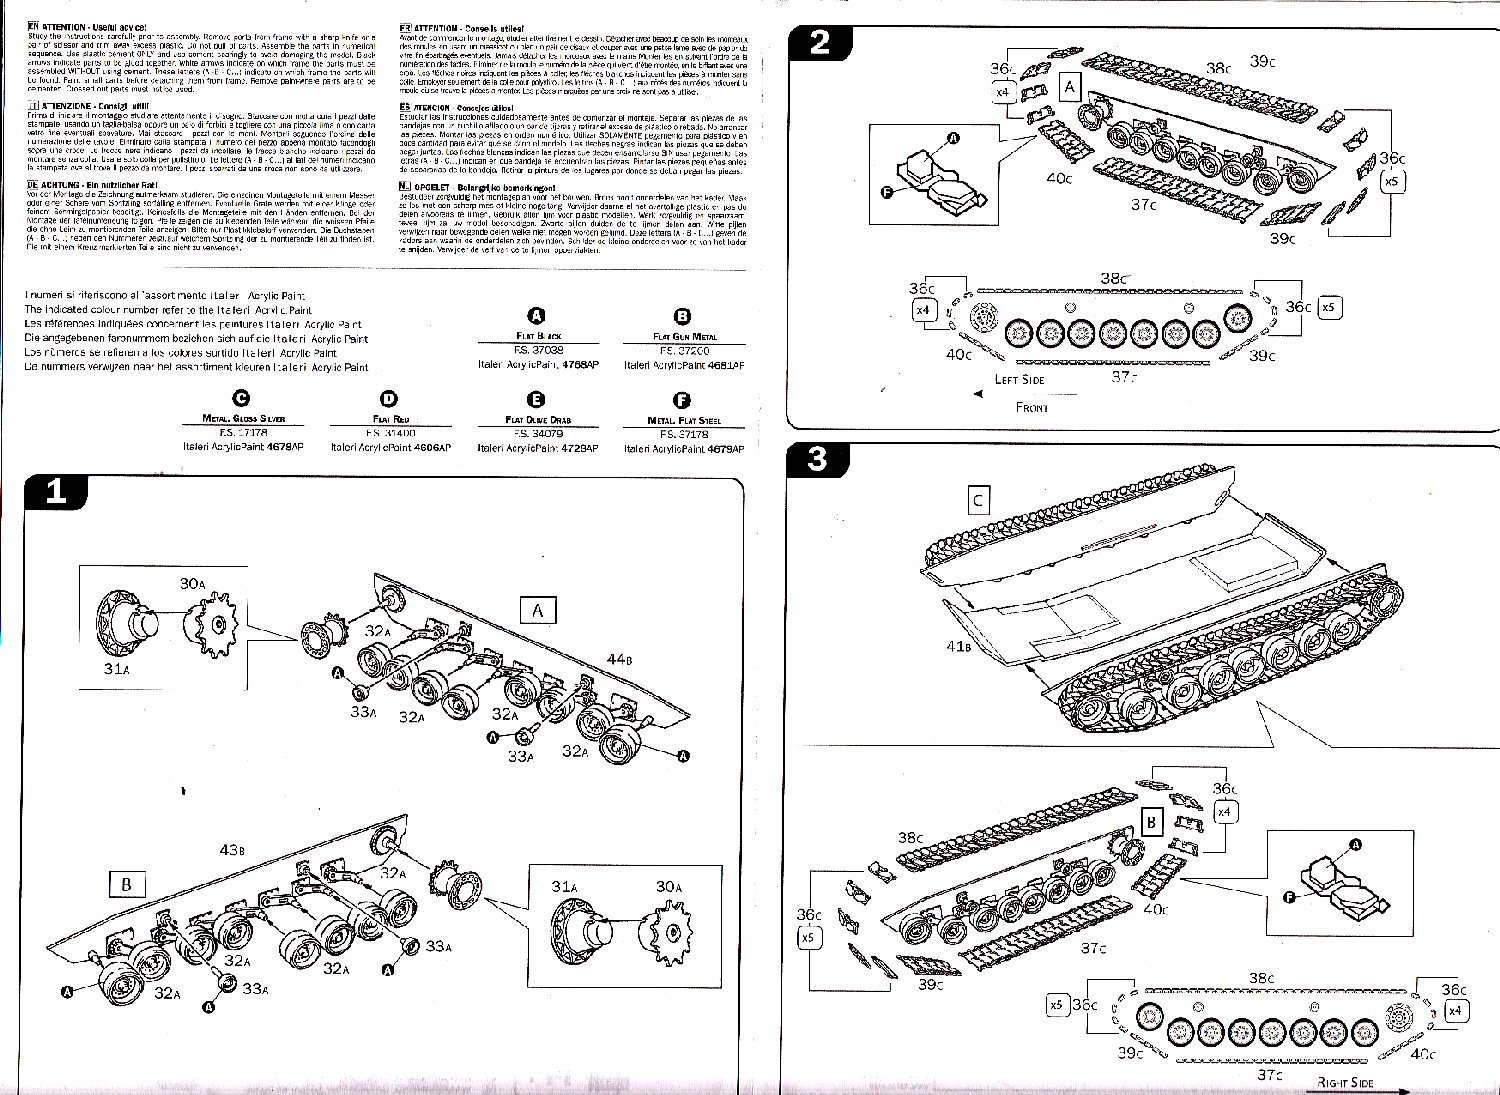
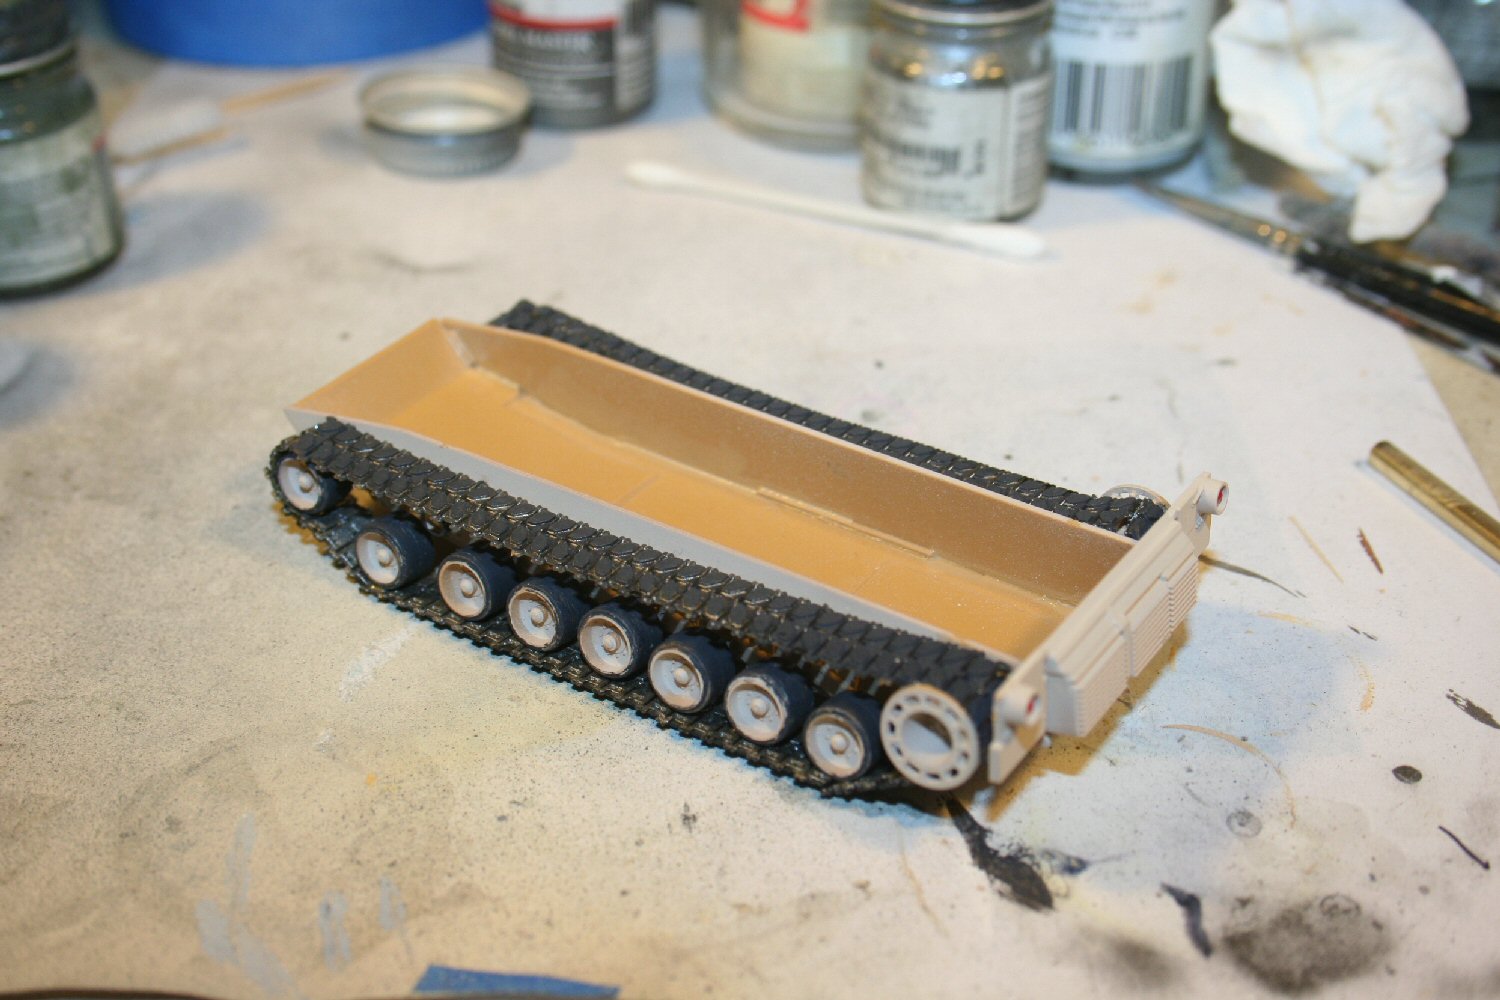
You get three sprues, all in a darkish yellow plastic. The hull is 2 piece, top and bottom, the suspension is one piece, with the wheels separate. The tracks are “length and link” style. I started out the project by painting just about all the parts Desert Sand. There were some exceptions, like the tracks and the rubber wheels, but generally the whole vehicle is one color with a few details.
I removed the wheels from the sprue, cleaned up the attachments and painted all of the tires flat black. The return rollers also got this treatment. I sprayed the outside of the tracks flat black, as there are rubber pads on each link. I then turned the tracks over and sprayed Testors Flat Silver (from the small square bottle). I sprayed heavily, and was rewarded with a “flow through” where the metal parts of many of the outside tracks got silver too. This left the rubber pads black, but made the metal parts look more metallic.
I put the wheels onto the axles. I then put the lower track on the wheels. Then the short lengths between the bottom and the front and rear wheels. I did this to have a reference for the single links. I applied the single links. These were a source of some pain, as they wouldn’t stick using Tamiya extra thin cement. I finally wound up using an old technique, Testors liquid cement thickened with tube glue. This held the tracks in place until the glue could set. I had to leave these assemblies overnight to allow the glue to successfully set.
The upper length went into place fairly easily. I had to re-glue a couple of the links on the ends.
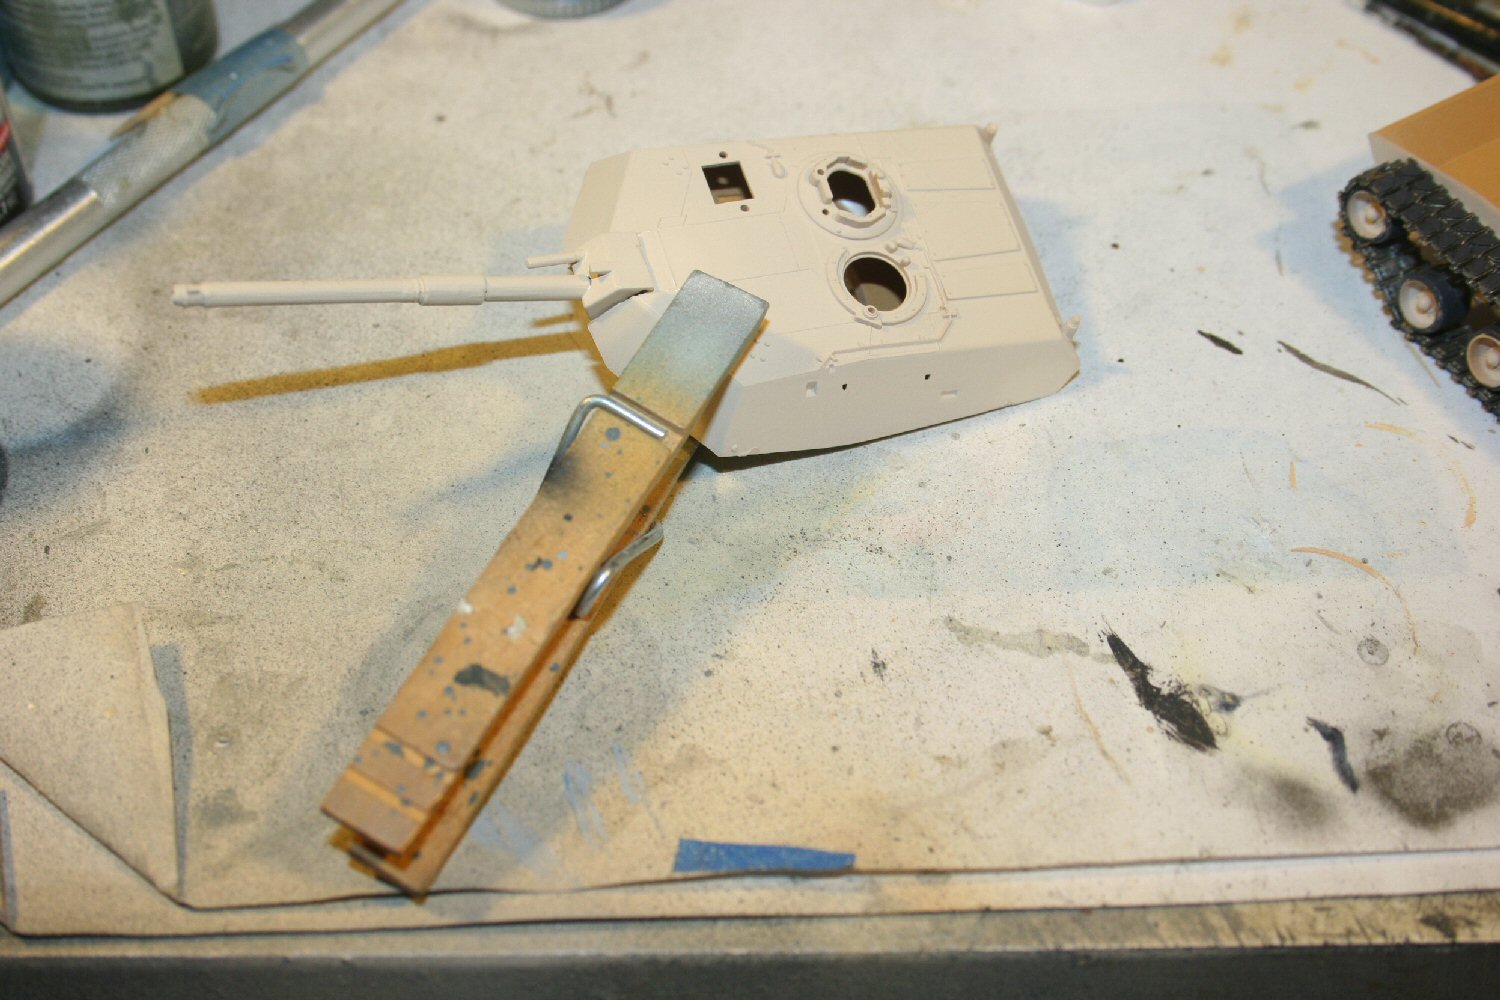
The turret went together pretty well. The gun has to be assembled and inserted between the top and bottom of the turret. There was a problem with some warping in the lower part, which required use of a clamp. Photo below shows this high-tech gadget.
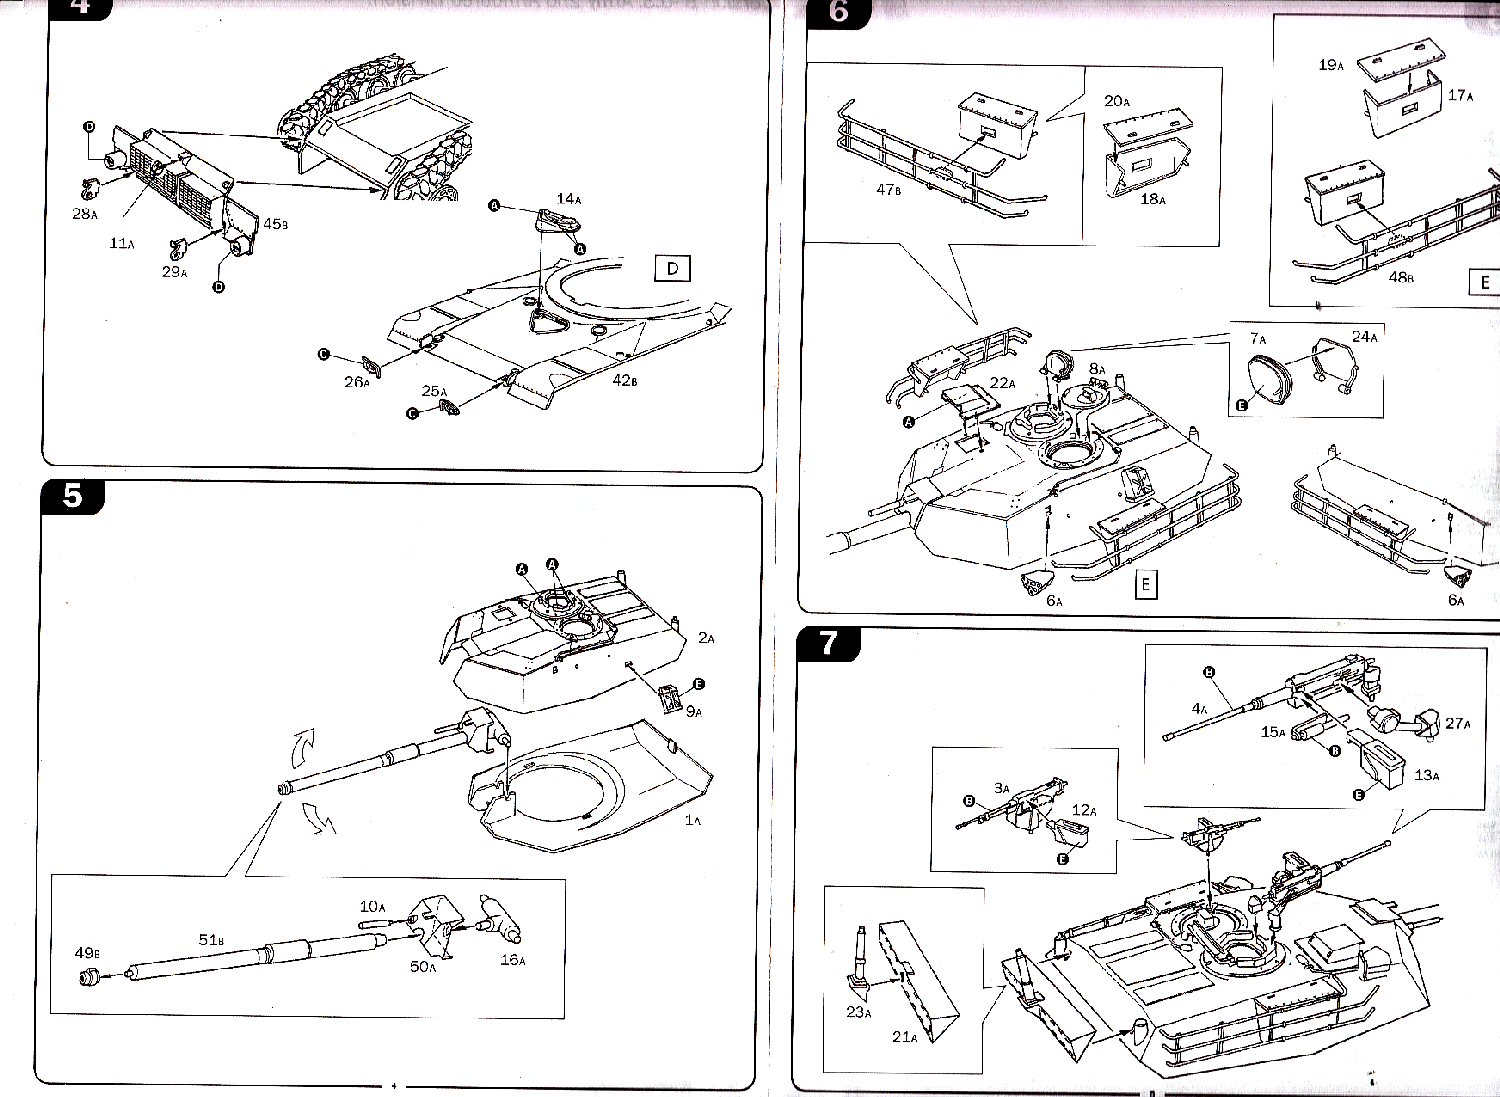
I assembled the suspension to the lower hull and rear hull parts. Here the parts responded to Tenax, and everything fit well. I put the upper hull on the lower hull. I had to use my clamp to get these parts to fit as well as I needed. I didn’t want to have to use putty on the hull joints. And I didn’t have to.
With the turret, hull and suspension completed, I added the side skirts, three times. The skirts just didn’t want to stick to the small contact area at the bottom of the overhang on the upper hull. I put the parts on, and they fell off. I re-glued, and they stayed until I was handling the hull to put on decals. The ultimate fix was to put a piece of thin plastic sheet behind the skirts and the upper hull overhang. This allowed the parts to stay in place.
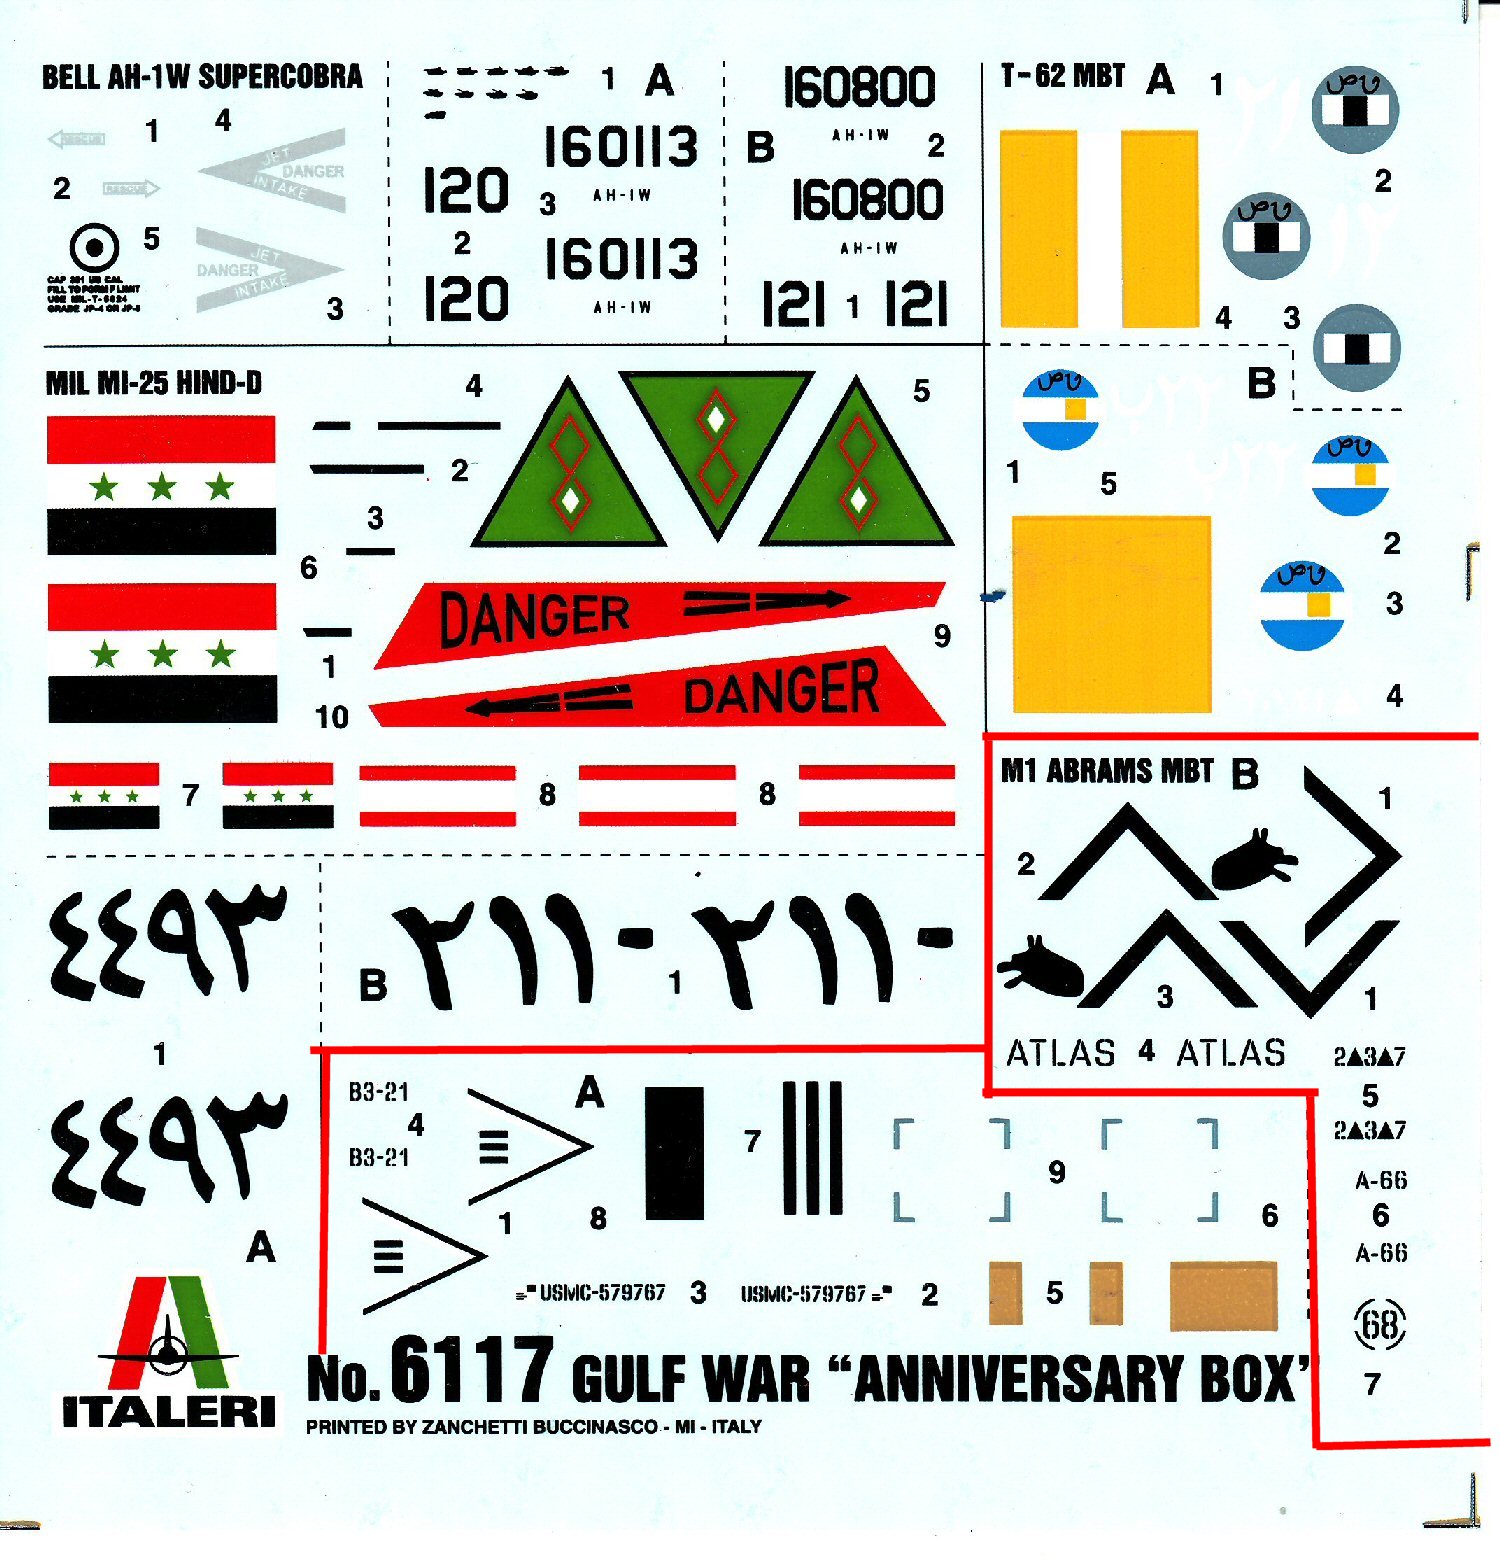
I mentioned decals. These were very good. I used the markings from the 2nd AD. One thing on the decal instructions made me scratch my head. The drawing shows a storage rack on the back of the turret. These parts aren’t in the instructions or on the sprues. Oh well.
I now did the finishing with small parts. The tow rings, the machine guns, the hatches, the antenna, the stowage racks on the side of the turret, the jerry can and the headlights were put on last. I have very bad luck with small parts if I put them on before I do decals.
The turret fits nicely onto the hull, and it’s complete.
Overall Evaluation
Recommended. This is a decent kit. Since it’s a little older, some of the fit requires a little work. On the other hand, there was no flash anywhere, so the molds have been carefully reworked or cared for. I had no “show stopper” problems with the build. And you gotta LOVE the “one color” paint scheme.
Many thanks to Hobbico and Italeri for the review kit(s) and to IPMS for allowing us to do these reviews. And thanks for bringing back some memories from an old job.


Comments
Add new comment
This site is protected by reCAPTCHA and the Google Privacy Policy and Terms of Service apply.
Similar Reviews