
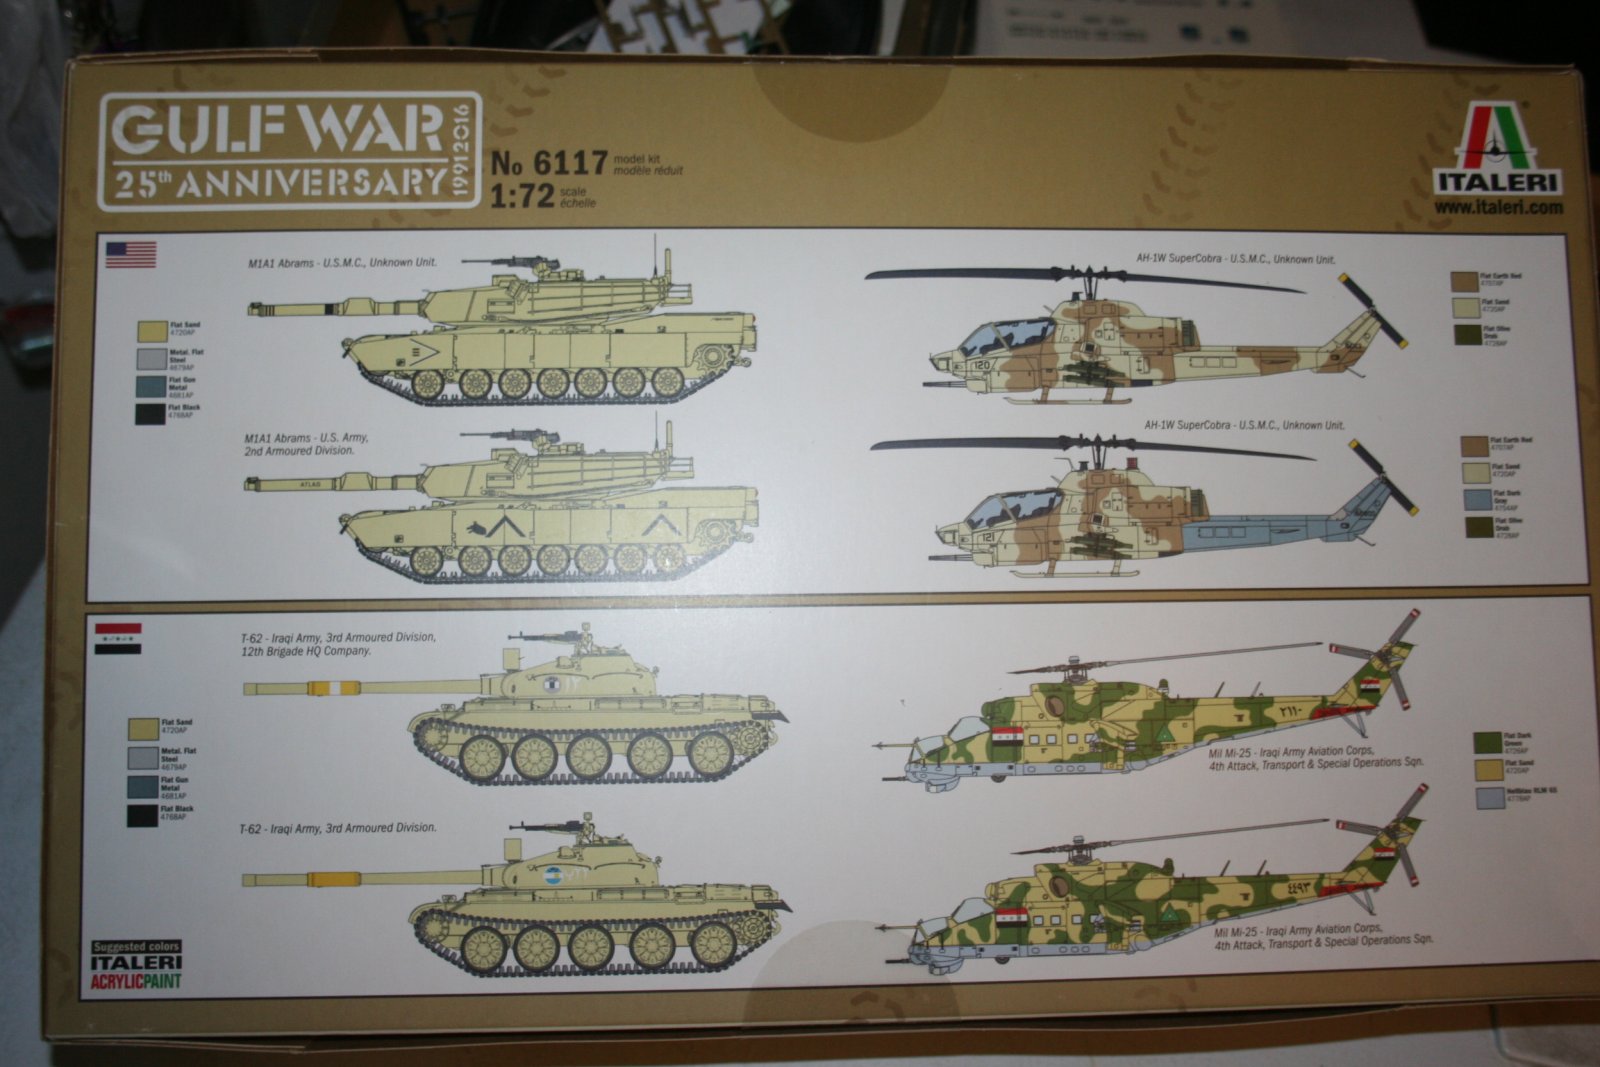
Gulf War Anniversary Box Diorama Set: Part 1 - Iraqi T-62
This is a diorama set which observes the 25th anniversary of the Gulf War. The kit comes with 4 1/72 models; The US AH-1 Cobra, the US M-1A1 Abrams, the Iraqi Mi-25 and an Iraqi T-62.
Because there are 4 models in the set, and we have time limits, the helicopters are built by Mike Hinderliter, and the armor by Jim Pearsall. The review will appear in 4 parts, as each of the 4 kits is finished.
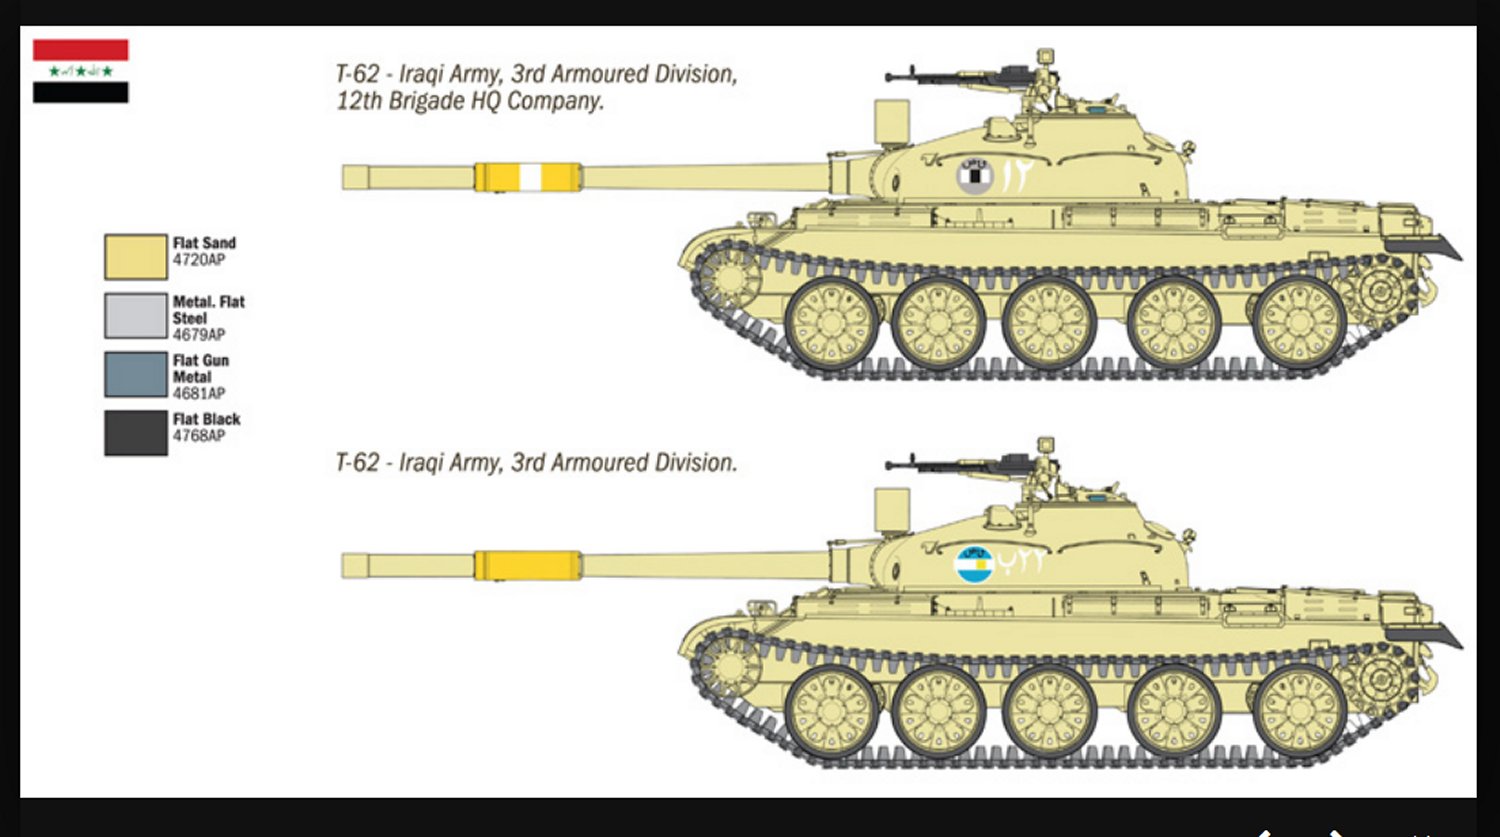
The T-62
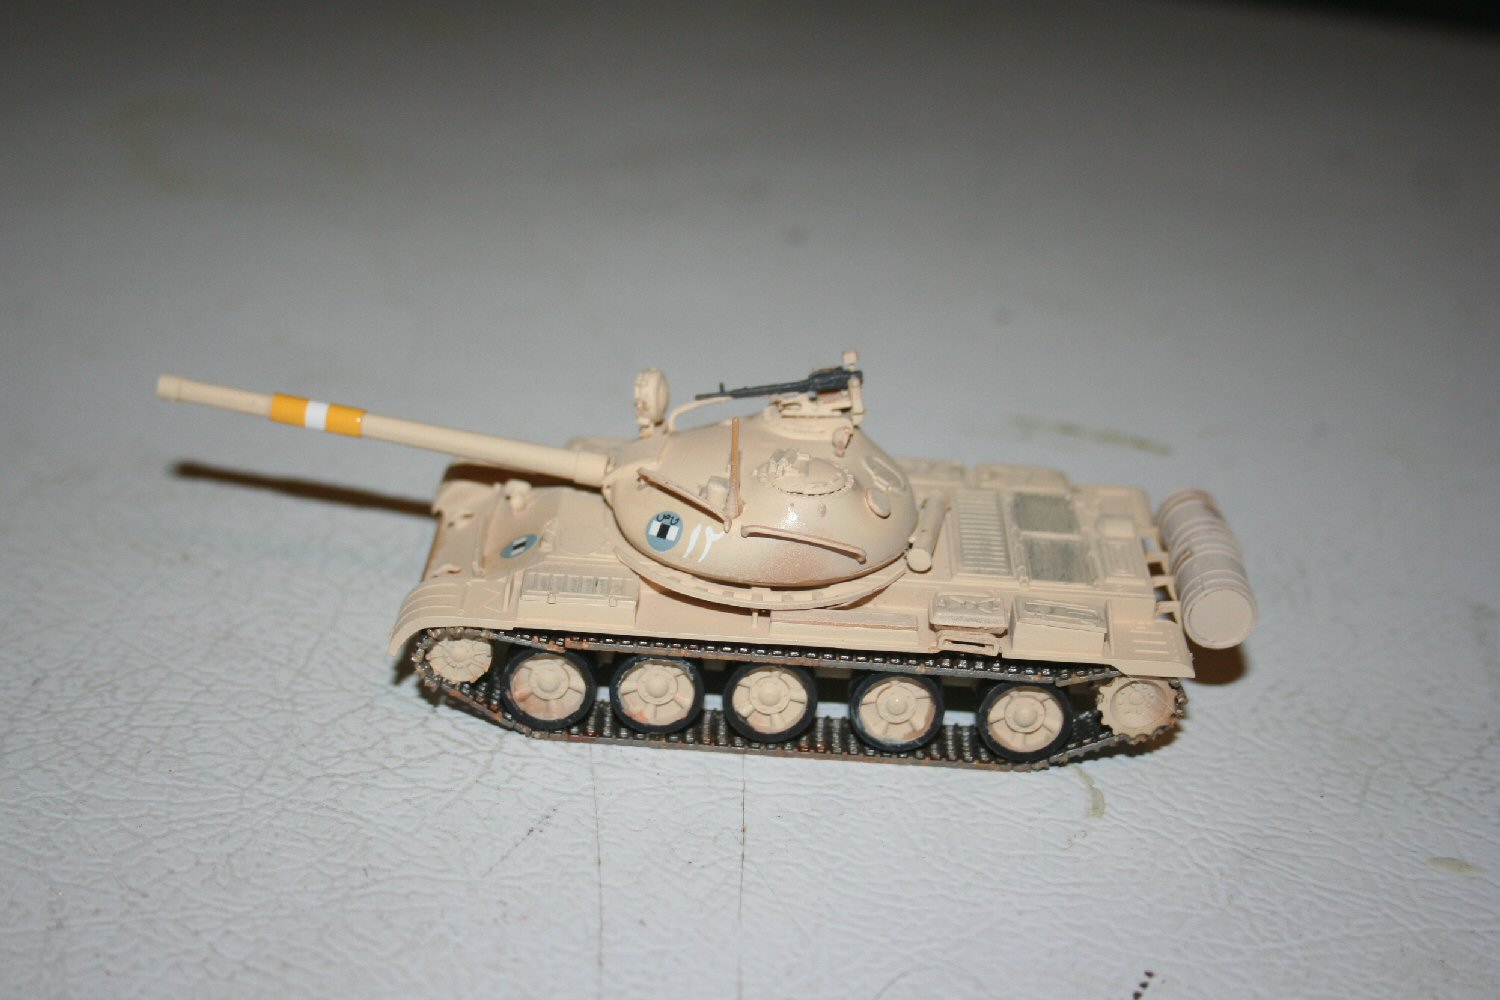
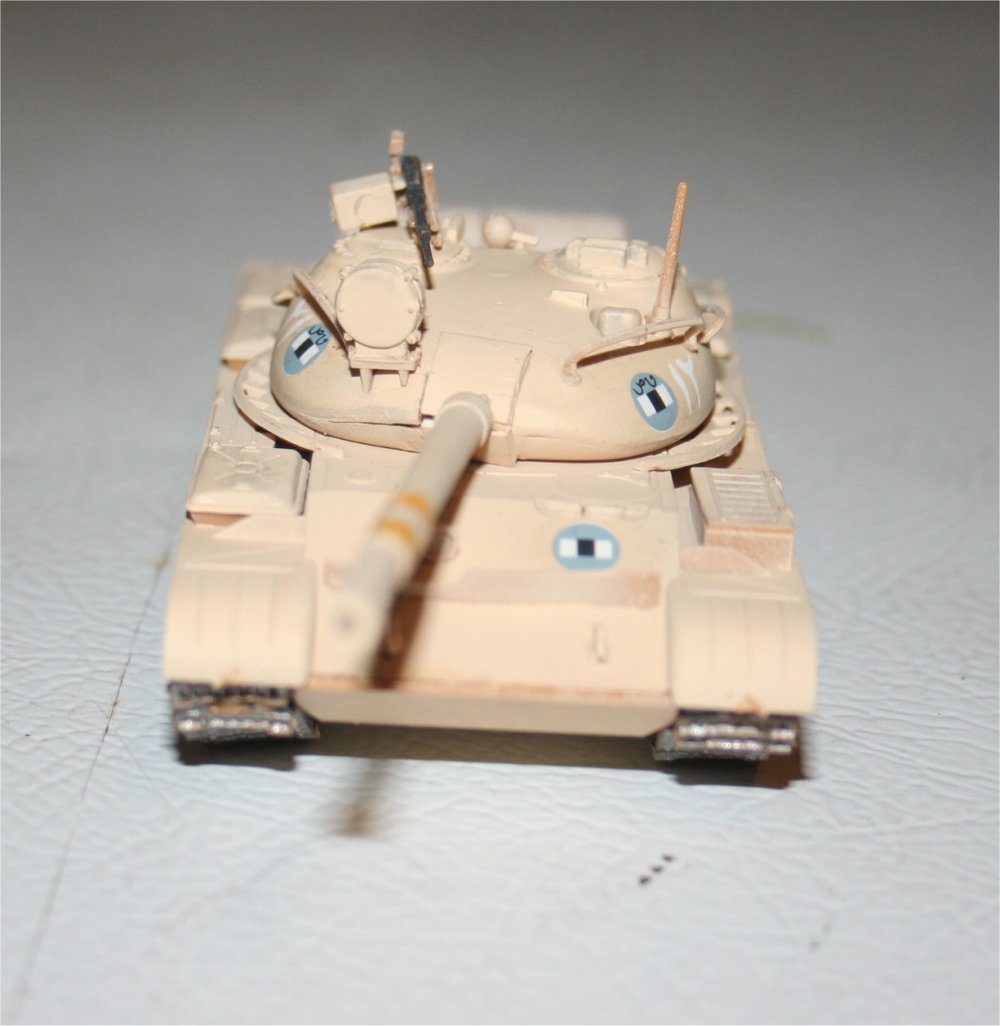
The T-62 is a Main Battle Tank, developed from the T-55. The big improvements of the T-62 were a smoothbore main gun which could fire high velocity armor piercing rounds. Iraq had T-62s in the 1980 Iran-Iraq war, and they were successful against M-60s and Chieftains. But advancements in Coalition equipment, particularly the US M1A1 Abrams put the T-62 at a disadvantage in the 1991-92 Gulf War.
The Kit
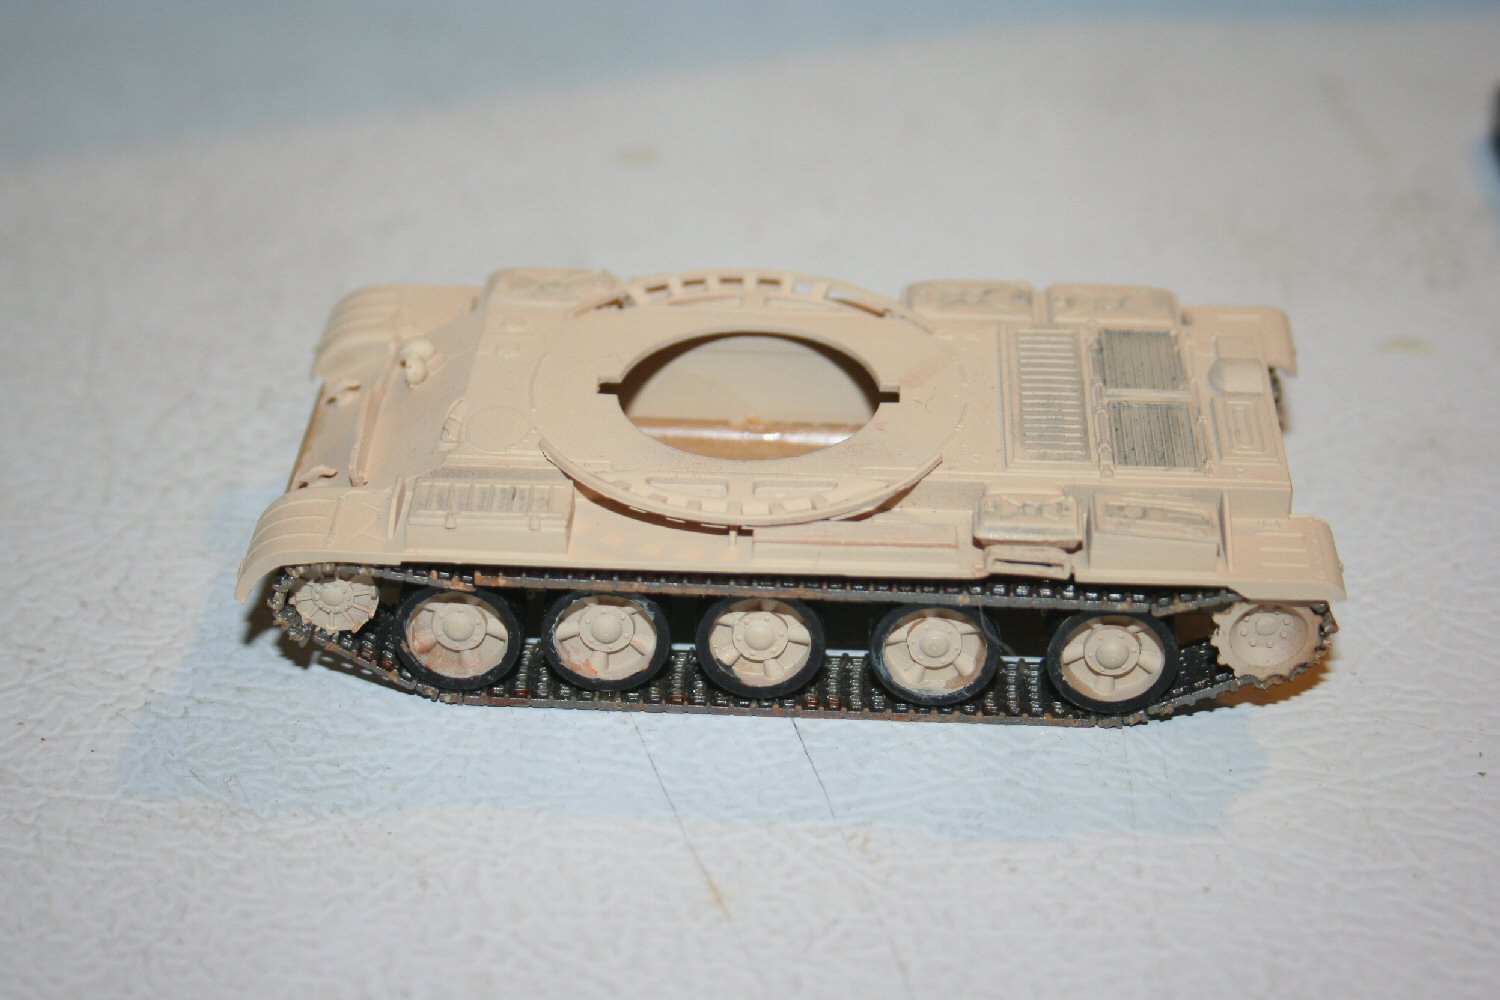
This is a reissue of Italeri’s T-62. The kit is nicely molded, although I did have to deal with a little flash on the treads. There are 3 main assemblies, the lower hull and suspension, the upper hull and the turret. The suspension is link and length, which I find usually produces a very good looking suspension and drive.
Assembly
I started by painting all of the parts sand color. I used Model Master Radome Tan, as I wanted to save the sand color for my M-1A1, and I didn’t want to paint both AFVs the same color. After painting everything, I brush painted the tires flat black. I also painted the tracks steel, and added some rust.
I mounted the painted wheels on the suspension, and added the front and rear sprockets. I didn’t glue the sprockets on, as I wanted the links to line up with the track lengths, so I had to be able to finagle the sprocket positions. I put the lower long lengths on the wheels, then set the required links at each end. I found that liquid glues like Tamiya didn’t hold well enough to allow the parts to line up. I wound up using Testors Liquid thickened with tube glue. I then put on the short lengths between the links and the front sprockets. The lengths weren’t quite long enough to reach, but putting a link on the end fixed that. I then continued the links around the sprockets. I had some problems getting the links to sit correctly on the sprocket. I had to use one more link than the instructions say to get the upper length to fit between the sprocket and the wheel. Then a couple more links to match the short length to the upper long length and work around the angle of the short length. After the upper long length was installed, I put in the required links and length, then put the links around the sprocket.
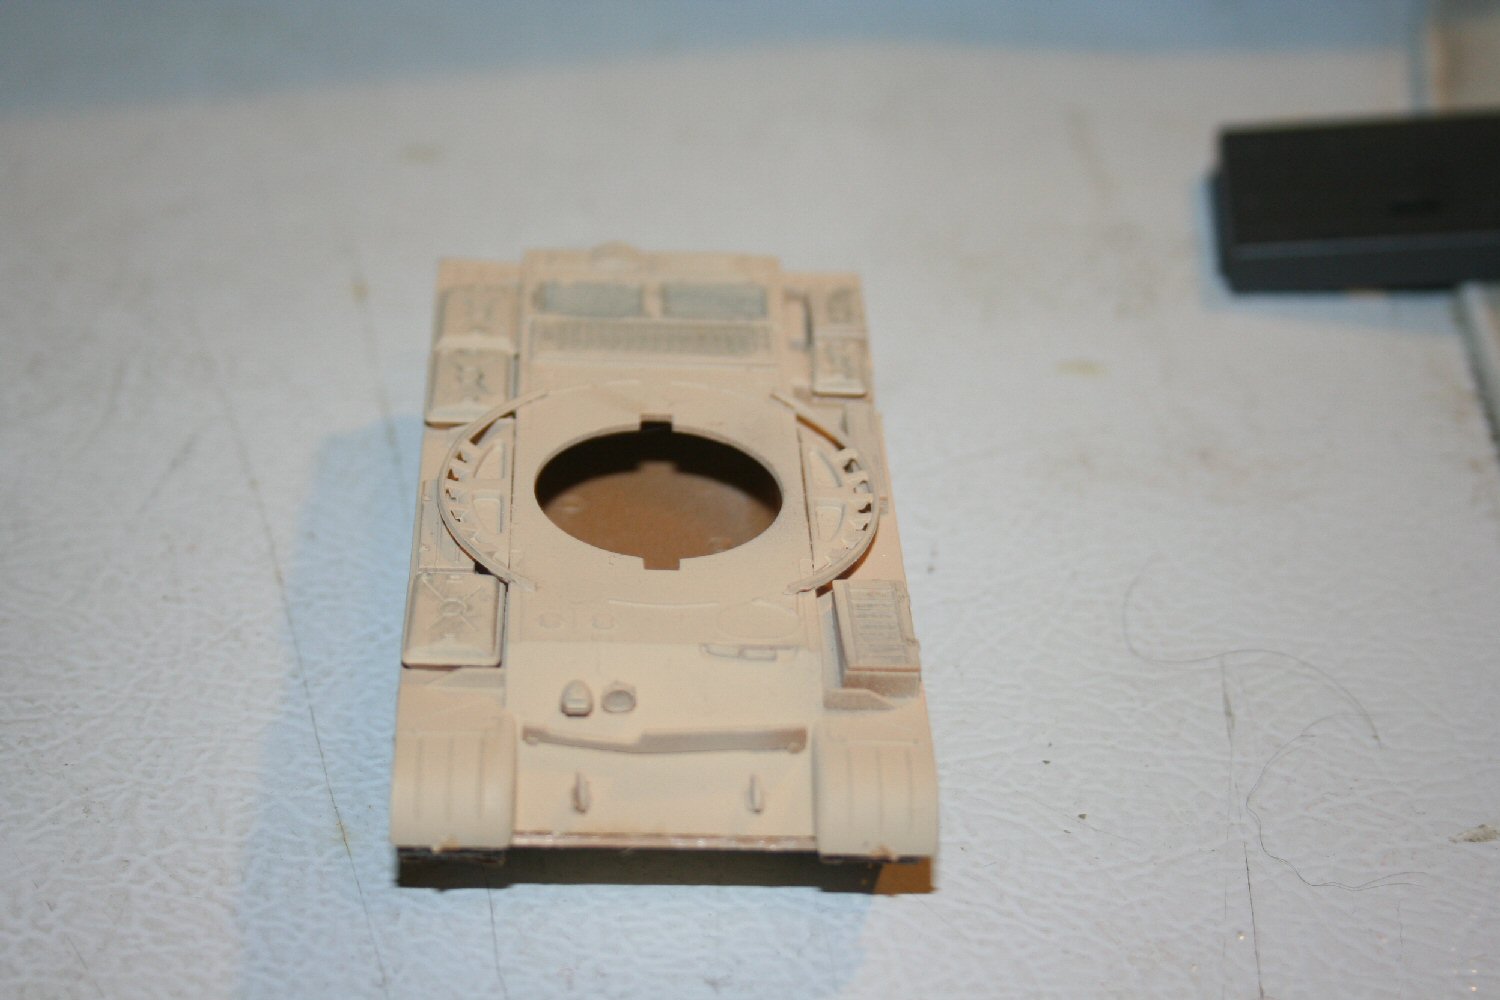
The upper hull required a lot less work, with the tops of the storage bins, the tow hooks and a plate across the front. I left off the fuel tanks until later, as I tend to knock off parts when doing decals.
I mated the suspension and upper hull, and it fit pretty well.
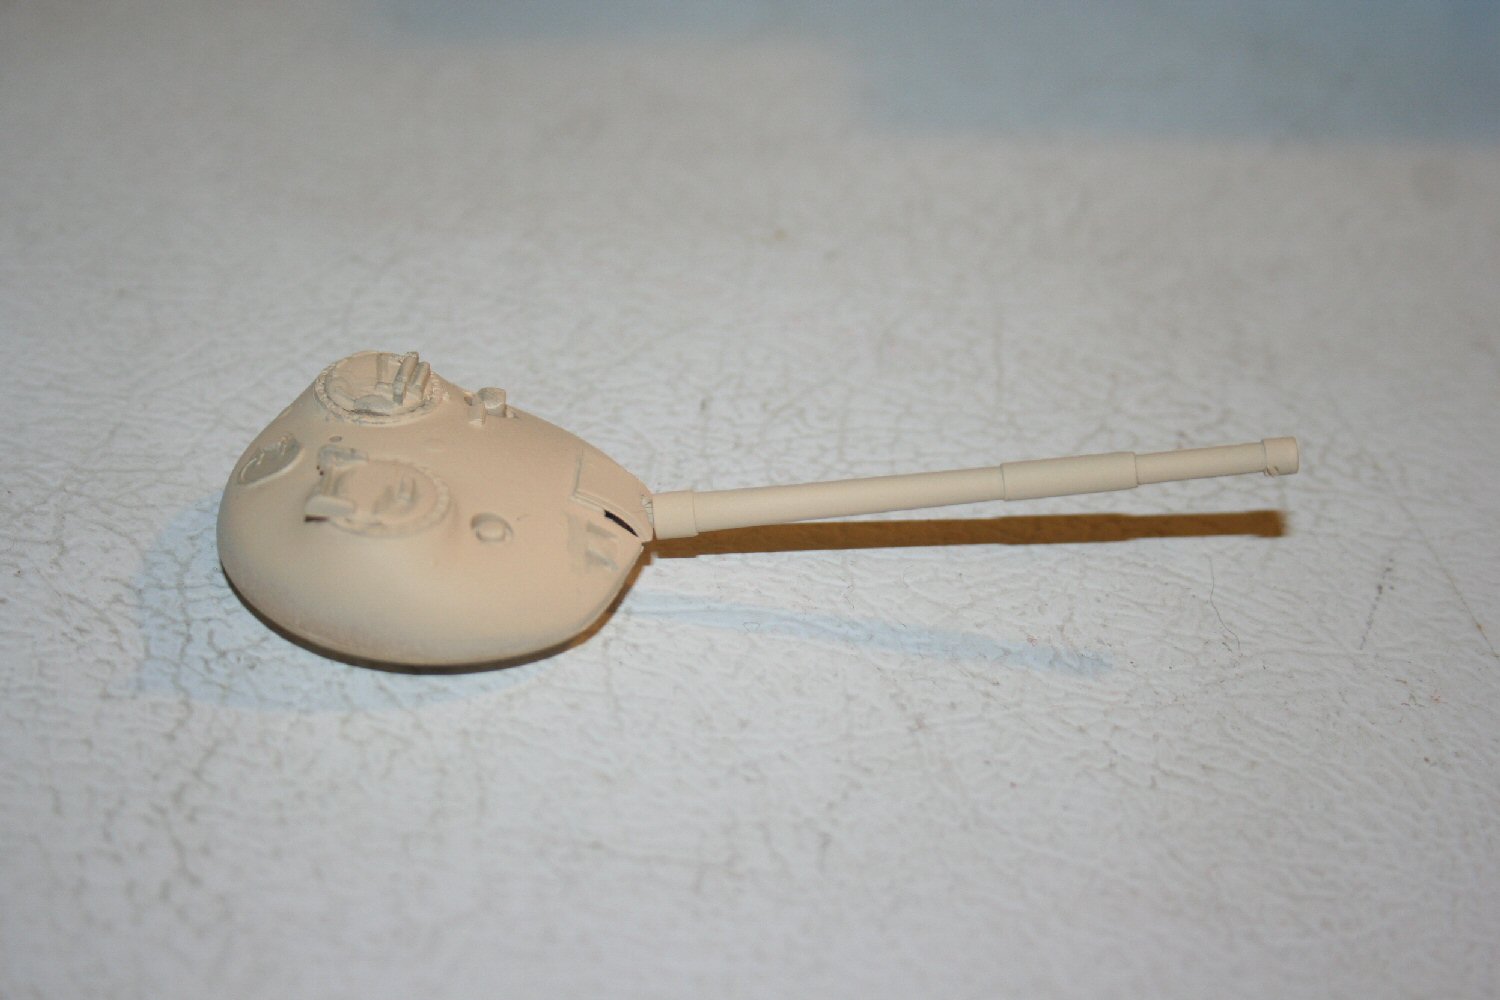
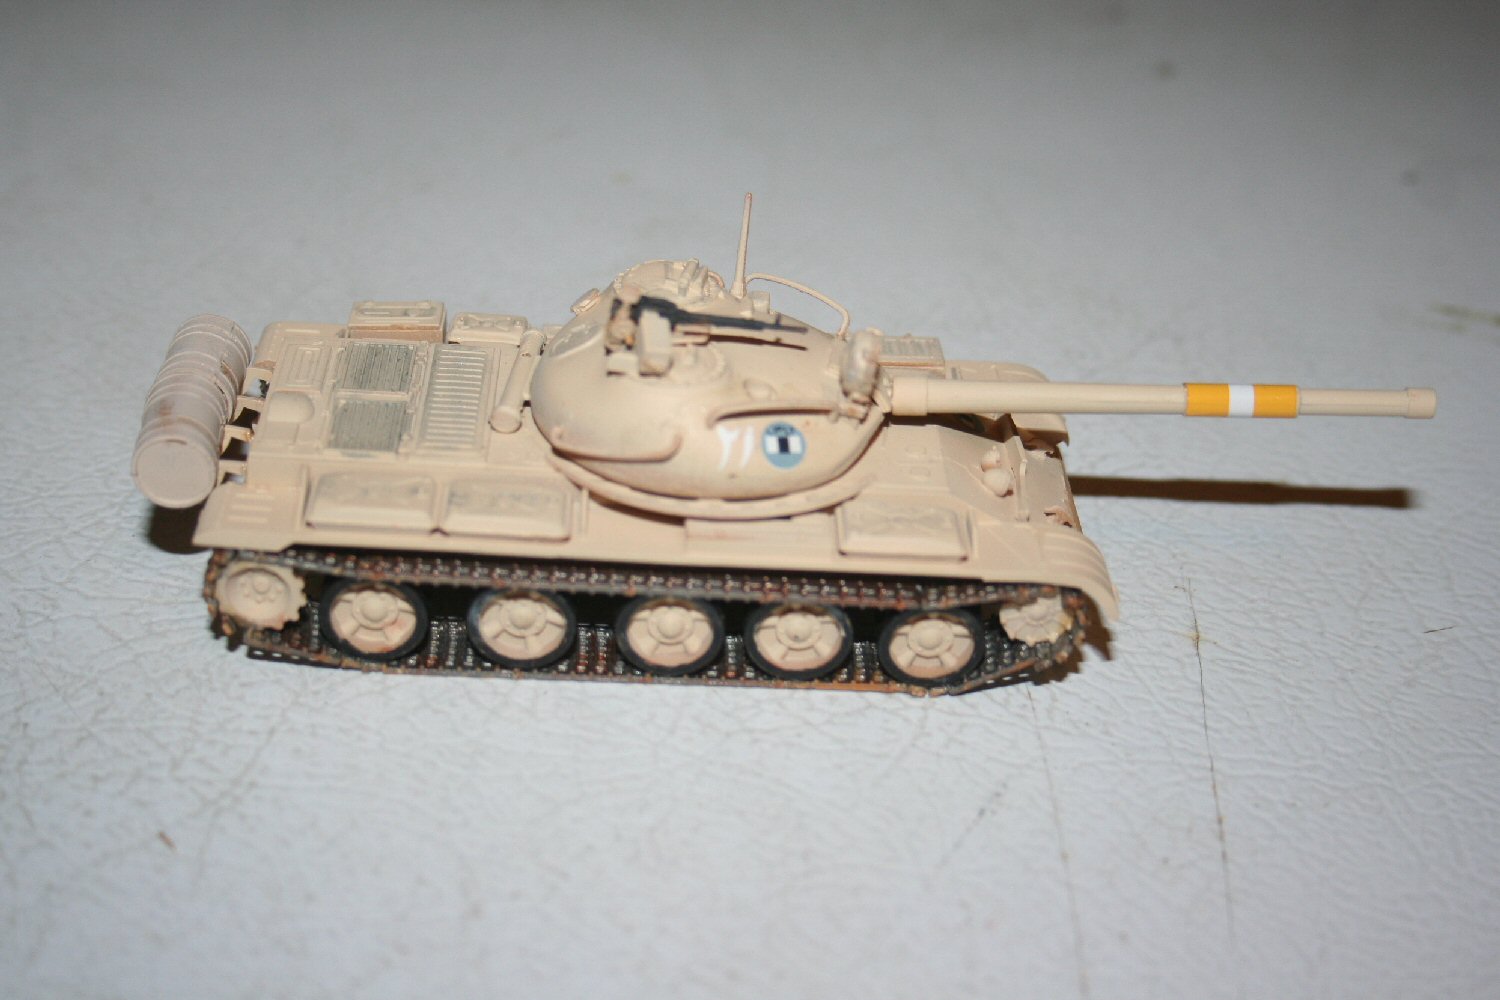
I assembled the turret, the upper and lower parts fit nicely. I put in the main gun mount, but left off the barrel until later. In the photo, it’s just pushed into place, not glued. I added the hatches but left off the hand rails and some other small parts, as I had to put on decals.
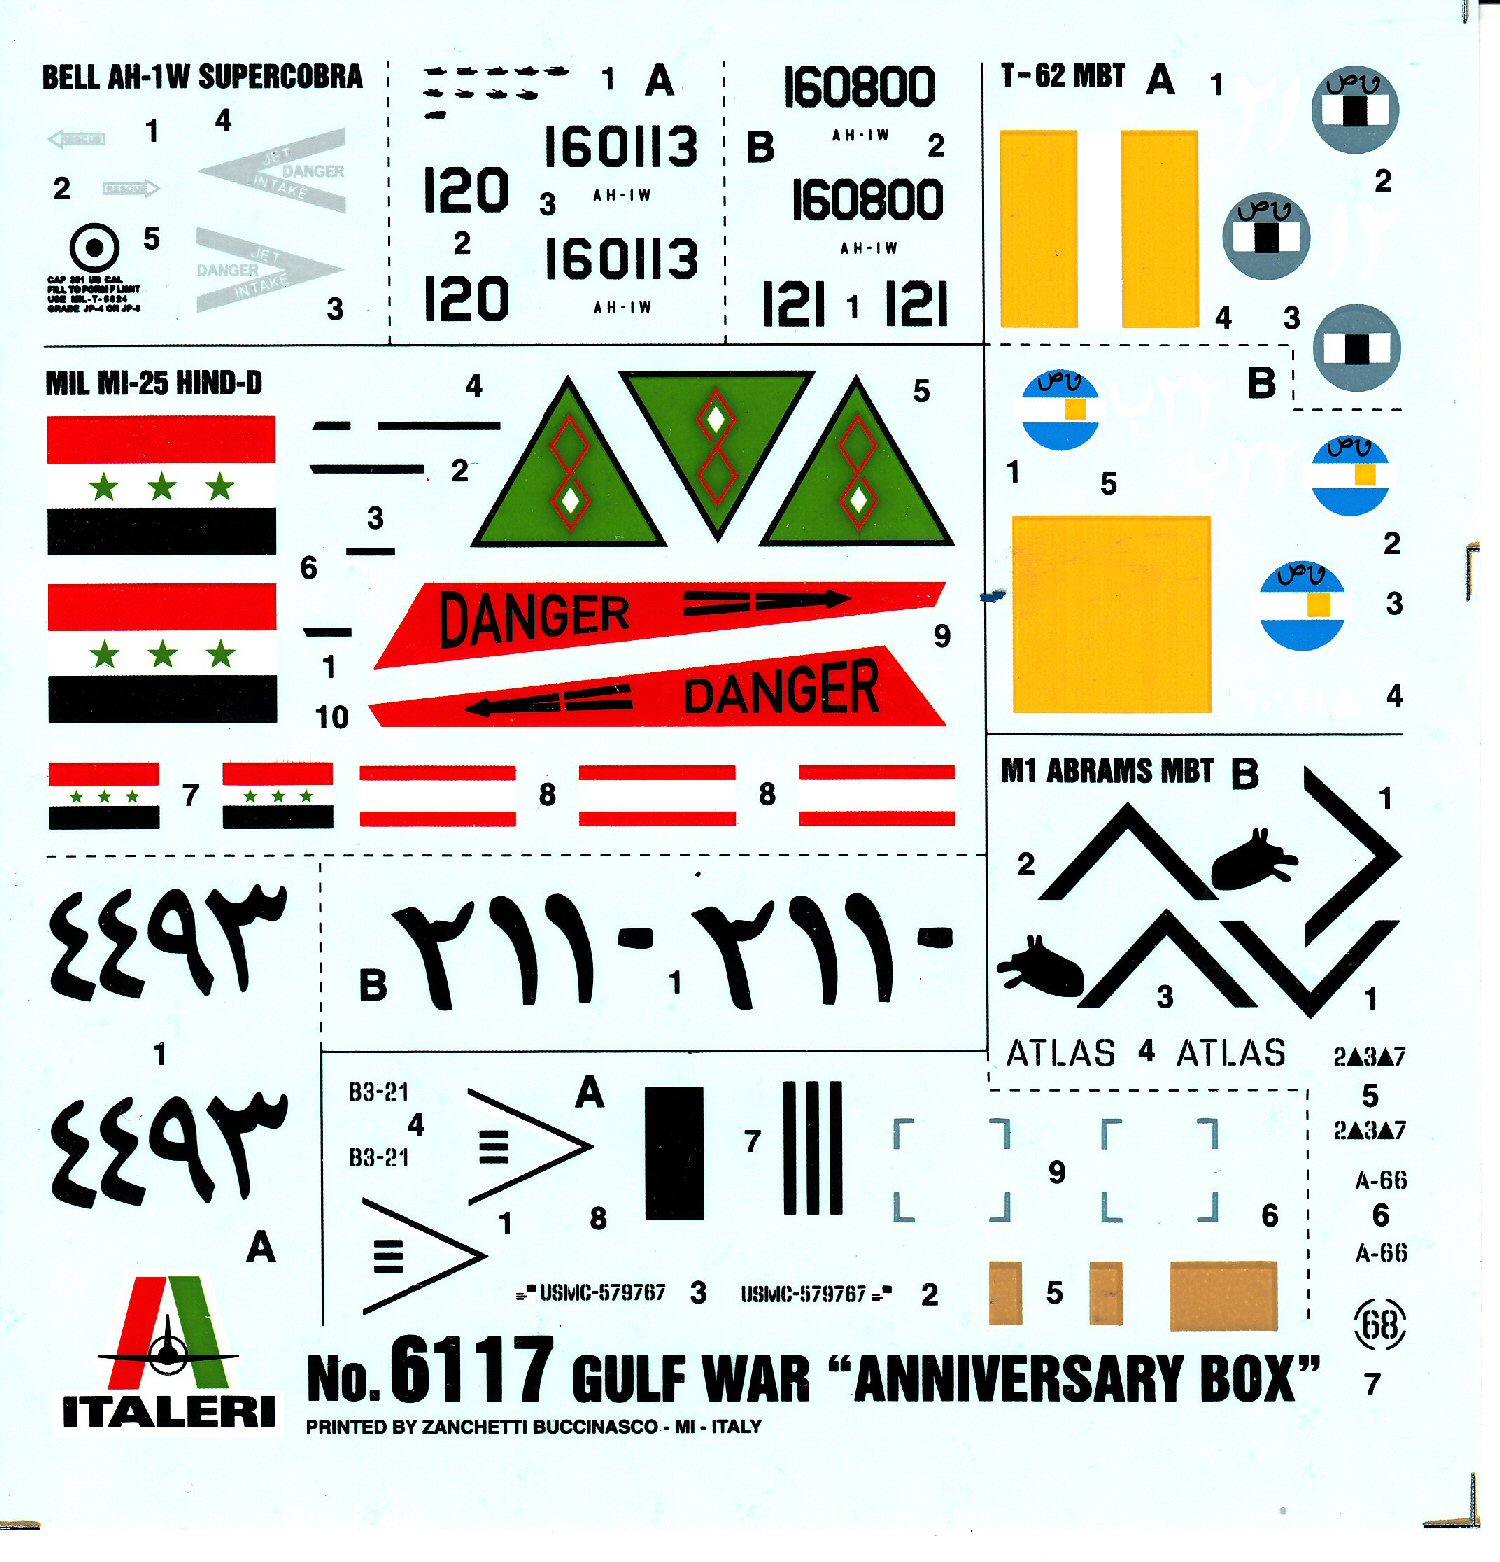
Decals
The decals were pretty good. No registration problems and the instructions were fine. I put a spot of Future where the 4 decals went, 2 on the turret, one on the hull and one on the barrel. After the decals set, I sprayed Testors clear flat acrylic to set them and restore the matt finish.
Finishing Touches
With the decals on, I was ready to put on all of those parts I was likely to knock off when applying decals. The external fuel tanks didn’t want to stay in place on the hull, they kept drooping. I finally figured it out. I put the tanks on and laid the hull on its top on a flat surface. The stayed there just fine until the flue set.
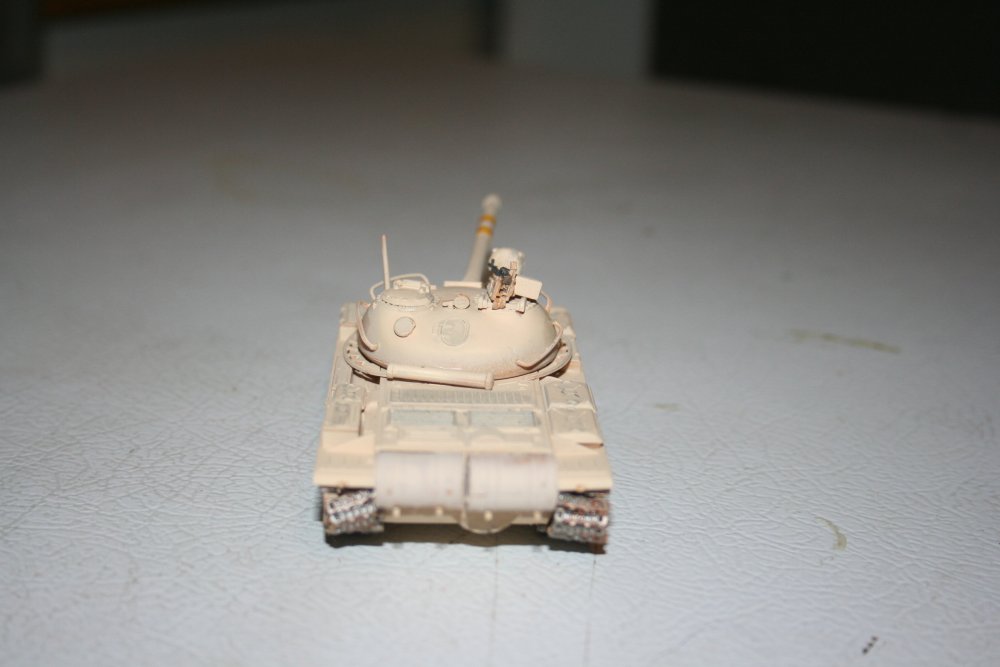
The turret required a lot of fiddly bits. The antenna, the machine gun, the spotlights were installed without too much fuss. The hand rails on the sides of the turret went on OK with CA, but I would have really liked Italeri to put some sort of locating dimple for these, as it was just a guess when putting them in place.
Overall Evaluation
It’s a fairly easy kit to build. I liked doing this kit. The “hundred hour war” is being forgotten (has it REALLY been 25 years?) and it’s nice to have a reminder. There are some inaccuracies in the road wheels and tracks, as the road wheels should have a split and the tracks need a raised piece. But this is Braille scale, and it’s an older (ESCI) kit re-released.
Many thanks to Hobbico and Italeri for the review kit(s) and to IPMS for allowing us to do these reviews.


Comments
Add new comment
This site is protected by reCAPTCHA and the Google Privacy Policy and Terms of Service apply.
Similar Reviews