
Grumman FM-1 Wildcat/Martlet Mk.V
Strictly speaking, the name of this kit is incorrect. Grumman didn’t build the FM-1 – Eastern Aircraft did. Additionally the FAA option in this kit features Normandy Invasion special recognition markings for June 1944, by which time the type had become the Wildcat Mk.V, and not the Martlet.
Such pedantry aside, this is a nicely packaged re-issue of Tamiya’s well-received F4F-4 Wildcat kit of 1994 – was it really that long ago?! – featuring some new parts and some modified parts.
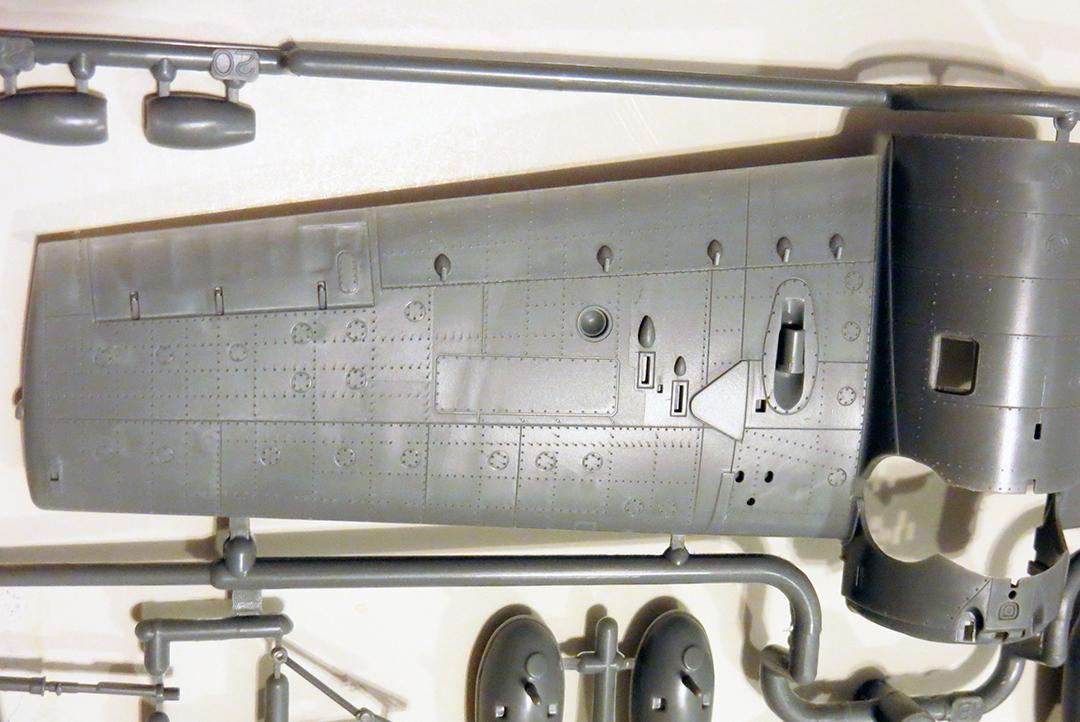
That kit - #61034 – has been reviewed online many times, but the common view is that it is a nicely engineered kit, featuring good detail, and fine recessed panel lines, but with slightly exaggerated raised rivets in places, an incorrect solid cockpit floor, and an incorrect centre fuselage cross-section – round instead of oval. Some also complain about the lack of wing fold. None of that has changed in this re-boxing, but two changes have been made so that the kit more accurately represents an FM-1 – the outer wing guns have been removed, and a new rear-view mirror has been added; along with this is a new seated pilot figure and a nice set of kabuki tape canopy masks.
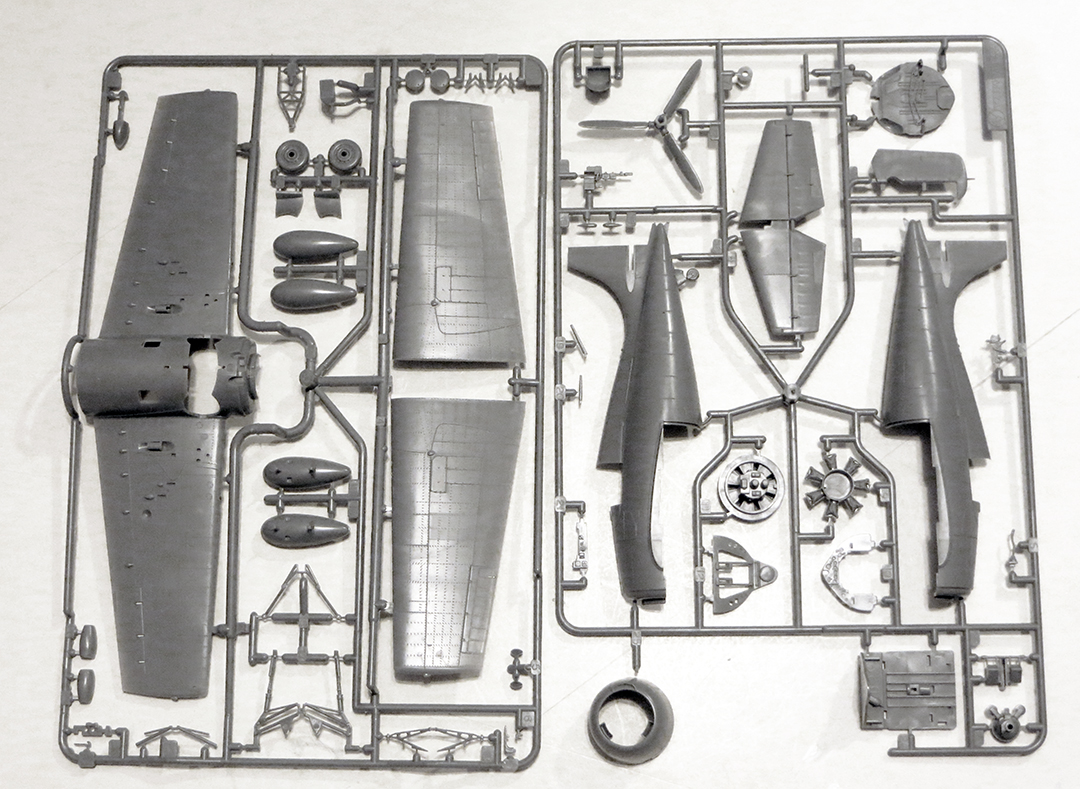
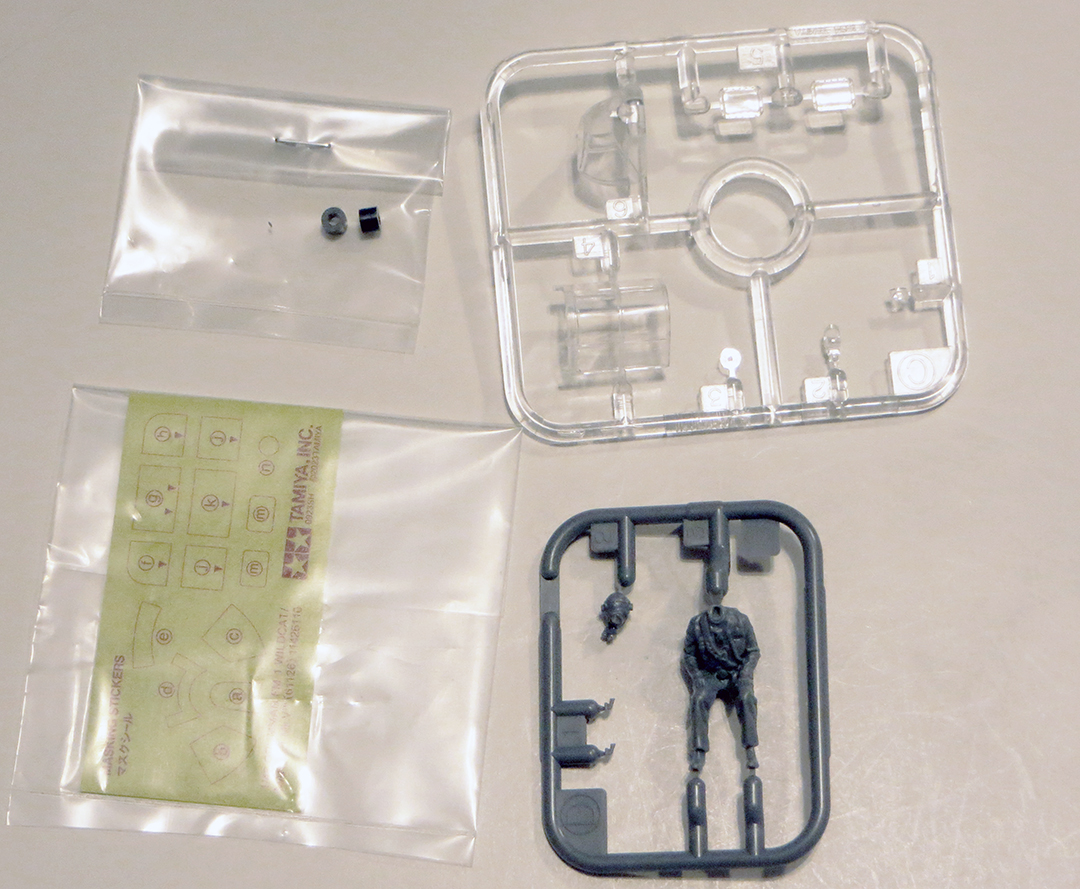
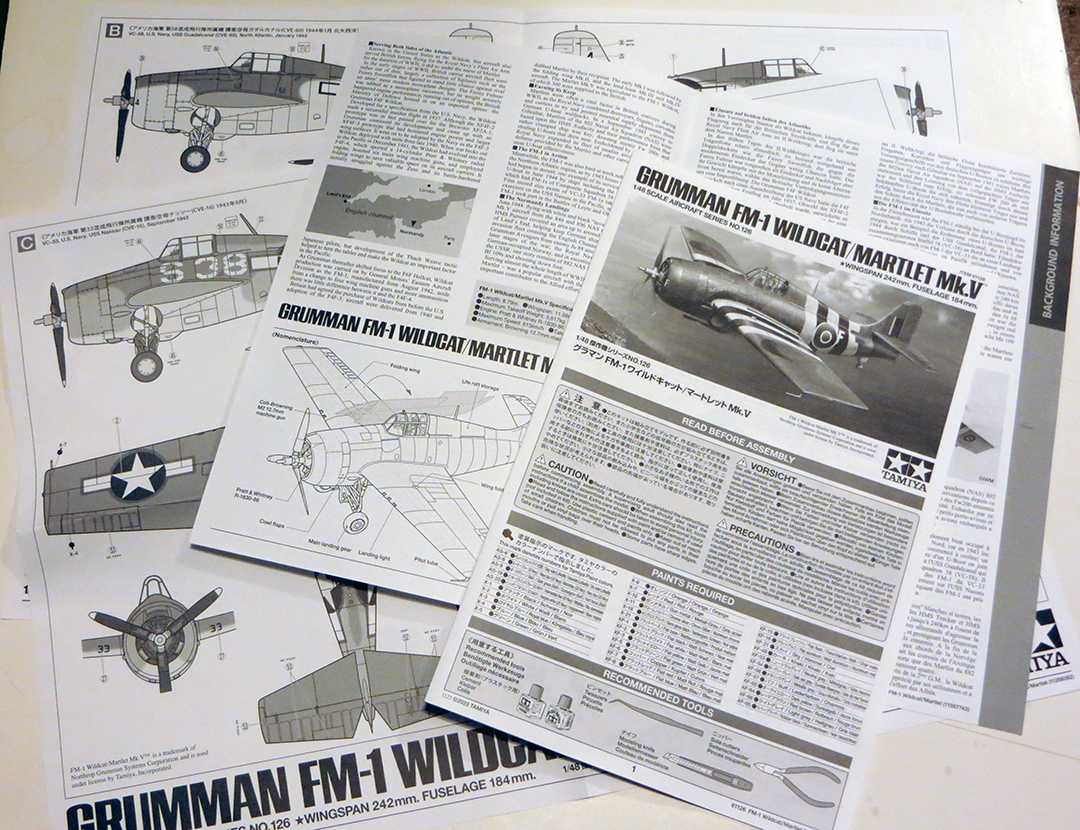
The main kit still comes on two runners, with the new parts a third, small, supplement. A small clear runner contains a separate windscreen and hood along with windows and light covers. The instructions are Tamiya standard, while all three decal options have their own large painting and decal placement diagrams. These options are:
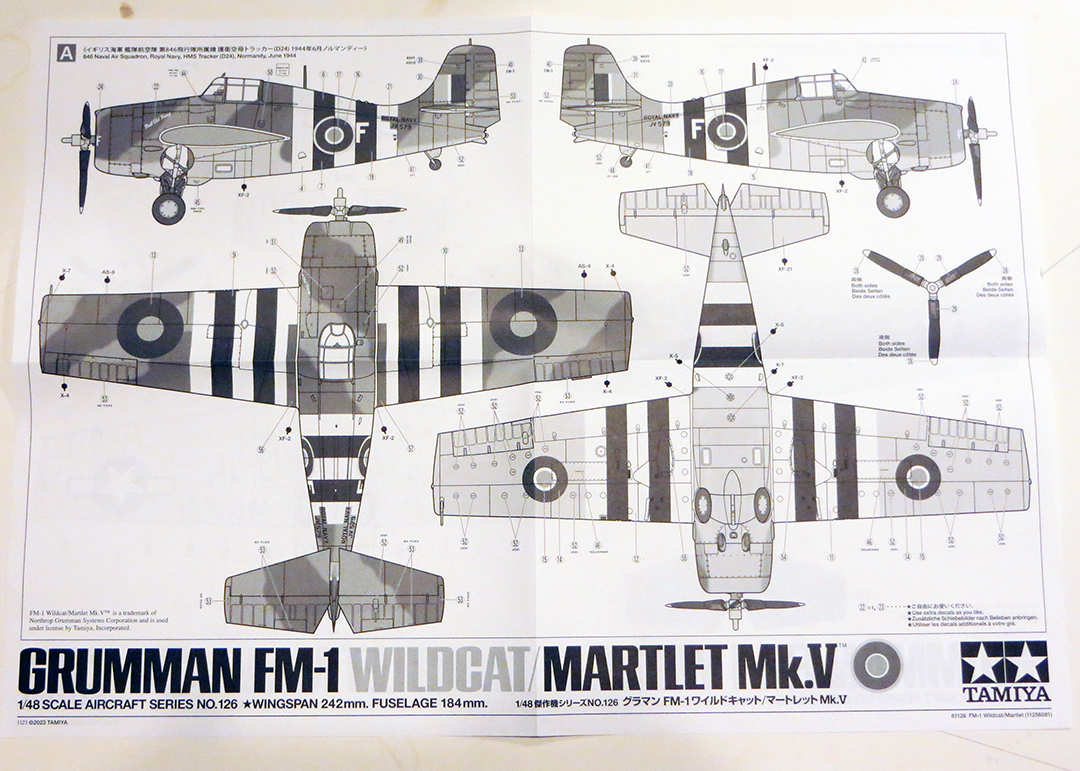
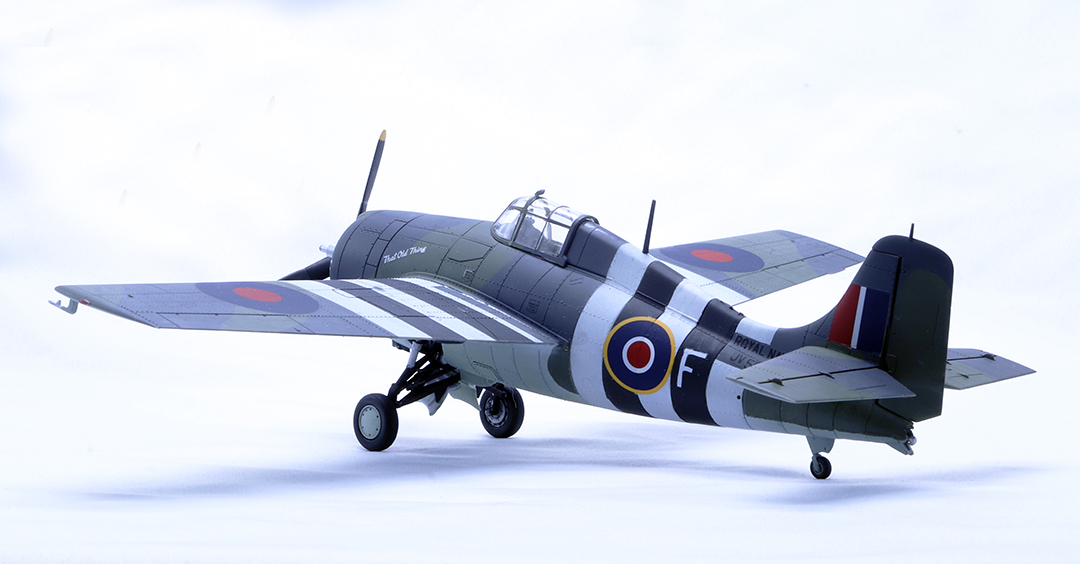
- 846 NAS, Fleet Air Arm, HMS Tracker, Normandy, June 1944
- 58th Mixed Fighter Squadron, U.S. Navy, USS Guadalcanal (CVE-60), North Atlantic, January 1944
- 33rd Mixed Fighter Squadron, U.S. Navy, USS Nassau (CVE-16), California Coast, September 1943
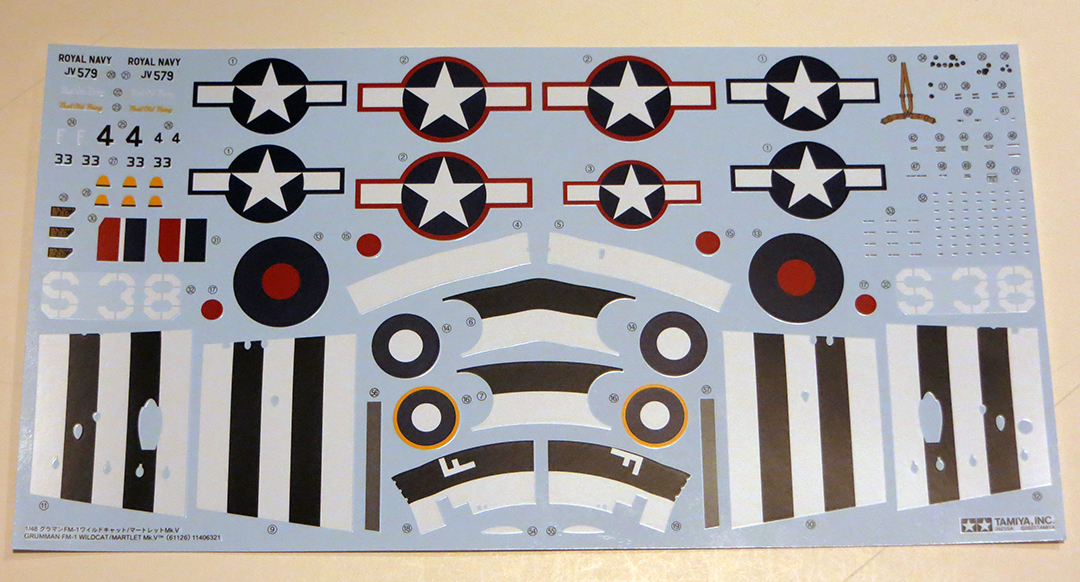
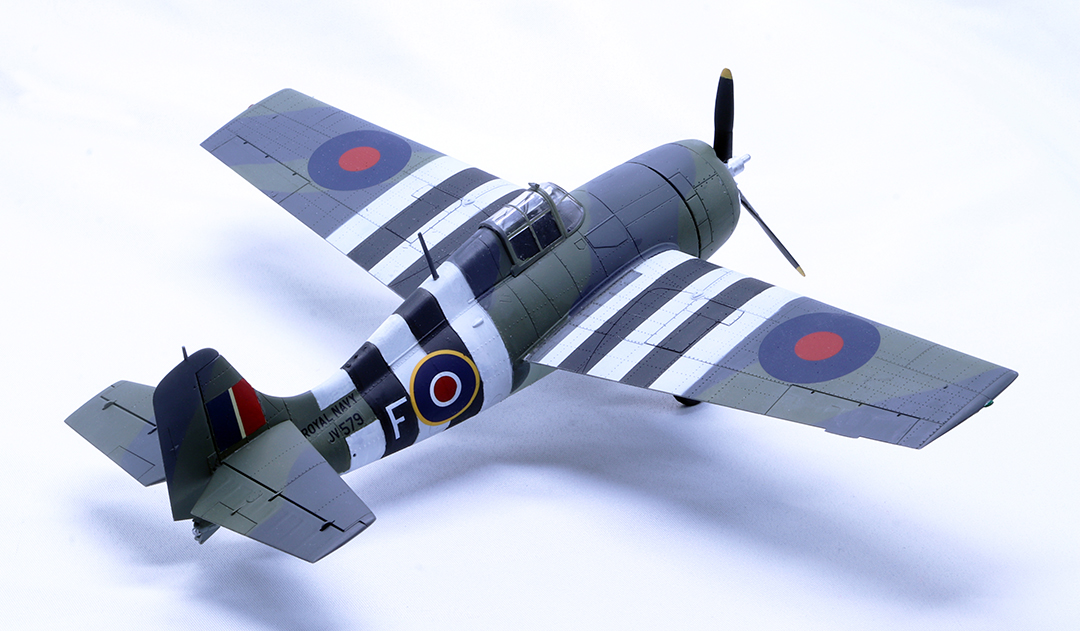
Each option features full national markings and stencilling; the FAA option also features a full set of Normandy Invasion stripes for the wings and fuselage.
And so on to construction, which starts by painting the fuselage interior and then assembling them.
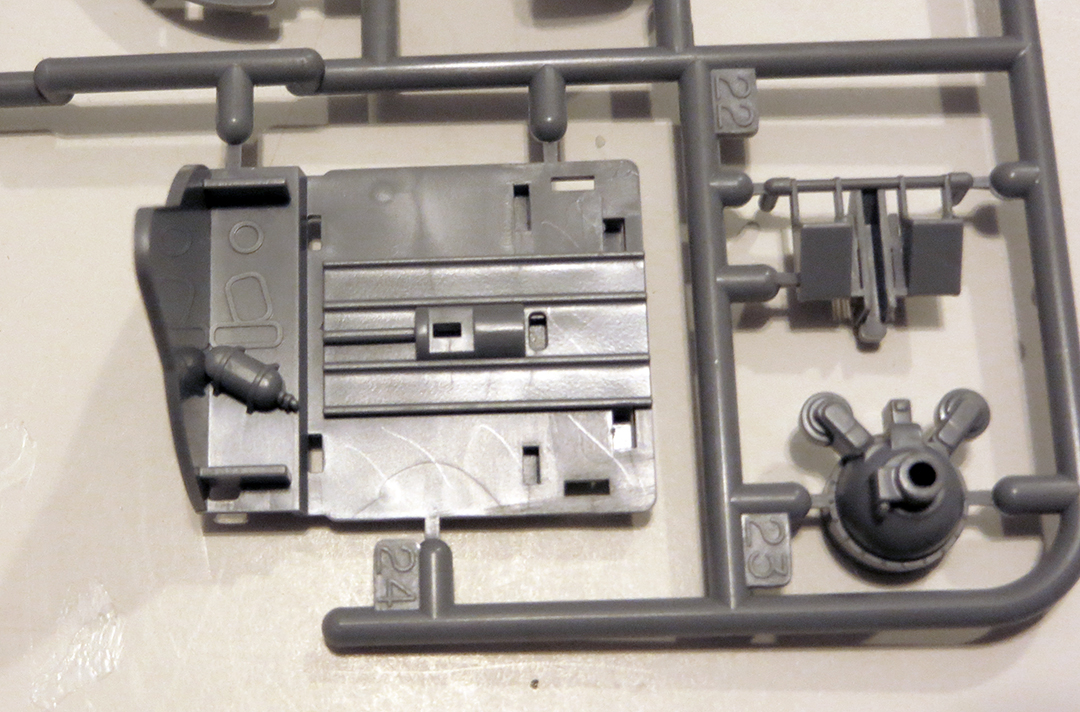
In the cockpit, I first modified the incorrect ‘floor’ by removing parts of the sides using a scalpel and razor saw, then sanding to tidy it up – the work of all of 5 minutes. Yes, perhaps it should not have the error in the first place, but you are a modeller, right?
All parts were painted Interior Green and assembled, with relevant parts picked out in black. The IP has decals to fit over the raised detail, and these are adequate for the purpose. The seat has decal belts to add if desired, or there are aftermarket sets available. The pilot figure was assembled and painted – detail is very nice and it fits the seat perfectly.
To the cockpit assembly is added the engine firewall, to which are added the first two parts of the complicated, but easily assembled, undercarriage mechanism. Next, the wings are constructed; these are notable in that all traces of the outer gun positions of the earlier F4F-4 kit have been removed from the moulds; a slightly under-polished area on each upper and lower wing is all that is noticeable.
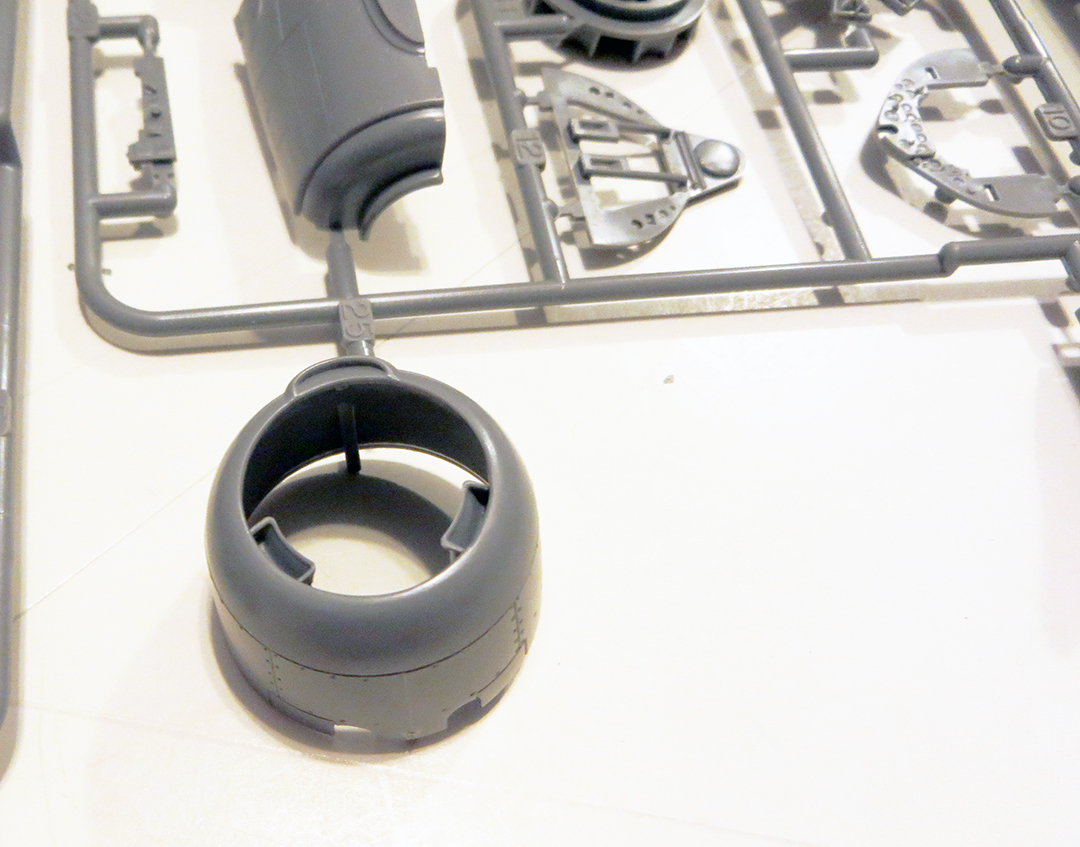
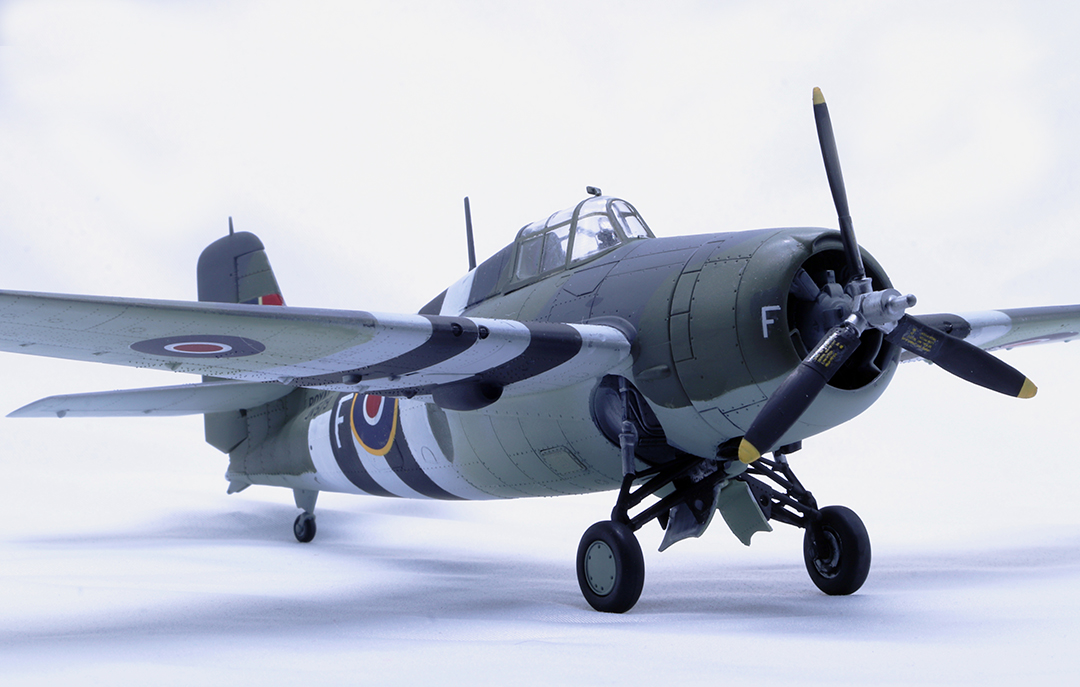
The wings are added to the fuselage, with no real fit issues, then the engine is assembled. This has two rows of cylinders featuring nice cooling fin detail and was painted light black, then dry-brushed with aluminium, followed by a black wash. It looks very effective once enclosed in the cowling. The cowling itself is correct for the Wildcat V, with the correct intakes above and to each side.
Following this, the rest of the undercarriage is built up from four parts and painted mostly black. These fit together really well with little chance of an unbalancing misalignment and fit securely into the fuselage.
Stores are confined to a pair of drop tanks, which I didn’t use, while the propeller is the correct cuffed blade configuration. Incidentally, the tailwheel of the Wildcat could be either a solid rubber wheel or inflatable tyre; only the latter is included, but photos of the featured FAA airframe show it used this type of tyre.
The canopy and windscreen fit really well, and a set of kabuki tape masks is included, though the modeller has to cut them themselves as the outlines of each mask are marked. It’s an easy task though.
Prior to painting, the slightly overscale rivets on certain areas of the airframe were sanded back a bit to reduce their prominence – another simple task for an experienced modeller. The model was washed to remove grease, and then primed with Vallejo grey primer prior to adding the chosen paint scheme; naturally, I opted for the FAA scheme using Vallejo Model Colour and Model Air paints.
Being a conscientious reviewer, I tried using the provided Invasion stripes decals (I would normally mask and airbrush these). However, these are somewhat thick and inflexible and I could not get them to settle nicely over the rivets and bumps of the wings. Getting them to settle over the rivets and bumps and curves of the fuselage was going to be a trial, so I reluctantly gave up, removed the recalcitrant wing decals, and reverted to my usual mask and paint routine. Cleverer modellers than I will no doubt have success with these decals. YMMV…
The rest of the decals were OK, but I had issues with one of the tail fin flashes which had to be replaced, and as the individual aircraft codes on the rear fuselage were incorporated into the stripe decals, I had to source those from my spares box.
Once complete, the model was given a dark grey wash. I elected to paint the pilot figure but not use him; detail is very nice for the scale and he painted up really well; he would make a useful addition to a diorama setting.
Overall, this is a nice package with worthwhile changes and additions to create a proper FAA Wildcat V; the kit builds up well, and looks good on the display shelf. However, the known and uncorrected accuracy issues with the base kit may be off-putting to some, especially as we now have the very nice HobbyBoss and excellent Eduard Wildcat kits available at around the same price point if one wishes to make a generic FAA Wildcat. Nevertheless, I feel this kit can be recommended. My thanks go to Tamiya USA for supplying the review sample.


Comments
Add new comment
This site is protected by reCAPTCHA and the Google Privacy Policy and Terms of Service apply.
Similar Reviews