
Gloster Sea Gladiator Mk.II
The siege of Malta – a small island in the Mediterranean Sea – held by the British from 1940 to 1942 against the combined might of the German and Italian air and sea forces is one of the more memorable stories from World War 2. Directly on the route from Europe to North Africa, it was a thorn in the side of the Axis supply line to their forces duking it out for control of Libya and Algeria. They decided to reduce the island and its garrison as a threat, and Malta became the most bombed area of land in the entire war. Only a few fighters were on the island during the early months of the siege, and they were the already-obsolete Sea Gladiators of the Royal Navy. Totaling six in all, three of them became famous in military lore as “Faith, Hope and Charity”, fighting off incessant bombing by the Italian and German air forces and earning themselves a place in history.
ICM now tops off their 1/32nd scale Gloster Gladiator series with the pugnacious Sea Gladiator. This boxing includes all the parts to make both the standard Mk. I and Mk. II Gladiators, along with a small sprue containing the arrestor hook housing insert for the fuselage, the arrestor hook itself, and a dingy stowage underbelly compartment. Four sets of markings are provided, although only one of them is for a Malta defender. As with the other releases, all control surfaces are separate, and it includes the option of exposing the engine for display.
As always, construction begins with the interior, and as before, the fuselage guns are included in their entirety although they lack ammunition channels. As they are virtually invisible upon completion, this doesn’t really pose a problem. In common with all releases, there is a noticeable pin mark in the middle of the seat back that really needs to be filled in before adding aftermarket seat belts. The decal sheet provides all instrument faces for the control panel as separate items, and although I normally prefer to hand paint these details, the decals were so good I couldn’t pass them up.
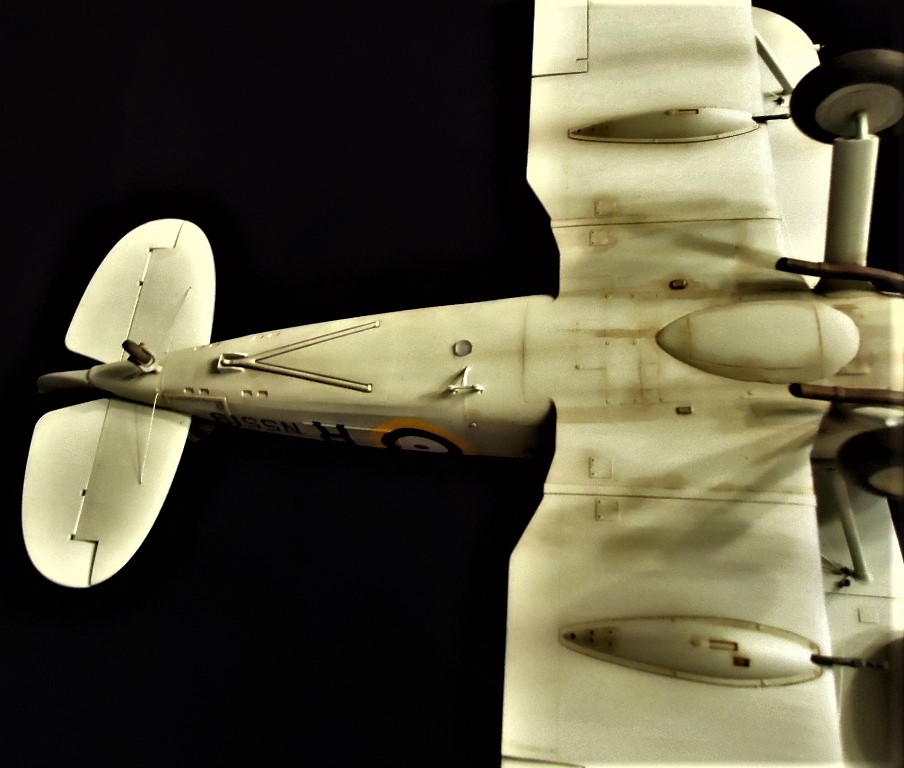
Once the interior is complete, the fuselage goes together very quickly – just be sure to use the correct insert for the arrestor hook on the bottom. The dingy compartment was apparently not always used, but I added mine to my build just to make the model a bit more distinct from the other variants. I would recommend not installing the gun sight bracket until other work is completed, as it is quite fragile. The wings and tail fall together nicely and require only a bit of cleanup for installation. Depending on how you prefer to rig biplanes, you may choose to leave the upper wing off until later in the build. To simplify painting, I elected to install all the struts on the top wing, and then fit the wing and struts to the rest of the model after basic painting. Step 46 features the oil cooler intake, and it really should be drilled out for accuracy as it is quite visible on completion.
The engine is a detailed build, but you have to be cautious about what parts to use depending on whether you intend to fully enclose or expose the engine, or just open a panel or two. The exhausts install either on small stubs meant for an open cowl, or on the cowl parts themselves. In addition, you only install the piston caps on exposed cylinders, so some careful planning is useful to finish this part of the model off as intended.
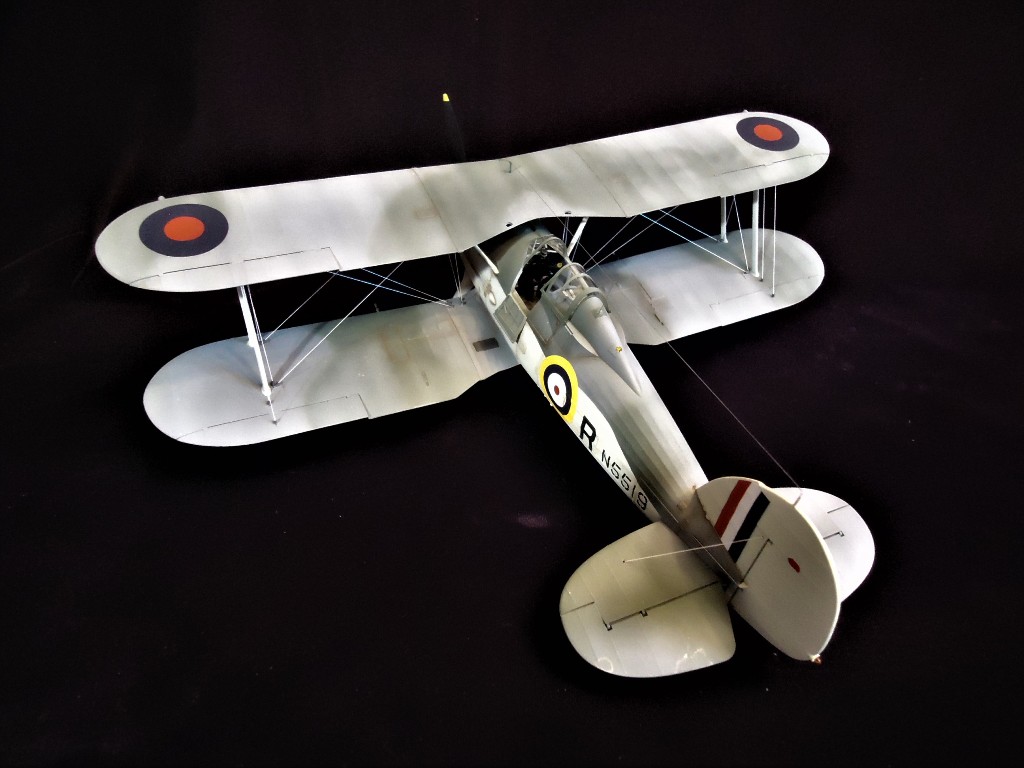
Rigging is where some modelers really sweat, and the options for doing this are up to the individual. Personally, I drilled holes in the wings for all the rigging and used metallic thread and tensioners made from tiny bits of wire jacket. I’m sure there are more accurate ways to perform this task, but I like the ease and durability that comes from this simple technique. Like I said, the choice is all yours.
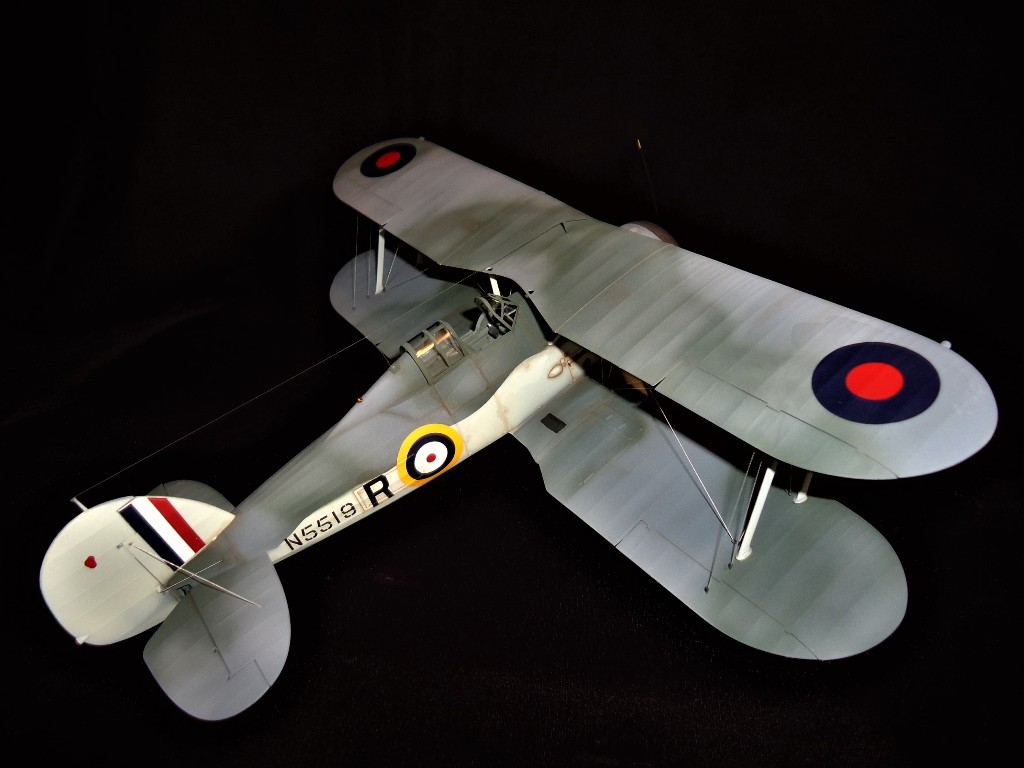
As stated before, there are four marking choices provided with the kit, although they are more or less similar as the British were sticklers for standardization. The decals, however, are outstanding in every way – well printed, colorful and adhering extremely well to uneven surfaces. My only beef is that the sheet provides a host of technical marks suitable to this aircraft, but there is literally no information provided on their use or application. I wish they’d correct this oversight, as I really would have liked to have added them to my model.
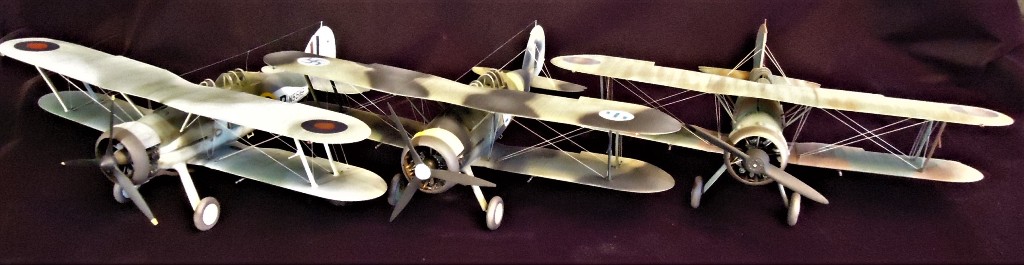
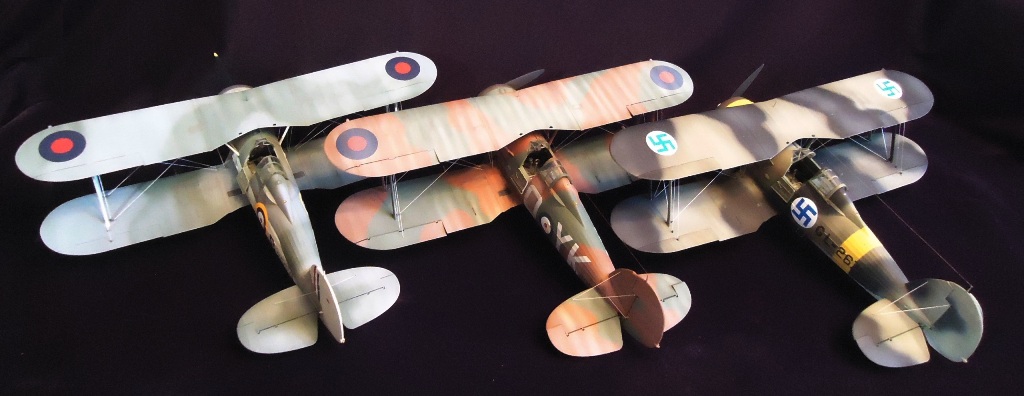
All in all, this is an excellent addition to the Gloster Gladiator stable from ICM. It finally permits me to add one of these gallant Malta defenders to my collection and looks wonderful next to my other Gladiators. I cannot recommend this kit highly enough for anyone interested in this fascinating story and aircraft. Well done again, ICM!
As always, my thanks to ICM for making such a wonderful kit, and to IPMS/USA for the chance to complete my line of these tough little biplanes. Stay safe, everyone, and happy modeling!


Comments
Add new comment
This site is protected by reCAPTCHA and the Google Privacy Policy and Terms of Service apply.
Similar Reviews