
Gloster Gladiator Mk. 2
The Gloster Gladiator was one of the last biplane fighter aircraft to serve during World War 2, and despite its obvious obsolescence, served for the British air service surprisingly well on a number of fronts. It made a name for itself in the early middle eastern desert war, and went on to serve in Greece and even further with a number of foreign air services.
I recently built and reviewed ICM’s excellent Gloster Gladiator Mark 1, so I will mostly be pointing out the differences between the two kits. The most noticeable is the new three-blade propeller replacing the rather clunky two-blade unit of the Mark 1. Other differences are more subtle, including a new control panel and front windshield. Only a small additional sprue is included to offer these differences, and you still have all the Mark 1 pieces if you prefer to go in this direction.
ICM's Gloster Gladiator Mk. II comes on a sturdy side-opening box with separate lid and features a somewhat soft gray styrene as well as clear parts. No photoetch is included, but the decal sheet offers three options, all in British service.
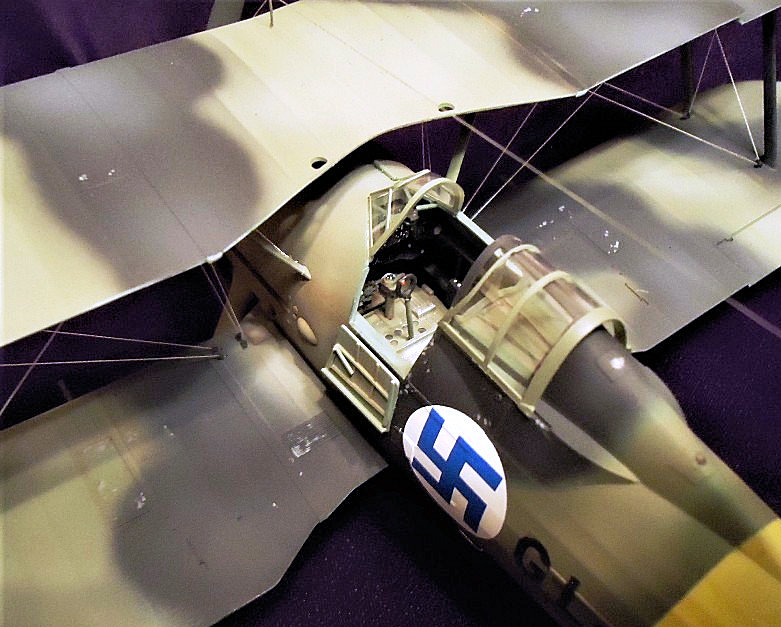
As with the first release, assembly begins with the cockpit area which includes the fuselage guns and a detailed birdcage-type assemble for the interior. As already mentioned, there is a new two-part control panel included, but otherwise the interior remains the same. The seat, as with all the ICM aircraft kits I’ve assembled so far, comes without seat belts so you’ll be required to find or scratch a set yourself. There is also still a large mold mark on the seat back that should be filled and sanded as it is quite visible. As you close up the fuselage they show installing the gun sight bracket, but I would hold off on that as it is quite fragile and can easily break off during rigging.
Once the fuselage is completed, you fix the tail and the lower wing into position. For the purposes of rigging, I studied the excellent rigging notes further into the instructions and drilled holes appropriate for feeding lines through both the top and bottom wings. Attaching the landing gear still gives you a weak joint at the bottom of each leg, but I resolved this problem more effectively than last time by gluing the inside brake disks to the legs sans wheels, which I then attached later. This prevented the torquing I performed the last time in an attempt to get each wheel to sit with the sanded flat side down.
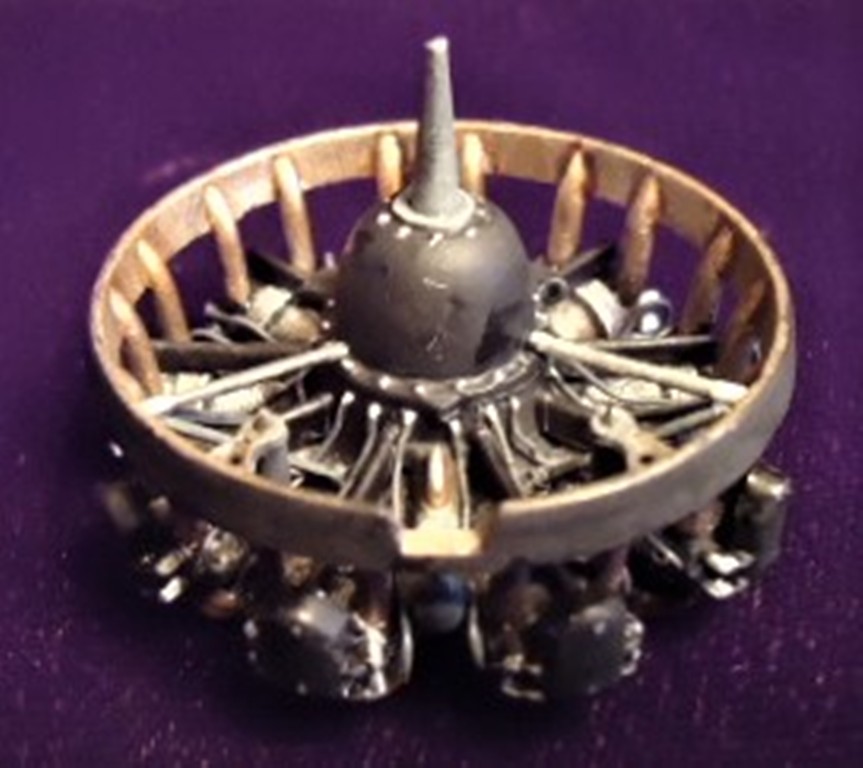
You’re then required to assemble the excellent engine, and this time I decided to display it more prominently than in my first build, so detailed it out with wire. Again, you need to be especially careful in building both the shroud and exhausts, as there are two variants of shrouds AND variants of exhaust mounts. Study this stage carefully before committing to glue. The separate cylinder caps are only if you are not using the full shroud, but I wanted to display at least a portion of mine, so glued them all on with the exception of those that went under the top shroud section.
At this time you can begin some of the major painting, and I found it easier to paint the upper wing separately from the rest of the model to avoid overspray later.
Of course, there are a number of ways to rig a model like this, and I elected to do the through-wing thread approach as it offered the best strength with the least likelihood of grief from my fat fingers. Like the first build, it required a little additional patience to thread through both halves of each wing, but the final result was more than satisfactory.
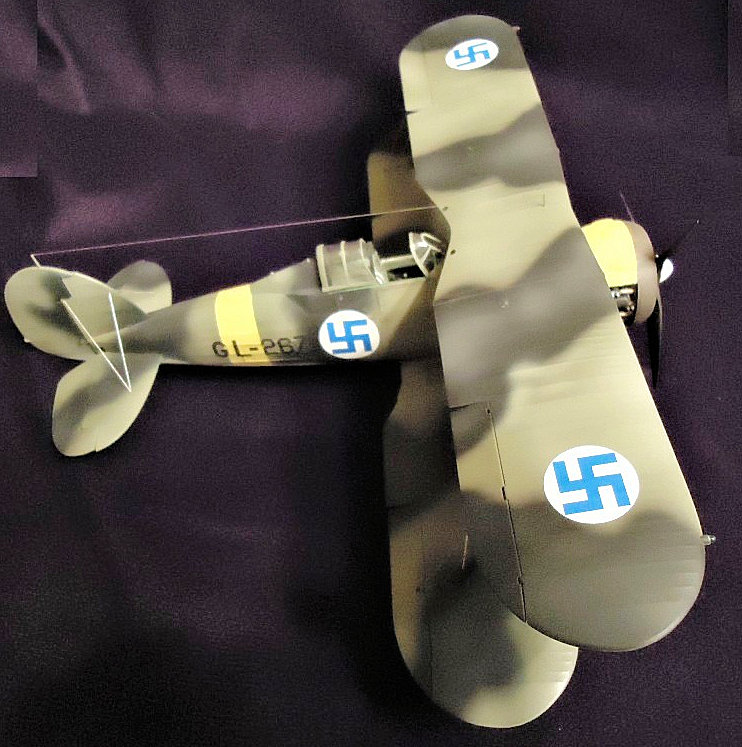
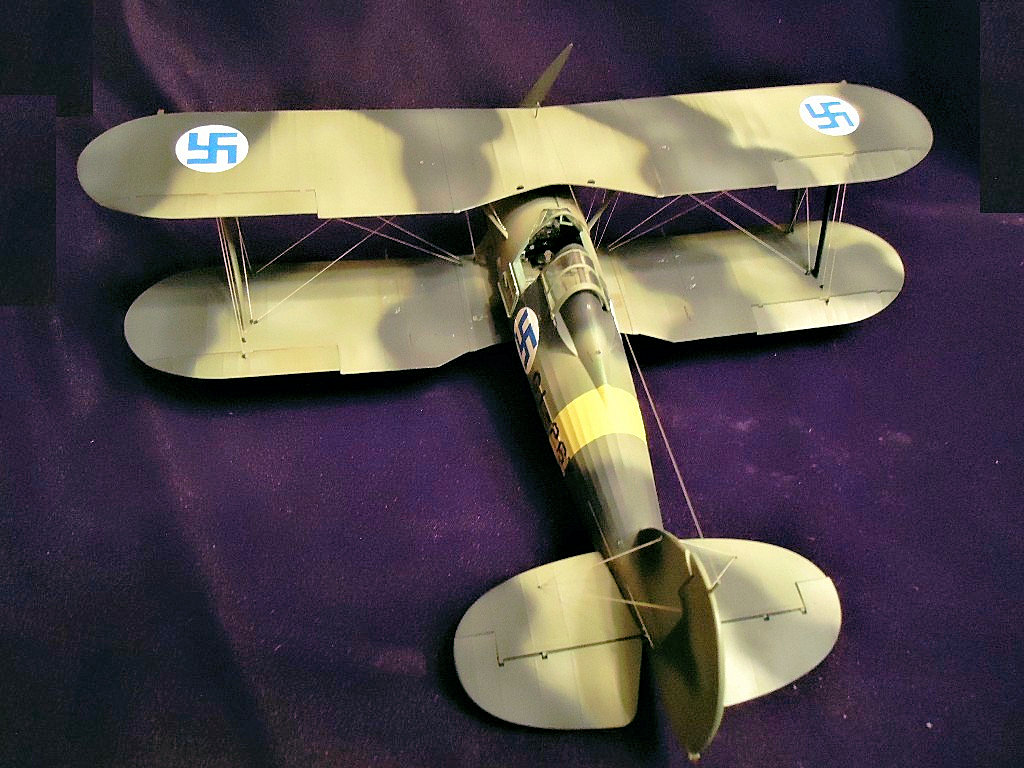
Both versions of this kit offer a few British aircraft markings, but I wanted to have a bit more variety so went ahead and ordered the new ICM Gladiator Mk.II in Foreign Service decals direct from the Ukraine. However, after waiting some weeks for them to arrive (delayed, no doubt, by new postal restrictions), I finally was obliged to bite the bullet and employ decals from my personal stock instead. Notwithstanding, the Finnish air force markings I did muster certainly create a striking contrast to the dusty and worn look of my Gladiator I, and fit the bill quite nicely.
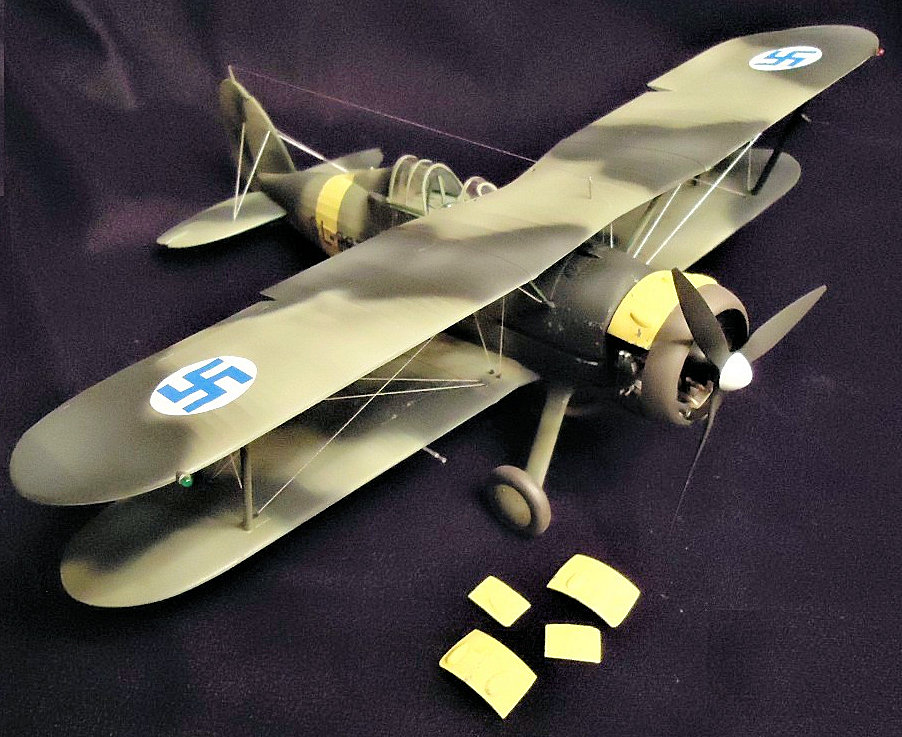
A masking set is provided for masking the canopy. Although it looks quite nice, I simply used my usual Scotch Invisible Tape approach along with a sharp X-Acto for good results. Be sure to use the armored front screen option as this is the appropriate piece for the Mk. II.
All in all, this is as excellent a kit as the original Mark I model, and makes for an eye-catching addition to any 1/32nd scale aircraft collection. There were no serious challenges in the kit – not even the rigging – and it was a fun build from beginning to end. I heartily recommend this kit to anyone who loves early war aviation. ICM has apparently just released the Sea Gladiator Mk I or II in the same series, and this would present a fine opportunity to make a Malta defender for your collection as well.
My thanks, always, to ICM for creating so many of my dream kits and to IPMS/USA for a chance to build them. This one is a stunner! Be safe, everyone, and happy modeling!


Comments
Add new comment
This site is protected by reCAPTCHA and the Google Privacy Policy and Terms of Service apply.
Similar Reviews