
German Type UB-1 submarine
History
The Type UB I was a class of small coastal submarines (U-boats) built in Germany at the beginning of the First World War. Built to meet the need for small maneuverable submarines able to operate in the narrow, shallow seas off Flanders, the vessels were intended to be quickly constructed, then shipped by rail and assembled at their port of operation. The design effort began in mid-August 1914 and by mid-October the first 15 boats were ordered from two German shipyards. The German Imperial Navy subsequently ordered an additional pair of boats to replace two sold to Austria-Hungary, who ordered a further three boats in April 1915. A total of 20 UB Is were built. Construction of the first boats for Germany began in early November 1914; all 20 were completed by October 1915. Several of the first boats underwent trials in German home waters, but the rest were assembled and tested at either Antwerp or Pola. The German boats operated primarily in the Flanders, Baltic, and Constantinople Flotillas. The boats were about 28 metres (92 ft) long and displaced 127 tonnes (125 long tons) when surfaced and 142 tonnes (140 long tons) while submerged. All had two bow torpedo tubes and two torpedoes, and were equipped with a deck-mounted machine gun.
In 1918 four of the surviving German boats were converted into coastal minelayers. Of the seventeen boats in German service, two were sold to Austria-Hungary, one was sold to Bulgaria, and nine were lost during the war. One of the five Austro-Hungarian boats was sunk and another mined and not repaired. The five surviving German boats, the four surviving Austro-Hungarian boats, and the Bulgarian boat were all turned over to the Allies after the end of the war and were broken up. - from the Mikro-Mir website.
I contacted Mikro-Mir in my role as 1VP and they were so kind as to send a large box of bagged kits to us. I’m a submarine nut, and when I laid the 20+ kits out on my basement floor I really struggled to contain my impulse to build all of them – in the end some degree of sanity won out and I kept this kit as well as a 1/35 CSS Hunley, to be built next.
The UB-1 kit contains two frets of crisply molded parts, one photoetch fret, and a decal sheet. The box art depicts one of the early boats deploying from a harbor. Be aware that a number of details shown in the cover painting are not included in the kit. There is no railing around the top of the conning tower and the complex wireless antenna arrays are not to be found in the box either. More about that later.
Basic assembly takes all of 30 minutes if you use a fast acting cement or cyanoacrylate (I used Tamiya Extra Thin for most of the build). I assembled the conning tower and began adding the numerous photoetched details, including 4 very finicky curved parts that have to be attached on their thinnest edges to the outside of the sail. 2 of these are mislabeled in the instructions but their location is pretty obvious. It took me numerous tries tacking these in place before I got a good enough bond to go back with extra thin CA and finish attaching them. The rest of the photoetch parts didn’t give me anywhere near as much trouble as these.
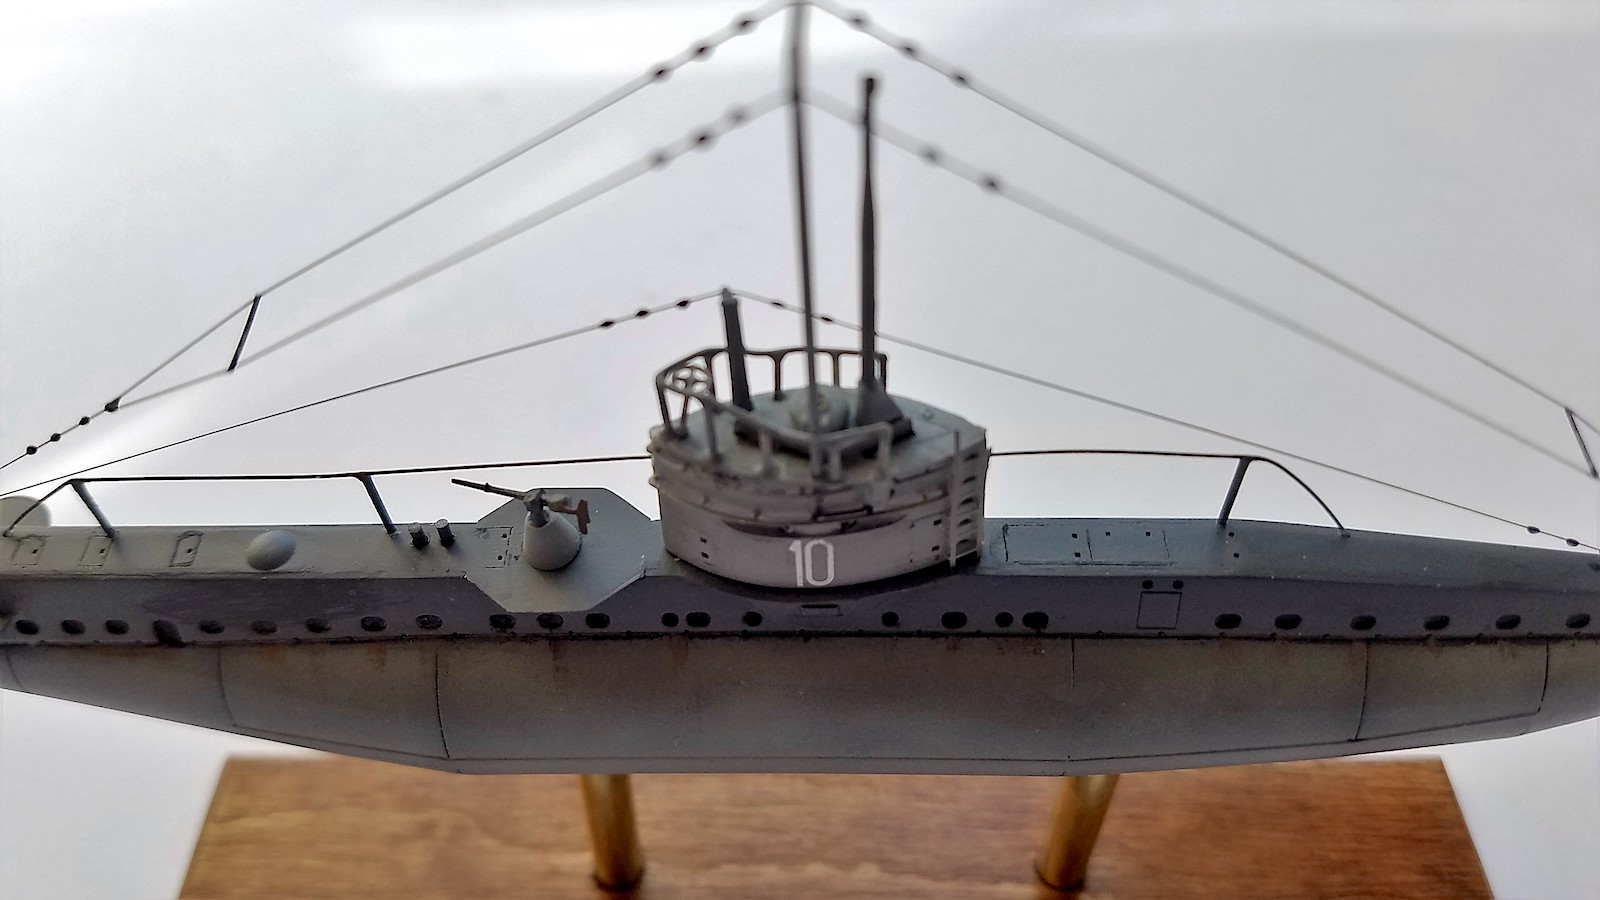
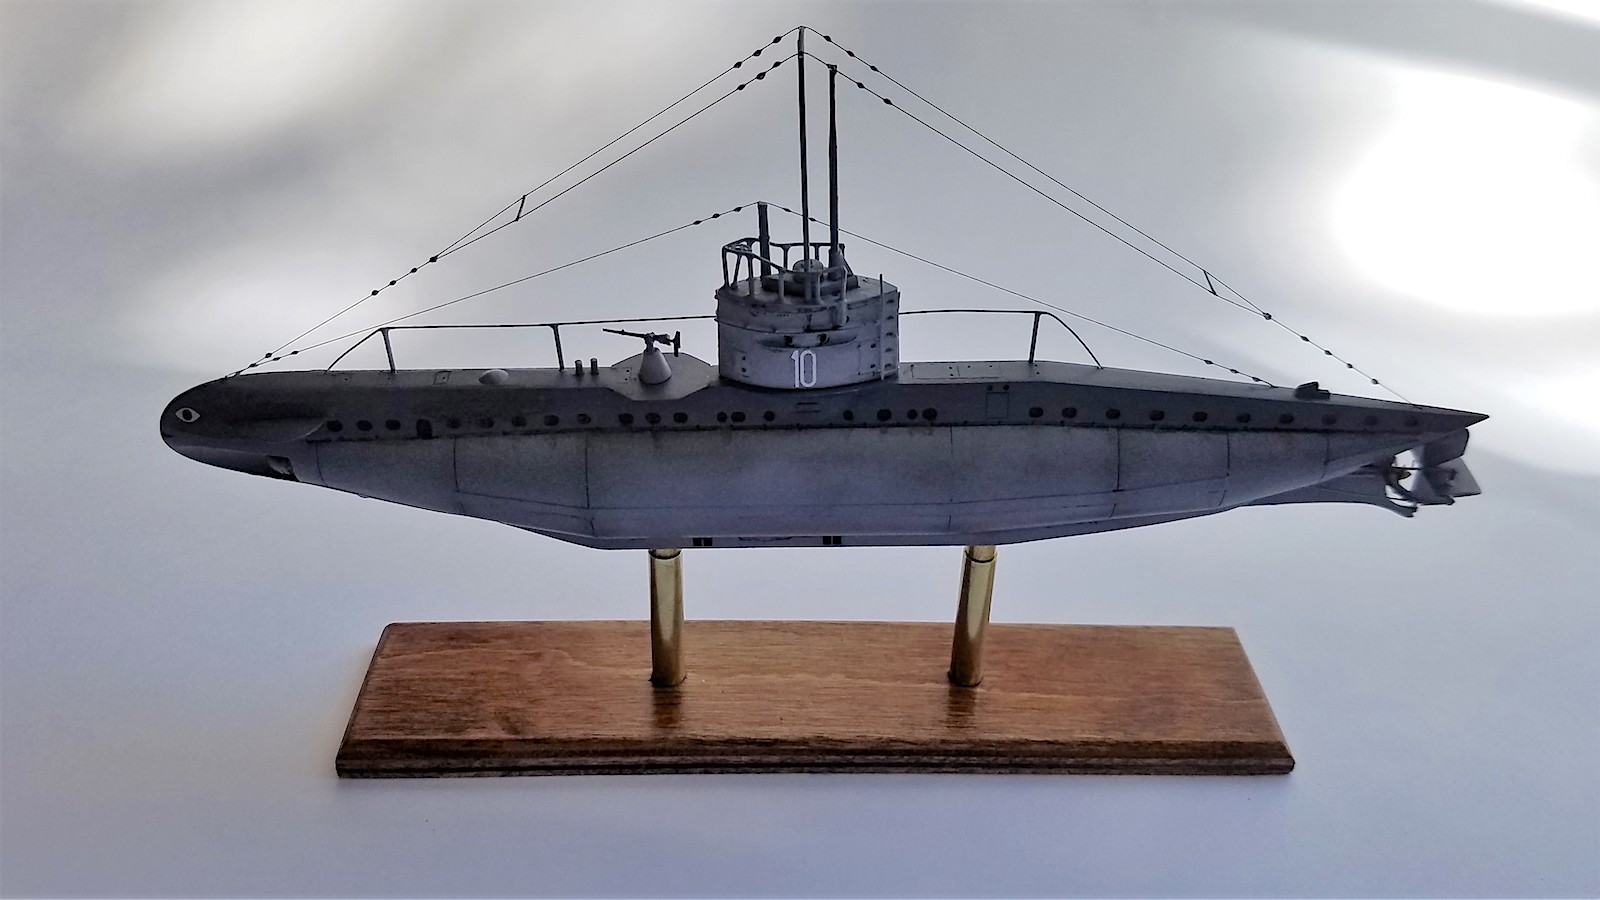
I decided to add some additional detail to the sub based on the cover picture and what few images I found online (most of which were of other models of this diminutive U-Boat). I drilled a number of equally spaced holes around the perimeter of the conning tower and glued in 0.025” diameter Plastruct rod. I trimmed these to matching heights and then formed a piece of solder of approximately the same diameter as the top rail. After several attempts, I formed the complex shape of the rail and attached it to the uprights. I think in retrospect that the railing is a bit thick for the scale, but it adds a lot of interest to the tower.
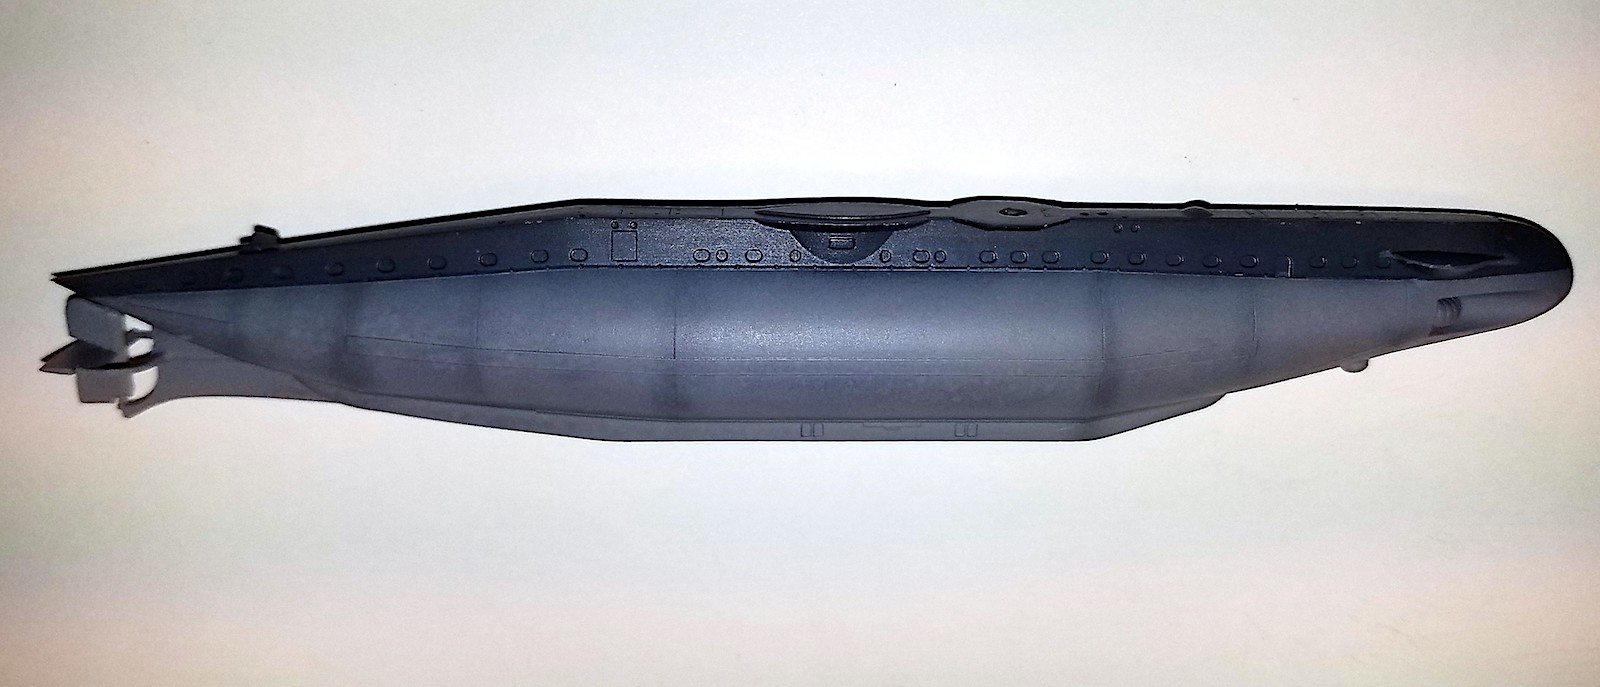
After the majority of construction was completed, I shot Tamiya primer from a rattle can and cleaned up a few seams and joints. I preshaded the hull with Vallejo Black around all of the weld lines and shot Vallejo Dark Sea Grey on the hull and tower, trying to maintain a little bit of the shading around the hull welds. I then masked that off and shot the upper section of the hull in a mix of Black and Sea Grey using the TLAR (That Looks About Right) method of color selection.
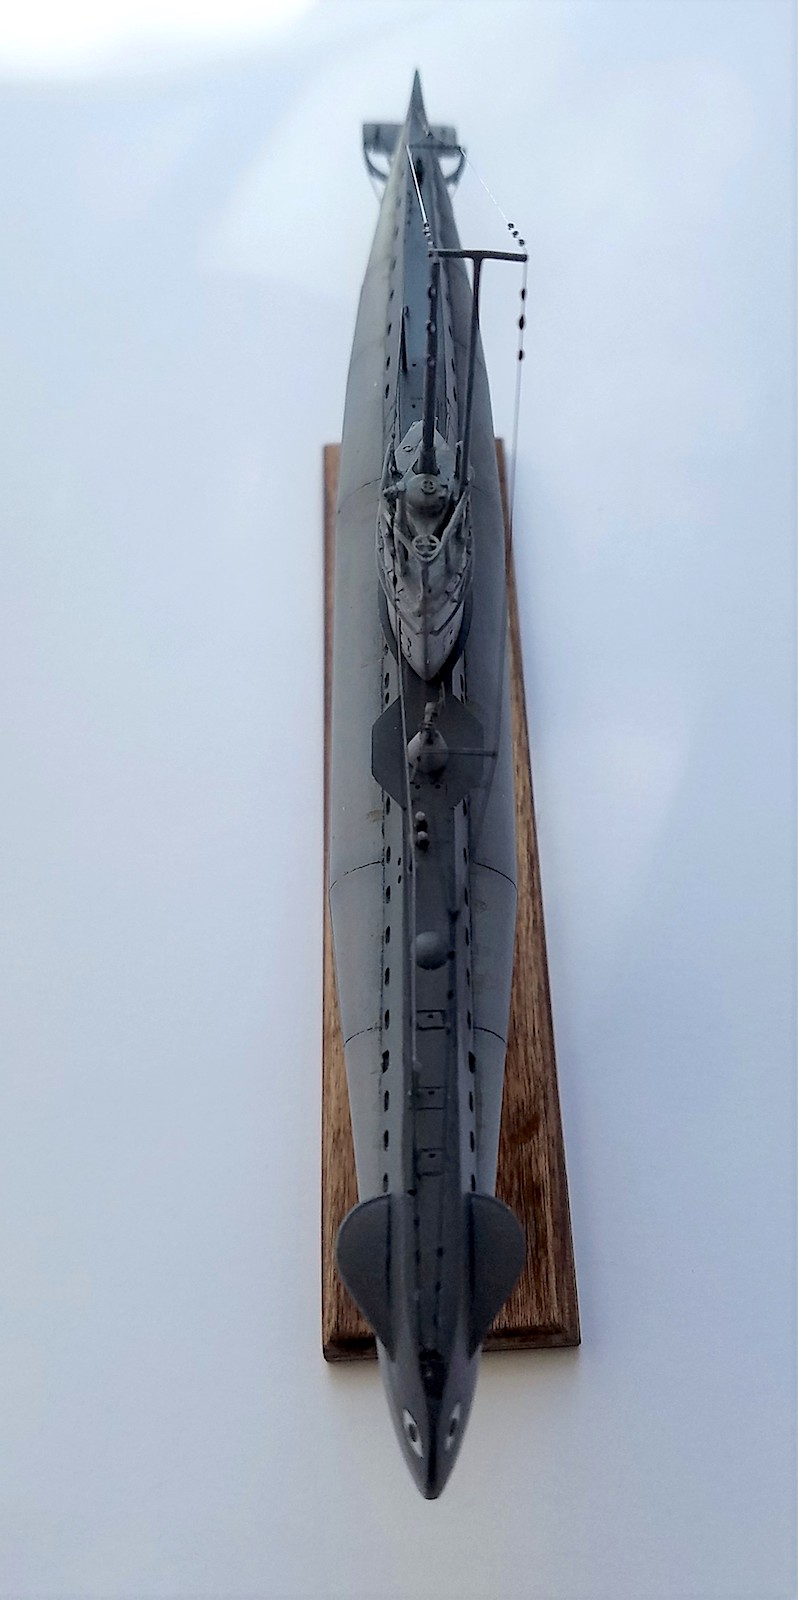
My second addition to the model was to build the stanchions for the deck. I again used 0.025” rod for the uprights, but used monofilament fishing line for the handrails. Judicious application of a little bit of heat removed any sag in the line. I painted the uprights and handrails with Titanium Testors’ Metalizer.
After an application of Glosscote, I used Vallejo Black to fill in each limber hole in the deck casing. I used thin washes of Burnt Umber and Ochre artists’ watercolors, thinned with airbrush wetting agent, to pick out various joints and panel lines as well as to show some rusty discharge from the limber holes.
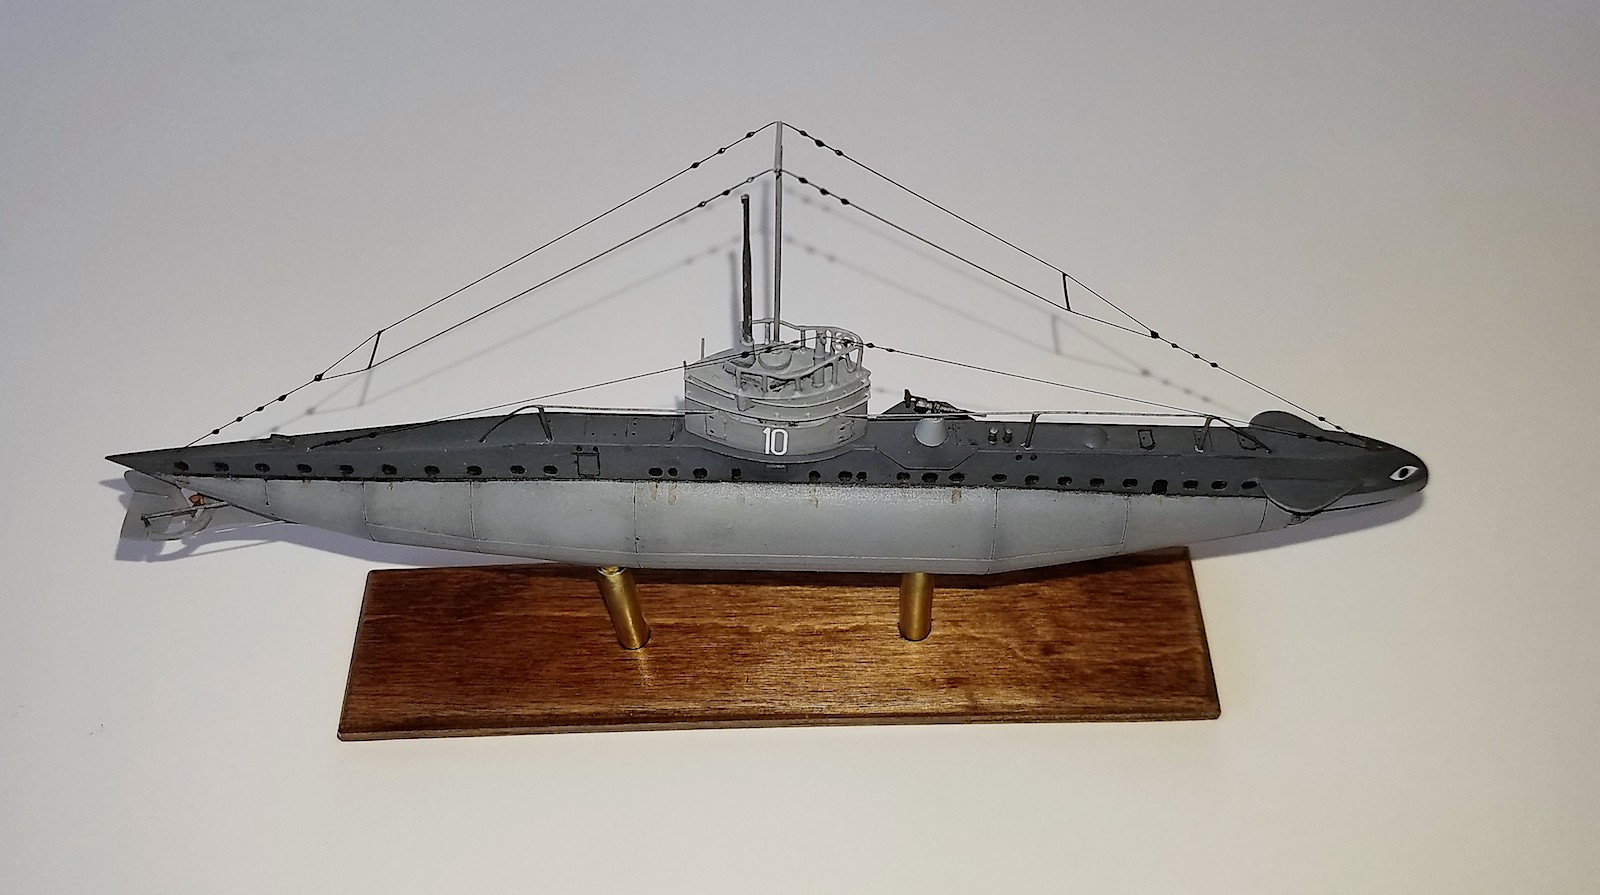
I scratchbuilt the “T”-shaped antenna mast using a piece of 0.025” carbon rod, drilled a hole for it in the starboard side of the conning tower, and added it along with the various kit parts. I had decided that the complex antenna aerials added a lot of interest to the kit so I elected to try my hand at rigging. After 4 attempts, my respect for ship modelers went up several orders of magnitude. I went through stretched sprue and EZ line before settling on the use of invisible thread. I gently stretch the thread when unspooling it to remove the tendency to coil, then I run a permanent magic marker along the length I am using.
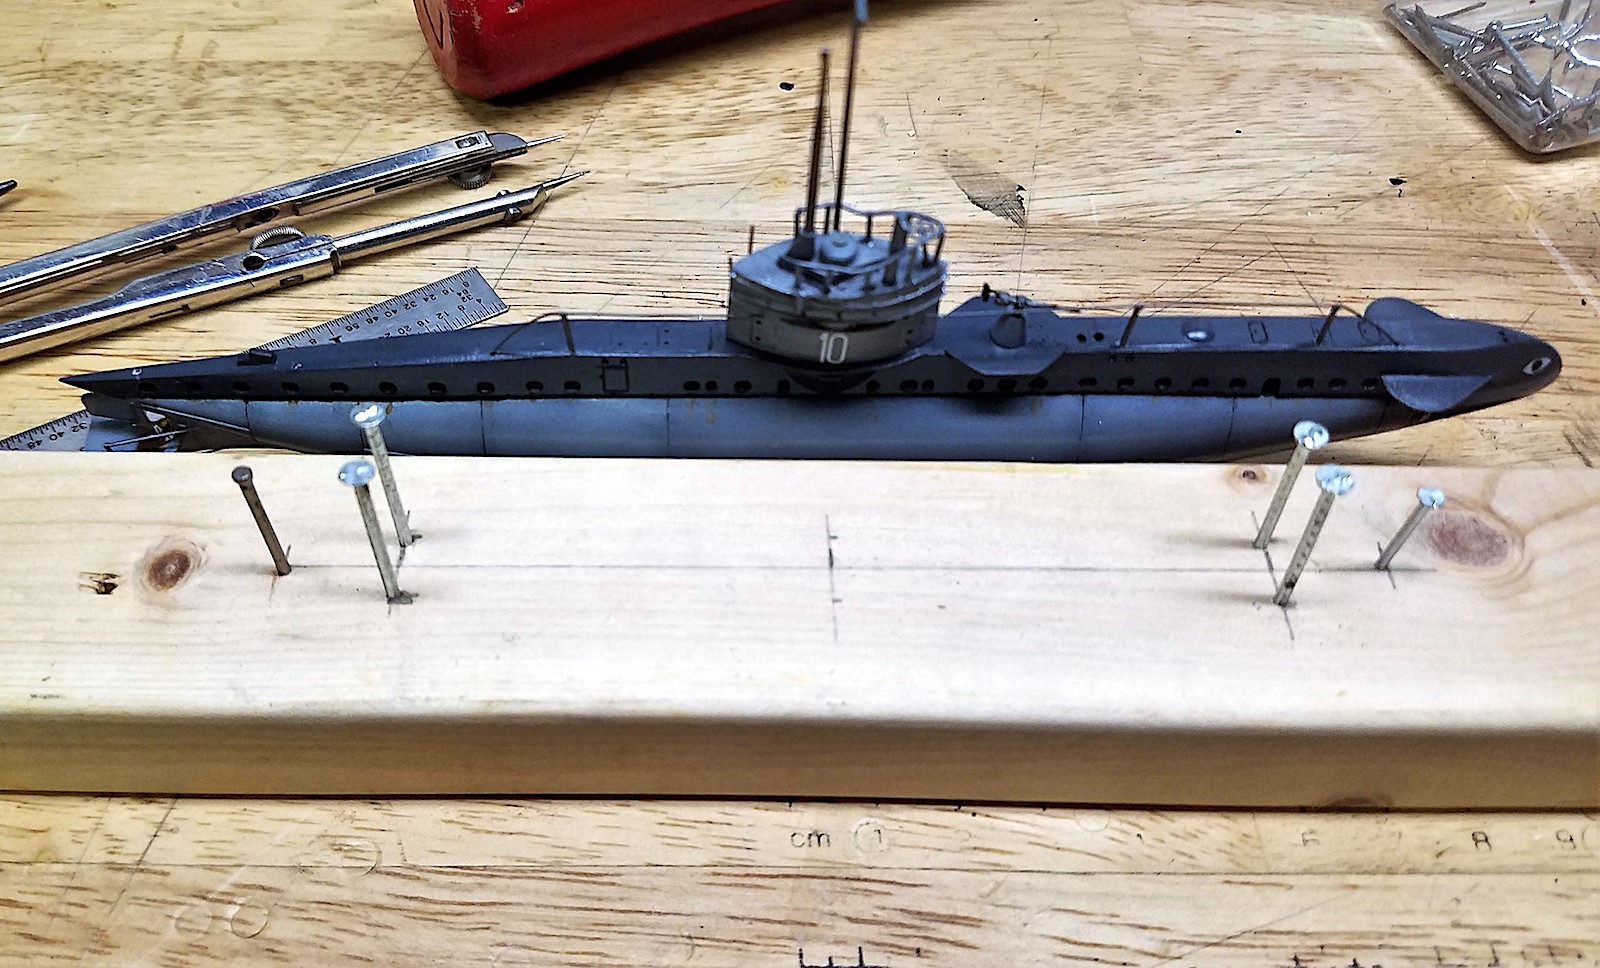
After several attempts to measure and hand-tie the appropriate lengths of thread, resulting in miniature versions of cat’s cradles (!) I got smarter and remembered what ship builders do. I measured the line runs with calipers and made a simple jig board with small nails at appropriate locations. Three knots later and I was done. The first installation didn’t survive my attempt to straighten the rigging with a gentle heat source (audio track: click…sprong….%#@%@#$^). One more try got it, but adding the spreader bars at fore and aft ends was an exercise in brain surgery – I finally got it to work with stretched sprue.
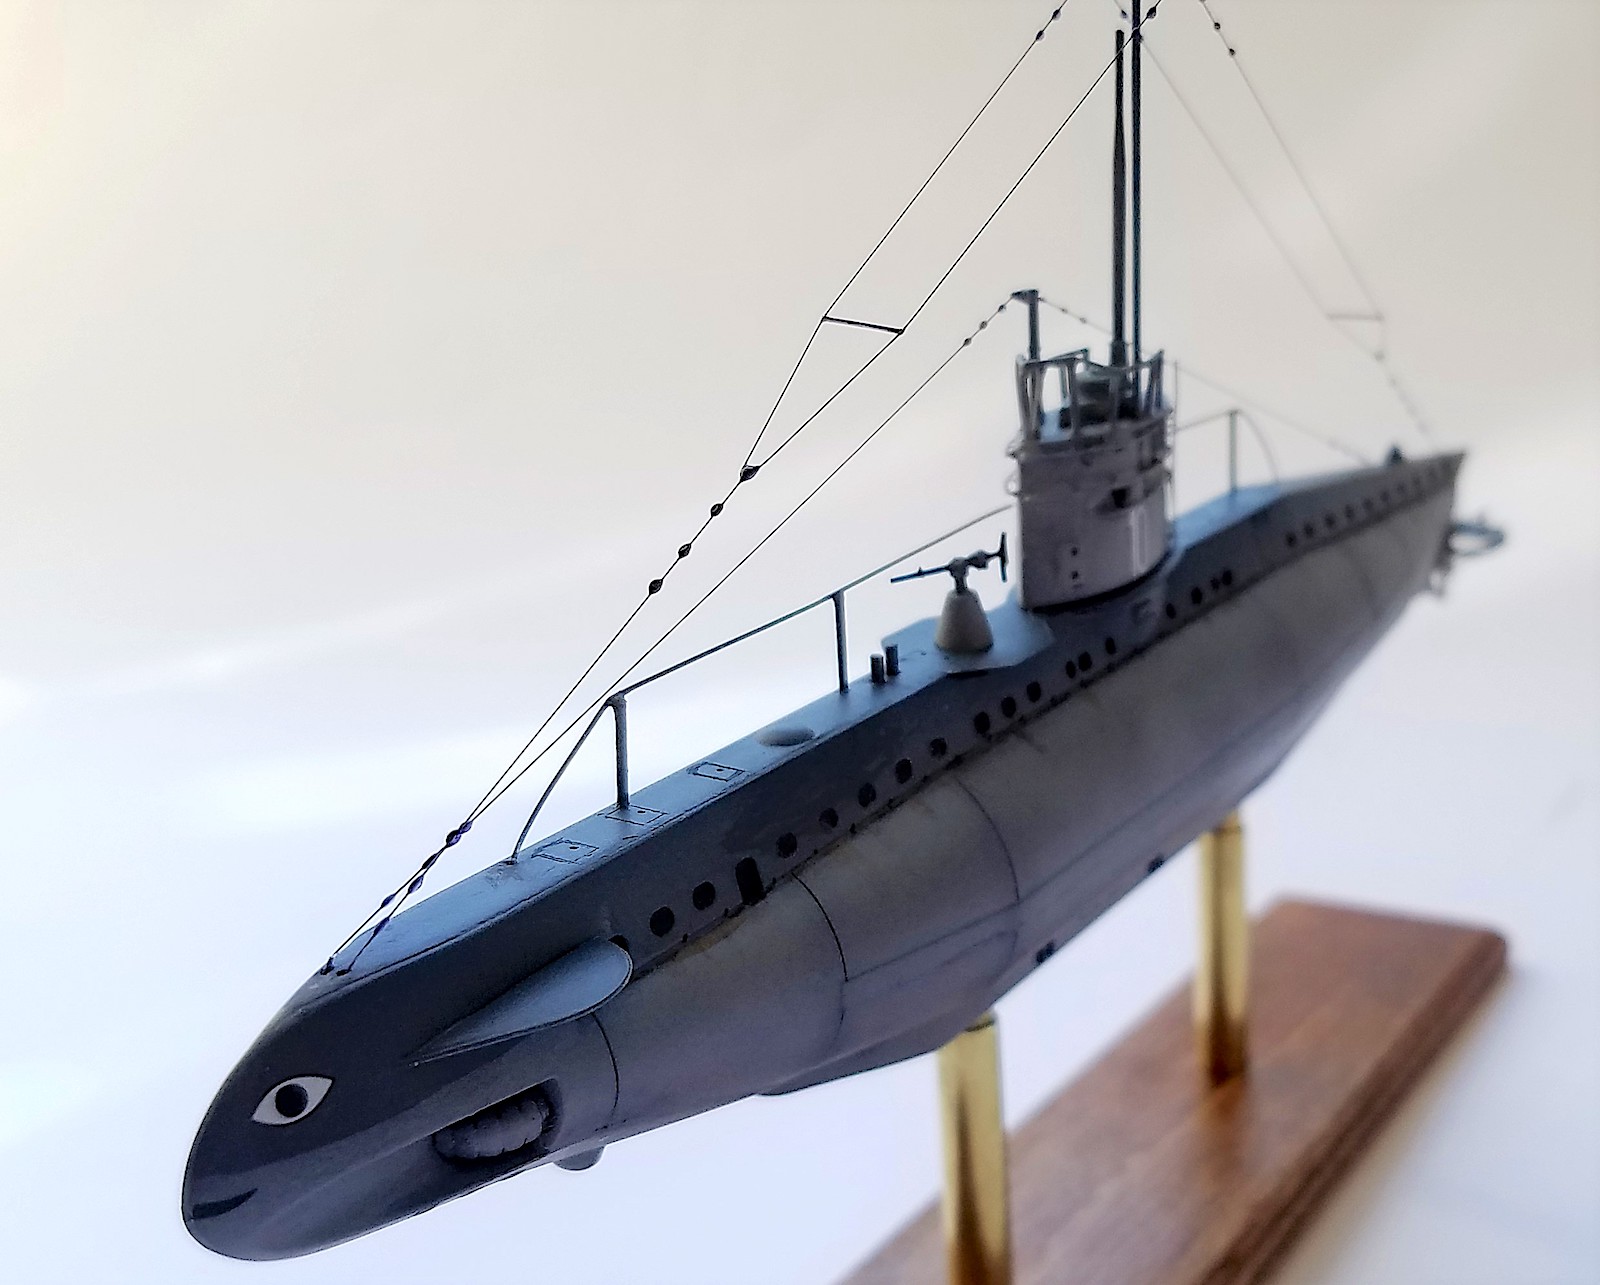
I added antenna insulators using white glue, and after these dried I went back with the marker again and colored them black. I then shot Dullcote over everything and let it dry.
A simple, stained wooden base and some leftover brass tubing for stanchions, and my UB-1 was finished. Other than a few pesky photoetch part issues, an easy and fun build.
My thanks go to Mikro-Mir for this and the other fun kits they provided to IPMS/USA recently. Please watch for other reviews!


Reviewer Bio
John Noack
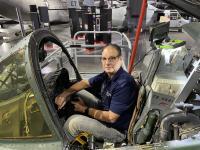
Modeler since my Dad and I built Aurora biplane box scale kits at the kitchen table. Joined IPMS in the early 1980's and I've held a variety of leadership positions on the Board. I'm a retired VP of Aerospace Engineering, living in the Centerville (Dayton) OH area. I am a Docent at the USAF Museum, a musician in several bands, member of IPMS/WFSM, and a widower.
My tastes are eclectic. When I build aircraft it's usually in 1/72, but I also dabble in submarines, autos, and scratchbuilt Steampunk vehicles.
Comments
art
Pure art work, and the preservation of history. NICE JOB!
Add new comment
This site is protected by reCAPTCHA and the Google Privacy Policy and Terms of Service apply.
Similar Reviews