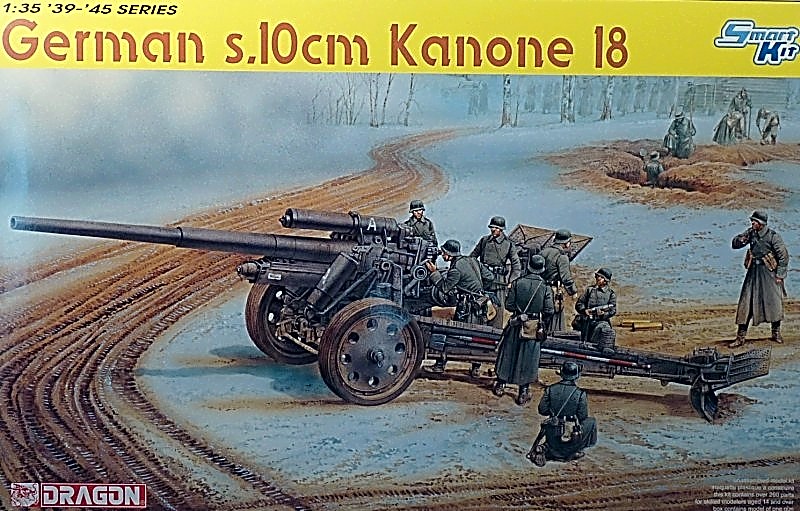
German s.10cm Kanone 18
Description and History
Quoting from Dragon’s web site product description:
“The 5.6-ton K18 was of 10.5cm caliber, and was based on the high-speed towing carriage of the s.FH.18. Designed to be a long-range medium artillery piece, it was the standard weapon in medium artillery battalions. The gun had a range of 20,850 yards, and it remained in service throughout the war. A crew of ten operated this howitzer that was first introduced in 1934”
In the Box
This kit has approximately 231 styrene parts - approximately 228 parts on seven gray sprues and three parts on a clear sprue. Also in the kit are 2 etched brass parts, 2 etched nickel parts, 2 brass-tubing parts, 1 decal sheet and one turned aluminum barrel with rifling. There are 8 pages of instructions with 12 steps and painting guides for 3 schemes.
First Impressions
Dragon is making my quality control scans very easy. The sprues have crisp detail, absolutely no flash and no sink holes that would show after parts are assembled. The aluminum barrel is very impressive and there is rifling visible. As expected for an artillery piece there are very small parts and care should be taken in removing them from the sprue. As for all small parts, it would be wise to make an offering to the gods of styrene in order to protect yourself from losing the small parts. My sacrifice must have been inadequate as I lost one small piece. The Kanone can be built in the travel or firing mode and I chose the traveling mode in order to maximize the parts to be used.
Construction and Discoveries
For reviews I follow the instruction sequence very closely in order to uncover any discrepancies between the instructions and execution. For the most part, the instructions will result in a successful build without too much difficulty. Patience will be needed with the small parts and there are options to use photo etch and clear styrene. Here I will call out the discrepancies that I found and the corrective action taken. Most of you will discover these but I hope to save you some time and frustration:
- Step 1 – Use CA glue to join MC1 (metal barrel) to J7. It was necessary to ream out the hole in J7 for proper fit.
- Step 2 – Part A13 fits under parts A15 & A5
- Step 3 – Use CA glue to join MC2 (brass tube) to A51. Wait for glue to dry before inserting A41 into brass tube because A41 needs to slide in and out.
- Step 6 – Both parts D32 (Gun wheel) needed to have center drilled out.
- Step 7 – Parts C30 are mislabeled. They should be D30; Part C7 does NOT attach to part C5. It fits on the underside of C22
- Step 9 – In the information detail part B10 should be B11
- Step 10 – In the information detail part D24 should be B24; E18 and E19 should be attached to E15 after sub-assembly is attached to E10
Painting
Painting instructions provide for three basic paint schemes. They are the overall German field gray, the desert yellow and a desert yellow with green mottling scheme. I chose the Field Grey. Two primer coats were followed by two mist coats of Field Grey and after drying the various instruments and tools were painted as needed. After a coat of Future the decals were applied and after spot coating the details with Future I touched up the raised points with a dark wash. Finally, I added an overall filter of Buff to simulate dust. A dull coat spray sealed in the weathering work.
Summary
This kit was very satisfying to build with enough challenge to make it interesting. I highly recommend this kit as a worthy addition to your armor collection.
I would like to thank Dragon USA for supplying the kit and IPMS for the opportunity of doing this review.


Comments
Add new comment
This site is protected by reCAPTCHA and the Google Privacy Policy and Terms of Service apply.
Similar Reviews