
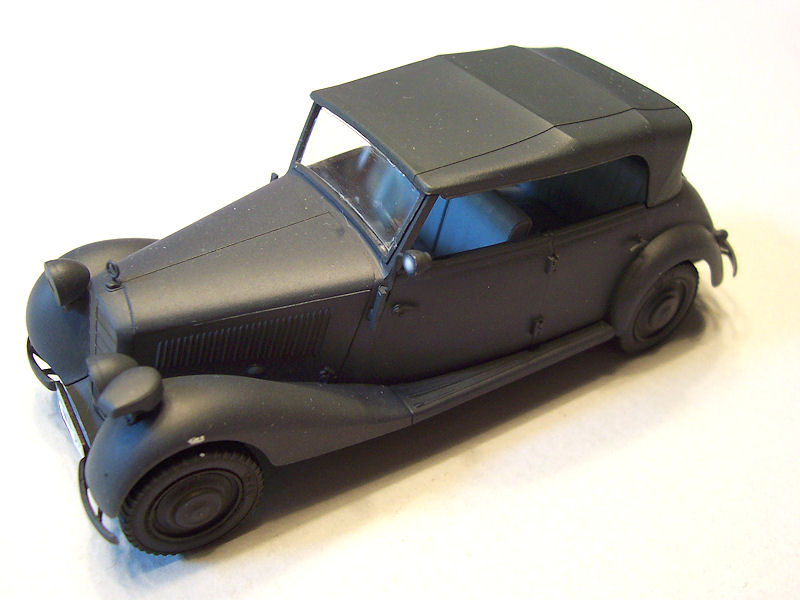
German Military Car Type 170V
History and Performance
The Type 170V made its first appearance as a military vehicle in 1937. The frame was made from a tubular X-shape, with independent front and rear suspension. The car was powered by a 38 hp, four-cylinder engine. A total of 86,615 170V cars were built by 1942, and it was the most popular “civilian“ vehicle used by the Wehrmacht.
The vehicle was also built after the war by Daimler-Benz in a diesel-powered version. It proved to be very popular based on its proven wartime experience. With some research, the modeler may be able to depict a post-war vehicle with this base kit.
Master Box Ltd originates in the Ukraine. This is my first build by this manufacturer.
Kit Review
Instructions
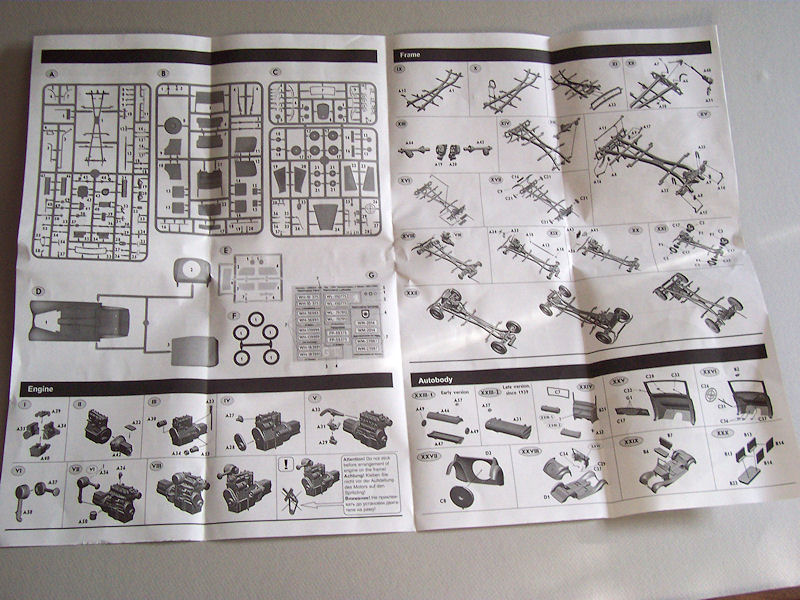
The instruction sheet is an oversized fold-out map style, with instructions on both sides.
The sprue trees are shown with each part being numbered. There are 48 steps to the build, with each step shown in Roman numerals. Parts are included to build the “Early” version or the “Late” (after 1939) version. The model can be built in any of four configurations: (1) Top up with side windows in place; (2) top down with side windows in place; (3) top up with side windows down; and (4) top down and side windows down.
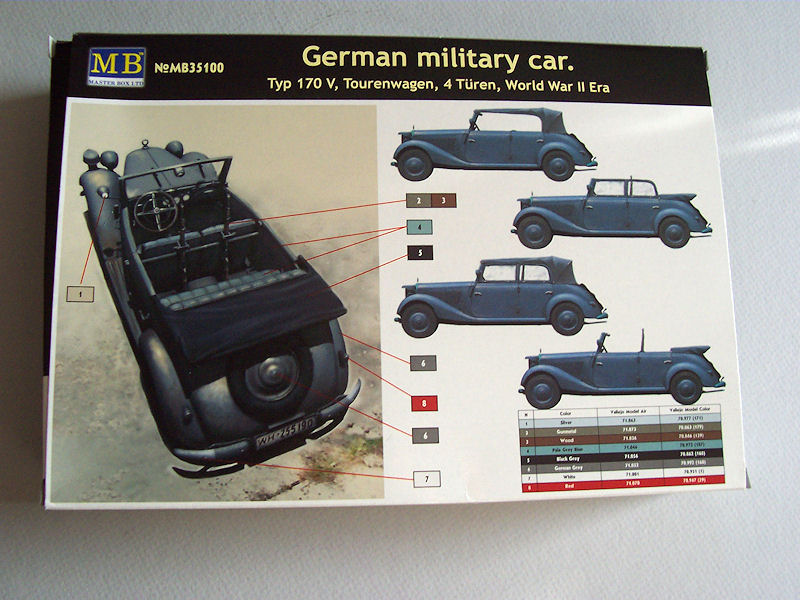
Paint colors are noted on the bottom of the side-opening box, and are based on Vallejo Model Air and Vallejo Model Color paints.
Sprues and packaging
The model parts are included on four trees of a medium grey plastic. None of the parts are numbered on the trees, and some flash was found on some of the parts. The fenders and floor boards share a common part, and the ejector pin marks are limited to the X-frame and appear to be easily removed. There were no pin marks on the underside of the soft top. Several of the main parts with flat surfaces exhibited a swirl pattern in the plastic. The swirls are expected to disappear under a coat of primer.
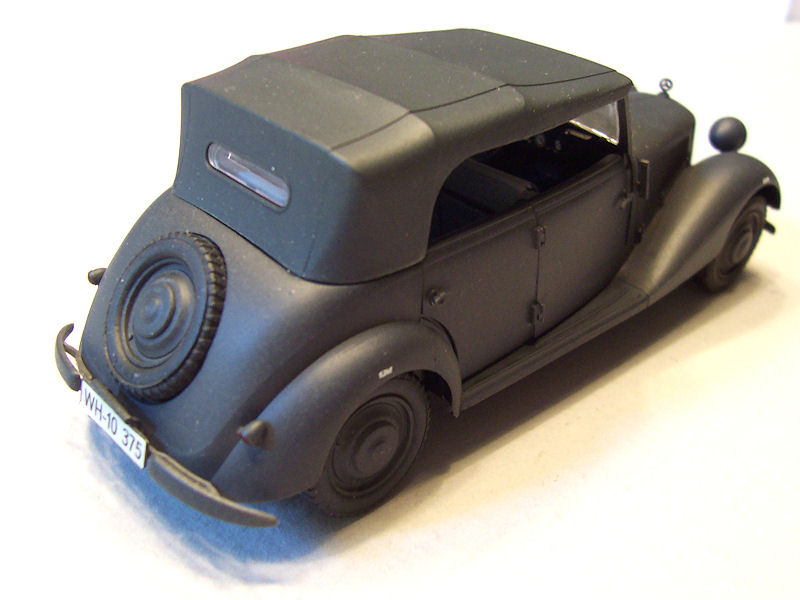
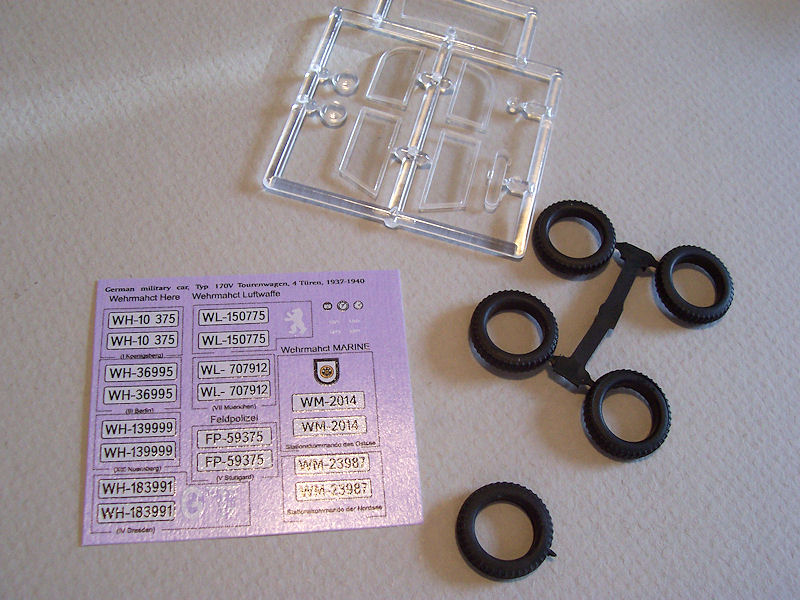
There are five black, real rubber tires included. The fifth tire/wheel combination is mounted in the truck lid recess.
Surface detail appears a bit “soft“. The two carbines are especially nice.
Clear Parts
The windshield, rear window, and side windows are included on a single sprue along with a side-mounted spotlight and the two headlamp lenses.
Photoetch
There is no photo etch included.
Decals and Markings
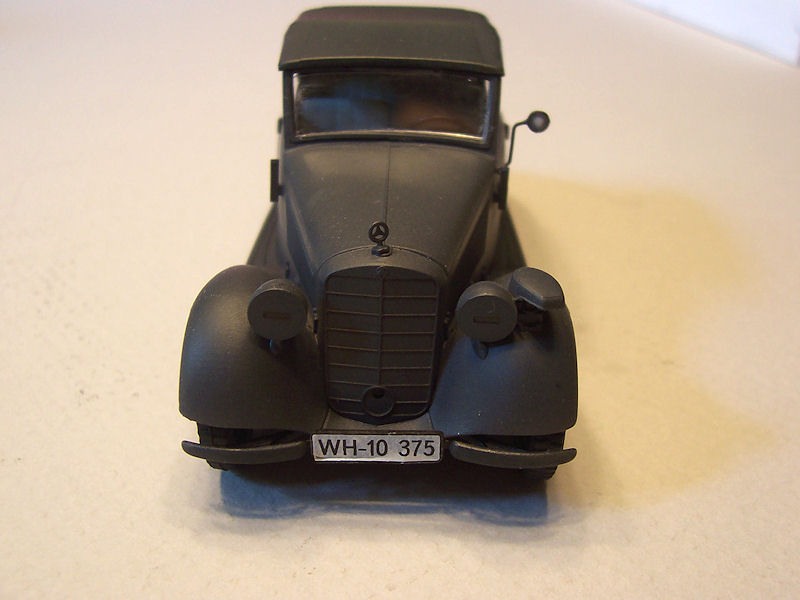
A small decal sheet is provided with license plates for nine vehicle (four army, two Luftwaffe, one police, and two Wehrmacht Marine). Three of the vehicles have single unit markings that instructions fail to address. Instrument dials are also included.
Figures
There are no figures included in this kit.
Construction
The construction begins with the engine. There are nine steps to the engine assembly, with the last step being deferred with the announcement “do not stick before arrangement of the engine on the frame”. This admonition applies to the fan belt-pulley-fan blade assembly. One of the first things I noticed was the lack of locators on the small engine parts. These first few steps set the tone for careful assembly of the parts.
Houston, we have a problem!! The chassis and suspension (“frame” assembly) require thirteen construction steps, and finishes with the installation of the four wheels and tires. This sub-assembly lends itself quite nicely to painting before attaching the body. I started with removing the X-frame, part A1 from the sprue. Both sides of the frame sides have a molding line, accompanied by sink marks that must be addressed. I began by scraping the mold line with a hobby knife and soon realized that the first 2” of the right frame leg was missing. I determined the plastic had been broken and thought perhaps it was still on the sprue. Well, it wasn’t. I checked the trash to see if it had been left in one of the sprue packages, but it was not, and I do not recall any small loose pieces in the box or bags and therefore felt the part was broken before the sprues were packaged. This posed a significant problem (AKA opportunity). Turning tail and running was not an option. I had two options: attempt to repair the broken part, or obtain a replacement. I was able to very quickly obtain replacement sprues from Dragon Models USA. Talk about great service!
The “autobody” part of the build begins with a decision to be made: which fuel tank to be used? The early version or the late version? Later, you will see that the hood can be opened on either or both sides, so the choice of fuel tank is necessary depending on what is being modeled. Each version of fuel tank has a separate filler cap.
Separate parts for the clutch, brake and accelerator pedals are provided, as are for the steering wheel and column. The seats are multi-part with nice surface detail. The four doors are separate parts and may be posed open or closed, and include separate inside and outside door handles. I closed all four doors and found the fit to be a bit fiddly. Some care is required for proper alignment before the solvent cures.
I installed the wheels and tires after the chassis was painted. I first painted the tires with PolyScale grimy black, and once dry, fitted the wheels to the tires. The fit was tight enough that I used no glue. The fit of the wheels to the axles is less than positive. I applied a liberal amount of solvent to the mating surfaces, and once the plastic had softened I fitted the parts together. Care again is required to assure the wheels are square to the axels
The mounting location for the rear bumper in step XLII is not clear. I carefully aligned the bumper and fixed it in place with superglue. The mounting brackets for the spotlight fitted to the driver’s side was replaced with bent brass wire. The plastic part was just too delicate for the installation.
Painting and Finishing
The parts were primed first to detect any imperfections in the work. I painted the chassis separate from the body, and left the doors off the body when painting the interior. Seats were painted separately and fixed in place once the interior was painted. The interior was masked off and the exterior was painted last.
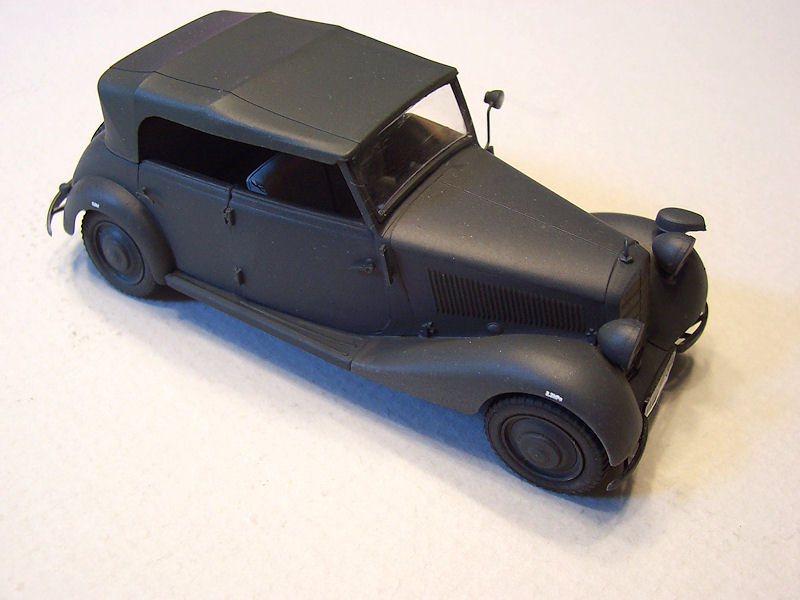
I decide to finish the model with the top up and the side windows down. The front windshield and rear window were fixed in place. There was a minor gap at the bottom of the windshield and that was filled with white glue.
Decals
The box top and bottom are the only references offered for some the markings placement, and then only the license plates are shown. Gauges are provided in decal form for the dashboard. What decals I used went on without any issues.
Conclusion
This kit is for the experienced modeler. The instructions are vague in some steps in that locations of parts is not clearly defined; directional arrows will often just point in the general vicinity of where a part is to be fitted, while other times the parts are just shown with no clear indication of where they are to be placed. The chassis construction was complicated with many parts both small and fragile. Extreme care is required when removing the smaller parts from the sprue tree. I had a few of the more delicate parts break when cutting them free, no matter how careful I was. This was especially true of parts A14 through A17 (I managed to break every one of them). Also, the smaller and more fragile parts are very difficult to clean up. Care is required to make certain this assembly is square and level or else one wheel may ride high on the assembled model.
The placement of parts B2, C28 and C32 was especially vexing as the parts are quite small and difficult to hold while placing them in position on the front windshield frame.
I can image that aftermarket accessories are bound to follow this kit, and I would think that this kit will be popular. Although the military vehicle may appear rather drab in its German Grey finish, a civilian version might just be the opposite. Overall, this model should have a good deal of appeal as it looks like a very classic ‘30s automobile.
I wish to thank Dragon Models USA, Inc. and IPMS/USA for the opportunity to build and review this kit. The quick service, no questions asked, offered by Alain Yuen from Dragon Models USA in greatly appreciated. This is the kind of service that will bring repeat customers.
Thank you, Alain!!

Comments
Add new comment
This site is protected by reCAPTCHA and the Google Privacy Policy and Terms of Service apply.
Similar Reviews