
German Cargo Truck L1500S
This is a nicely molded kit with lots of detail. The kit is delicate with many small and fiddly parts that require patient assembly. This will build a nice truck but requires working with some very small parts.
Background
This kit is the civilian version of the Mercedes L1500S 1.5-ton German cargo truck.
4101 of the trucks were manufactured from 1941 to 1944, and light fire fighting vehicles were the most common variant. Many of the others were used as trucks for civil & commercial applications.
MiniArt originally issued the kit in 2012 as a military cargo truck. The vehicle has been re-issued in several other versions including a personnel car, 2 fire truck variants, a 4 x 4 car, and two variations of a military cargo truck.
Kit Contents
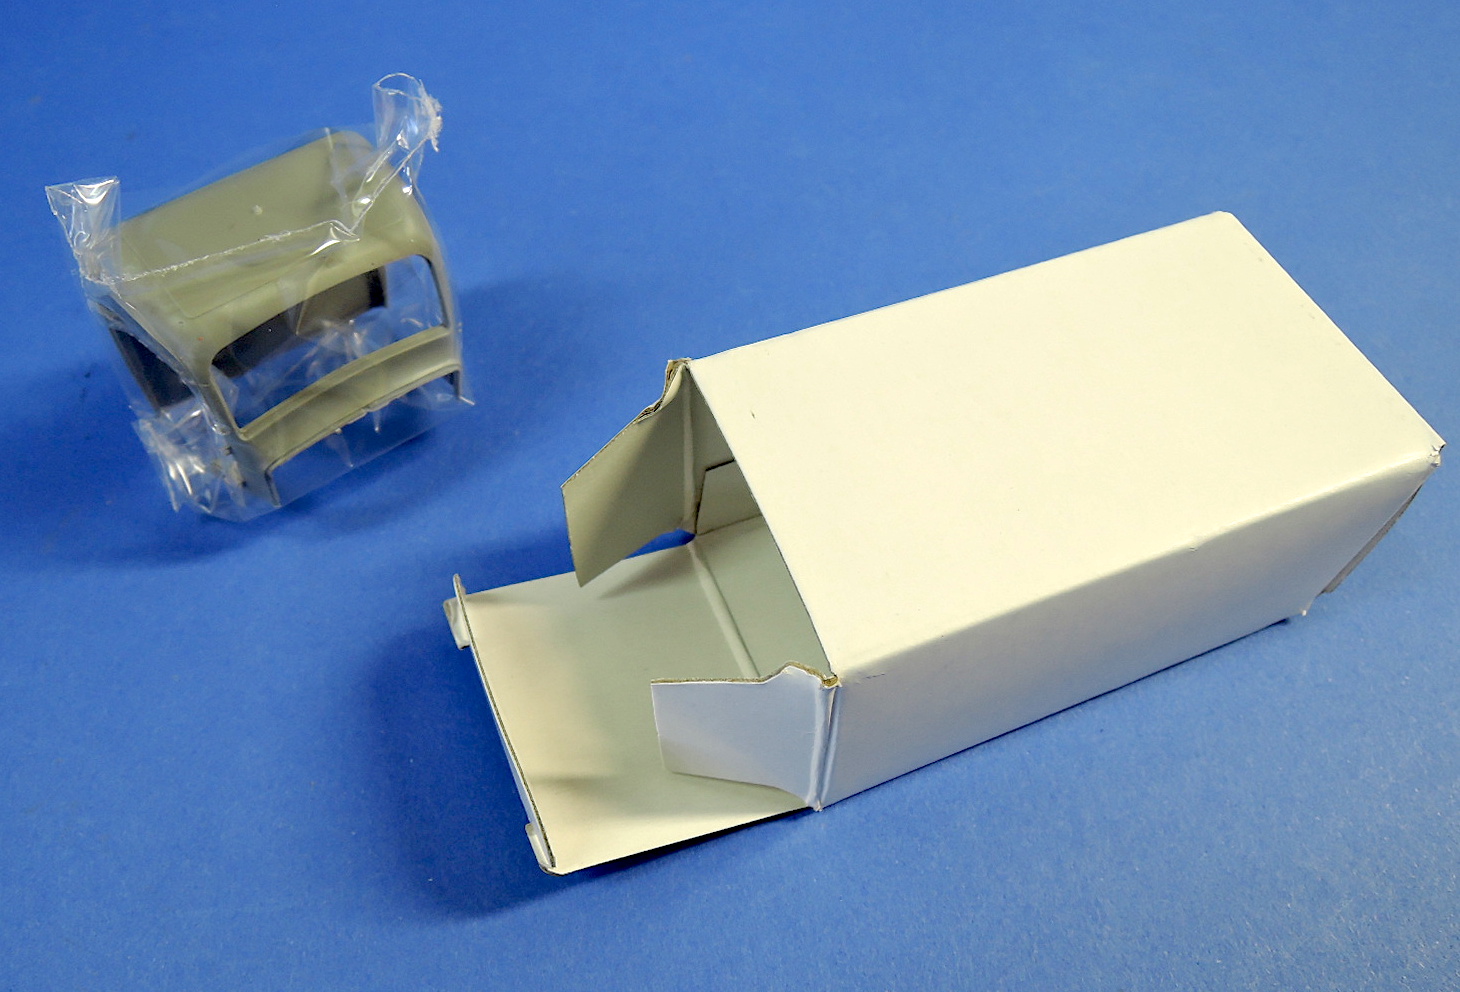
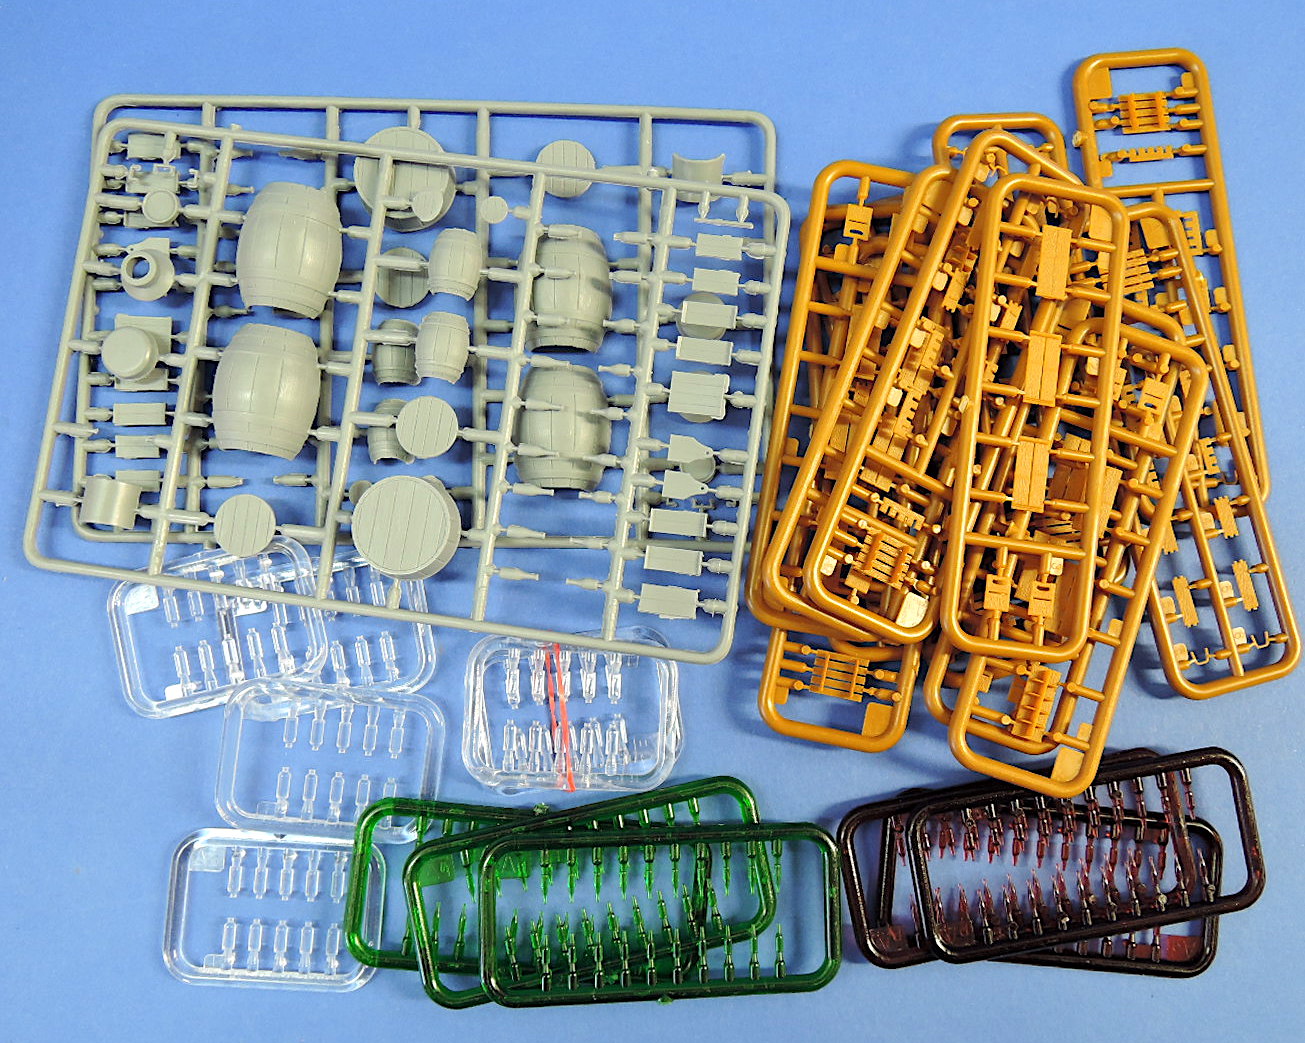
The kit is nicely packaged with bags for the sprues, and a separate small box for the truck cab. This version of the kit has 688 parts and includes accessory wooden barrels, milk cans, beer bottles with crates, and milk bottles with crates. Over 300 of the parts are for the bottles and cargo accessories. There are color and detail options for eight different trucks:
- Two different milk trucks from Germany in the 1950s
- German Reichspost from 1941-1945
- Deutsche Post, Germany 1950s
- Dressler beer truck, Bremen, 1947-1949
- Engelhardt beer truck, West Berlin, 1950s
- Laundry Service, Germany, 1942-1945
- Cargo Transportation, Hamburg, 1947-1949
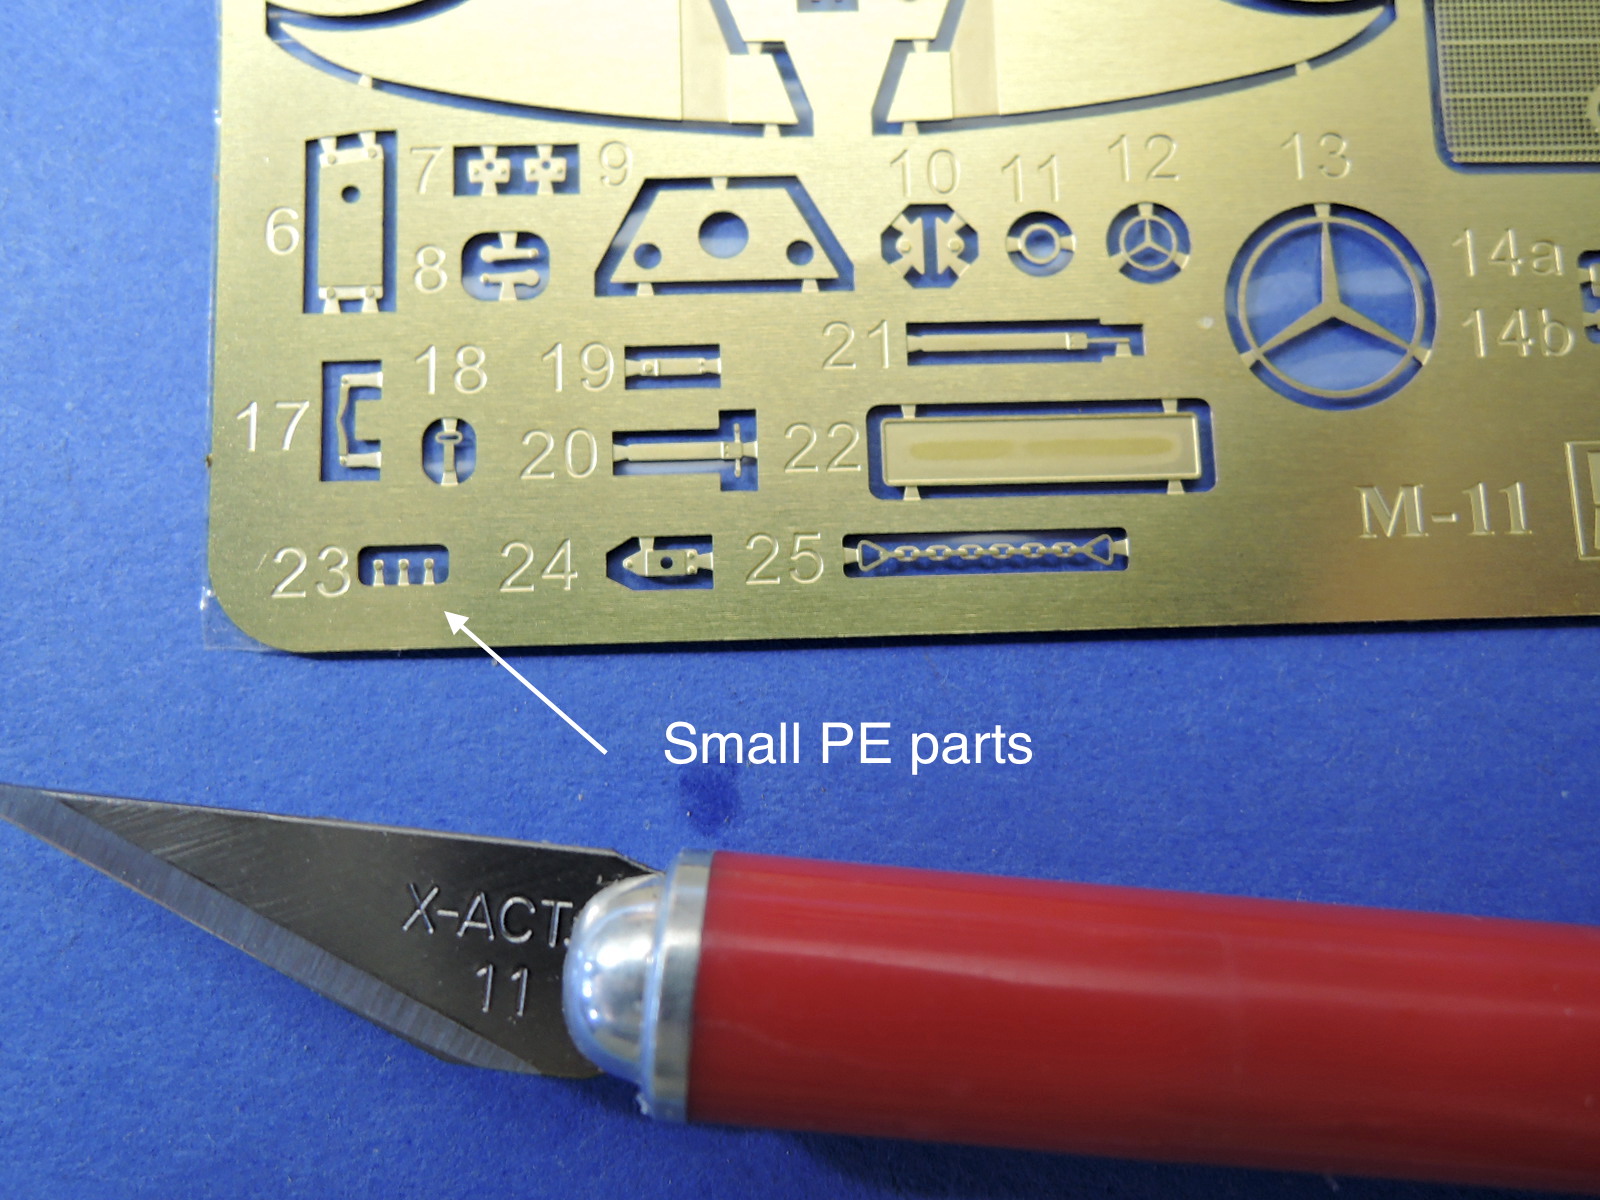
The instructions are an 8 1/2 x 11 3/4 in. booklet of 16 pages with 37 assembly steps. Four pages of color profiles of the different vehicles and two color pages of the cargo accessories are included. Illustrations of the sprues are included to make it easier to find parts. The kit includes two small photoetch frets and a decal sheet.
Assembly
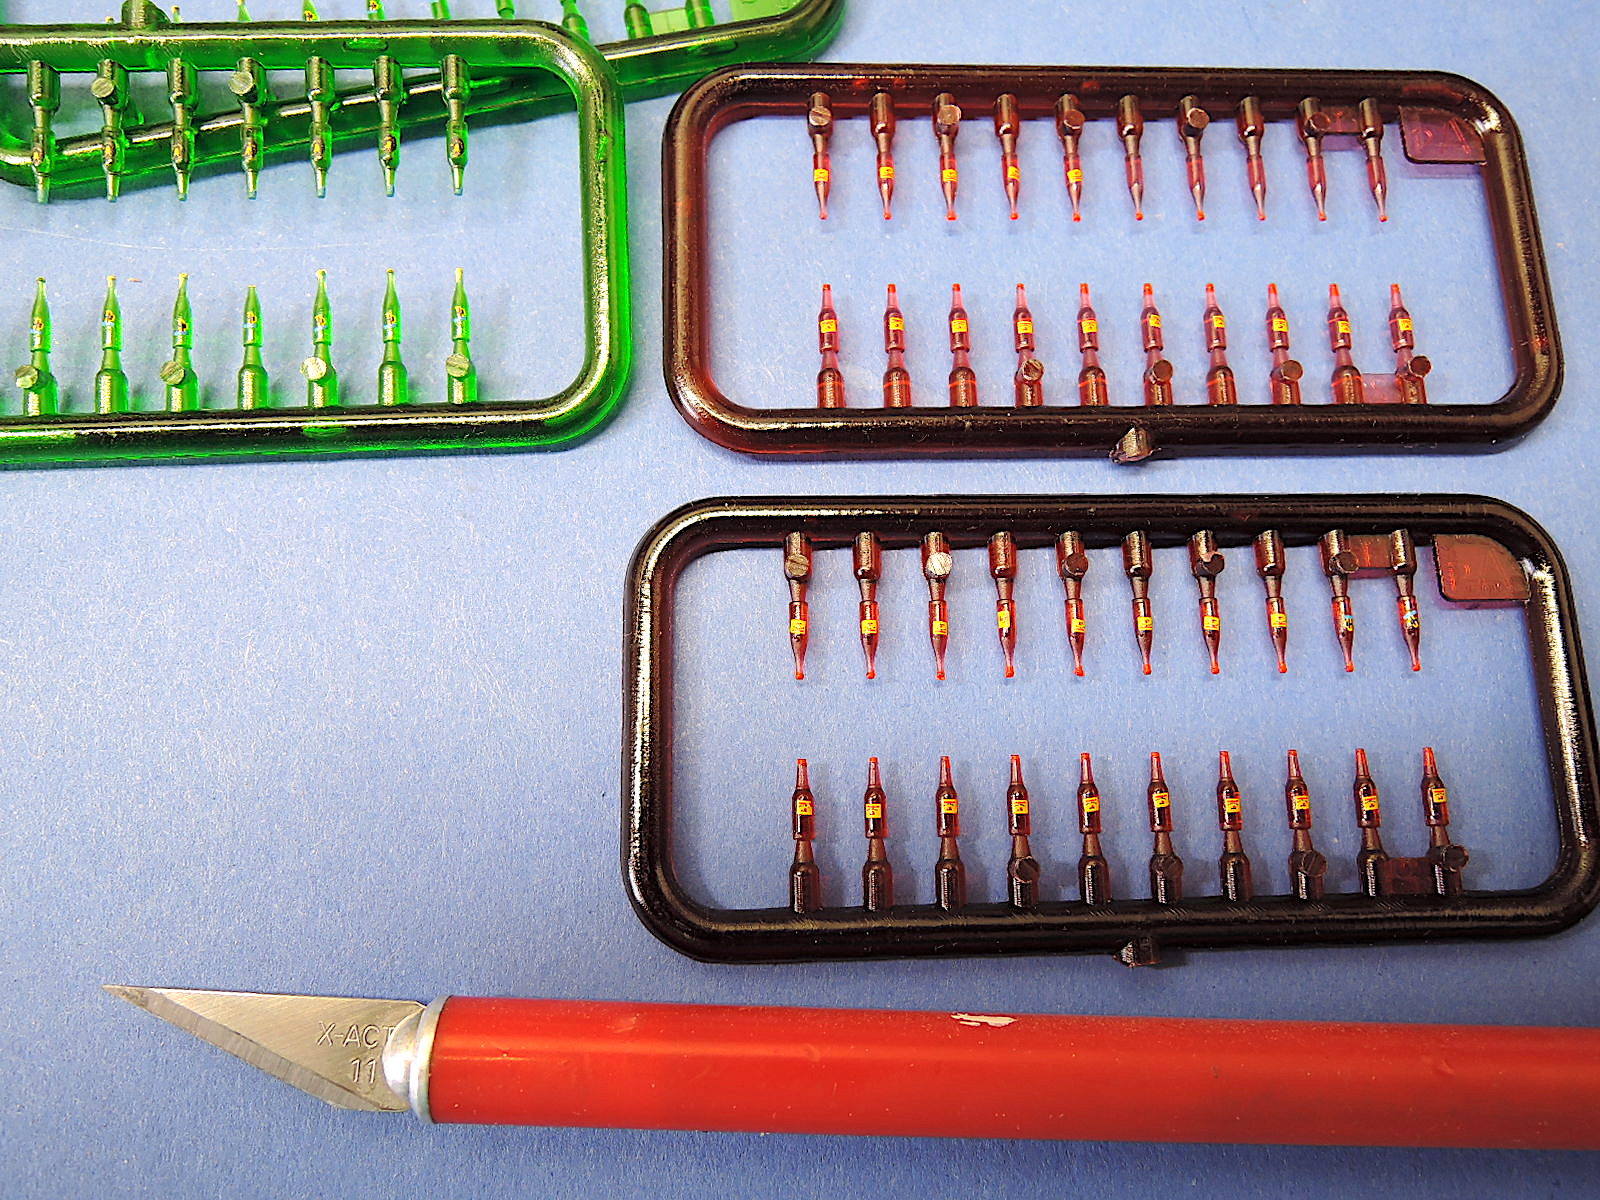
The first series of steps is assembling the crates, barrels, and milk cans for the accessory cargo loads. These parts are rather crudely molded and require lots of cleanup to get them to fit together. Don't get discouraged by these first steps as the rest of the kit parts are nicely molded with much better detail. The many bottles are crisply molded and require little if any clean-up. Many of the decals provided are labels for the bottles, which won’t be visible when the bottles are in the various crates.
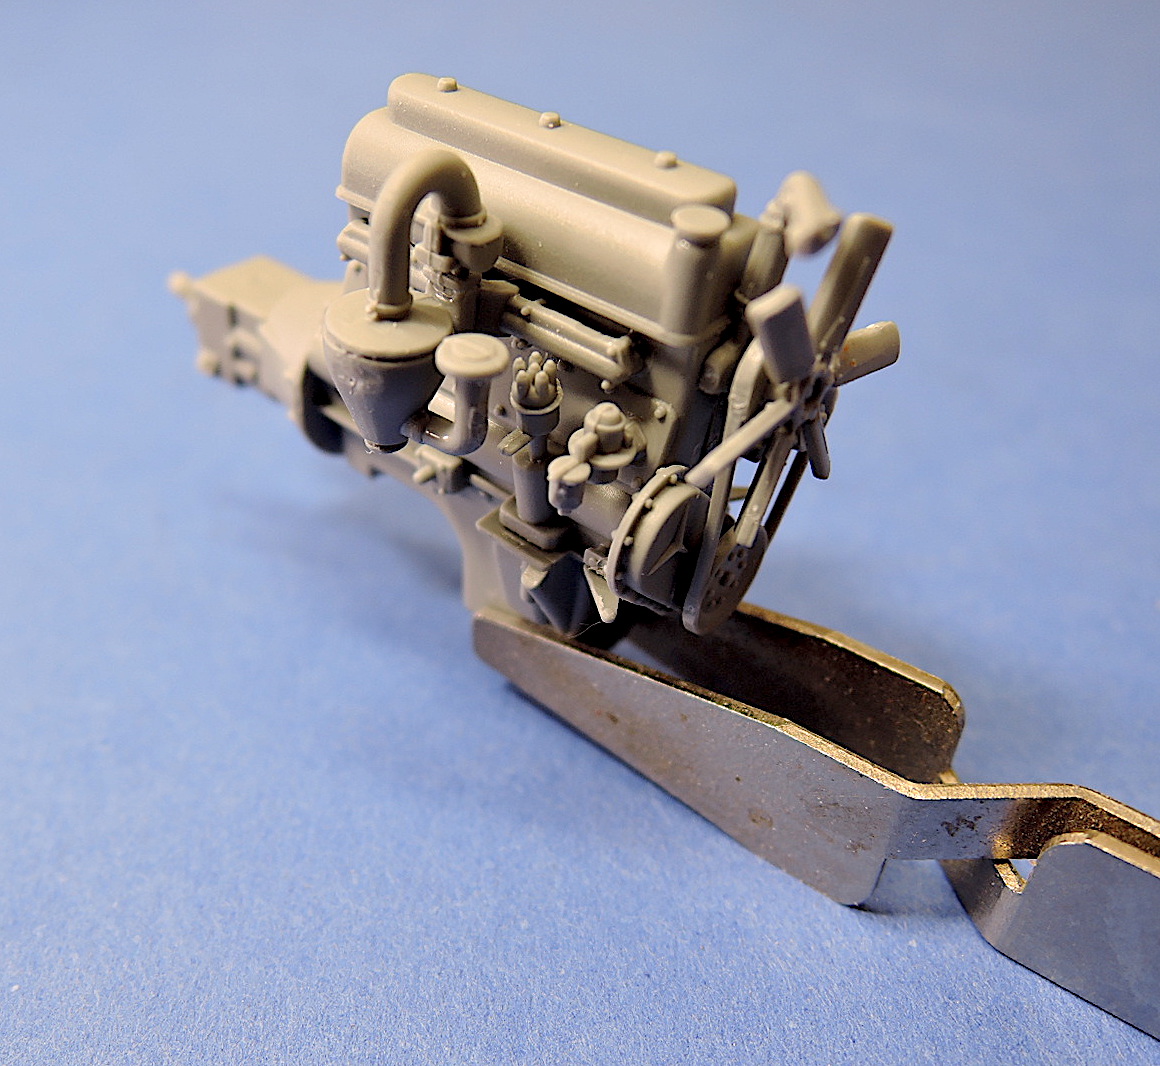
The next series of steps builds the engine into a nicely detailed assembly. There are some extremely small parts, B67 and B68, that could have been molded as a part of the engine block without losing much detail. There will be several other situations where MiniArt uses extremely small parts that could have been molded to a larger part.
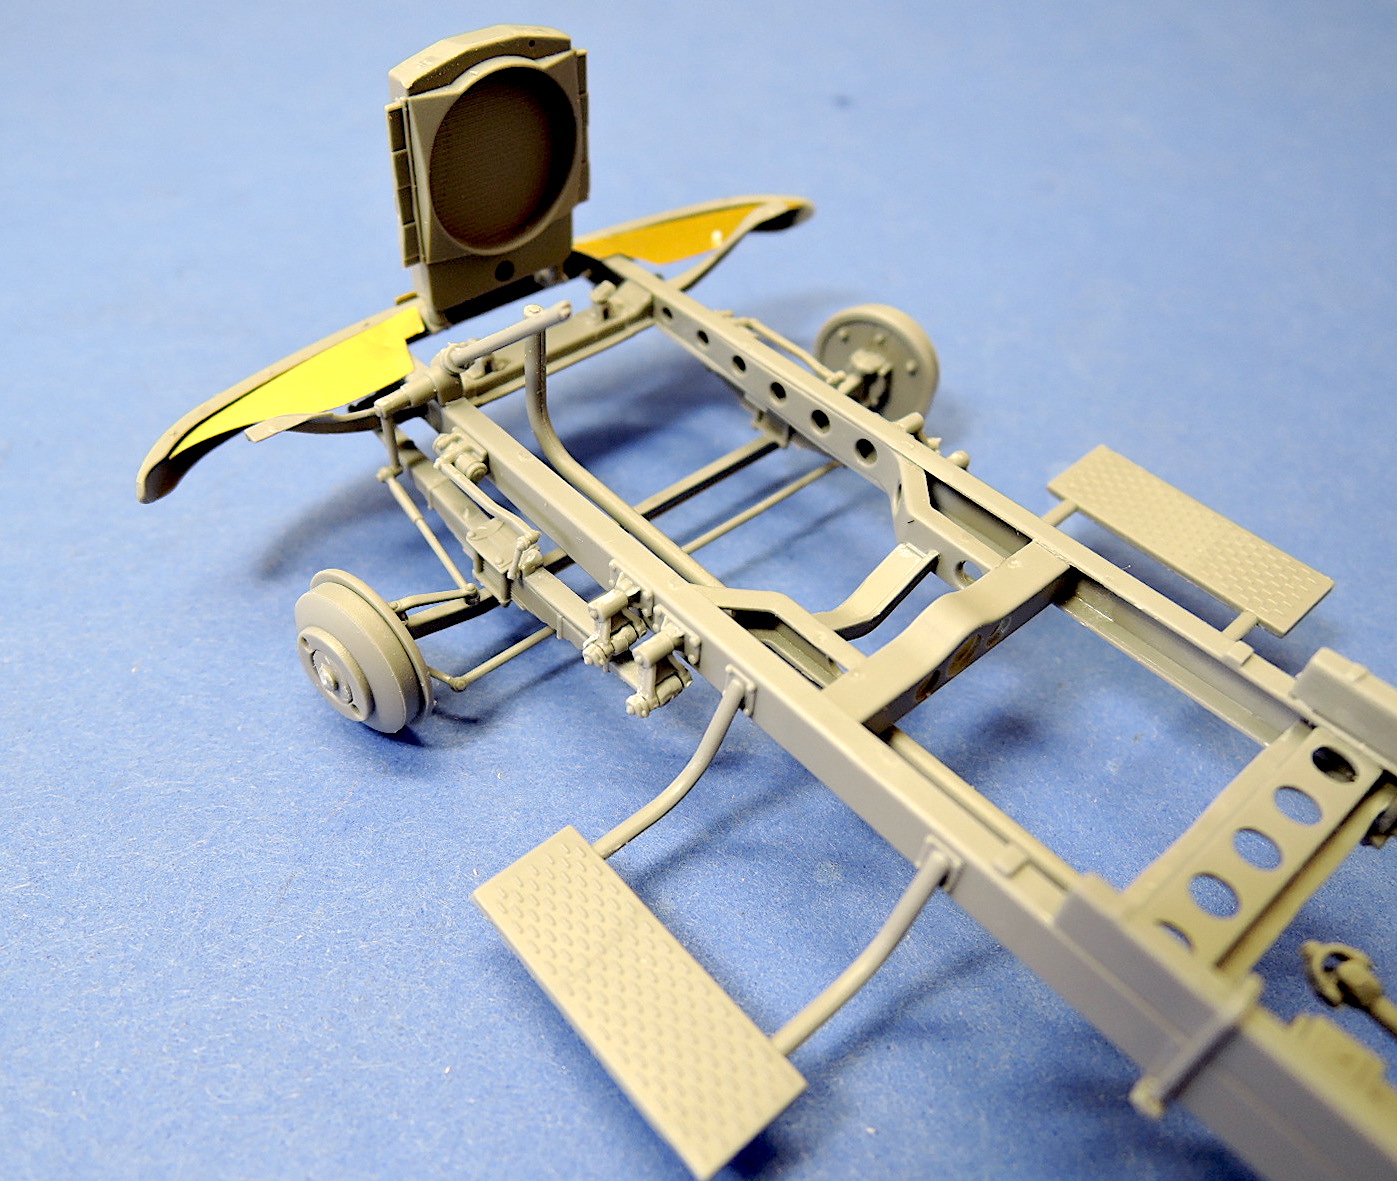
The next three pages of the instructions assemble the chassis, suspension, front and rear axles, engine, and wheels. The chassis goes together well and has many parts, but the fit is good and locating marks help guide placement. Two engine mounts, parts Ac9, are installed in step seven. Check fit the engine to make sure these mounts are in the correct location while gluing. The axle springs have more small parts, Ac16, that are difficult to handle and would have been easier if molded with the larger spring part.
The front axle is assembled in step 11 and is a fairly flimsy assembly. Parts A4, Db5, and Db6, do not fit very tightly to the axle. The wheels could turn if this was a more solid connection. Modelers wanting to have turning wheels should drill through these parts and install small brass rods for a better connection. In step 30 I had to do some surgery on the front chassis cross member to get the engine to sit forward enough and down on the engine mounts.
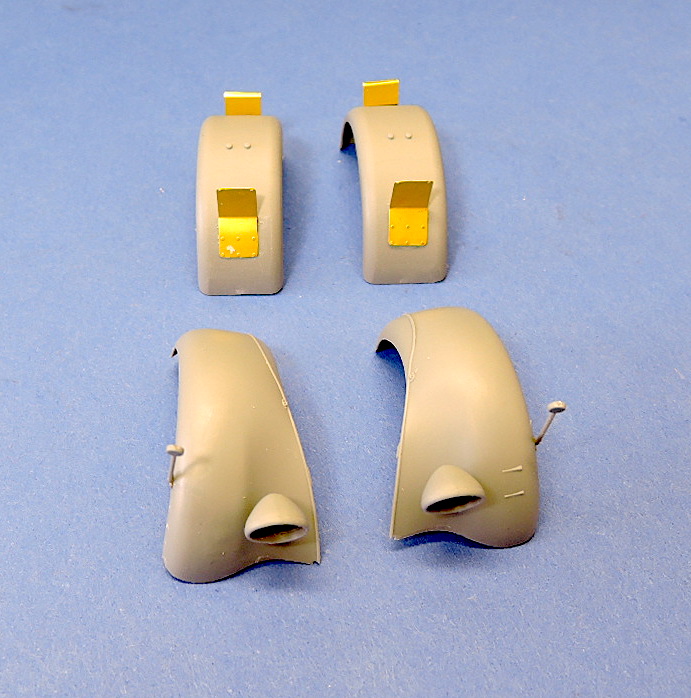
The wheels and tires are molded together and the exterior side wall is a separate piece. A photoetch strip is used for bolt detail on the inside of the wheel, but it is a little long and needs to be trimmed. This bolt detail is only visible on the rear exterior wheels.
Page 10 assembles the firewall and interior of the truck cab with lots of nice detail. Unfortunately, there are no decals or photoetch for the instruments on the dashboard. Two incredibly small parts, Ac5, are attached to the front wheel wells. I was lucky enough to get both parts off the sprue and attached in position, but this is another example of small parts that could've been molded with the larger part. The clear plastic windows fit well but have some minor distortion.
Page 11 of the instructions installs the doors, front fenders, radiator, and installs the engine on the chassis. There are two options for the front radiator, the molded plastic piece, and a radiator shell with a photoetch grille. I used the photoetch grille, which is open to the radiator. The doors can be attached in either an open or closed position, and the door windows can be open or closed.
The last series of steps on page 12 assemble the truck’s bed, rear fenders, and hood. The hood and side louvers can be attached in an open position. The truck bed has nice wood detail molded in. The hood can be installed open or closed. The brackets for the rear fenders, PEb5, don't have a fold line so I guessed and folded them in half. Mounting locations of the brackets aren’t very clear and they didn’t seem to fit correctly.
The decals for the truck are few and limited to the advertising for the different variants. Most of the details are for the wood cases and bottles for the cargo load.
Summary
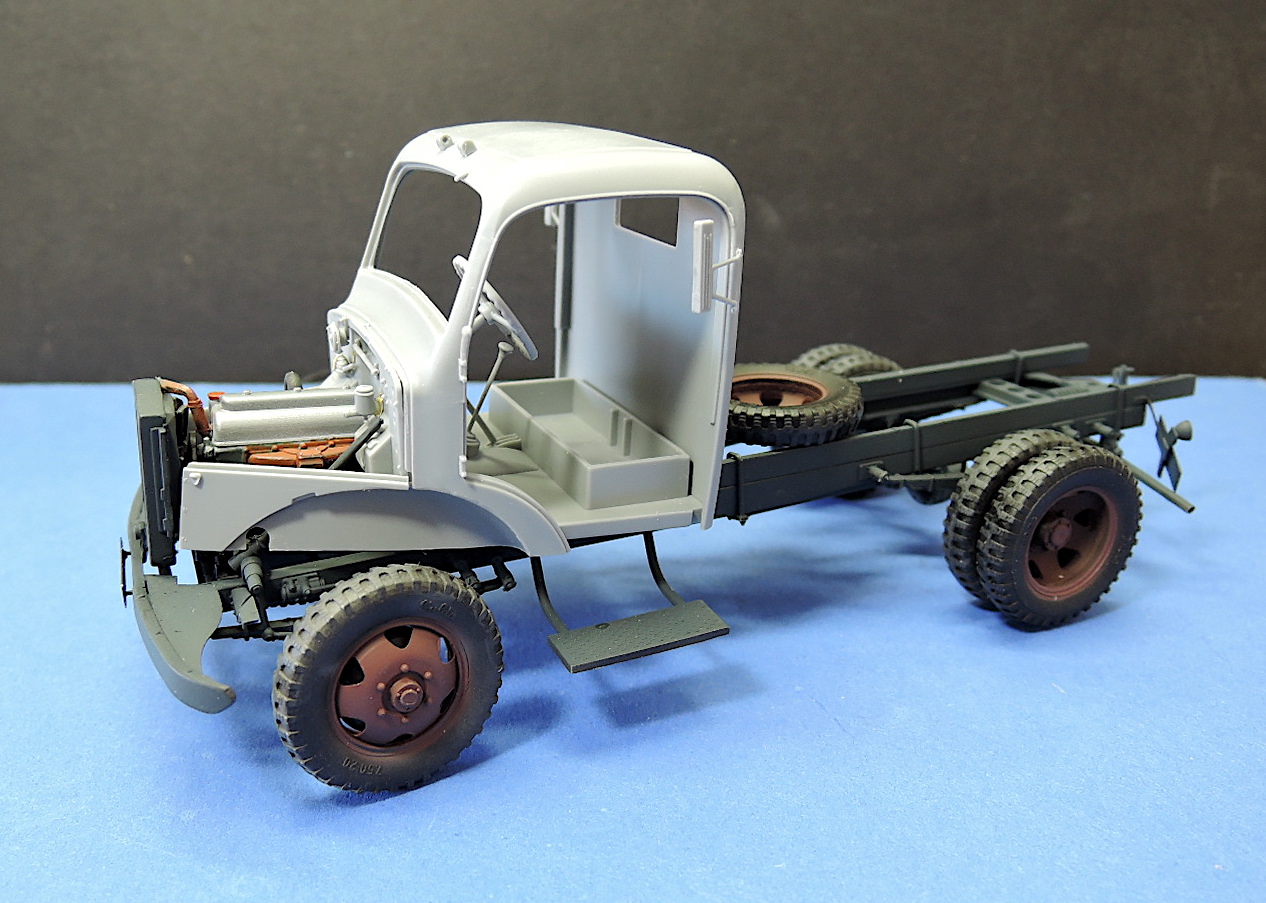
This is not an easy kit to assembly due to the small parts, and care will be necessary to avoid breaking off parts during handling. With careful assembly, this will be a nicely detailed kit of a civilian variant of the Mercedes L1500S truck.
MiniArt has produced many nice variations of this vehicle and continues to make excellent kits. Thanks to MiniArt for providing the review sample to IPMS.


Comments
Add new comment
This site is protected by reCAPTCHA and the Google Privacy Policy and Terms of Service apply.
Similar Reviews