
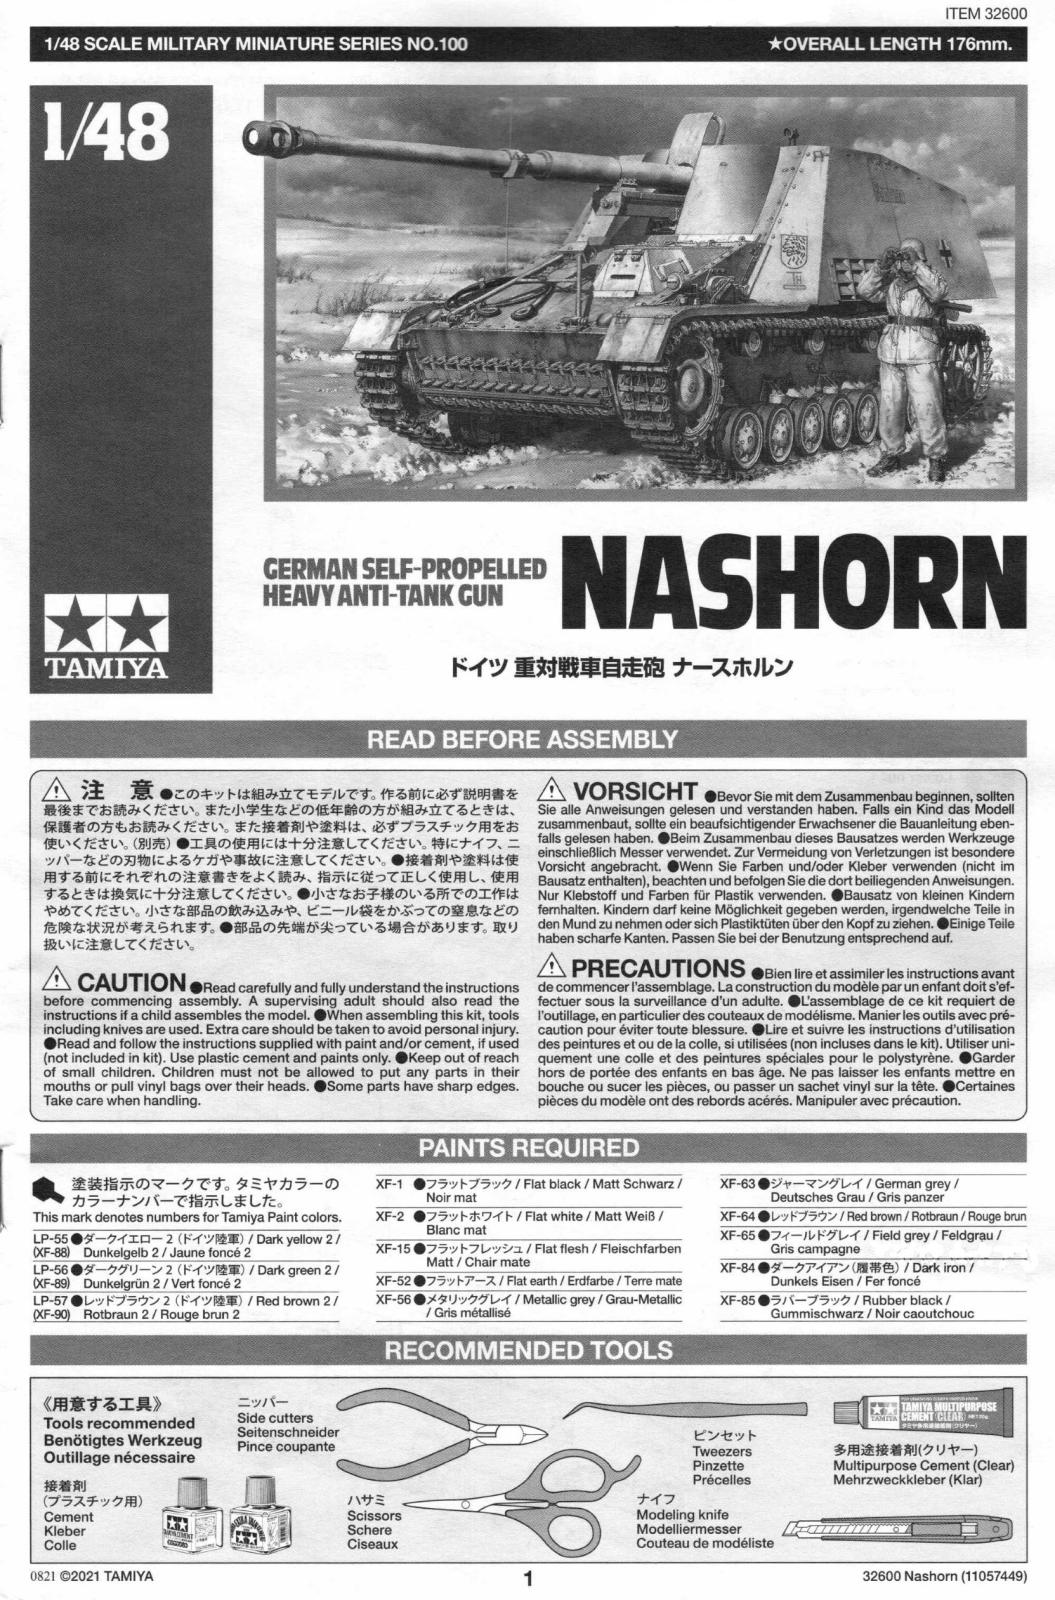
German Anti-Tank Gun Nashorn
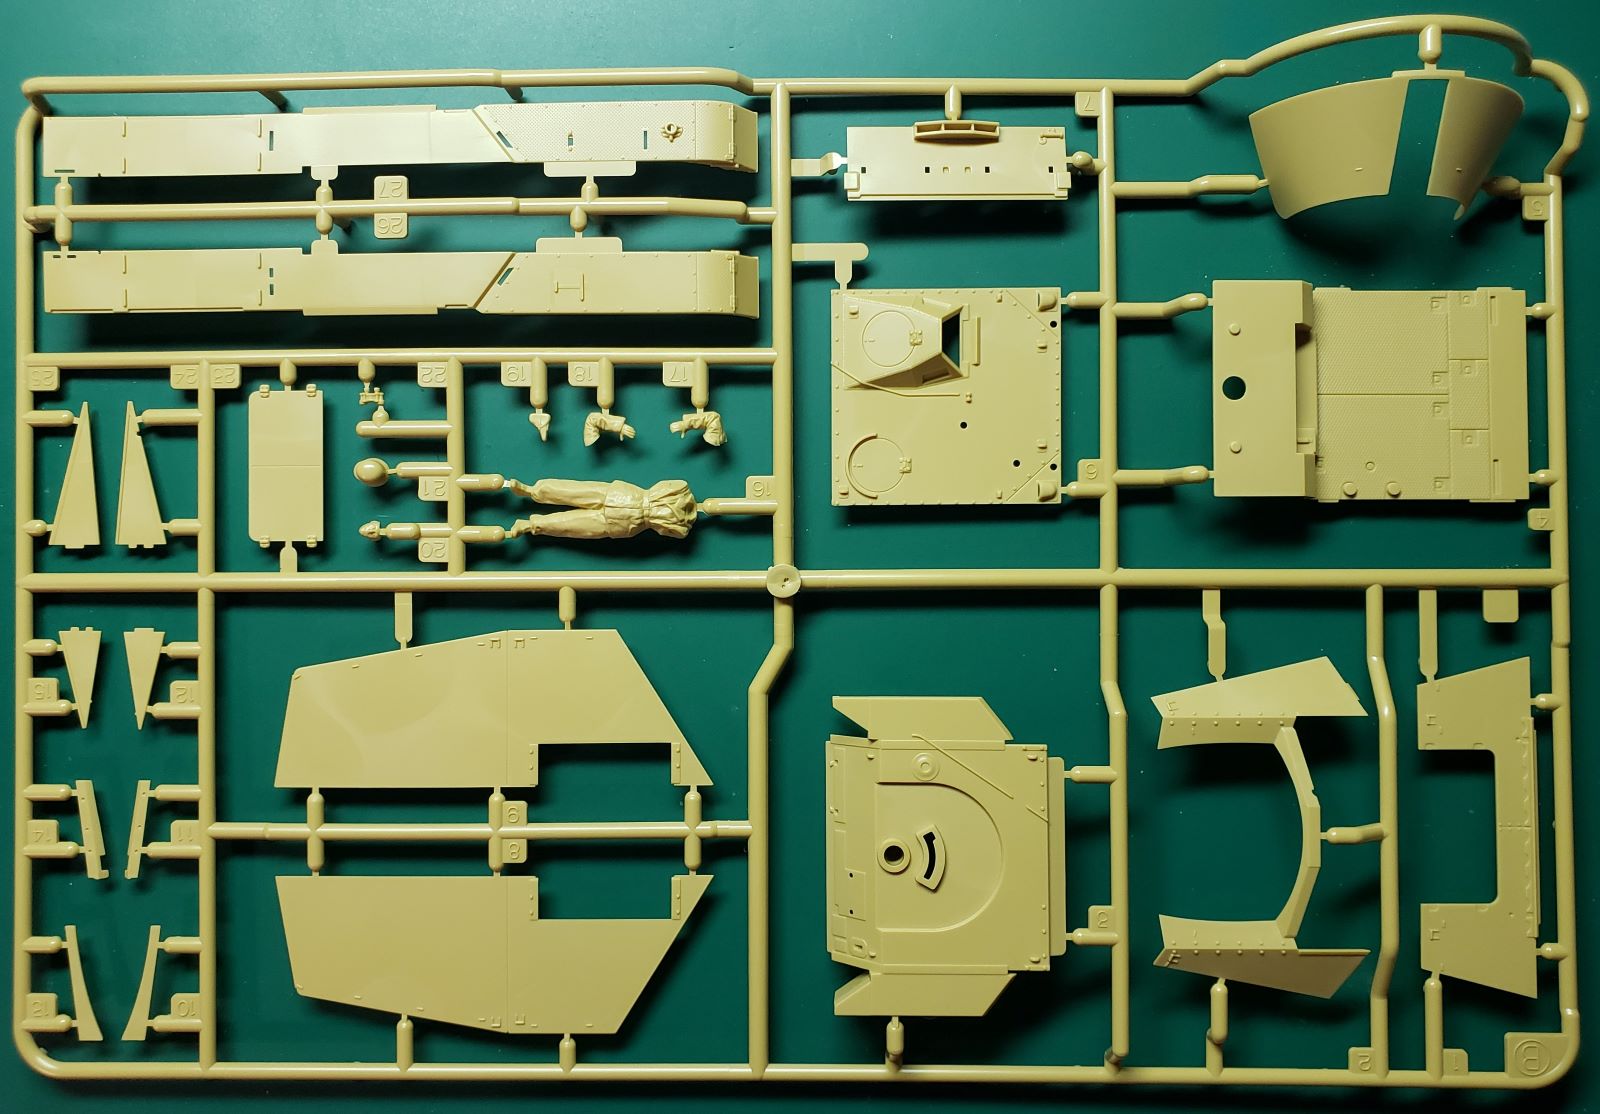
Tamiya’s line of 1/48 armor kits continues to grow, and I for one am thankful. This is kit number 100 in the series, and it comes in their usual black trimmed box with nice artwork of a Nashorn in winter camo. For a relatively small kit, the parts count is almost 200. As one would expect, the parts are very cleanly molded and nicely detailed. The tracks are link and length, with a very realistic sag molded into the top run of tracks. There is also a nice figure included and according to the instructions he is only to be used for the winter camo scheme. Speaking of camo schemes, there are markings provided on a small decal sheet for two options – the winter scheme and a three-color vehicle in desert yellow, green and brown camo. Instructions are provided in the usual Tamiya style – black and white with clear diagrams and detailed information for any additional guidance on placement, etc. There is a separate sheet for painting instructions and all color callouts are for Tamiya paints. No photo-etch or resin is included.
Included are two metal bars for added weight, which is a nice touch for these smaller armor kits. Installing these two bars into the lower hull part is the first step and construction of the lower hull continues through the next several steps. The suspension is molded as part of the lower hull sides, so there is not much chance of misaligning the road wheels. Be sure to following the instructions closely for installation of the return rollers. One set of rollers has a pin in it that helps to align the top length of tracks. It is clearly marked in the instructions and the parts are notched so it would be difficult to install them incorrectly.
I sprayed the lower hull with Tamiya XF-88 Dark Yellow 2 before attaching the road wheels. The tracks went on next, and they really went together well and the molded-in sag looks convincing. Be sure to pay close attention to the order of assembly for the tracks, and also the direction of the tracks. There are notes and diagrams all over step 7 to help with that. Step 8 involves attaching the exhaust and a couple of spare road wheel racks. I drilled out the ends of the exhaust. Step 9 would have you install the spare road wheels on their racks, but I waited until after painting to do that.
Steps 11 – 15 involve upper hull assemblies and the fit of the parts is quite good, as you would expect from a Tamiya product. Be sure to clean up the ejector pin marks on the insides of the upper hull armor plates. They are very faint, so you might miss them like I did on the rear panel. Luckily they are very faint. I also had a slight gap where the left side armor plate met the rear plate. I was able to force it together and it looks okay. I think it was a fault of my construction rather than with the kit. It would have been better if I had installed the side and rear plates at the same time that way I could have made sure they all lined up perfectly.
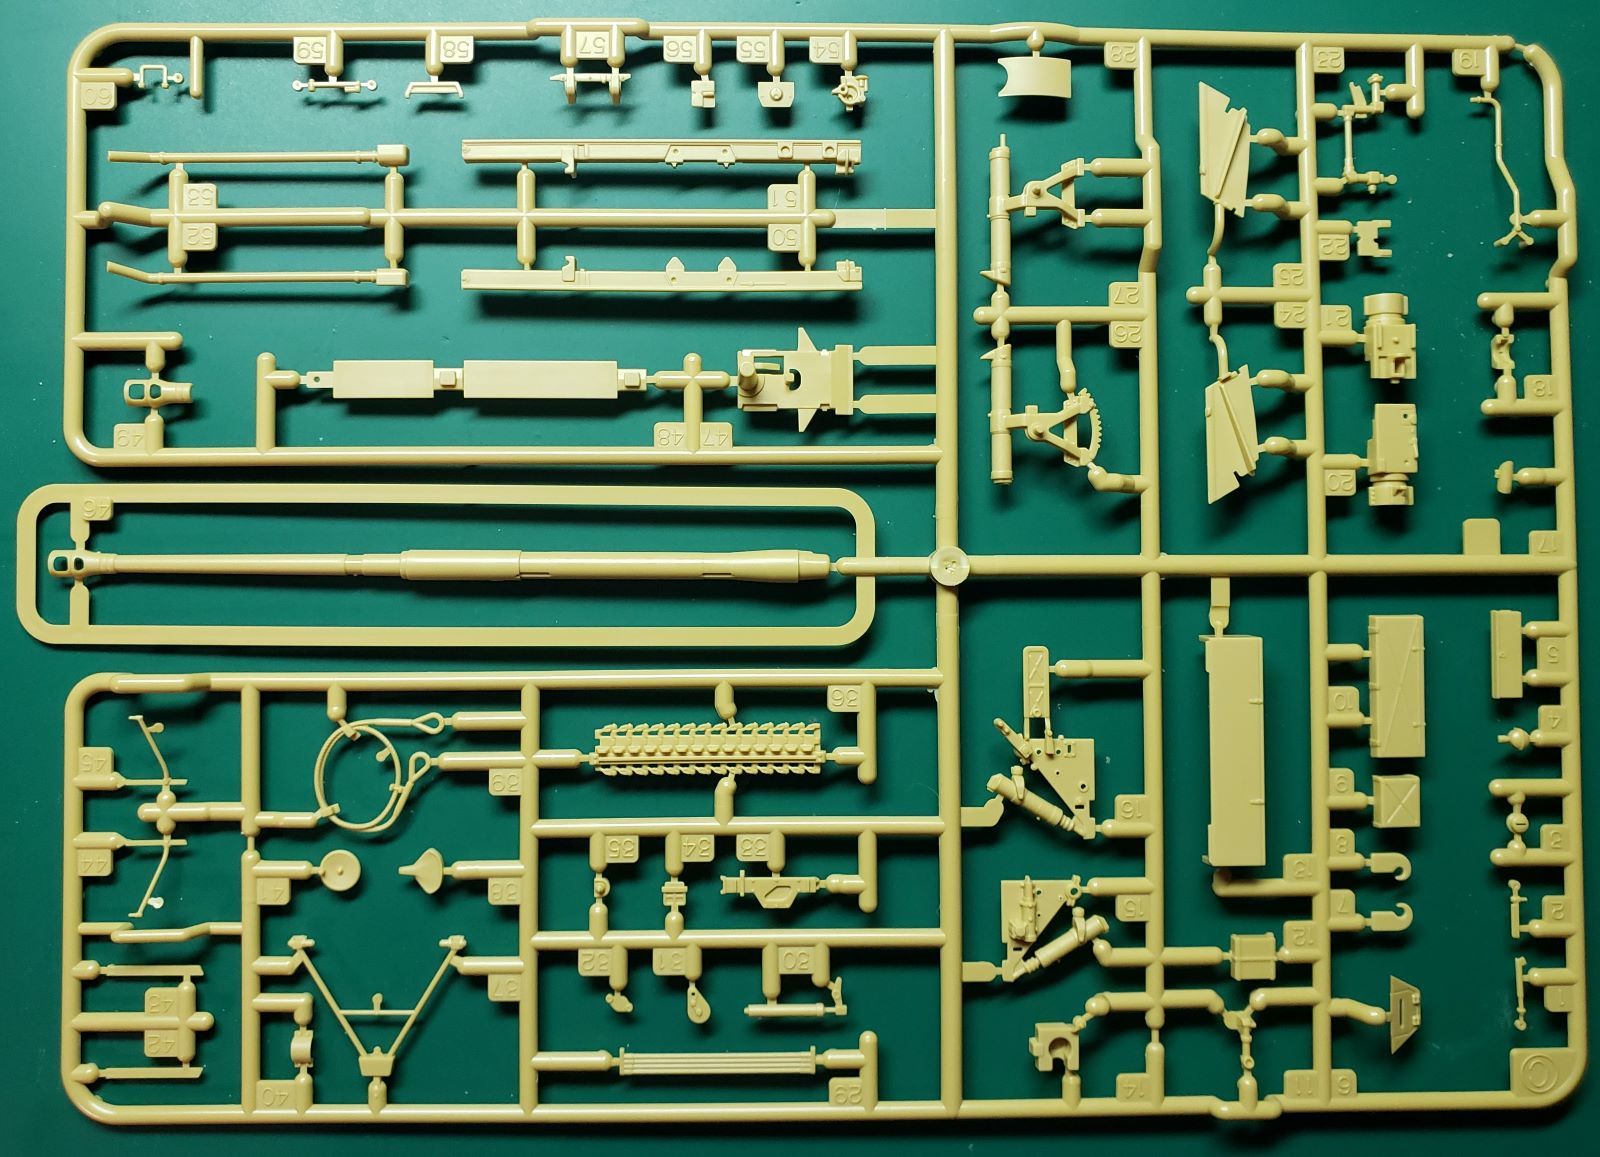
Steps 16 – 22 deal with assembling the very nicely detailed 8.8cm gun. There are quite a few parts here and some of them are rather small, but it all goes together beautifully. In step 22 the gun shield is attached to the gun, and I found this to be a bit fiddly. I found it easiest to glue the supports on one side first and let the glue dry and then glue the other side. It seemed like it would be very fragile, but that is not the case. It all held together well while I manhandled it during mounting the whole gun assembly to the main hull.
The front armor plate is attached next. The next couple of steps involve attaching the various smaller hull parts like the jack, cables and light, etc. I left the cable and the front spare track rack off until after painting. I choose to do option B, which was a three-tone camouflaged Nashorn. I used Tamiya acrylics. The instructions also give the equivalent Tamiya lacquer color number. I started out trying to follow the camouflage diagram shown, but it quickly deteriorated into just making it up as I went along. I sprayed a coat of Future over the entire model and placed the few decals. I then did a wash to bring out the detail and also did some light weathering before spraying on a final flat coat.
This was a really fun kit, and a nice break from my usual 1/48 aircraft builds. The small size and number of parts make this kit better suited to someone with previous modeling experience, but the ease of assembly and precise fit of the parts mean that you don’t need a lot of experience. This is another great kit by Tamiya and I highly recommend it. Many thanks to Tamiya for the chance to review this gem of a kit.


Comments
Add new comment
This site is protected by reCAPTCHA and the Google Privacy Policy and Terms of Service apply.
Similar Reviews