
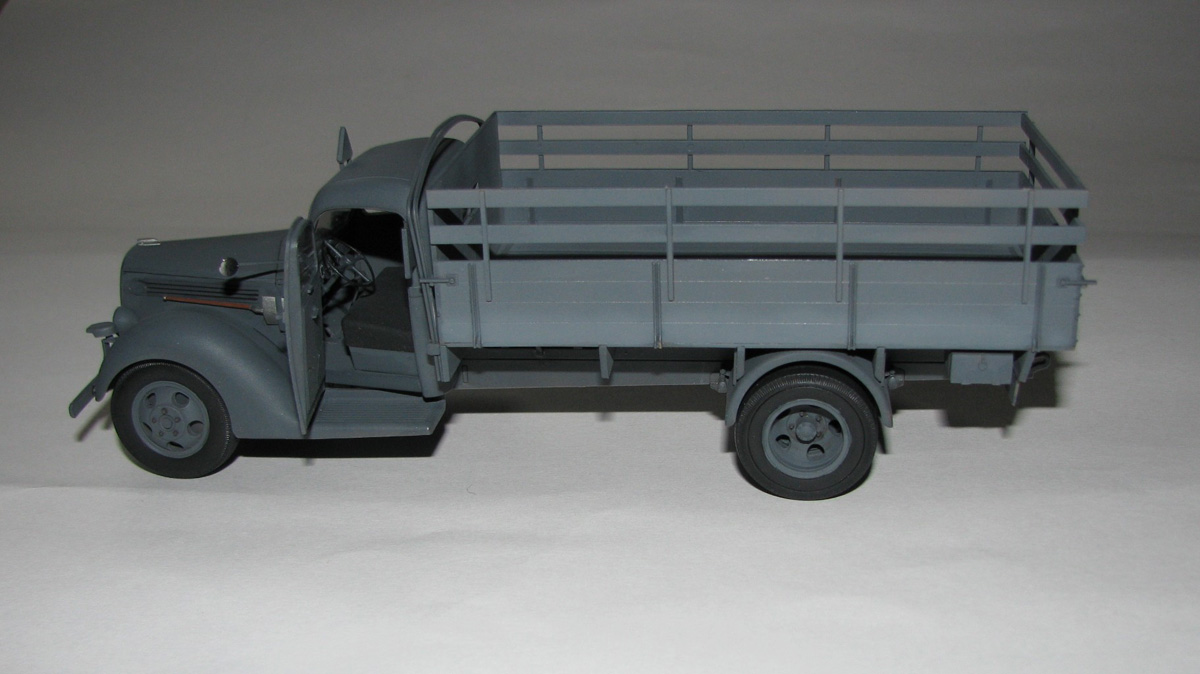
G917T (1939 production), German Army Truck
History
The main part of the German Wehrmacht autopark during WWII formed 3t cargo trucks. One of the most numerous was the model G917T, which was produced since 1939 in German Ford plants in Cologne. This truck was equipped with a V8 engine and had rear drive only. G917T trucks were widely used in all German arms of service in all theatres up to the end of the war. Roughly 25,000 were produced in German plants from 1939 to 1941.
The Kit
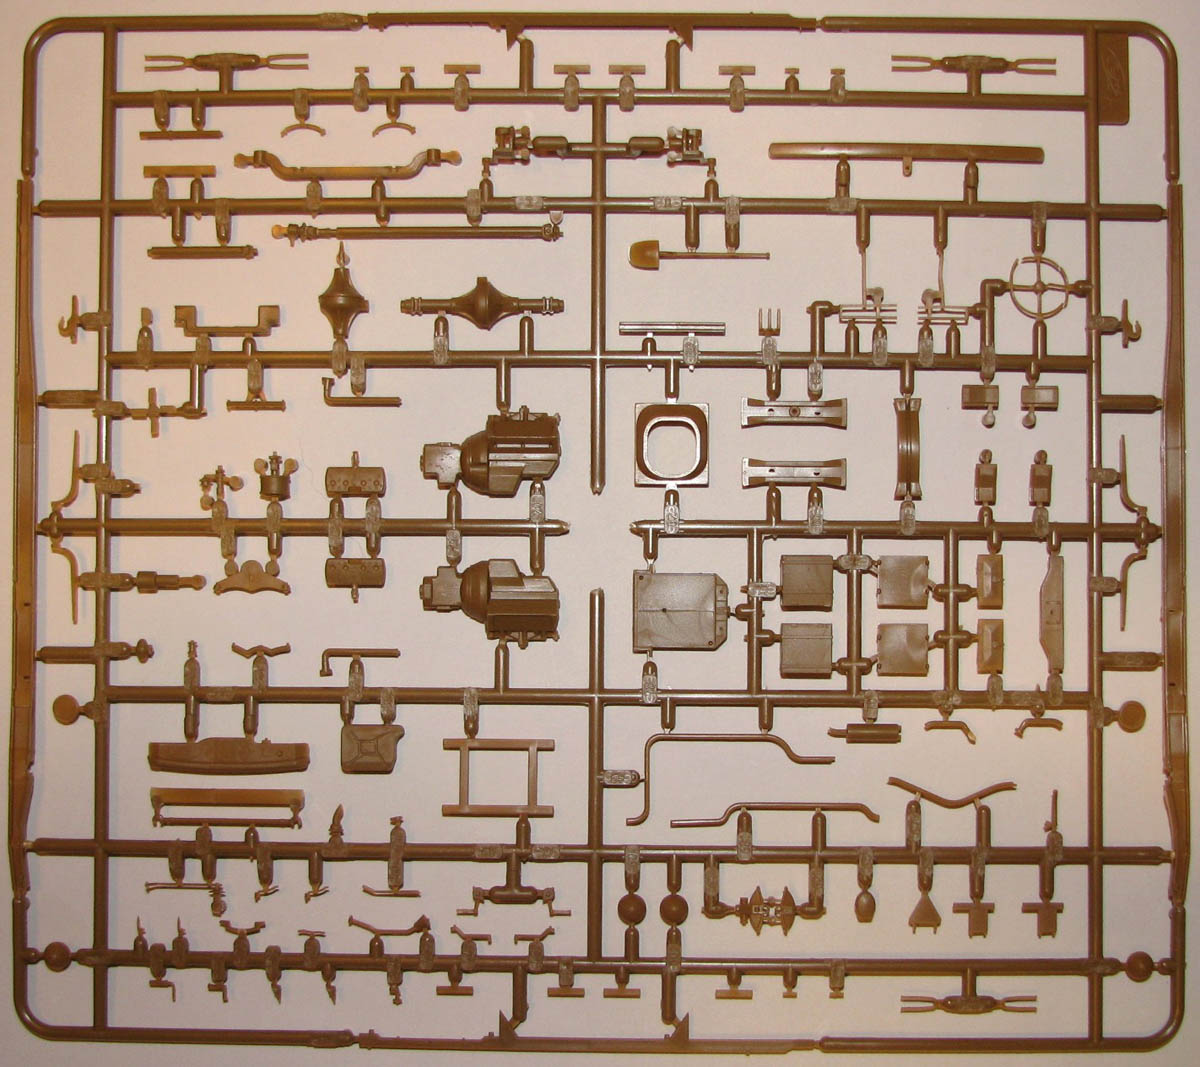
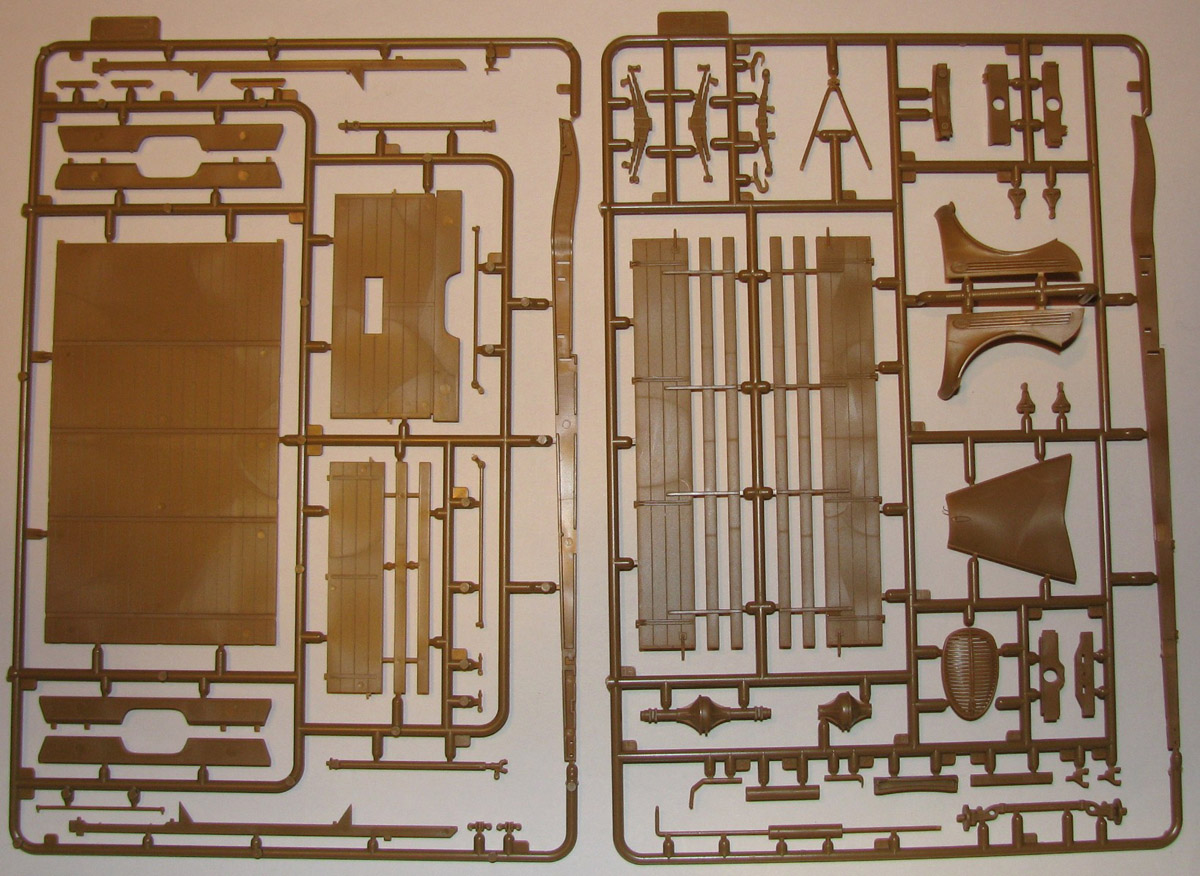
Upon opening the box you will find a bag with all 6 sprues (5 tan & 1 clear injected molded plastic) in it. Although the parts are well molded, some have a heavy seam line you will have to clean up. There are also many light pin marks that need to be addressed. If you have never worked on an ICM kit before, be forewarned that they do some really fine molding…..maybe too fine sometimes. After closer inspection I found the steering wheel was broken in a few places. In fact it was so bad I decided to scratch build my own. There are many small and fragile pieces in this kit, some were already broken and I managed to help break a couple others myself. You also get an 8 page instruction sheet and a 2 page painting/marking & history sheet. You do get a lot of extra parts and it wasn’t until I read the Dec. 12, 2013 review of the V3000S/SS M Maultier with 7,62 cm Pak 36(r) by Pablo Bauleo that I noticed Sprues A, B, C & clear are the same for both kits. (Now it makes sense to me!)
Construction
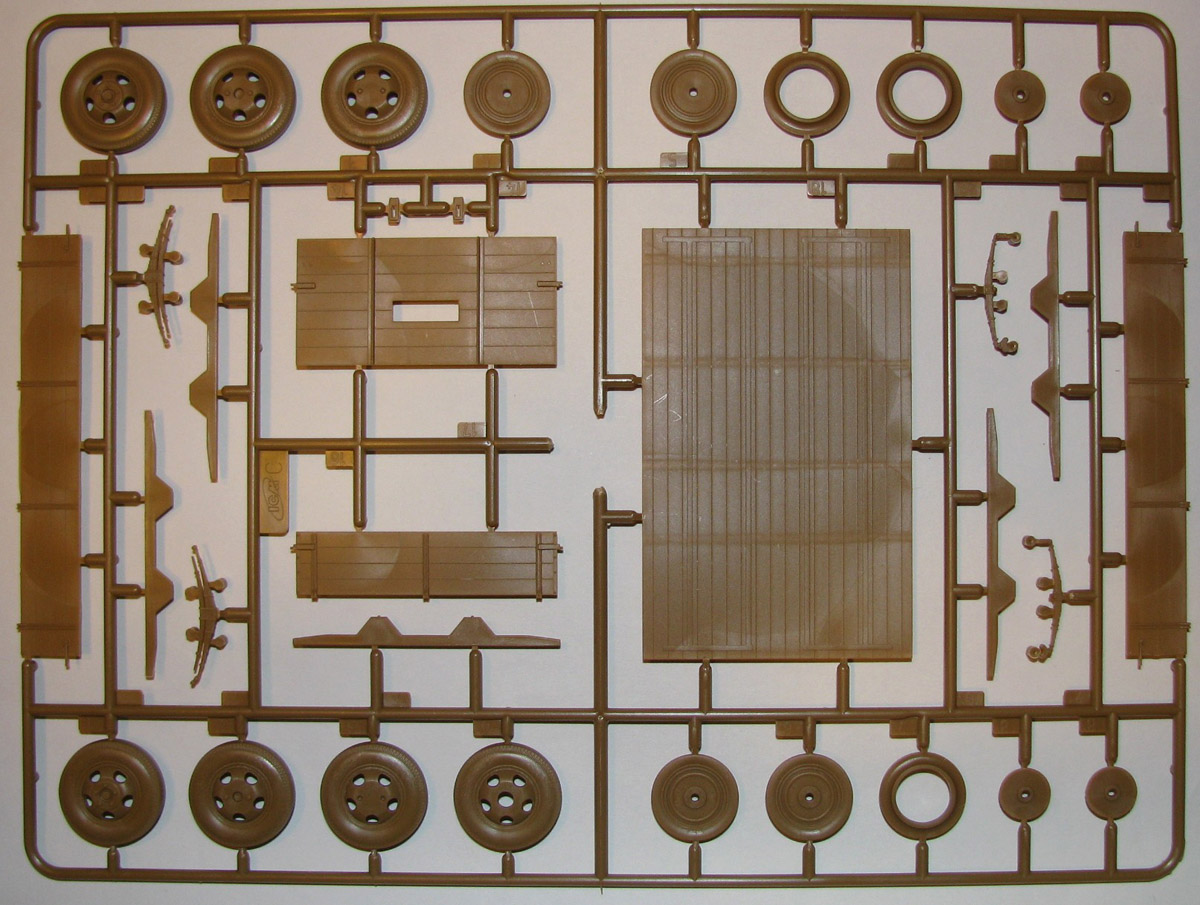
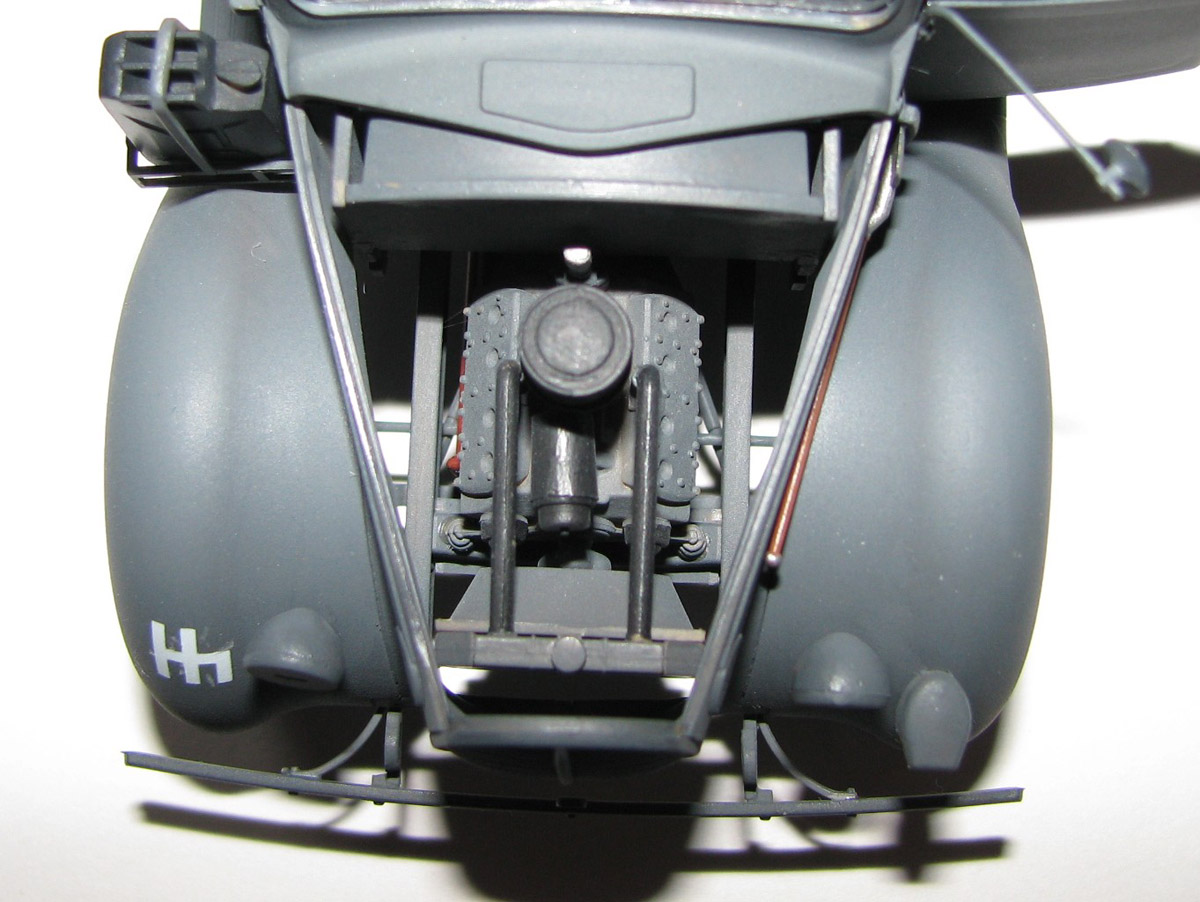
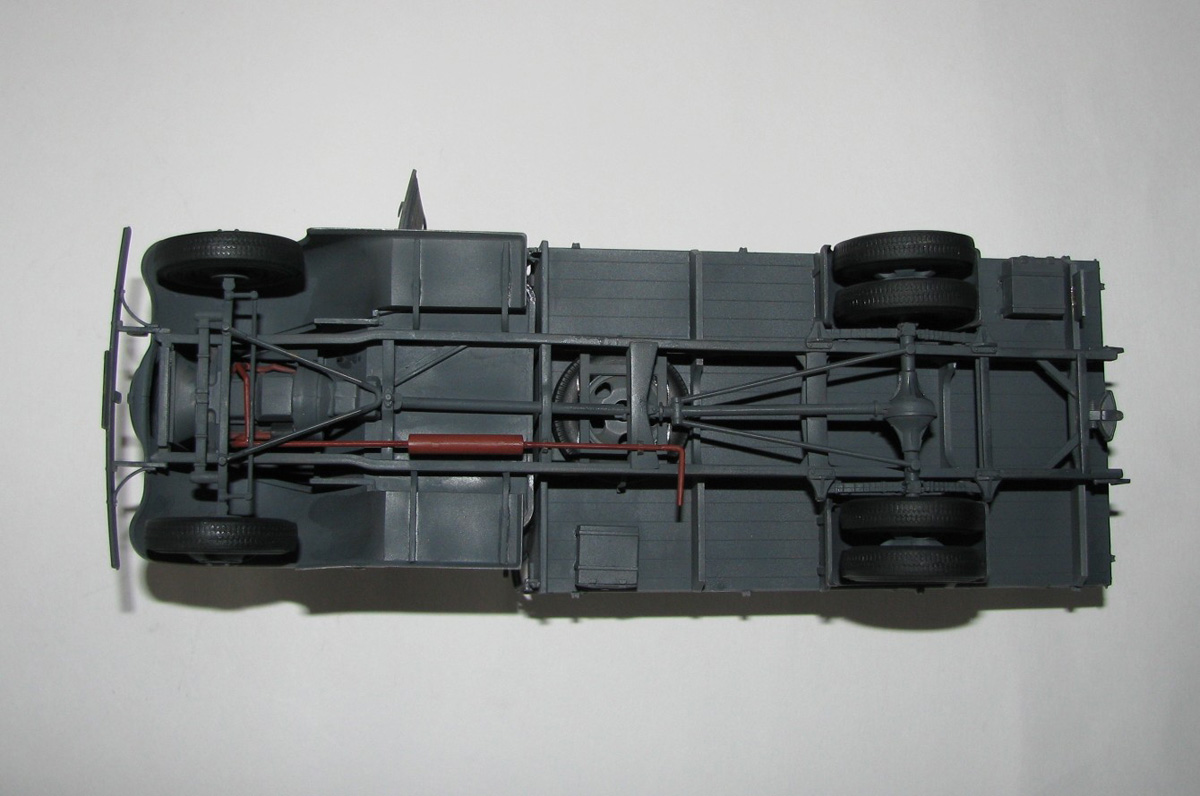
There are 20 steps in involved with this kit starting with the engine. Steps 1 & 2 deal with the 17 pieces that make up the well detailed engine and one of these parts is the gear shift which I decided to leave off until the last possible moment due to the fragile nature of it. One thing to note here is that there is no fan belt which was kind of strange to me but can be scratch built fairly easy. Steps 3 & 4 deal with the wheels and front & rear axles of which there are 26 pieces for, again very nicely detailed. The tires/wheels are a two piece affair with about 75% of the tire/wheel on one part (parts C-1, 2, 3) and the rest on the other (C-5, 6, 7). This means there is a seam on the side of the tire but is not too noticeable on the front and inner rear tires as they have the seam on the inside, the rear outer tires will need the seam to be filled though. A minor point about the tires is the mold line in the center of the tire. Two of my tires were molded not very evenly and I had to clean this up which resulted in losing most of the tread detail. The front suspension is made up of 8 pieces and is a bit fragile so take it slow and be careful when dealing with this. The instructions show not to cement a part on the inner wheel assembly so they can move but I found it much easier to just cement them.
Step 5 is where you build the 18 piece Chassis. Sounds & looks like a lot but it was really quite easy and I had no problems at all. One minor note about the spare tire is that you will have to remove the lug nuts molded on it! Steps 6 & 7 are when you add the engine, suspension, drive train, exhaust and bumper to the chassis and the only problem I had was with the exhaust. It’s a 4 piece affair and the instructions would have put it on after adding the front suspension. This is what I did, trust me, put the exhaust on BEFORE the suspension…..UGH! So far in this build I have had very few problems and the fit is very good.
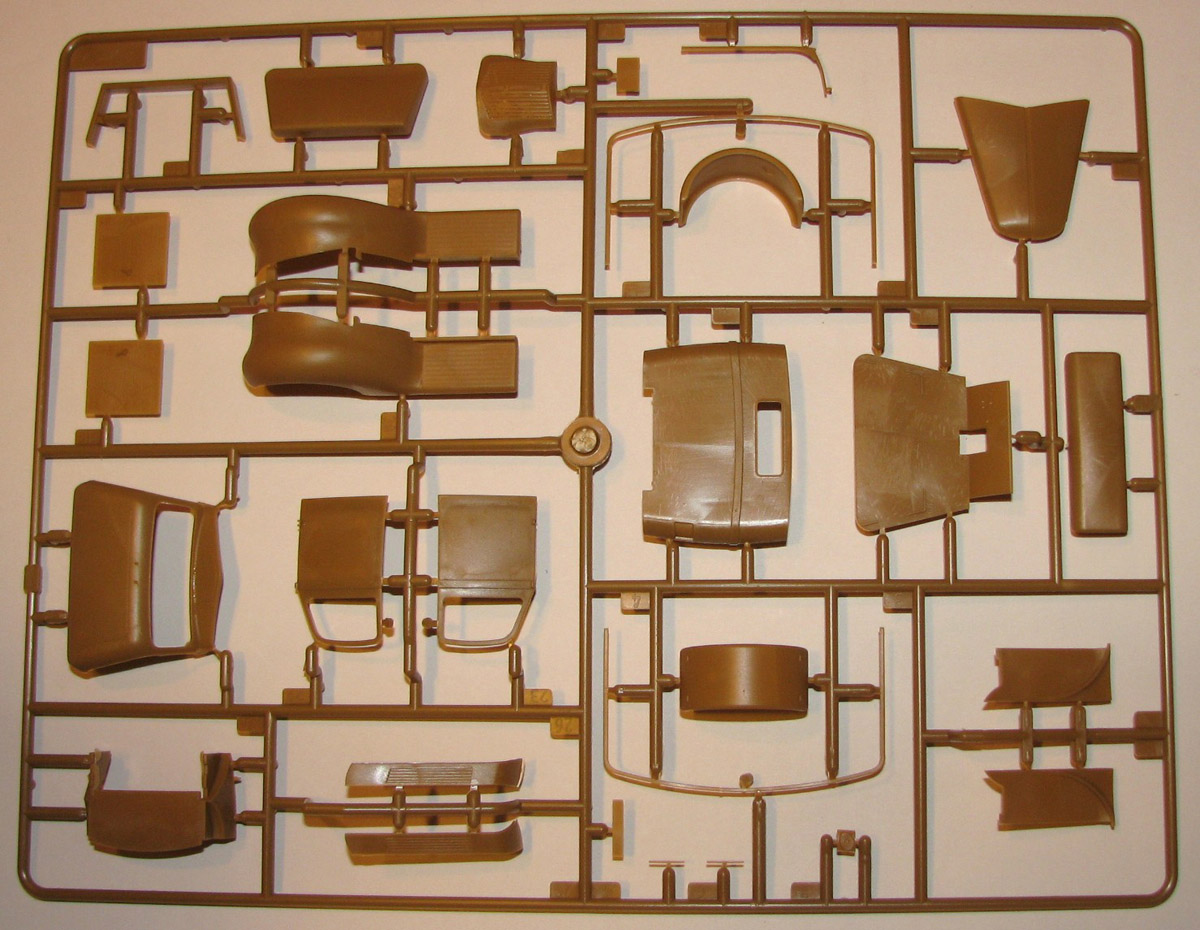
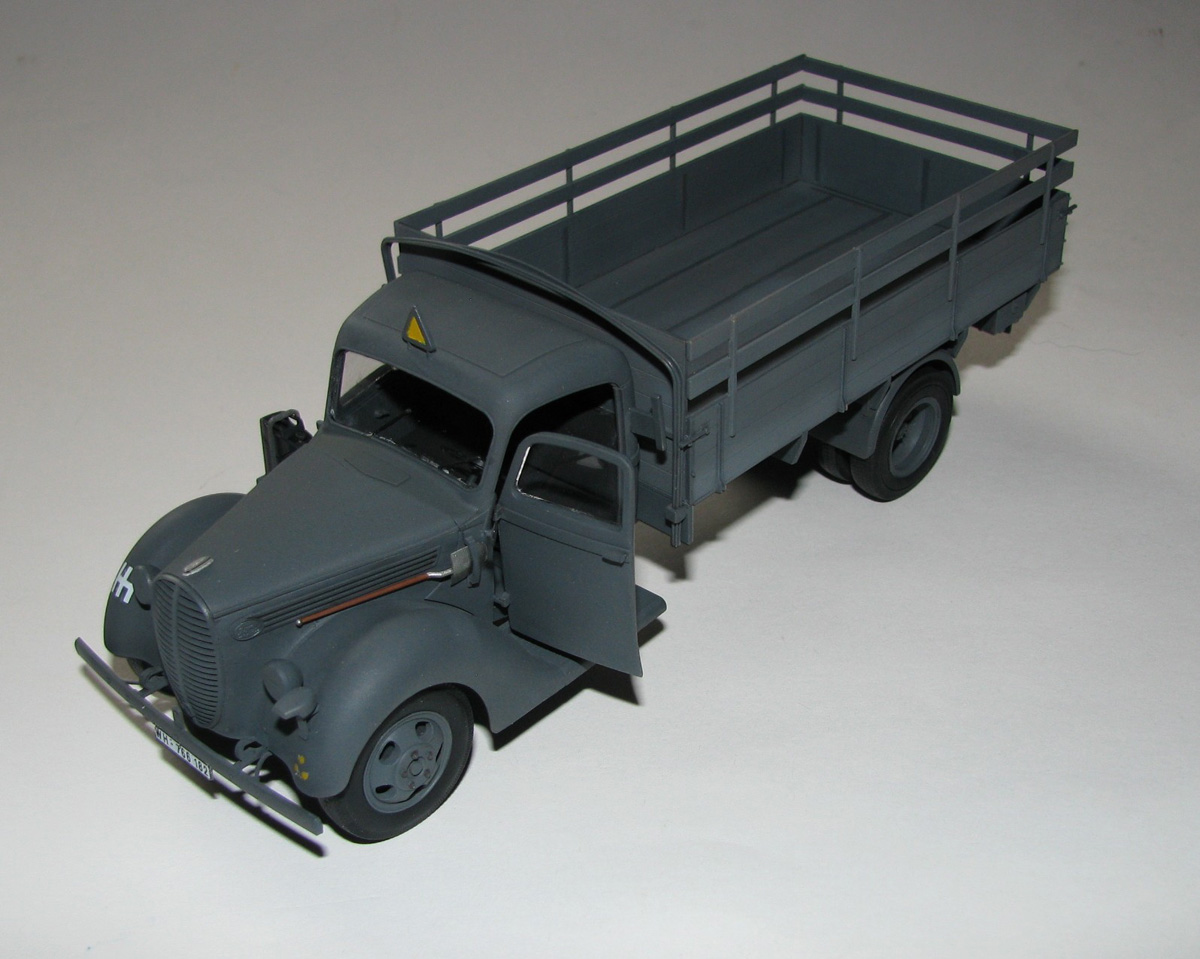
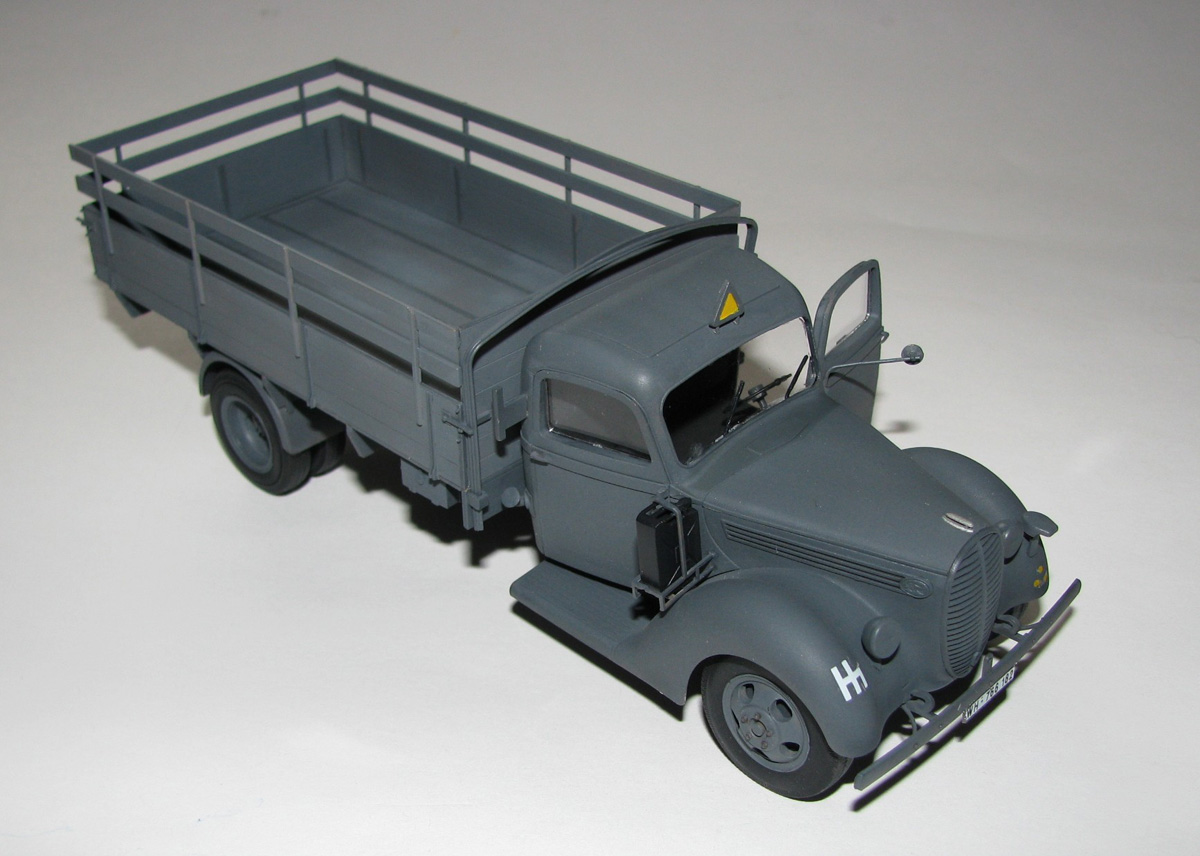
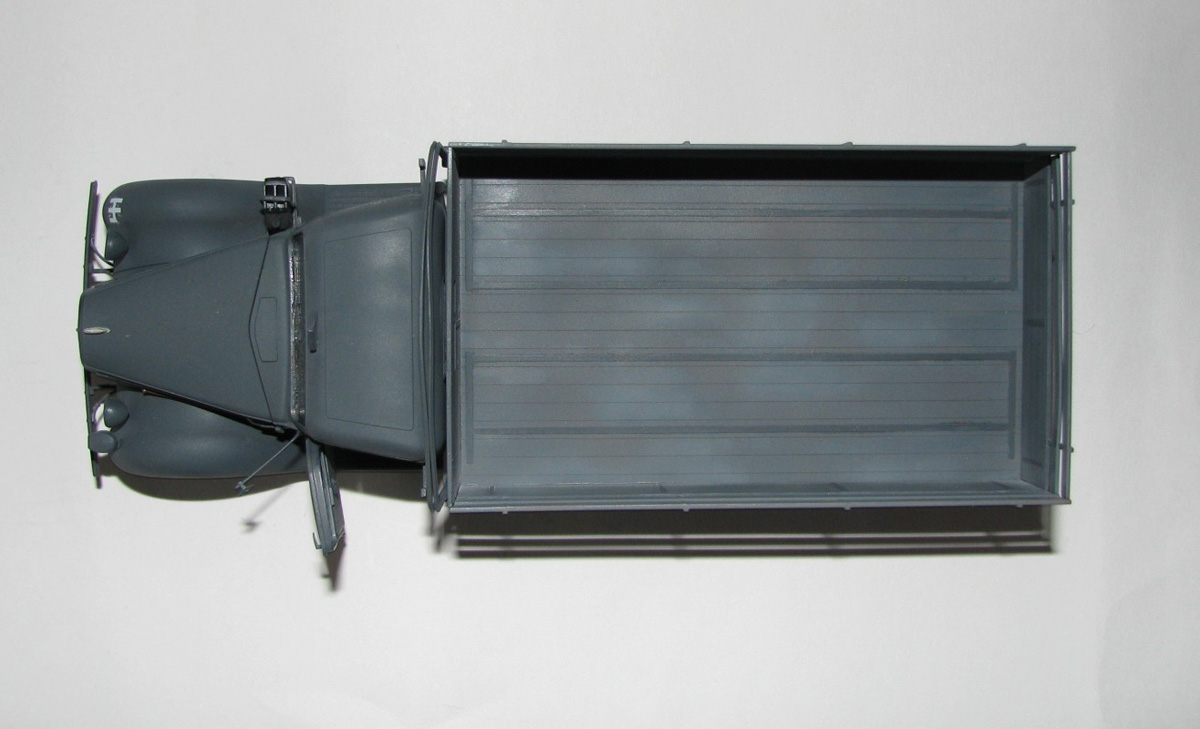
Steps 8-15 deal with the cab. 55 parts (including clear parts) + 2 decals make up a nicely detailed cab but there are a few pin marks that need to be cleaned up as they will be seen. The overall fit of the cab is very good; the clear parts are a bit thick but quite clear. However, there are some small parts and some VERY fragile parts to be aware of. I have already mentioned the steering wheel, the others are the side mirror (I left this off until the very end), the rack that holds the jerry can (a thin two piece assembly that was already broken but I managed to fix…kind of), The windshield wipers (it’s nice that they are separate pieces though), the door handles are very small and hard to clean up (I heard the carpet monster calling for these!). Two minor problems I found were the locating pins did not fit the holes so I did have to do a small bit of drilling and the decals for the dashboard look nice but would not set down for me and are kind of brittle. I used a few applications of Solvaset and the decals resisted to the point of starting to fall apart so I let them be. Step 10 is the construction of the engine compartment consisting of the firewall, grill and two sides. It’s a good fit but be careful as the sides when attached to the firewall don’t have a lot of contact and moved a bit on my 1st attempt.(One interesting item here is that the grill is molded open and is really nice, but the side cooling slots are molded solid and I’m not sure why ICM did this) The doors are a 3 piece assembly and look nice but there is only a window crank molded on the inside, I’m pretty sure there is supposed to be a door release also…anyone? The hood is also a problem if you want to show off the engine as there is no easy way to pose it open. ICM does give you an option for the headlights, clear or tactical covers and the jerry can is one of the better(I don’t build a lot of armor) I have seen. Another minor note is the semaphore turn signals should have a small light on them and none are provided, an easy fix if you want to.
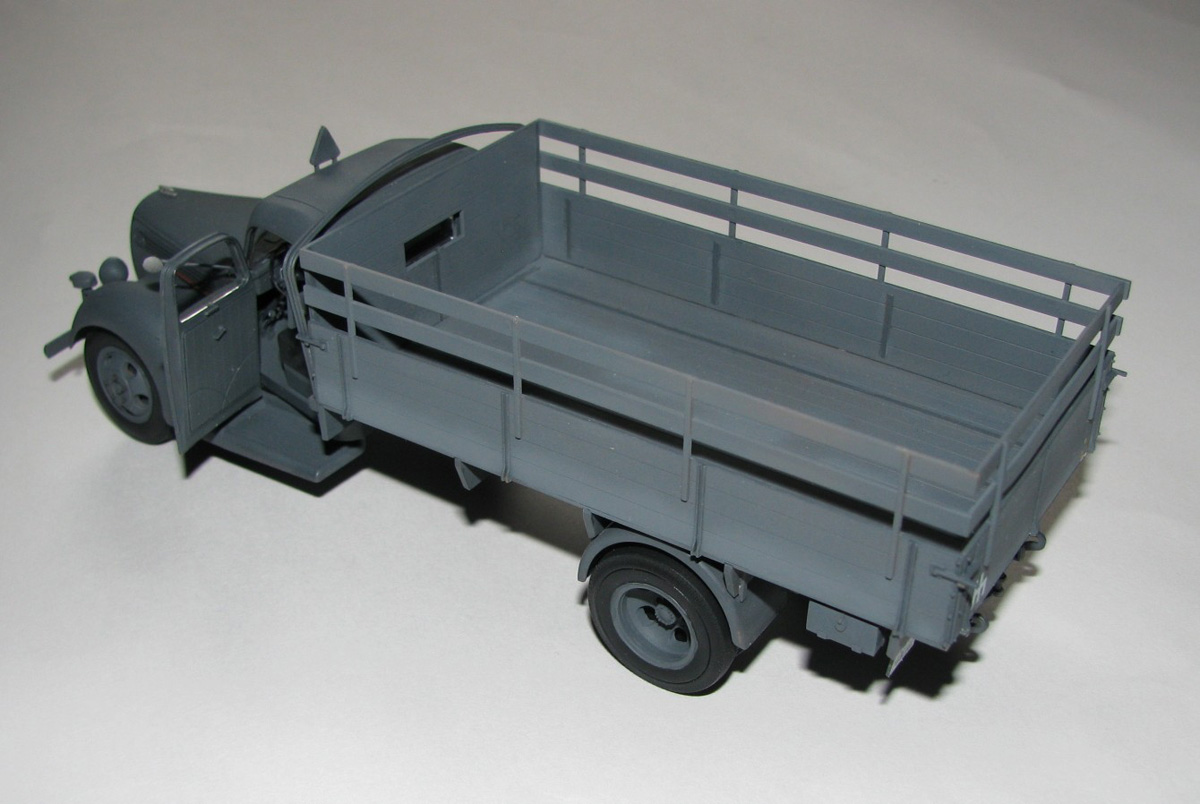
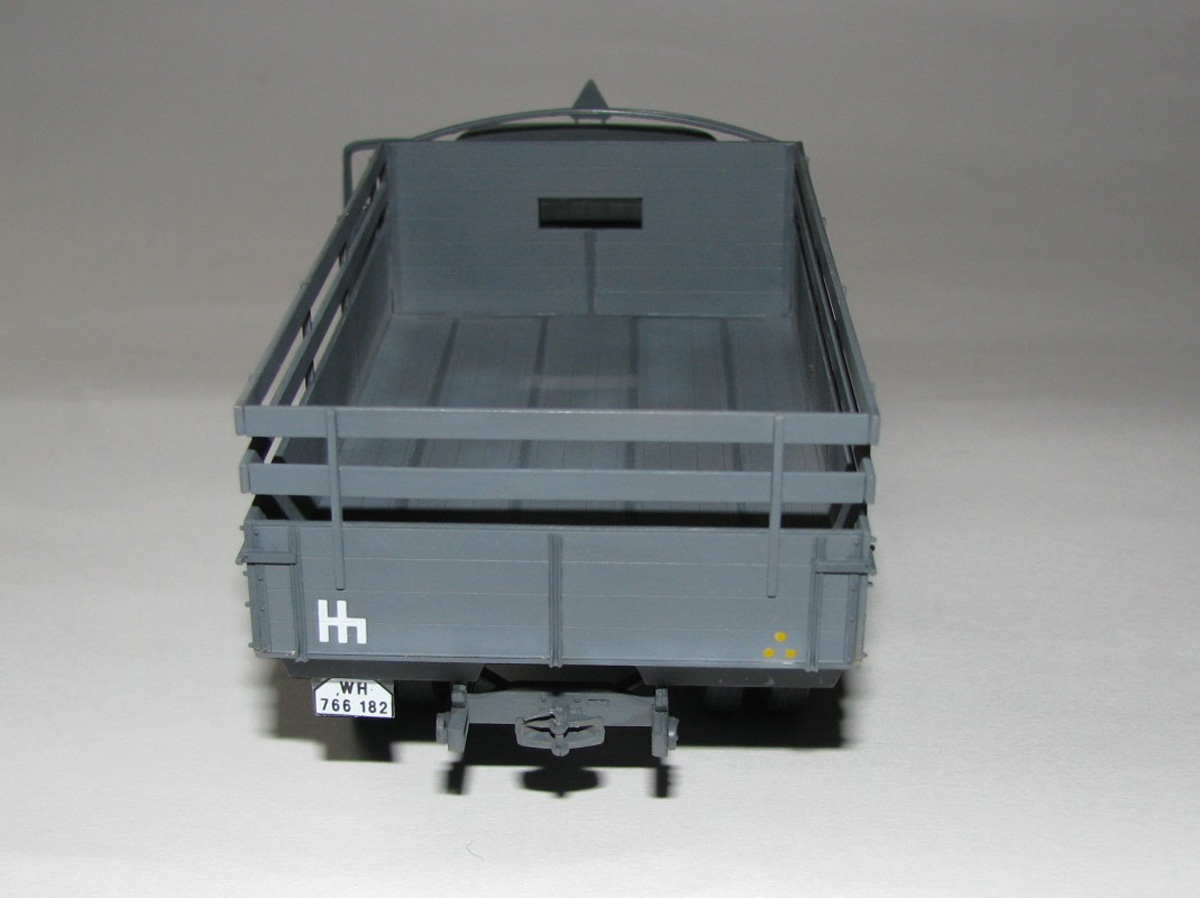
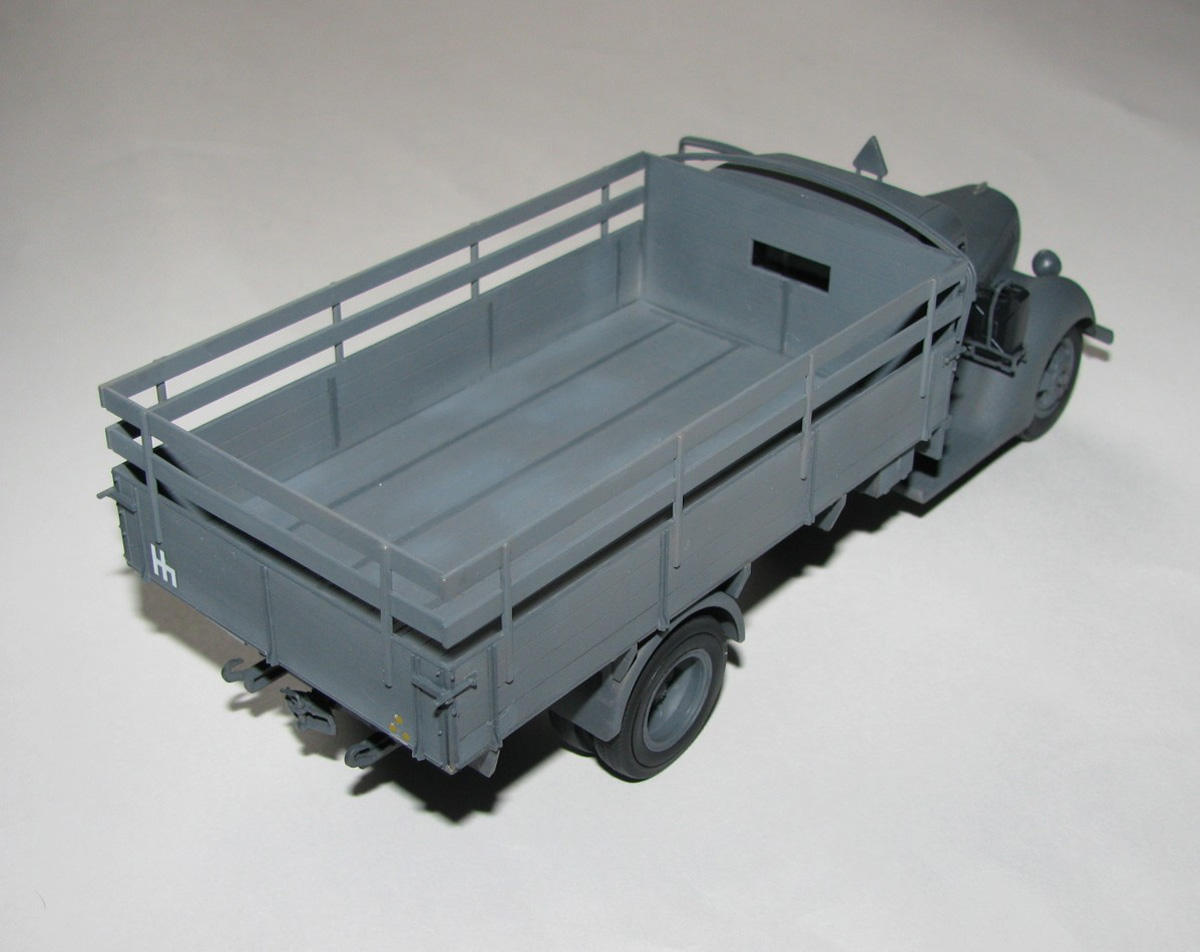
Steps 16-18 are the construction of the bed, which is made up of 21 parts and the cab/bed to chassis assembly. It’s a very simple & straightforward assembly and I had only a couple issues. The braces for the tarp are stowed on the front of the bed. Parts E-19 are the brackets they fit into. I had to sand the ends of the braces down a little so they would fit, not a big deal, but something to watch out for. The bed has a few pin marks that need to be cleaned up by a little sanding or filling. Now the cab to chassis assembly was where I had a bit if trouble. I finally had to put the gear shift on the engine assembly and there is a hole on the floor of the cab that the stick goes through, be very careful when doing this as the stick is VERY thin and it will not take much to snap it. (You may want to make your own out of wire) I managed to get the cab on but getting it to sit right and stay was a bit of a chore and I do not know if it was because of the kit or something I did. I chose to wait to put the small parts on the cab until after this step so as not to break anymore of the small parts. The bed fit just perfect and actually set tight enough to where I did not have to use cement.
Steps 19-20 are just for putting on the license plates which was odd to me but I guess it was easier to show that way.
Finishing
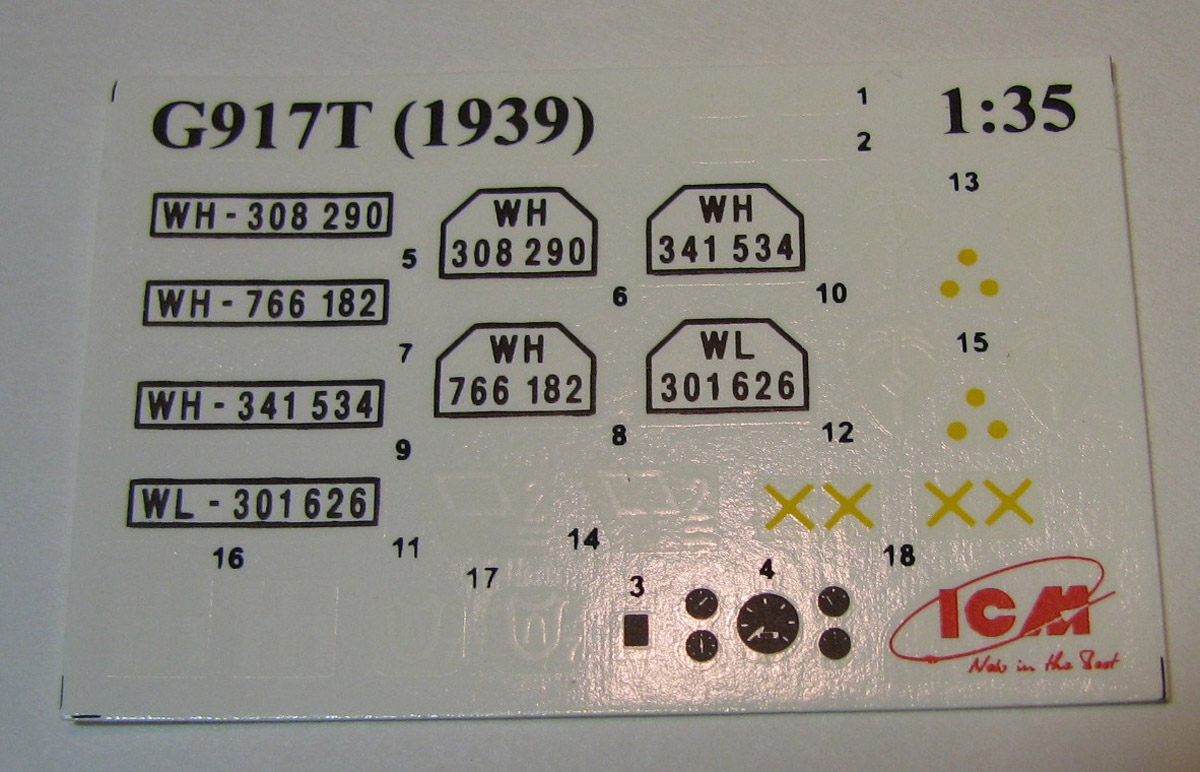
The instructions give you 4 marking options in 2 different schemes, Panzer Schwazgrau’ or Afrika Braun’ 42. I chose the grey version and used Testors Model Master Acrylics in a couple different shades. I used it straight from the bottle for the undersides, added a little bit of white for the metal parts exposed to the sun and more white for the wood bed. Not sure if this is 100% accurate but it gives it a little bit of contrast. The interior was primed with black before the grey to give it just a bit darker shade. (I was going on a color picture I found of one of these with the door open)
The marking options you are given are:
- 6. Panzer Division, Baltia, summer 1941.
- 3. Panzer Gruppe, Russia, summer 1941. (These are what I used)
- Unknown, Russia, summer 1941.
- Unknown, Libya, summer, 1942.
The decals are nice and in register but do not set well and in my example were a bit brittle.
Conclusion
This is a very nice kit, quite enjoyable to build and is a nice addition to the armor side of modeling. For some reason soft skinned vehicles are ignored and it’s nice to see ICM releasing these. I would, however, recommend this kit to experienced modelers only, due to the fragile nature of many parts, as it might be a bit frustrating to a younger modeler.
I would like to thank ICM for making this kit, Squadron for supplying it to IPMS/USA and the review corps for letting me, a very inexperienced modeler of vehicles, to build it. Thanks to all of you for reading this!


Comments
Add new comment
This site is protected by reCAPTCHA and the Google Privacy Policy and Terms of Service apply.
Similar Reviews