
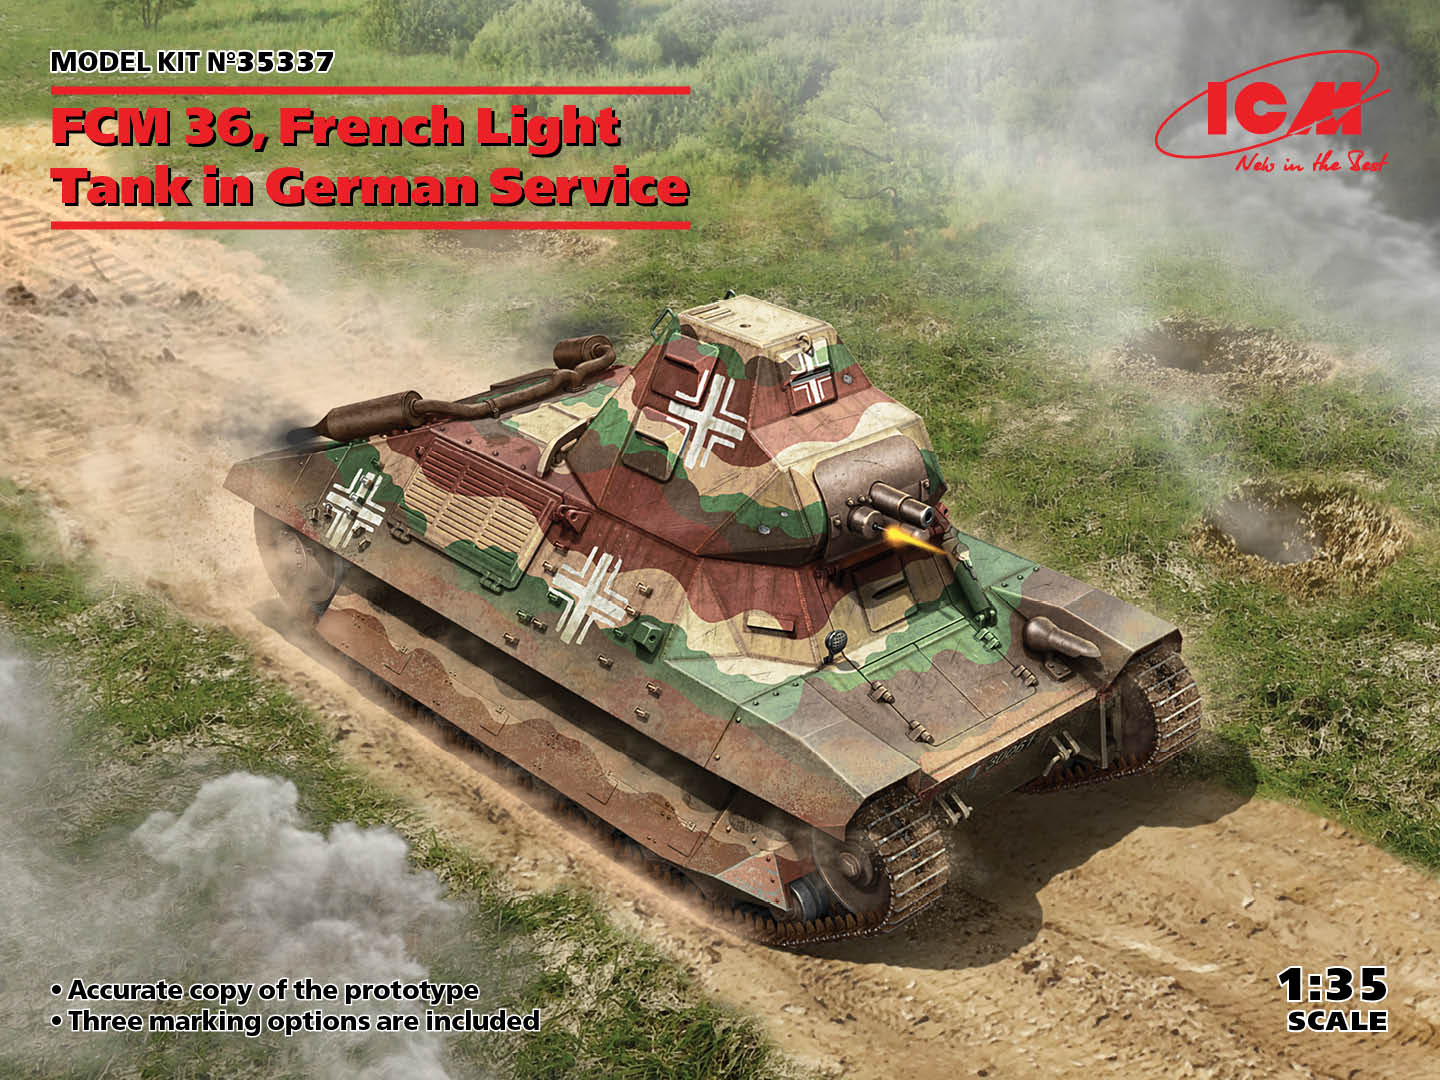
FCM 36 French Light Tank in German Service
If you are a fan of obscure World War II armor, especially light tanks that were in numbers large enough to only fill two French tank battalions at the outbreak of war, then you are in luck. Furthermore, if you enjoy beutepanzers (German for “captured tanks”), then this is a kit for you. If you are running out of display space, then this model is for you.
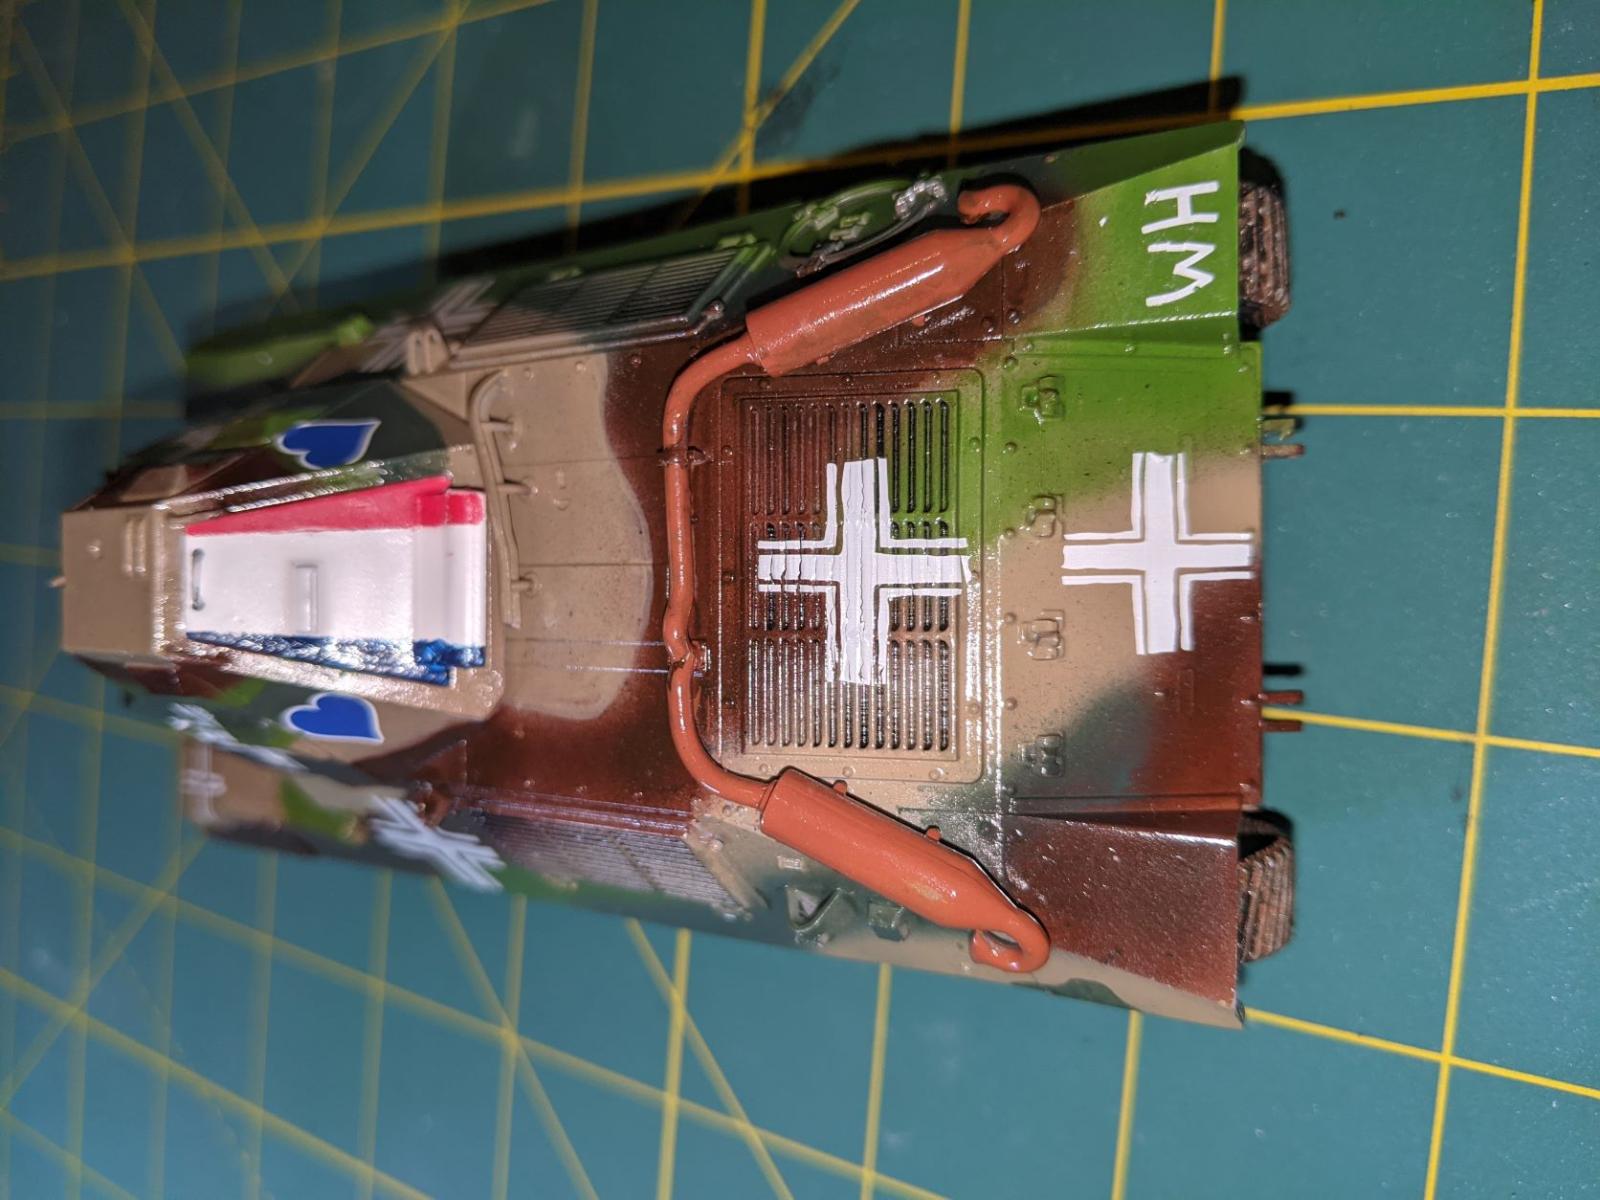
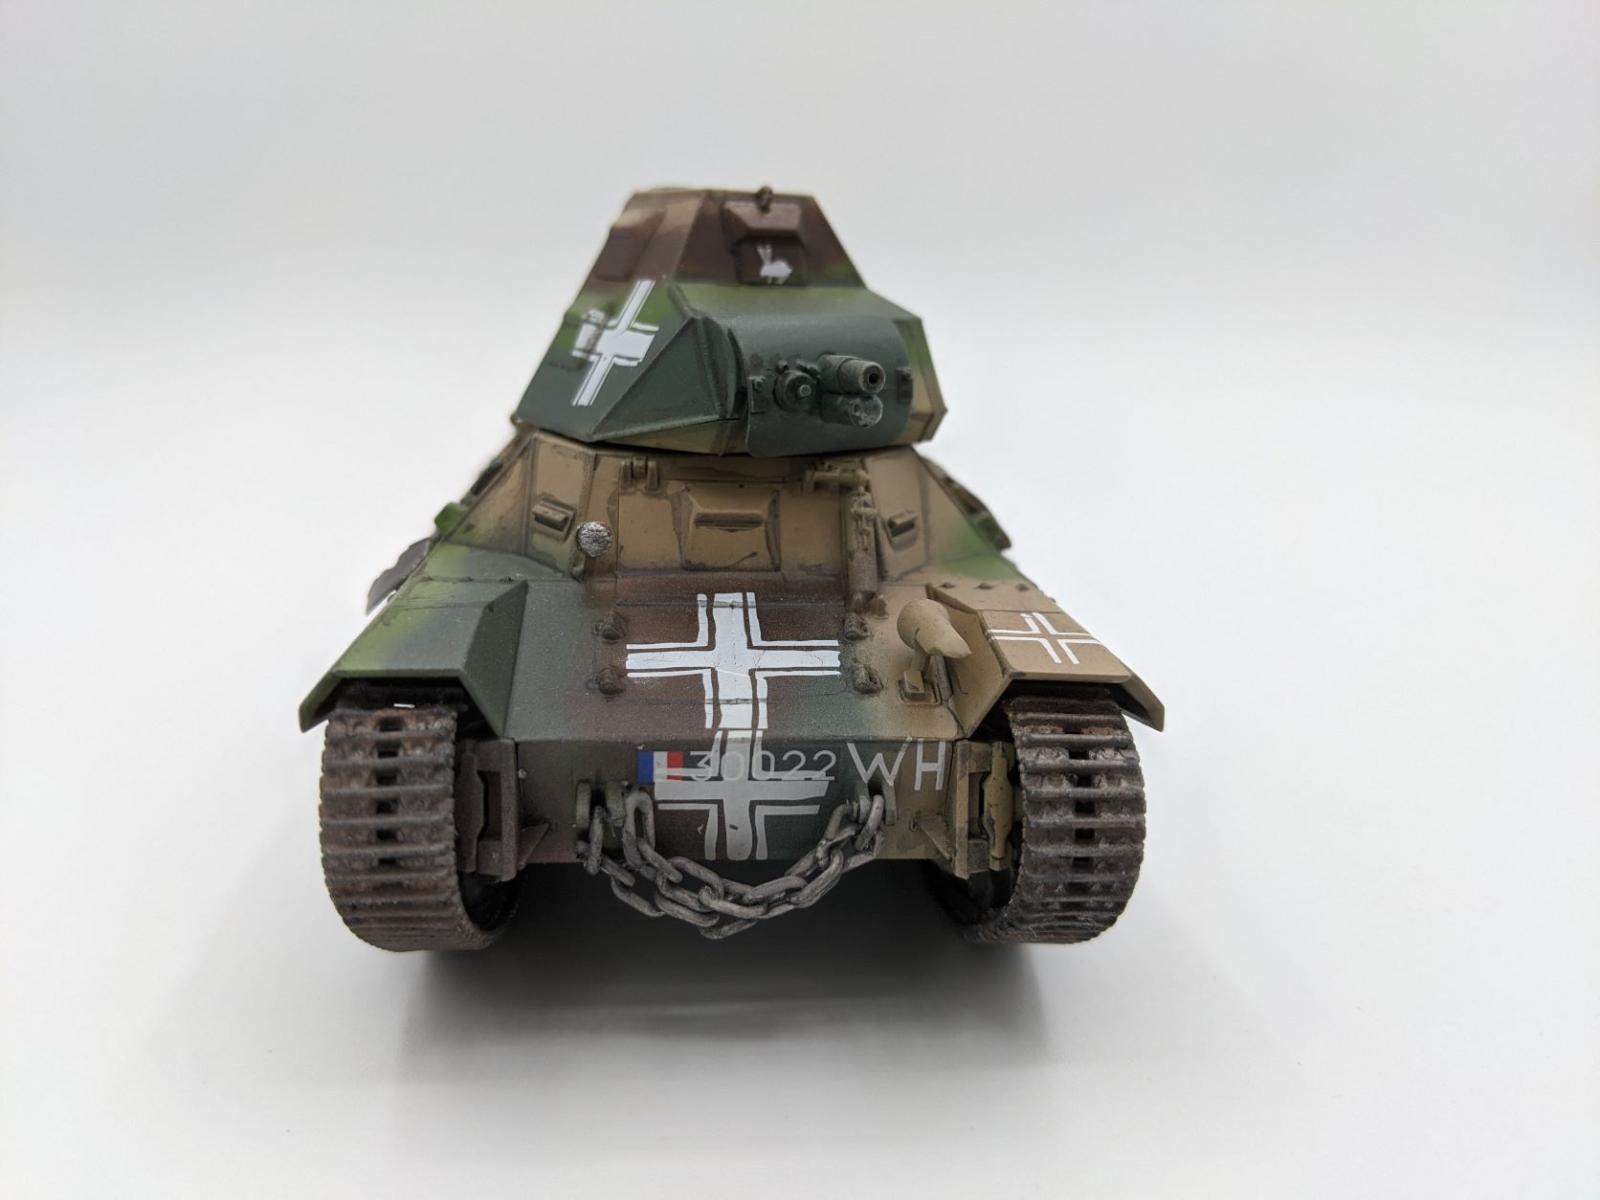
The FCM 36 or Char léger Modèle 1936 FCM, was a pre-World War II French light infantry tank with a crew of two and was equipped with a 37 mm main gun with a 7.5mm coaxial machine gun. At the outbreak of the Invasion of France, 90 FCM 36 tanks were available in two battalions of 45 each. The German Wehrmacht captured about 50 of this series; 12 were rebuilt in 1942 as self-propelled artillery, and in 1943, ten were rebuilt as Marder I tank destroyers: ICM has recently released models of each variant. This model provides three marking options for recent German captured vehicles, Panzerkampfwagen 737 FCM(f), used in May and June 1940: Unknown unit in German grey; and two tanks in French colors with German balkenkreuz - Tank 30061 of the 4th French Tank Battalion, and Tank 30022 of the 7th French Tank Battalion.
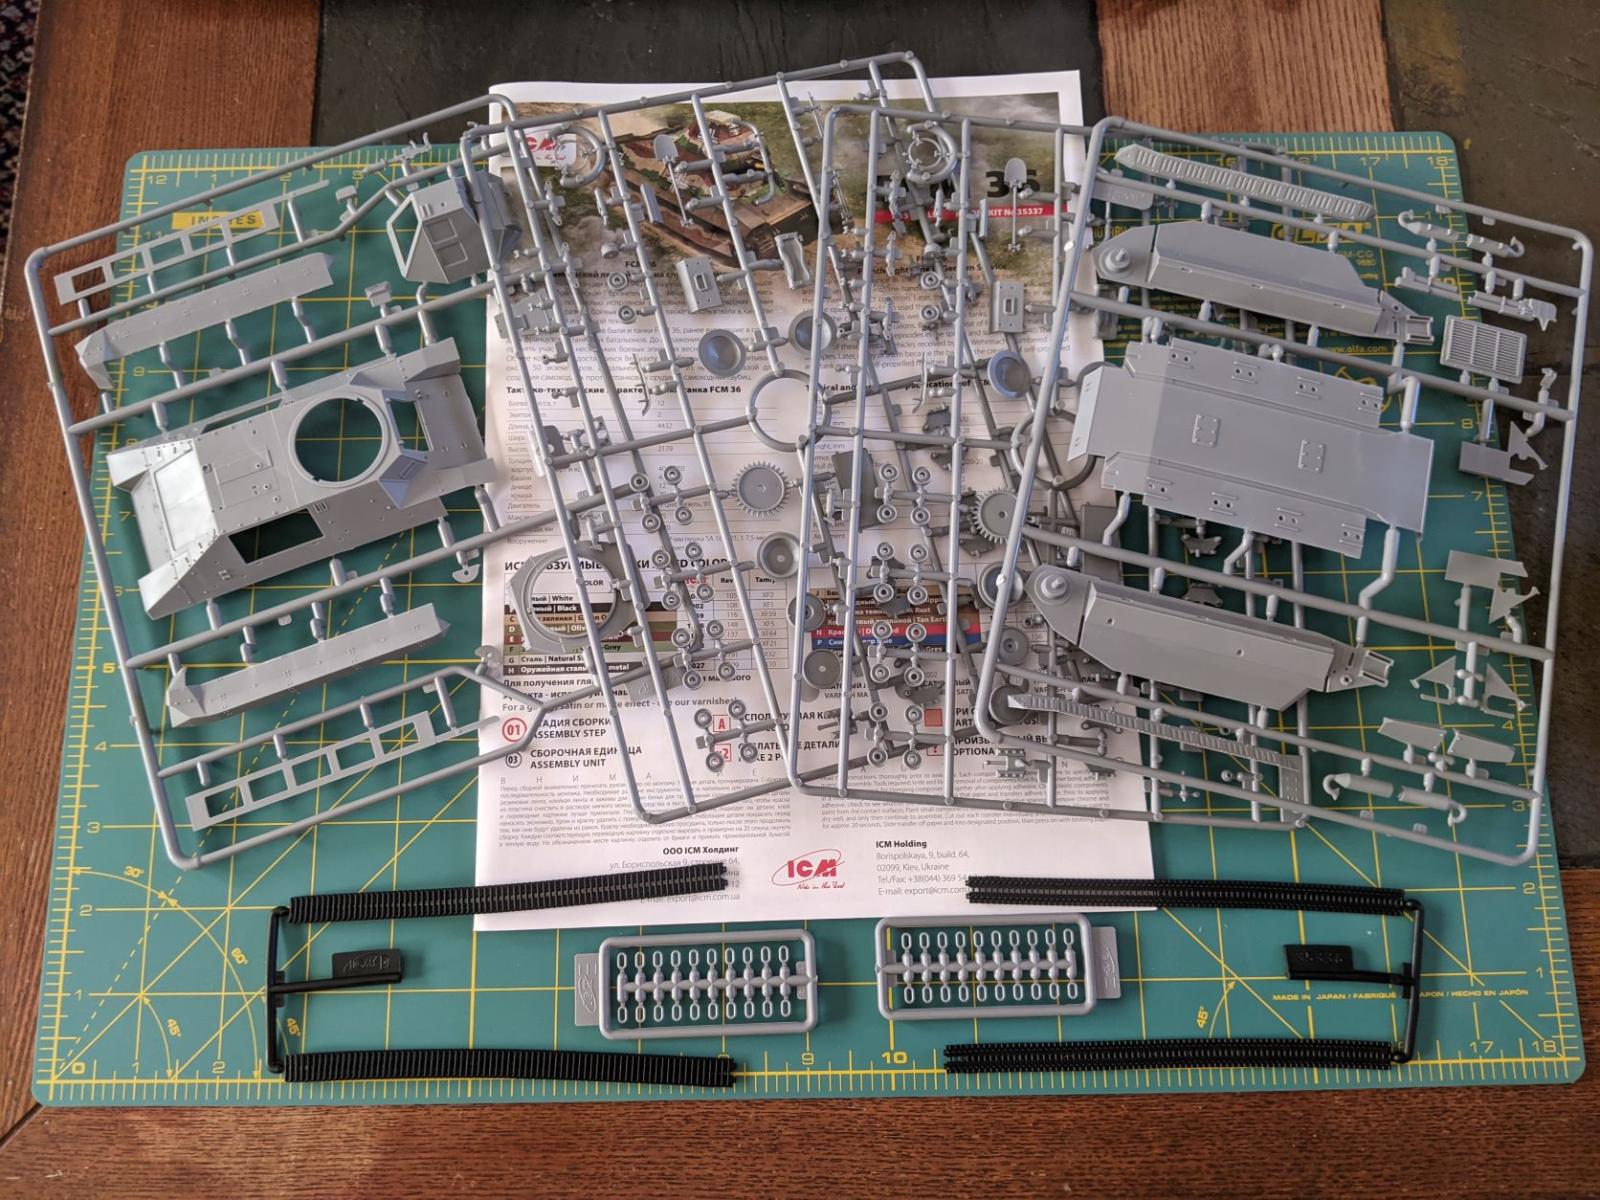
Upon opening the cover, there is a reinforced white inner box that does a good job of protecting the kit’s six soft plastic sprues and two flexible rubber track sprues (two per sprue). The sprue letters and numbers are hard to read, so a sharpie run over them helps to quickly identify the part you need.
The model builds straightforward, and the sequence is logical. There are minor notes identified here by their instruction step:
Step 01: There is a color callout for white or steel for the interior, but as there is no detail inside the tank, there is no need to paint if the tank is buttoned up. If hatches are to be left open, then there will need to be some additional detailing.
Step 07: The alignment of parts C38 and C39 are vague as to which one goes against the hull and which one is against the skirt. As the skirt hides the detail once complete, it really doesn’t matter.
Step 08: Parts C28 and C29 suffer the same lack of clarity as Step 07; likewise, the result is the same.
Step 13: Part C41 – the open side is oriented to the rear; this becomes obvious in Step 18 with Part C23.
Step 17: Parts C40 – the notched end is toward the skirt, the solid end toward the hull.
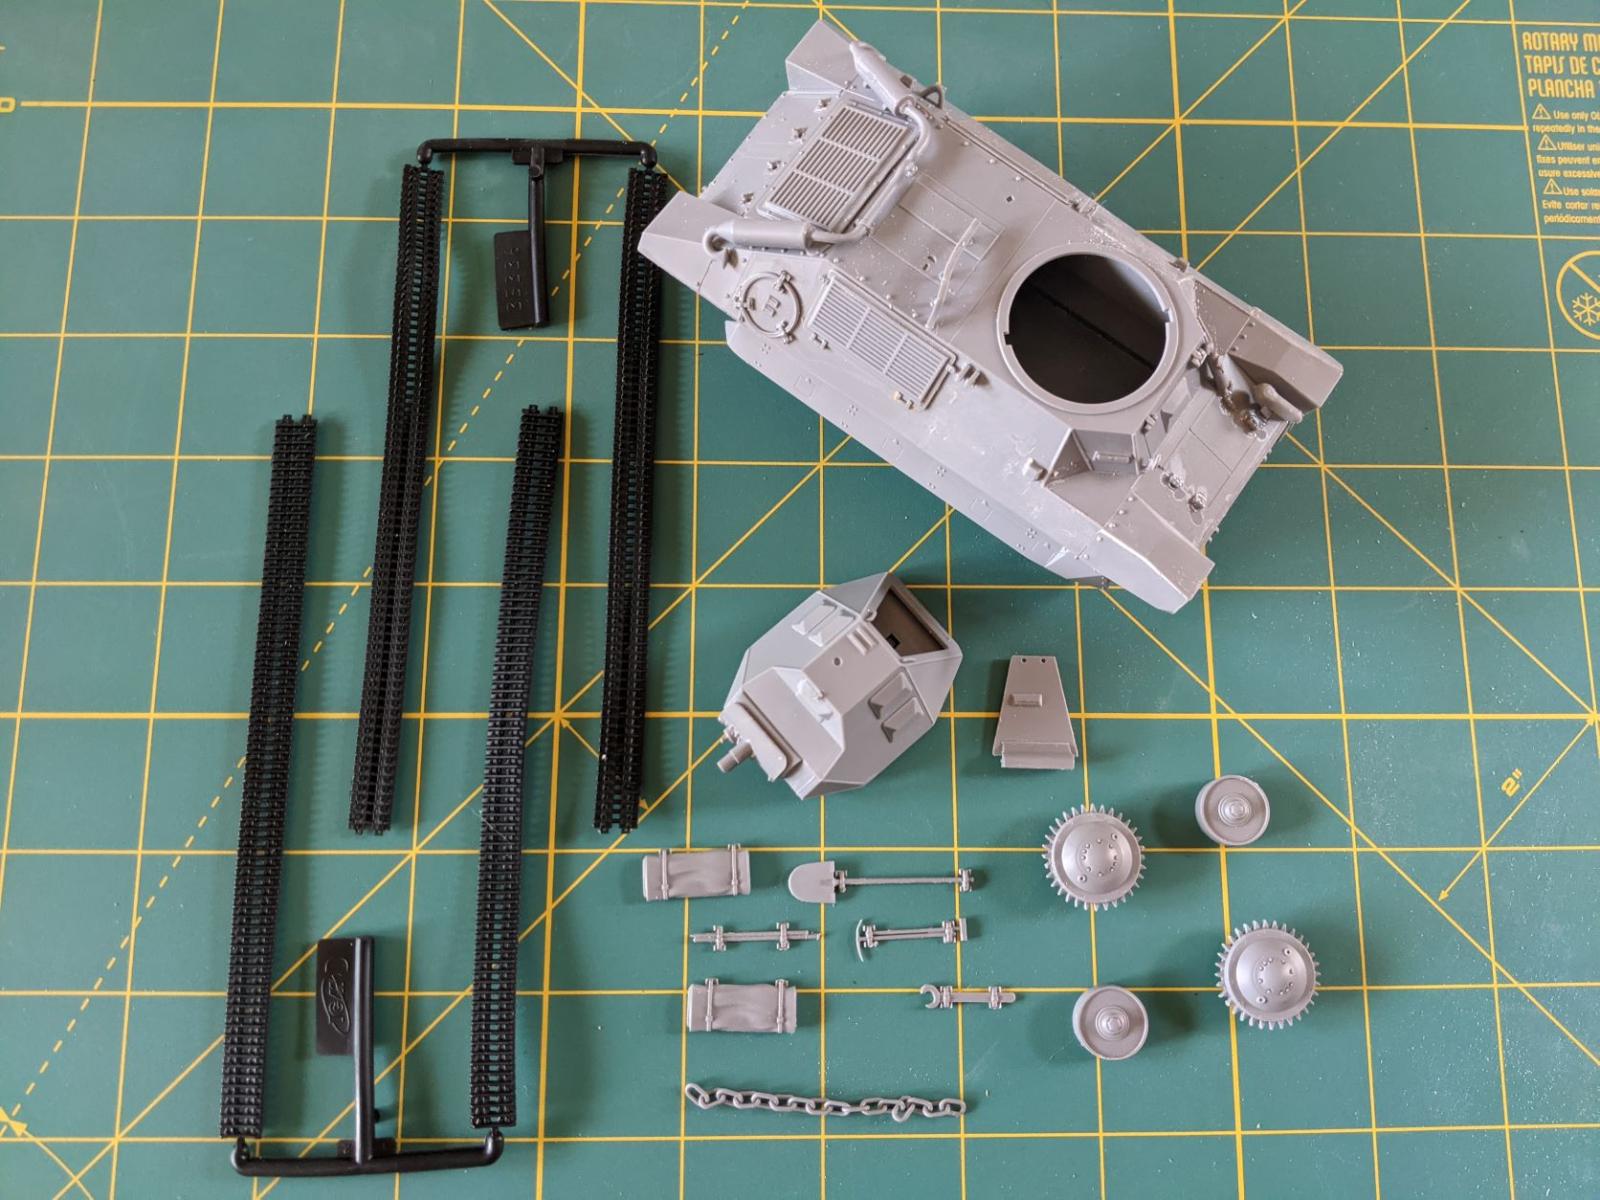
Steps 21-23: I assembled both of the two-piece tracks but left them off the model until after painting. The assembled track runs can be threaded through the skirts and glued with CA afterwards with ease. Step 25 is the mating of upper and lower hulls and is easier without the track in the way.
Steps 39-43: This concerns the assembly of the main gun and coaxial machine gun and is probably the most confusing part of the build. Part C42 needs to fit on Part A3 before gluing. Time studying the diagrams and dry fitting before progressing through the steps saves time and frustration.
Step 50: The ubiquitous chains found on World War II French tanks are made of soft plastic found on Sprue E. Take care and note that Parts E1 have slots while Parts E2 do not. While Part E1 cannot take tension, once glued in place, the chains look good.
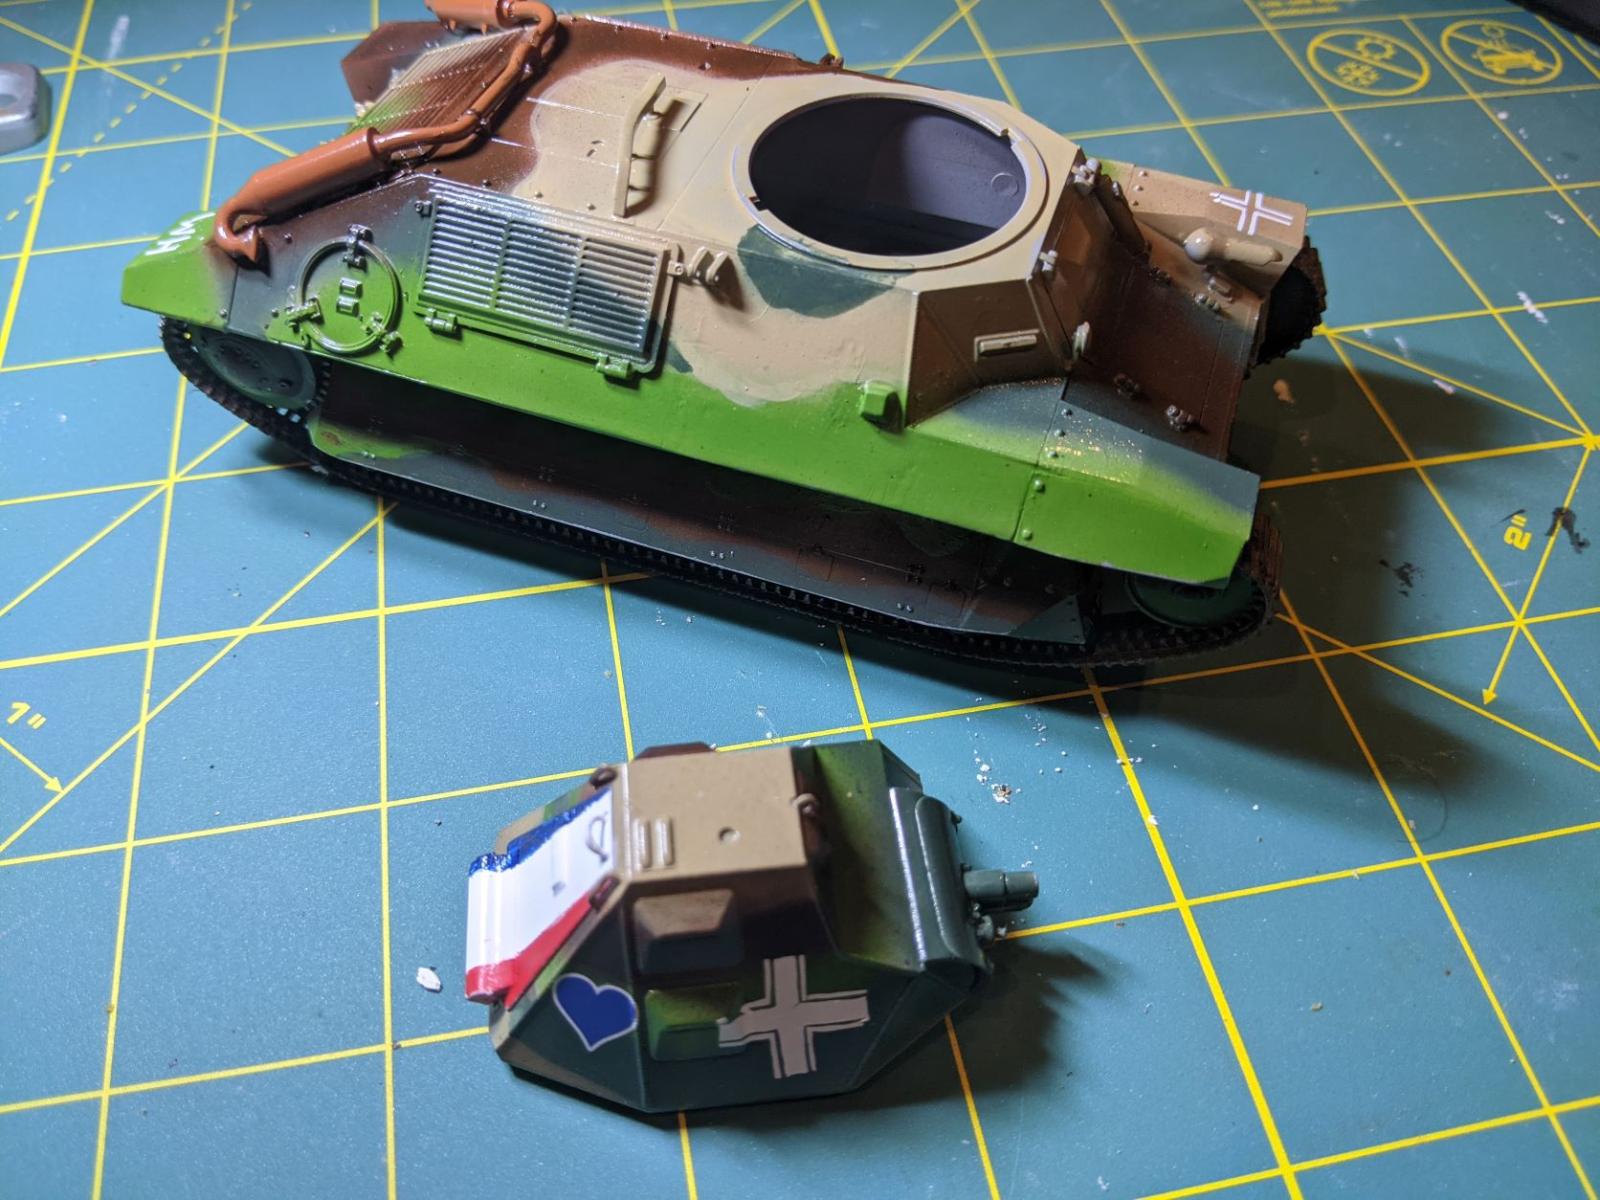
Once assembled, the tank looks fantastic and ready to roll into the paint shop for its primer color after just a little bit of filler due to modeler error. As I wanted the best of both worlds, the tank was painted as the third option, Tank 30022 of the 7th French Tank Battalion captured by the Wehrmacht in June 1940. This tank has the large blue heart on both sides of the turret and a large French tricolor scheme on the rear facing commander’s hatch. Add the balkenkreuz and “WH” painted on this captured tank and you have a very unique tank.
Both identified tanks are festooned with German balkenkreuz over their French colors. If building any of the tanks with the balkenkreuz, I recommend keeping the tools off (Steps 29 and 35) until after painting, or you will learn new words trying to get the large decals under the shovel, pickaxe, wrench, etc.
Vallejo paints were airbrushed after consulting a conversion chart, sealed with gloss coat, then another gloss coat for the washes, followed by a final dull coat to seal it all in. The final weathering was a light misting of light dust to show a little wear and use on the tank before its short operational life before swapping owners.
I had a lot of fun building this gem from ICM. It is a lesser known World War II tank and its use as a beutepanzer makes it even more unique. I look forward to seeing what more talented modelers can do with this kit.
Profuse thanks to ICM and IPMS/USA for providing the review sample.


Comments
Add new comment
This site is protected by reCAPTCHA and the Google Privacy Policy and Terms of Service apply.
Similar Reviews