
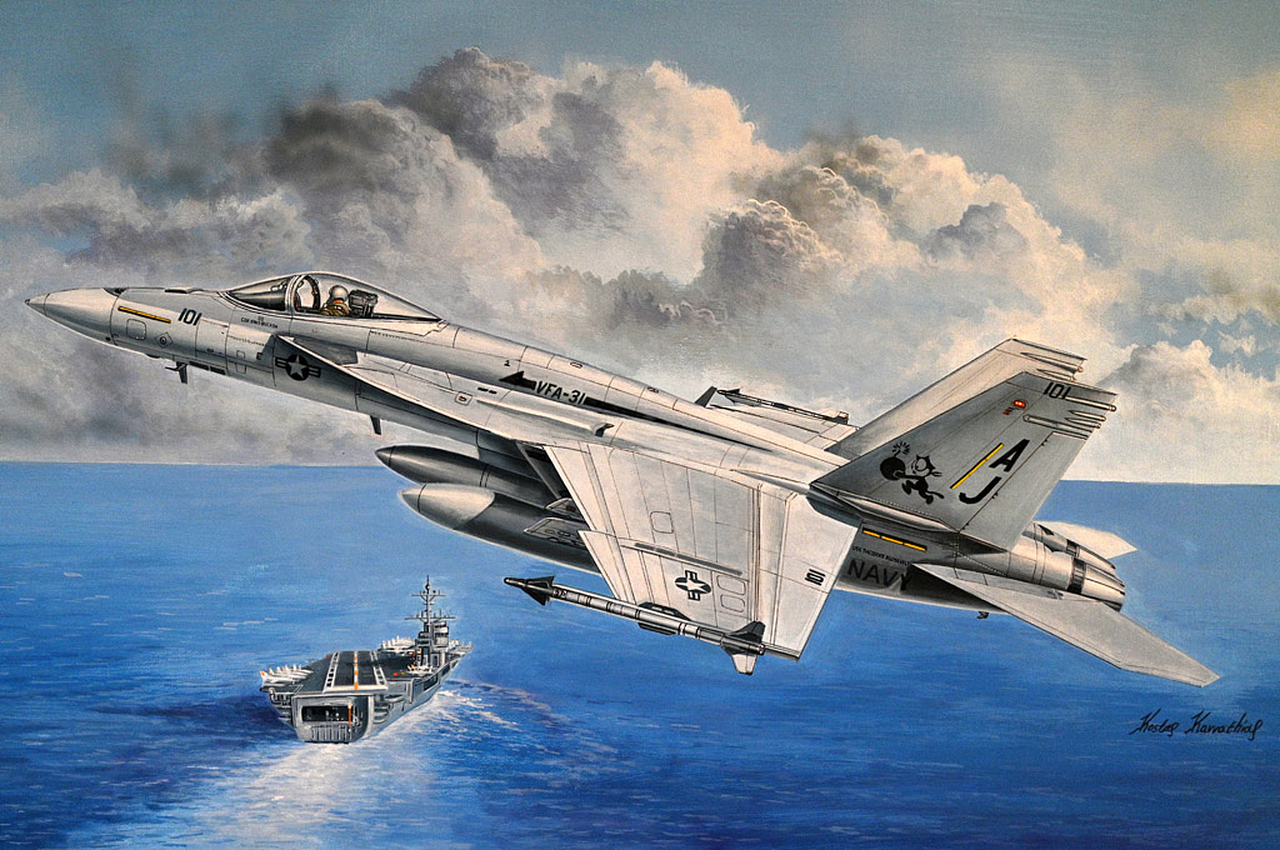
F/A-18E Super Hornet
Hobby Boss latest Hornet release is the F/A-18 E Single Seat Super Hornet. Looking inside the box, the kit comes on 16 nicely molded grey sprues, 2 clear sprues, a small photoetch sheet, three sheets of decals and a full set of instructions. All total, there are 520 parts plus a piece of vinyl tubing. Options include:
- Boarding ladder included
- Complete intake trunk
- Nose section can be displayed in open position to show radar assembly
- Detailed F414-GE-400 engine
- Variety of weapon ordinance including:
- Fuel tanks
- AIM-120B
- AIM-120D
- JDAM
- D-704 Buddy Pod
- AN-ASQ-228-DCH Pds
- GBU-10
- GBU-12
- GBU-24
- Mk 83
- AIM-9X
- MER-6
- TER-3
- Crew seats with photo-etched seat belts and harnesses
The weapons also take up one of the decal sheets with full markings. And speaking of markings, you get a choice of six with the kit:
- VFA-31 Tomcatters, No. 166777 USS Theodore Roosevelt, 2009
- VFA-31 Tomcatters, No. 166776 USS George HW Bush, 2010 CAG
- VA-105 Gunslingers, No. 166651 USS Dwight D Eisenhower
- VFA-192 Golden Dragons, No. 165782, USS George Washington
- USN Blue Angels No. 1
- Top Gun Maverick Markings from the movie
And naturally, there is a ton of aftermarket markings available too. More on that later.
Construction starts with the front end - cockpit and wheel well. Decals are provided for the instrumentation but the kit has raised parts so you have the option of painting also. The seat includes generous seat belts and they definitively improve the look. Once built and painted, the nose closes around it. The next step adds the wings, cockpit/wheel well assembly and front to the upper fuselage. Couple points to note here. First, if you are adding pylons, open all the needed holes. Also, you can decide to cover the boarding ladder at this time or build it later. Lastly, take care at the edges of the front LEX. Too much pressure and they sink and you will need putty.
The next option is the radar in six parts. I elected to leave it out as I like my hornets with sleek lines. If you do leave it out, add a little weight. Mine is not a tail sitter but it is closer than I like and it may be due to me leaving the radar and its weight out. I bypassed adding the canopy until later. The next large assemblies are the engines and they are made from almost 30 pieces each. They are nice but fiddly to assemble and cannot be seen when built. That being said, they need to be built to provide a point of contact of the intake trunks and also for the exhaust cones. Most of the detail parts can be left off if you go that way. The air intakes and trunks are built and all the parts assembled in the bottom fuselage. Here there a couple of points to note. Take your time and test fit. A little misalignment and you will be fixing it later. Take extra care fitting the intakes to the bottom fuselage and you will be rewarded with no seam to fix. Adding the bottom and top fuselage together proved to be the most difficult part of the kit. Watch alignment and I found working from front to back to be the best. Lastly, when adding the two side panels G12 and 13 to the back, go slow to avoid alignment issues. Mine got misaligned and much filling was needed. On hindsight, I would suggest slower glue, getting them flush, and it would make for a nice seam. Every kit of the Hornet, legacy or otherwise has this issue and this kit is much better than some of the older kits so kudos.
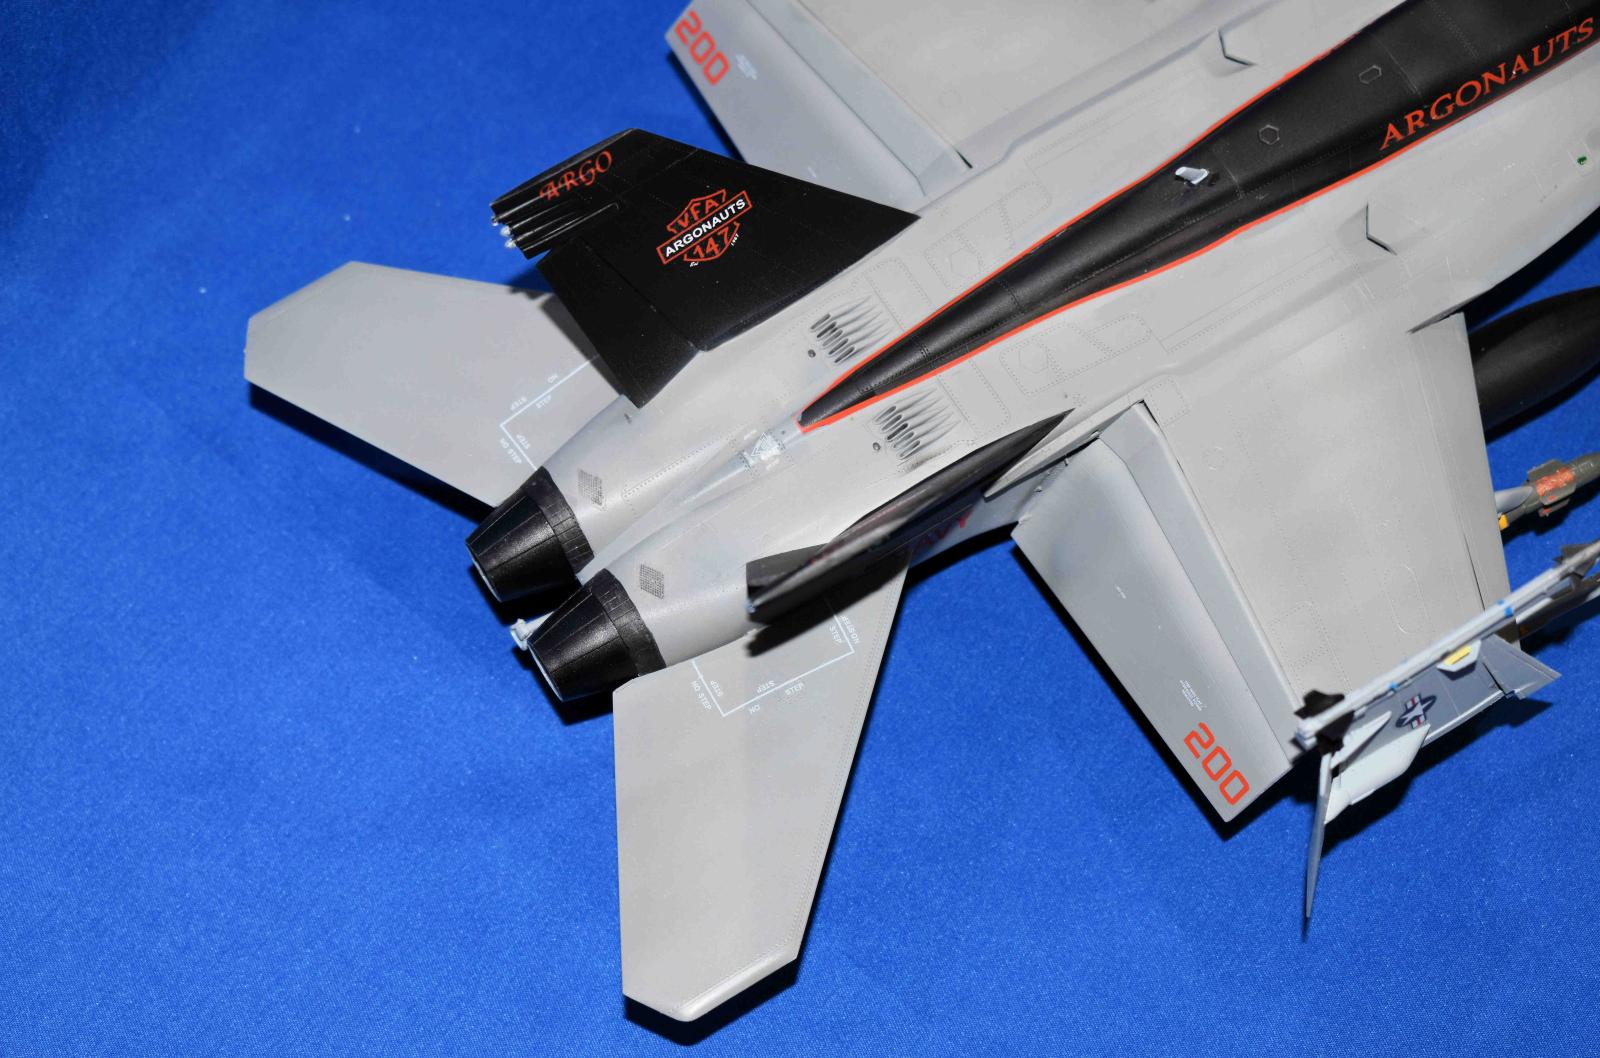
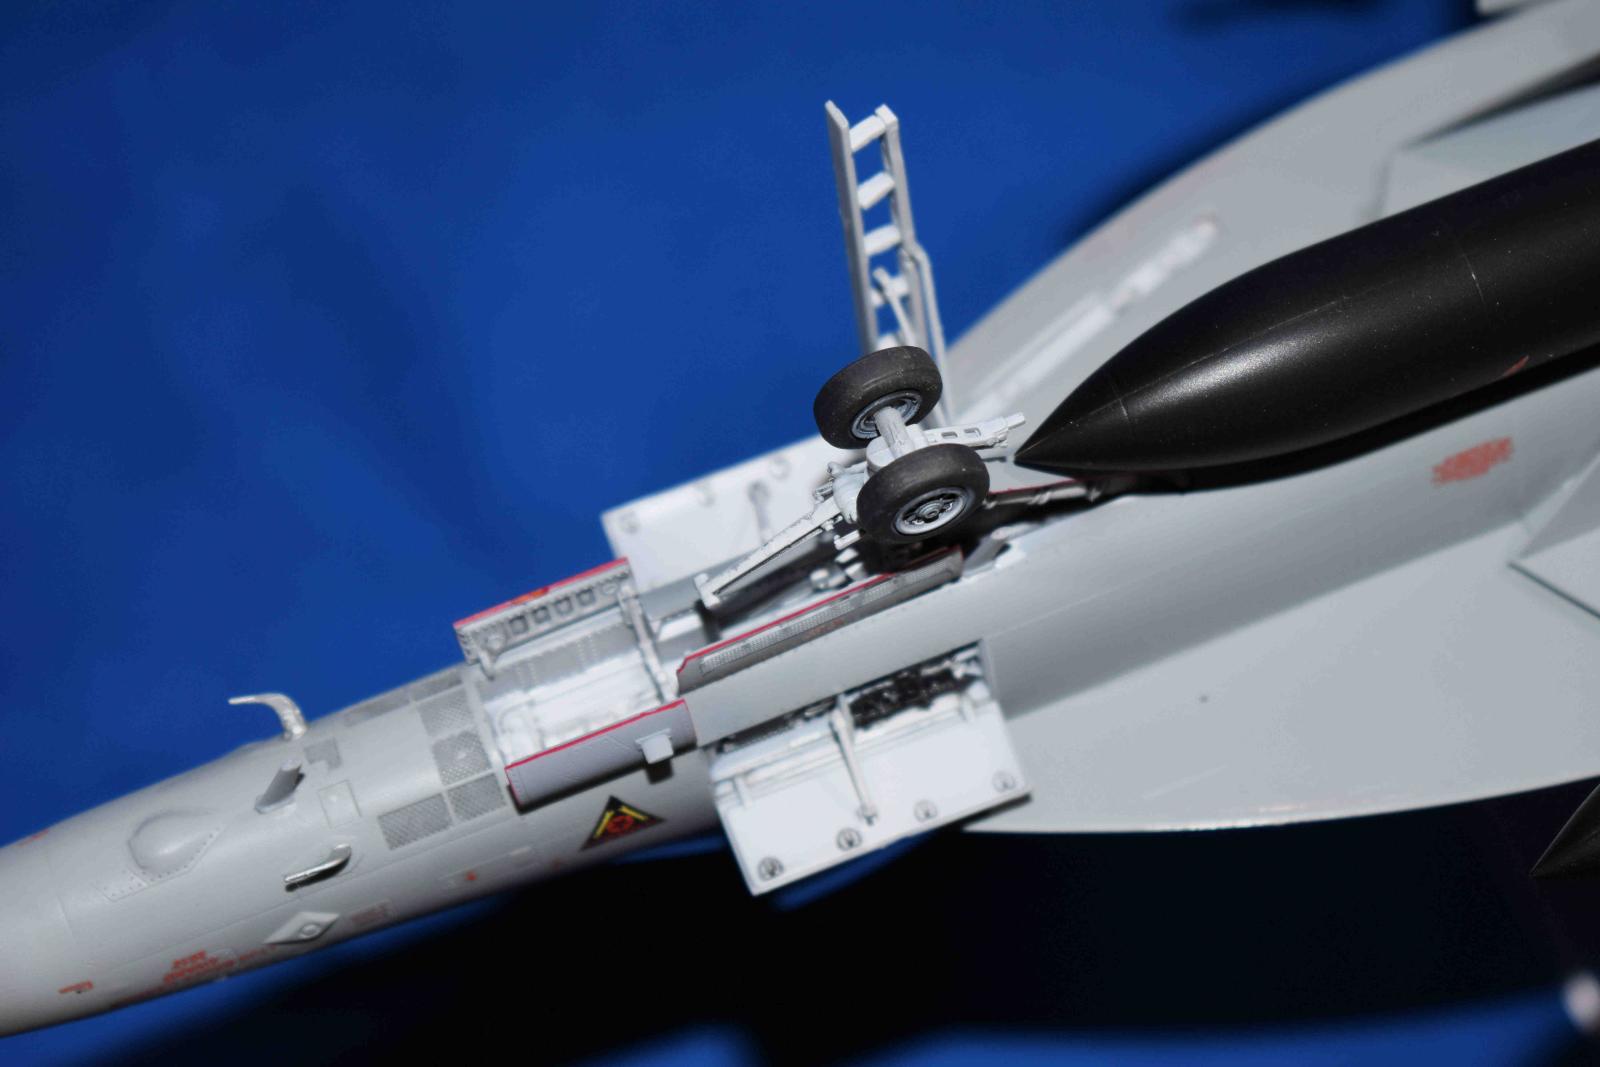
The landing gear and gear doors are done next and are nicely detailed and complete. At this time the two equipment bays on the nose can be closed or left open. I opted for open. The flaps and slats are added and you have the option of raised or lowered. Note there are different parts for each so you can choose. The next choice comes with the wing tips. They are separate pieces with separate flaps and slats. and can be made down or folded. Due to space, I chose folded and they come with a hinge to fold to the correct angle, which is great. Assembly was straightforward but I also left them off as fit is great and they can be added later. This will make decal and paint easier.
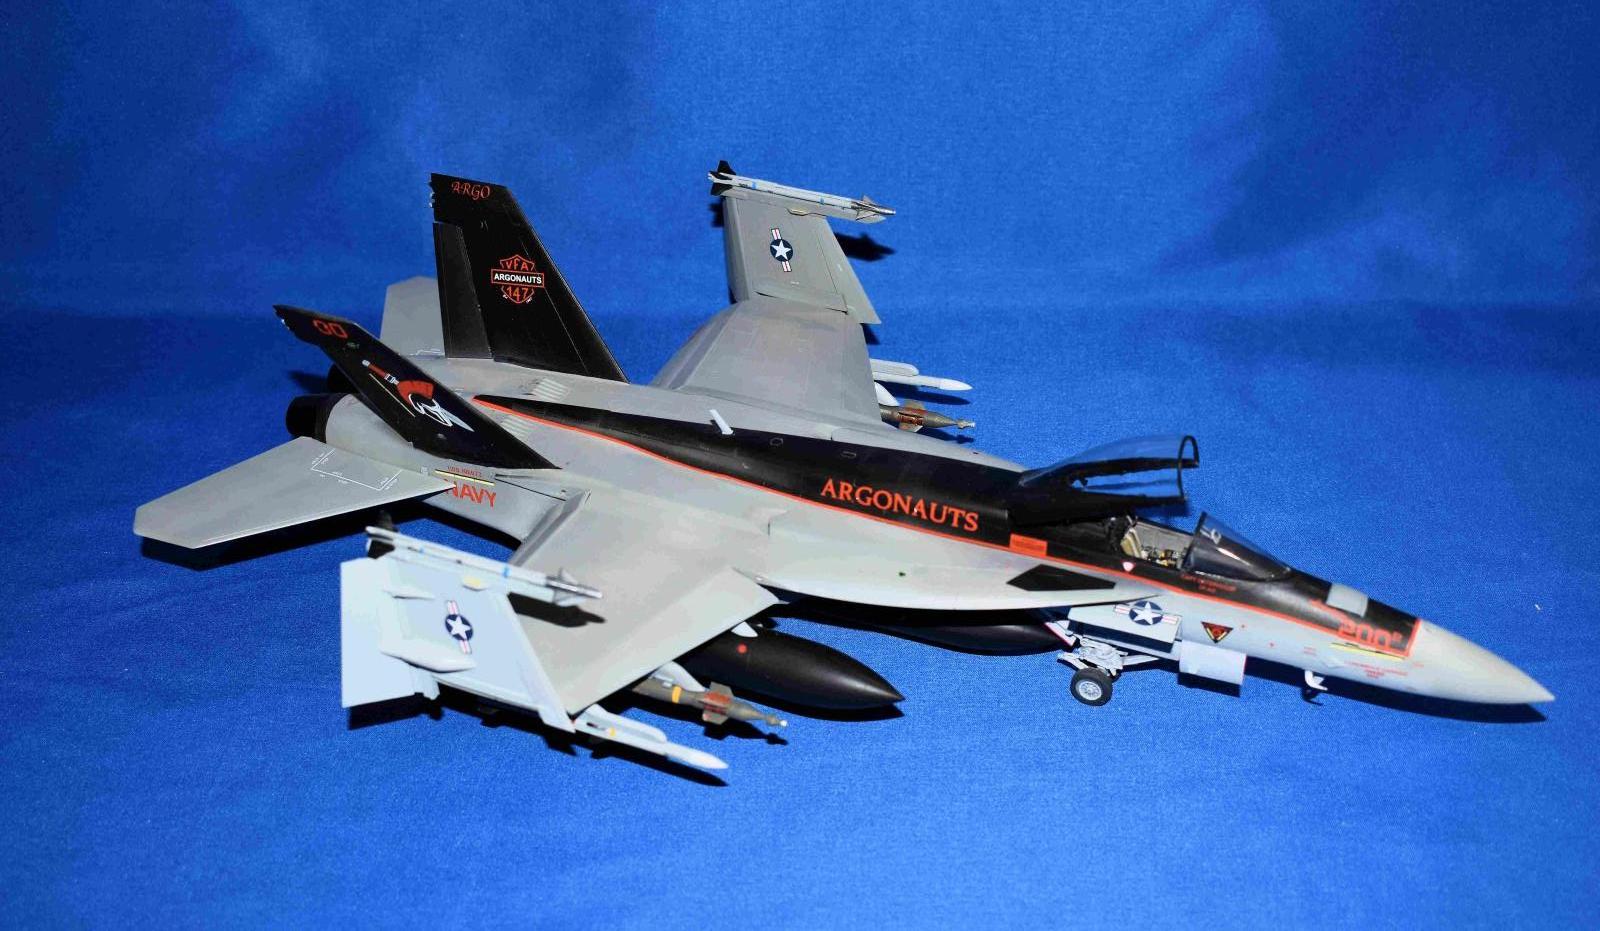
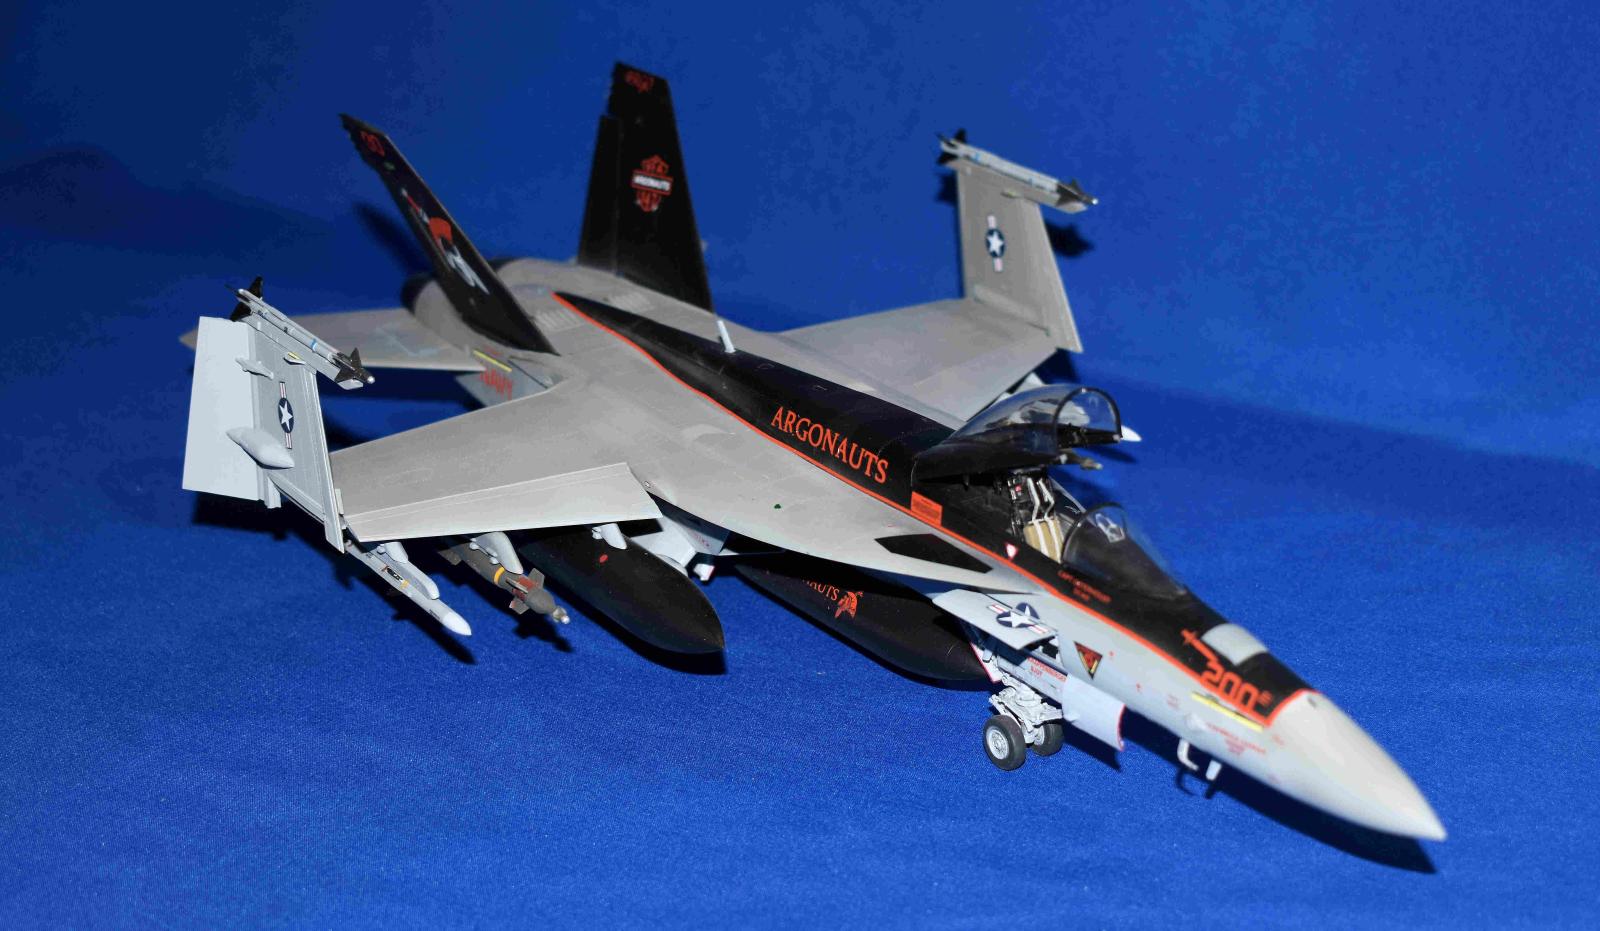
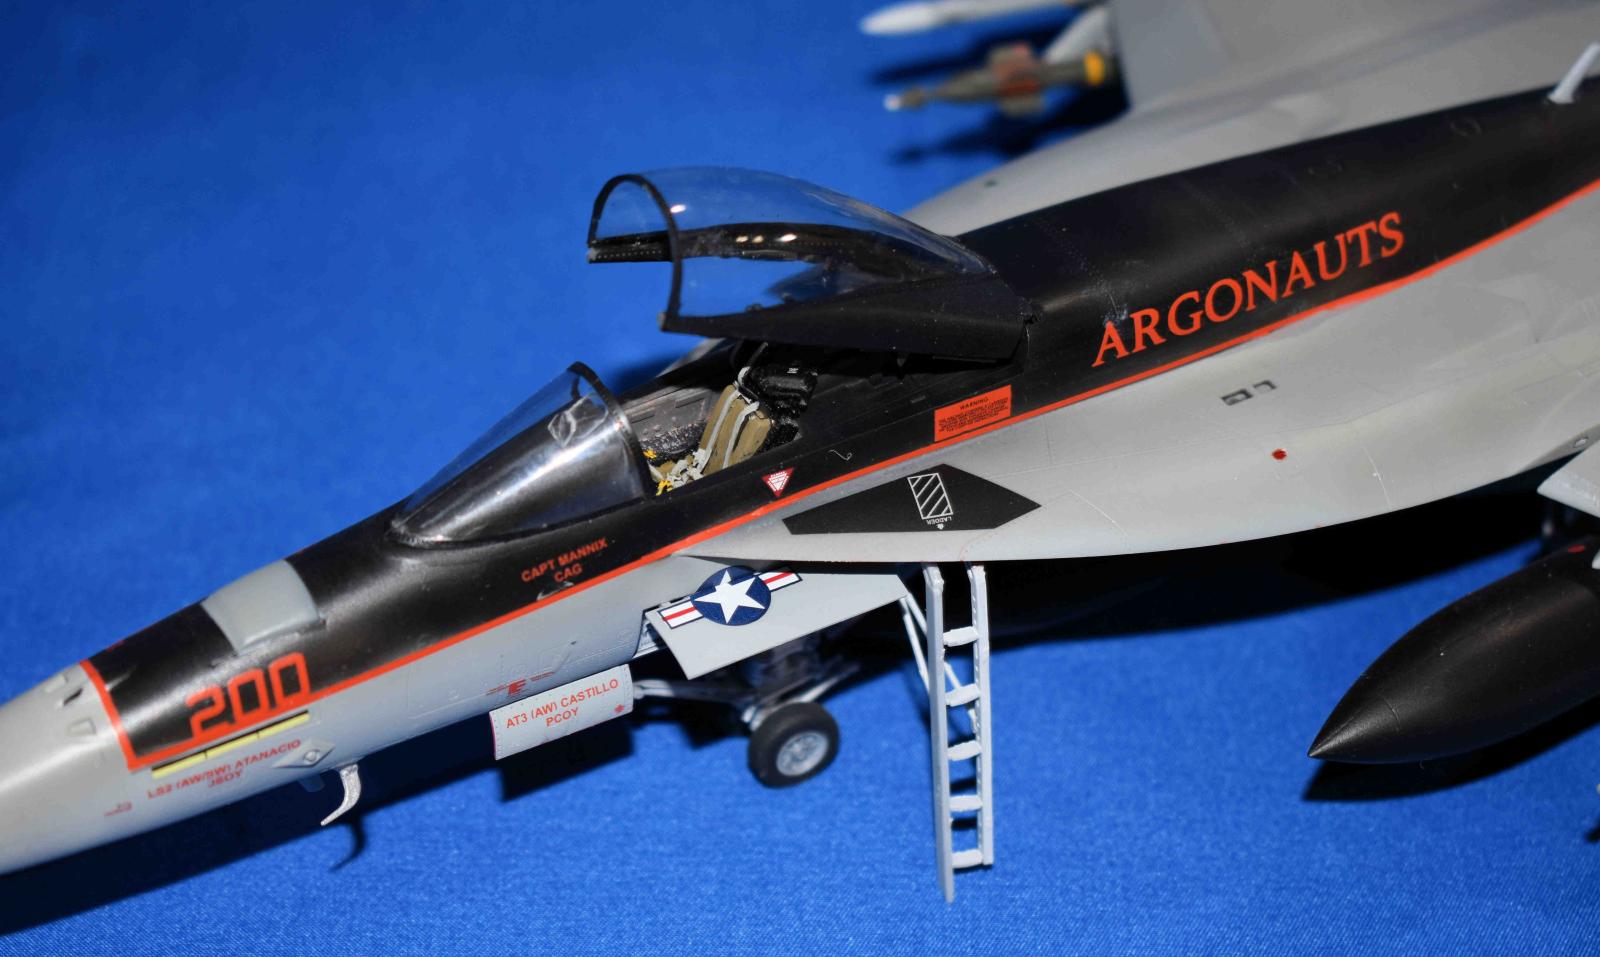
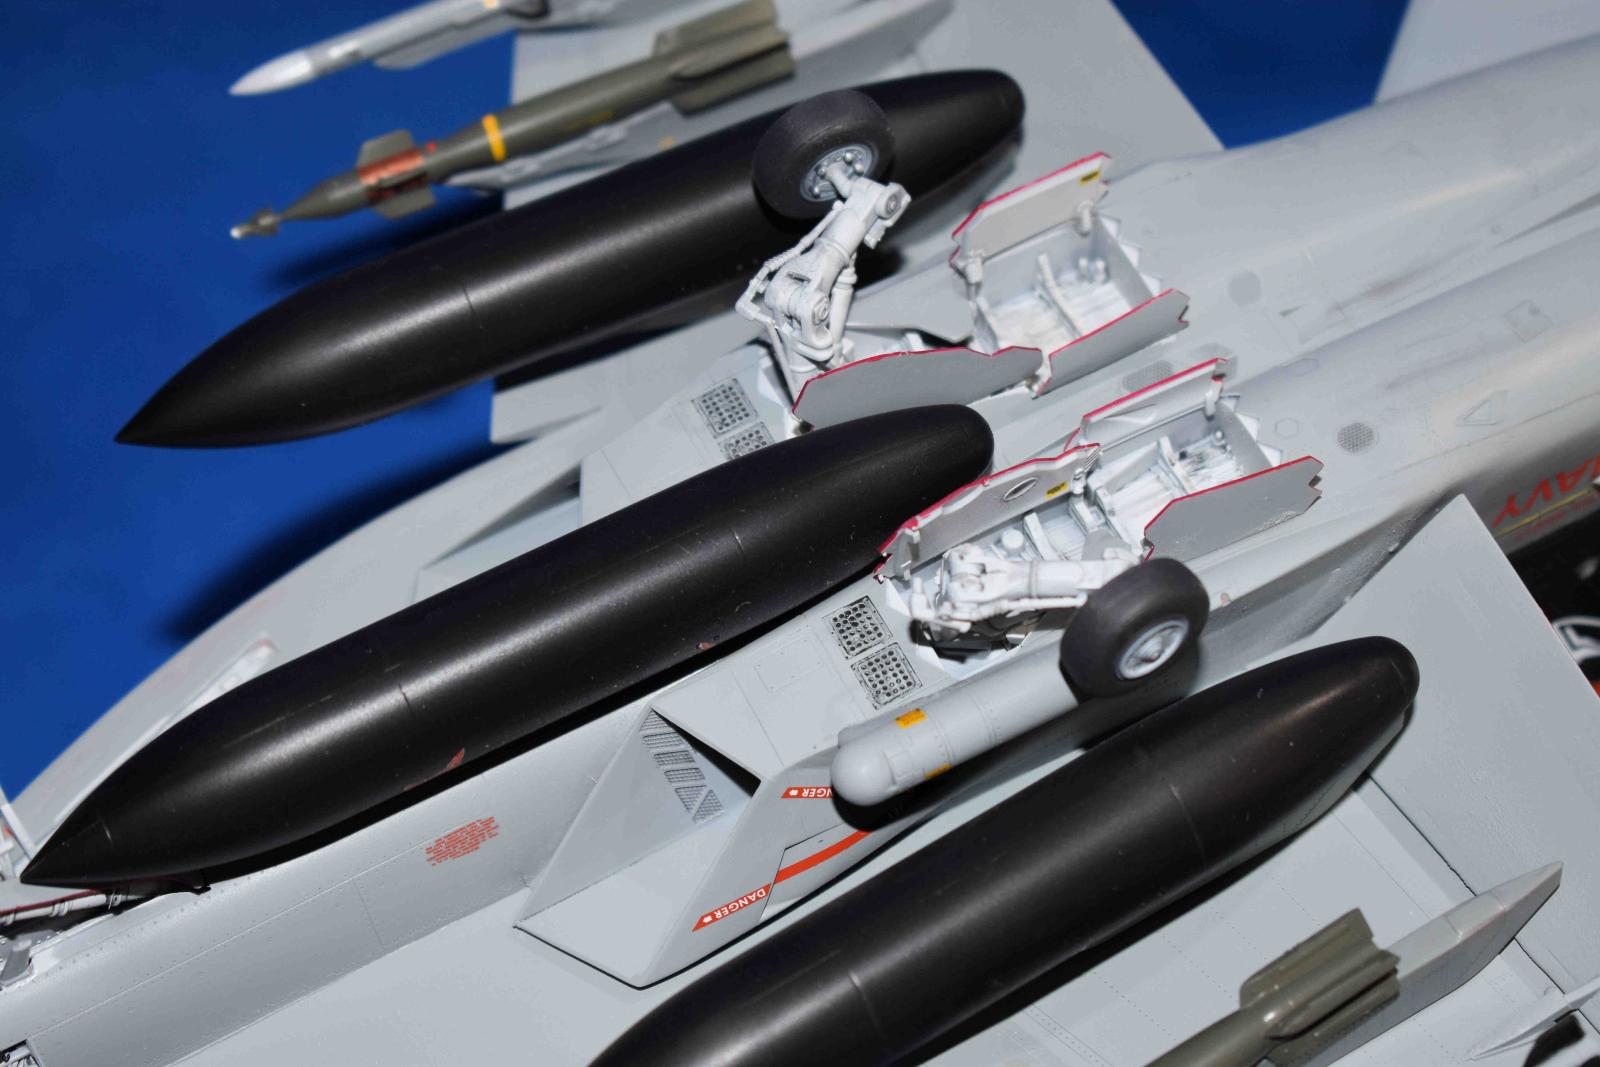
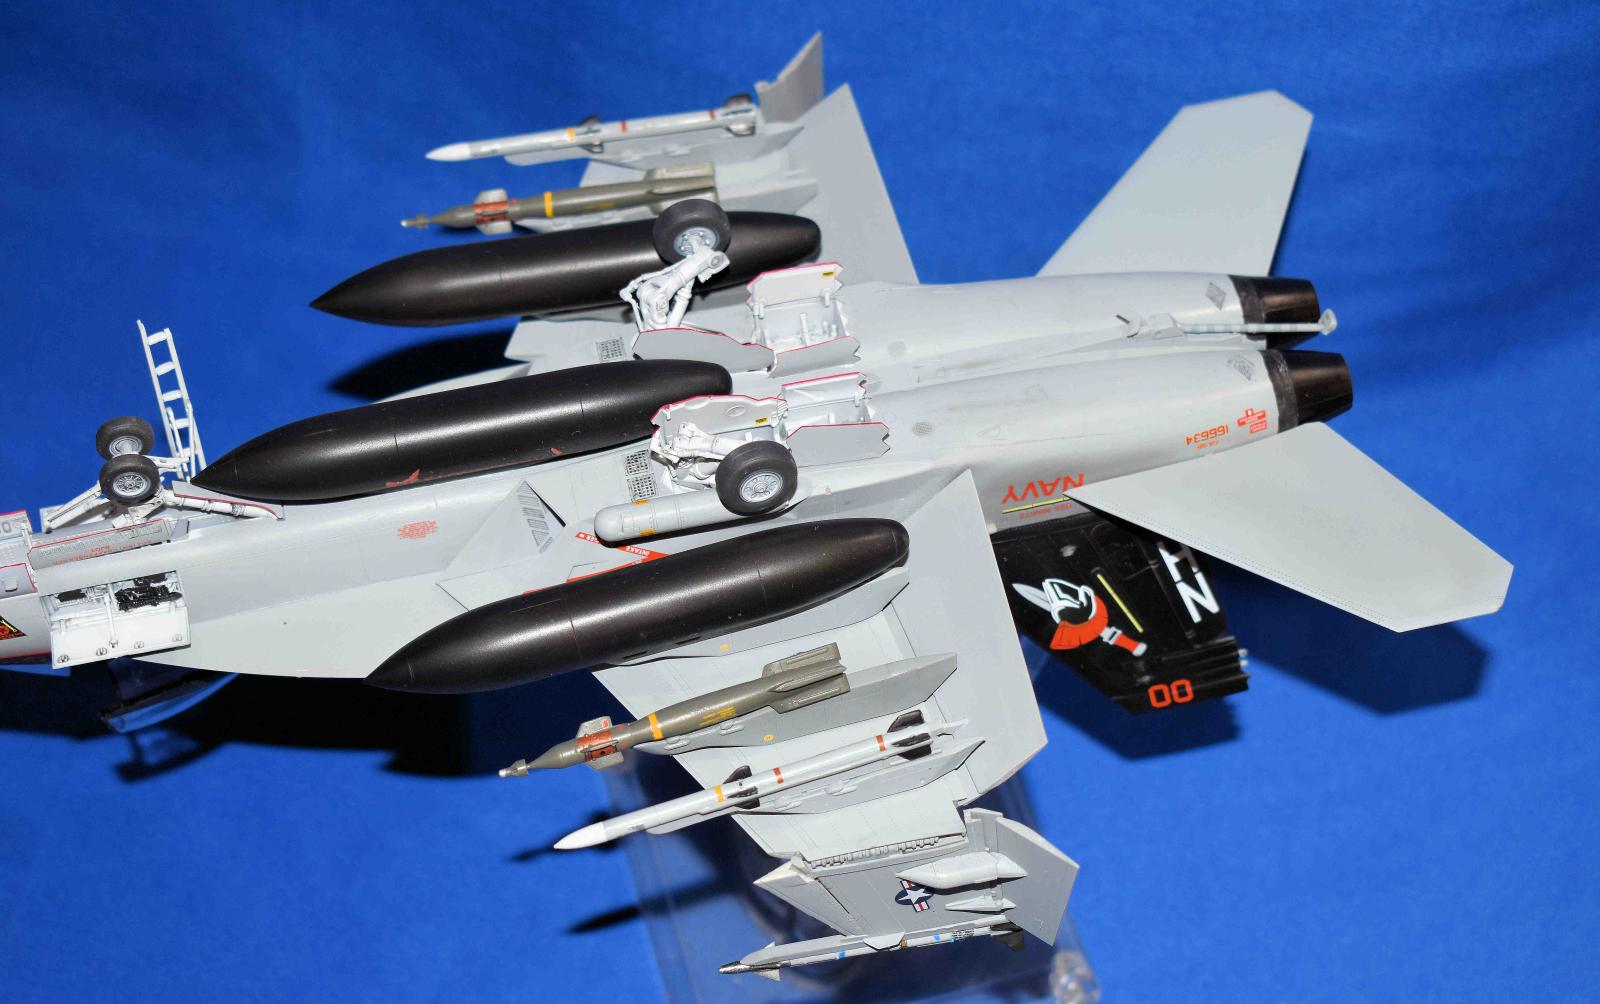
I added the tails and prepped everything for painting. I wanted to add the VF-147 Argonauts CAG from the Fightertown set and I wanted to see how well they fit. Paint was standard light and dark ghost gray to the top and bottom. The CAG plane has a black spine and black tails. All of this was glossed and decals were used with a mix of kit and Fightertown. I will say the kit decals worked very, very well and are in prefect register. Once they were added, things were set aside to dry and I turned my attention to the weapons. I decided on three fuel tanks, GBU-12 bombs, AIM-120B’s and AIM-9X for the wing tips. I also built and added one AN-ASQ-228 ATFLIR pod. All these parts built easily and the kit decals really made them look the part.
I also masked the canopy and windscreen and painted the parts. The canopy has complete rails and the option of open or closed. Fit is excellent again on the canopy and windscreen.
Final assembly consisted of adding the weapons to the pylons and adding these to the correct stations. The small bits were added and several rounds of flat coat added and finally the canopy, clear parts to the tail.
Overall the kit is nice but there a few bits like the fit of the rear fuselage that take some work to overcome, but it makes into a very nice build of the F-18E. Just take care and fit things together multiple times. Recommended
My thanks to MRC and Hobby Boss for the kit and to IPMS/USA for the opportunity to add to my growing F-18 collection.


Comments
Add new comment
This site is protected by reCAPTCHA and the Google Privacy Policy and Terms of Service apply.
Similar Reviews