
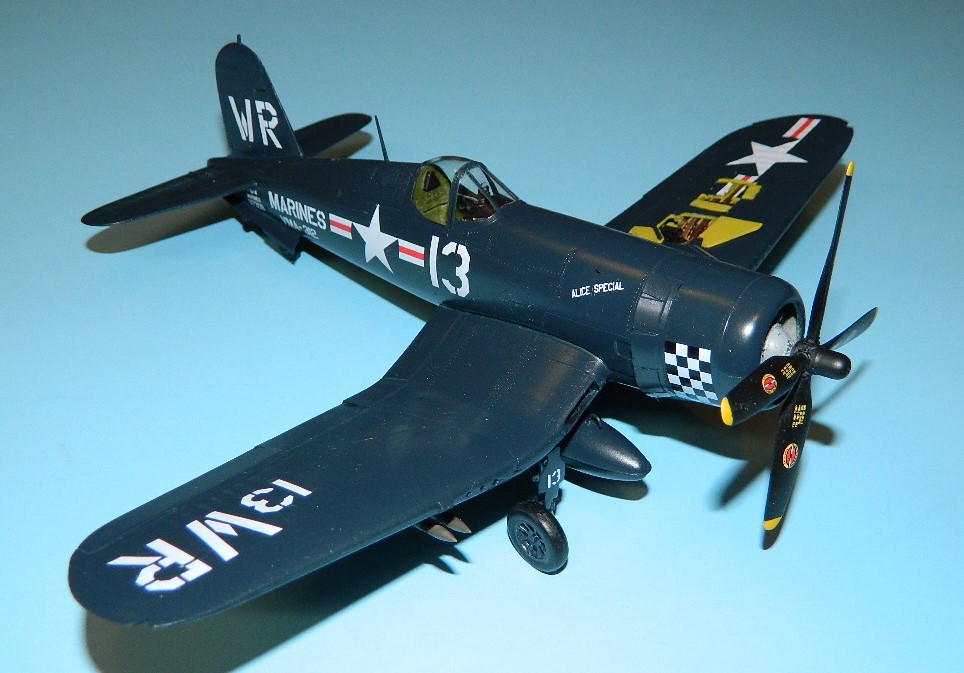
F4U-4 Corsair Late Version with Propeller and Cowling Upgrades
- Hobbyboss F4U-4 Corsair, # 80387, $55.99
- True Details Propeller and Cowling Set, #48552, $12.99
Huge thanks as usual go to our friends at MMD Squadron for providing us these great kits and manufacturing the accessories to improve them. We at IPMS USA appreciate your support (and thanks, Dick and Steve, for trusting my questionable skills to execute a review!).
This kit brings yet another Corsair to the stable. In the box is, of course, an excellent F4U-4 kit with minute, delicate surface detail. Multiple options such as antennas, folded or extended wings, and an open canopy are offered. A decal sheet with two Korean War marking options is provided, and a full-color “here’s what it should look like” paint leaflet is also there. All parts are individually bagged and protected; the cowl and clear parts are separated from the main parts by a cardboard divider.
On the upgrade side, True Details steps up to the plate with both an improved, detailed propeller and cowling for the kit. Let’s begin…
Hobbyboss provides a detailed PW 2800 power plant to install in the nose. The only missing part appears to be the wiring harness, and that is something that can be addressed with fine wire. Even the accessory section is detailed, but there is no provision to view it after assembly. As you can see in the pictures, the finished product nestles nicely into place; the exhaust system is a bit tricky but fits well once you have the correct pipes where they need to be. I assembled the engine and exhaust off the model, then slid it into the mount tube once I was satisfied with fit.
The cockpit interior, while a bit simplified, is detailed enough for the casual builder. It’s a mixed bag; there is a throttle assembly, and sidewalls with circuit breakers molded in; you have the choice of 3D detail or removing most of it and using decals. Since I was on a time crunch and needed to use the kit items, I followed the decal route. It got the job done, but the instrument bezels are a bit large and reflect 1960’s versions (see Monogram 1/48 kits) more than current offerings in other kits. Since I was going to close the canopy anyway, there is no foul. I also did not opt for a harness, as I wanted to do an out-of-box build. You could use one of the various aftermarket installations and have a great time doing so!
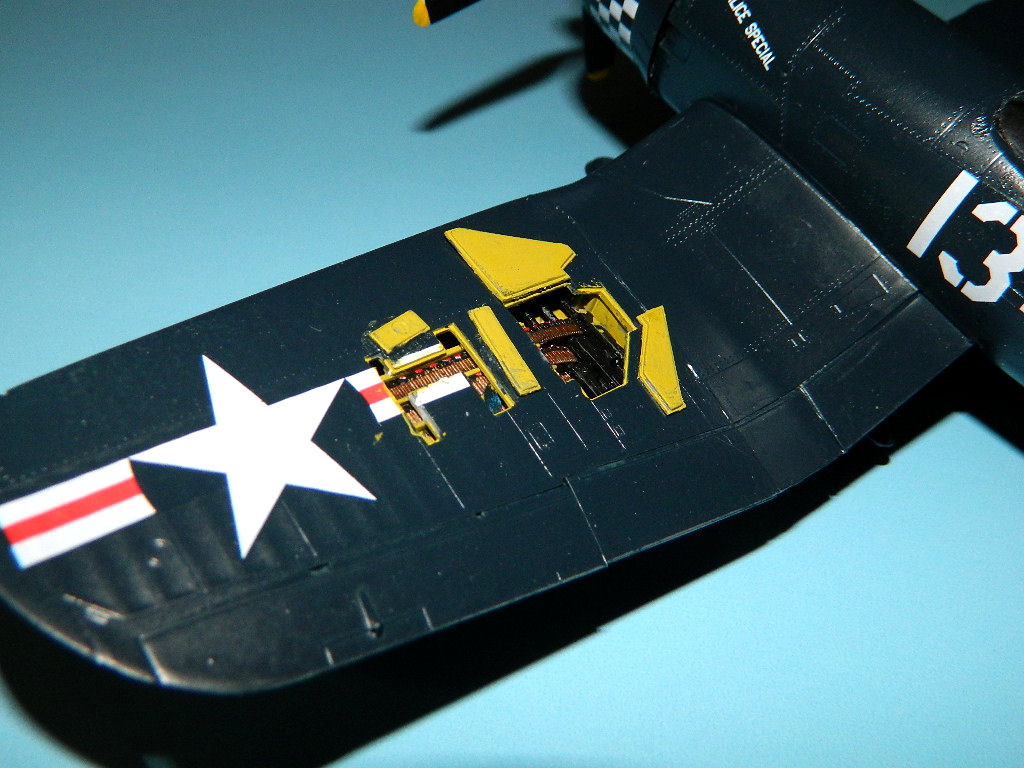
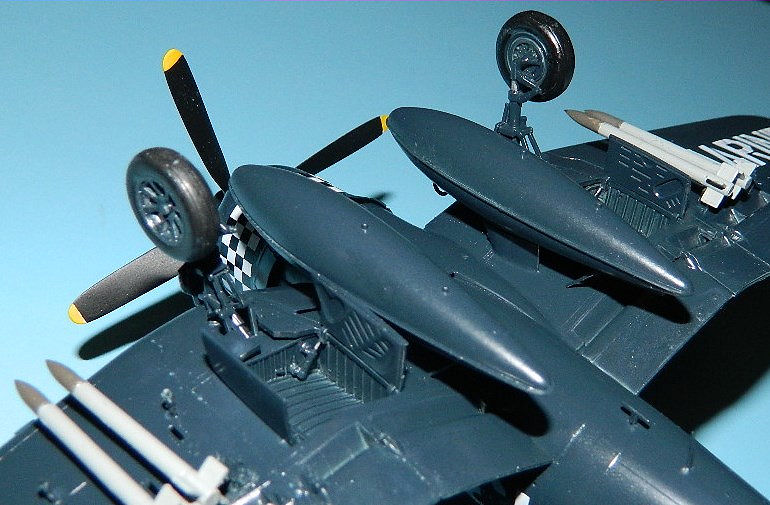
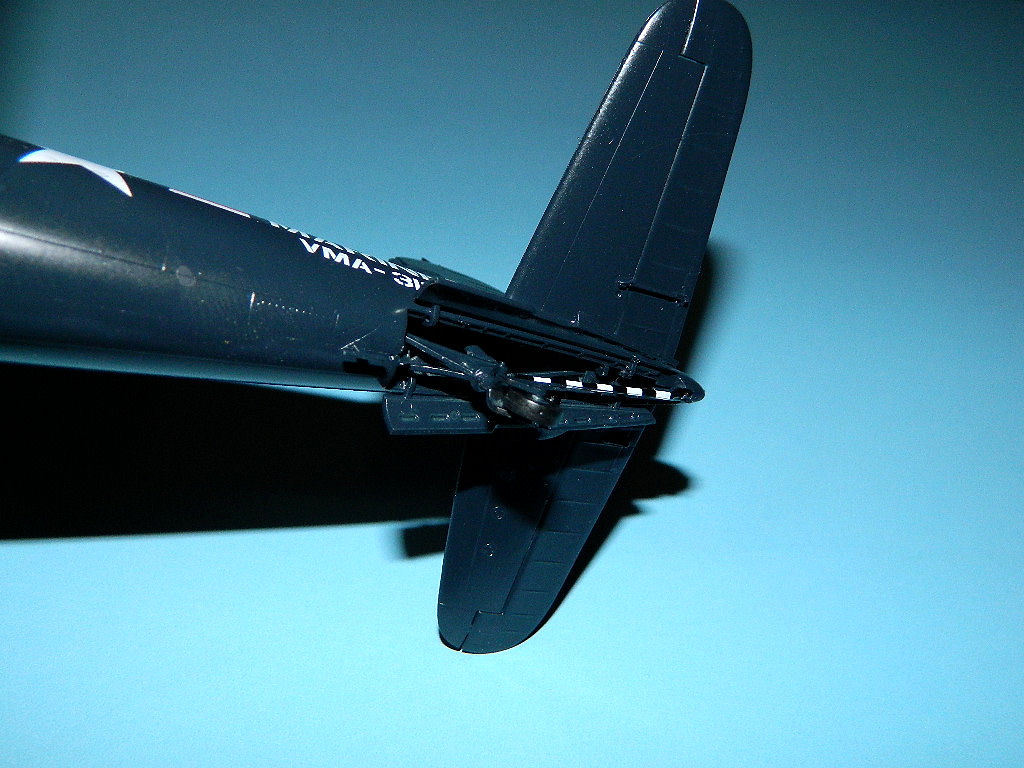
The tail wheel assembly is very detailed and a bit of a chore to fit in place within the fuselage halves. Once in, however, it looks great. The gear doors have excellent, positive attachment arms. The wing center section fits snugly, as do the outer wing sections. Some choices need to be made at this point: First, extended or folded wings. I like wings on my birds, so I extended them and left one of the .50 cal bays with ammunition belts open to add visual interest. Careful painting results in a realistic gun bay.
The flaps and all other control surfaces are two-part items and individually installed, which makes them a bit of “animation” option. Unfortunately the flaps can only be installed in the up position.
At this juncture is where the gear can be installed. Since the aircraft is overall blue with blue wheel wells, it made sense to bring the gear into play as a prop for painting. Struts actuators and doors all went into place; there are also individual actuator rams for each follow-up main gear door, which are detailed on both sides.
The canopy is the proverbial crystal clear item – fit is perfect, and the other little clear bits (gun sight combining glass, wing navigation lights) have equal clarity. I tried a new glue on the gun sight: Tiger Glue, which appears to be an aliphatic resin. It dried clear and held the kit gun glass in place very nicely.
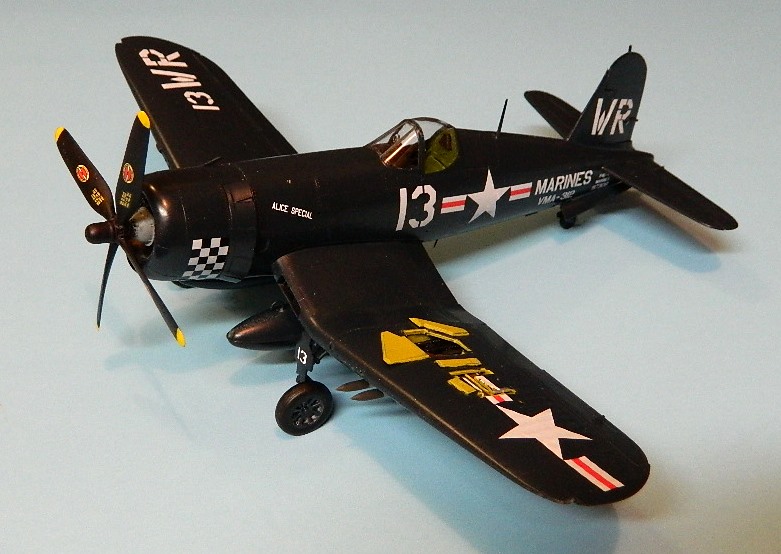
OK, the cowling. There’s a side-by-side comparison for the cowl below. The resin True Details cowl has the more accurate intake assembly for the F4U-4; it’s actually smaller and “less of a wide smile” than provided in the kit. The kit cowl cooling gills fit right in place…easy. Be careful removing the pour stub, carefully sand down the radius of the lip, and you are set. After installing the cowl, I masked the engine and cockpit clear parts and used Testors #1917, FS 15042 Dark Sea Blue on the entire model. After appropriate drying time (this was longer than the build), I applied the decals.
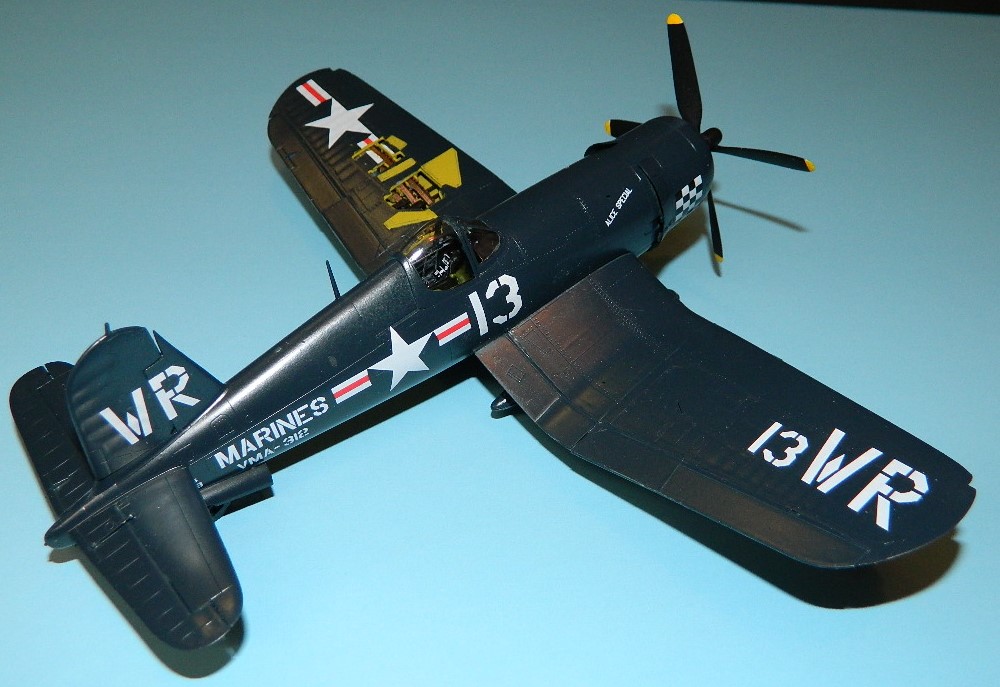
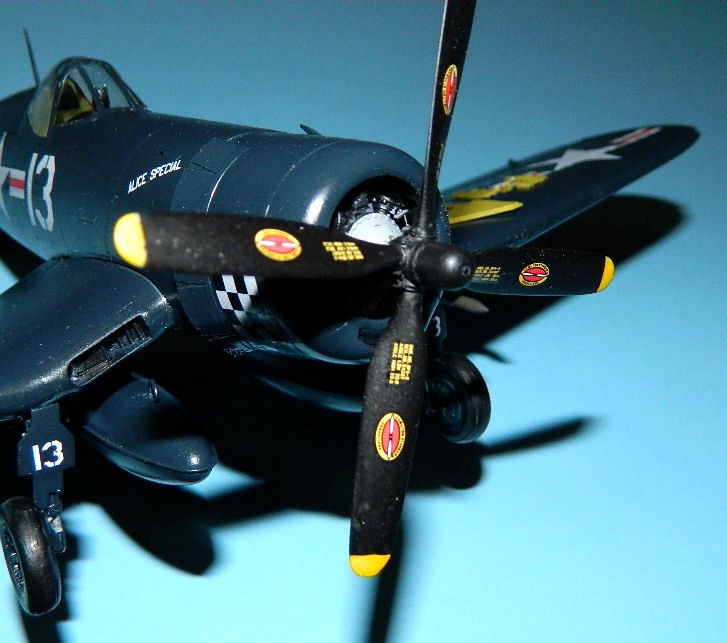
Markings: okay, I know, the kit comes with the “Rattlesnake” for the cowl…and I didn’t want to do it. I did like the checkerboard cowl marking, so that was the tack I took. It only required a half-hour to decal the model; they did not require settling solution on the gloss surface, and silvering was not experienced anywhere. I do think the propeller logos are a bit too large, but that’s a minor detail; they don’t look bad at all. Take your time and float the decals into place, because they grab very well and don’t want to move afterwards.
Final work was to paint and install the rocket rails and external tanks; the rails took some time to install (remember to drill out the holes in the underside of the wing panels before you glue the wings together!) but were very detailed. The rockets themselves were basic: shafts and fin assemblies. I installed all 8, and my buddy “Rosie the 18 year old cat” helped me remove some of them earlier tonight. He’s too old to eat, so he was banished into the house.
The new TD Resin propeller was installed last; it consists of five parts, and you will need to drill out the shaft hole carefully after removing the pour stub. The propellers need to be carefully removed from their stubs, offered up to the hub, and glued in place with CA glue. Sand off the pour gates at the tips, and please take your time, because it can be messed up! Looking at the finished item next to the kit item, the detail is much better; there is a bolt hole in the front of the hydraulic dome missing from the kit item, and the assembly bolts are much better defined than the kit one. When finished, paint and decal…and all will be well with the world.
Final Analysis
Three days from receipt to final product. 25 years ago, this would have been hailed as a miracle kit; now, its mainstream, and obviously the Corsair hounds will go to town on it. The only filler required was the aft section of the canopy incorporating the rails, which is a common place for a kit being used for multiple variants, and a touch on the lower fuselage where the wing center section mated to the fuselage. I am impressed by what Hobbyboss is doing these days, and hope they can sustain their prodigious output. Well done and thanks again to Squadron for supplying the kit and IPMS/USA for supplying it to me for review.

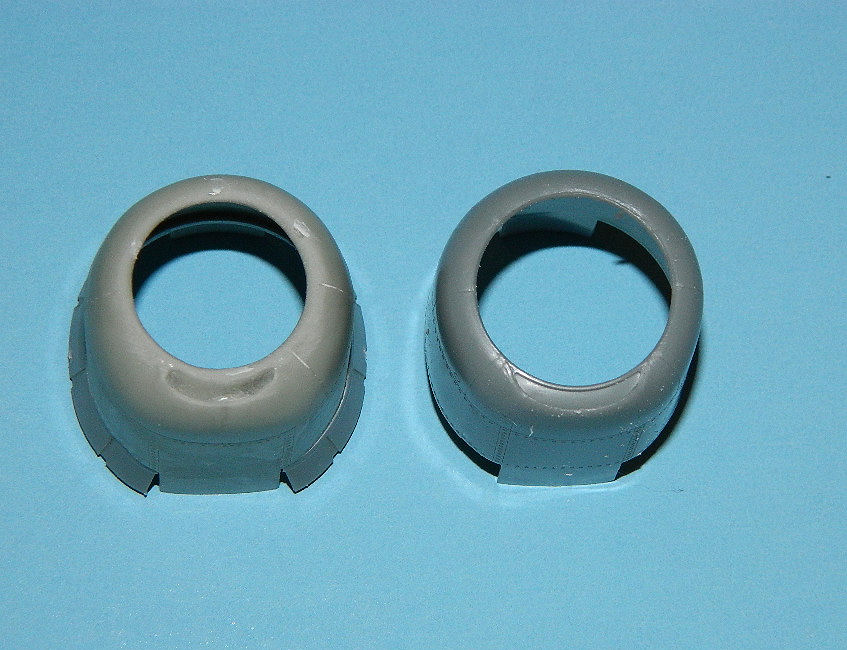
Comparison with kit cowl, on right
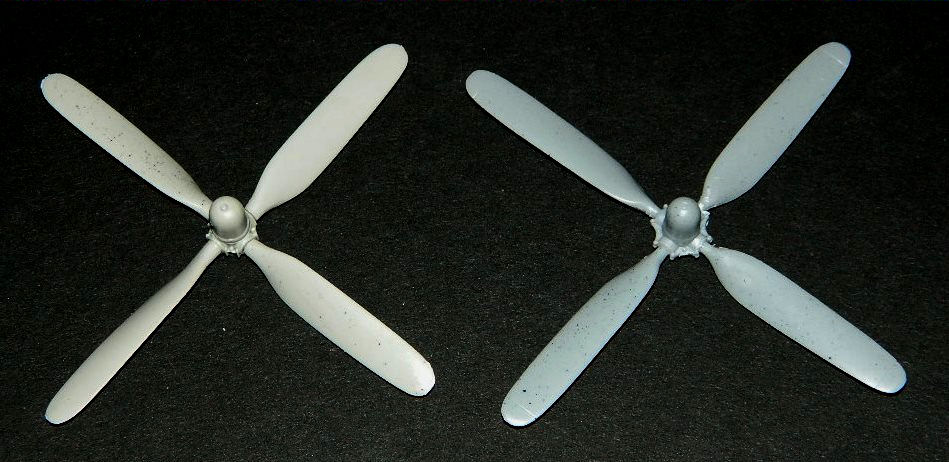
Comparison with kit prop, on right
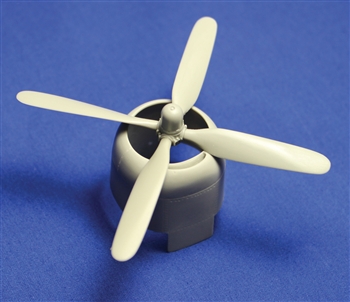
True Details prop and cowl
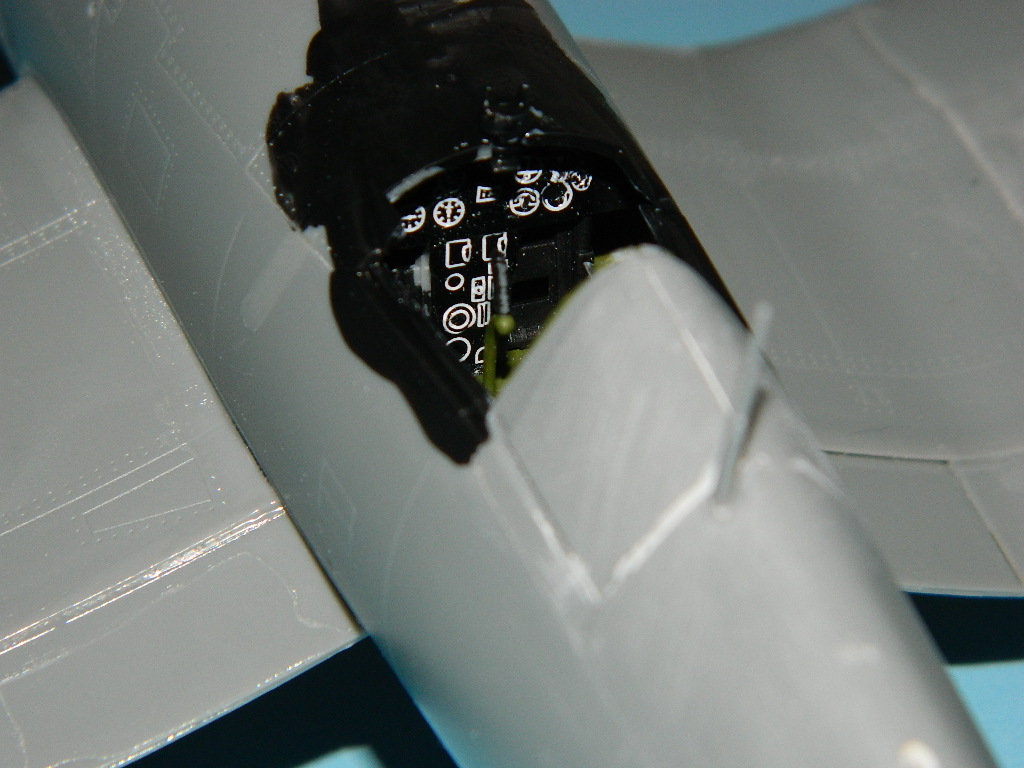
Cockpit 1

Cockpit 2
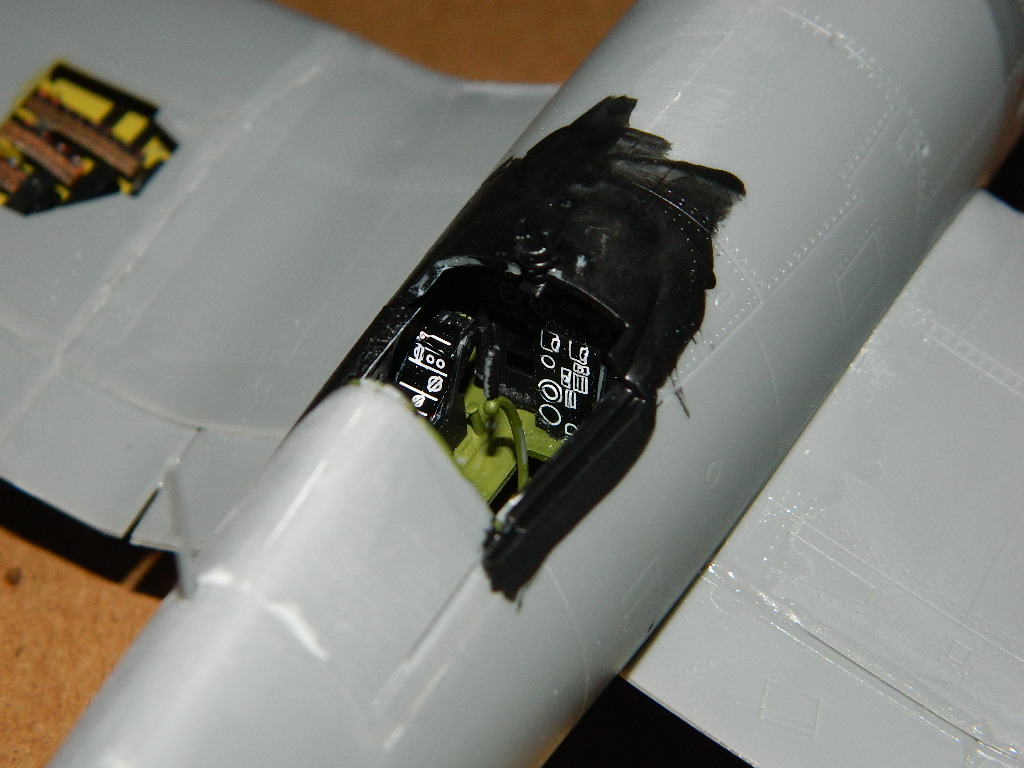
Cockpit 3
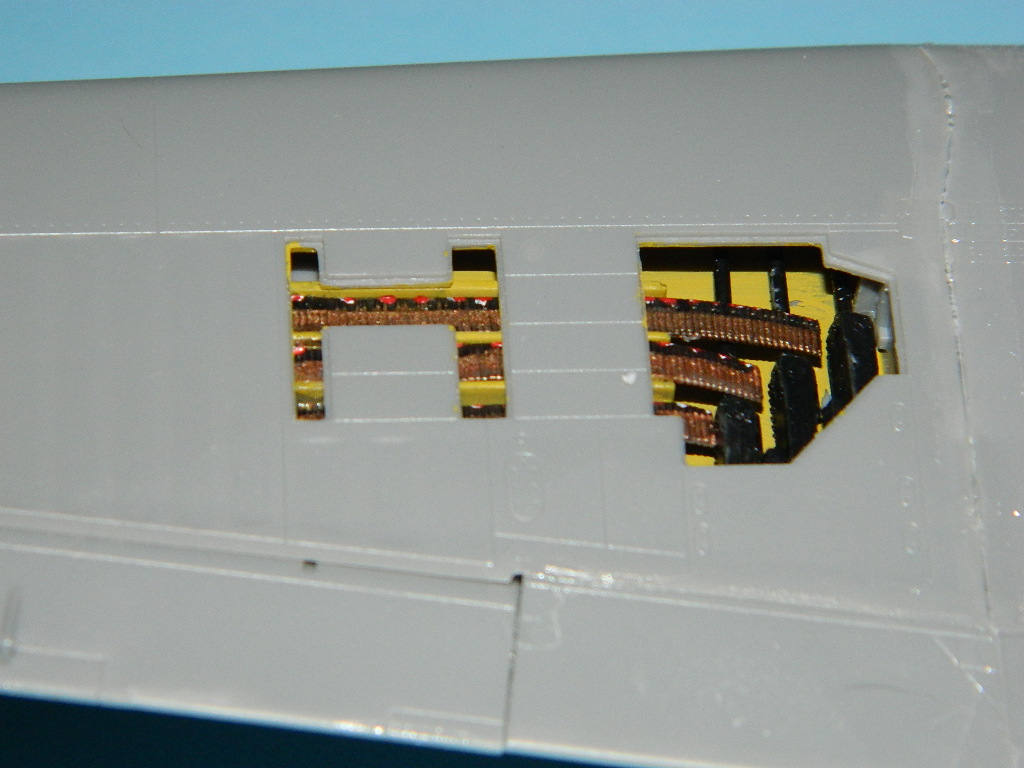
Gun bay detail
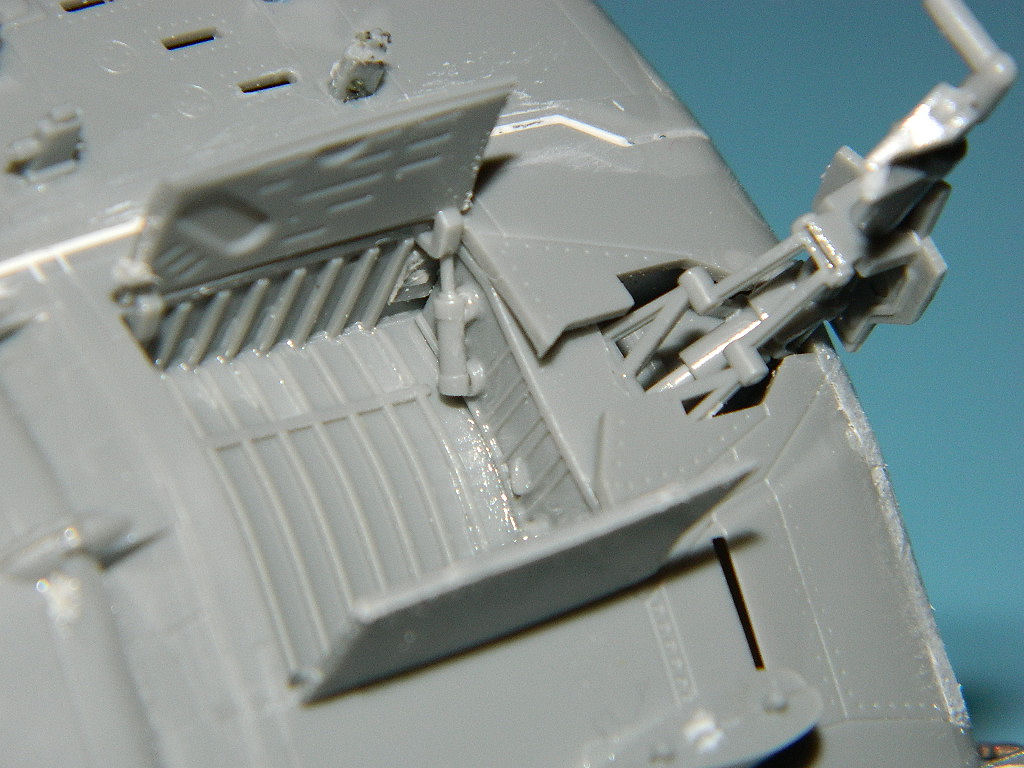
Main gear well detail
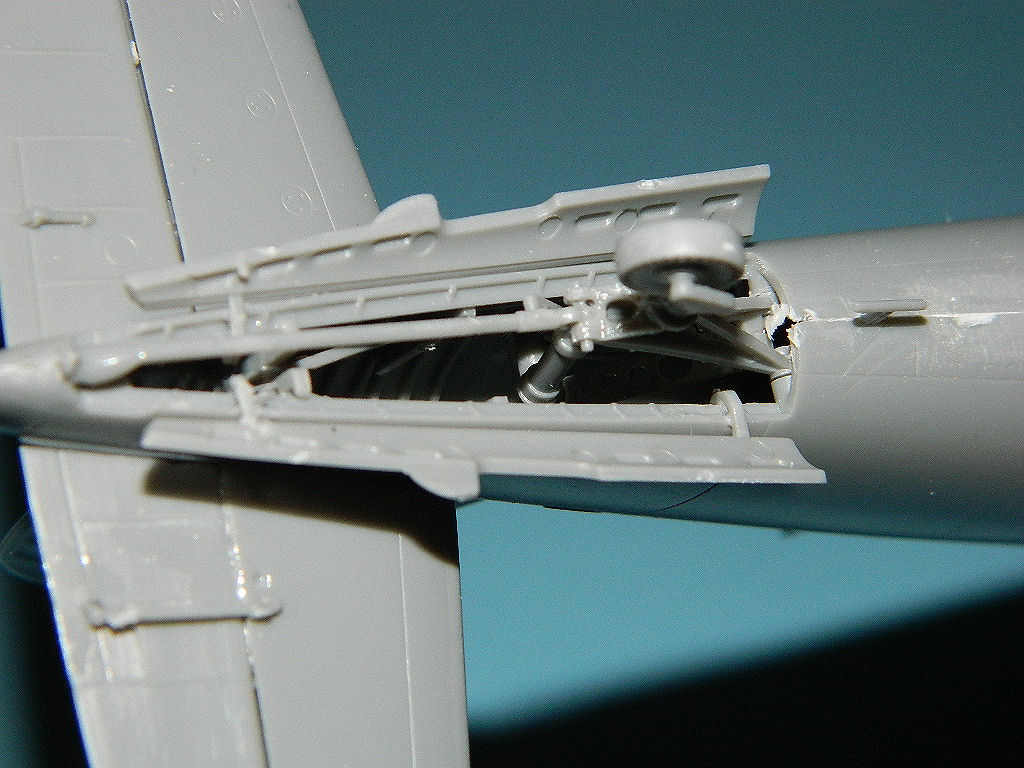
Tailwheel detail
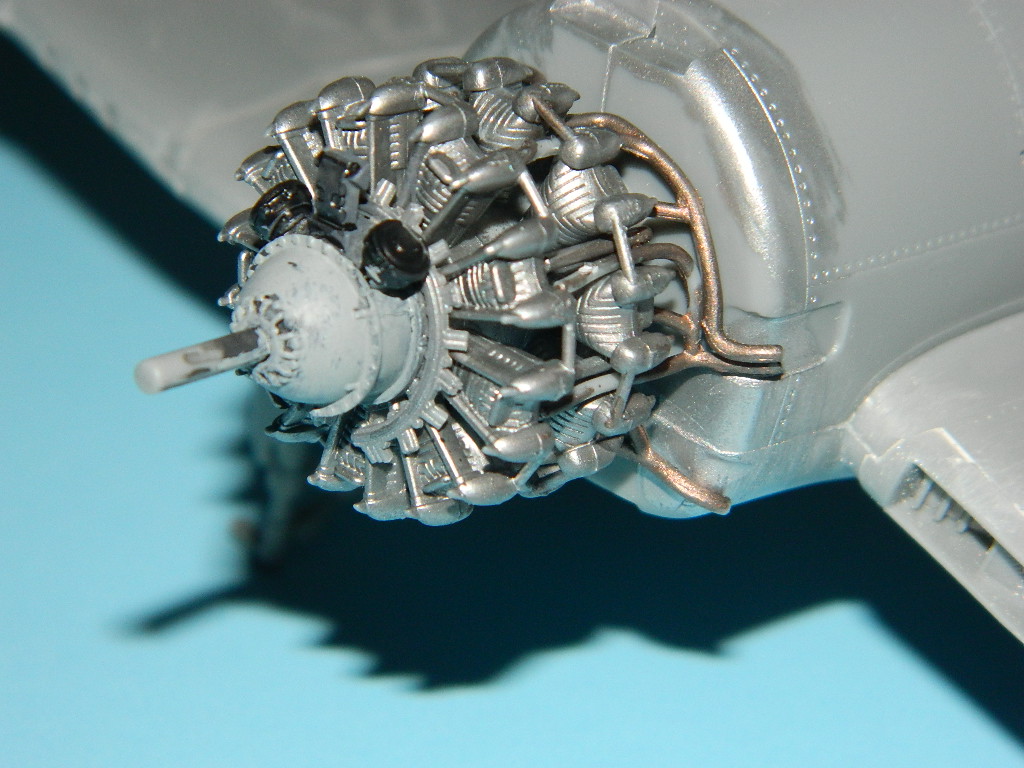
Engine detail
Left front
Left wing
Right rear
Right front
Tanks, landing gear, armament
Tailwheel
Comments
Add new comment
This site is protected by reCAPTCHA and the Google Privacy Policy and Terms of Service apply.
Similar Reviews