
F4F-4 Wildcat
History
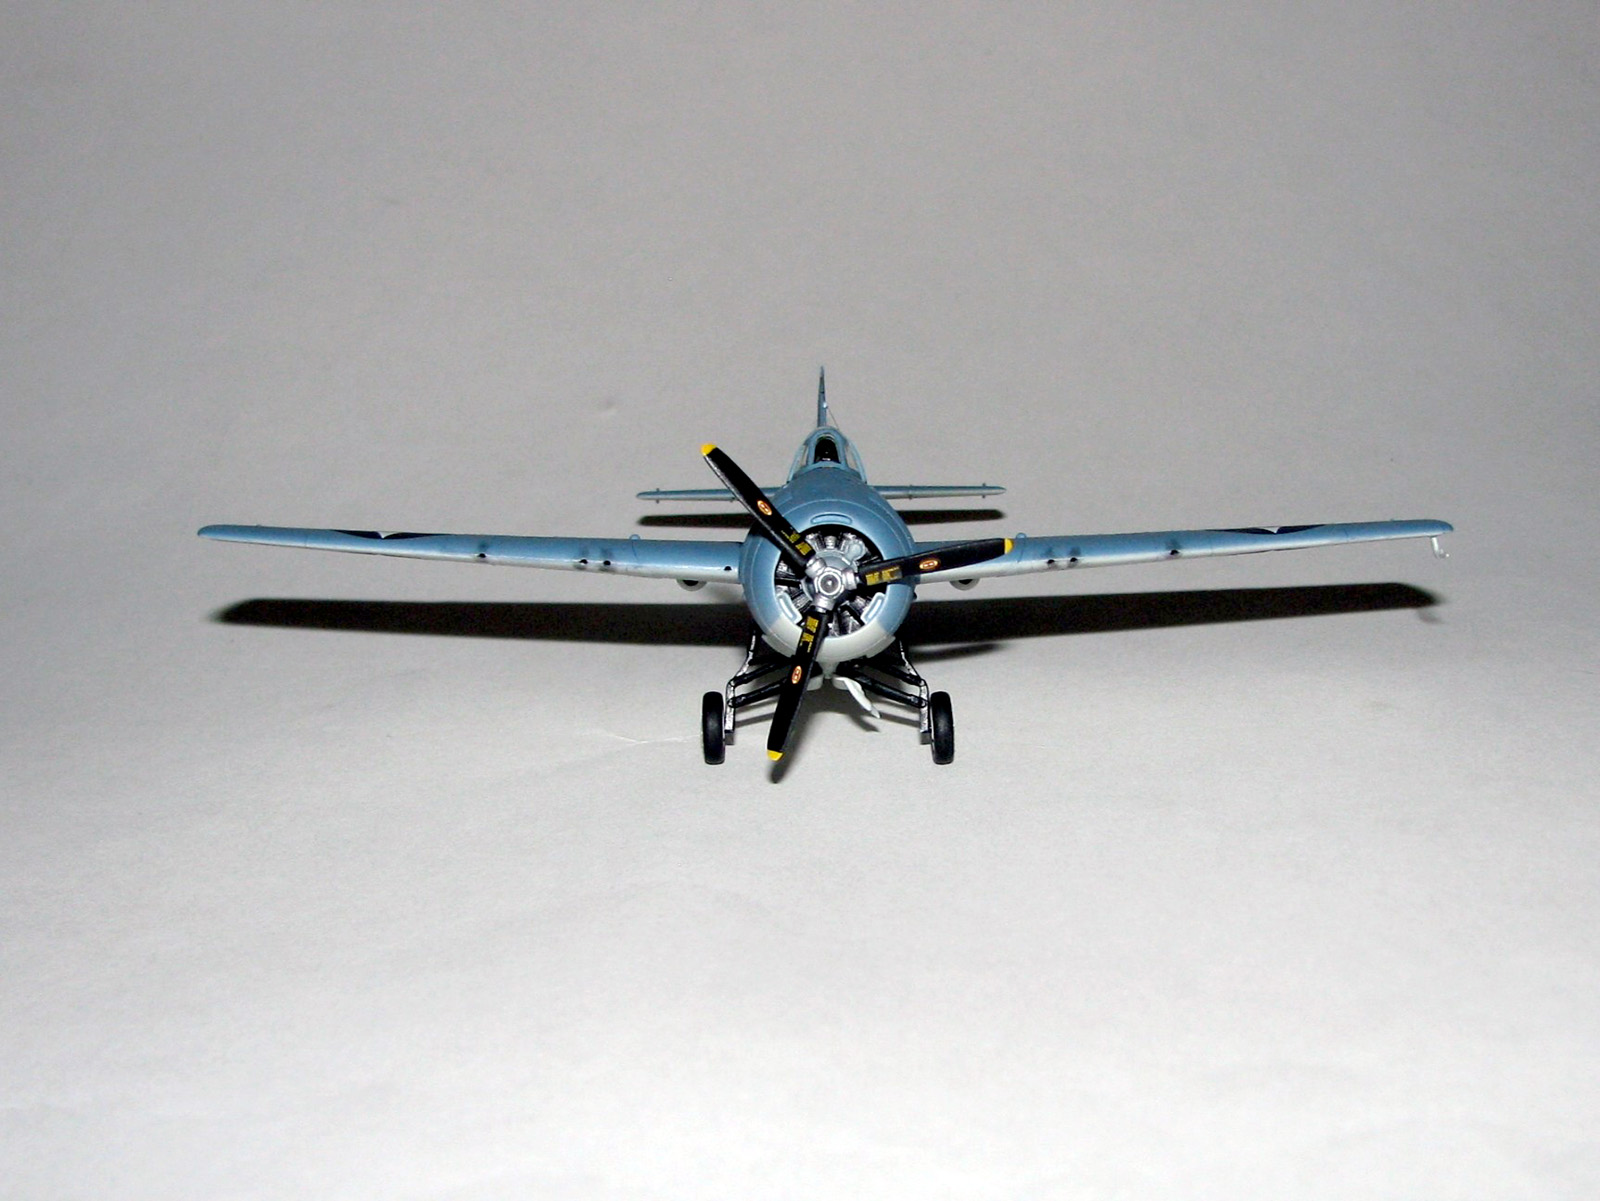
The Grumman F4F Wildcat was the US Navy's primary carrier-borne fighter aircraft at the start of WWII. Characterized by its stubby appearance the Wildcat had been developed from Grumman's successful range of pre-war biplanes and had entered service with the US Navy a year prior to the Japanese attack on Pearl Harbor, replacing the Brewster Buffalo. By the time of the crucial battles for Midway and Guadalcanal, the F4F-4 model had become the most numerous variant and new tactics such as the ‘Thach Weave’ enabled American naval and marine pilots to gain the upper hand on the previously all-conquering Mitsubishi Zero. The F4F-4 introduced both folding wings and an extra .50 machine gun in each wing, adding to the Wildcats already powerful armament. Lessons learnt with the tubby but tough F4F were later incorporated into the F6F Hellcat, a fighter which went on to dominate the skies over the Pacific.
The Kit
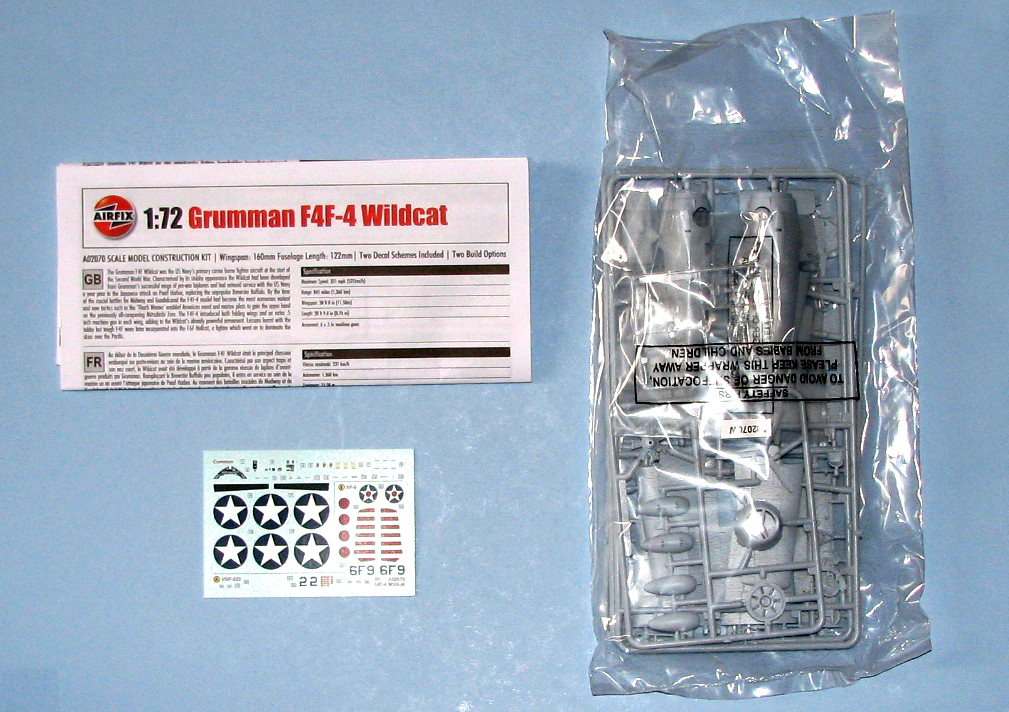
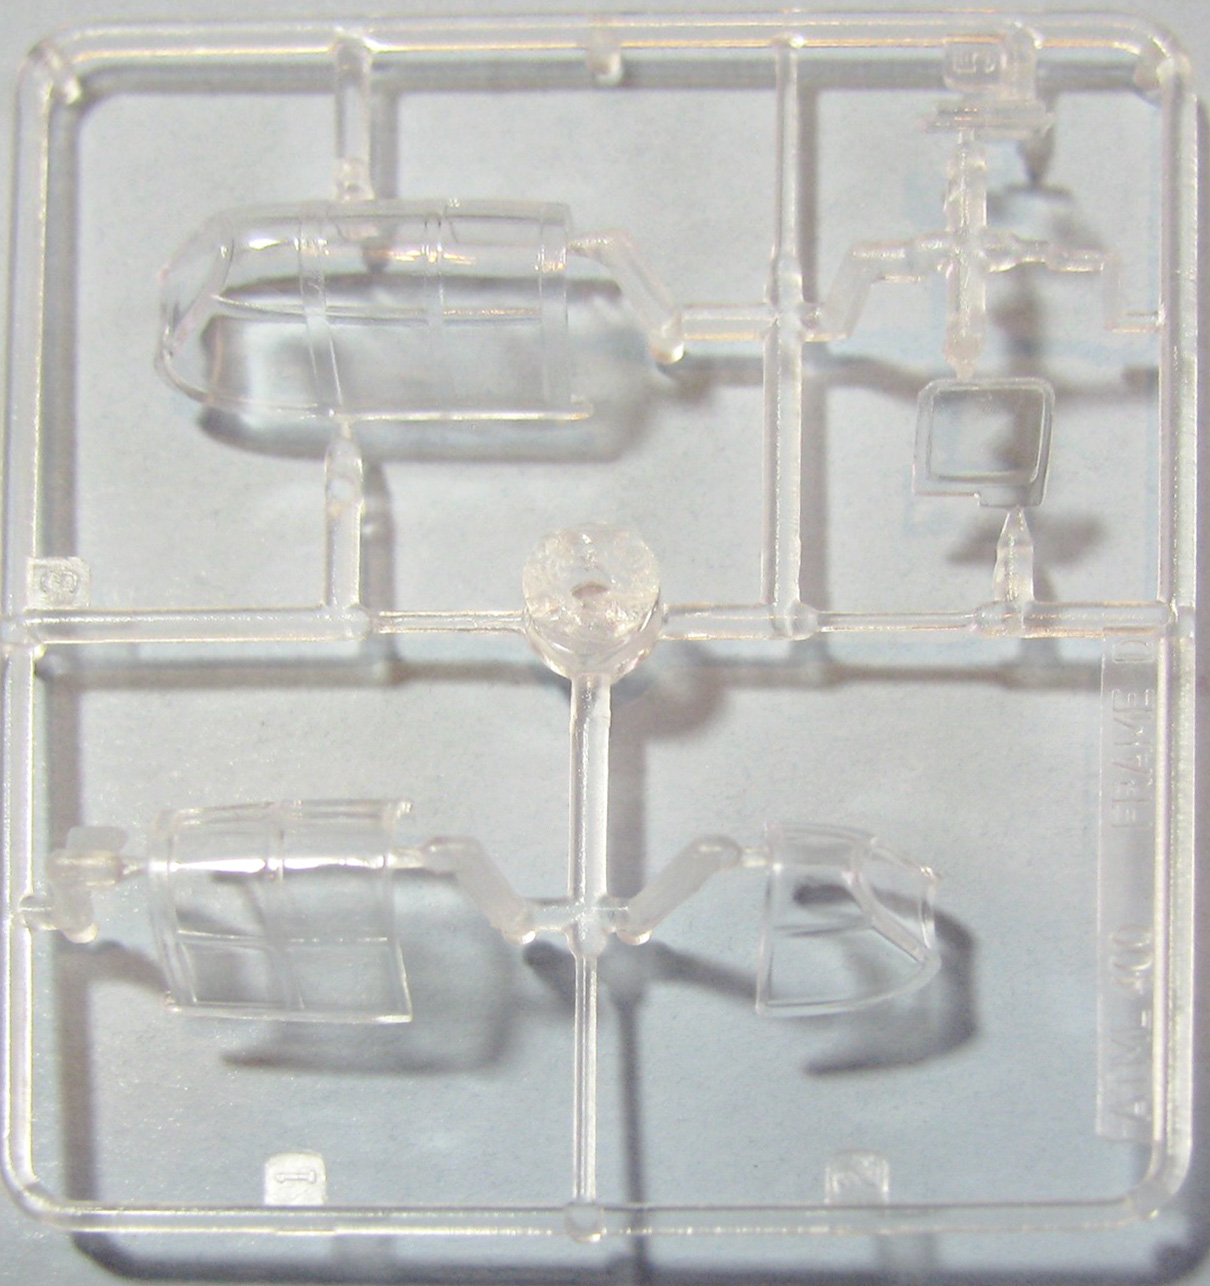
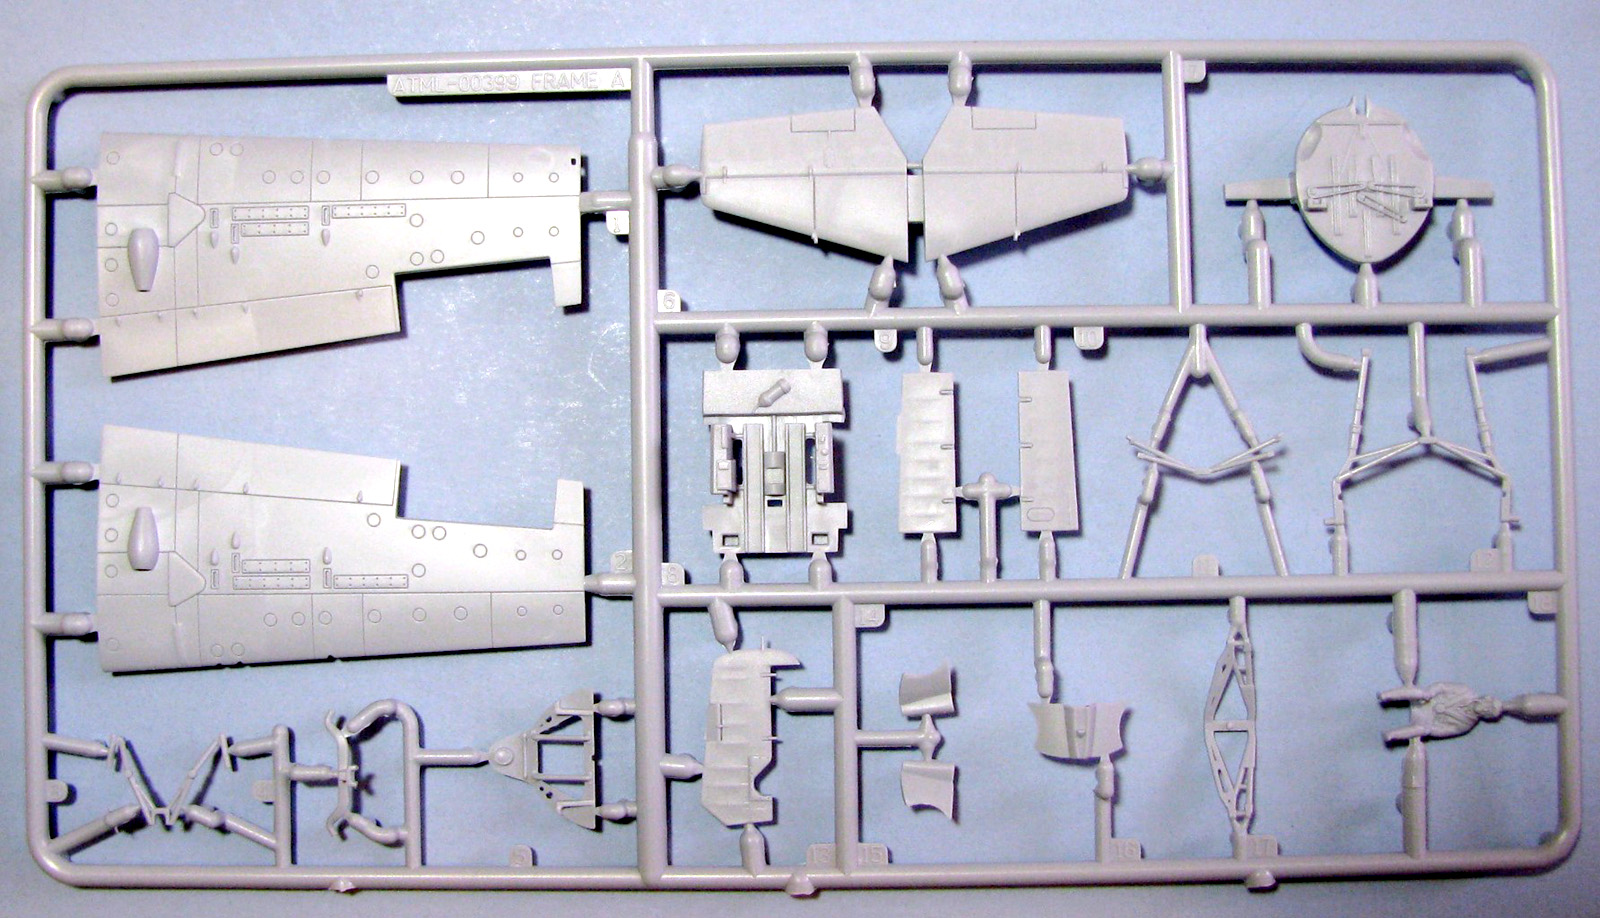
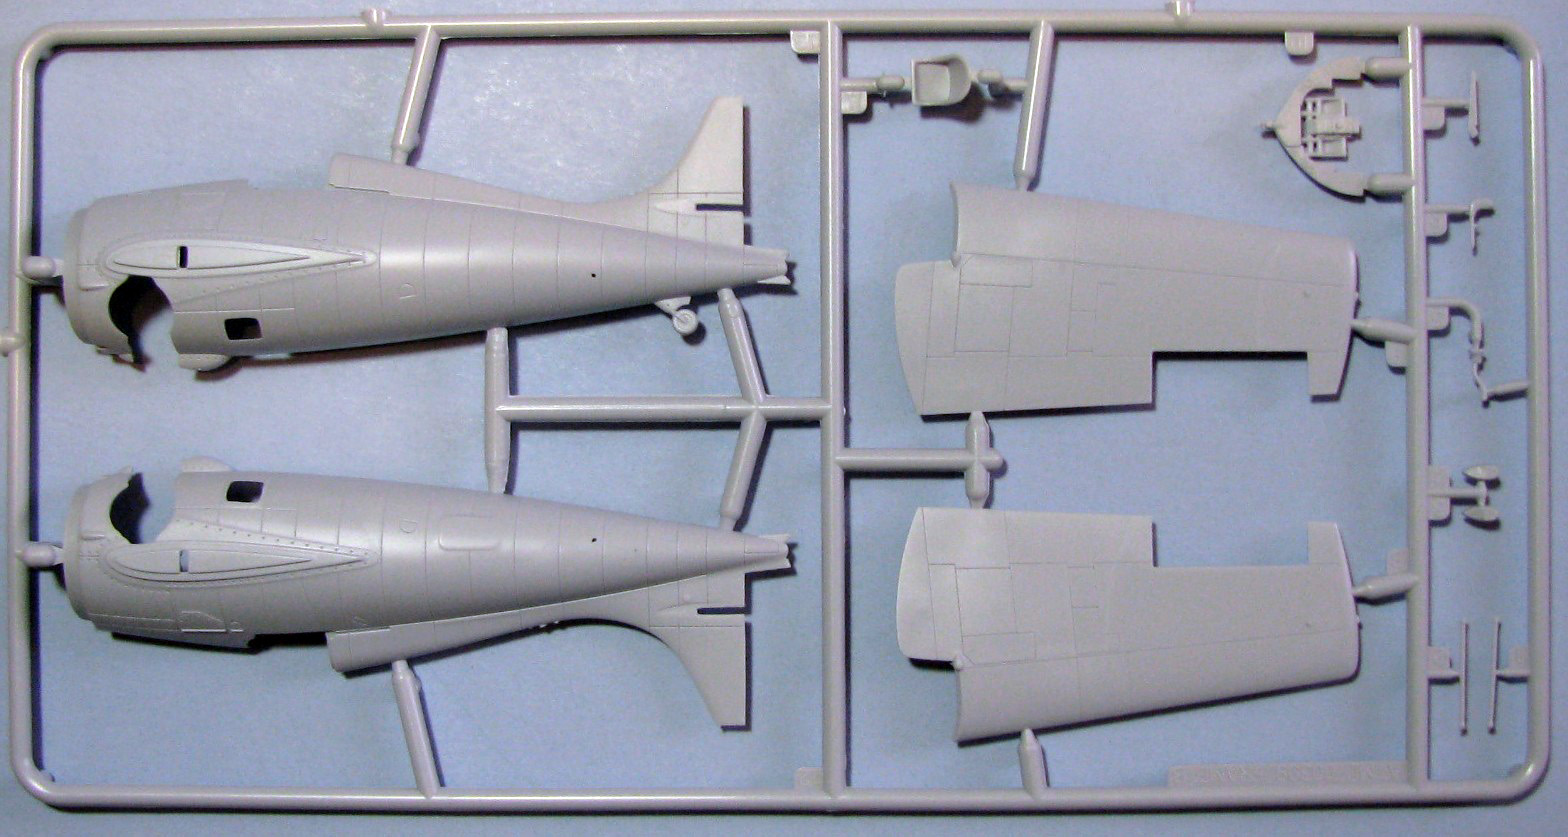
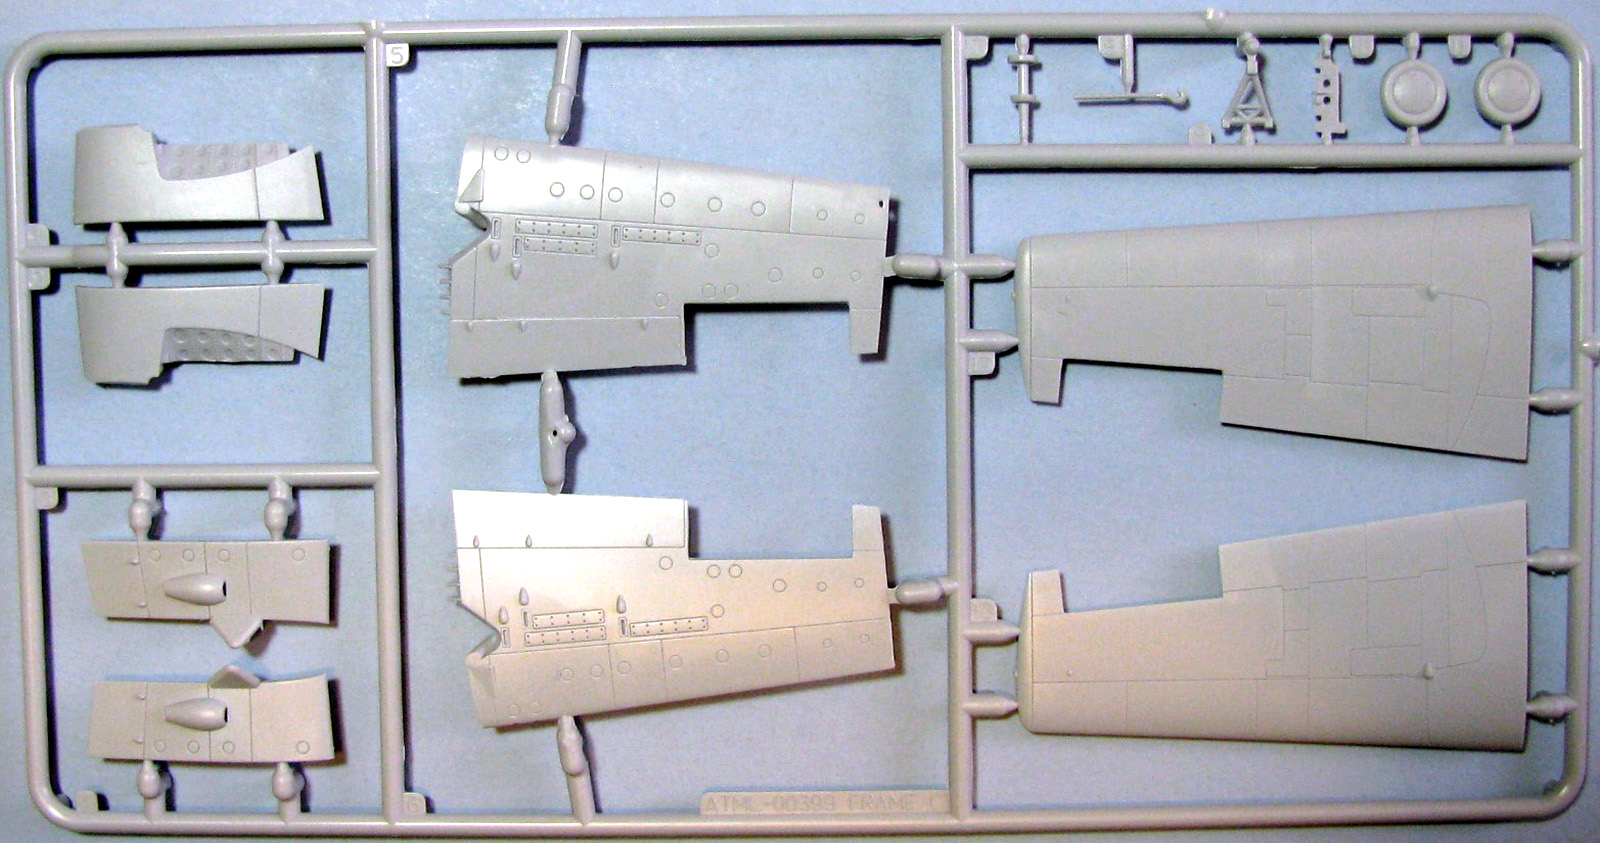
Upon opening the box you will find a bag containing 4 sprue of grey and one of clear plastic, a very nice decal sheet and an 11 page instruction booklet. The plastic is crisply molded with raised and engraved detail, no sink marks and just a little flash. The clear parts are a mix though as the canopy parts are nice but the lower portholes are a bit distorted.
Construction
This is definitely not your father’s/grandfather's old F4F kit, as 46 steps are needed to finish this model, starting with the cockpit tub, which is made up from 6 pieces and 4 decals and looks pretty nice out-of-box (I added a set of lap belts from tape). Next is the rear bulkhead for the wheel well, and then your first choice to make comes up, as steps 7-11 deal with building a wheels-up version, while 12-19 are for the wheels-down version. I decided to go with the wheels down version and was impressed by the intricate 8 piece landing gear assembly and once together it is very sturdy. After attaching the strut assembly to the well bulkhead it’s now time to assemble the fuselage…...and this is where my first problem popped up. After placing the cockpit assembly in the right fuselage side I test fit the fuselage halves twice and everything fit perfectly, HOWEVER, when cementing the two halves something didn’t fit just right and I was left with a paper thin gap on the upper fuselage in front of the wind screen. I have no idea what I did wrong or what was causing it but I had to use a very thin piece of Evergreen plastic to fill it, so pay close attention to this area when assembling.
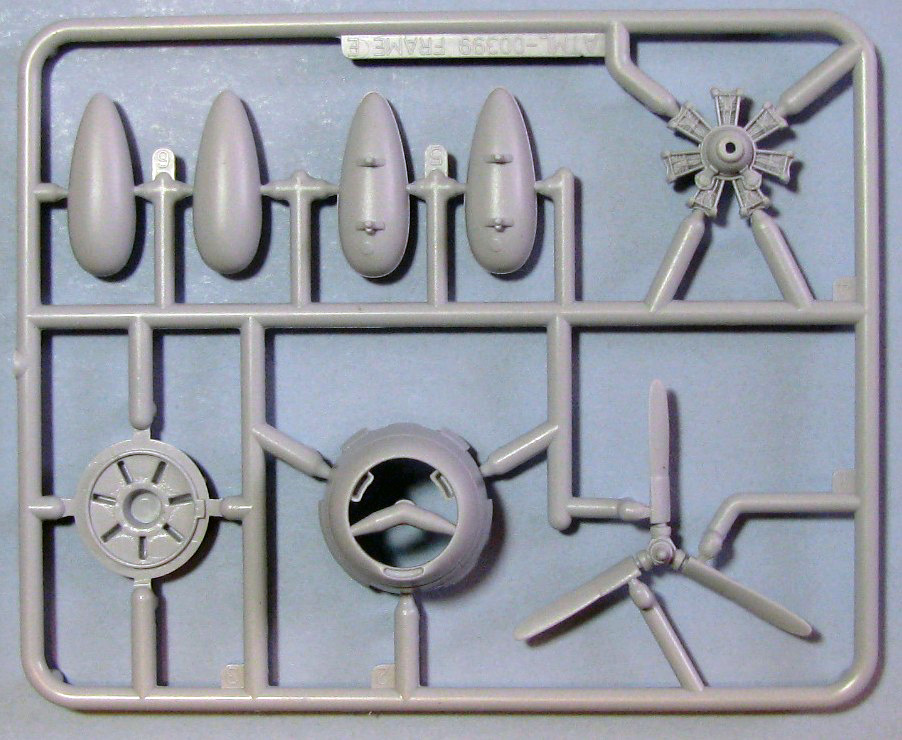
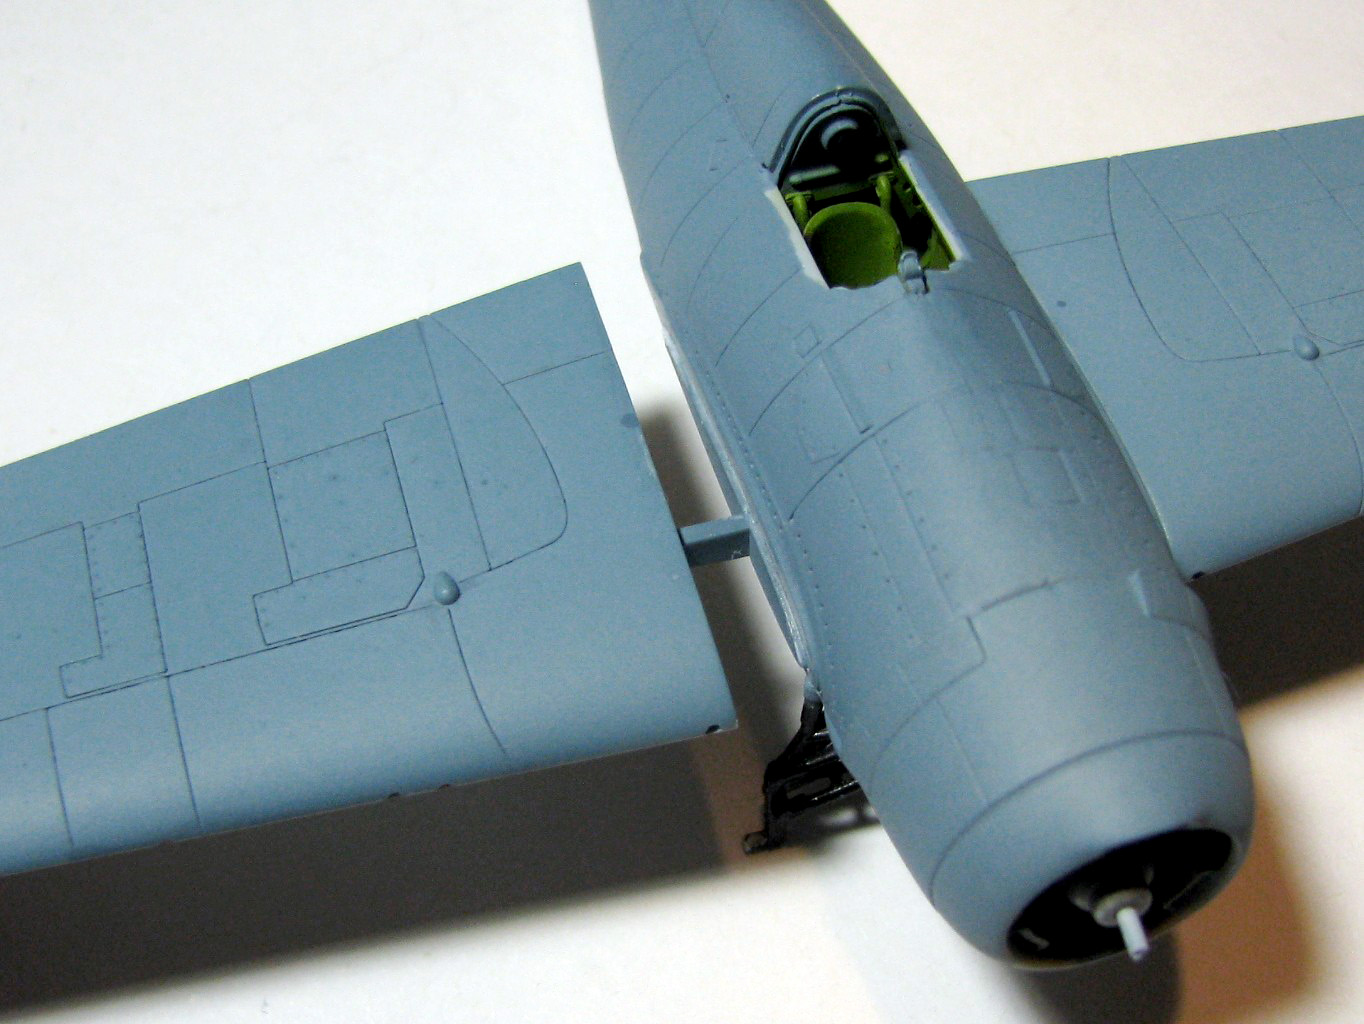
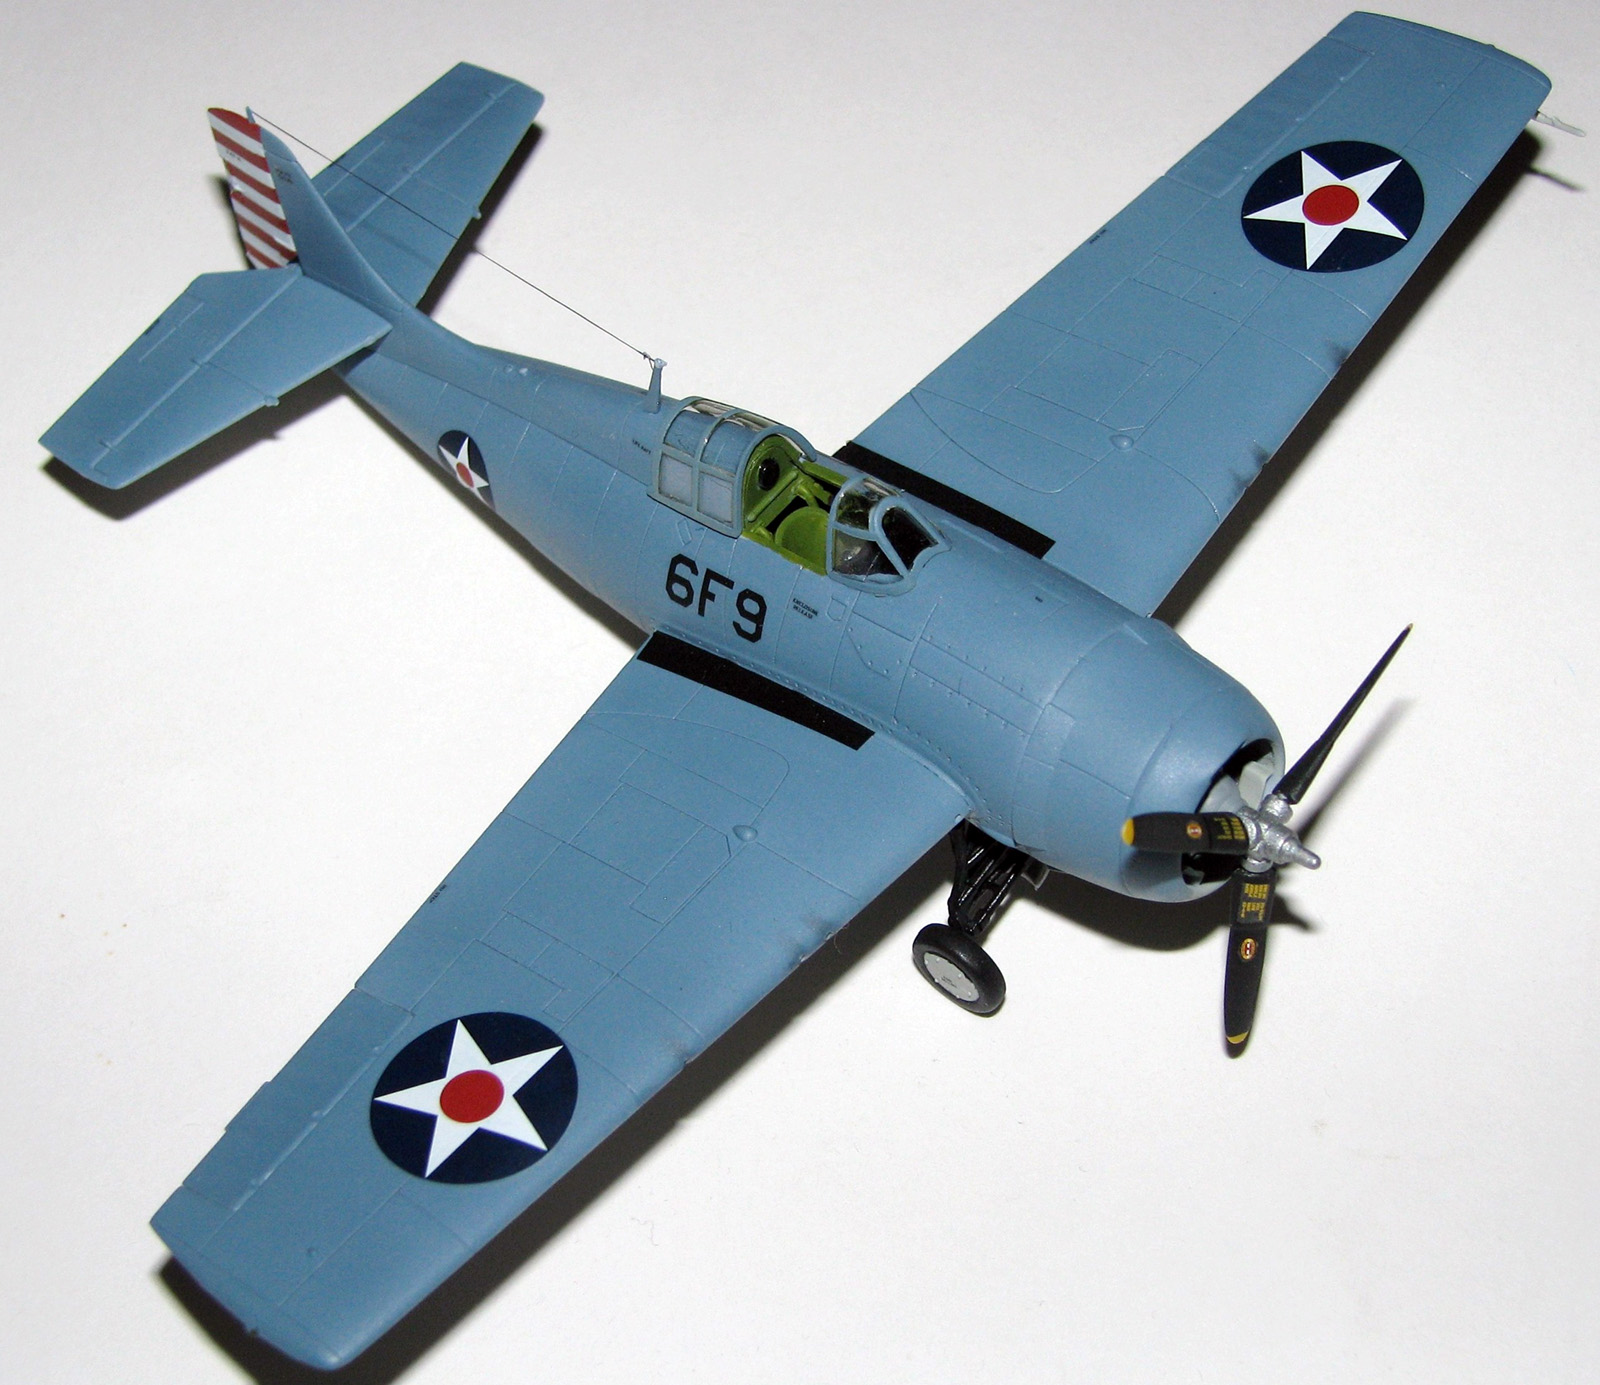
Next up are the steps that deal with the engine, cowling, and exhaust ports. The 2 piece engine has some very nice detail. I decided to leave the exhaust ports off until the very end of the build for ease of painting and this worked well for me. The next step is to add the one piece horizontal stabilizers, which slide onto the tail (and fit so well I didn’t use glue), and the rudder. I left the rudder off until after decaling as I thought it would be easier...it was. Now on to the wing assembly, and this is where your next choice of options comes up. You are given the choice of building it with folded or extended wings. Airfix did something really nice for this when they supplied parts to do both (No surgery!!!) and even though I chose the extended version, I did build one of the folded wings also. One other item of interest is that Airfix also supplied the braces that keep the wings stable while folded. Again, thank you Airfix! Now comes the wing to fuselage attachment, which was my second problem area. You are to attach the end of the wing, at the root, to the fuselage which worked OK, but there is no real support for the wing except a spar that protrudes through each side of the fuselage (part of the cockpit tub), but really does nothing to support the wing (See pic). I had a very thin gap on my example at the wing/fuselage join, and this was due to the fuselage being rounded and the two wing halves (A1, 2 & C12, 13) are flat at the join area. I just lightly sanded the wing pieces to give them a very slight beveled edge and the gap disappeared. Another nice feature is that the ailerons are separate pieces and can be posed in any position, which comes in handy when building it with folded wings. The final steps are for the canopy, prop, antenna, arresting hook, and pitot tube. You have a choice of open or closed canopies. I chose the open version. The separate piece for the open version is a bit big, and I have heard some complaints that it looks bad. To my aging MK-I eyeball it looks OK.
Finishing
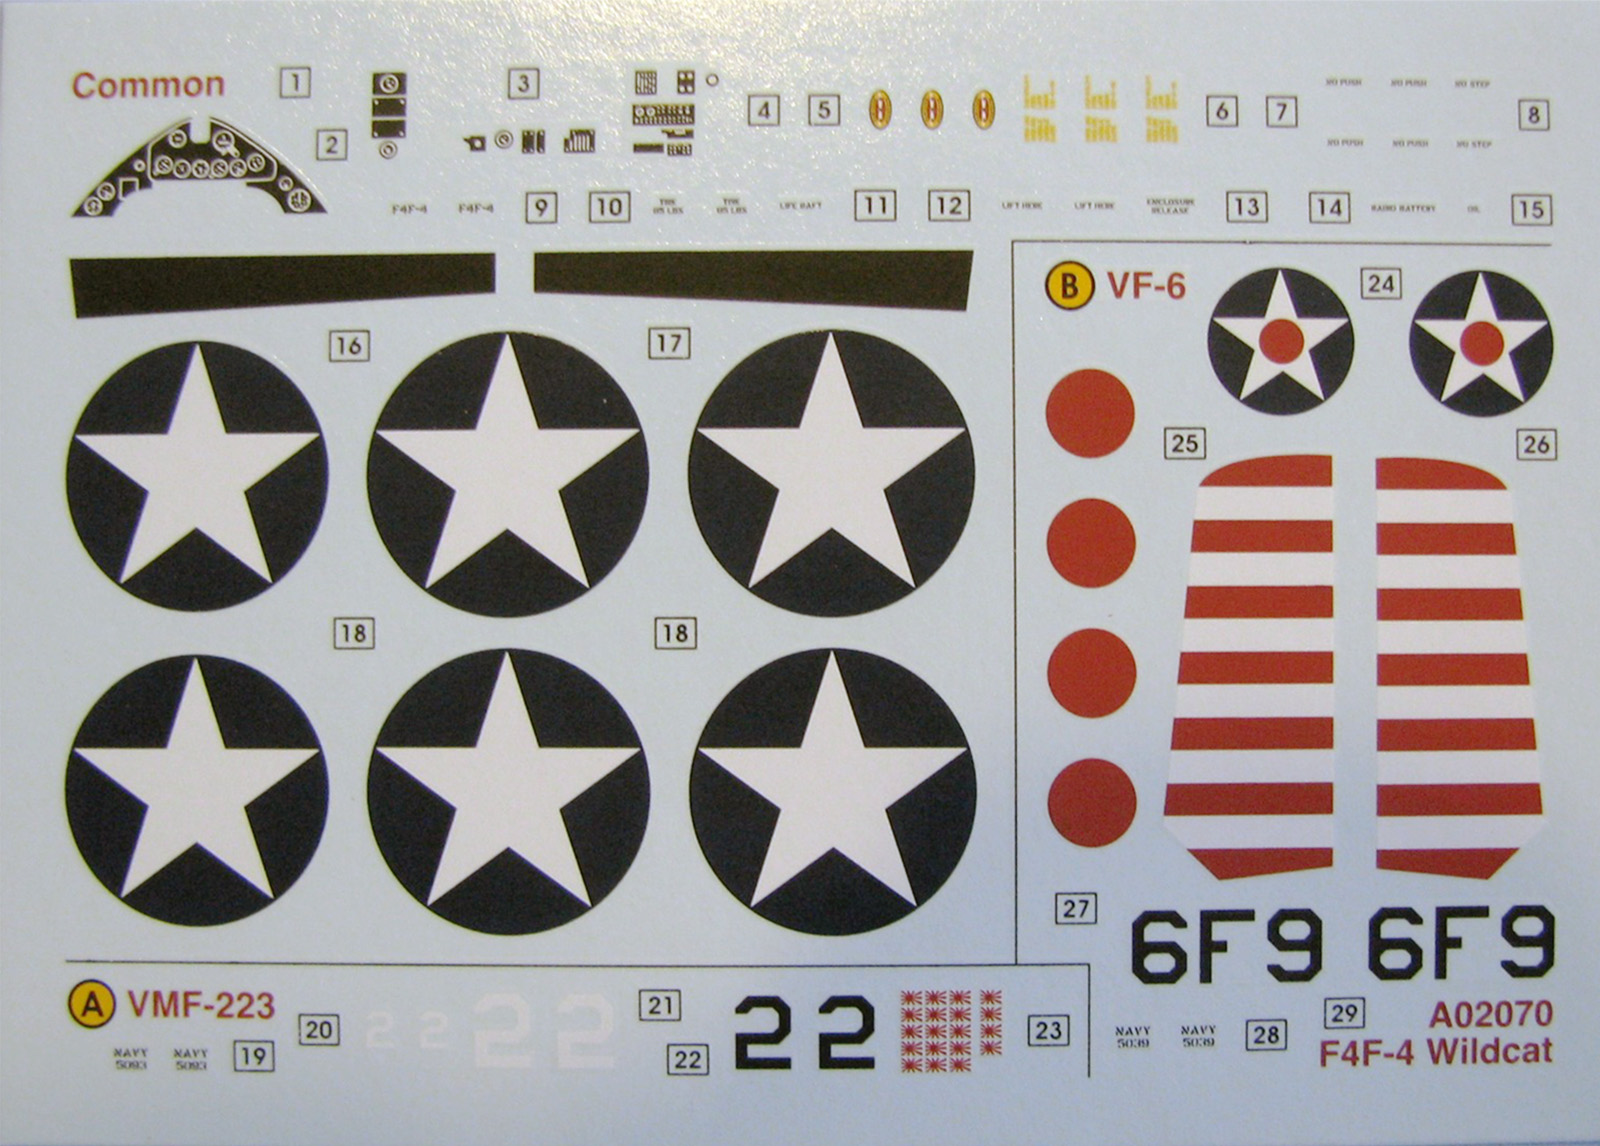
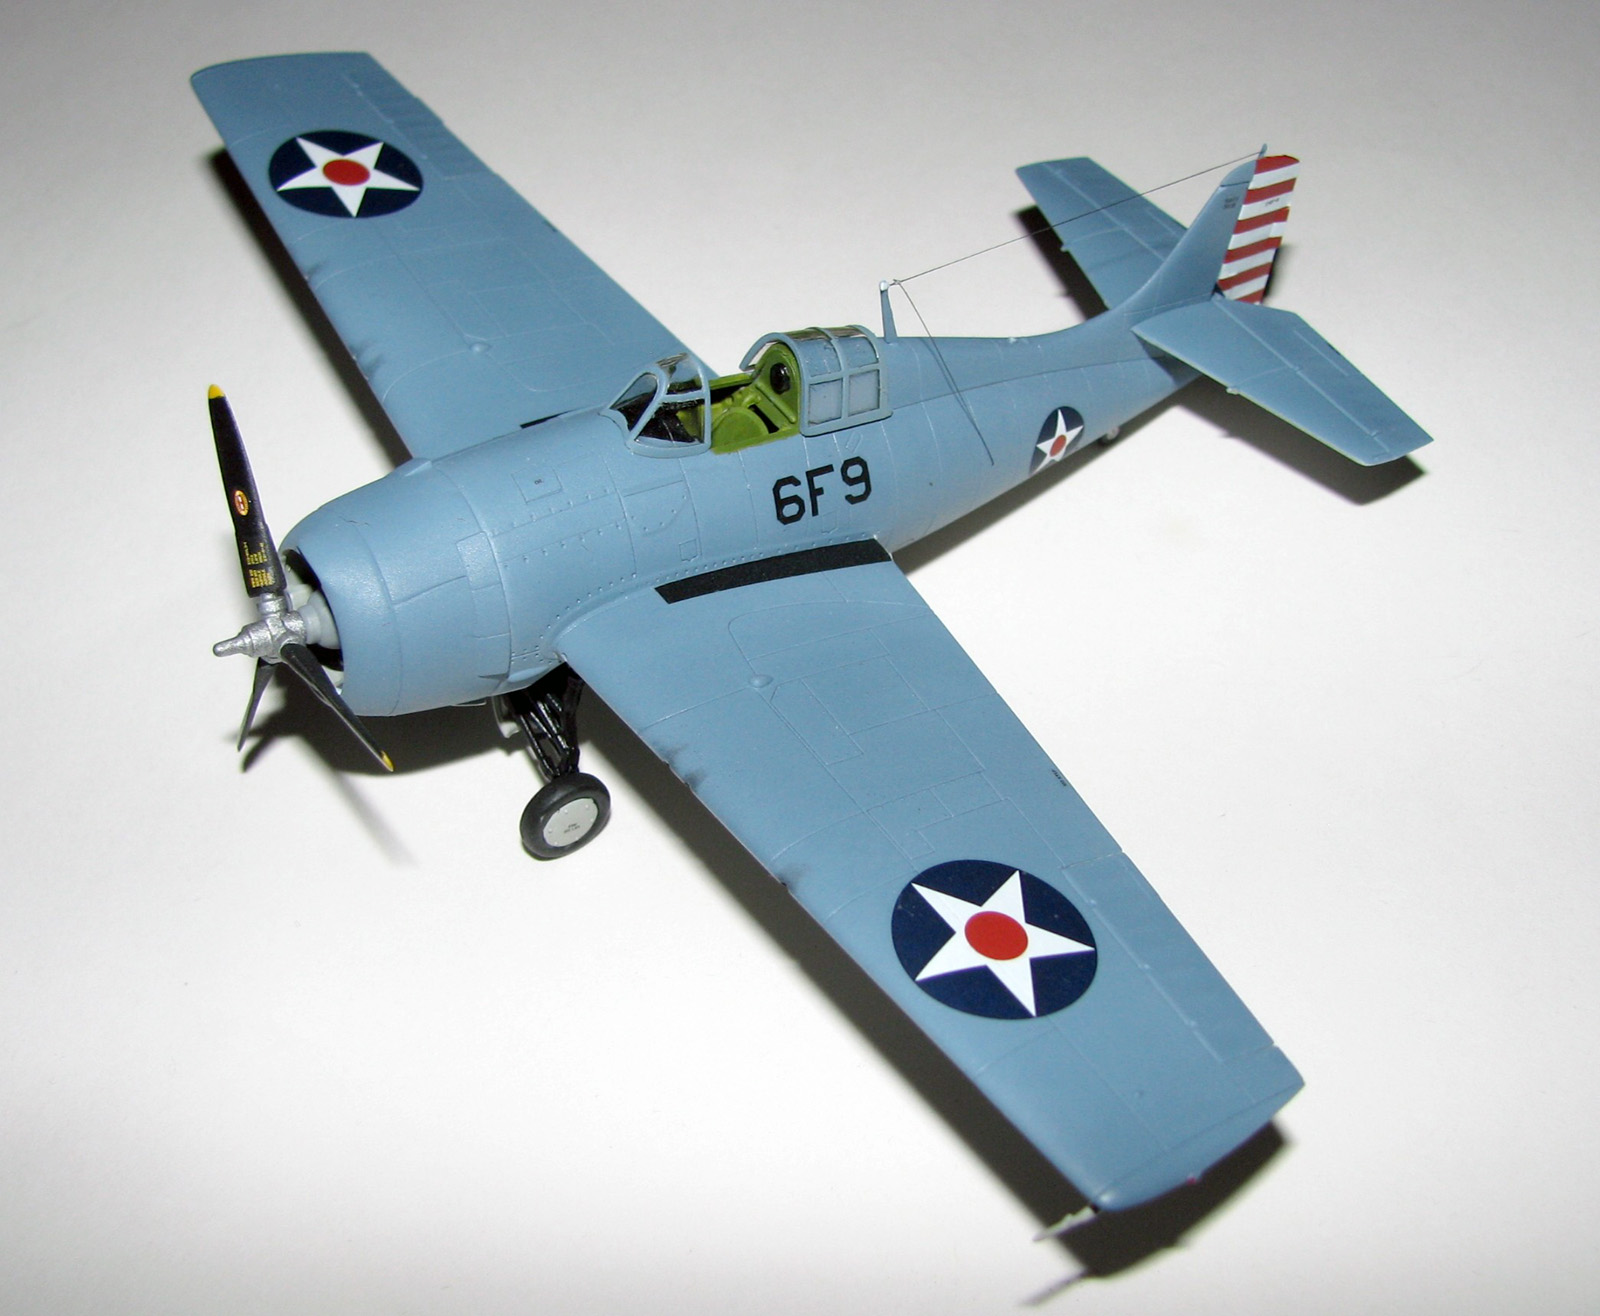
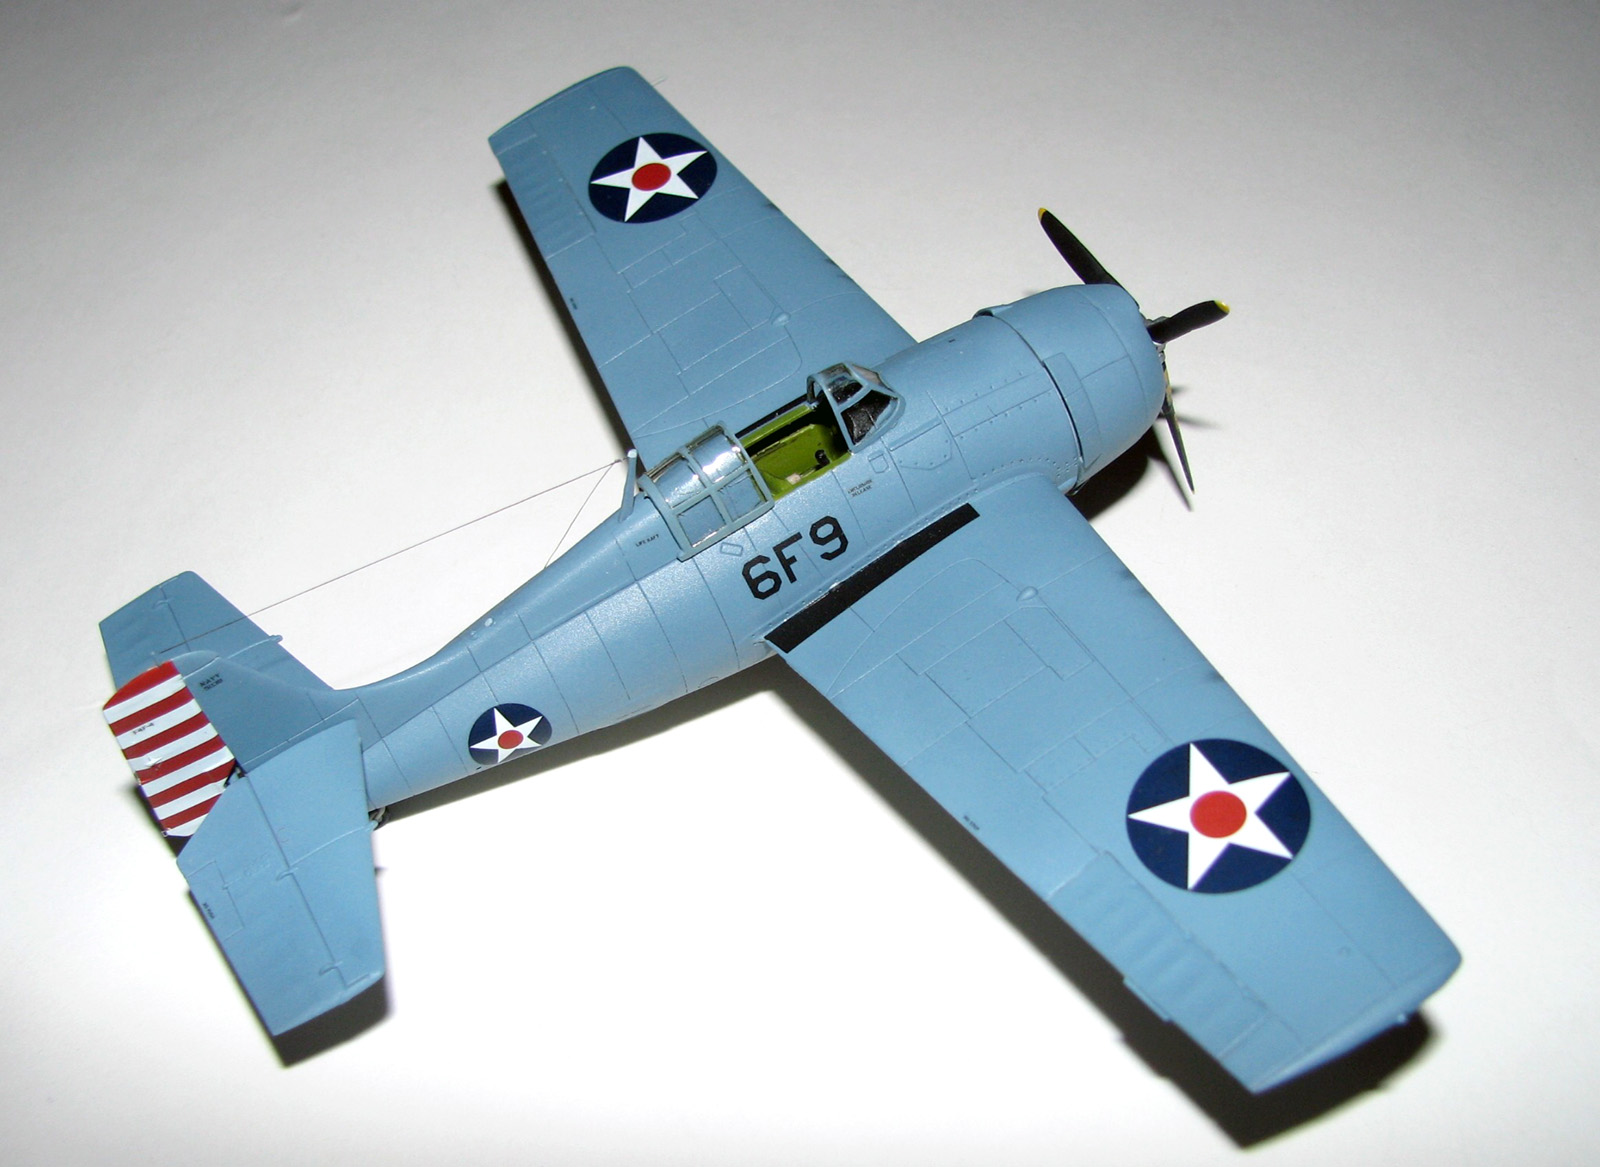
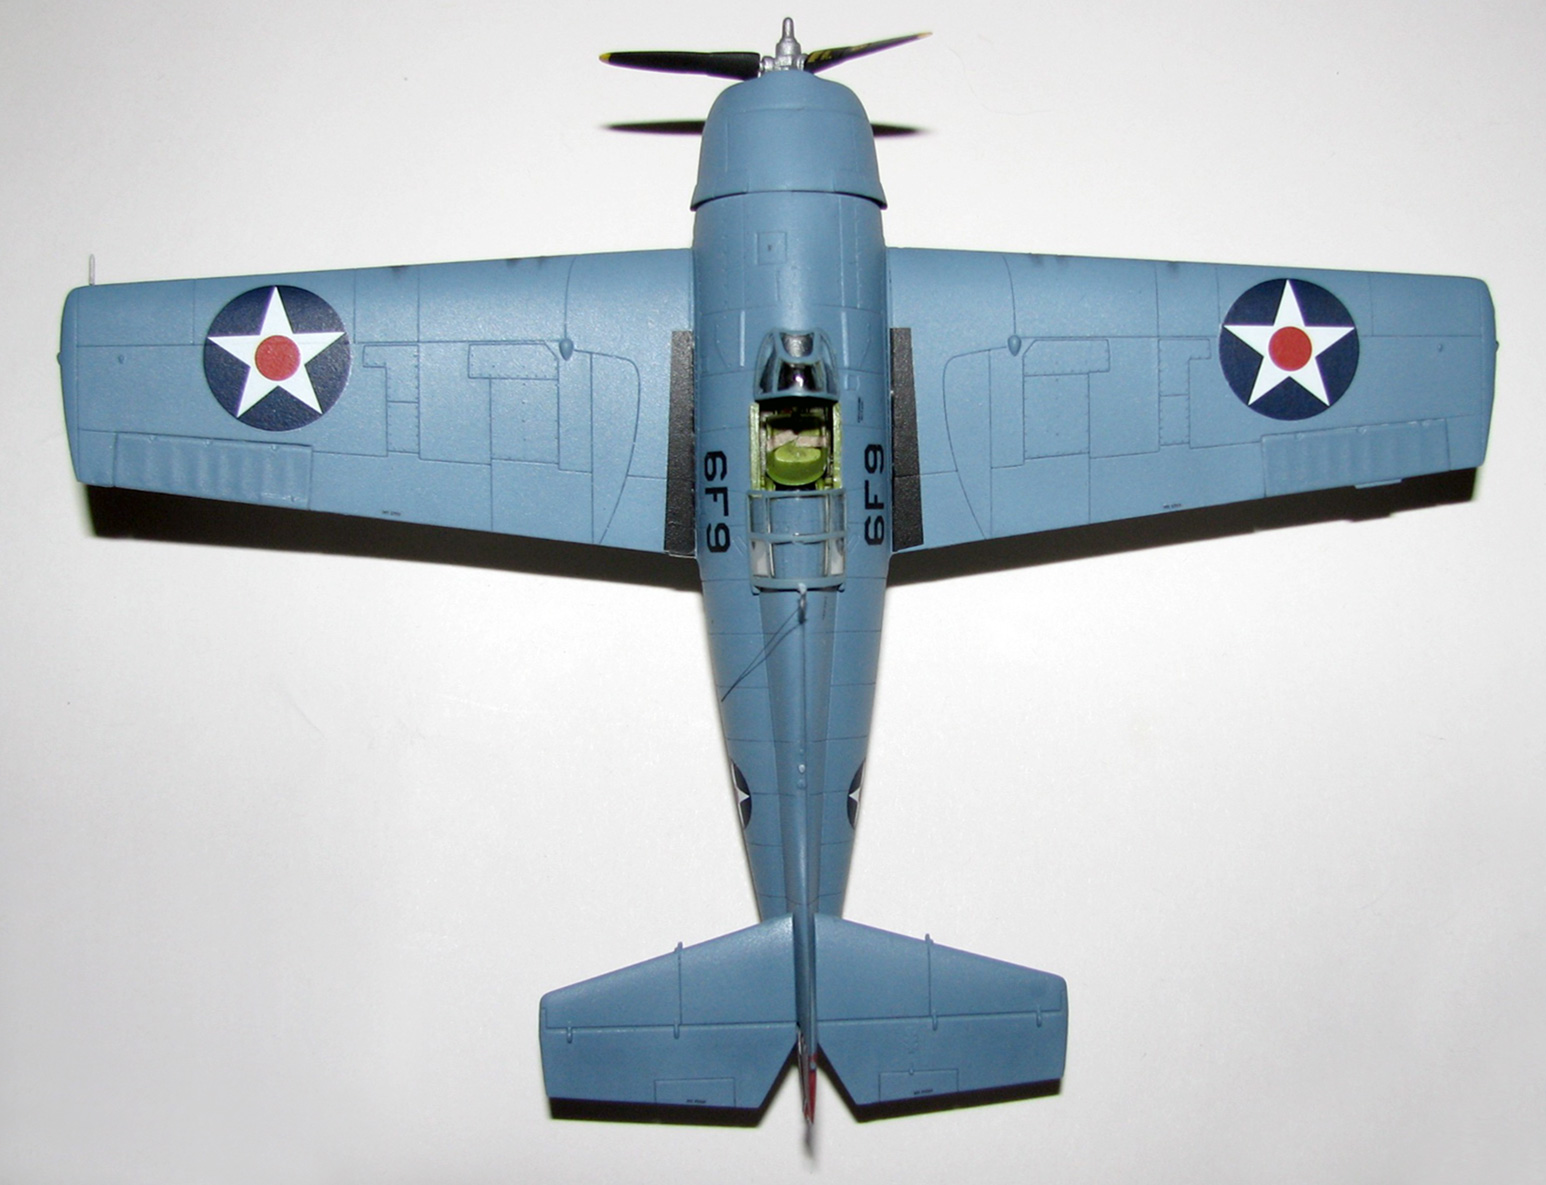
Two marking options are given, and they use the same camo scheme, so I used Testors Acrylic USN Blue Grey and Flat Gull Grey. The marking options you are supplied with are:
- White 2 flown by Capt. Marion E. Carl of VMF-223 at Guadalcanal in 1942.
- 6-F-9 of VF-6 on the USS Enterprise during the Doolittle raid in 1942.
The decals went on easily and sat down nicely with Micro-Set, however, there is one small problem. Two of the large roundels are a little smaller than the other four. All of the large roundels are marked as #18 on the sheet and instructions, but the two on the far left of the sheet (see pic) are slightly smaller, so you need to watch for this when decaling.
Conclusion
All I can say is… what an absolutely fantastic kit! With the level of detail and ease of build, Airfix has hit another home-run with this kit, and I recommend it to anyone except maybe beginners. Now where is my new tool SBD and TBD?!!!
I would like to thank Hornby USA for providing this kit, the review corps for letting me build it and all of you for reading this….MODEL ON!


Comments
Add new comment
This site is protected by reCAPTCHA and the Google Privacy Policy and Terms of Service apply.
Similar Reviews