
F-4S Phantom II: Part 1, Comparison and Cockpit Build
I am honored and privileged to review a beautiful new scale model offering in the Super Wing Series from Zoukei-Mura, Inc. I also wish to extend a very deep appreciation to the IPMS/USA Reviewer Corps for choosing me to review the F-4S variant of the famous McDonnell Phantom II.
The kit was released on 26 JUL 17, following on the heels of a previous F-4J release in the same scale and series. This review will be the first of two sequential reviews. I thought at first I would compare the F-4S kit with the earlier F-4J and describe the build planning in this first review. I actually couldn’t wait to get started, so construction of the cockpit is described here as well. The second and related review will include my adventures in completing the kit build. Both of these reviews will dovetail with previous IPMS reviews of the earlier F-4J kit.
Overall Summary
I highly recommend this F-4S Phantom kit. The instructions are a wealth of detail. All parts arrived individually wrapped in poly bags, and the decals had additional tissue protection in a poly bag. A review of the parts and instructions suggests that many kit design features will improve the assembly process, while accurately depicting the F-4S. Zoukei-Mura kits in the Super Wings Series have been a joy for me to build in the past and this kit will very likely continue that trend.
Initial Impression in the Box
The kit box arrived in a 16.25 x 11.25 x 4.5-inch box, featuring colorful artwork with an American flag motif. The parts were snugly packed and easily lifted out. No trace of mold release was observed on any of the 12 medium-gray sprues. The clear part sprue holds two canopy options and the plastic is very transparent. Decals and instructions were on the bottom below the sprues.
Many of the sprues are the same as those found in the F-4J kit released earlier. Three sprues are new to the F-4S kit, with ordnance and wing components. The F-4S box is almost a half inch deeper to hold the additional parts. The plastic is not brittle, nor too soft. Some of the F-4J sprue molds appear to have been modified to accommodate some new F-4S parts, with no loss of quality in the molding. I did a direct comparison between the -4S kit reviewed here and one of the first -4J kit kits released in DEC 16.
Instructions
The 32-page instruction manual is crisply printed on A-size plain paper, very close to letter size. A double-sided color glossy insert showing decal placement and marking unfold to about 16.5 x 11.75 inches. Zoukie Mura has PDF digital format instruction files for download on the product listing page. I directly compared the F-4S instructions and kit parts with the earlier F-4J equivalents, and found the following differences:
- On the F-4S, the names of the actual plane parts represented on the kit components are included. I think this is a very nice touch. Now I have no excuses for misidentifying parts!
- On the F-4S, there are options for a catapult launch configuration. The cat launch parts have no range of motion and assemble in the correct position directly.
- The F-4S directions include more detailed cockpit and configuration drawings.
- Design-note sidebar paragraphs are now included with the F-4S instructions.
- There is a correction note posted on the Zoukei-Mura website under the F-4S product listing. I found it very easy to simply mark up the kit instructions from the correction posting on the website. The correction is not very large at all, and only took a couple of minutes.
- The tailhook is attached later in -4S construction (step 29) than the -4J (step 23). I do not know why yet, but will watch for the logic during the build.
- The F-4S has leading edge slats extended.
- The F-4S has suggestions for formation (slime) lights.
- The F-4S S has a refueling probe option.
- The F-4S has an access ladder. These parts were added to runner A for the F-4S kit; the parts are not present on runner A with the F-4J kit.
The paint number and callout tables are nearly the same between the 2 kits, with the only exception being a different Vallejo Model-Air number on paint callout 1 on the F-4S table. The suggested paints have FS equivalents, with Vallejo and Mr. Color paint numbers.
Zoukei-Mura’s website also lists differences between each kit. I have not been able to verify each of these listed differences exactly, but a spot check suggests that the list is very accurate. There are a total of 16 differences between the F-4J and the F-4S, in the wings, the cockpit, upper and lower fuselage areas.
Cockpit Construction
I completed steps 001 through 005 up to just short of the fuselage fit test. The fit was excellent thought all 5 steps. There are no aircrew restraints provided, however, the ejection seats are not installed until later in the build. This will allow me to pick up some aftermarket belts to be used during the second part of the review. In part 2, where the cockpit tub and the nose gear well is assembled, I discovered that the well interior could be painted before assembly. I will touch up the interior later, but a solid white gloss coat was easily added. The instrument panel and console decals seemed a little thick and were reluctant to adhere well. I used Solvaset several times to get the decals to snug down over the raised detail. Unfortunately, I was a bit too enthusiastic in applying Solvaset, and the CRT screen decals cracked. I believe a little paint touch up will fix the cracks. I will test decal adhesion carefully in later steps. An acrylic flat finish worked well in taking off the decal shine on the instrument consoles and panels.
The build log follows:
- Step 001:
- Very clear part numbers on sprue and instructions.
- Survival kit, lumbar pad, parachute pack, ejection seat, face curtain ejection handles are included.
- No belts or restraints of any kind are provided.
- The part fit is great; I particularly appreciate well-placed locating pins on the ejection seat frames.
- Step 002:
- This is a great place to get detailing done on the nose well interior. Dry fit the part, and you will understand how this might work
- Painted interiors of the wells before gluing up the cockpit side. Pour, or vent plugs need to be cut-off.
- The fit is extremely good with many positive connections, allowing the entire assembly to hold together for dry fitting before cementing.
- Step 003:
- Be careful to not trim off the pins on the seat rail bases that fit into sockets on the cockpit floor. I almost did!
- The bulkheads and seat rails fit very well.
- Step 004:
- Instrument and control decals are grouped together and easily separated.
- Decal position is shown in separate insets or boxes on the instructions
- Decals did not set down well, seem a little bit thick. Microscale solutions did not work well, but a couple of Solvaset applications did the trick over the raised panel details.
- Parts 16 and 12 are very similar, don’t mix them up.
- Step 005:
- No difficulties were encountered here.
- I suggest you dry fit the cockpit rail /rear panel assembly a couple of times, since it seems to be a little bit tricky to maneuver the assembly into place. It fits very well once in place!
Conclusion
It may seem premature to endorse the kit before the bulk of assembly is done. But if the rest of the assembly is like what’s been seen so far, I can very highly recommend this kit! So far it is the best Phantom II I’ve worked on.
Thank you Zoukei-Mura and the IPMS Reviewer Corps! As always, it is an honor to be part of the team.
References
- F-4J Phantom II Build Part - 1
- F-4J Phantom II Build Part - 2
- F-4J Phantom II Build Part - 3
- NATOPS FLIGHT MANUAL, NAVY MODEL F-4J AIRCRAFT, NAVAIR 01-245FDD-1
- F4J Panel

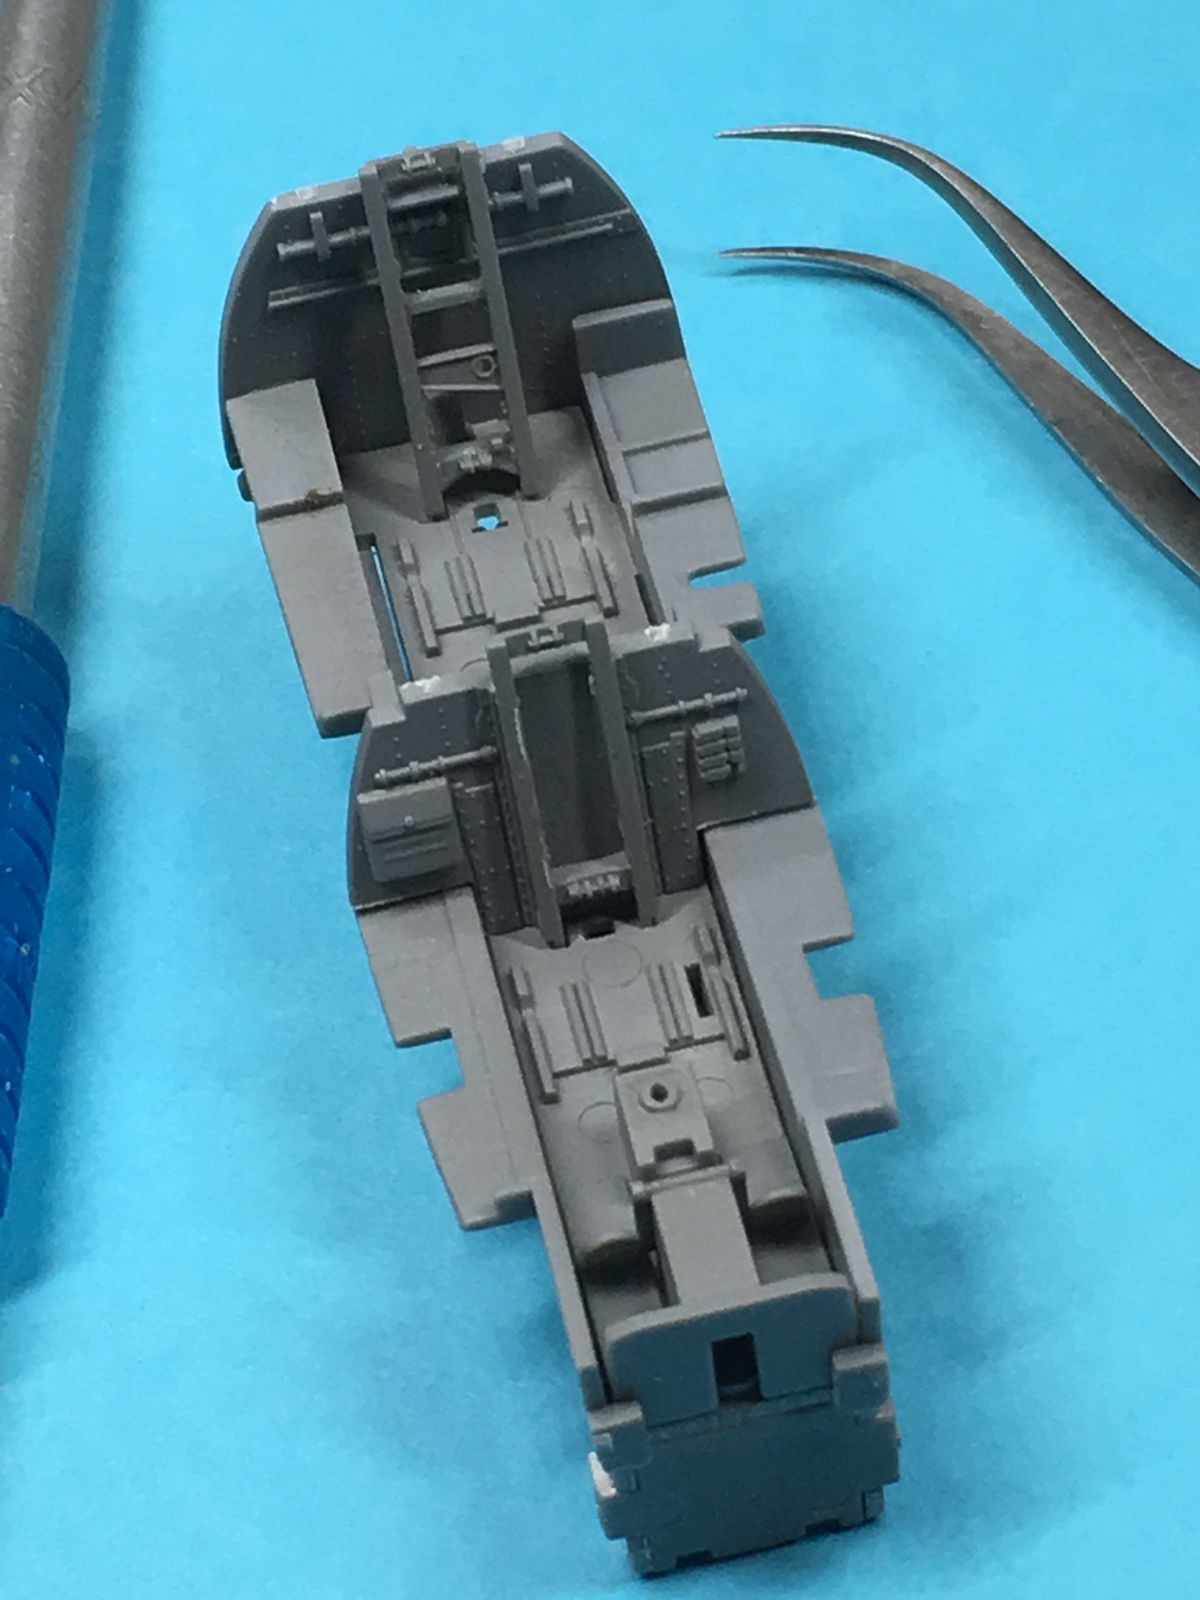
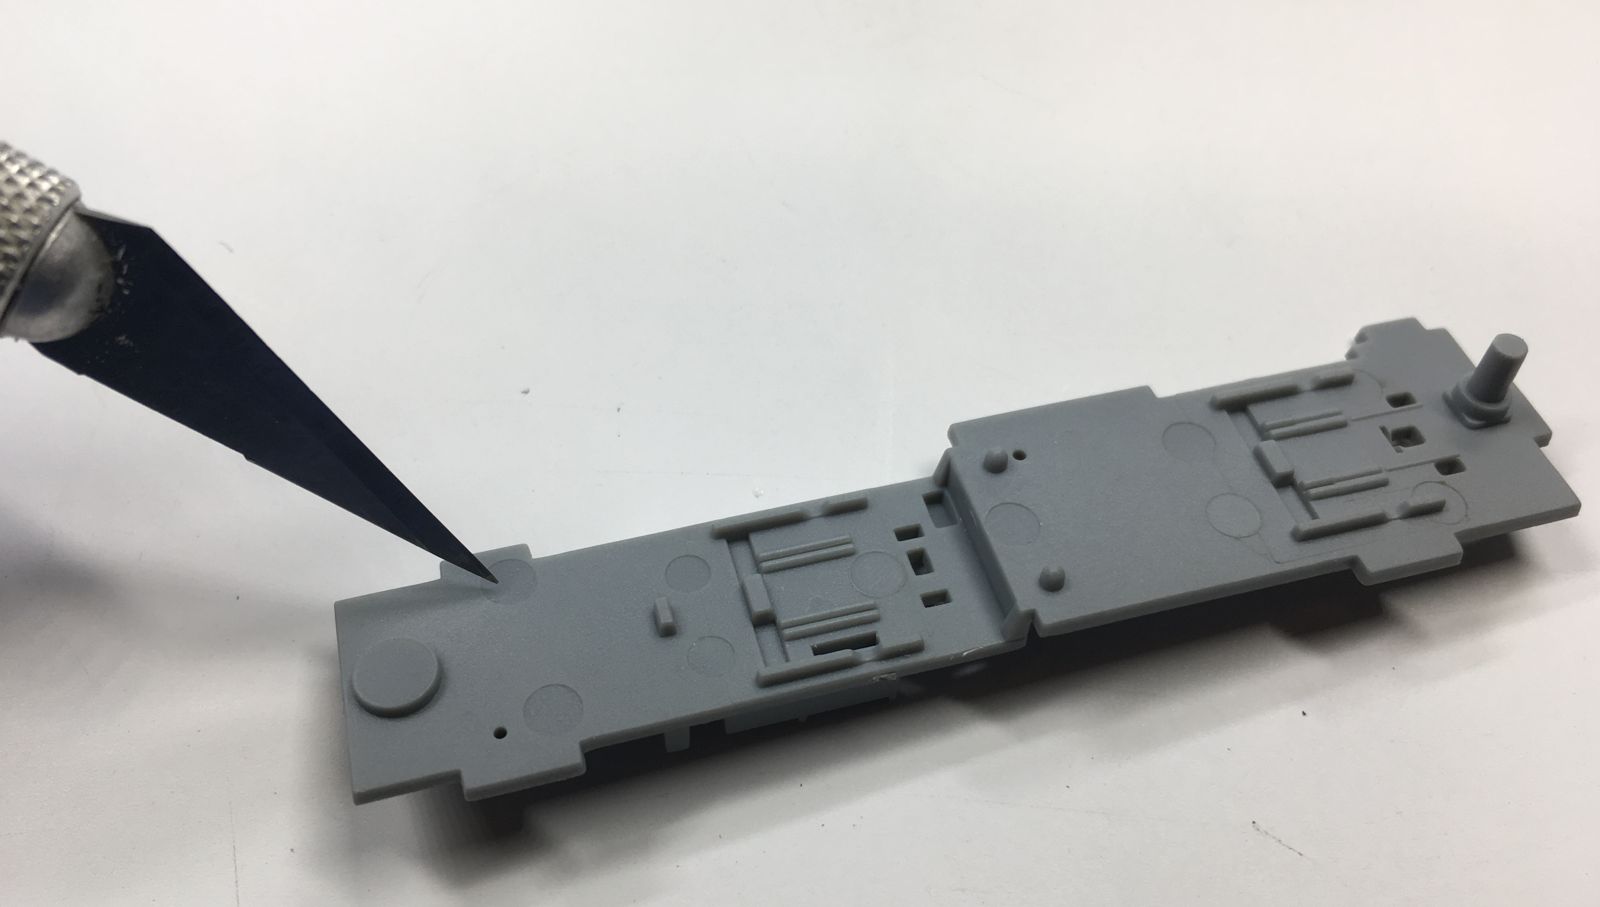
Cockpit tub dry fit, note attachment holes for seats and tabs.

Complete cockpit tub before touch-up, seats will be installed in a later step, and after I get aftermarket belts. Note that the CRT screens are slightly cracked from Solvaset. Paint will easily fix this.
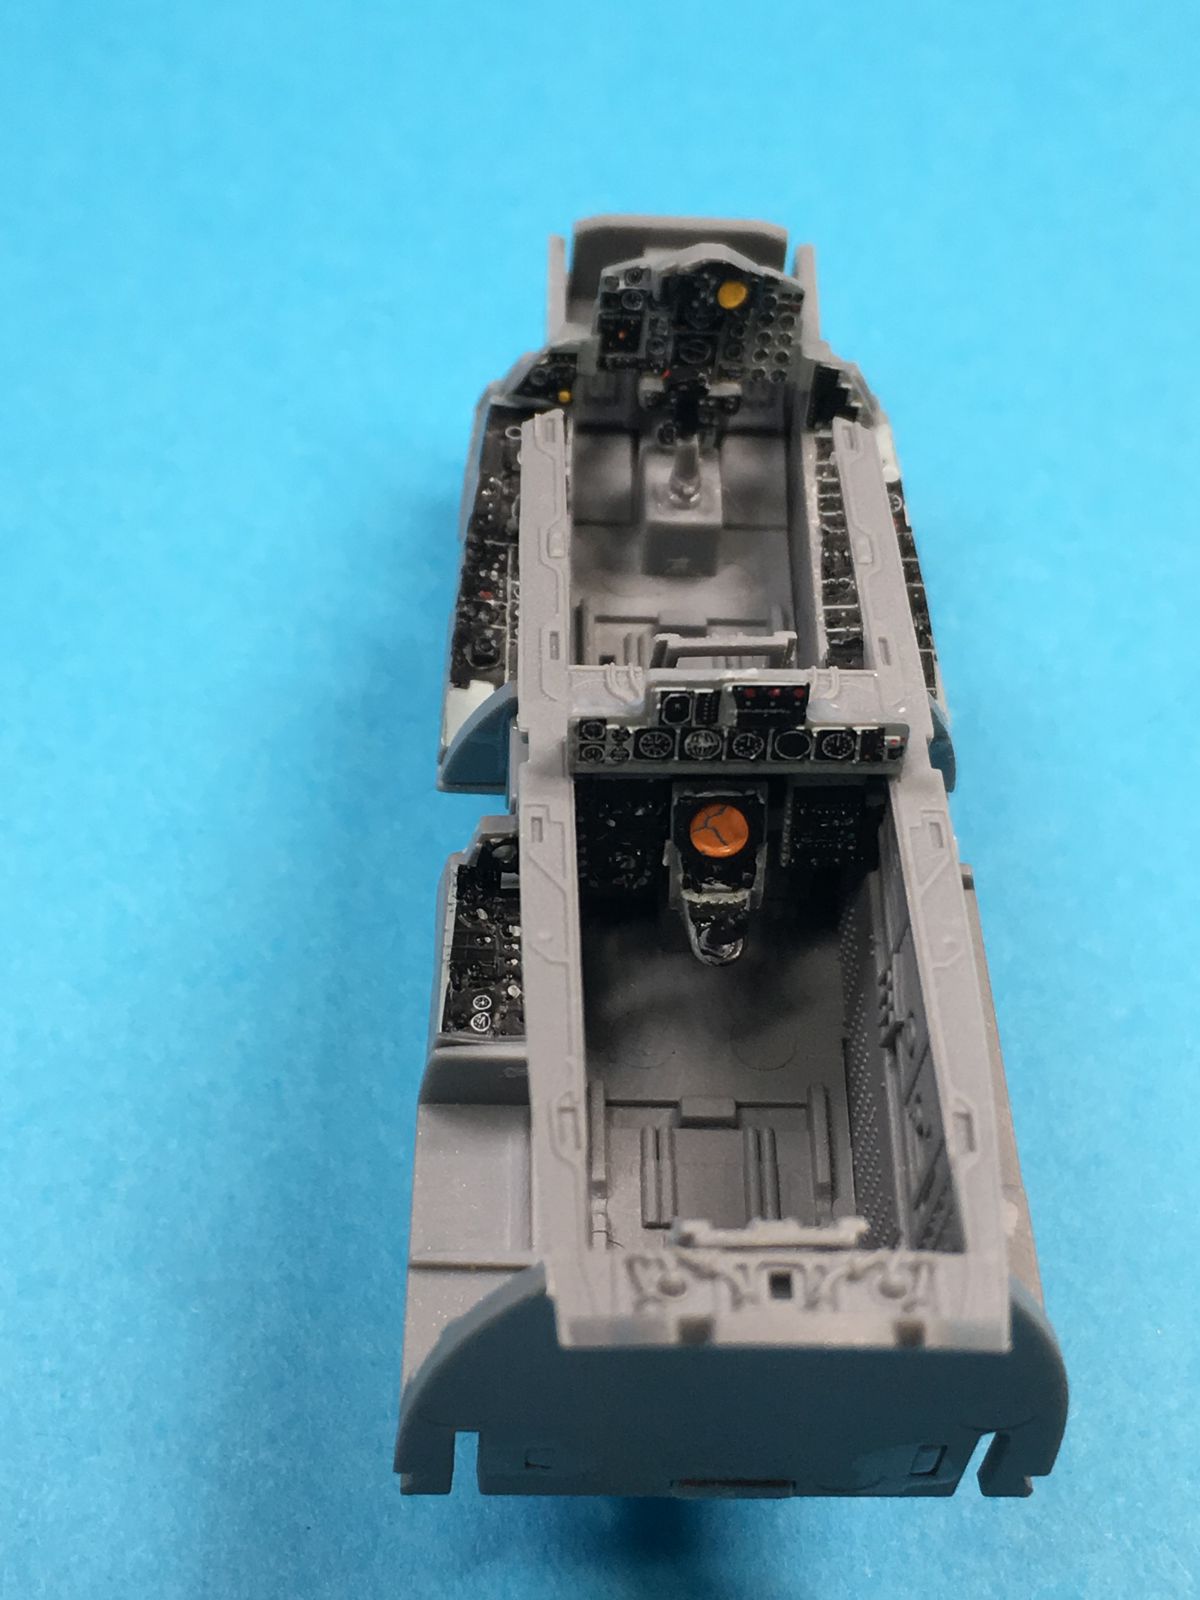
Complete cockpit tub before touch-up, seats will be installed in a later step, and after I get aftermarket belts. Note that the CRT screens are slightly cracked from Solvaset. Paint will easily fix this.
Complete cockpit tub before touch-up, seats will be installed in a later step, and after I get aftermarket belts. Note that the CRT screens are slightly cracked from Solvaset. Paint will easily fix this.
Complete cockpit tub before touch-up, seats will be installed in a later step, and after I get aftermarket belts. Note that the CRT screens are slightly cracked from Solvaset. Paint will easily fix this.
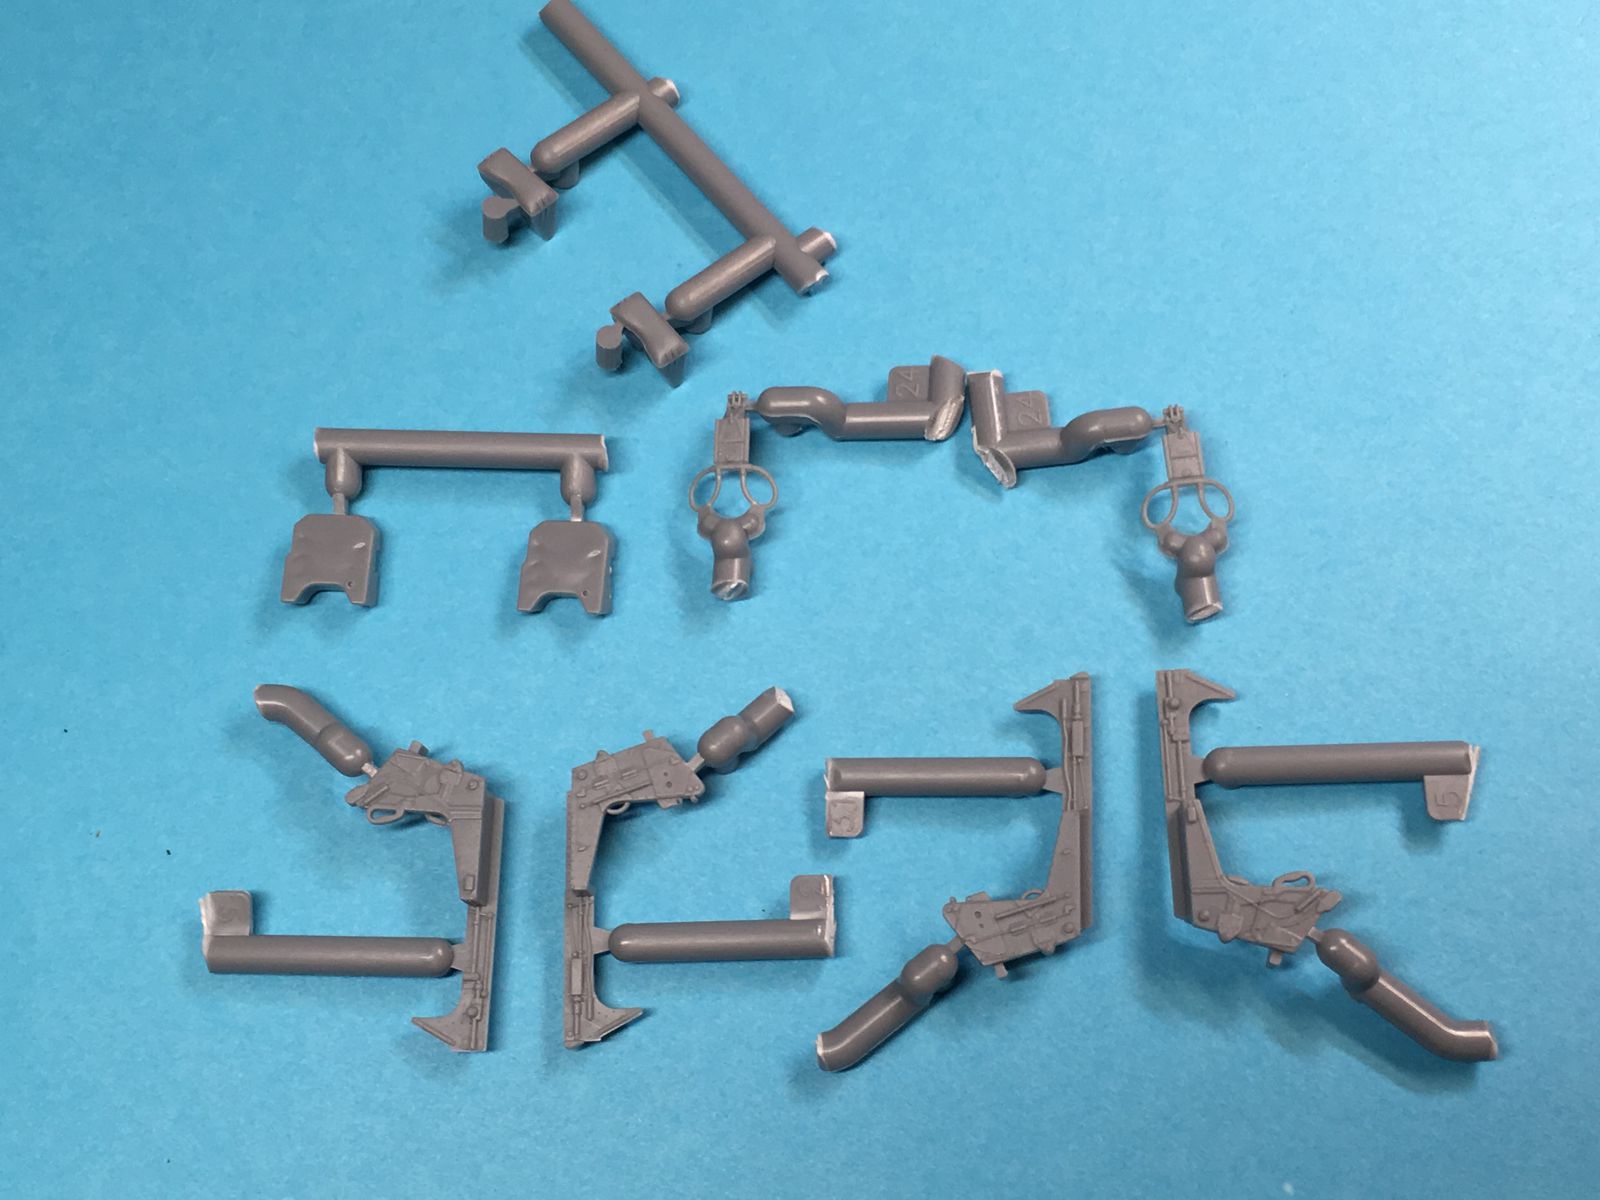
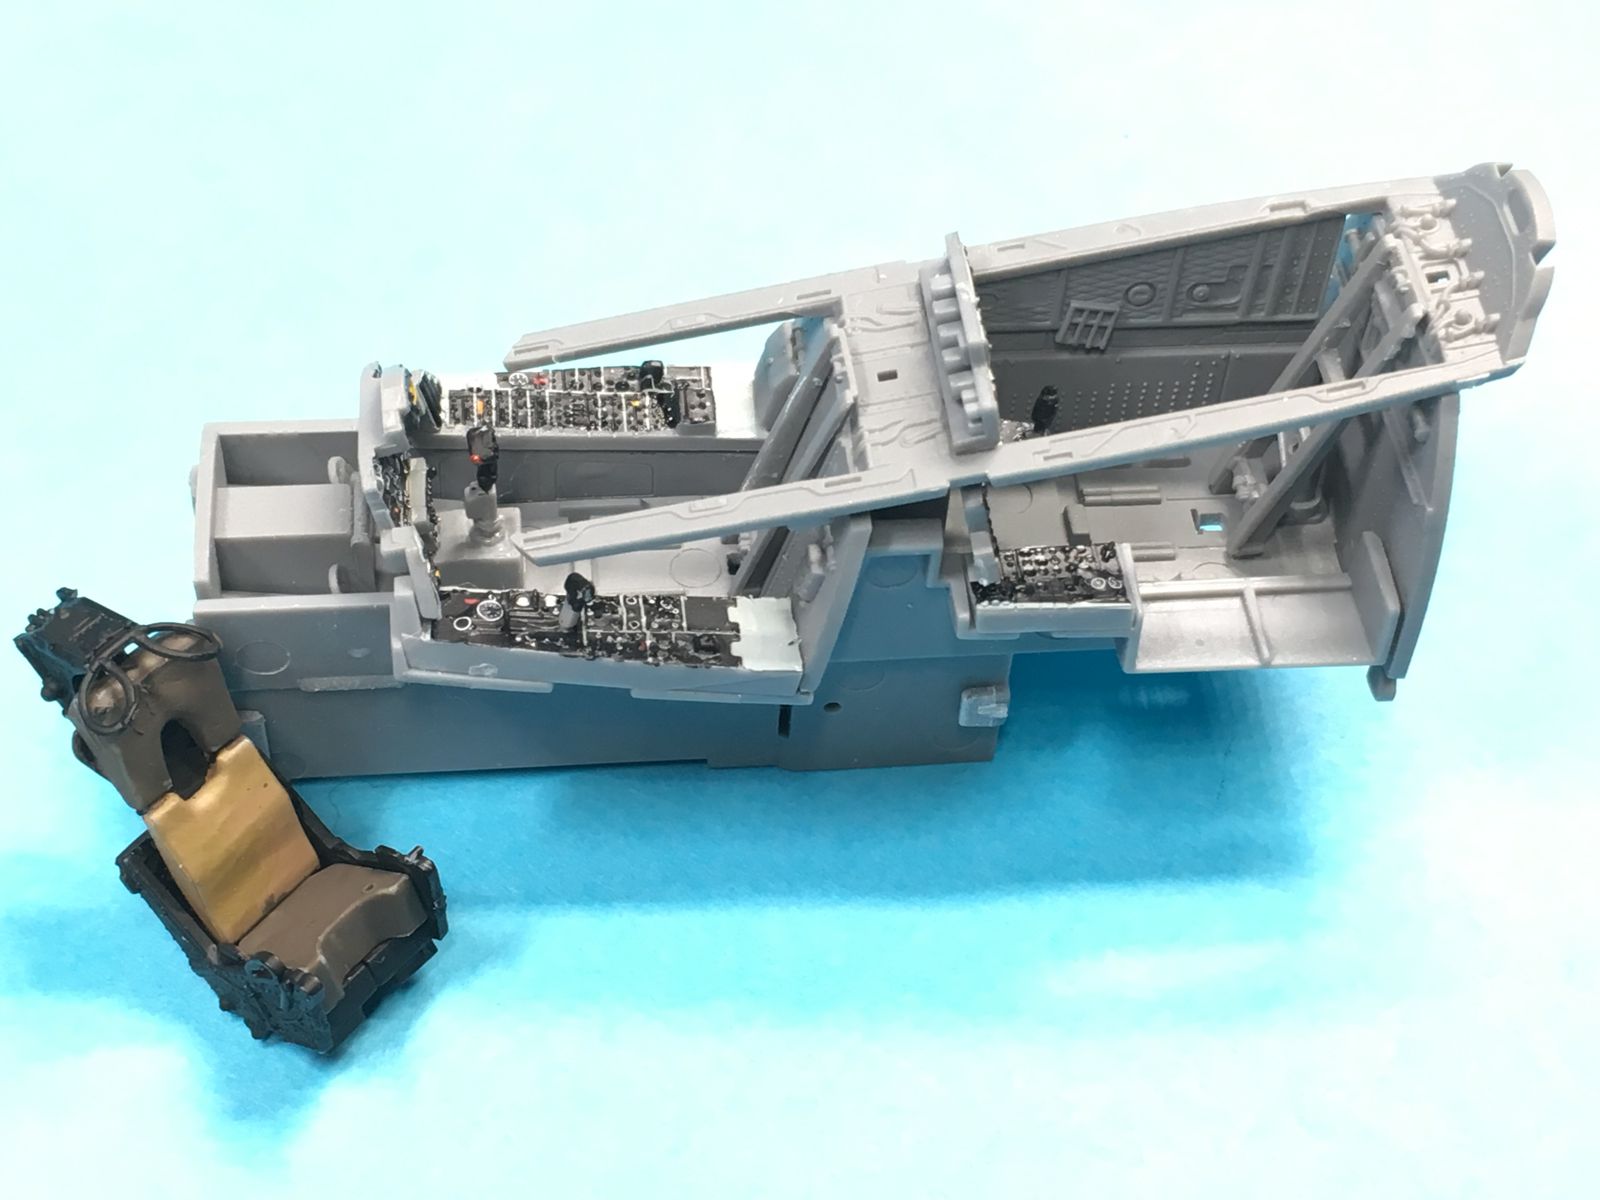
Ejection seat part detail
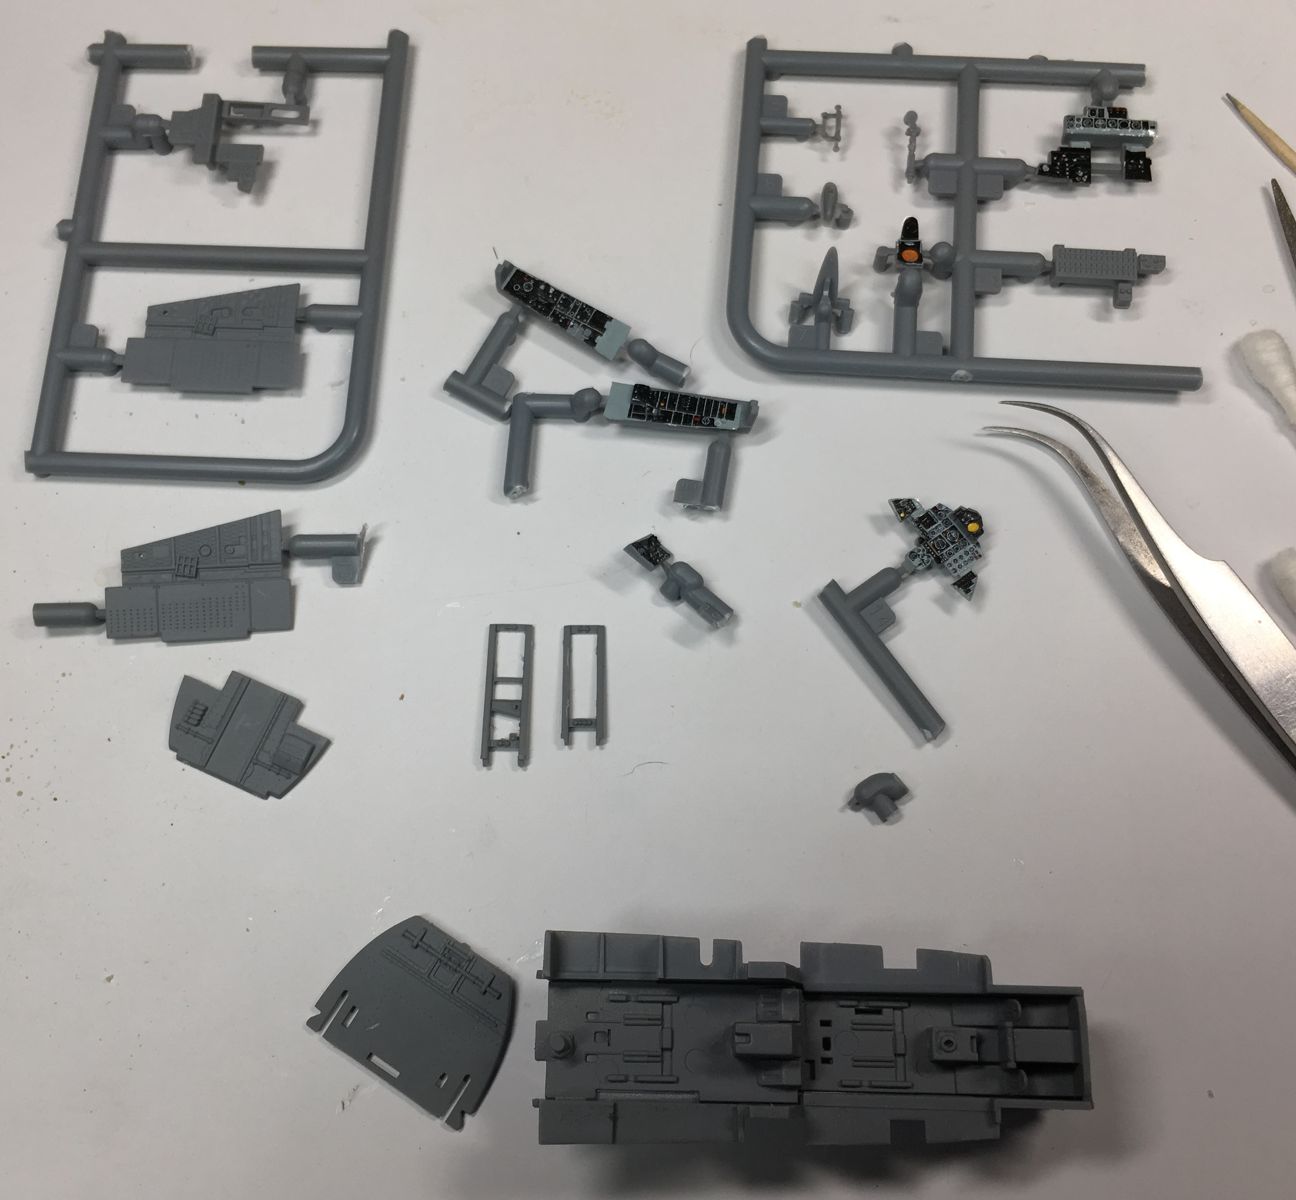
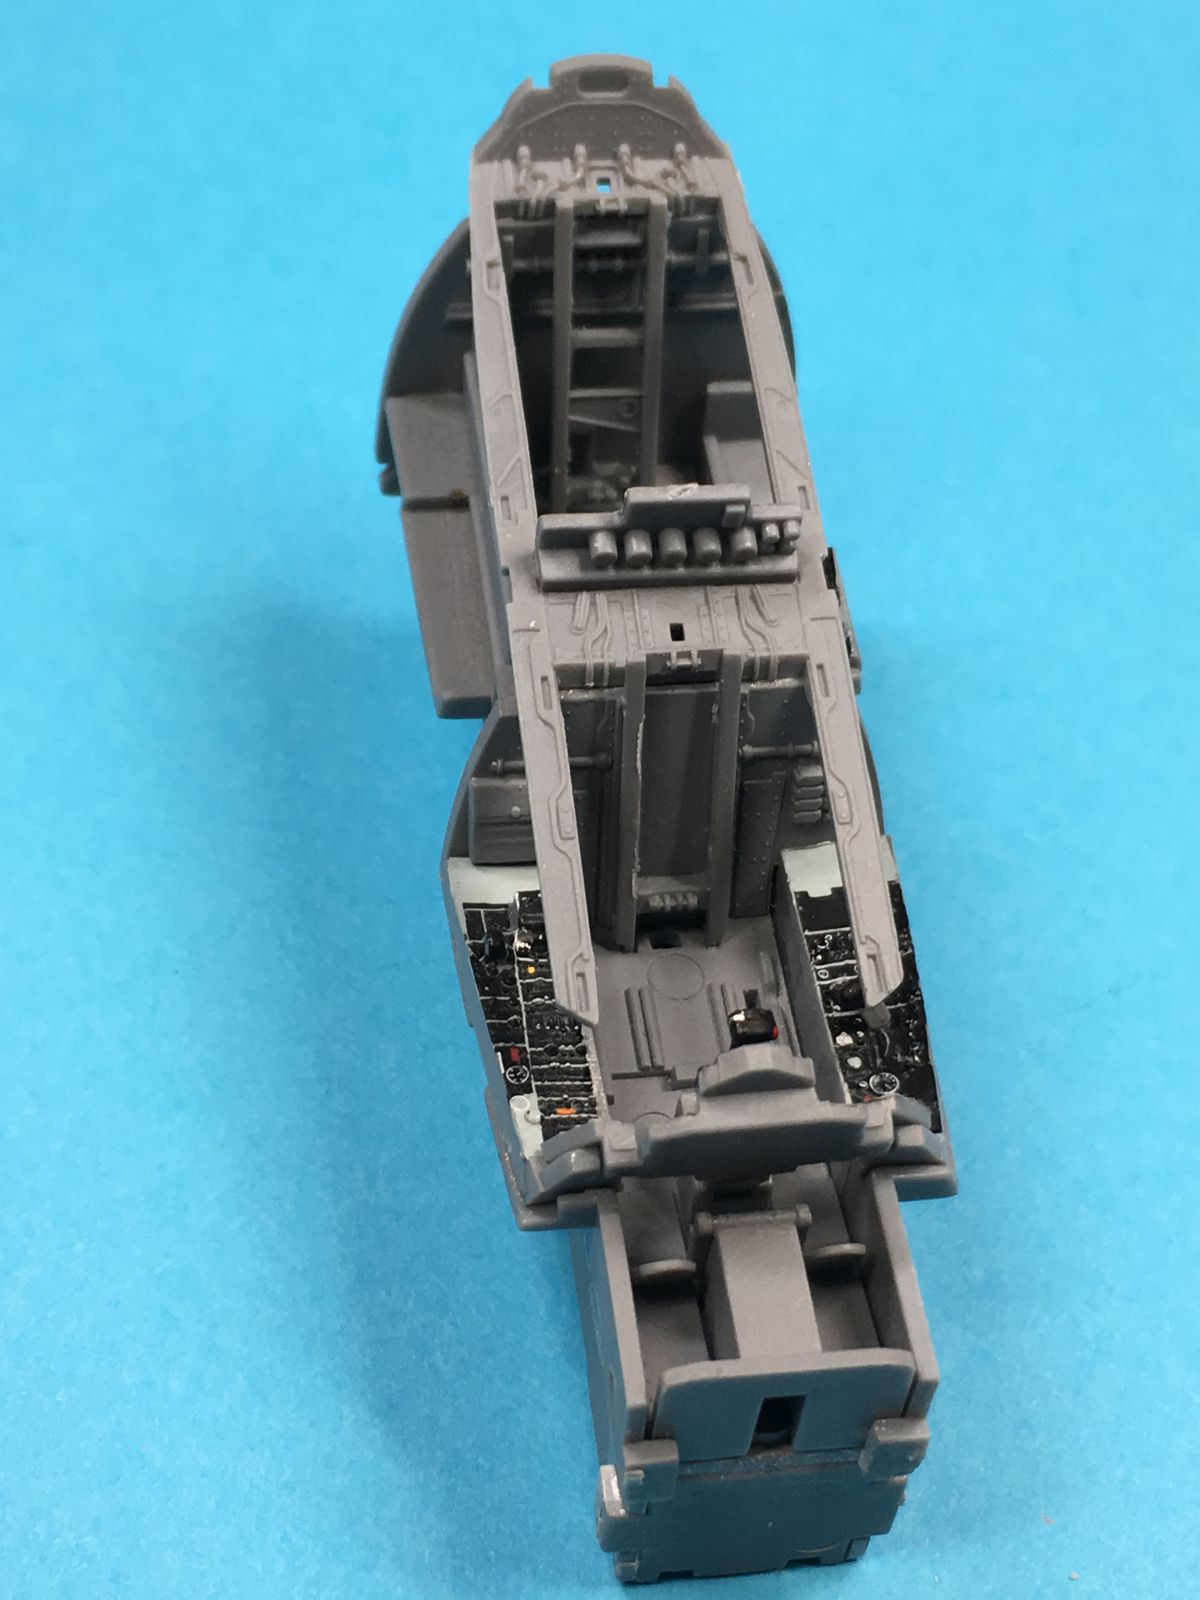
Cockpit parts on the “production line.”

Cockpit tub dry fit, showing pre-cementing well painting
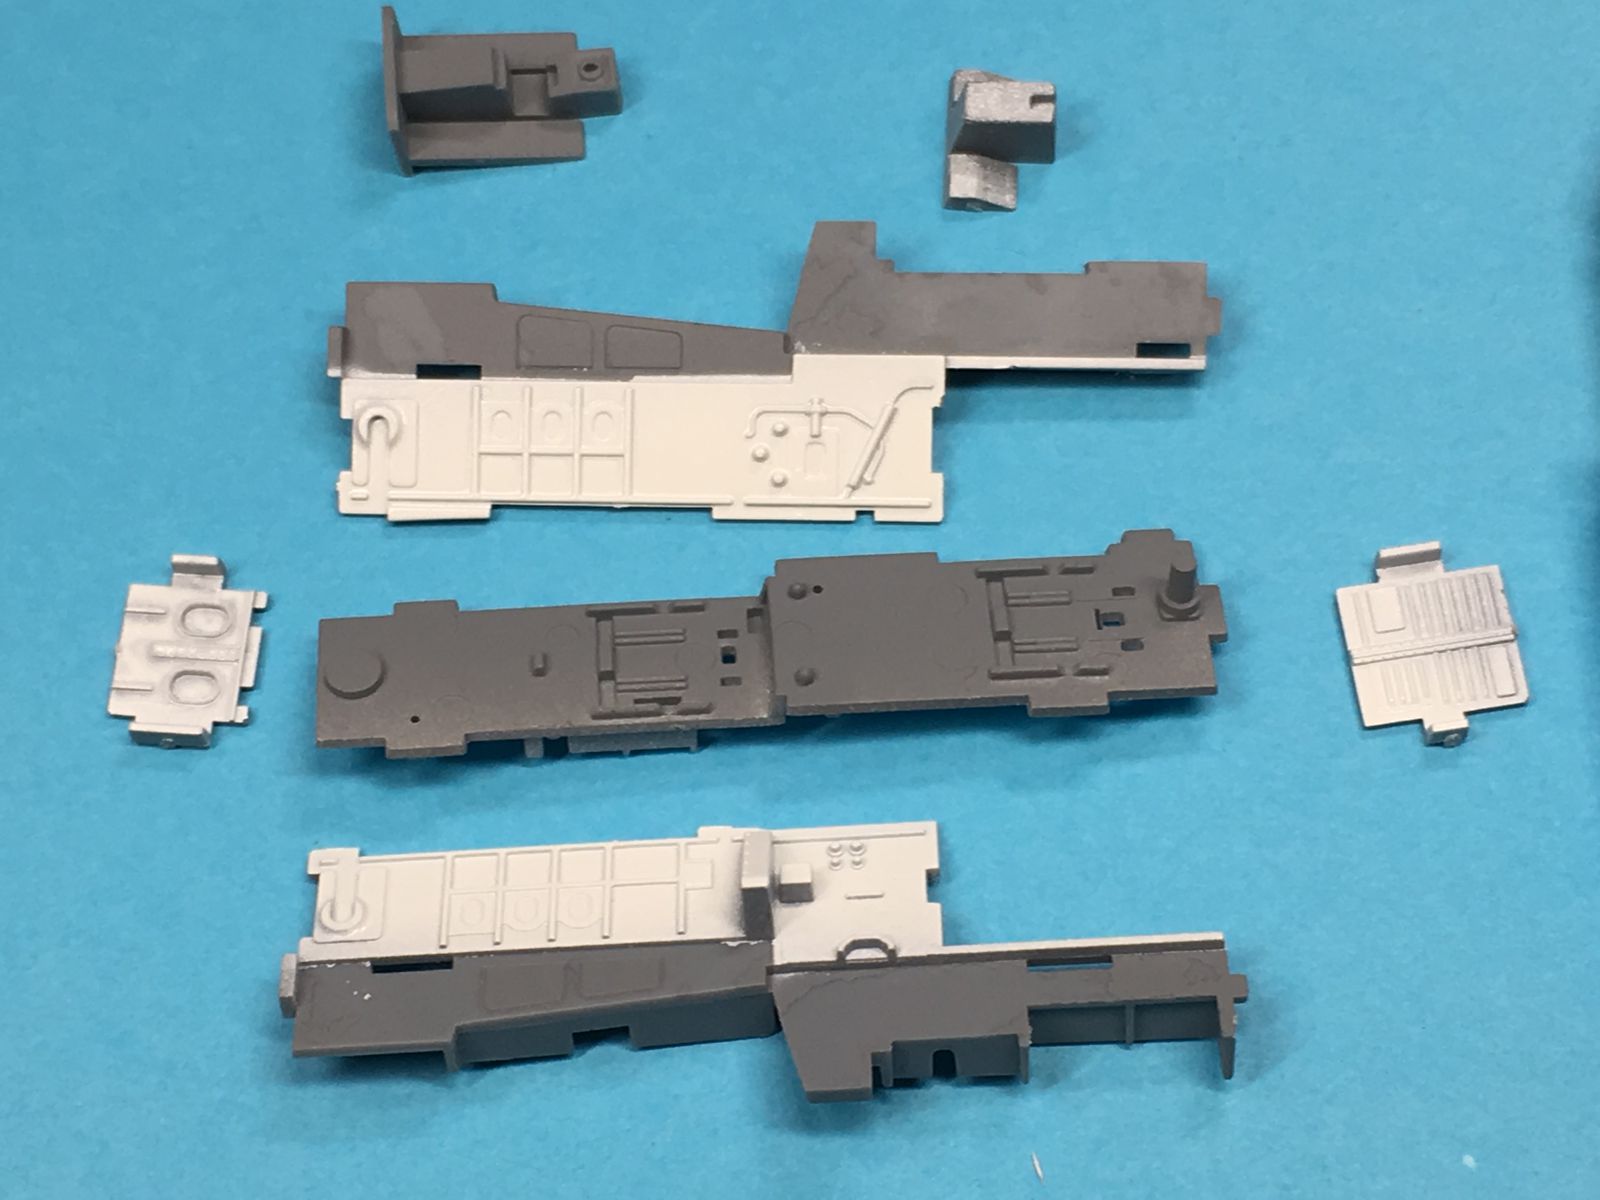
Cockpit tub parts, showing pre-cementing well painting
Comments
Add new comment
This site is protected by reCAPTCHA and the Google Privacy Policy and Terms of Service apply.
Similar Reviews