
F-4J Phantom with Hypersonic Models Canopy Upgrade, Part 2
Aftemarket Accessories Used
Several months ago I had the opportunity to review the following Hypersonic Models aftermarket accessory set that I had originally planned to use on a Zoukei Mura F-4S Phantom. However with the opportunity to build and review the "J" version I decided now is the time to utilize this set. Since the Zoukei Mura Phantom has had its share of reviews I will focus my efforts on describing the modifications to the kit with the inclusion of the following Hypersonic Models accessory set into the build.
- Hypersonic Models HMR 48016-3 F-4 Phantom Canopy Details
In addition, I used the New Ware F-4J/S Phantom Expert kabuki masks for this model. See my previous review for the masks.
Canopy Hypersonic Models Upgrade
This detail set provides resin and photoetch parts for the inner canopies on F-4 Phantoms. The set is comprised of parts for windscreen, forward-, center- and rear canopies and includes canopy actuator jacks, safety uplocks (optional installation), detailed downlocks, forward and rear compasses and various detail parts for the center canopy section, plus some short lengths of very fine wire. This set is designed specifically for the Zoukei Mura Phantom kit.
Instructions
The Hypersonic Models upgrade instructions are provided on two small sheets of glossy paper, printed on both sides. The instructions include text and diagrams walking the modeler step-by-step through the modification and placement process with images and text.
Construction
The Zoukei Mura F-4J kit clear parts come on a single sprue and include a separate closed canopy, four parts for an open canopy option, a top-of-fuselage position light lens, gun sight, a vertical stabilizer anti-collision light plus some small miscellaneous lenses. The canopy clear parts appeared a bit hazy and looked like some very fine marring was present on all of the parts. I carefully removed the open canopy parts from the sprue, and cleaned up the attachment points.I used Novus plastic polish to buff out any defects, rinsed the parts with glass cleaner, and when dry dipped the parts in Future. I set the parts aside to cure for 48 hours.
I washed the resin and PE parts with alcohol before starting the work.
There are five PE parts representing the canopy edge seals. Each part has three attachement points that hold the part to the fret. Care is required to avoid bending the delicate parts when removing from the fret and filing off the small resultant burrs. I used Formula 560 canopy glue to fix the PE and resin parts in place. This glue sets up fairly fast and has a good bond between the two surfaces. Any adhesive that may ooze out must be removed before it cures. A Q-tip dampened in water will do the trick.
Windscreen
Here a PE canopy seal is installed. I glued the PE part to the windscreen and gently pressed it into place.. Some care is required to avoid having the top portion of the PE stand proud from the windscreen clear part.
Front Canopy
The work required here is the installation of resin part representing the internal canopy lower edge and rear framing, along with PE detail rails and canopy seal with integral mirrors. First the modeler is required to remove an internal raised portion of the kit clear parts. Hypersonic Models provides a short price of vinyl masking material to protect the interior surface of the clear part during the removal process. This requirement was a bit intimidating at first, but went quite well in the end. I used the New Ware Expert mask set to mask the interior surface before moving on. The resin part was fitted in place and glued with Formula 560 canopy glue, and once the adhesive had cured the PE detail was added.
Center Section
Two PE parts and one large and three small resin parts are required for this section. The instructions call out for the installation of short lengths of wire to be installed also. Due to the small size of the center canopy this work area get quite busy.
Rear Canopy
The work required for the rear canopy is similar to the front canopy, but there is no removal of raised detail on the kit's clear part.
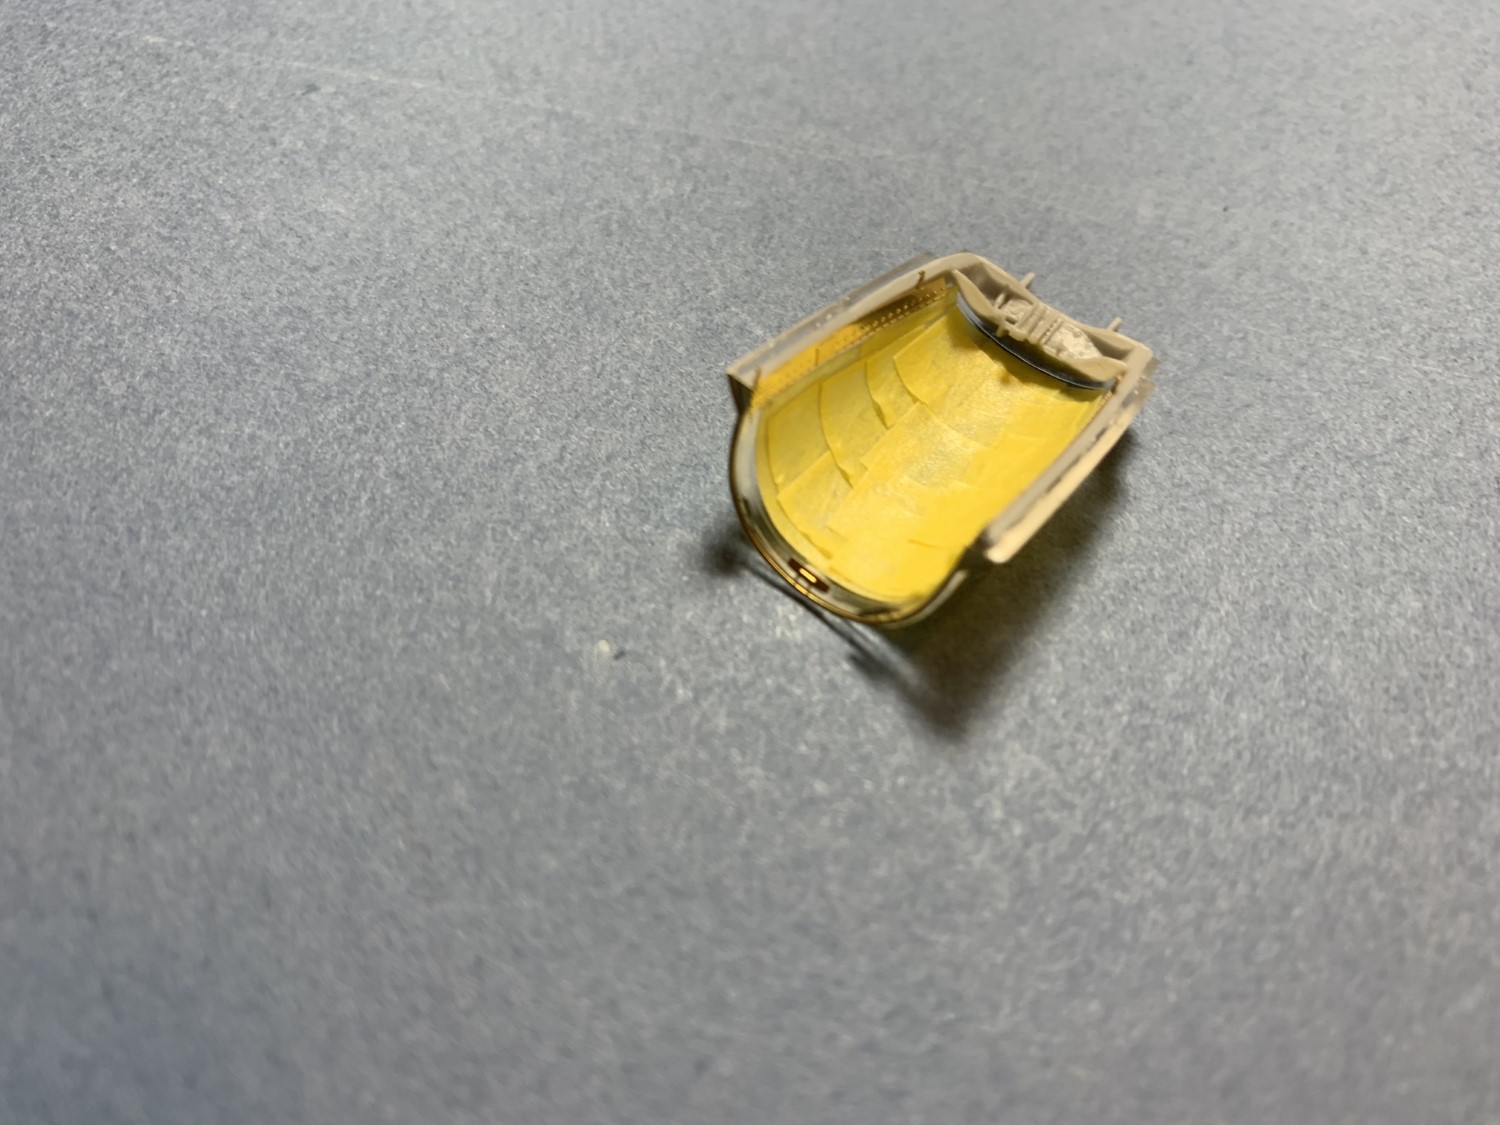
I masked off the canopys' interior and exterior surfaces in preparation of the painting. I painted the exterior surfaces first, masked those surfaces and then painted the interiors. Once done the masking material was carefully removed.
Conclusion
First, the Zoukei Mura kit and this aftermarket upgrade are not for the beginner. The kit instructions are quite complicated and there are many parts, small and smaller, to deal with in the assembly. The Hypersonic instructions are well done and will help the modeler through the process. However, the end result is very rewarding and the model is really amazing. Adding the Hypersonic canopy upgrade made a complicated kit a bit more of a challenge, but provided some nice detail to the cockpit area. Good eye sight and steady hands are required for the modifications required by this set. If you decide to use this resin/PE set be prepared to plan the work to avoid conflicts during the assembly and especially with the painting.
I wish to thank Volks Zoukei Mura, Hypersonic Models and IPMS USA for the opportunity to build and review this


Comments
Add new comment
This site is protected by reCAPTCHA and the Google Privacy Policy and Terms of Service apply.
Similar Reviews