
F-4G Phantom II Wild Weasel
Introduction
Since late in the Korean war, into the Vietnam War, and even more importantly today, one of the most important missions within the United States Air Force and Navy is the suppression of enemy air defense systems. Blinding the enemy air defenses was and still is crucial to clearing the road for massive bombing campaigns and air superiority. In the United States Air Force, this mission went to a group aptly named the wild weasels. Much like a weasel, the job of these aircraft is to stick their head up and get the enemy air defense systems to see and lock their radar on the aircraft. When the electronic systems in the weasel aircraft indicate the enemy is locked on you, you would launch your anti-radiation missile to ride the enemy radar beam back to the antenna it was broadcasting from. Once in proximity of the antenna, the missile would detonate releasing thousands of bits of steel shrapnel, shredding the enemy radar antenna thus blinding the enemy. In the Vietnam War, the USAF wild weasel mission went to the F-105 Thunderchief. After the F-105s retired and through the first Gulf War, the wild weasel role went to the F-4G.
In early 2015, Revell paid tribute to one of the greatest aircraft and one of the most complicated and dangerous missions in the Air Force by releasing this 1/32 scale kit of the F-4G Wild Weasel.
A big thank you in advance to Revell for releasing this tribute kit and for providing a sample to IPMS for review.
In the Box
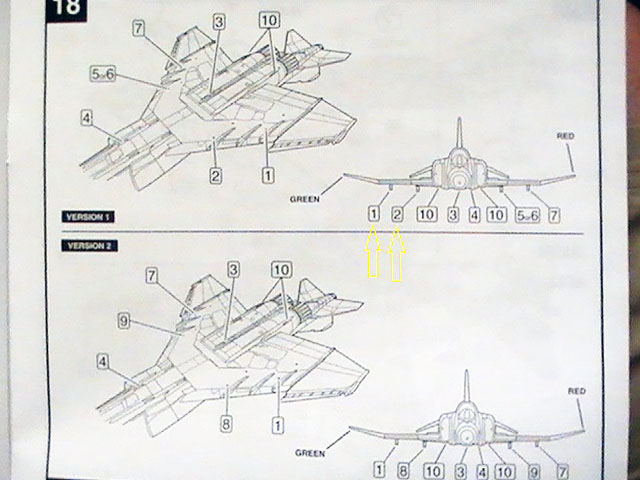
As with most new Revell kits, the box art contains several full color photos and detailed descriptions of the kit features on the box top and sides. The box presentation grabs your attention and draws you in to see what the kit is all about. When you open the colorful & sturdy 19¾” 14” x 4¾” box you will find 5 sealed bags containing 9 gray sprues and a couple clear plastic sprues, for a total of 338 parts (according to the side panel on the box). Don’t panic yet, you are only going to use around 200 to 225 of these parts depending on the external carriage configuration you choose. I used 206 parts to build this configuration and when I was done I counted 123 parts left in the box. The parts left over in the box are common with other 1/32 scale, F-4 variants Revell has released over the years, and many parts belong to those other unique configurations so you won’t be using them for the F-4G. There is one new sprue in the box unique to the F-4G which contains a good representation of the F-4G instrument panels, parts for one AGM-78 STANDARD anti-radiation missile, and parts for two AGM-45 SHRIKE anti-radiation missiles. Also included in the box is a very nicely done, 28-page instruction booklet in the Revell pictorial tradition with no text, a very comprehensive decal sheet with all the common stencil markings for the F-4 variants, plus markings for two different operational wild weasel units.
Construction/Finishing
Before you get started, you need to know now you are going to need a lot of tabletop to build this kit. When you get done, this aircraft is going to be almost 24 inches long with a 14½“ wingspan and will be just over 6 inches tall. It gets built up in major subassemblies which are quite large by themselves. This would also be a good point to un-package the parts and make sure everything is there. I found I was missing the outer nose gear door and one of the small air scoops that goes on the nose. There is a very comprehensive part list included in the instruction booklet as well as a link on the instruction sheet to the Revell website where you can request replacement parts. I requested these two parts and the response I got indicated it would be about 12 weeks before I got them. Fortunately, I could proceed with building the kit without those two particular parts and I can add them easily enough when they arrive.
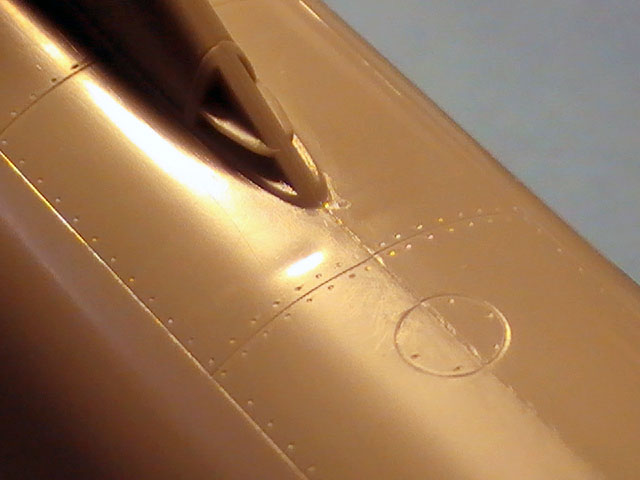
The assembly instructions are provided in typical Revell pictorial format. It is recommended that you spend a good amount of time studying the instructions and dry fitting parts to make sure you understand not only where, but how the parts go together. This is a very well-engineered kit and the large wing halves and fuselage halves line up and fit very nicely together. The fine engraved panel lines and rivet heads are well worth the extra time to line up everything and use a fast acting liquid cement to assemble components. The engraved panel lines and rivet heads are very close to the right size for this scale aircraft, and as such are very easily obliterated by even minor sanding or scraping. This is a Level 3 kit – for more experienced modelers - so pull out all your tricks on this one and you’ll end up with great-looking airplane.
The molding of all the parts is very clean, so there is no issue with flash, but you still have to take care of separating the parts from the sprue carefully, and clean up the stumps.
Aside from the F-4G unique parts, there were also other optional parts that make this kit more accurate including tires that appear to be loaded under the weight of the jet. In the late 1980s, the Air Force began producing a one-piece forward windscreen and began installing them on some F-4E and F-4G aircraft. This kit includes the optional one-piece windscreen.
From this point, the assembly of the F-4G is very straightforward and almost easy for kit this size. As long as you take your time and let the cement between the parts dry completely between steps, you should not have any trouble putting together the sub-assemblies or the entire aircraft. You should stop and think about it along the way to make sure you leave the sub-assemblies in a configuration that is easiest to mask and paint during assembly. This kit does have a few of the same issues as the previous 1/32 scale F-4 variants, such as the fit of the cockpit section into the body section which leaves gaps in the bottom behind the nose gear well. With careful masking and application of putty to the gap, you can fill the gap and retain the surface detail.
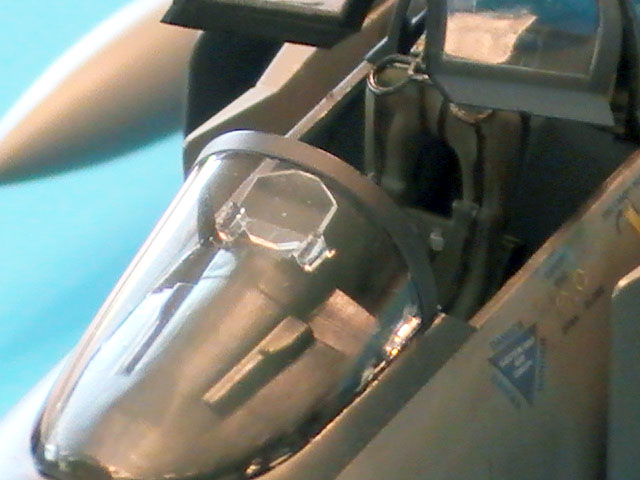
I built this kit straight out-of-the-box but there are third-party suppliers out there that can provide more detailed parts for this airplane. Both cockpit instrument panels look ‘okay’ as is, but it is hard to see inside the cockpit of the finished aircraft anyway. I painted the cockpit panels black, and dry-brushed silver over it to bring out the highlights. The only instrument I painted was the artificial horizon - an old analog round ball with the top half white and the lower half blue. It looks like an F-4 cockpit with no power applied. The same goes with the ejection seats; overall flat black with dry brushed highlights. I had a little problem with the part that is the seat cushion. A flange on the bottom of the part interfered with the installation of the seat, so it had to be trimmed back, but you cannot see his part when installed anyway.
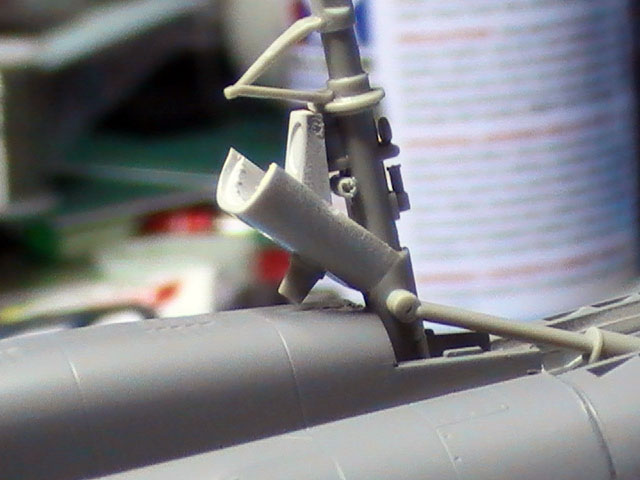
The only other tricky part about assembly was the landing gear, the landing gear door linkages, and the landing gear and speed brake actuators. These are all tiny parts so good deal of patience is required. Of course it is best to not have painted any of these surfaces before you are glue these parts, as it helps the cement set up better.
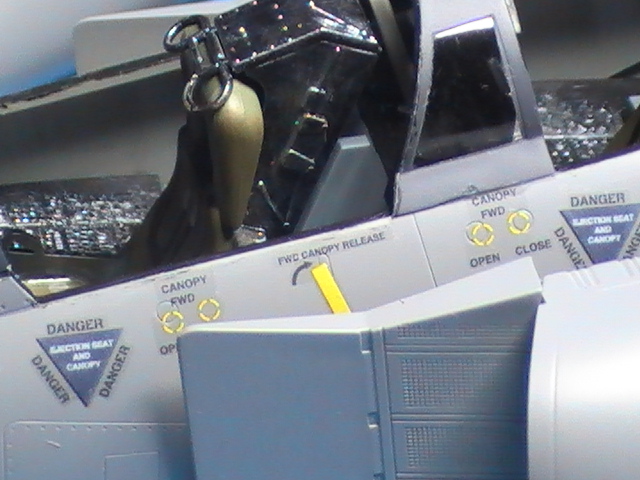
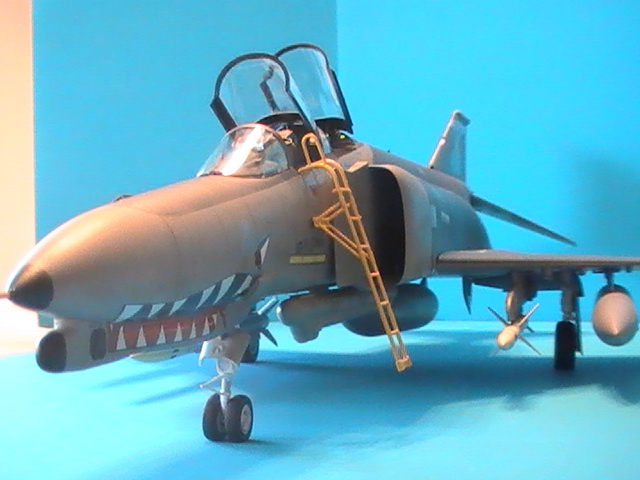
The decal page is very complete, but I found several issues, mostly where the decal was sized slightly differently than scale. Some were too big, and some did not fit around panels or access areas correctly. This was true in particular for the decals that indicate the push-buttons to open the canopies and the emergency release handles for the canopies. It was a little disappointing after all the work that went into the detailed panel lines for this airplane, for the decals to not fit. There are third-party decals available. I chose to use the unit markings for aircraft 69-0298 from the Idaho Air National Guard because it carried the traditional “WW” weasel tail feathers.
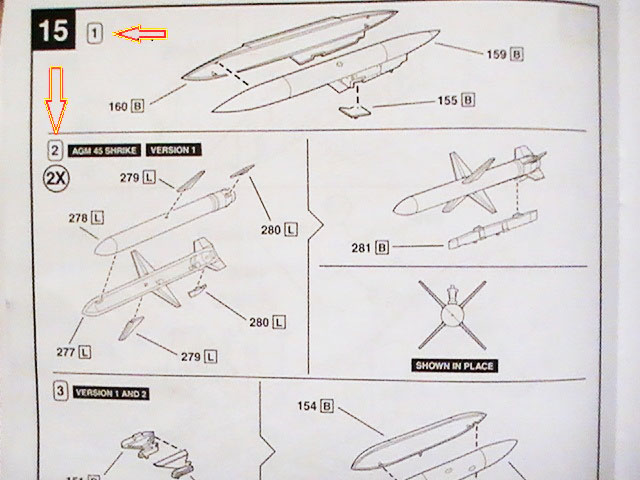
The last part of the build had to do with the external carriage configuration. It should be said here that you need to study this part of the instruction booklet carefully because of confusion between pylon part numbering and mounting locations in steps 15 through 17, but the confusion can be worked out.
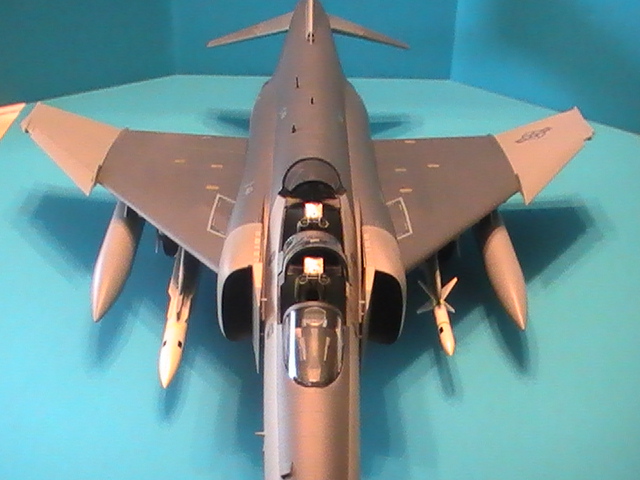
As stated above, there are many parts provided with this kit that go with other F-4 variants, including AIM-7 SPARROW and AIM-9 SIDEWINDER air to air missiles (neither were used for the weasel mission), and pylons with bomb rack parts, but there are not enough parts to allow you to be flexible with the external configuration of this airplane. You are pretty much stuck with using the anti-radiation missiles on inboard pylons and fuel tanks on the outboards. Once again, that is an ‘okay’ configuration. In the last 10 or 12 years of service, the F-4G’s primary weapon was the AGM-88 high-speed anti-radiation missile, or HARM, so it would have been nice to have a couple of those, but those are also available from third parties.
Conclusion
Overall, Revell’s F-4G Wild Weasel is a very well-engineered and well-produced kit. It is a Skill Level 3 kit, and justifiably so because the detail and small parts require a little experience and a lot of patience, but the end result is a great-looking airplane. It is not going to be a quick build, but it is well worth it. I recommend this kit to experienced modelers, and even less experienced modelers, with the desire to build a replica of one of the best military aircraft ever produced.
Thanks again to Revell for providing the sample for review and thanks also to IPMS USA for giving me the opportunity to review it.

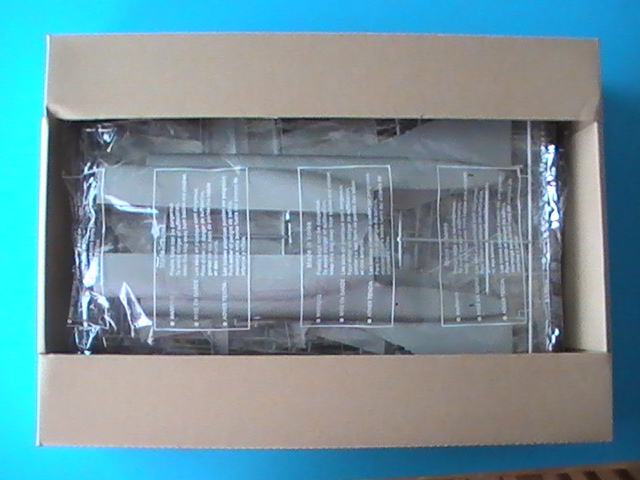
Sturdy packaging
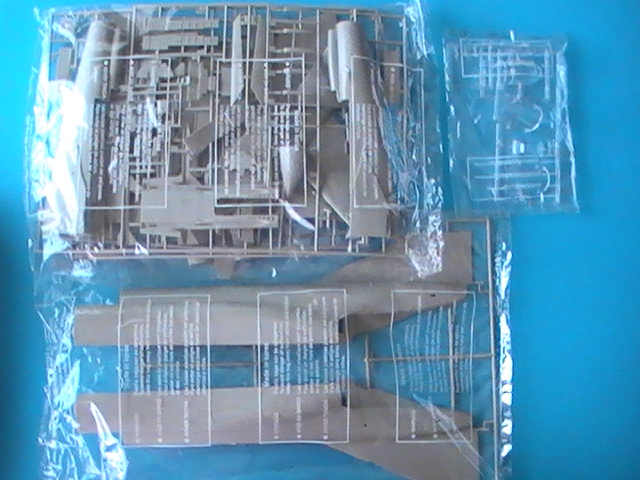
Bagged parts
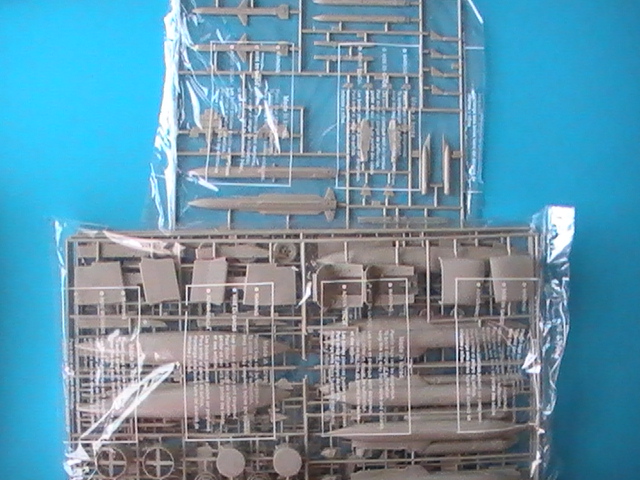
More bagged parts
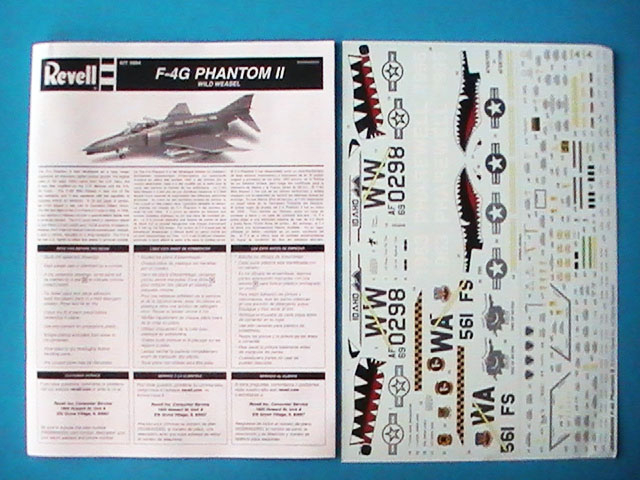
Instructions and decals
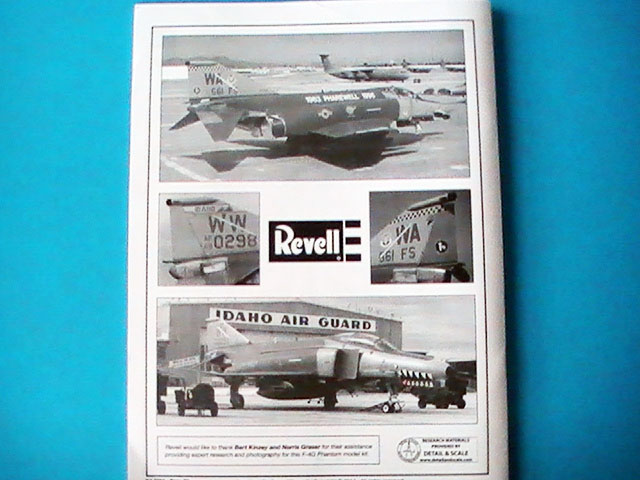
Back of instruction booklet

Inside instruction booklet

Inside instruction booklet
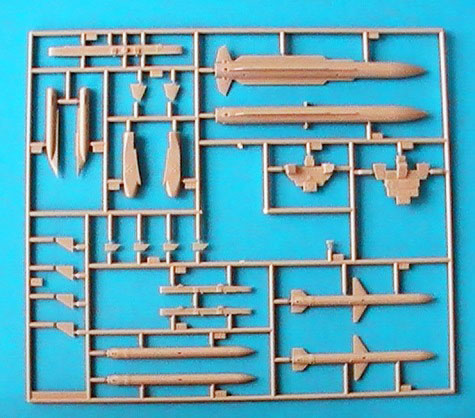
Sprue parts specifically for F4-G

Instrument Panels

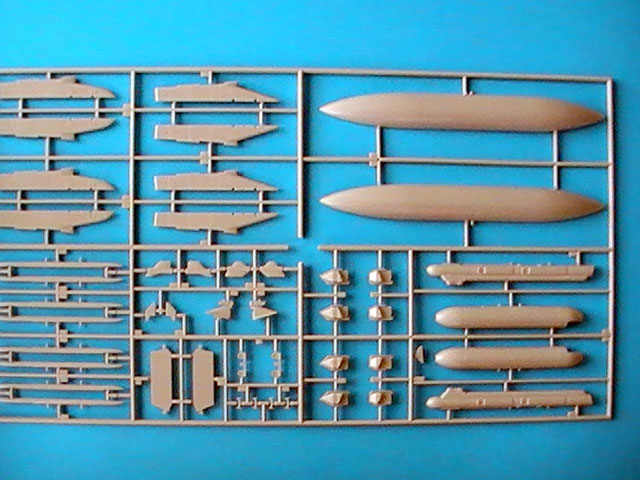
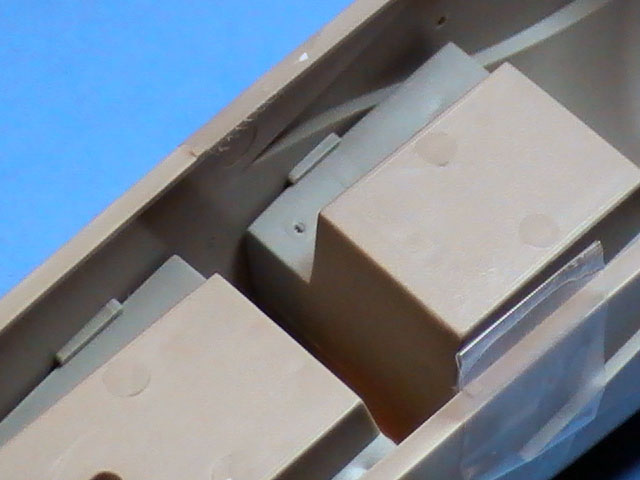
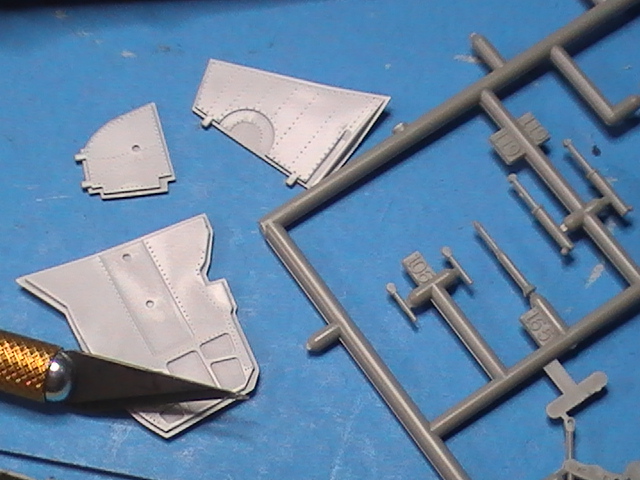
Body parts
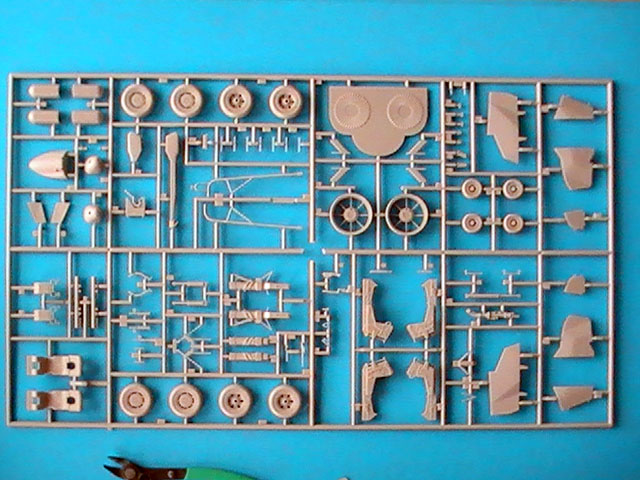
Undercarriage parts
Internal parts
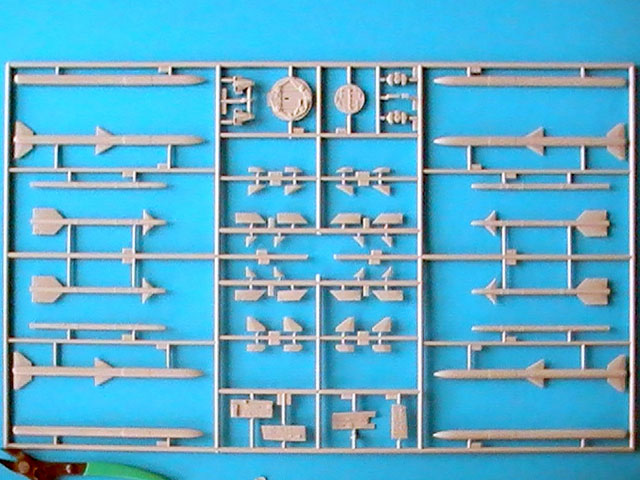
Unused missle parts
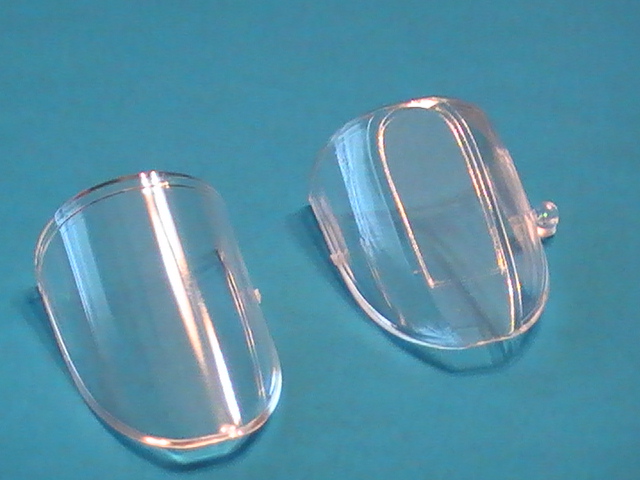
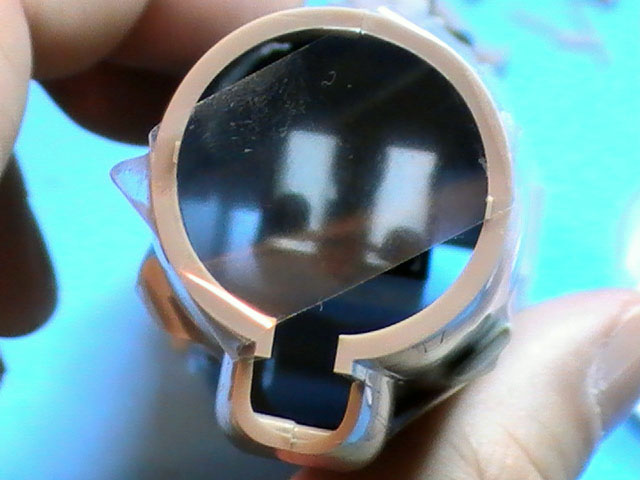
Windscreen options
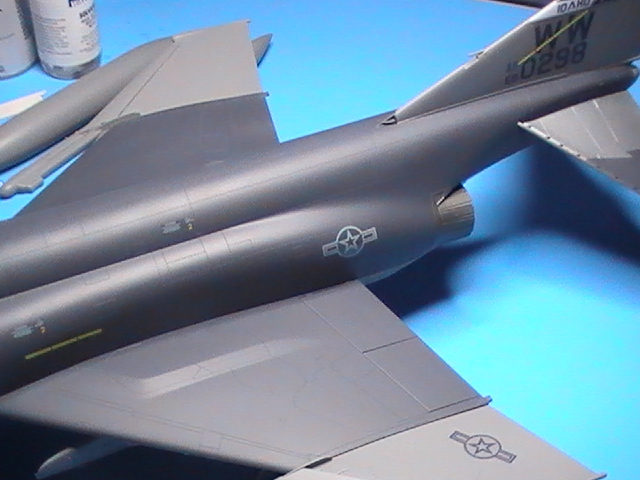
Excellent surface details and mating surfaces
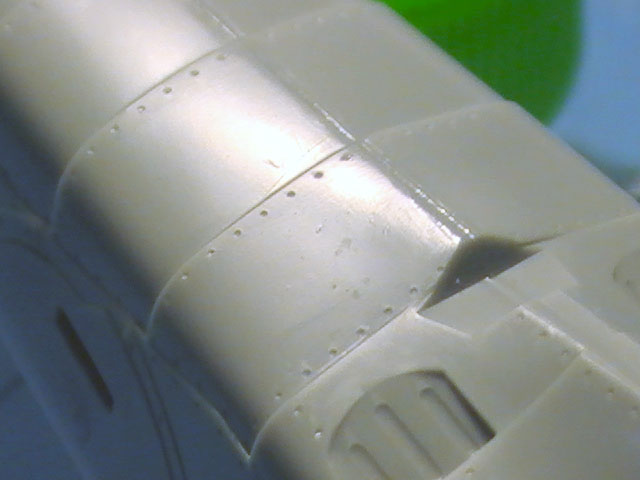
Excellent surface details and mating surfaces

Excellent surface details and mating surfaces
Lining up the cockpit in the fuselage
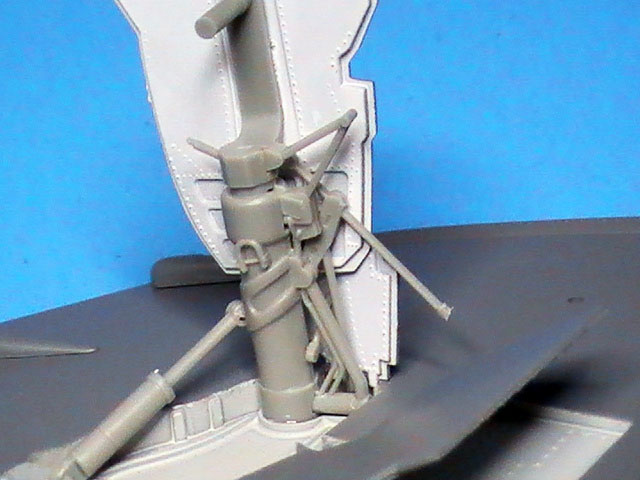
Lining up the nose
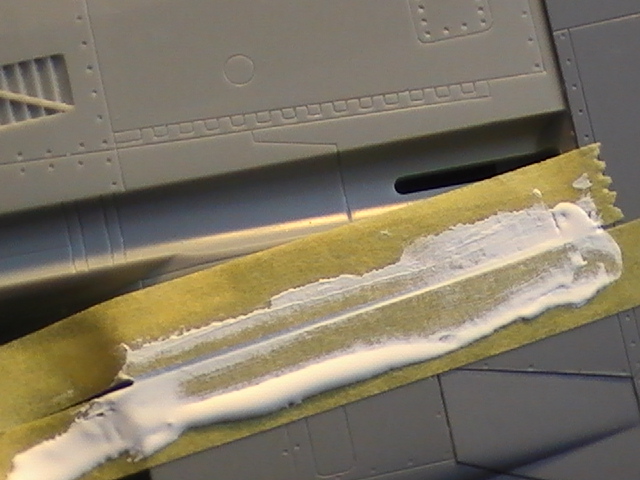
Filling up the gap
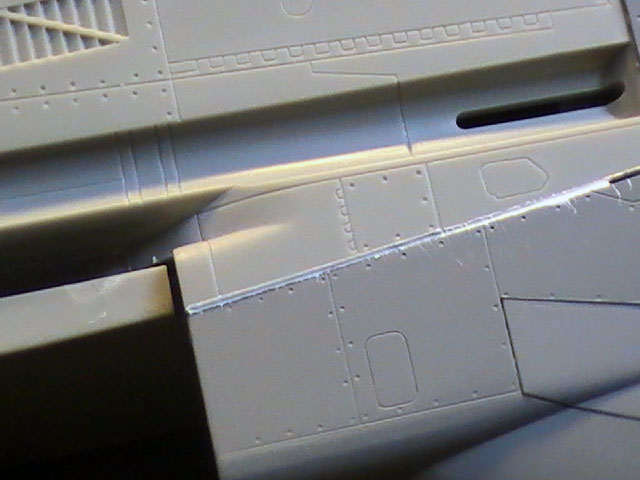
Filled gap
Masked canopies
Landing gear door detail
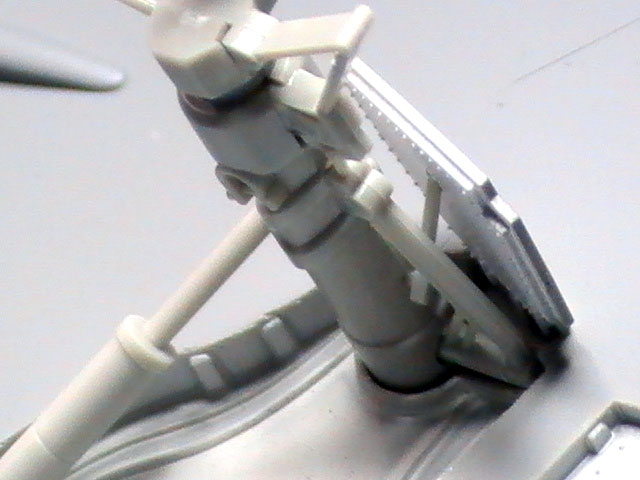
Landing gear assembly
Landing gear assembly

Confusing nose gear door
Nose gear door installation

Trimming srat to fit
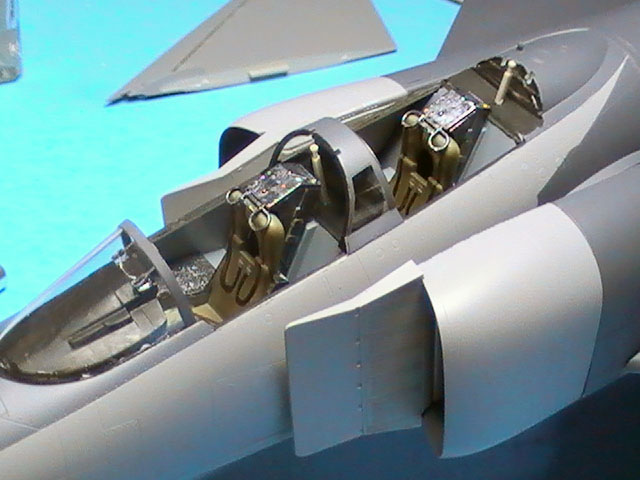
Installed cockpit
Fine panel line detail & inlet ice detector
Match up undercarriage to mount locations
Match up undercarriage to mount locations
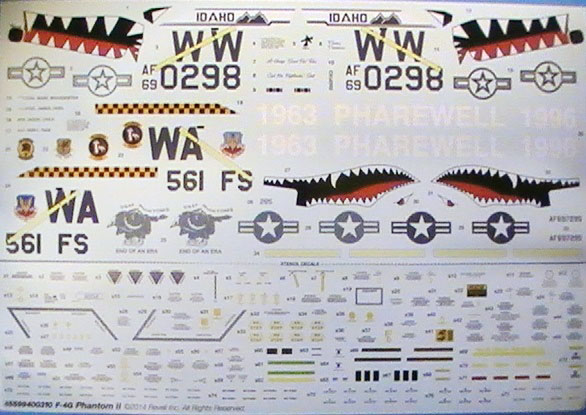
Decal sheet

Decal detail
Some decals didn't fit engraved panel locations
Decal detail
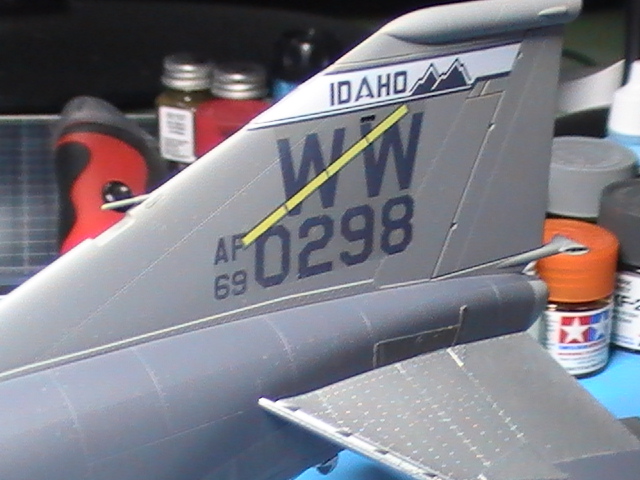
Weasel markings
Almost complete
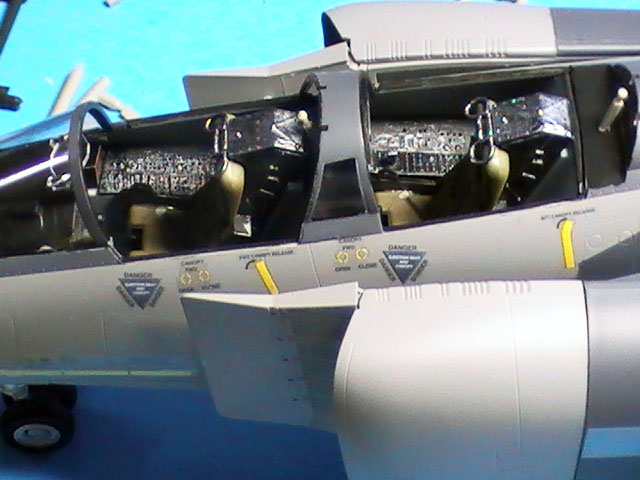
Cockpit
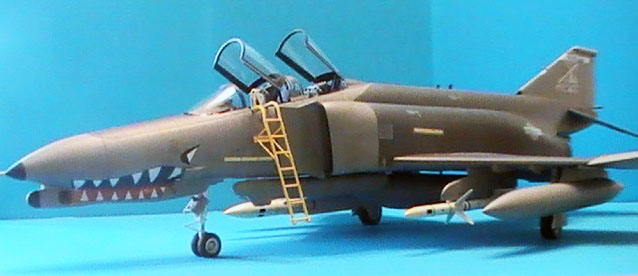
Complete
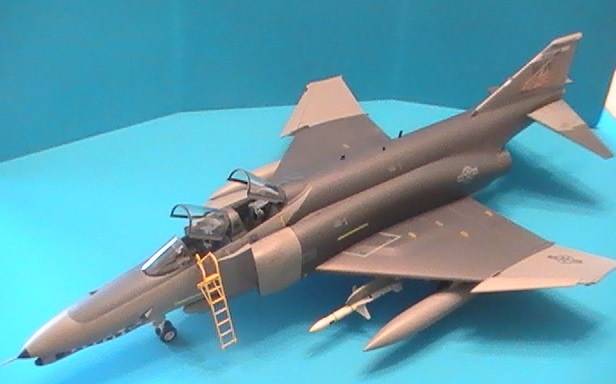
Top
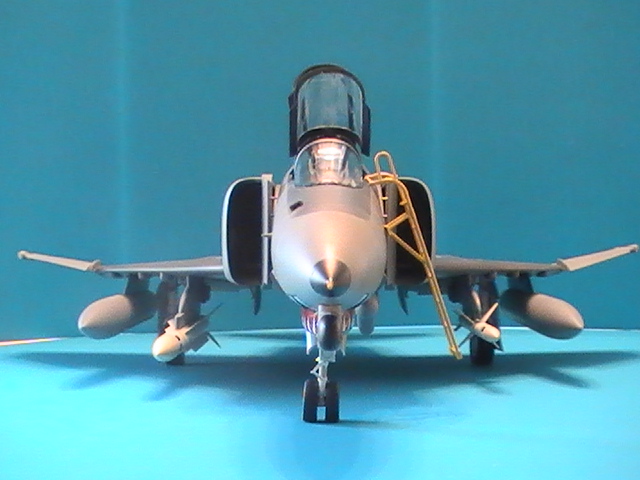
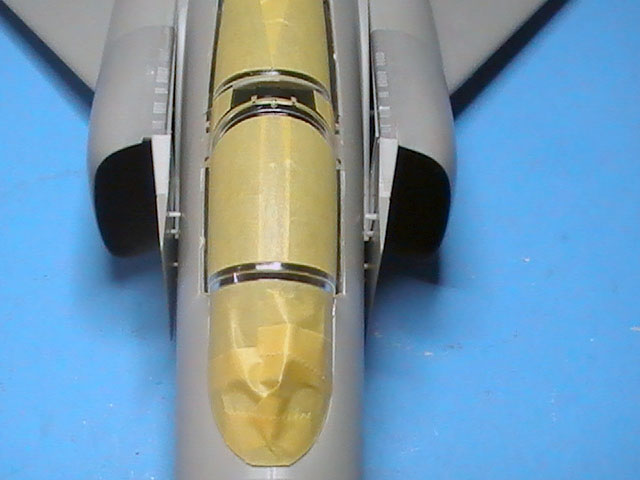
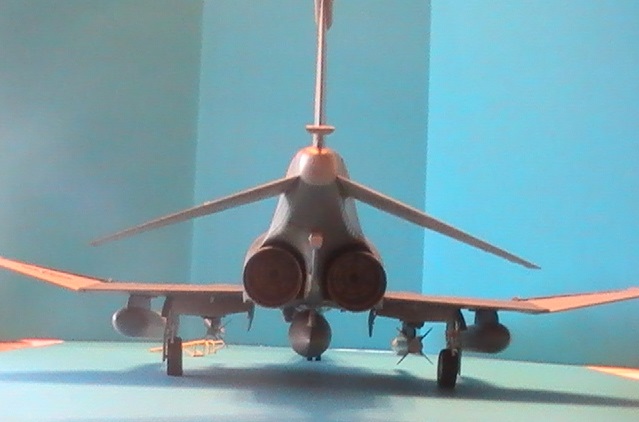
Head on

AGM-45 SHRIKE
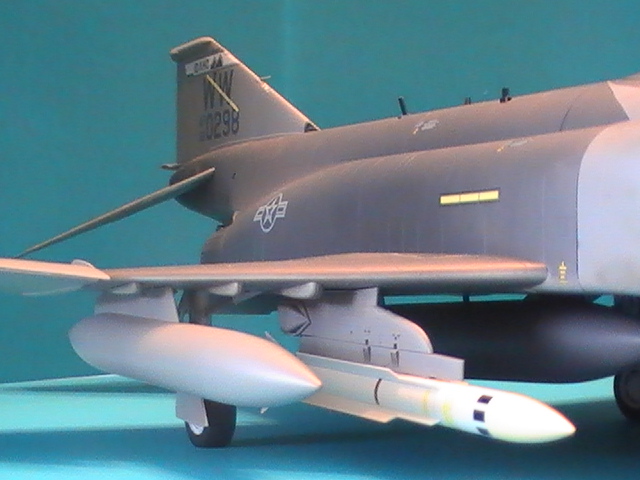
AGM-78 STANDARD

Starboard
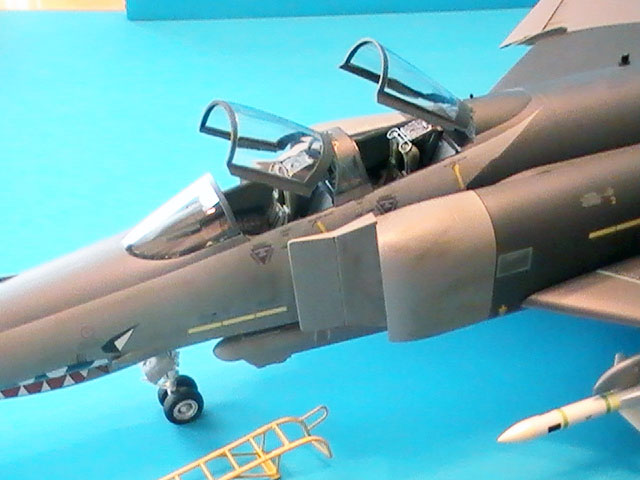
Finished cockpit detail
Top

Shrike markings
Decal detail

Undercarriage detail
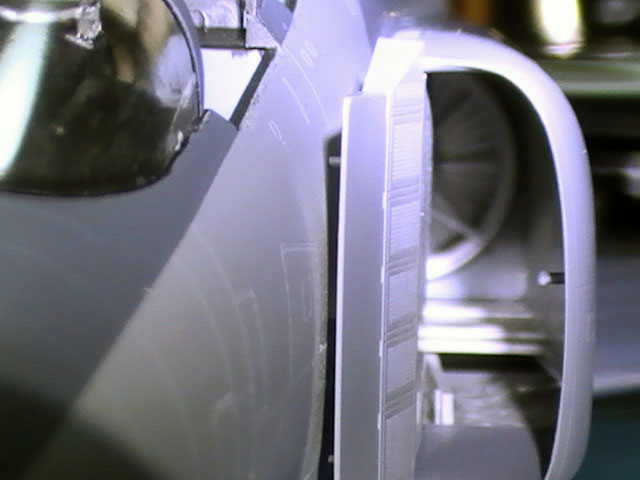
Exhaust detail
ALQ-119 EW Pod
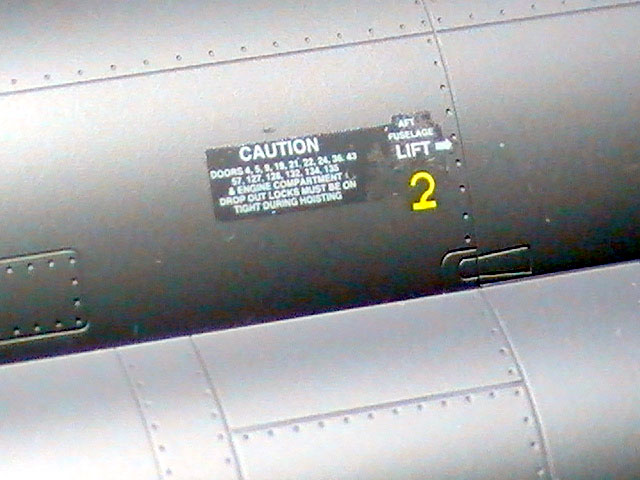
Aft details
Boomer view
Port
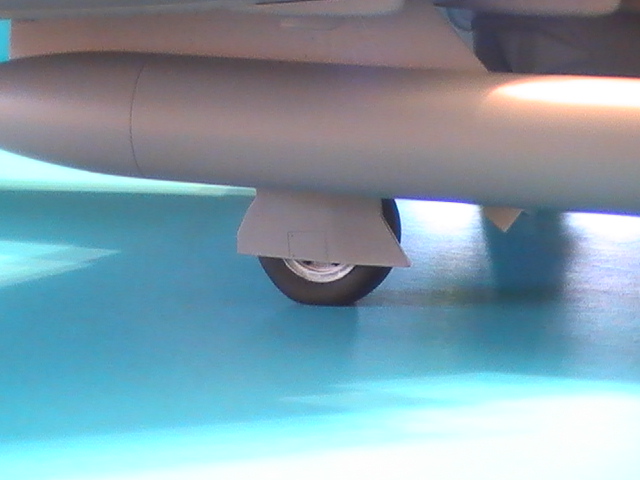
Weighted tires
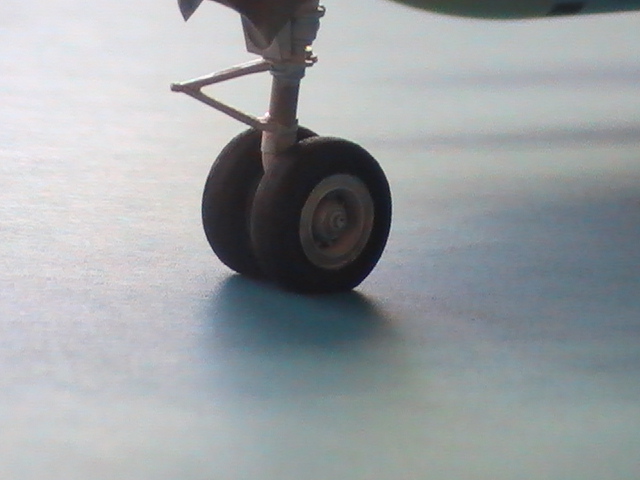
Weighted tires
Comments
Photo Etch
Is there a cock pit photo etch available in 1/35 for the F-4G Phantom II for Revel kit
Add new comment
This site is protected by reCAPTCHA and the Google Privacy Policy and Terms of Service apply.
Similar Reviews