
F-4E Phantom II
The Aircraft
If you aren’t at least familiar with the F-4 Phantom II, you have either lived in a cave or a monastery for the last 50 years. Or you might be a WW2 fanatic. The Phantom was produced in huge numbers (5195) and sold to many countries (11). The US Air Force, Navy and Marines used the F-4. The last of the Phantoms are now flying with the Turkish Air Force, Japan and South Korea.
This kit is the F-4E, an Air Force version with the internal 20 mm cannon. If you’re interested in less well known air forces, the F-4E has been used by Australia, Egypt, Greece, Iran, Israel, South Korea, and Turkey. Germany also had some F-4Es, but they were based at Holloman in New Mexico with the Luftwaffe training group.
The Kit
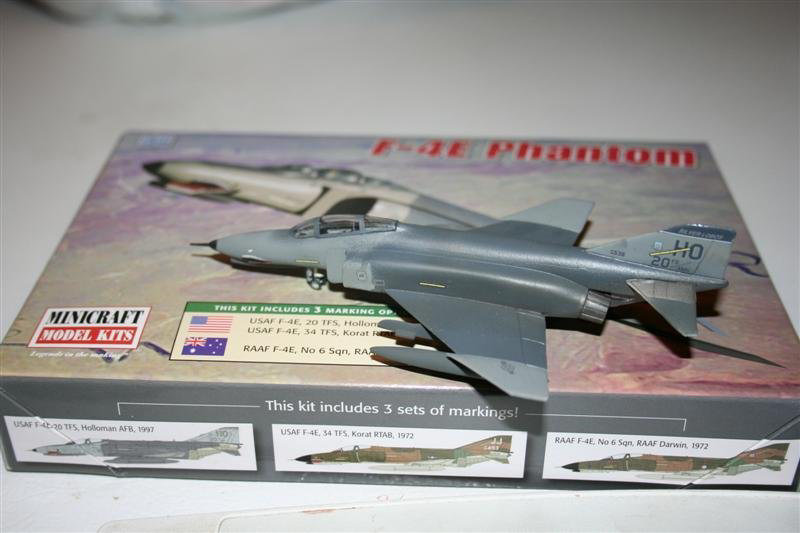
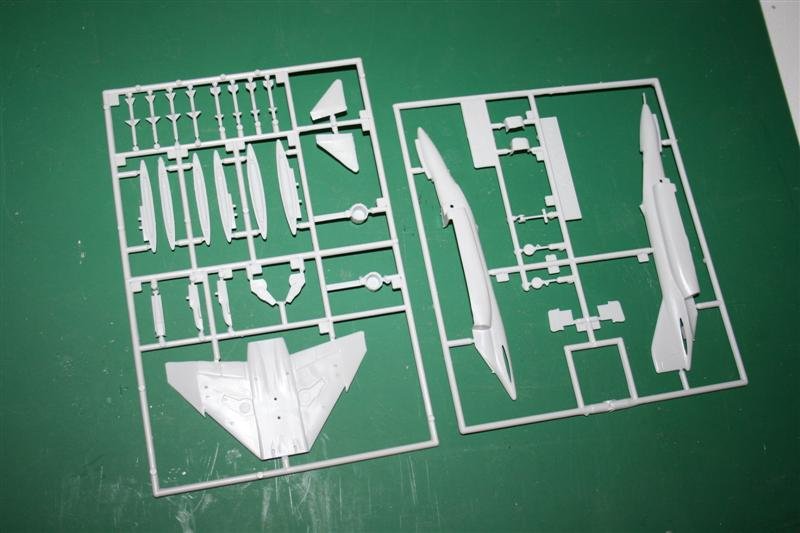
This model is a re-molding of the Crown/Revell kit of several years ago. As such it doesn’t have a lot of the features we expect from a 21st century kit, and there are a few problems. But there are some good things in there, too. Inside the box are 2 sprues of white styrene, cleanly molded, plus a decal sheet and the 1-piece canopy, which is shipped in its own plastic bag to prevent damage. One good thing right there.
Construction, Part 1
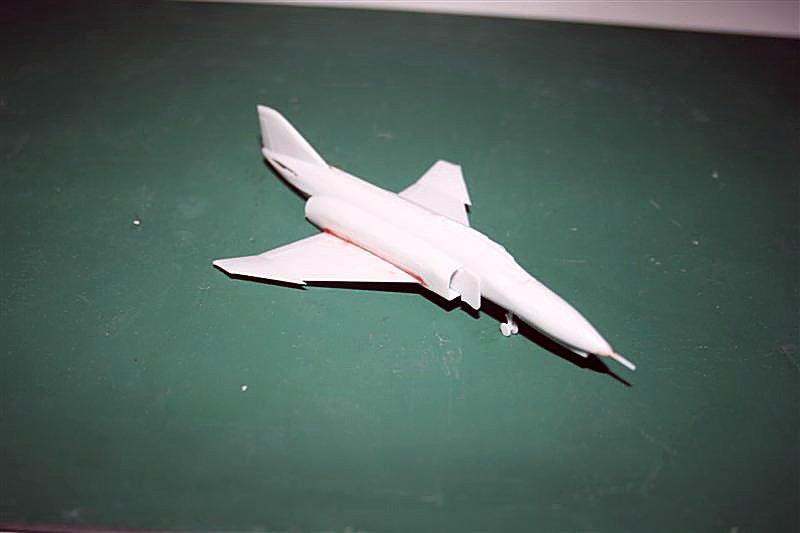
The build is pretty straightforward, assembling the fuselage halves, adding some weight in the nose, and then the wings. Note that there’s no step to assemble or detail the cockpit. More on that later. One thing that worried me all the way through this project was that the nose gear is trapped between the fuselage halves in step 1, and I was in terror that I was going to break the gear off, and probably also lose the part. Didn’t happen.
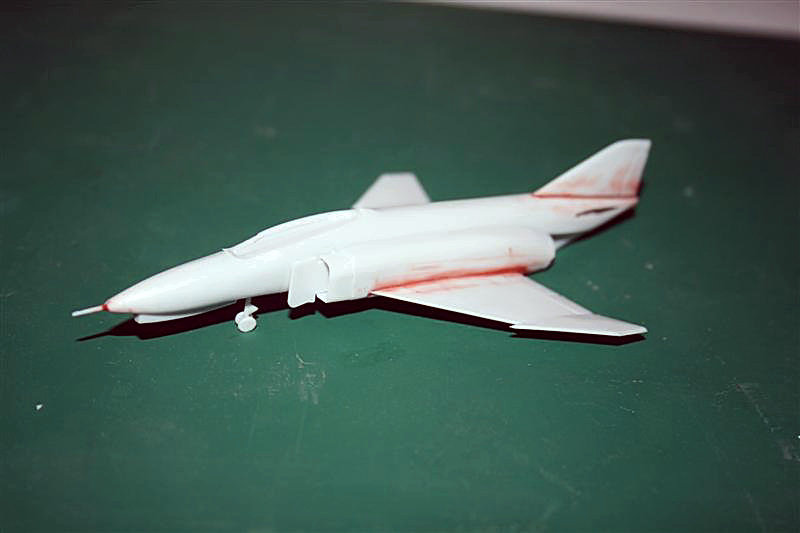
The wing-fuselage joint required some putty, as well as the point where the vertical stabilizer has a gap between the bottom and the fuselage half. I could have used acryl blue putty or green stuff, but the red shows up better in photos, and with the paint scheme I was planning, there wouldn’t be any worry about the red showing through.
Painting
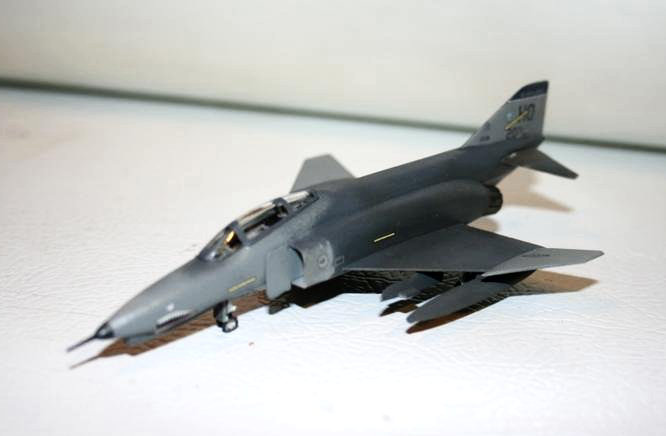
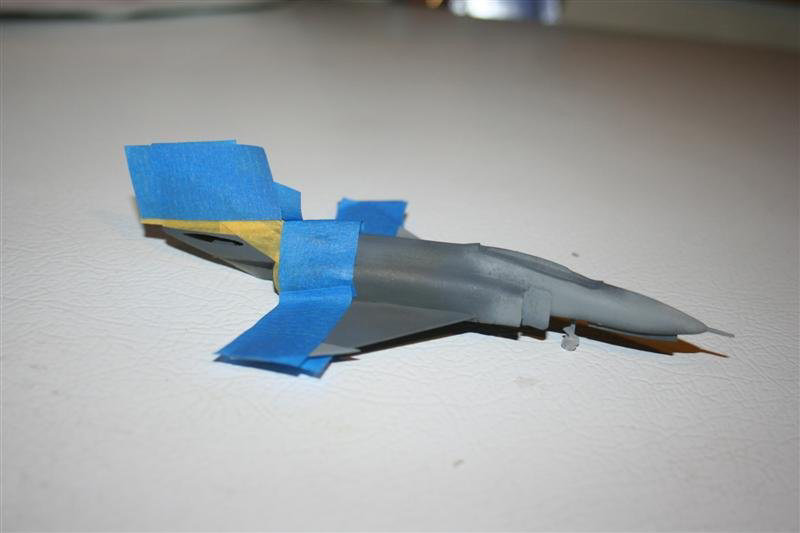
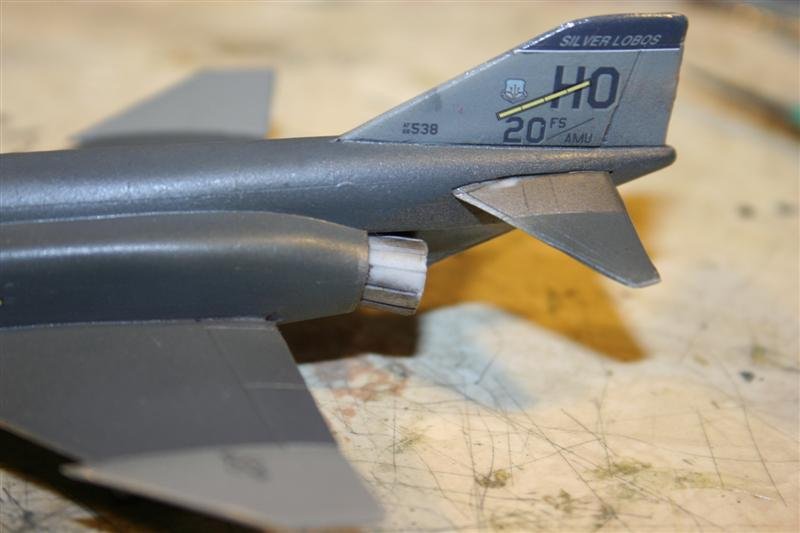
I did the “Hill Gray” scheme, mostly because I already have several 1/144 Phantoms in the 3-tone “Vietnam” scheme. With the fine tip on my airbrush, I was able to freehand much of the fuselage and wings. I did mask the outer wing panels and the vertical stabilizer. The other masking challenge was the burnt metal section around the exhausts.
Construction, Part 2
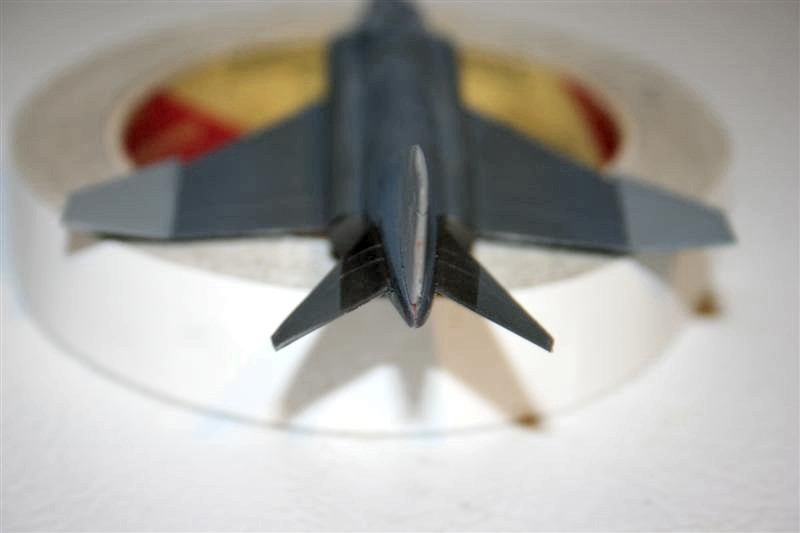
After painting, I added the horizontal stabilizers. On the Phantom these are not really horizontal, having a definite droop. It’s often difficult to get correct alignment on these, and here’s where I got a pleasant surprise. The fuselage has large slots for the stabilizers. I figured these would require a lot of finagling and filling to look good. But when I put the parts in to test fit, they hold at the correct angle first try. The photo shows these parts without any glue, just sitting for the test fit. I left off all the small parts and gear doors, etc until I put on the coat of Future and did the markings.
Decals
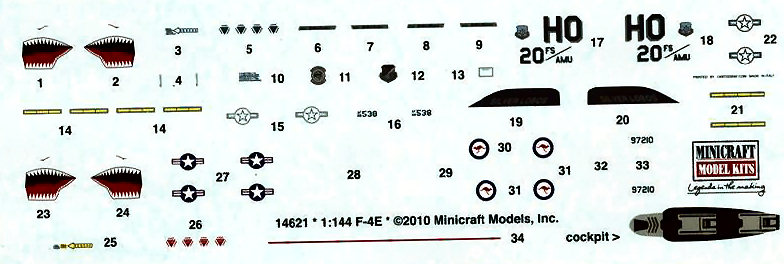
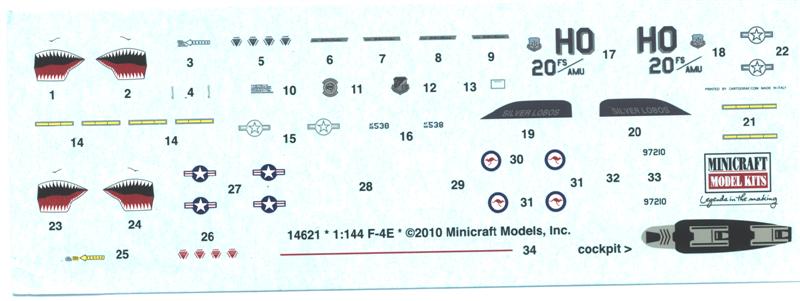
As the boxart notes, you get markings for 3 Thunder Rhinos, USAF Thailand 1972, Australia 1972 and Holloman 1997. The decals are printed by Cartograf of Italy, and they are superb. If you have one of the old Crown/Revell kits, buying this kit just to have decent decals for those kits would be a good buy. Experience tells me that there just aren’t that many good Phantom markings in 1/144.
The instructions were good, except for misidentification of one marking. Decal 13 was identified as 10 on the instruction sheet, but the picture was correct. There was also a problem you don’t run into very often….The instructions were better than the model. There are panel lines and demarcations shown on the instructions that are there on the Phantom, but aren’t on the model.
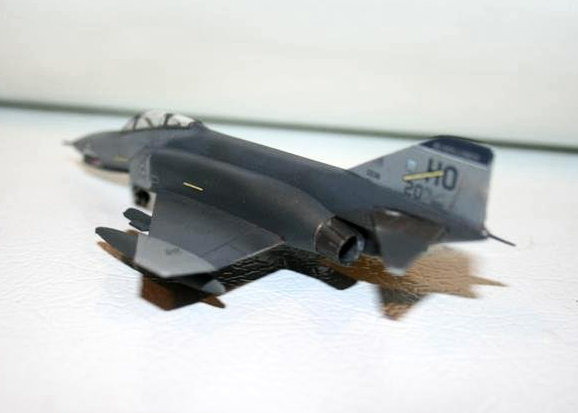
Decals took three sessions as I wanted some of the smaller markings to set down and dry before I started grabbing the kit to put more decals on. Also, the slime lights on the tail go over the HO, and it’s best if that is solidly down before fooling with another decal on top.
The one problem I had with the smaller markings was that they were so small that they’d float on any water on the model because of surface tension, making it difficult to get them aligned. I had no problems with folding or tearing when I worked with the decals.
Final Construction
I always wait until after I put on the decals to add the wheels, doors, antennas, etc, because I know I’m going to break something. While I didn’t have a problem with it, the instructions show that the main gear doors are cut into 3 parts, then they only show you where 2 of those parts go.
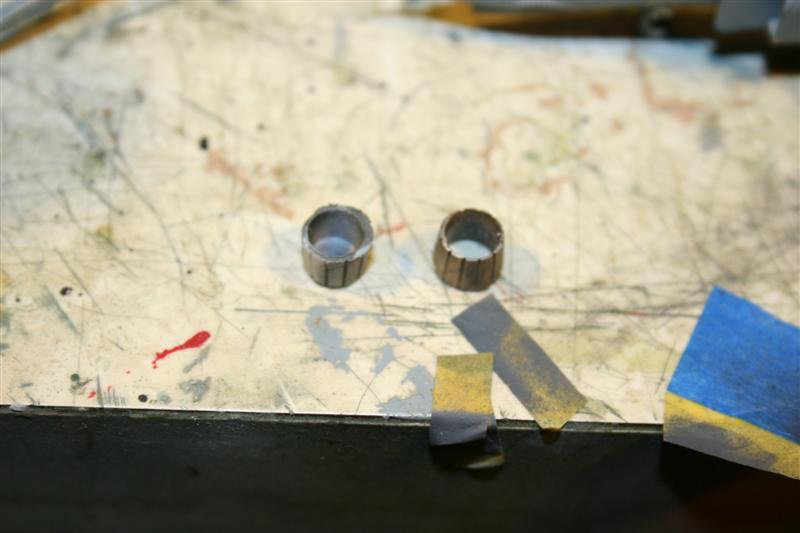
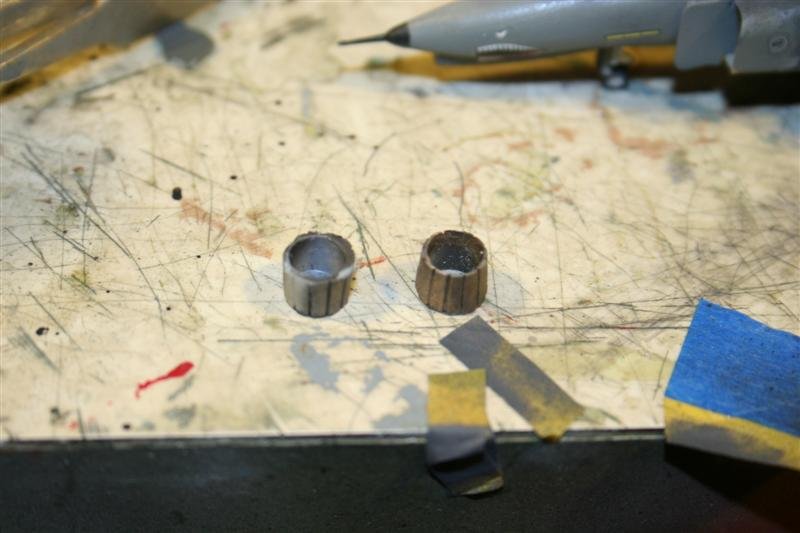
When I first glued one of the exhausts on, I was surprised. The exhaust got bigger at the outlet end. The part tapered the wrong way! I figured out how to fix this fairly easily. I pulled the part off the aircraft and got out my battery-powered drill. Mounting a 3/16 bit in the chuck, I drilled out the solid end of the exhaust. I then used a #11 blade to cut away what I missed with the drill and also thin the lip of the exhaust. This is not really Minicraft’s problem, it goes back to the Crown kit, but now we know how to fix it.
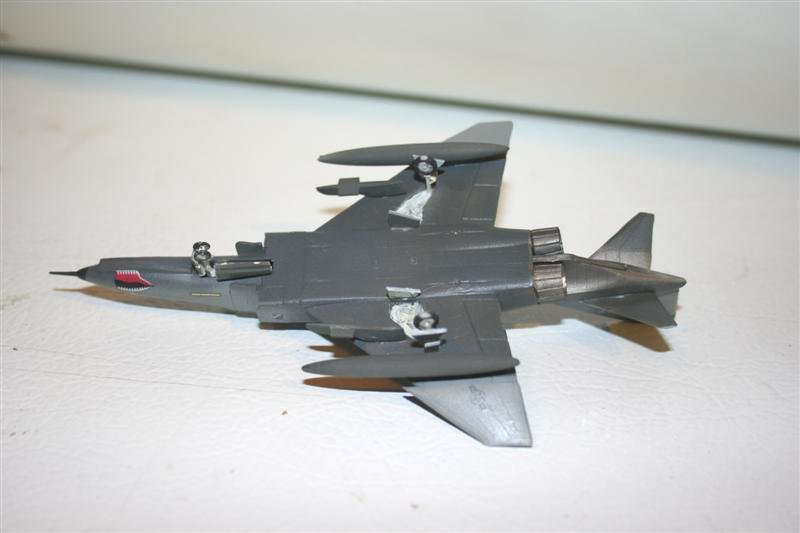
I put on the underwing tanks and the missile rails. The rails are a little thick, but not overwhelmingly so. I can’t say that about the missiles, though. The Sidewinders were overly thick and had a blunt flat nose. The Sparrows weren’t all that good either, so I left all the armament off.
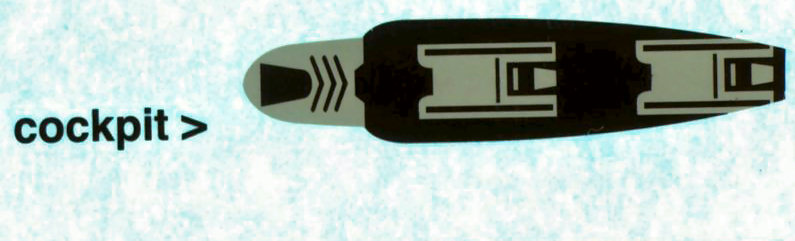
I put on the canopy last. With an application of Future and application of paint on the rails and bows, the canopy is clear and looks good. On most kits, you’d have to say that the clarity of the canopy shows that there’s no interior there, just a flat surface. Minicraft overcame this shortfall in the Crown kit with a decal. It fits into the space beneath the canopy, and simulates the two seats and interior very nicely. Great thinking, Minicraft!!
Overall Evaluation
This kit has decent fit, and Minicraft has probably spent some money having the molds fixed, as there’s no flash on the major parts, but there’s some on the sprues and the part identifier tags. The markings are well thought out with excellent selection and decal quality is outstanding. If you’re looking for a 1/144 Phantom and don’t want to spend as much on the aftermarket decals as for the kit, you probably want this one. My thanks to Minicraft for the review kit!


Comments
Add new comment
This site is protected by reCAPTCHA and the Google Privacy Policy and Terms of Service apply.
Similar Reviews