
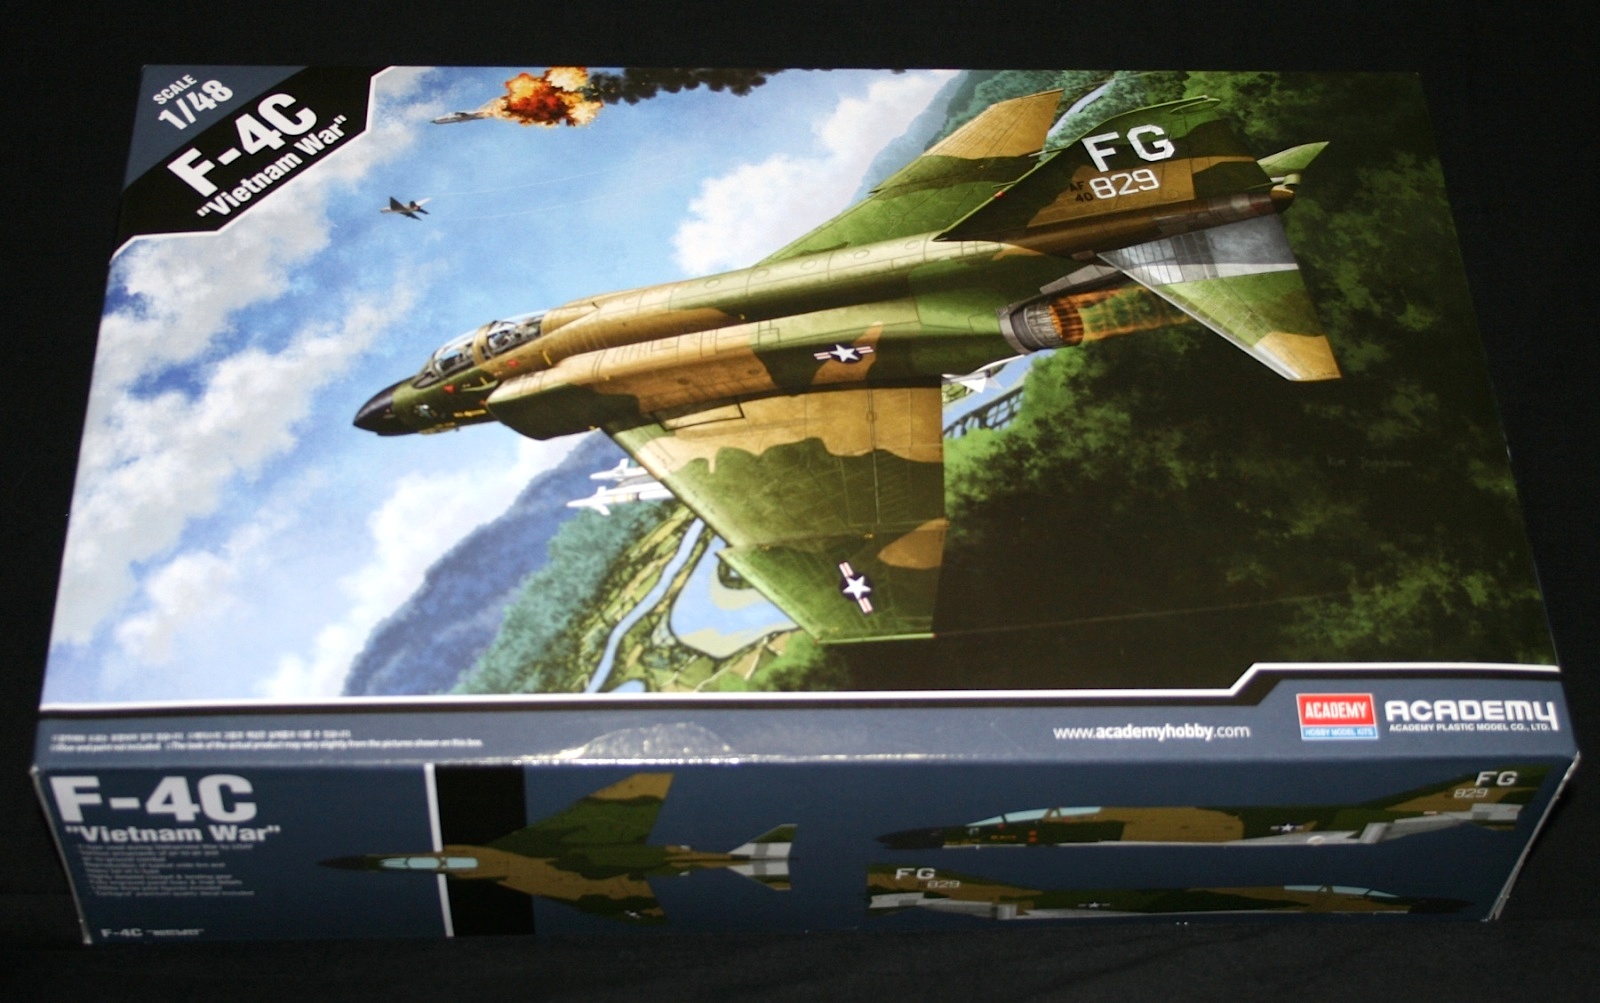
F-4C Phantom II “Vietnam”
Aircraft and History
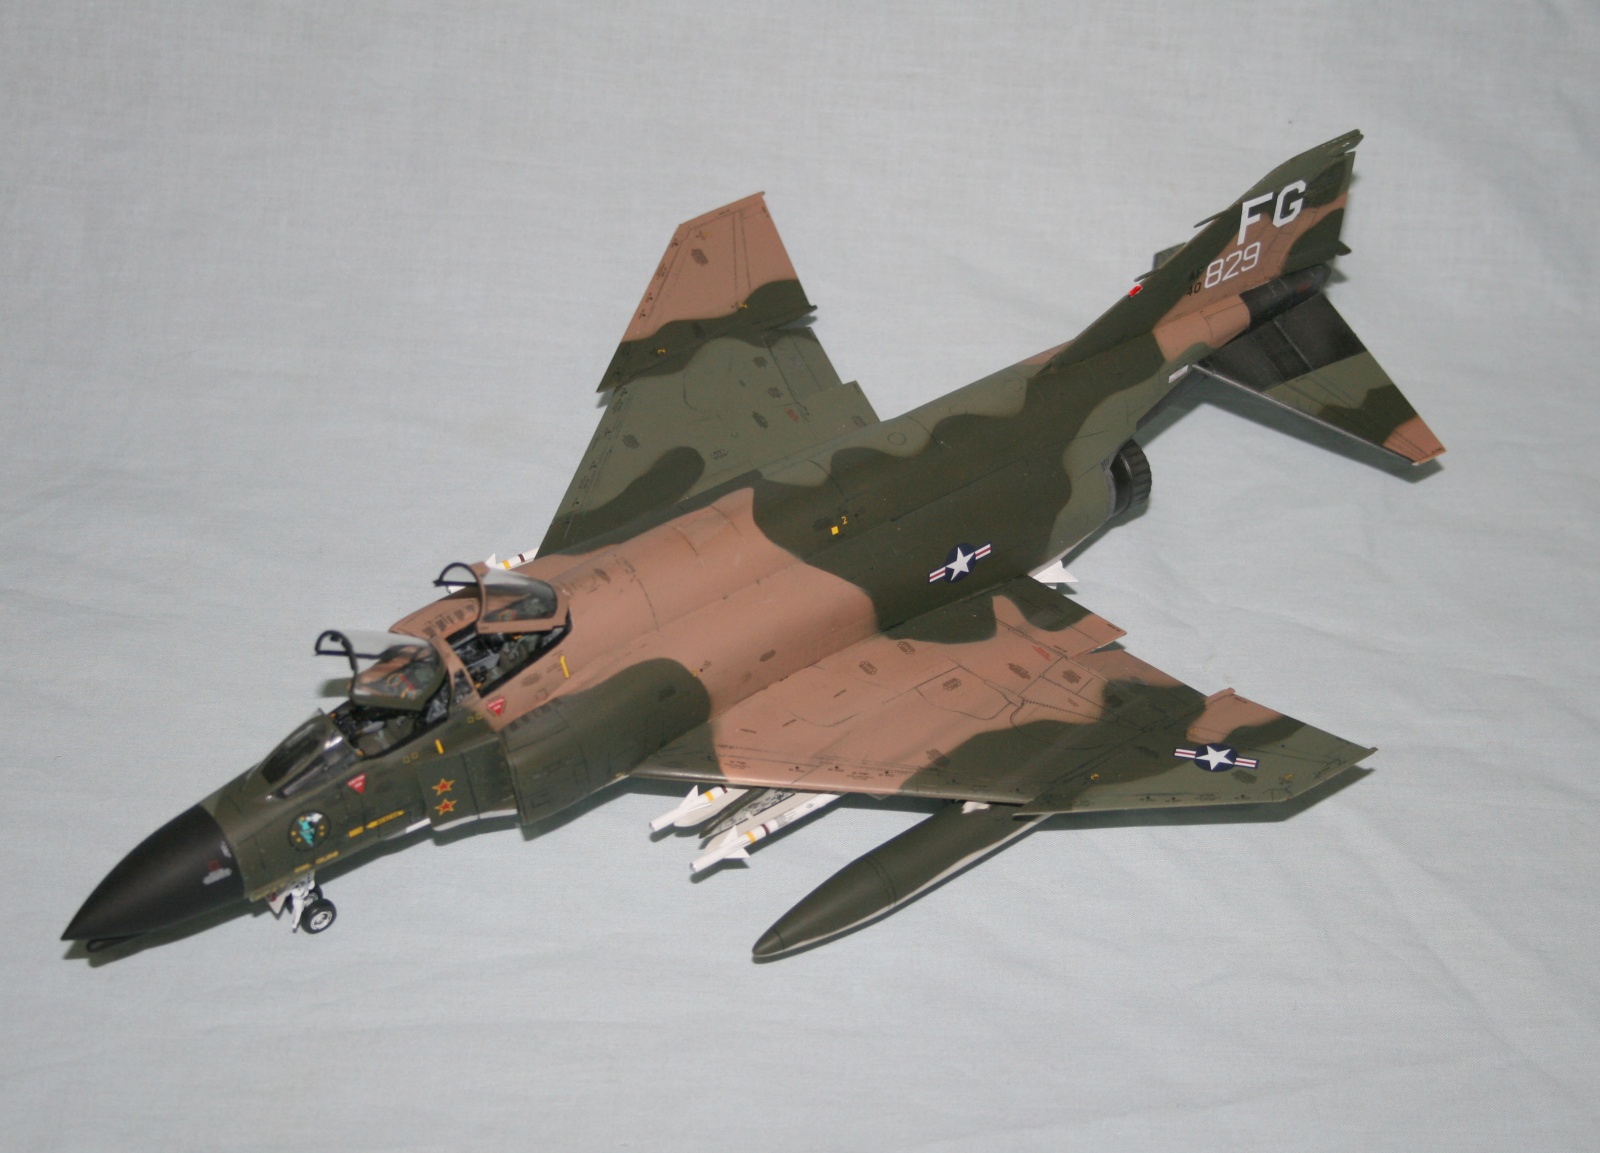
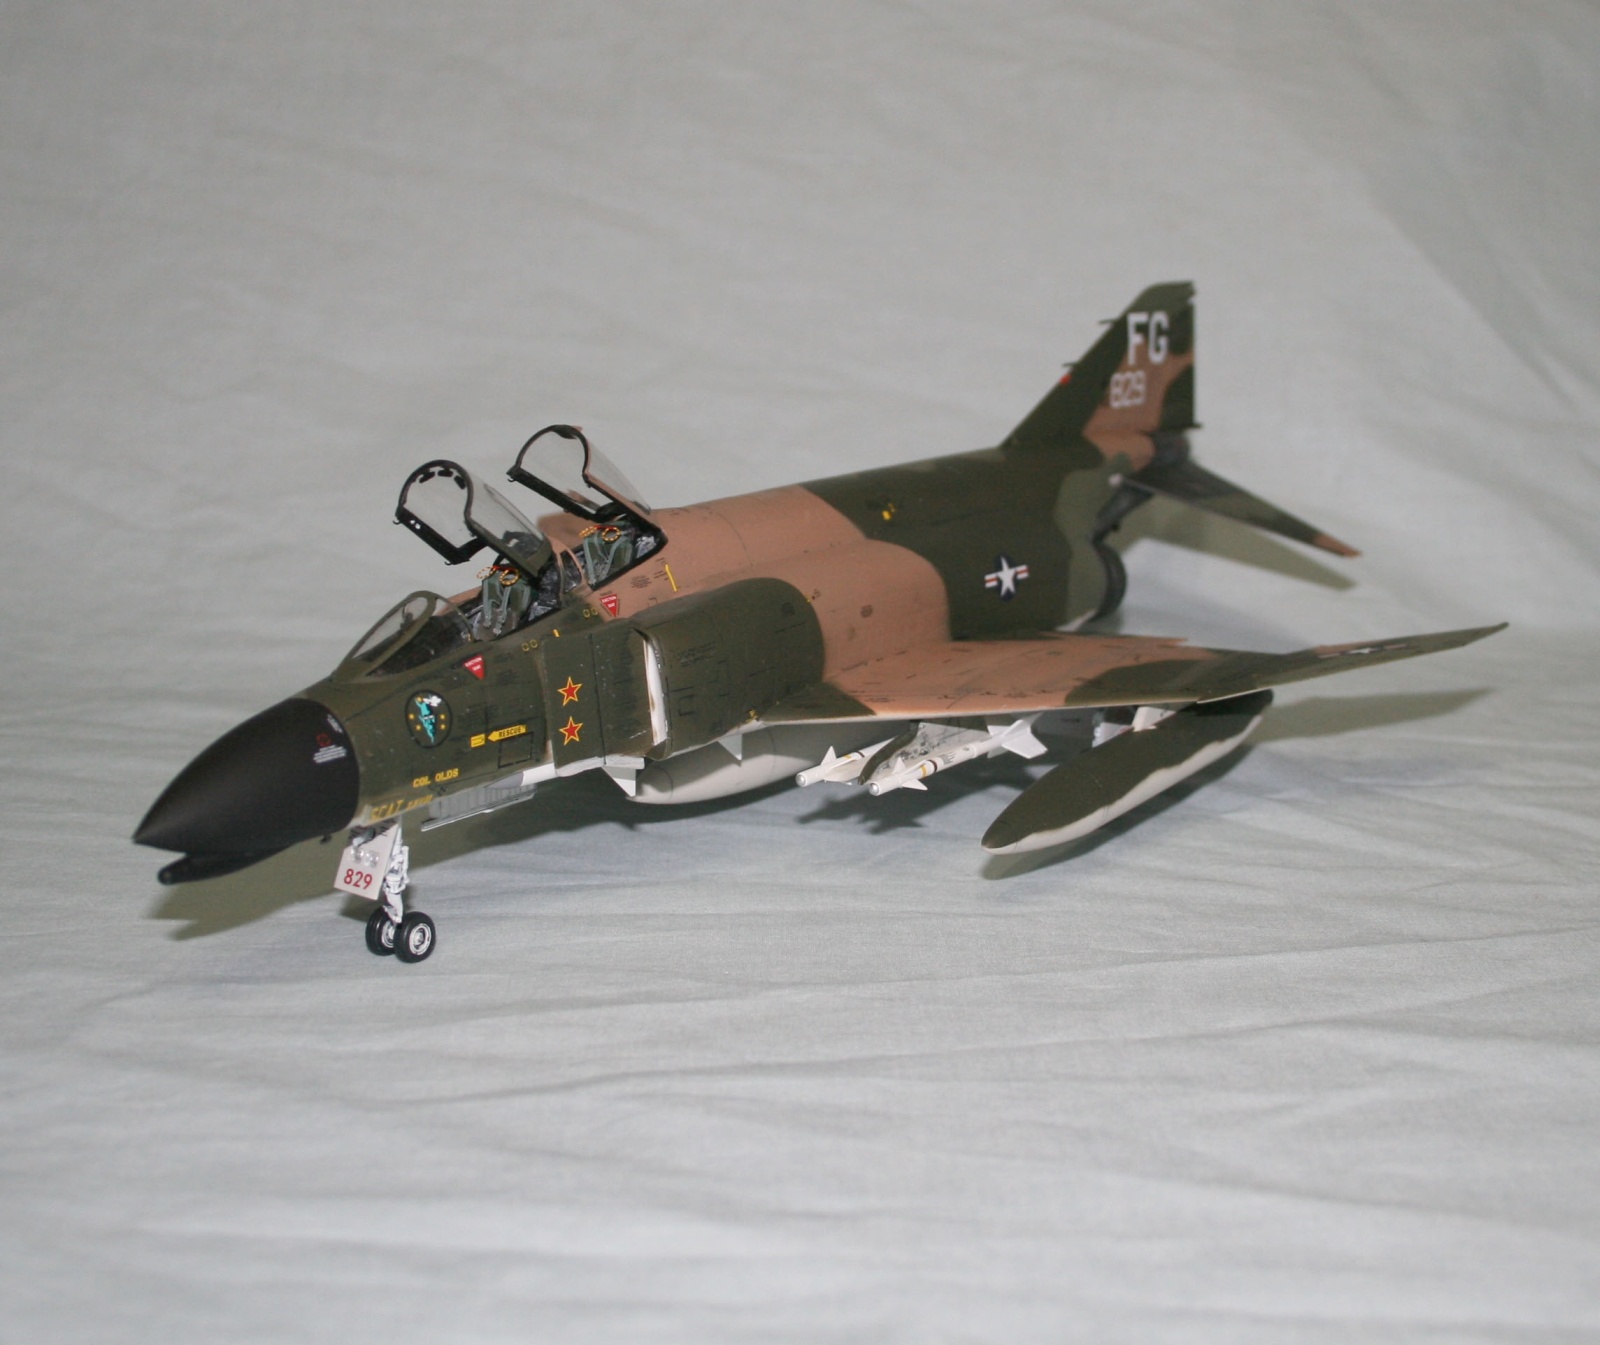
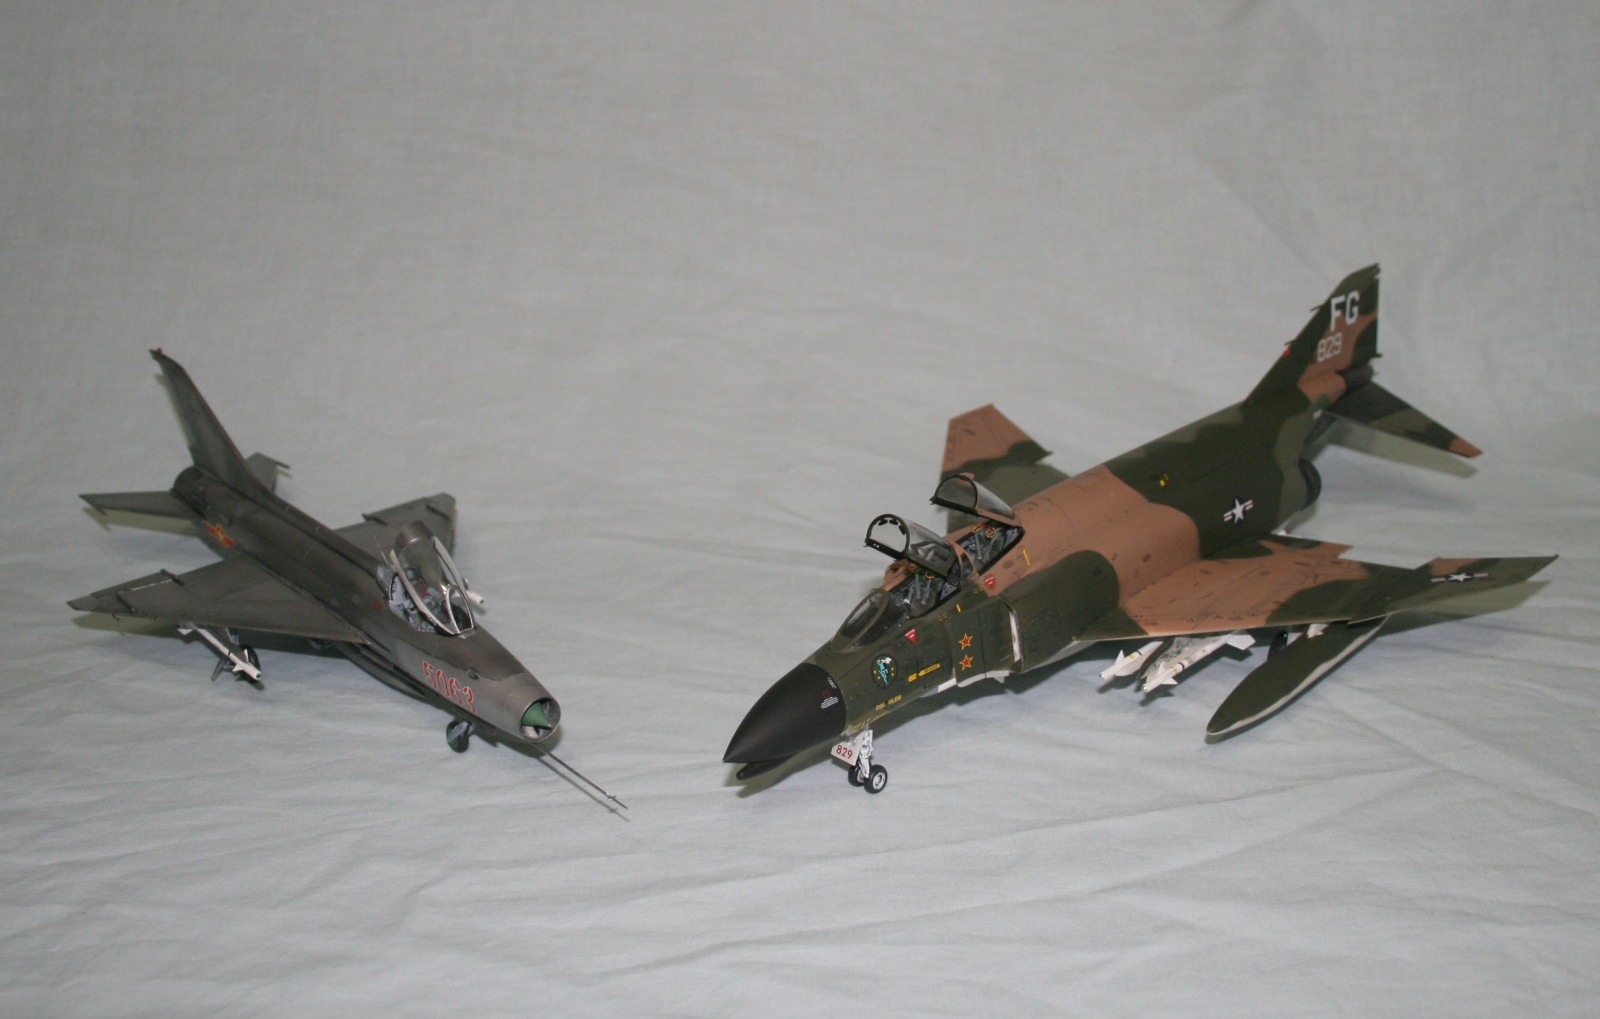
The F-4 Phantom II was originally developed for the United States Navy and made its first flight on 27 May 1958. Exactly 5 years later, the first USAF Phantom II flew and that version was the F-4C. These early Phantoms did not have an internal gun which was an issue in close combat and when the missiles were unreliable. This kit represents Col Robin Olds aircraft as it appears in the National Museum of the US Air Force and the box art shows the phantom during Operation “Bolo” on 2 January 1967. During “Operation Rolling Thunder”, F-105 fighter bombers (heavily loaded) were being attacked by North Vietnamese Mig-21 fighters and sustaining high losses of F-105’s. In response to these attacks, Col Olds devised a tactic to trick the North Vietnamese air force into thinking the Phantoms were F-105 on a bombing run which were being attacked by Mig-21 aircraft. The F-4C Phantoms switched their electronic jamming pods with the ones used by the F-105’s which required replacing the right wing tank with a jamming pod in an asymmetrical load. Once the Mig-21’s took the bait, the Phantoms jettisoned the fuel tanks and were all clean for dog fighting. According to the USAF, North Vietnam lost 7 (possibly 9) Mig 21 aircraft to zero Phantom losses.
Kit
First off this kit is packed with plastic and there is a lot of unused parts on sprues, a look into the future of more Phantom II versions to come. The plastic comes in a variety colors (white, gray and black) which really helps when painting. The parts breakdown is nice and a single piece upper fuselage section (similar to Tamiya 32 scale Phantoms) is a great feature helping to eliminate that hard to fill seam on top. There are also very few injector hole marks.
Build
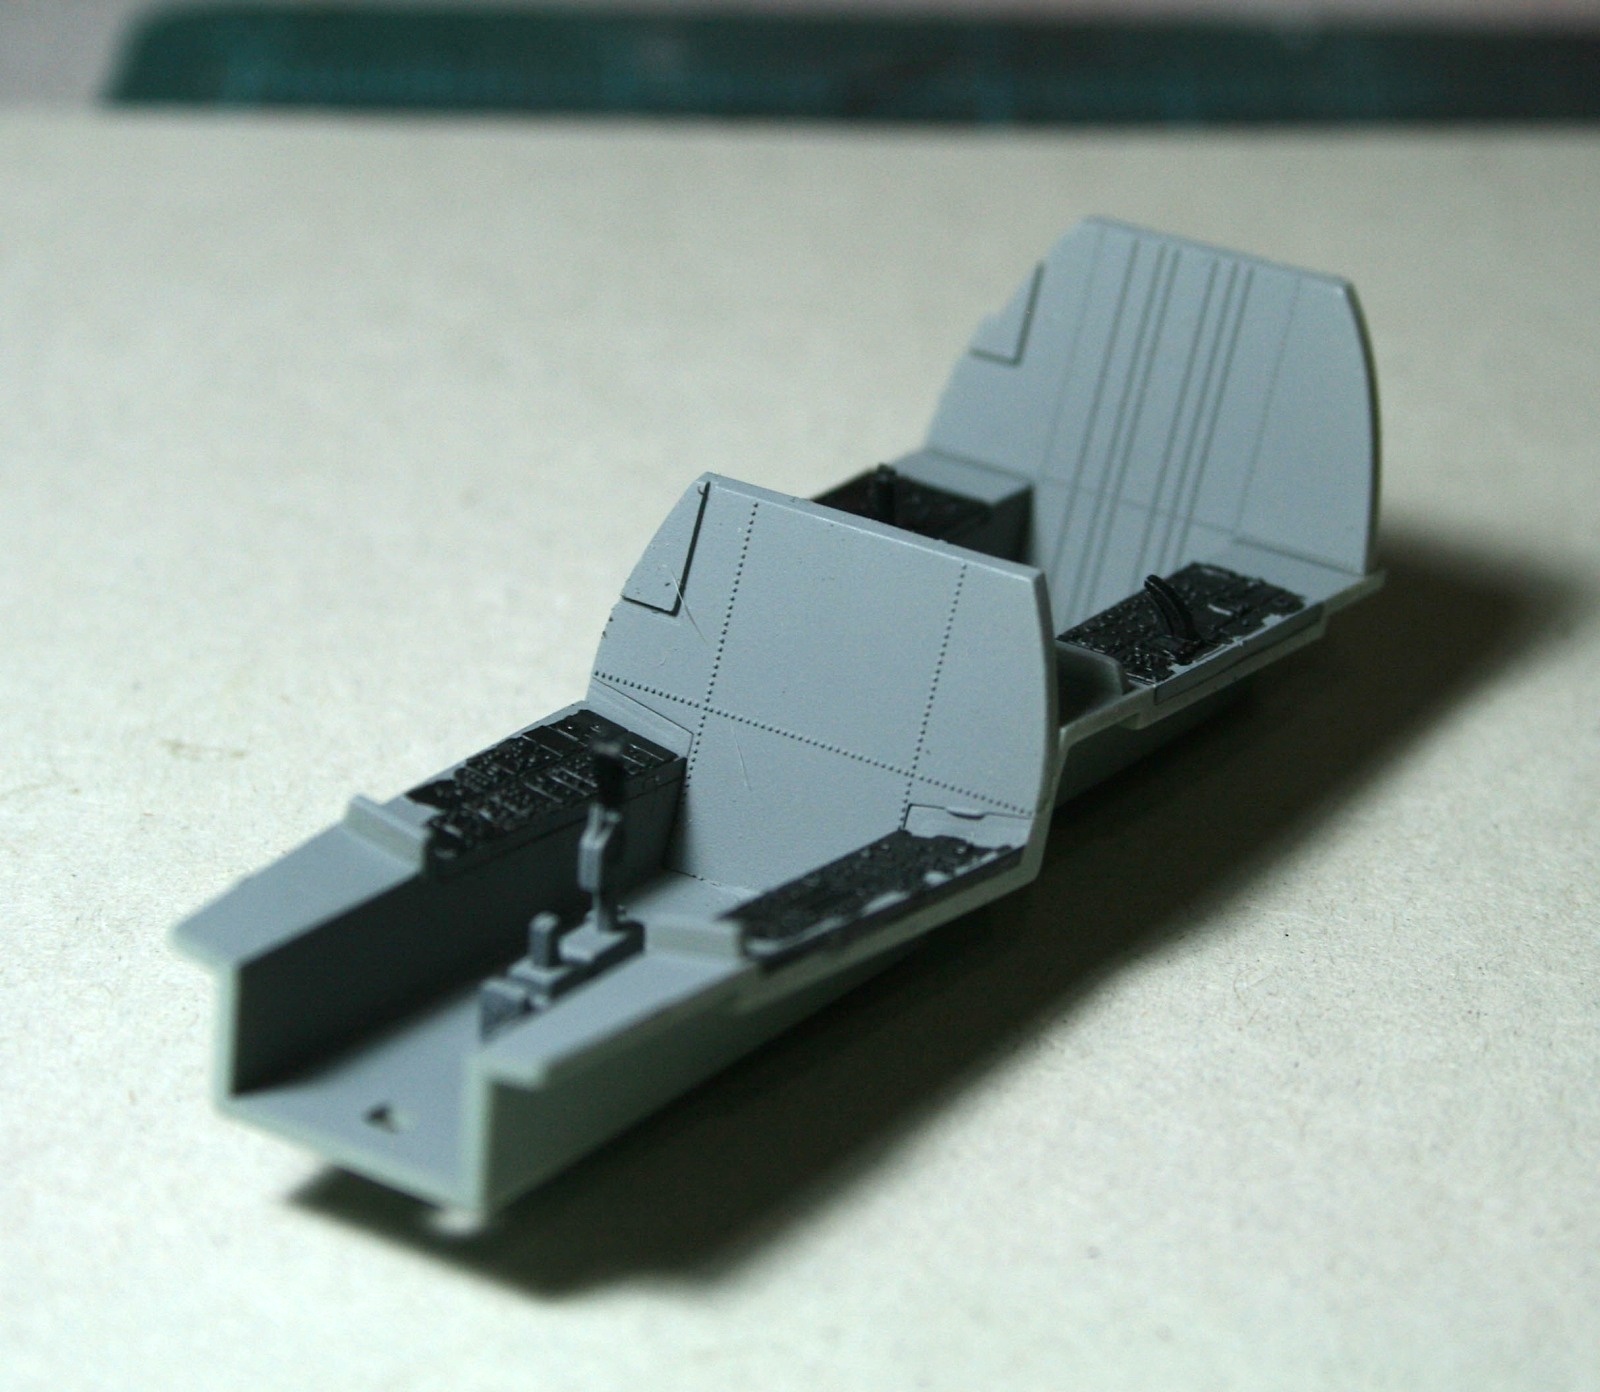
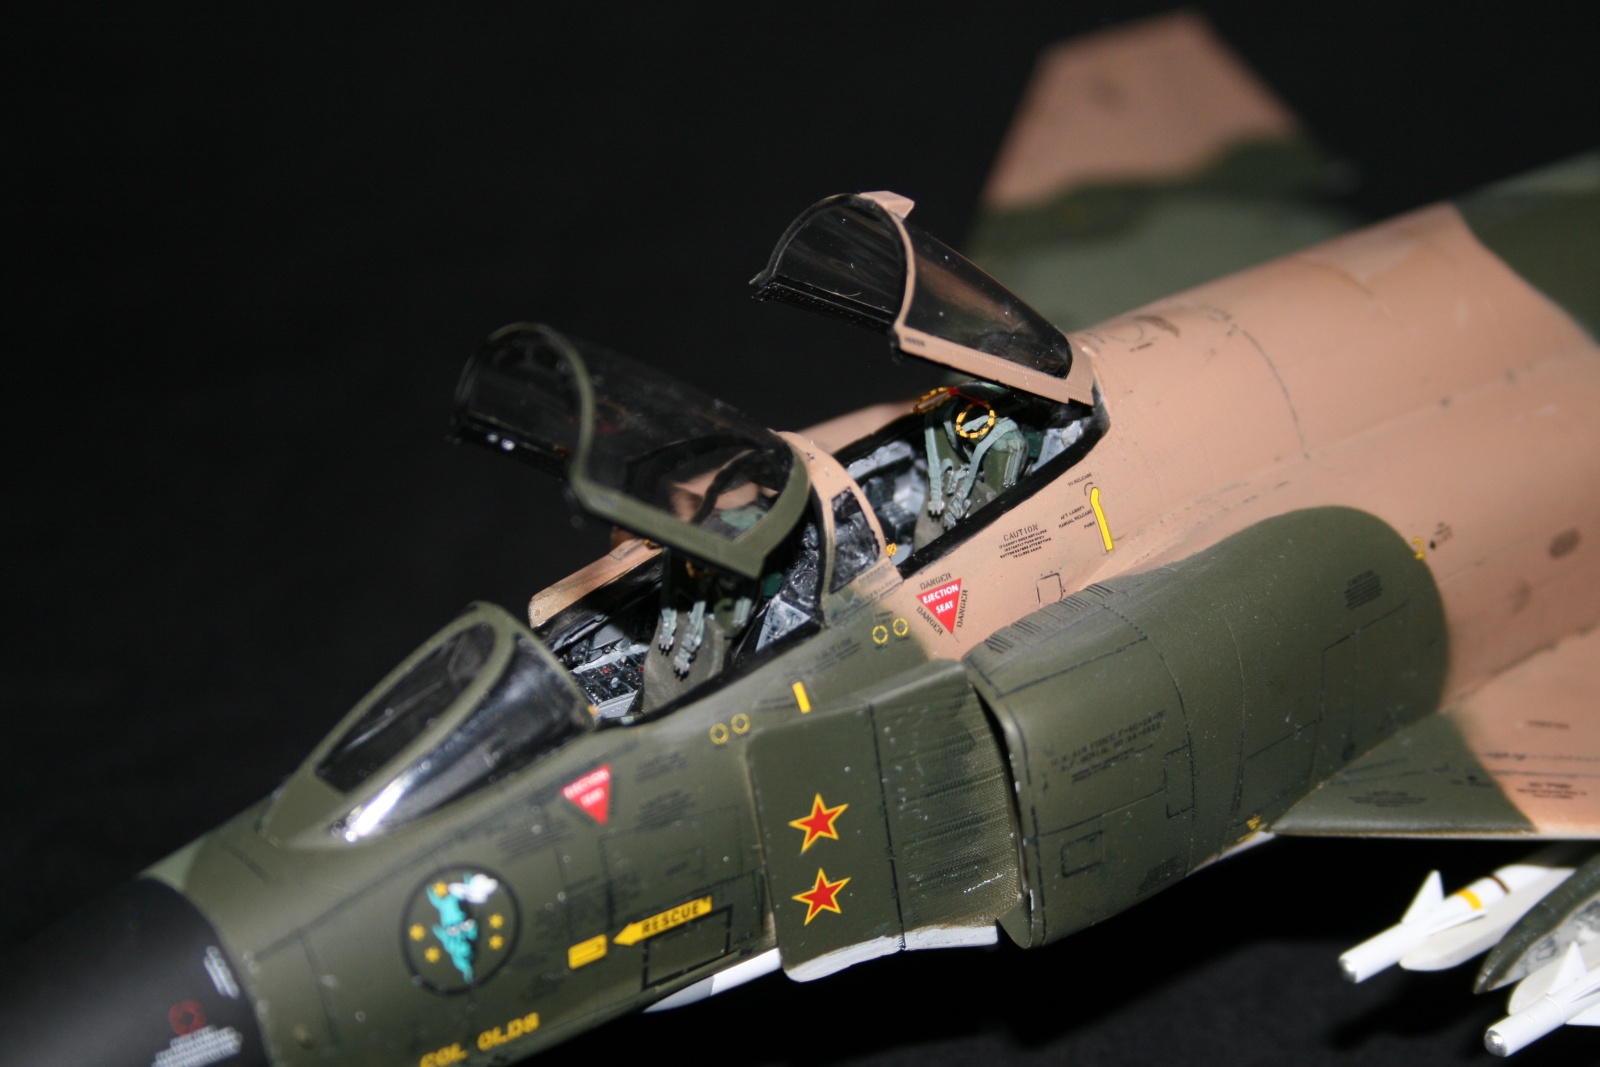
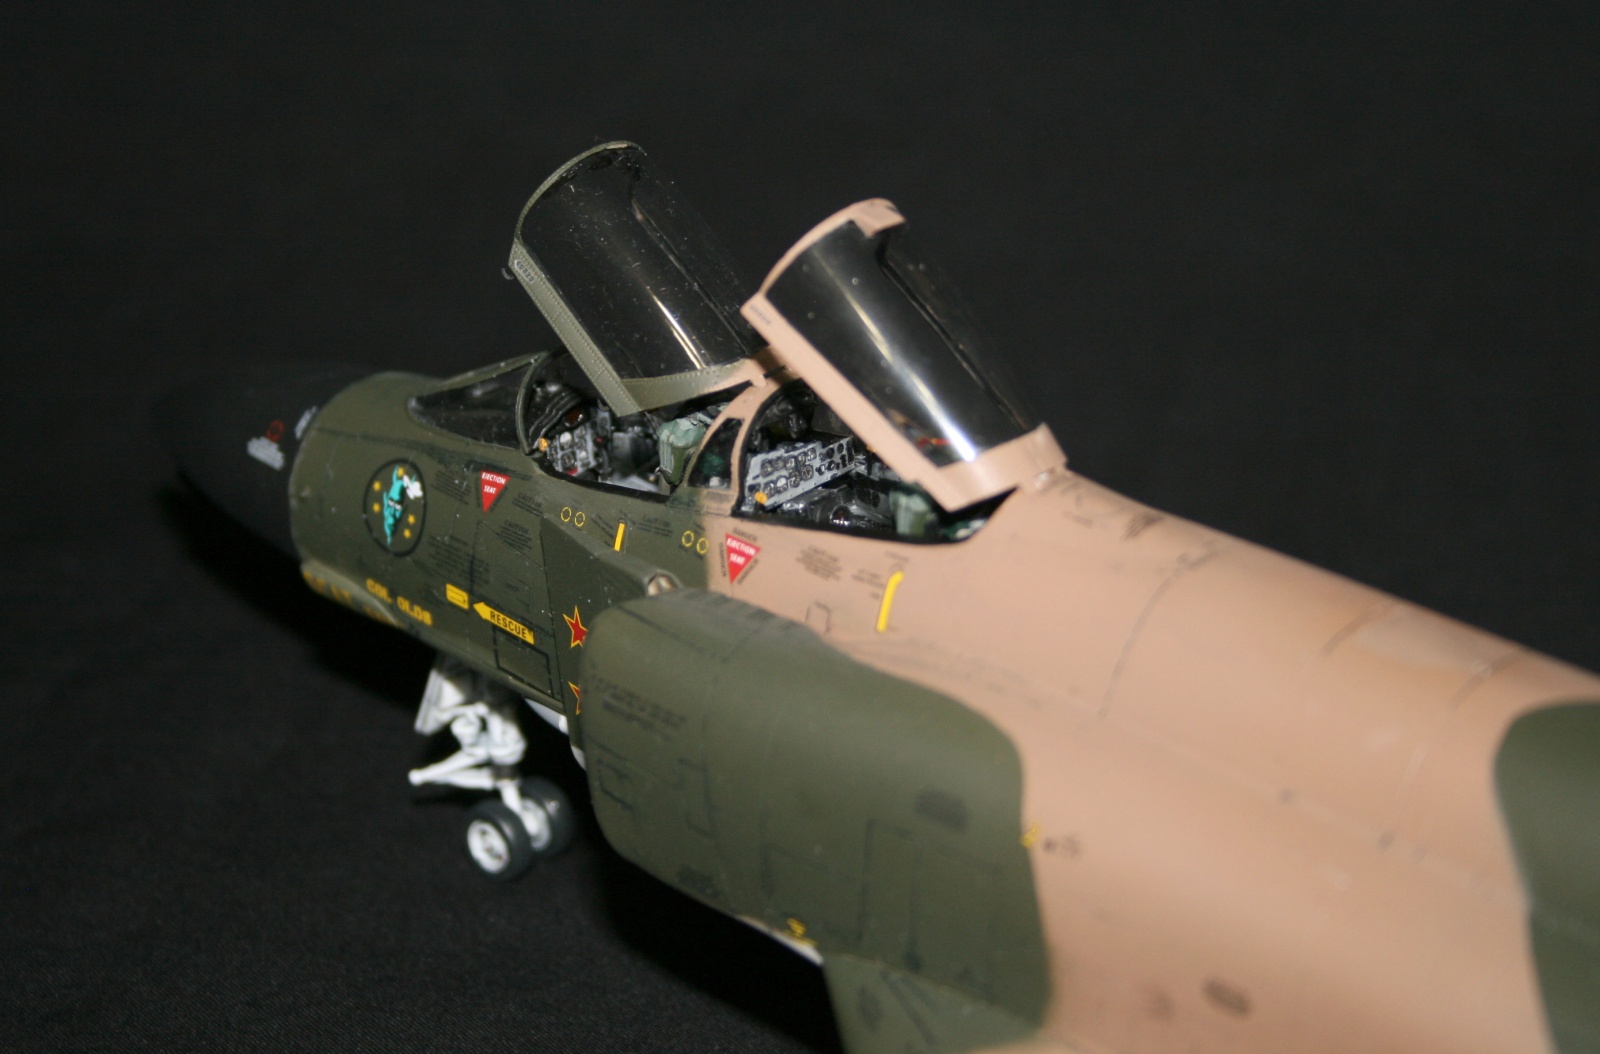
Starting off with the cockpit, detail is very nice and crisp details however I am puzzled with something. They include a highly detailed right hand side wall for the rear cockpit that is for the NAVY version which is not used in the USAF version however the remaining sidewalls are not included. The good news is aftermarket resin companies have already stepped up to take care of this issue. I decided to take the aftermarket approach on the cockpit and used an Aires set designed for Hasegawa USAF Phantoms. I was pleasantly surprised how well it fit. Two weeks after I received the cockpit, Aires released a cockpit designed for the Academy Phantom. The kit cockpit will give you a nicely detailed interior however I just wanted a little more detail. There are a few areas indicated in the instructions to remove plastic that are carryovers from the F-4B (pilot rear bulkhead trimming) that is not necessary. Also note there are a few choices on instrument panels so check your references and pay attention to the instructions (sprue M is for USAF).
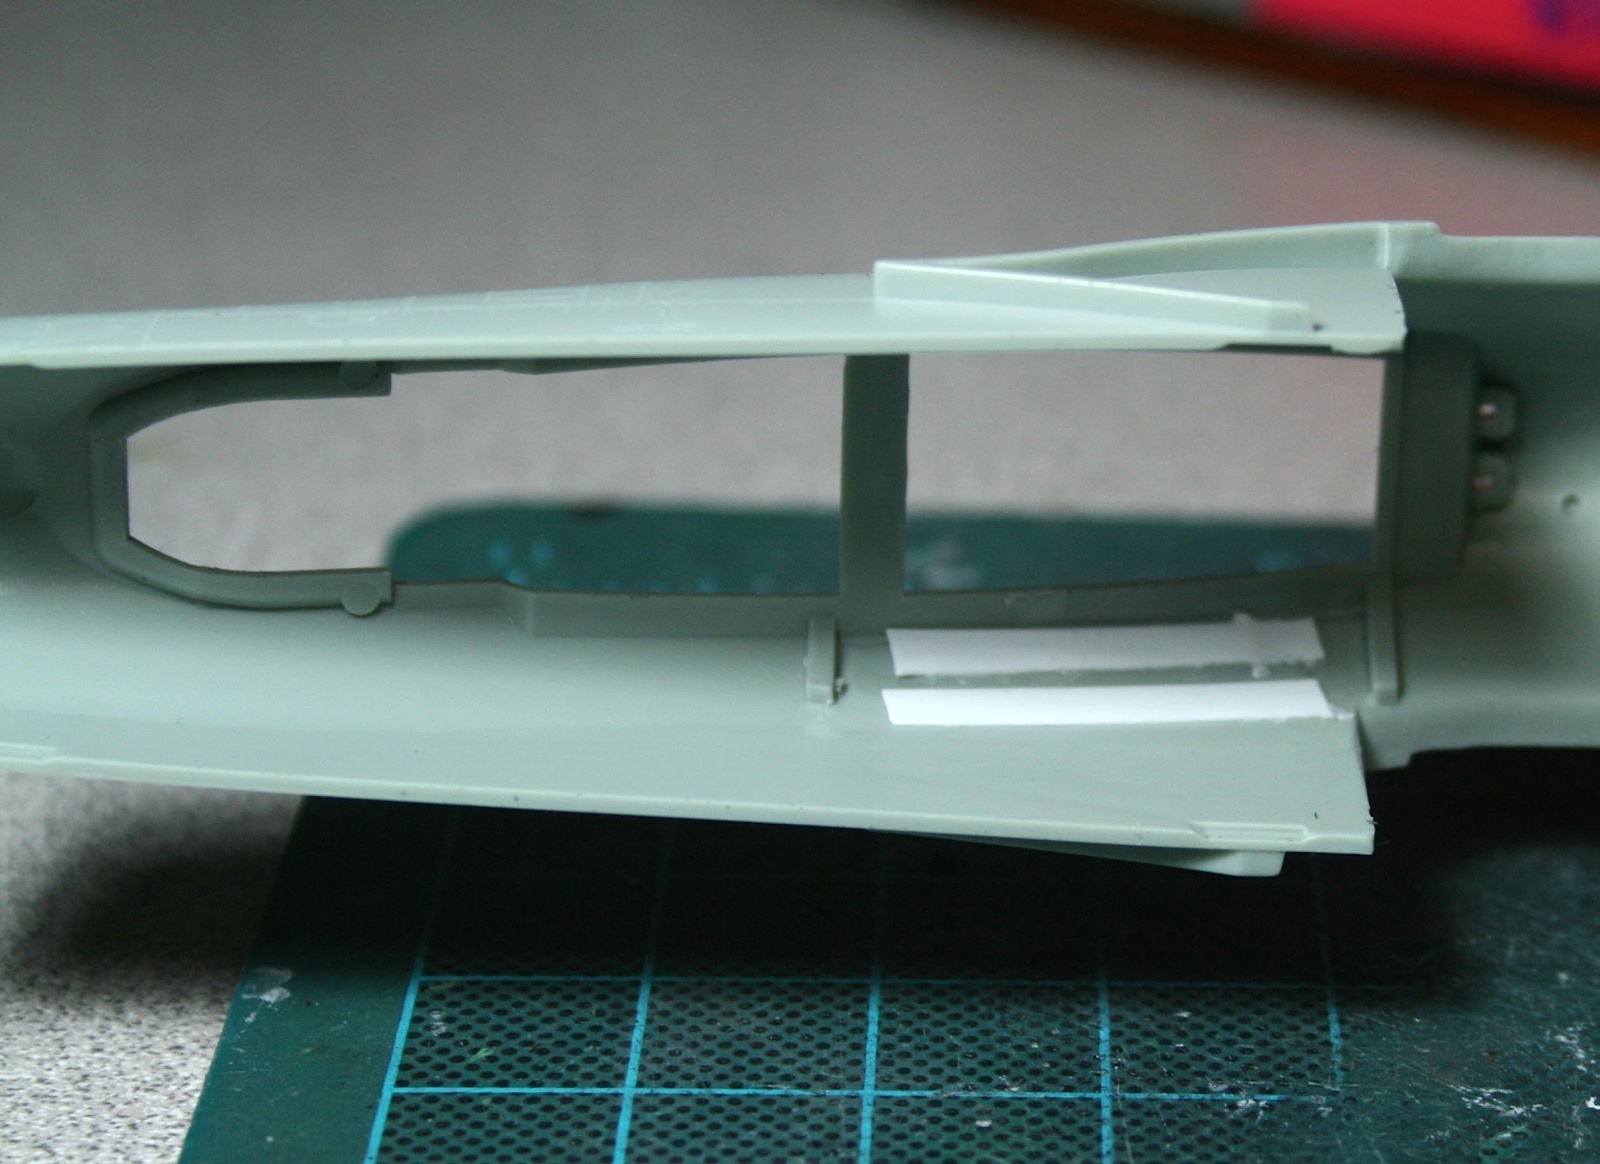
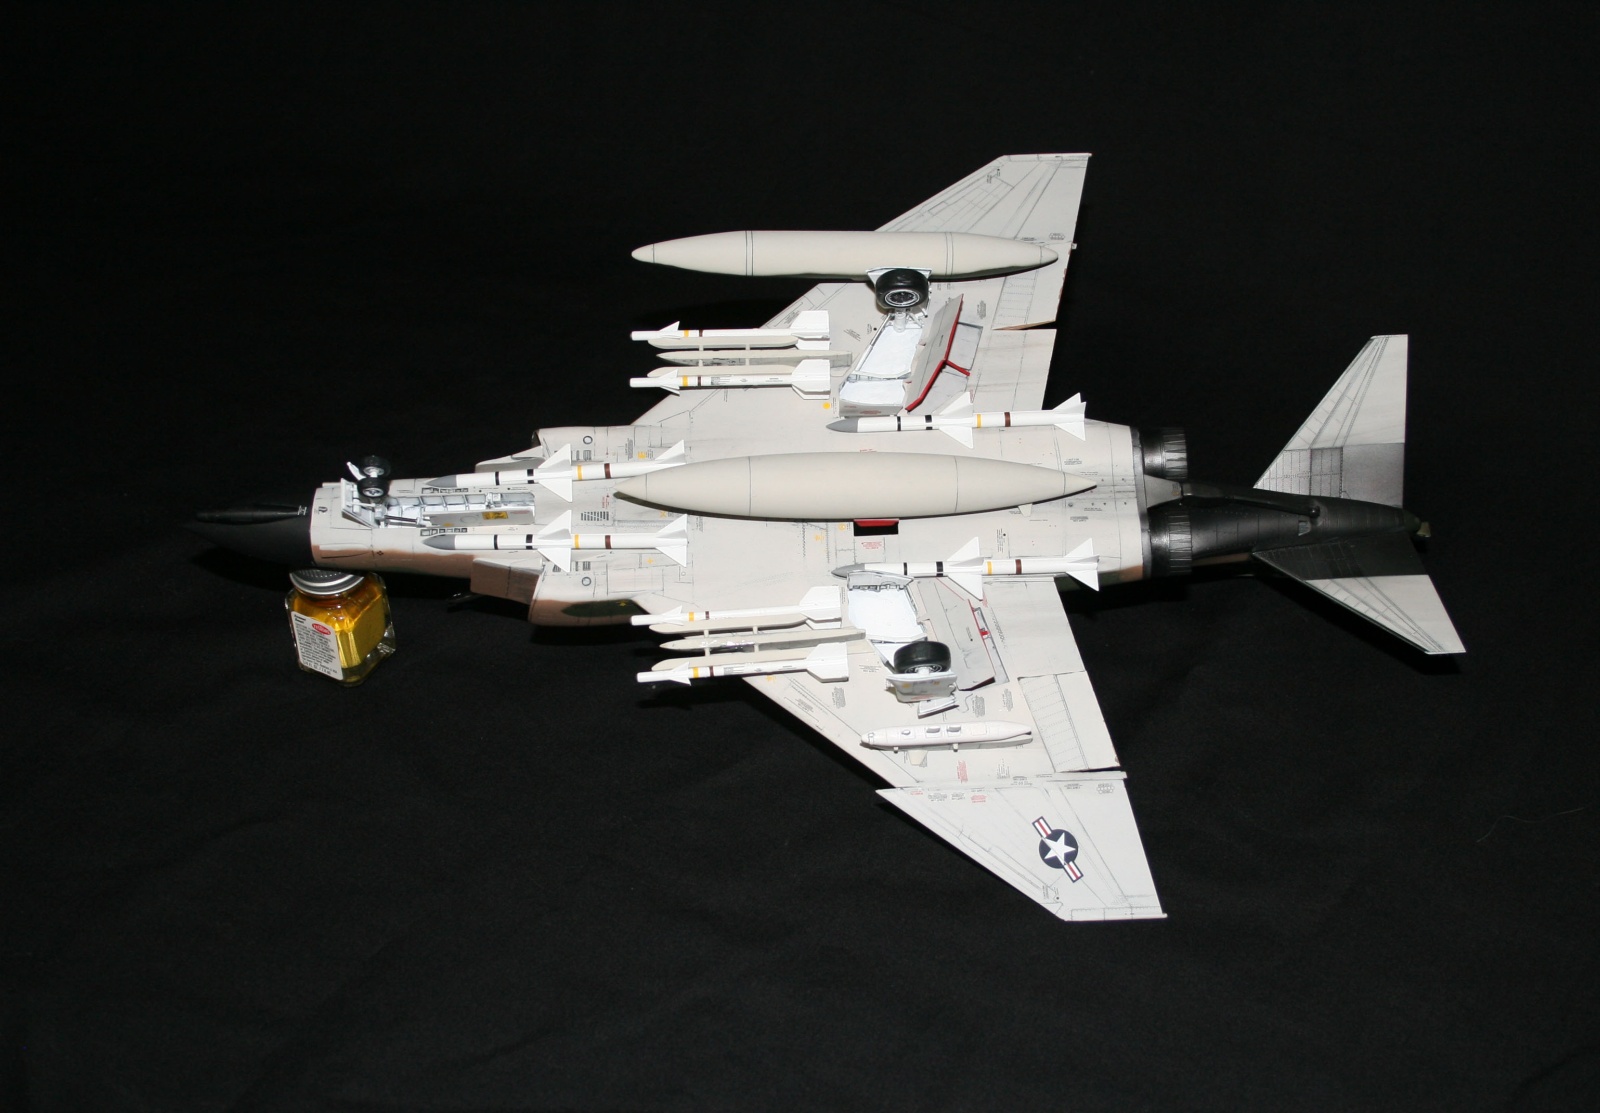
Assembling the fuselage sections, there is a cover to fill a refueling probe stowage area on the F-4B, I added a little reinforcement behind the panel to prevent me from knocking it inside the kit once the halves were assembled. He remaining portions of the forward fuselage went together without any issues. Next steps are to assemble the main landing gear bays and landing gear struts. I did a little cutting so the landing gear can be added after the model has been painted. The landing gear parts are basically a kit among themselves. Onto the intakes which have full trunking however I took the lazy route and replaced the kit parts with Dmold resin intakes. Instructions state to install the exhaust nozzles but they can be installed after the model is assembled & painted.
I found a few areas in the instructions that need corrections. The elevators, the instructions call out the slatted elevators (H3 & H4) which is incorrect on the F-4C, Good news is the kit does have non-slatted elevators (H1 & H2) in the box. On the inboard wing pylons, chaff dispensers are called out but not needed. One thing I noticed is that the wing tanks can be assembled 180 out, so check the seam lines. Finally, the radome contour and forward fuselage are off slightly - fuselage slopes in too much (flat area) when the radome is round. The remainder of the kit was a pleasure to build with excellent fitting parts.
Painting and Decals
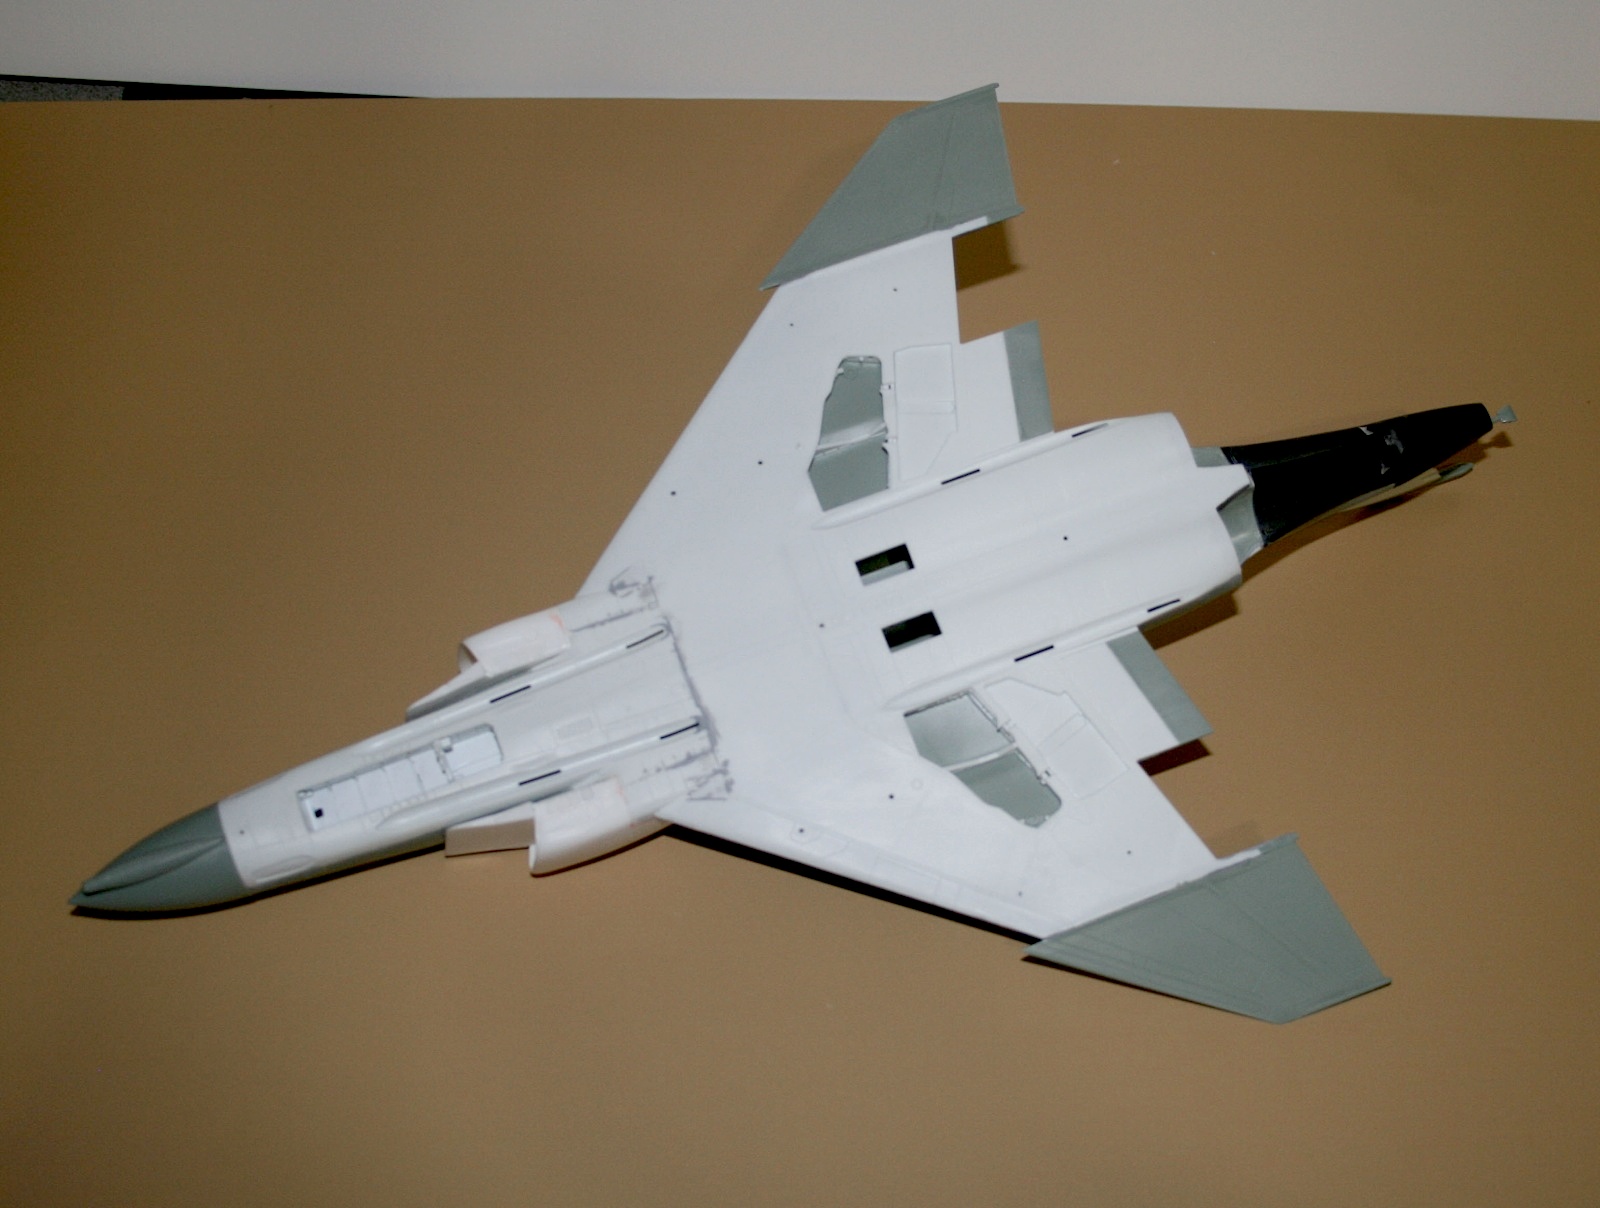
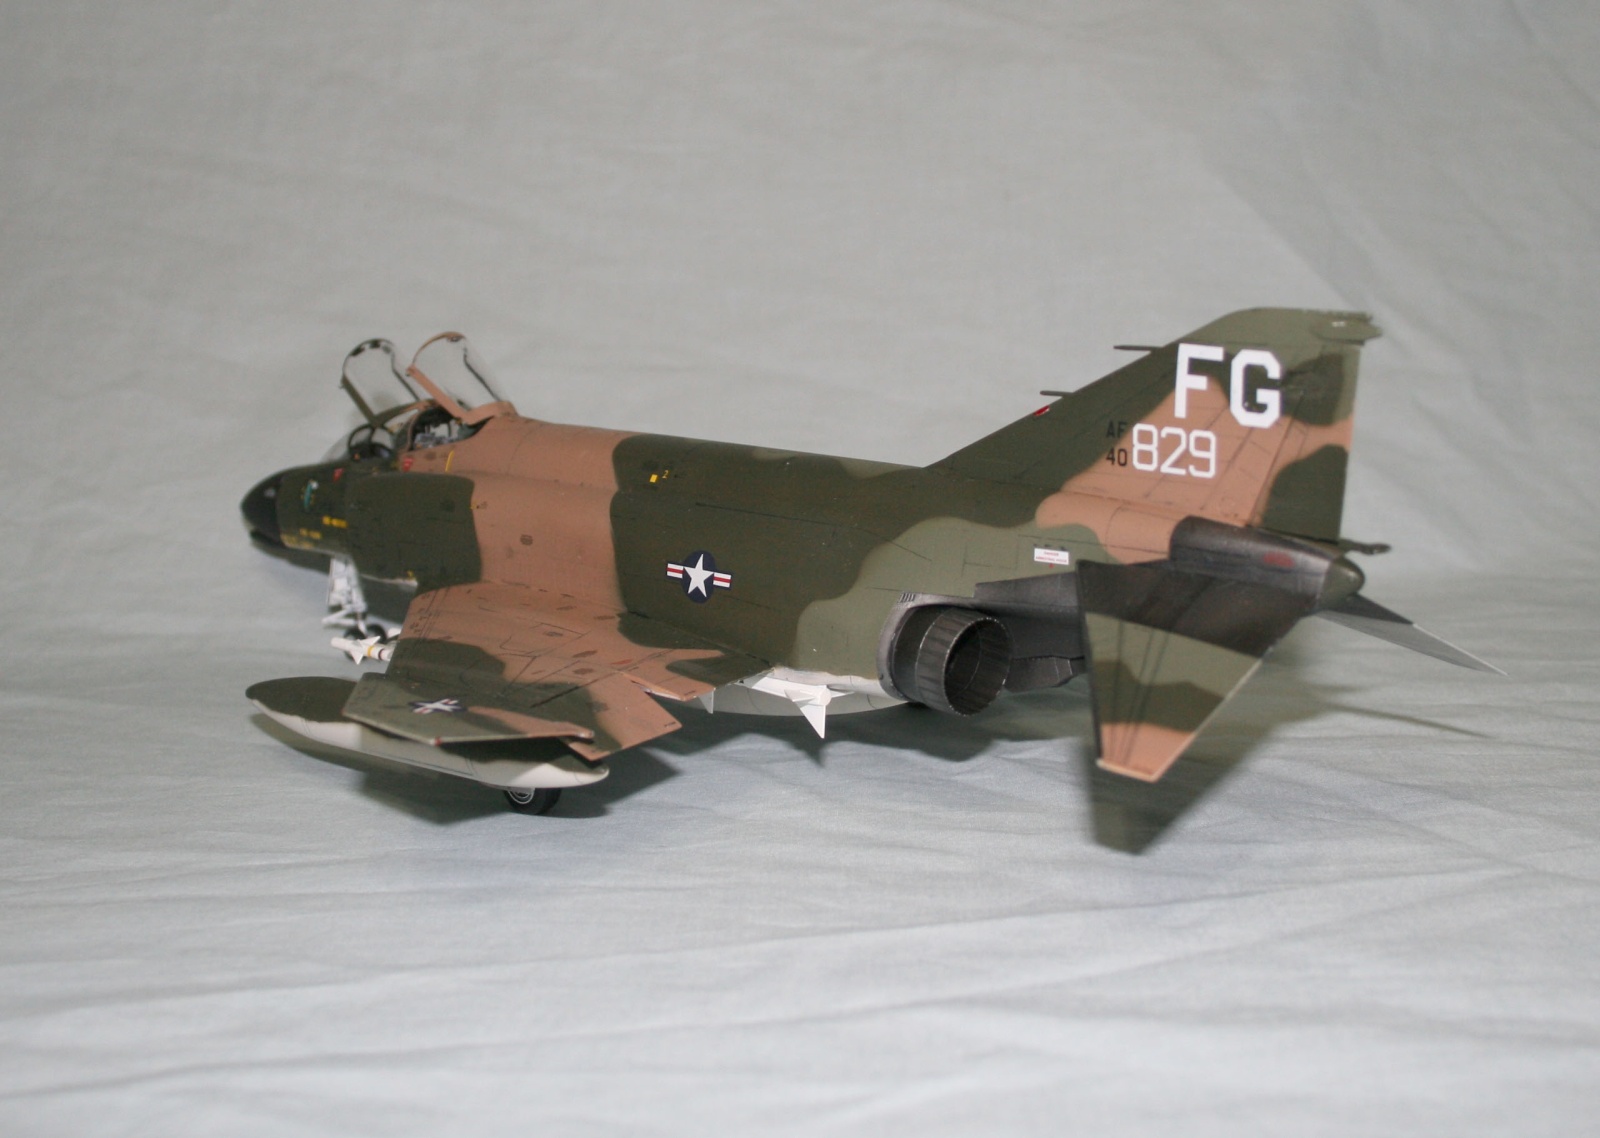
The parts fit very nice and little filler was needed. After using Tamiya white “fine” primer and wet sanded the model, I applied the basic camouflage using Xtracrylix paints. Using gloss paints as much as possible helps avoid decal silvering and removes the step of applying a gloss clear coat. The instructions were clear on what to paint and full color instructions were excellent. The kit decals are printed by Cartograf and went on without many issues. One thing about McDonnell Douglas aircraft, they sure load the aircraft with plenty of stencils. The only issue I had is the size of stencils was a little large. If they were about 10 to 15% smaller, they would have been the perfect size.
Conclusion
As stated earlier, this Phantom II is the best 1/48 scale F-4C that I am aware of. I did add a few aftermarket items, Aires cockpit, Dmold intakes, Royale Resin wheels and an ALQ-71 pod (not included in kit) to match the aircraft configuration during Operation Bolo. I highly recommend this kit to the Phantom lovers out there.
Many thanks to MRC/Academy for providing this kit to IPMS for review.

Reviewer Bio
David Horn

I have been building models since at least 8 years old and with a brief break after high school, model building started again late in college. My preferred subjects are aircraft of all eras and scales but a majority of my builds are 1/48 scale. I am the son of a USAF navigator who flew tactical airlift in Vietnam then his last 8 years he served at Altus AFB where he retired. My love of aircraft comes naturally and try to build subjects that I have a personal connection to. My day job parallels the hobby where I design full flight simulators ranging from small corporate jets, military fighter jets to the C-17. I hold a commercial pilot certificate and fly as a volunteer with the Civil Air Patrol. I really enjoy flying cadets, passing on the love of flight and inspiring future aviators.
Comments
F-4C Phantom
Hi on the Phantom F-4C what do you mean by seem lines are 180? Please explain thanks great info of kit stay the course. Bruce
Add new comment
This site is protected by reCAPTCHA and the Google Privacy Policy and Terms of Service apply.
Similar Reviews