
F-35C Lightning
The F-35 Lightning II is an American single-seat multi-role aircraft developed through the Joint Strike Fighter program. The F-35C is the third airframe from this program to enter operational service. It was specifically designed to fill the role of a carrier-operated long range stealth strike fighter. It differs from the other previous variants by having larger wings for slower landing speeds and increased payloads, folding outer wings, a catapult capable twin-wheel nose gear, and a stronger tail hook for arrested landings. The F-35C entered service in August of 2021, with the first squadron of F-35Cs from VFA-147 on the carrier USS Carl Vinson.
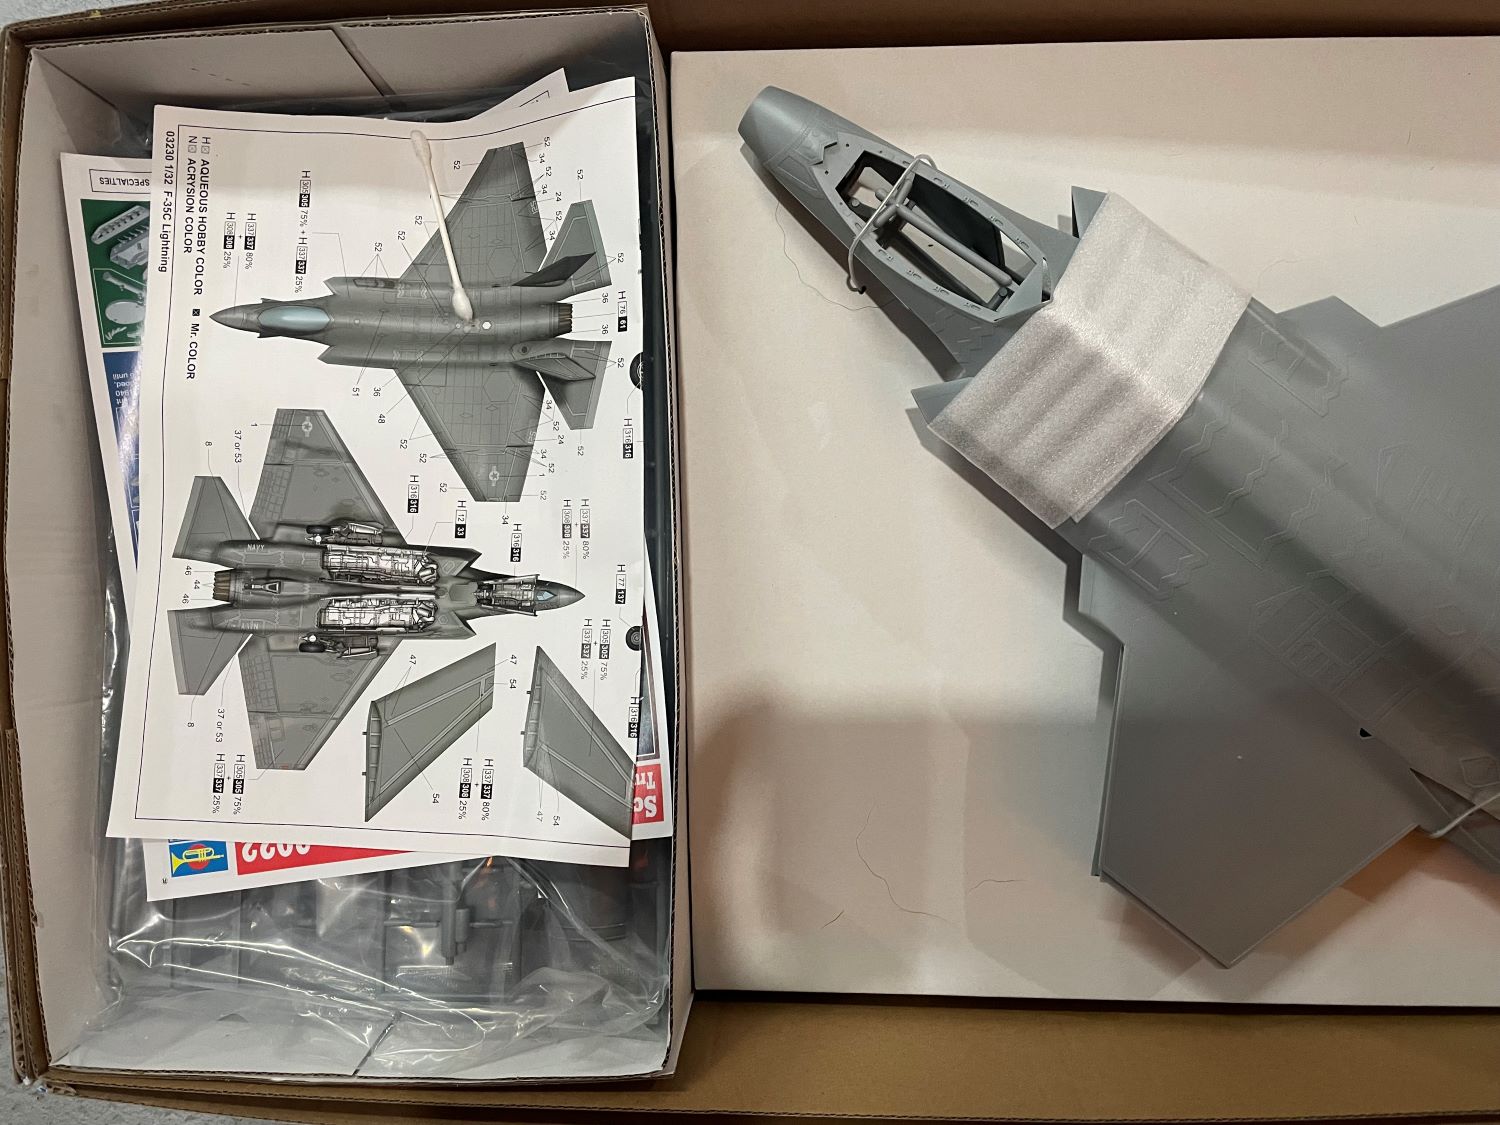
This new release from Trumpeter is the first release of the F-35C in 1/32 scale. The impressively large box contains 15 parts trees in light grey styrene, 1 clear fret, rubber tires, and 1 fret of photo-etch. In a sperate section of the box there are the separately molded parts for the top and bottom of the main fuselage. These two parts are packed as a full dry fitted assembly wired to a carboard backer and they are impressive in size and quality. There are about 380 parts included in this kit which are all well molded with sharp rivet, panel line detail and little to no flash. The black and white instruction booklet is typical of Trumpeter releases, well printed and well-designed but with limited color call outs. So when it comes to painting interior portions of the aircraft you will need to refer to reference photos.
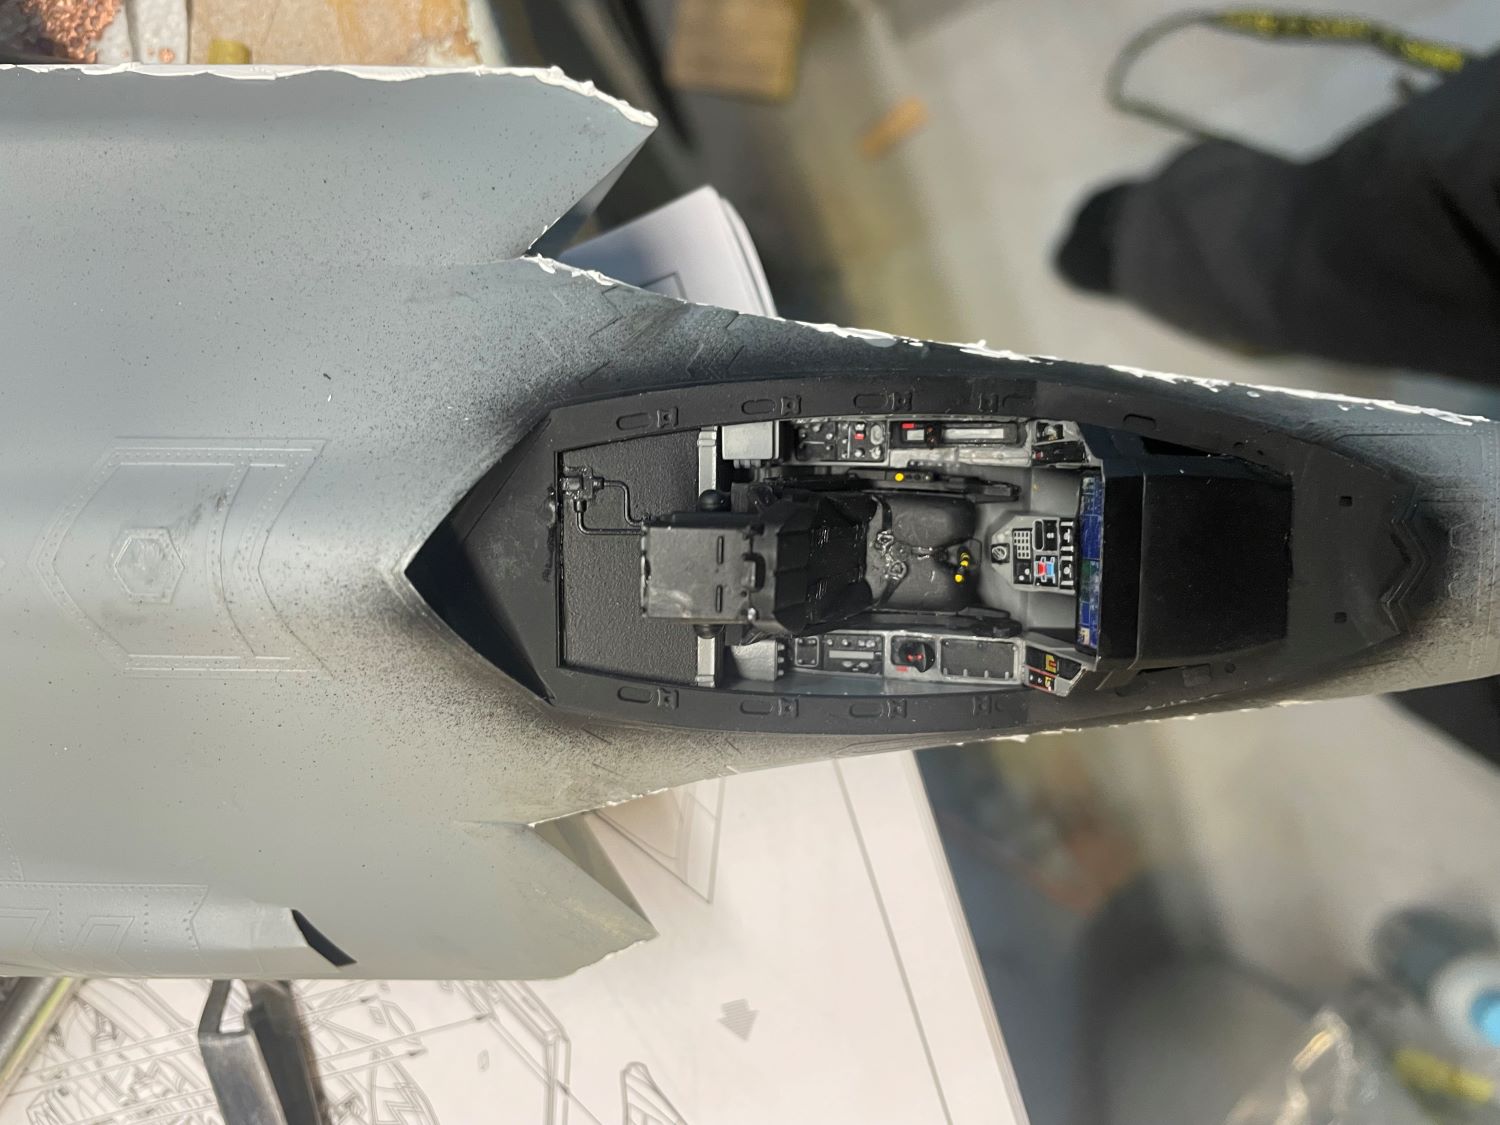
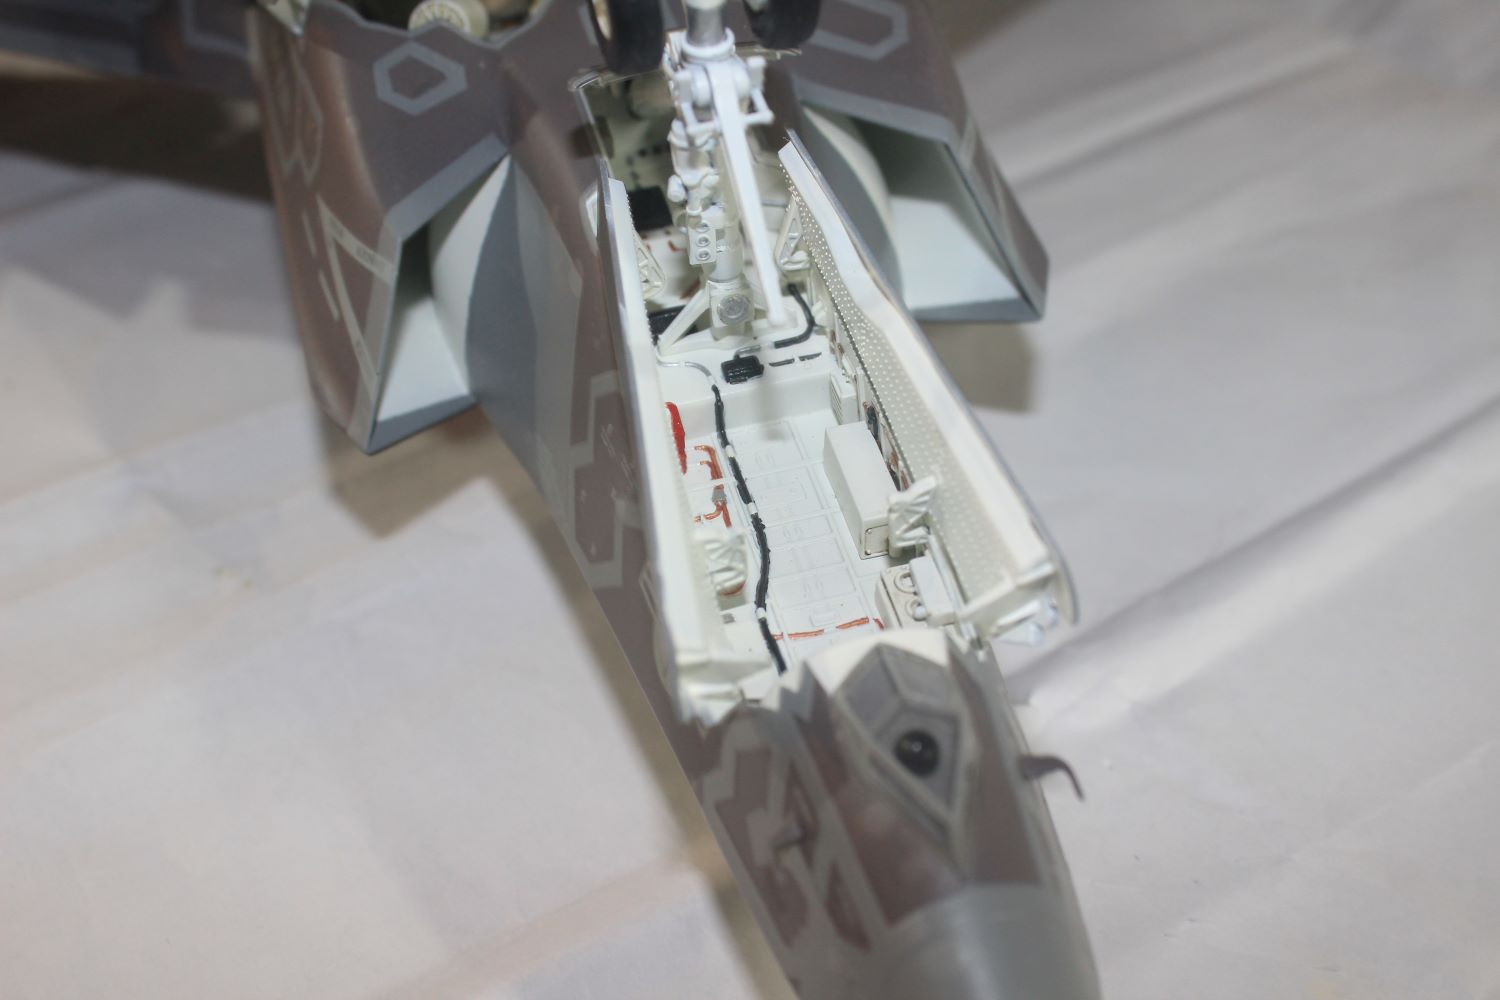
As usual with most aircraft the construction starts with the cockpit. The cockpit tub and instrument panel are well detailed, and the instructions are pretty straightforward. There are photoetch seat belts and decals included for the instrument panels. The only issue in this section is that there are limited paint callouts for the cockpit tub and for the rubber pedals. No callouts are listed for the seats or any other details.
For the cockpit tub I used AK Real Color Dark Gull Grey 36231. I used Tamiya XF-69 NATO Black for the main seat and Tamiya X-18 Semi-Gloss black for the photo-etch seat belts. Also, for parts H15 and H14 refer to your references, these are both handles that should be painted with yellow and black stripes. Once everything is painted the decals can be added. I had no major issues with them except that they will need help from Micro Sol to settle down over the molded details. Also, both decals 93 and 92 will need to have small round holes cut into them once they are dry to accept parts H5 and H6.
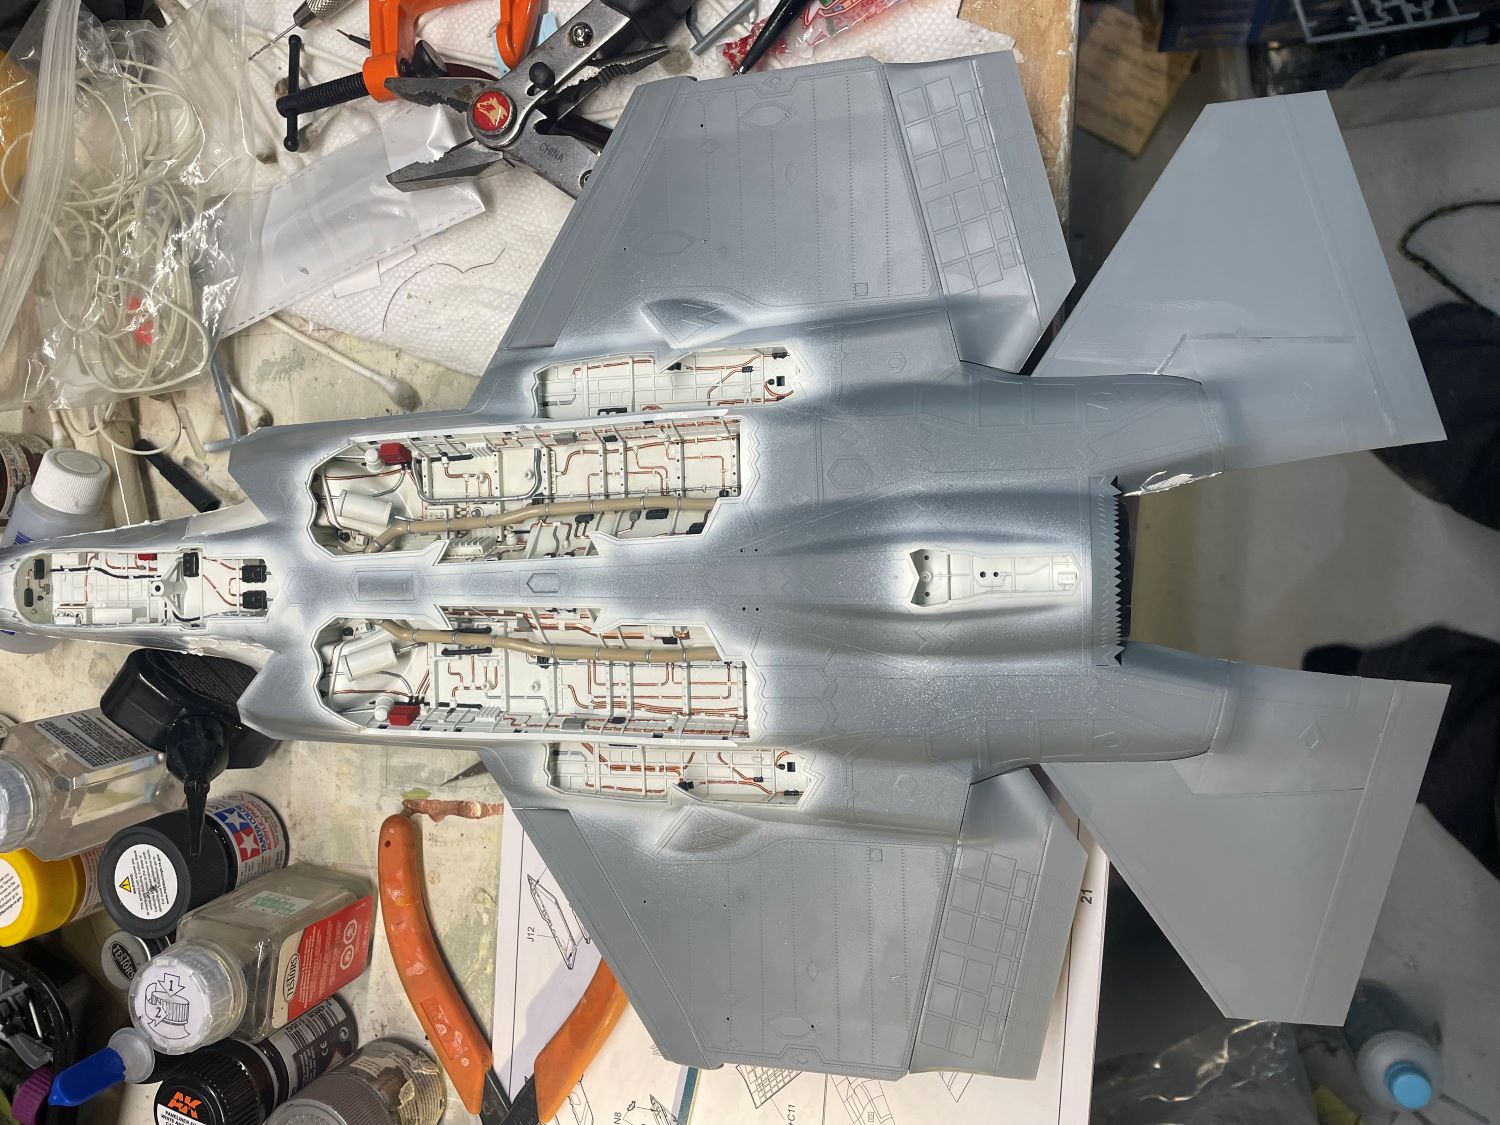
For my build I left Step 2 for when the fuselage was ready to be assembled and moved on to the assembly of main weapons bays in Step 3 and 4. I actually painted and assembled all of the wheel wells and weapons bays from steps 3, 4, 6 and 7 at the same time as they would all be getting the same treatment. The detail and fit of these parts is quite impressive, everything builds up quite quickly and smoothly. I did take some extra time to hand paint as many of the details as possible based on my reference photos.
The base color for all parts was AK Real Colors Insignia White and the molded wiring was painted a combination of copper, silver and NATO black based on the references. I also picked out some details in red and light grey. Parts F37 and F38 were painted a 1:1 mix of Tamiya Flat white and Buff with the straps picked out in silver. Outside of masking the fuselage this is the most time-consuming part of the build. I spent roughly 8 hours hand painting the many details in these bays.
Once all of these parts have been painted and assembly they can be installed in the lower fuselage. The only issue that I ran into here is that the locations for the rear wheel wells are a little vague. Make sure that when you install yours that you align them well and clamp them while they dry.
Next up is the engine and the air intake trunks. For the air intake trunks, they are designed in such a way that once assembled you can’t see any of the seams between the parts. So the clean up before painting is very minimal. I painted the inside of these parts AK Real Color Insignia White as well.
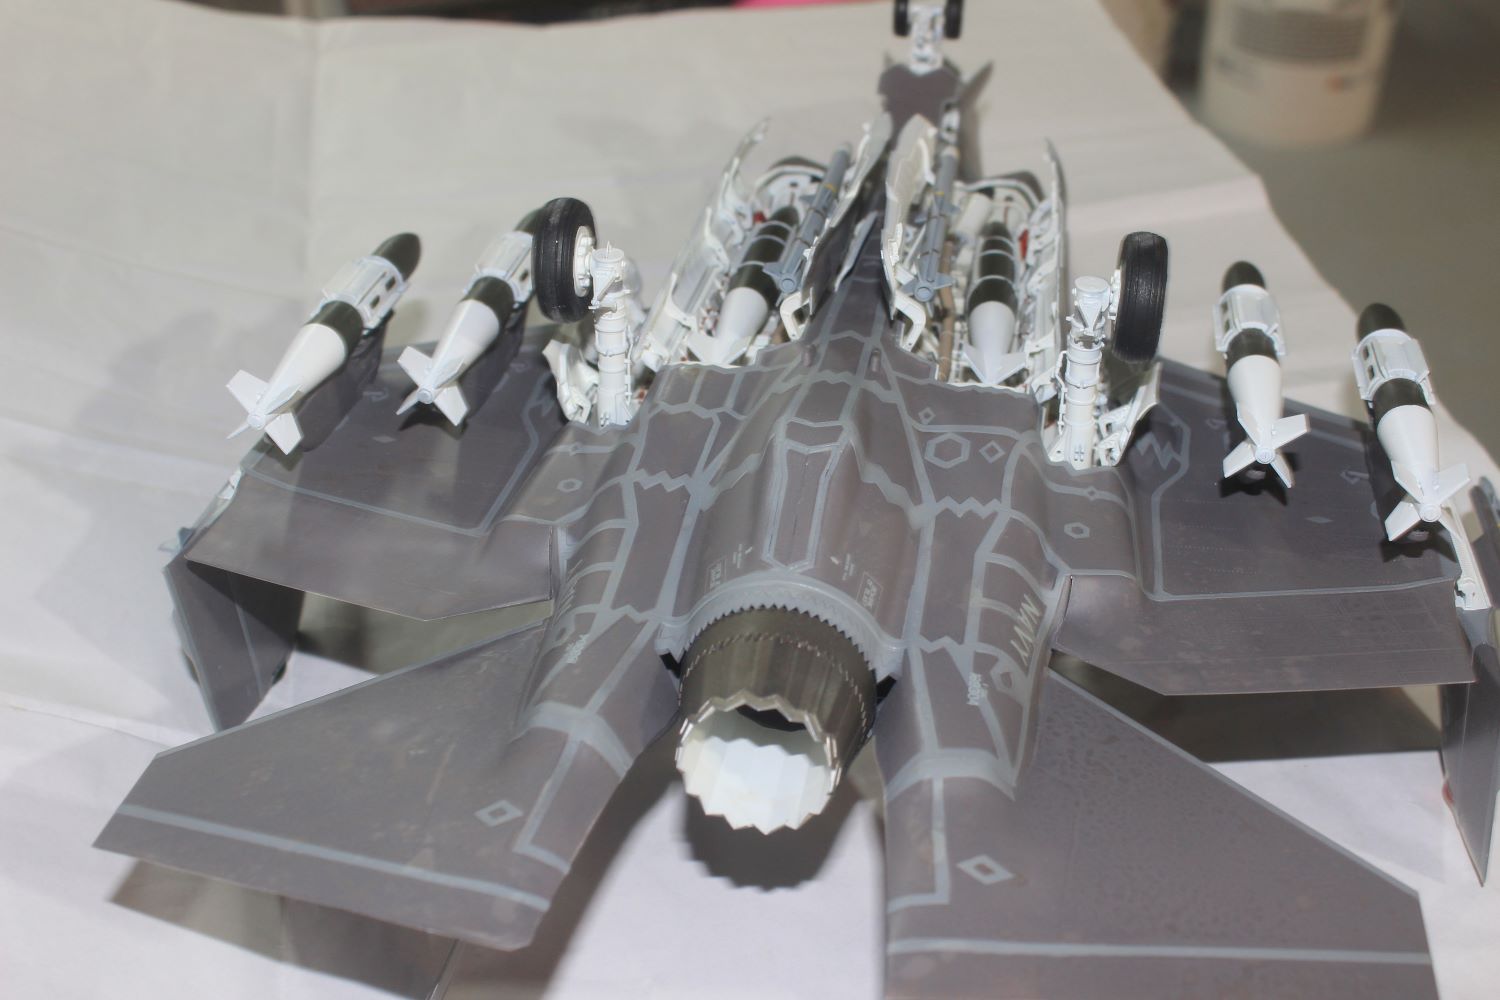
Next up is the engine, which is a weak point in this kit. The engine has a ton of molded detail and extra parts for the exterior of the engine. None of this will be visible on the completed kit. The interior of the engine is almost devoid of detail and is marred by large seams/sink marks. These are tough to correct and are on the only visible portion of the engine. All of the parts fit well during the assembly. I painted the engine a combination of Model Master Metallics Silver, Duraluminum and Steel. I did leave Part G2 off of the engine until final assembly and I have a couple of notes on painting this part. The tail cone on the real aircraft has a ceramic coating on the inside of the petals, this needs to be painted white and is not called out in the instructions. I used Insignia White for this and painted the outside Metalizer Burnt Metal with a misting of Jet Exhaust.
Now that the engine, cockpit and intakes are complete it’s time to install everything and close the fuselage. Both the intakes and the engine installed in the bottom of the fuselage without any major issues. Once the top of the fuselage was installed, I did have a small gap where the intakes meet the outer fuselage, but this was easy to correct with a little filler. Before installing the cockpit make sure that you paint the area around the cockpit and part G28 Flat Black. Once this was dry, I had no issues with installation of the cockpit. After the cockpit was installed, it was time to close up the fuselage. Despite the length of the seams between these two parts I had no major fit issues. I did have some small gaps near the cockpit that needed to be corrected with filler.
Moving on to the landing gear assemblies in Steps 11, through 13. I treated these as sub-assemblies, building them and painting them to be installed later. There are two options for the front landing gear presented in Step 13, one with the catapult hook stowed and one with the hook down. I had no issues with the parts in these steps, everything fit very well and is straightforward. I also painted all of these parts with AK Real Color Insignia White.
After installing part F3 in Step 14 I skipped ahead to Steps 21 through 25 with the goal of preparing the fuselage for painting. There were some minor fit issues with Part F3 that required some filler to correct. In Steps 20 and 21 I deviated from the instructions for the arresting hook. On a parked aircraft these doors would be closed, and the arresting hook would not be deployed, so I left E9, E19 and D44 out. I also modified D1, C4 and C9 so that that would close to cover the bay. In Step 22 I recommend leaving the weapon pylons off of the airframe until after final painting.
My last deviation from the instructions in this section was in Step 25 for the canopy. The clear part that was molded for the canopy is one of the finest clear parts I have ever seen. The canopy is a huge piece of clear plastic that on my version was completely free of any seams or blemishes. Before installing it in the frame you will need to paint the glass, I used a heavily thinned mix Tamiya Clear Yellow and smoke to tint the part similar to the real aircraft. The inside of Part G1, Part G15 and Part G19 should be painted Flat black as well. The kit provides a simple hinge to mount the canopy open, I chose to leave these parts out as I wanted to build my aircraft with the canopy closed.
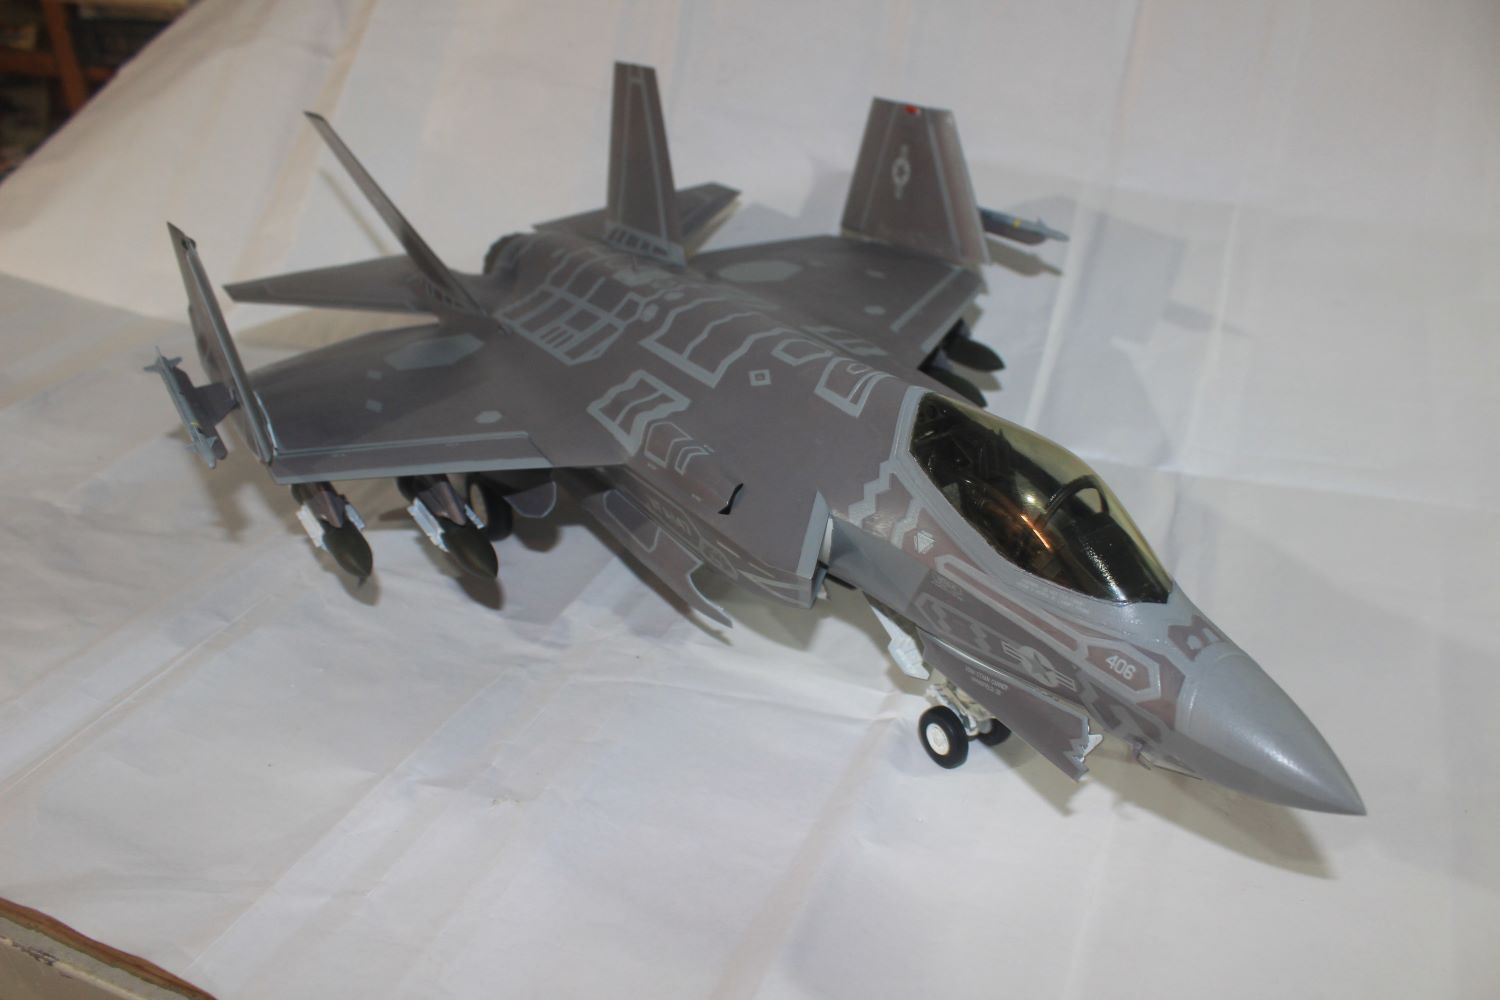
The final steps that needed to be completed prior to painting the airframe are Steps 23 and 24. These cover the build up of the outer wings. This kit has parts that allow for two options, fully extended and folded. I chose the folded option and the one note that I have here is that the interior of the hinges should be painted white, there is no call out here and I used the same AK Real Color Insignia White. I also left the wing tip light parts and the pylons off until final assembly.
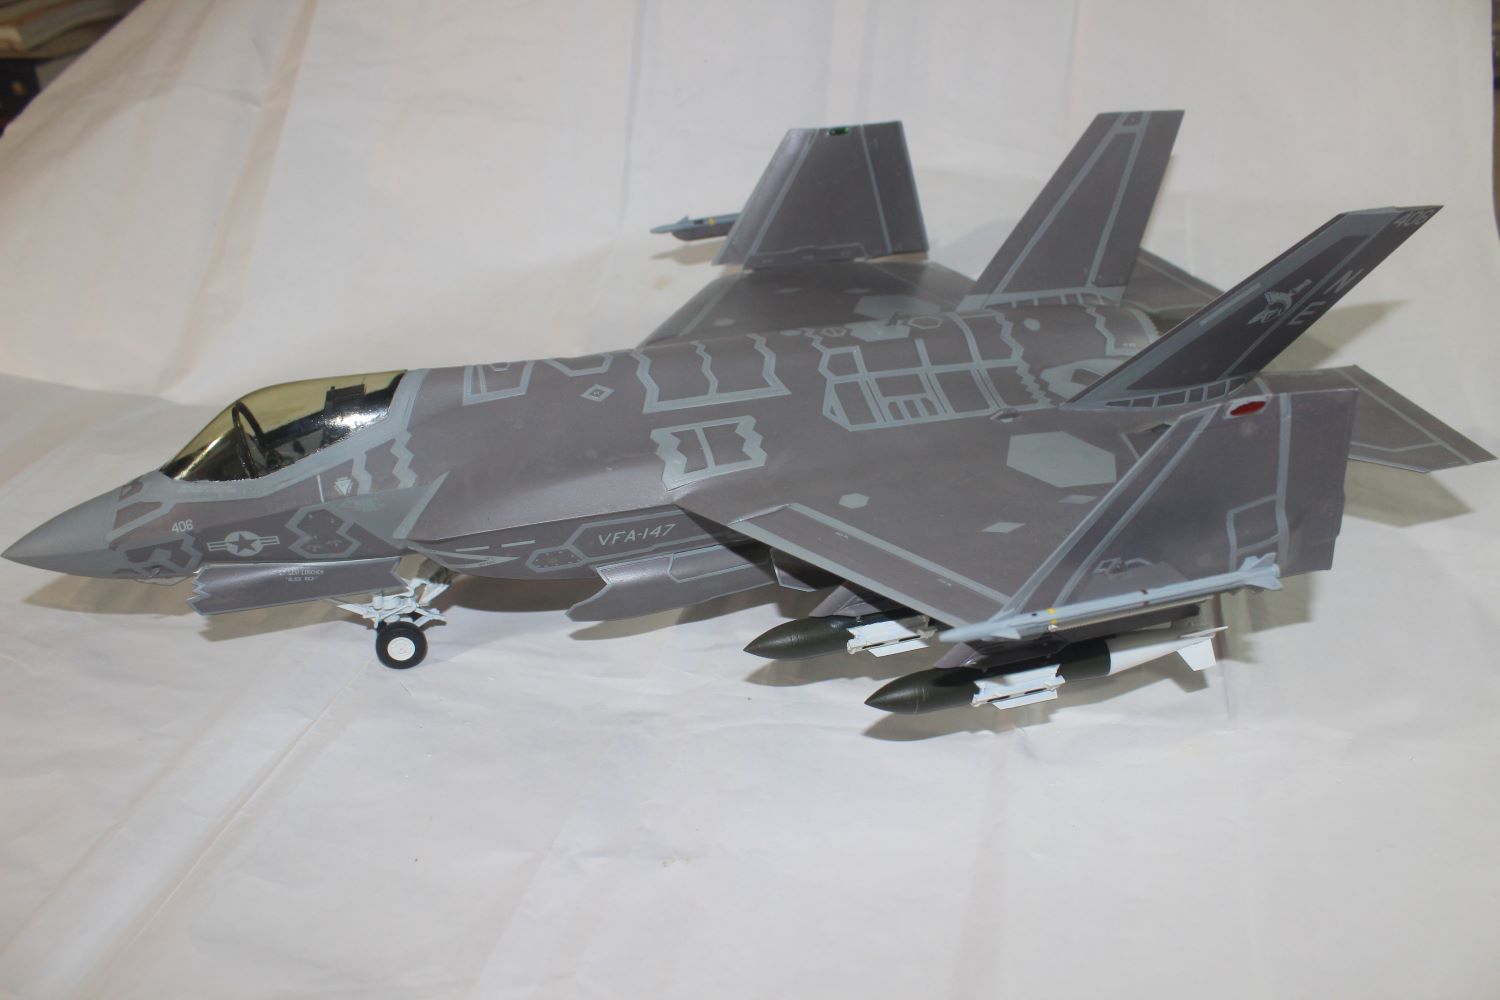
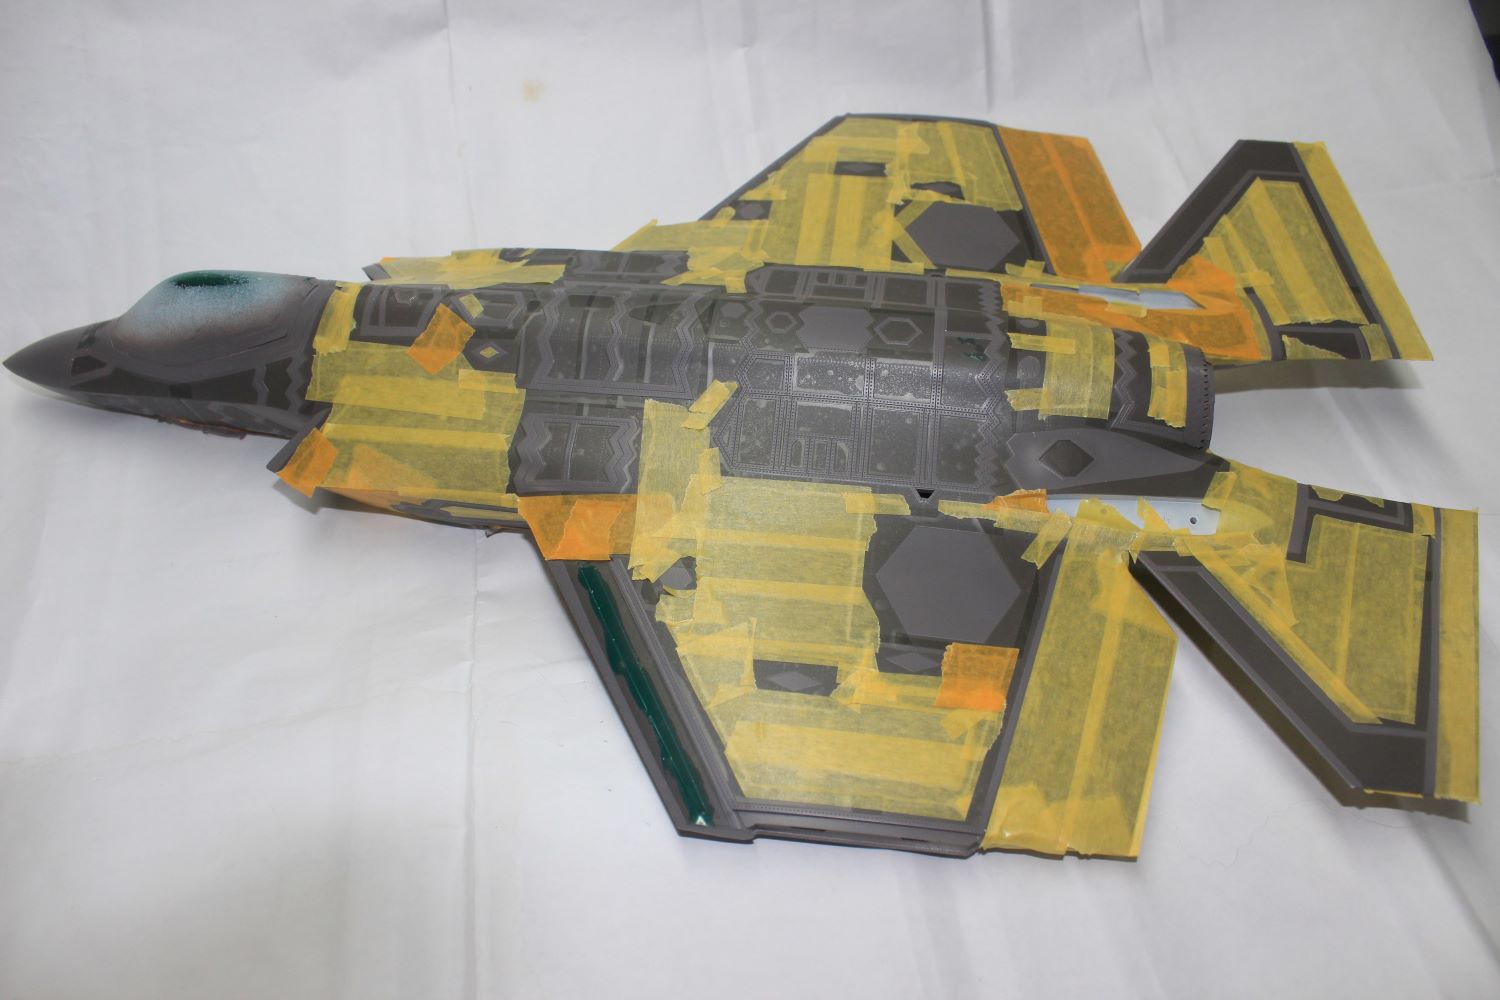
Finally, on to the painting of the airframe. The F-35C is painted using the new Have Glass coatings with RAM tape at the seams on the fuselage. If you look at online reference photos there seem to be a thousand ways to paint this scheme, in different lights the same coating can look completely different. I chose to do a base coat of AK Real Color Have Glass Grey and the RAM tape in AK Real Color FS36231. A quick note about AK’s Have Glass Grey, I have heard that the actual color can vary from bottle to bottle, so if you intend to use this paint, I would recommend mixing a large batch from multiple bottles.
Once the base coat of Have Glass was down it was time to mask the kit to paint the RAM tape. This is a huge job and will likely be the largest amount of time that you will spend on this kit. I highly recommend purchasing the excellent masking sets from DN Models to speed this process up. The sets that I used are 32/827-068 for the RAM Panels and 32/827-067 for the canopy. Using these sets helped massively but my total masking time was still around 10 hours. Once the masking is complete it is time to paint the RAM panels and as stated above, I used 36231 for contrast.
Once the painting is complete and the masking is removed it is time to complete the assembly of the main airframe. I had no issues with installing any of the parts that I left off prior to painting. The only note that I have is that for Part B12 there is no color call out and I chose to paint this part Tamiya X-18 Semi-gloss Black. I painted the inside of the bay Insignia White.
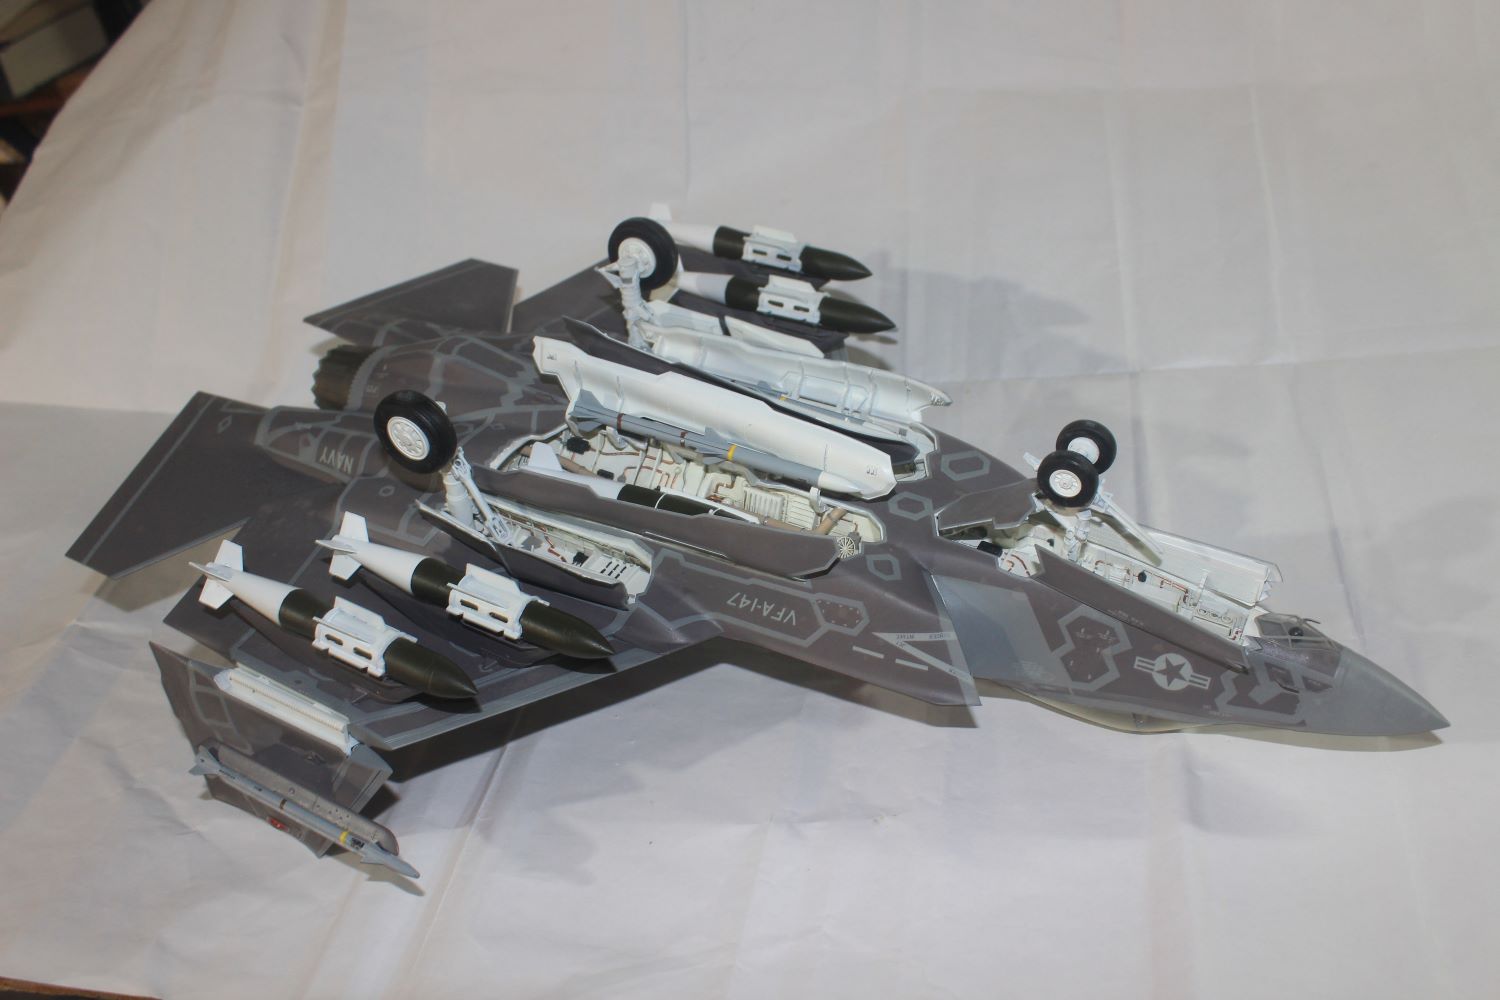
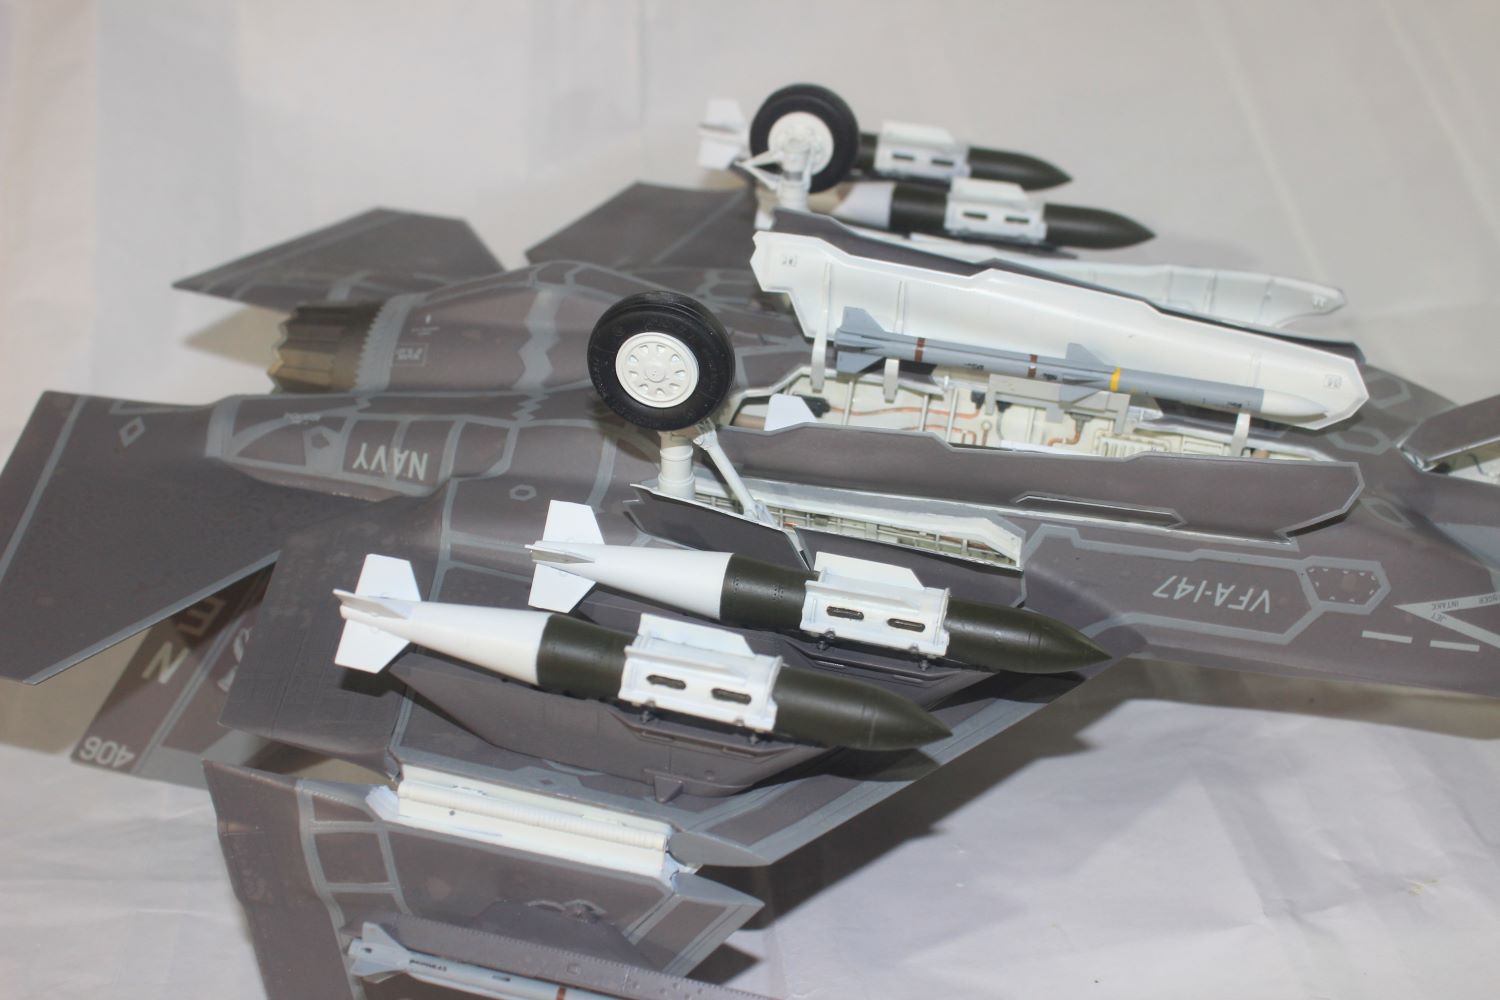
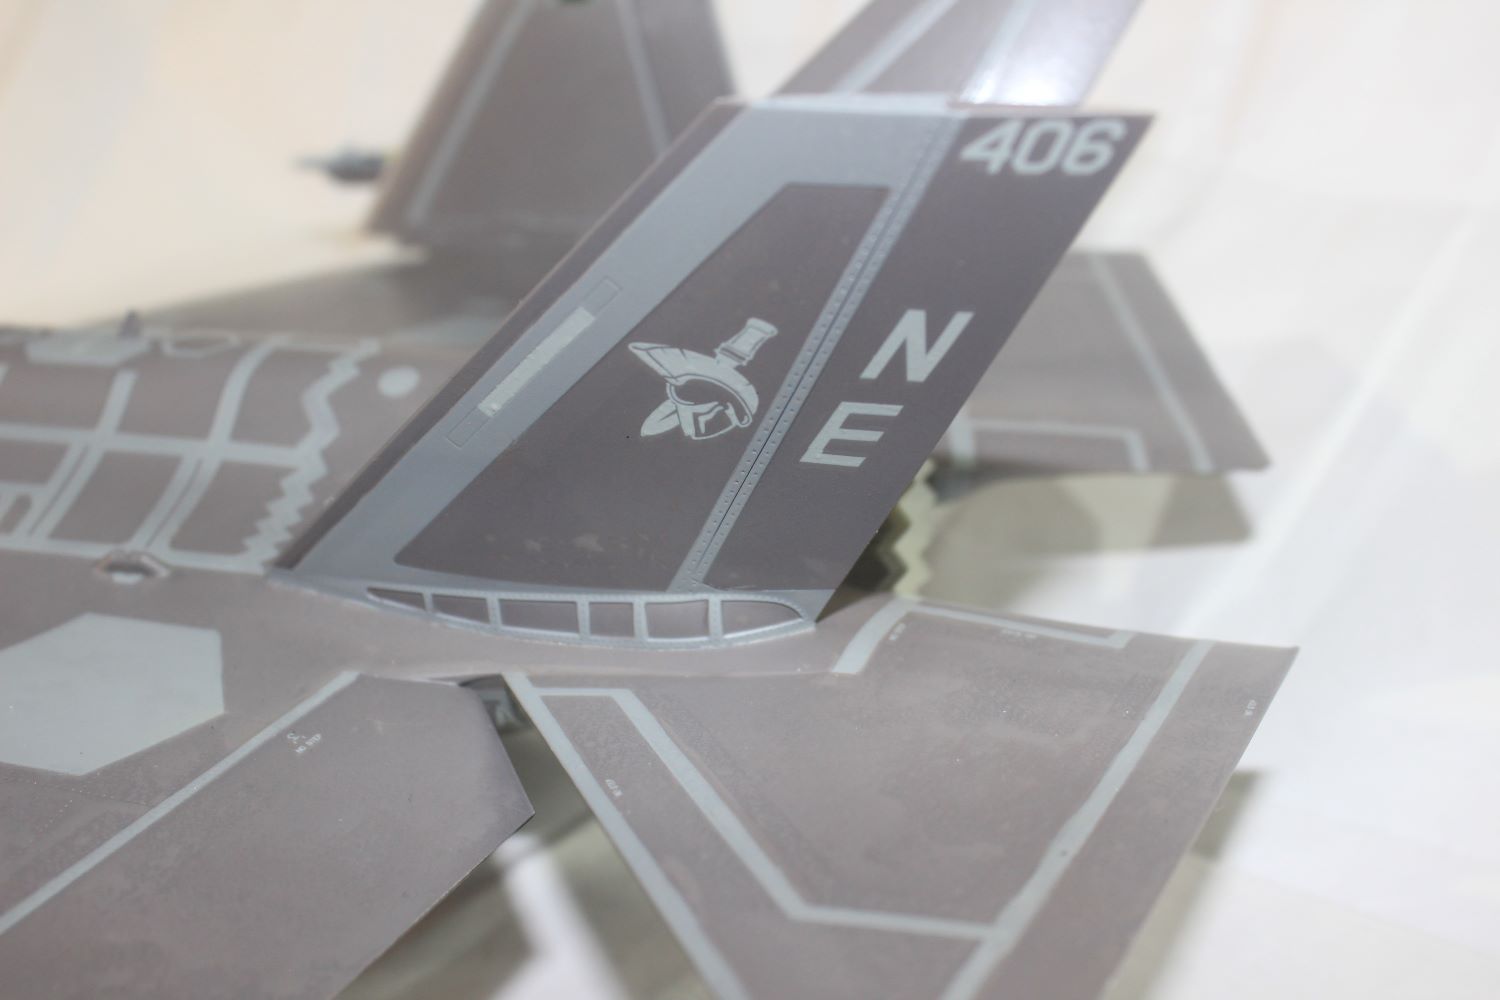
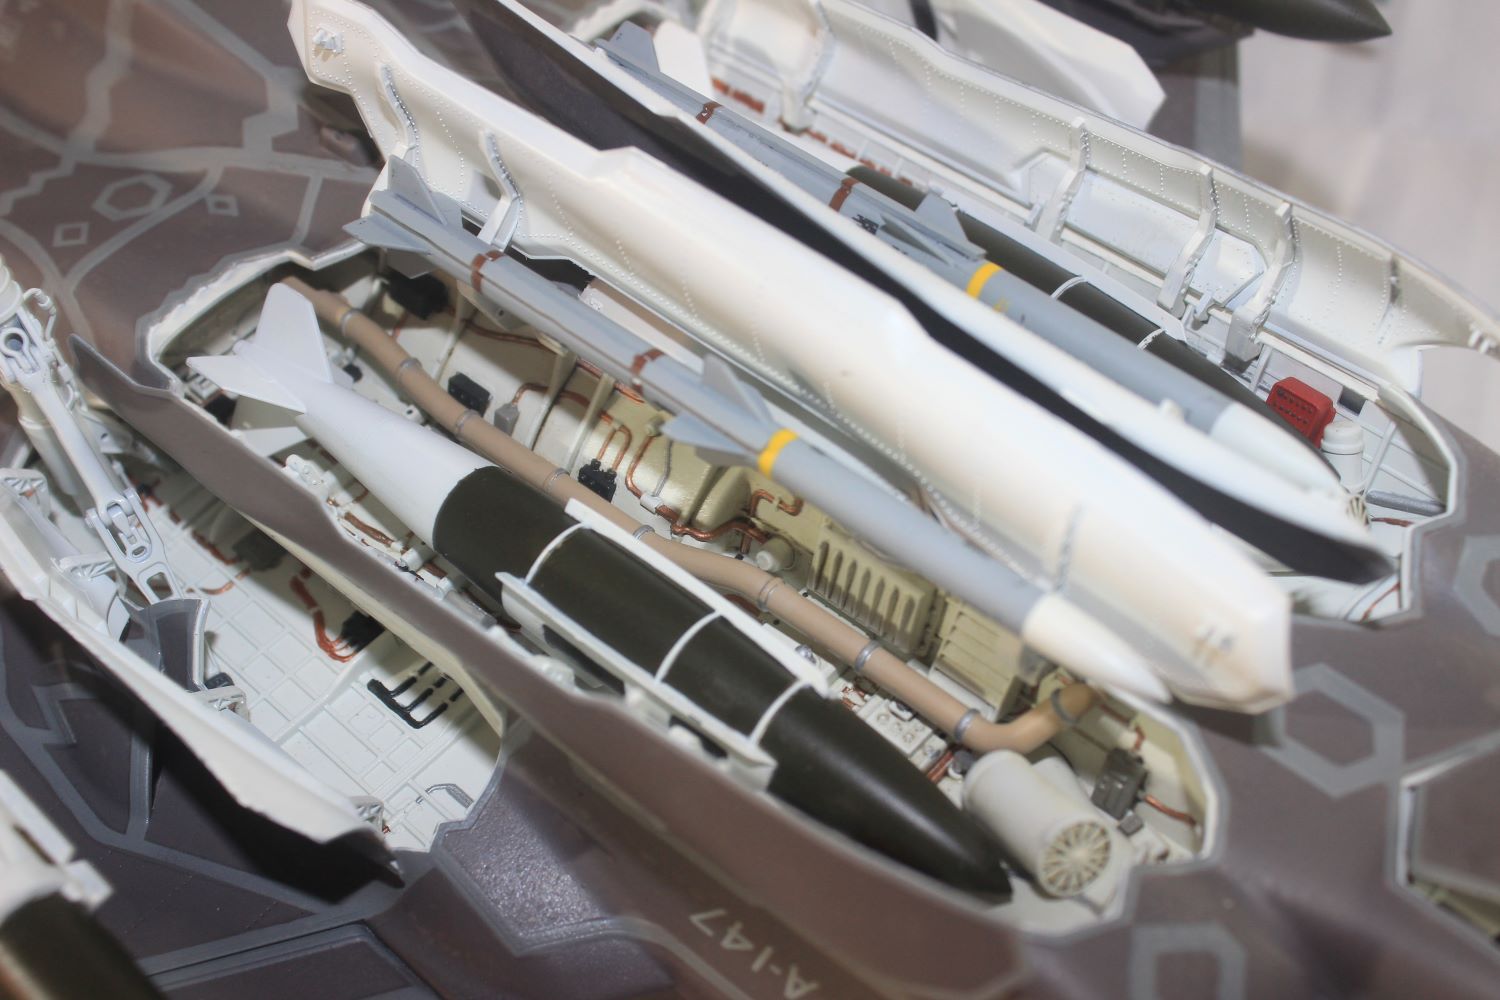
Once the main airframe was completed, I moved on to the weapons. This kit comes with a nice complement of weapons including AIM-120C7, JDAMs, GBU-12s, GBU-31s, and AIM-9Xs. There were no issues noted with the assembly or painting of the weapons. The one thing I will note is that as of the time of writing the only squadron with F-35Cs in active service is VF-147, so if you want to load the airframe for bear you will need to think about what squadron you want to use the decals for.
After the weapons were painted and everything was gloss coated it was time to apply decals to the kit. There are three options provided in the kit for VF-101, VFA-101 and VFA-147. I chose VF-147 Argonauts as I wanted to show the aircraft as fully loaded. The decals are very well printed in a great register. I had no issues with applying them to the airframe and once dry I had no issues with them silvering. The only issue I had with the decals was with the yellow stripes on the GBU-31s and the JDAMs. These decals are printed as straight lines with no bend to match the curve of the weapons. With how thin the decals are, this makes them functionally useless. They do not conform well to the curves of the weapons and tend to tear quite easily. Also, the Olive Drab paint will show through them. You would do much better to hand paint these lines.
Overall, this is a fantastic kit. It is well designed and has very nice details out of the box. It is huge and will take up a ton of shelf space once completed. Due to the size and the complexity of the paint job I can’t recommend this kit to a beginner. However, if you have the shelf space and have a few kits under your belt this kit is highly recommended. My thanks to MRC and IPMS USA for giving me the opportunity to review this kit.

Comments
Add new comment
This site is protected by reCAPTCHA and the Google Privacy Policy and Terms of Service apply.
Similar Reviews