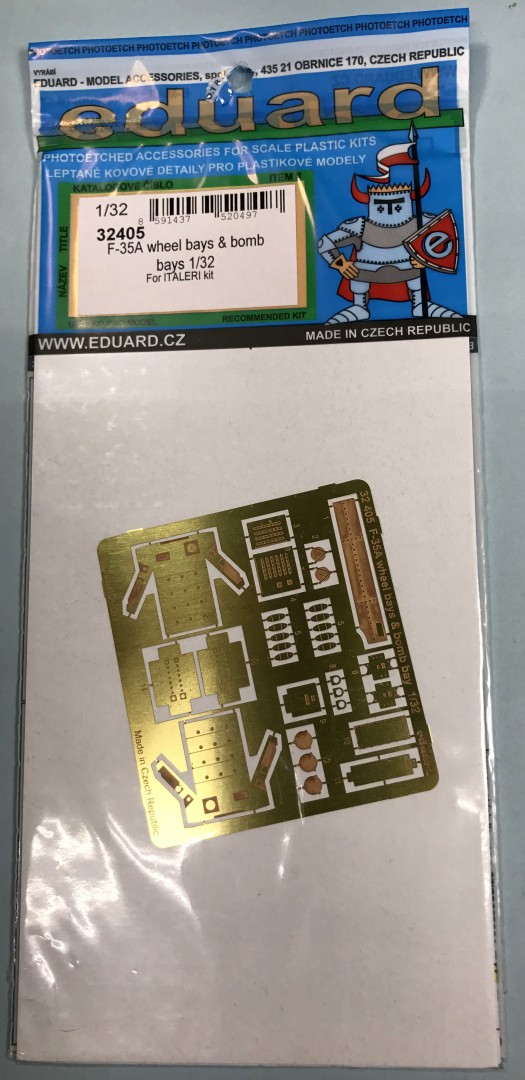
F-35A Wheel Bays & Bomb Bay Set
This set is designed for the Italeri 1/32 scale F-35A Lightning II kit. This set contains 1 sheet of etched brass details for the landing gear bays and weapons bays. There are panel faces for the nose gear bay, boxes for the weapons bay, nose gear doors, main gear and other miscellaneous details. The instructions are the normal Eduard instructions with clear drawings showing where the PE parts go and what details need to be removed from the kit plastic parts.
The first step deals with the nose gear bay and doors. There are a few panel faces to be placed in the bay replacing the molded detail. There are also a couple of boxes to be folded up and added to the gear doors. The added details improve the looks of the kit parts.
Next up is the weapons bay. There are 2 boxes to be folded up and added to the bay. One of them, part 13, replaces kit part 55G while the other, part 14, appears to replace kit part 54G, but the Eduard instructions do not indicate that. The Eduard instructions show PE part 14 going in the same place as kit part 54G, but do not show part 54G. Next up is the main landing gear. There is a control box that is added to the gear leg that looks much better than the molded on box. The other part to add is the tie-down ring. This ring in much better in size than the molded tab on the kit part.
The final steps have you add the cover and fastener detail to the main wheels, this is a big improvement over the molded detail. There are also U-shaped parts to add to the stiffeners on the main gear doors, parts 3C and 4C. These are a huge improvement over the blobs molded onto the parts. There are enough of the U-shaped parts to add to the other door stiffeners, parts 18C and 19C.
Overall, this set really improves the detail of the kit. The set was easy to work with and all folds have lines etched into them. I didn’t need any special tools to work with this PE set and just used tweezers and smooth-jawed pliers to make all the folds. I would like to thank Eduard and IPMS for giving me the opportunity to build and review this photo etch set.


Comments
Add new comment
This site is protected by reCAPTCHA and the Google Privacy Policy and Terms of Service apply.
Similar Reviews