
F-35A Lightning II
Academy’s models have a great reputation these days. This 1/72nd scale F-35A is the most recent addition to the stable of excellence.
This kit is a gem from the excellent packaging to the multi-color parts, which actually make it easier to build (as explained below). The decals are great, the plastic superb and crisp, and the appearance of the finished model is stunning. This is a lot of accolades, but they are accurate. In my opinion, this is the definitive new F-35 kit.
A note on the color plastic parts: a lot of thought went into which color each part was molded in. For example, the white plastic is very opaque and used to excellent effect. Of particular note are the intake sections, the weapons bay, all three wheel wells, and the landing gear parts. The white needs little or no painting, and looks the part when installed. The exterior parts are the correct color of gunship gray which helps the younger or less skilled modeler make a nice kit. The black parts are semi-matte, and in some cases really don’t need to be painted, although I did so out of habit even though the molded-in color was very effective in the end. Keep this trend up, very well done.
The cockpit interior is more detailed and crisp than those produced by other manufacturers. Separate throttle and control grips are provided, and the instrument panel and side panels are very detailed decals. The lightweight Martin-Baker ejection seat features everything but the harness. Although a pilot is included, this would have been a nice addition for those modelers who don’t use figures in their aircraft. If you plan on using the pilot figure, it needs to be installed along with the seat NOW verses at the end of the build, as the figure’s legs will not fit into the footwells after the cockpit is completed. I know, I tried… The aft portion of the tub has more detail, and when installed, looks “busy.” The forward swing arms for the canopy are very fragile, but the actual pivot hinge assembly takes up the stress when installed. My recommendation is to leave these off until the model is complete.
As for the clear parts, you have the canopy with the strengthening bow correctly molded on the inside. The lower seeker on the chin, which is a particularly fine bit of clear plastic with the correct window apertures, covers the miniature seeker array, which is molded into the lower fuselage Careful painting of both clear parts is a must.
Main fuselage components consist of an upper and lower section; no separate control surfaces are provided, which simplifies assembly. When at rest, the actual aircraft tends to have these “park” at neutral anyway, so it is appropriate. Before assembling the fuselage halves, open the locator holes on the inner surface of the lower wings if you are planning to use the optional external racks. Four radar reflector boxes are provided if you want to use them. I chose to leave them off.
Beginning with the intake parts, you must install the bright white trunking inside the gunship gray lower fuselage. Don’t worry about painting these, as they are opaque and the fit is superb. When you paint the model exterior stuff a bit of foam into the white area to prevent overspray, and you will have an easy time of it.
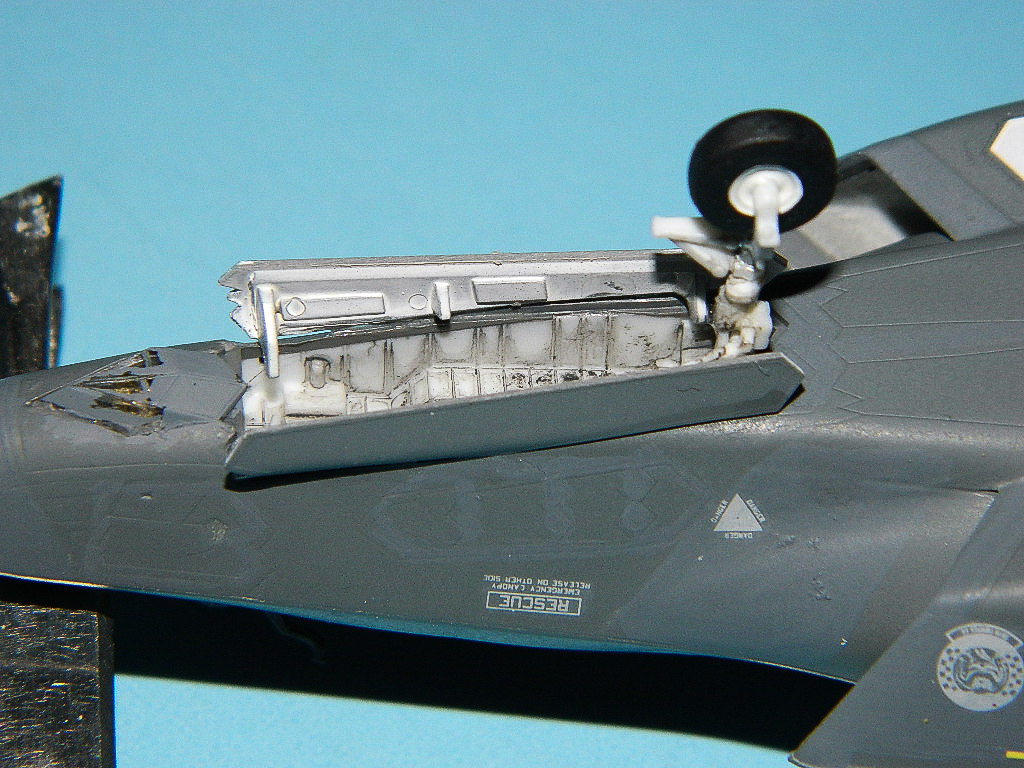
The weapons bay, wheel wells, and cockpit are all trapped inside the two fuselage halves, and the fit is positive and final. I put one lead sinker in the nose to ensure no tail sitting given how the main landing gear is relatively far back on the fuselage. I don’t think there should be an issue, but better safe than sorry.
Vertical fins and stabilizers are separate assemblies and are a tight, accurate fit. The same is true for the external racks. I installed these, touched the seams with a bit of wet/dry paper to eliminate them, then masked the wheel wells, weapons bay, and intake with foam cut from Eduard resin packaging boxes. This stuff works great and is soft enough to not damage most things inside. The cockpit opening was masked with tape, and the whole model shot with Tamiya Gunship Gray II Acrylic lacquer.
I then brush painted the neutral gray panels on the aircraft. I tried to mask off the panels, but the scale was too small to work in for me. The gloss coat almost totally undid the work as the two colors are very close, but it still came out smooth and ready for decals.
The decals performed flawlessly, and no settling solution was required. Markings are provided for Operational Testing at Edwards AFB and the first active squadron at Eglin AFB. The light gray stenciling is very close to the gray on the overall airframe, so I did not use the “No Step” markings on the wings because they disappeared against the gunship gray. The other flush antennas and air refueling markings are almost white, and stand out accordingly.
The landing gear is strong; no replacements required. The wheels and tires are molded in their respective colors, white and black, and fit so tightly they did not require any cement. Weapons were then painted in their appropriate colors. I have been experimenting with Vallejo, so brush painting was the order of the day. I ran a gray wash into the various openings to bring the detail out. The decals for the weapons were a bit frustrating due to the requirement to wrap around a miniscule cylinder, and although I almost tossed them, more patience will result in a better outcome. They still look great when done.
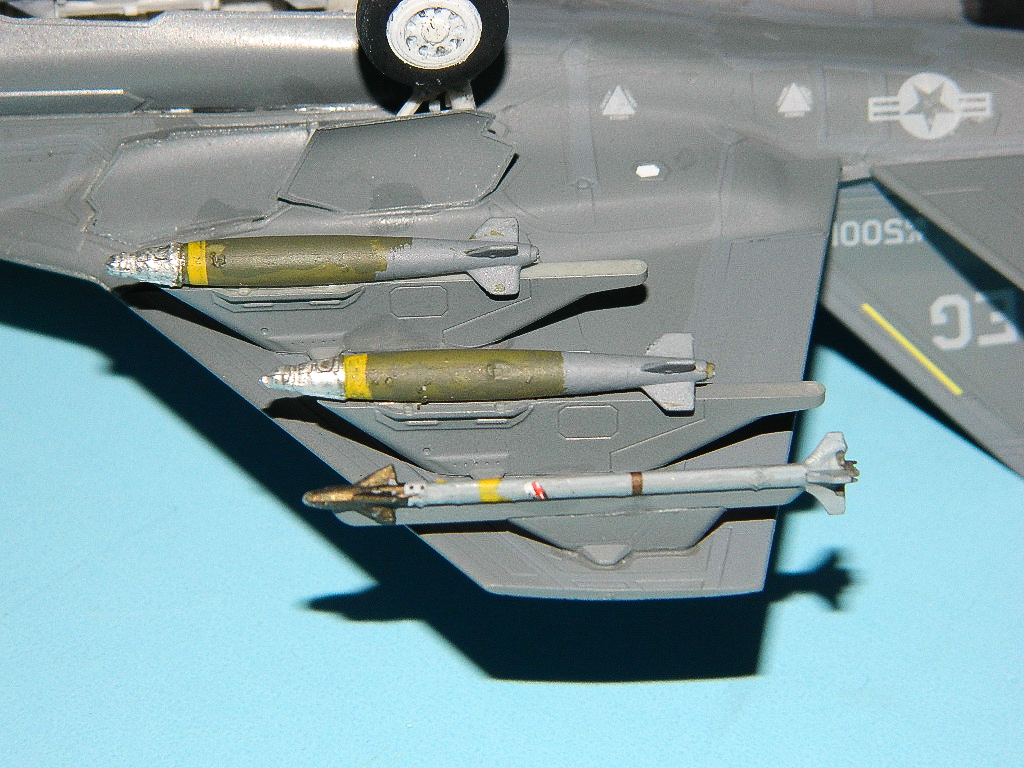
Speaking of weapons, four Mk 82 slicks with radar fuses are provided for the external bomb load, along with two AIM-9X and rails just inboard of the wing tips. For the weapons bay you get two AMRAAM AIM-120C and two JDAMs. These fit into place with positive cement tabs.
The weapons bay doors have easy to cement tabs to hold them in place, and the gear doors also fit very well. The effect is appropriately busy without butt joins everywhere.
In the end, you have a great kit of the F-35A. Very nicely done; full score for Academy! My personal hope is that Academy will release this kit in 1/32nd scale soon.
Thanks very much to our great supporters at MRC for providing us this magnificent kit to review.

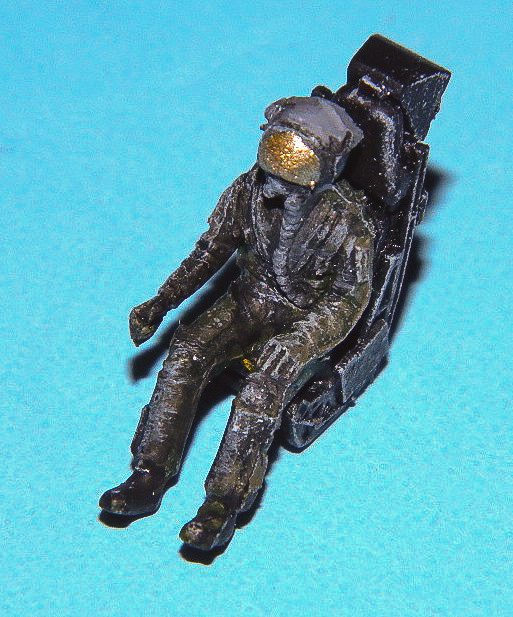
Pilot Figure and Ejection Seat - Front View
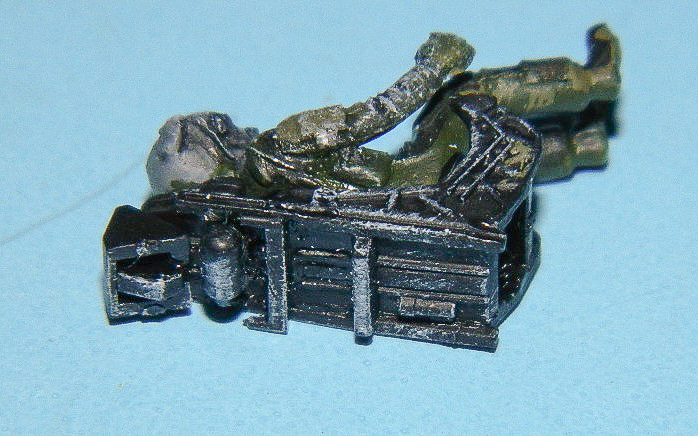
Pilot Figure and Ejection Seat - Rear View
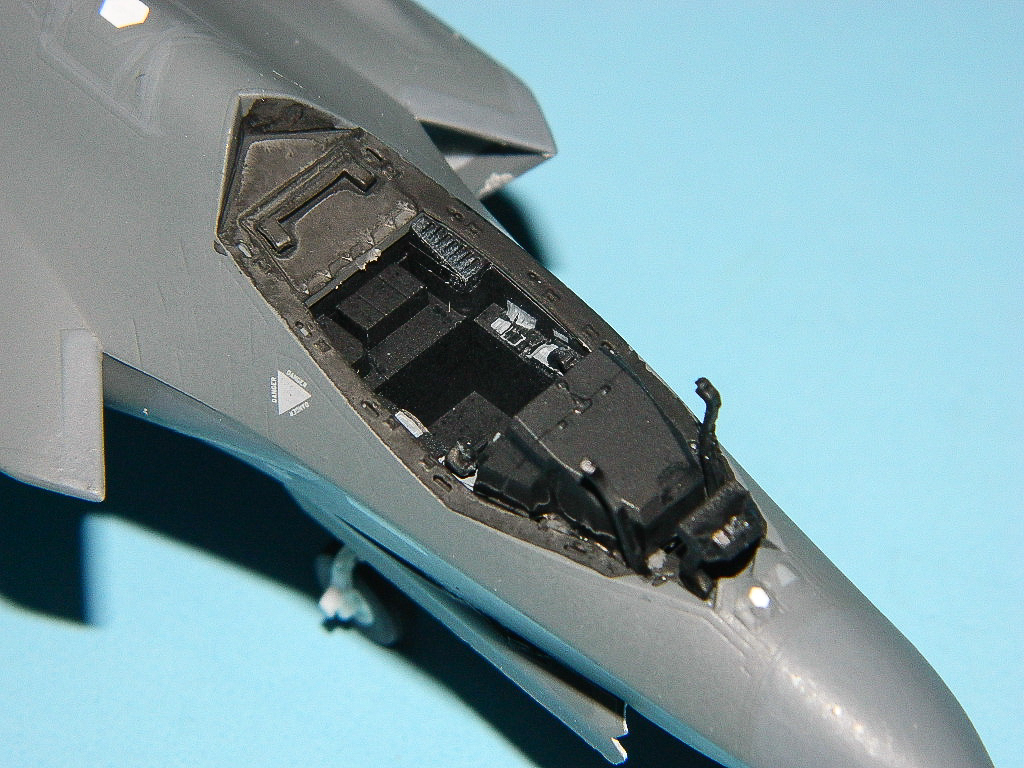
Cockpit Closeup - Front View
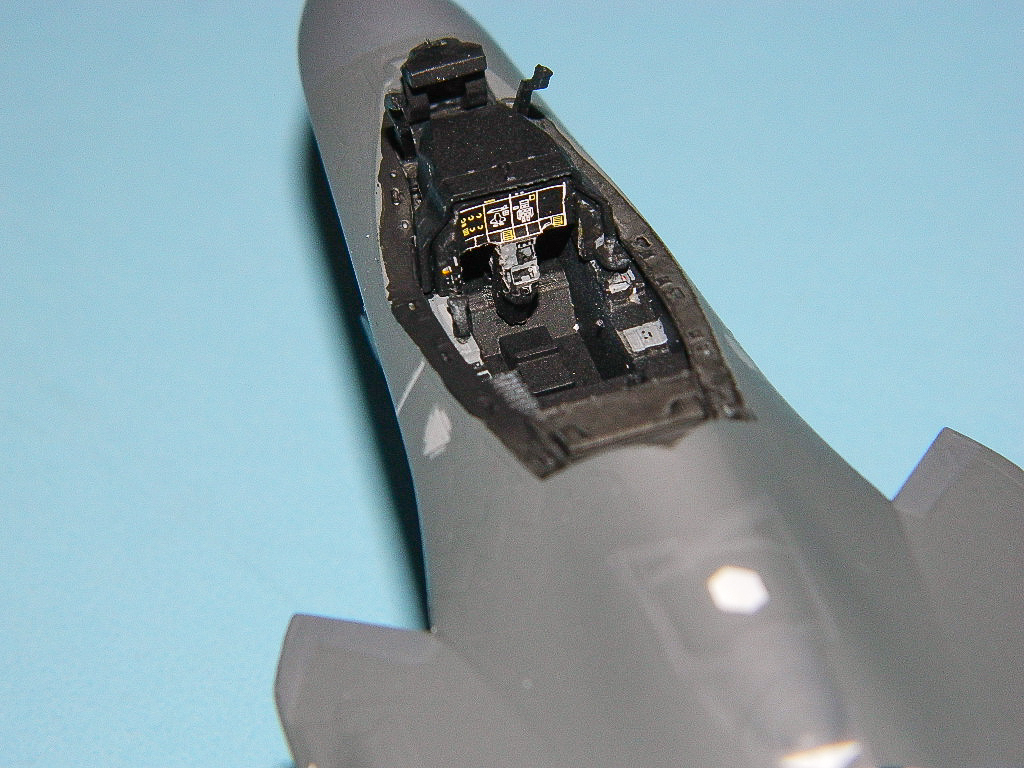
Cockpit Closeup - Rear View
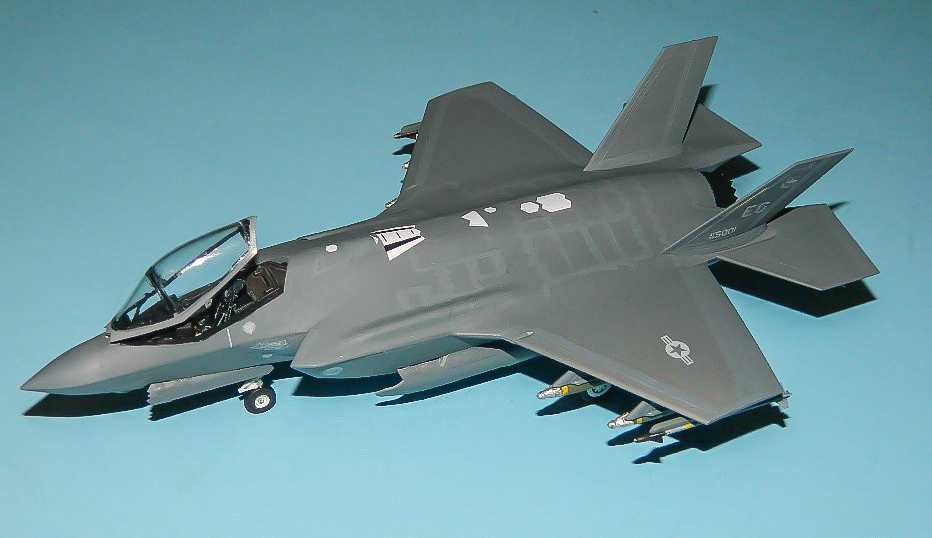
Finished Model - Left Side
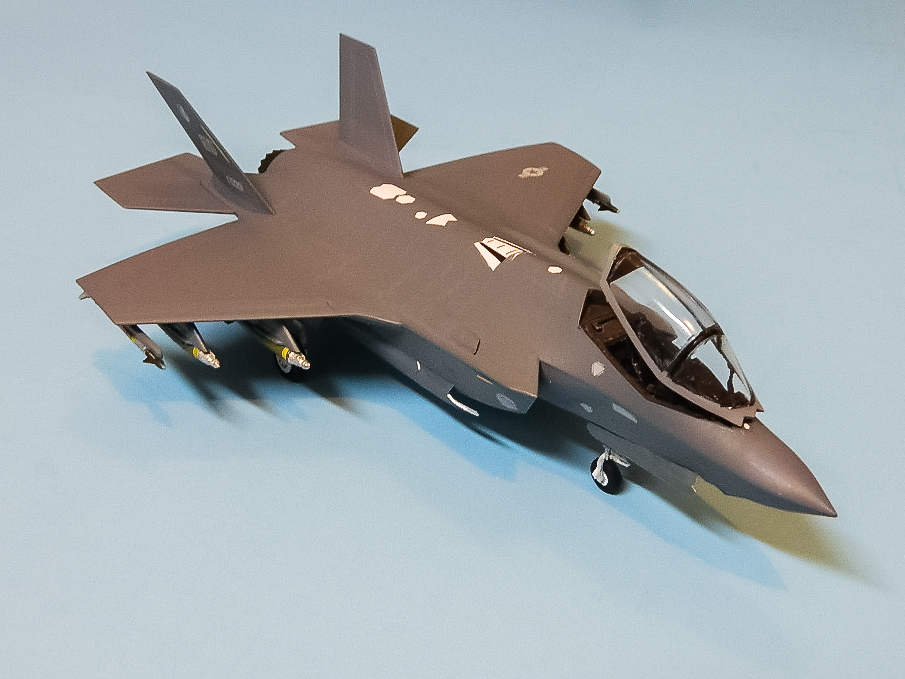
Finished Model - Right Side
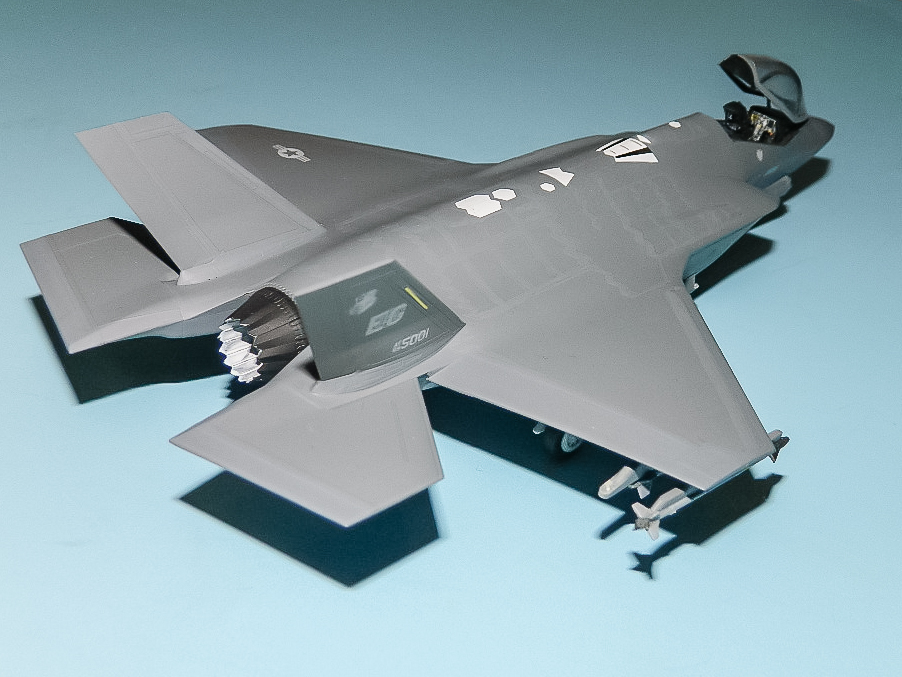
Finished Model - Rear View
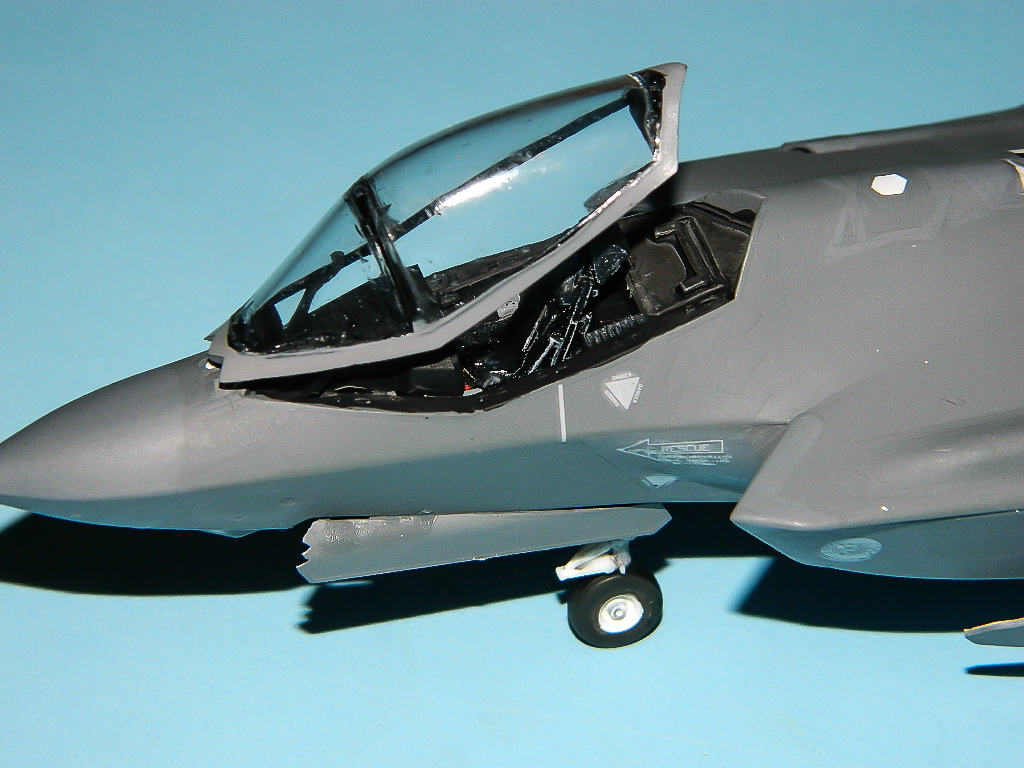
Canopy Closeup
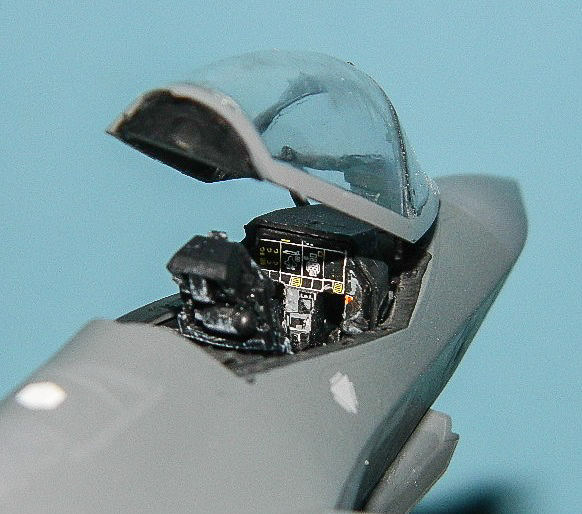
Canopy and Cockpit Closeup
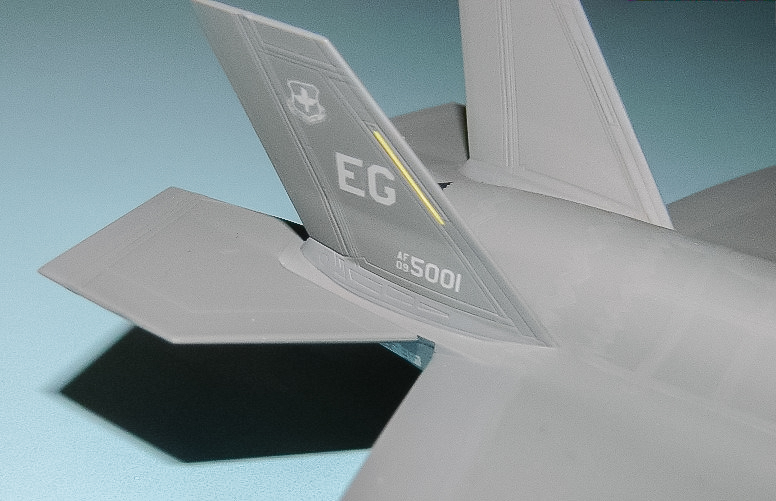
Tail Section Closeup
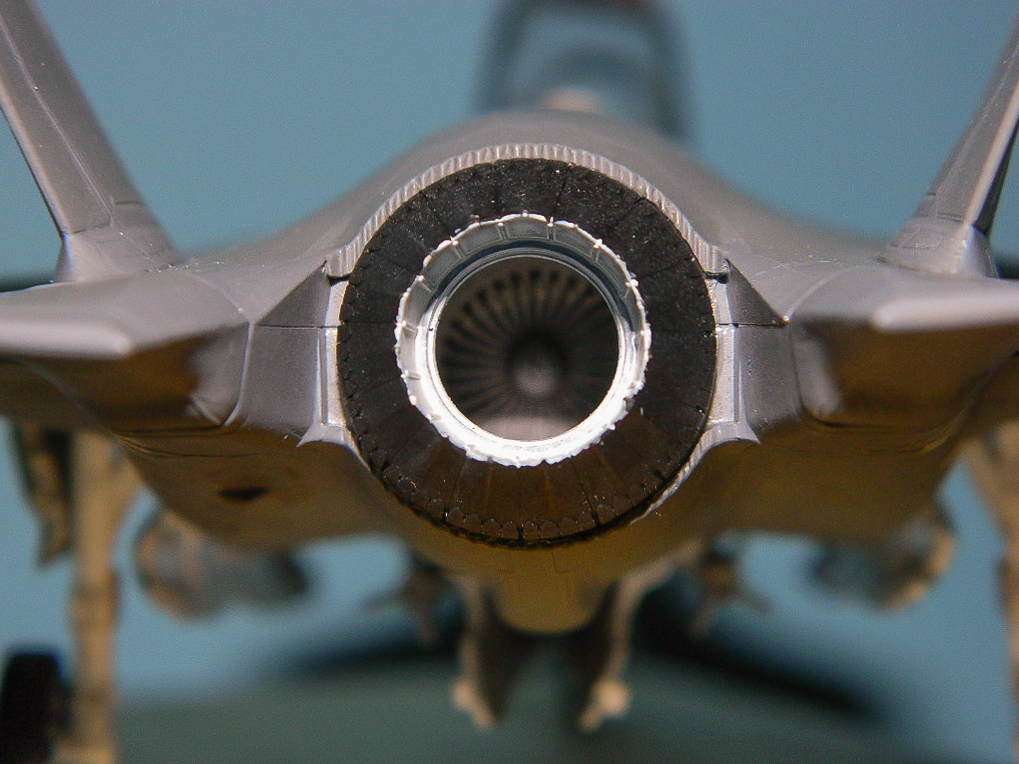
Engine Exhaust Closeup
Nose Gear Closeup
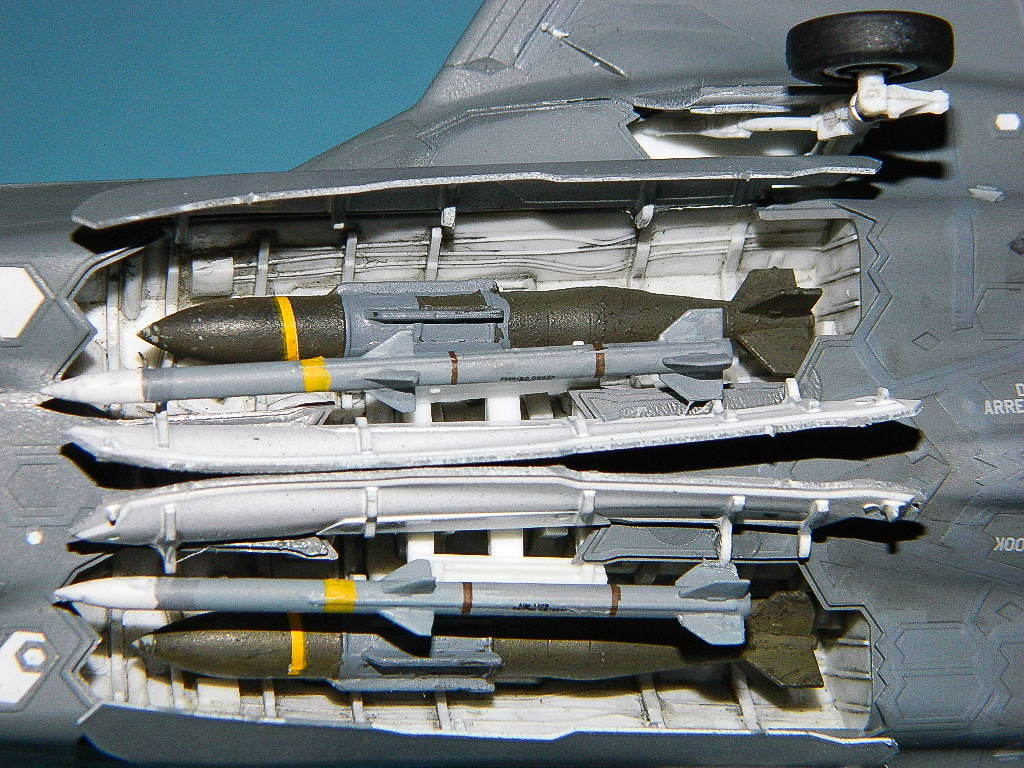
Weapons Bay and Main Gear Closeup
Comments
Add new comment
This site is protected by reCAPTCHA and the Google Privacy Policy and Terms of Service apply.
Similar Reviews