
F-15C "Strike" Eagle "Gulf War" 25th Anniversary
Up front: Sincere thanks to Italeri and their U.S. distributor, Hobbico USA, for this Boeing -Licensed model of the long-serving F-15C. And thanks to IPMS for sending it to review.
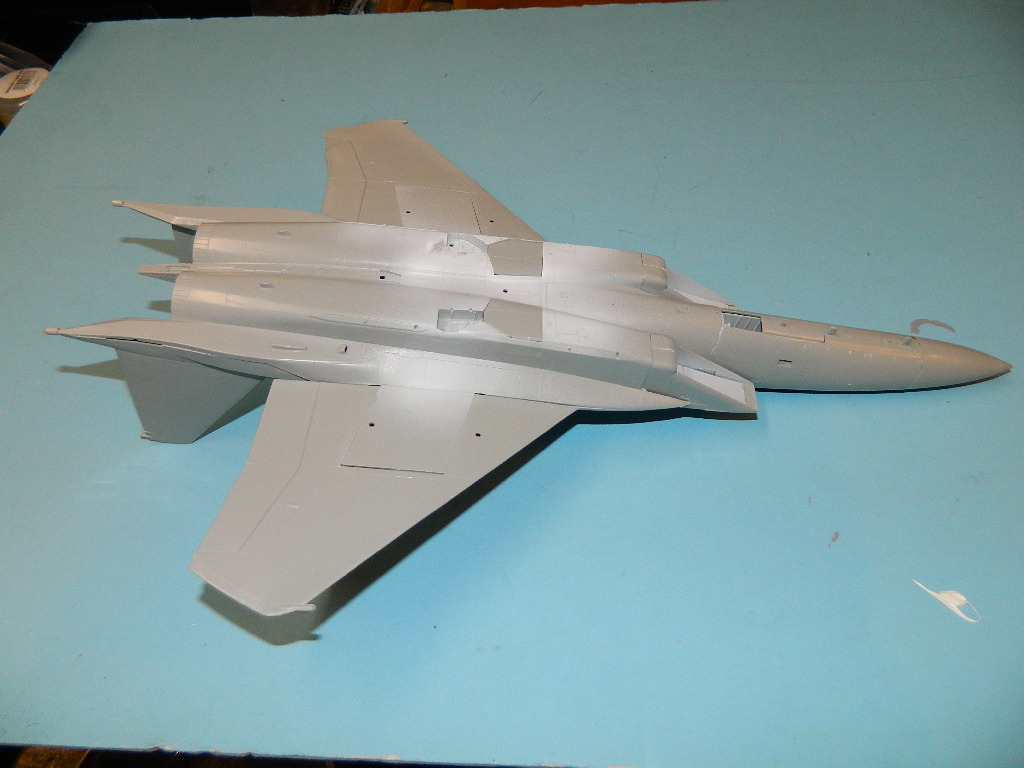
First off: This is not a “Strike Eagle” but a standard “C” model with parts which would fit on the F-15E. This original kit hails back to around 1990 or so; it’s a mixed bag of older technology, and improvements that we now take for granted. Engraved exterior detail is very petite but there is little in the way of fasteners, etc., which is ok! Fit of the parts is a bit “loose”, as you can tell by the copious quantity of putty I used on assembly. Flash is present. But it’s an Eagle!
The Box art will sell the model; the decal sheet and options will redeem it.
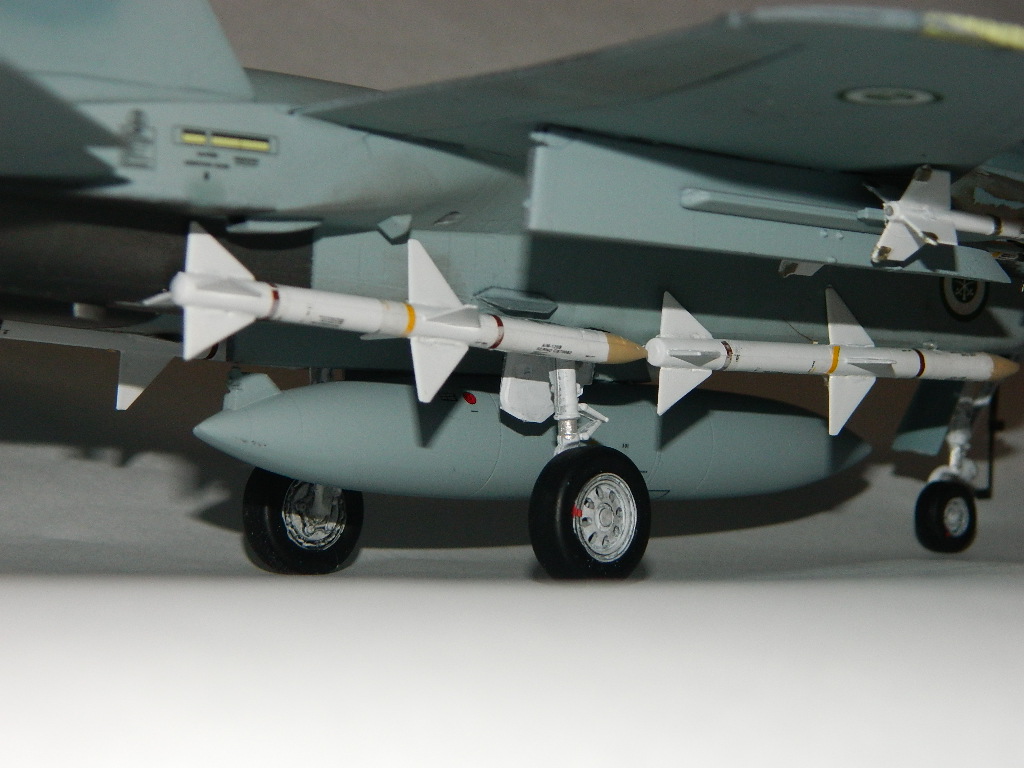
On to the build. The wing attachment is via a large center box on the lower section, and tabs on the upper. More putty. The M-61 Vulcan gun barrels are very well done, i.e. they are “crisp”, requiring nothing more than the ol’ drill out the muzzles to finish trick. No provision exists for placing the stabilators in any position other than neutral. External stores are AIM-9L, with inaccurately shaped nose section and tail fins that are too small with no rolleron detail. AIM-7’s are provided but are early versions without the external wiring fairing runs. One accurately–shaped and sized 600 gallon high-speed external tank is provided for the centerline.
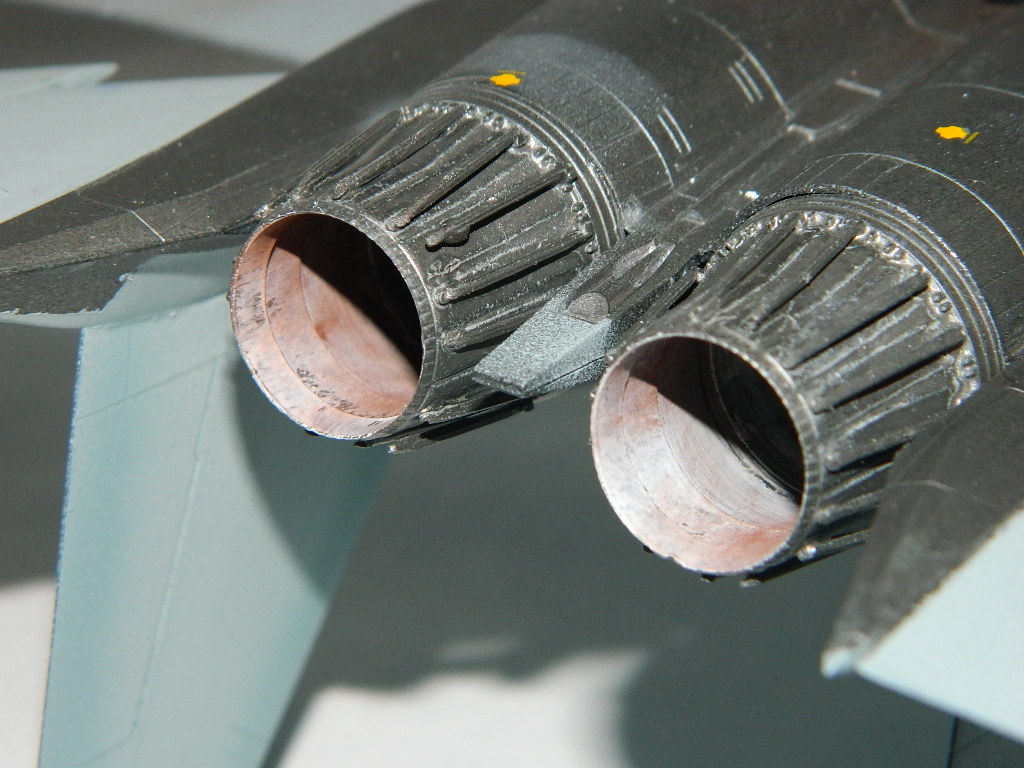
The “featherless” exhaust nozzles have external stiffener details, but the rest of the nozzle is notional. Pitot tubes are provided, and the upper fin mass balances/electronics pods are separate items; the smaller (starboard) side pod it fictional in that it has a smaller frontal area like a necked-down pitot, where it should be just one shape. Put a bullet nose on some rod of the same diameter as the back part of the mass balance if you want to accurize. Two MISP pods are molded on the extreme aft stabilizer fairings; this is appropriate for an F-15E, but the left pod needs to be removed for an F-15C.
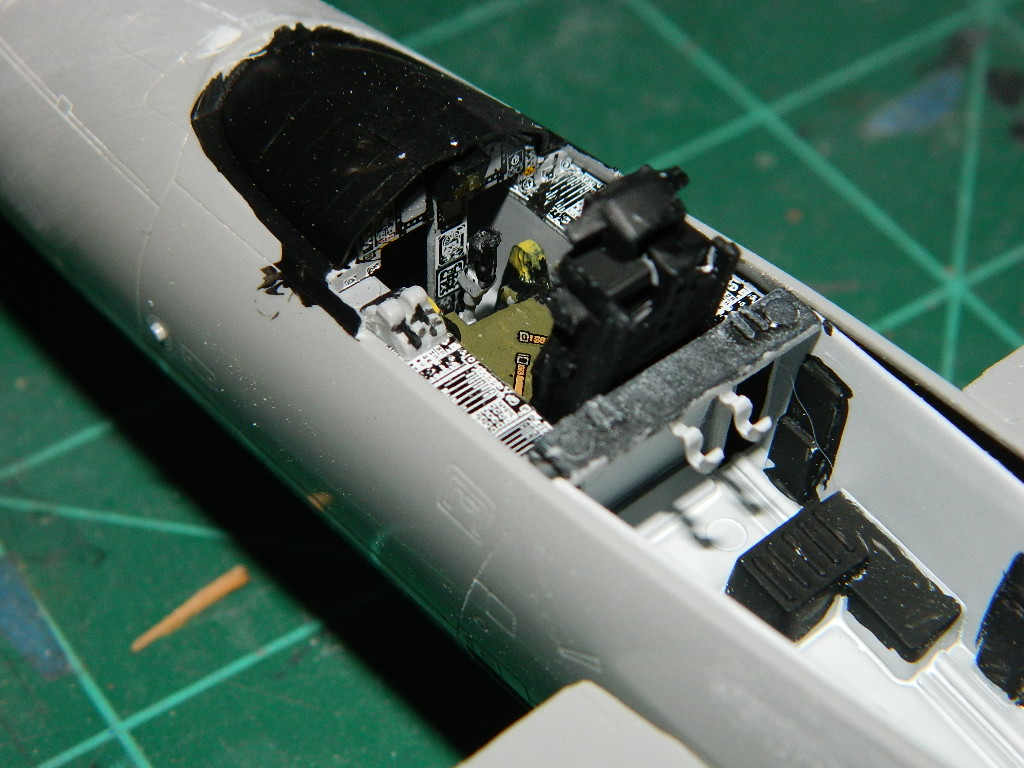
The interior is more detailed than many in that it actually has a separate part for the throttles; the control stick is respectable, and the cockpit interior has smooth panels on which you apply decals. Once these are in place, and the ejection seat is installed, you have an interior that serves well for a closed-cockpit display. Couple of things; the F-15 ACES II seat uses seat side pull ejection initiator handles, not the center “Between-the-Legs” handle, so don’t install that. The seat harness decal looks good, you just have to remove the molded on belts. It might be worth installing a resin seat to fix the appearance.
The aft avionics bay is relatively speculative and has a couple of boxes… and large gaps on the upper side; hence my opting for a closed canopy. The clear parts do not have a seam down the center, as the model parts are not ‘blown” out like the actual thing. Another bid to close the canopy. OH, and there is no HUD at all! The clear sprue has a part for the projection lens, but no framing is provided or opted for the actual item itself.
An option to display the nose radar is provided as well, allowing you to affix the radome opened to the side. This kit reminded me of the Monogram 1978/9 1/48 Eagle kit in that this option was also in vogue.
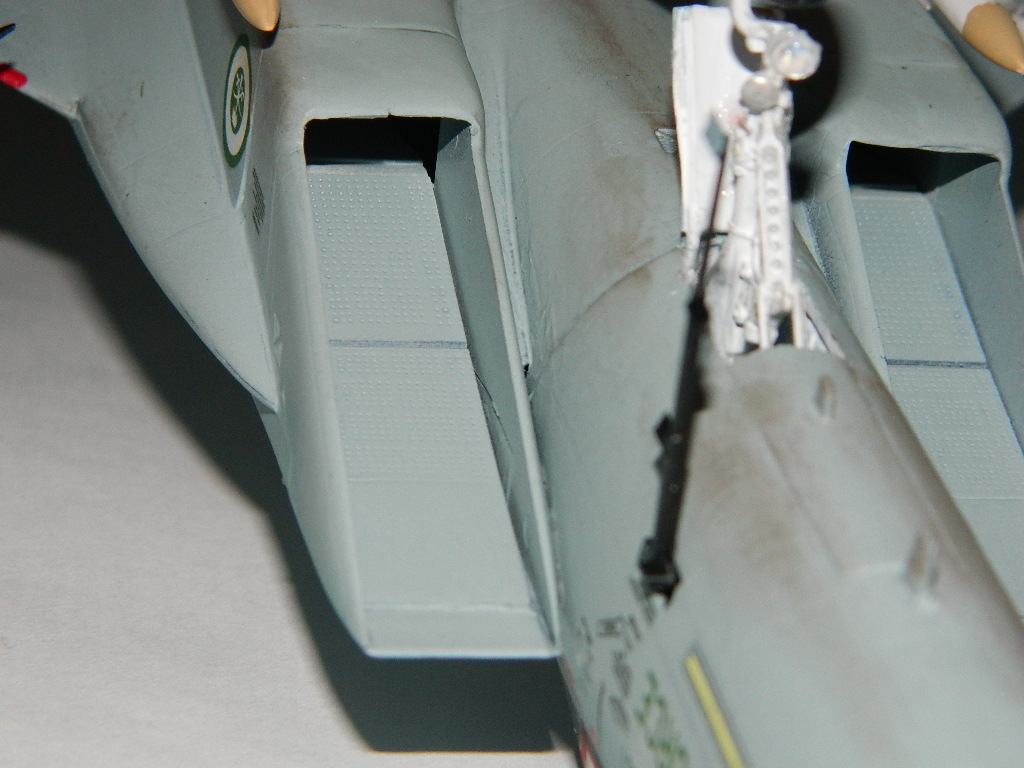
The landing gear provides two loose-fitting main gear door options; one for the F-15E’s larger wheels (the bulged version) and one for the standard F-15C. The wheels are correctly portrayed later versions with cooling holes, not the earlier spoked versions as provided on the “A”. However, these are for the “E” in that they are fatter, wider “E” model high pressure radial tires; in retrospect I could have spent five minutes with a sanding block and thinned both tire sides and it would have looked more accurate. The landing gear is actually very well detailed, including wiring for the nose gear light. .
The “featherless” exhaust nozzles were assembled, and If I were to be keeping this one I’d be buying the Aires exhausts for their much-better details. The location of the braces was basically “cement in place until it looks good”.
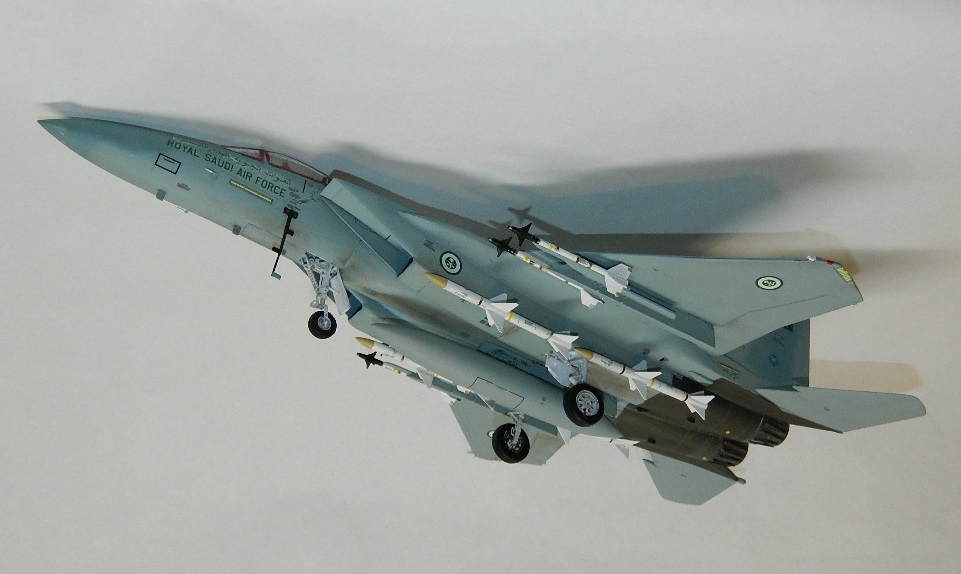
Redeeming the kit is a Cartograf decal sheet with four options; Eglin’s “Gulf Spirit”, (EG), one Bitburg F-15C (BT), One Langley “First fighter” (FF) bird, and one Saudi Arabian AF version. All are painted in the standard Light and Dark Ghost Gray schemes; none are painted in “Mod Eagle” grays. This sheet caters for the “Gulf War 25th Anniversary” theme currently running with Italeri and has sufficient stencils and details to bring the kit up to “office display model” status. The instrument panels and seat harness decals worked particularly well in bringing the relatively featureless cockpit to life. Having never done one before, I opted for the Saudi decals…
On the decals; from Cartograf, excellent color, registration, and legible stenciling. and also an area to be watchful of... First, the missile decals did not want to wrap around the AIM-9 sidewinders. I used microscale micro set, Micro sol, Walther’s decal solvent, Acetone, and finally lacquer thinner to get the stripes to wrap around. Hmmmmm.
Painting was Testors Titanium Metalizer spray, buffed and masked. For the overall airframe colors I used Tamiya light and Dark Ghost Grays from their spray lineup. I used them by shooting the light gray first overall from the can, letting cure, then decanting and spraying the dark Gray. The two colors seem too blue in tone for me… but I’ll tell everyone the depot used a different manufacturer than normal if anyone were to ask. My preferred ghost colors are Testors… having held up color swatches on actual Hens on the line (I used to have assignment as the 17th AF Logistics POC for the F-15 program at Sembach, Germany, and had a lot of time on the Bitburg and Soesterberg, Netherlands flightlines from 1988 to 1990. Ah, the good ol’ days…)
I fought this kit’s issues from the beginning, but in the end it looked pretty good. Bring putty and wet/dry to the party. The fit of the nose radome was a bit off, and the separate nose tip made sure I had to re-do the front a couple of times before I got the shape correct.
At the end of the build I had an Eagle to pass on to the office “freebee” lovers… it was not totally bad, but it’s age is showing and can be replaced by other options. If nothing else, the kit’s decal sheet and box art, as noted before, is worth the price of the kit.
I sincerely appreciate Italeri/Hobbyco providing us this model; it’s a good “beginner” kit, with just enough complexity to challenge the builder (and a few small parts), and will satisfy all but the detail hounds among us, which makes it a worthwhile purchase! A bit of aftermarket and work is all it takes. .

Putty Work 1

Putty Work 2

Interior
Cockpit Detail 1

Cockpit Detail 2

Electronic Bay

Exhaust Interior
Exhaust Nozzle Detail
Intake Detail
rear Detail
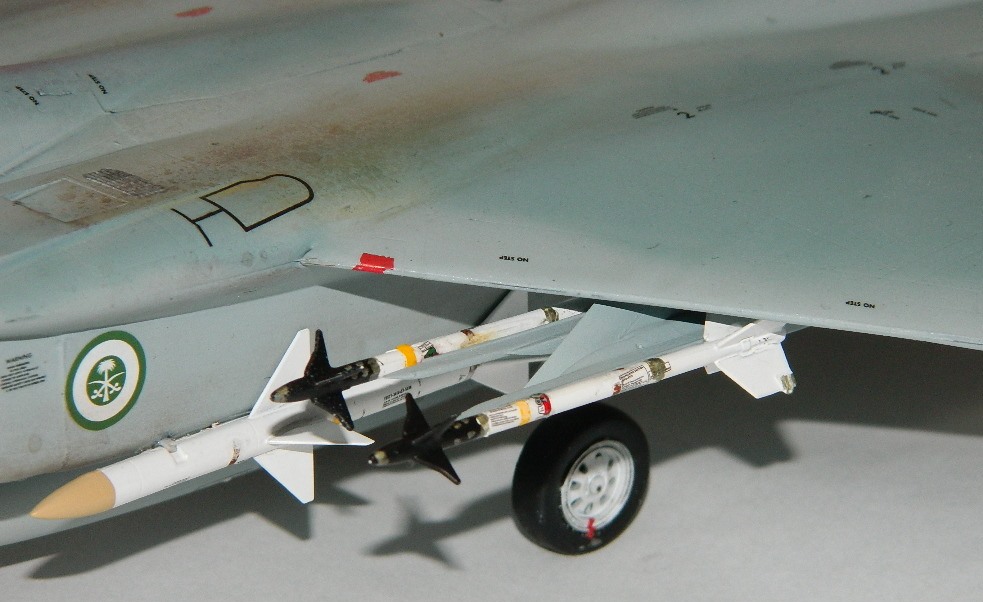
AIM-9Ms

AIM-7 AIM-9 and Main Gear Details

Nose Gear & Cockpit Ladder
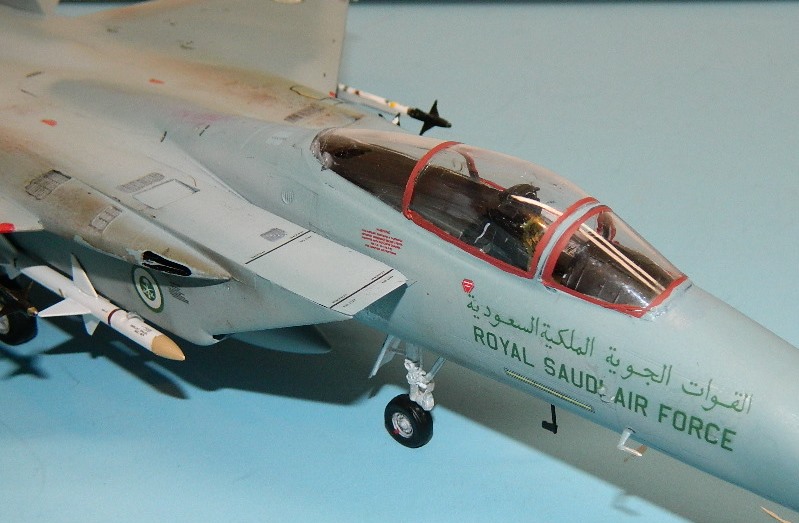
Finished Cockpit Right

Finished Cockpit Left
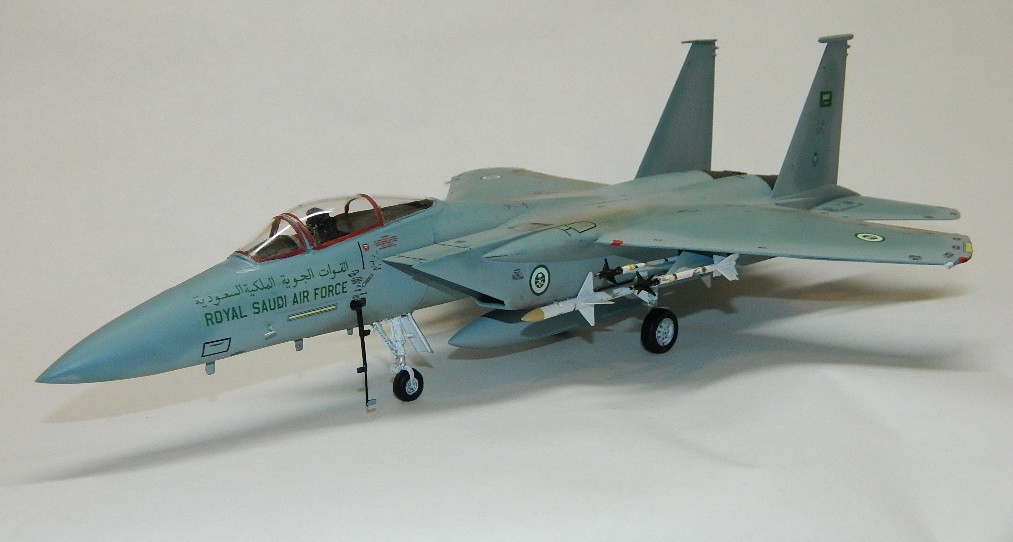
Finished Model
Comments
Add new comment
This site is protected by reCAPTCHA and the Google Privacy Policy and Terms of Service apply.
Similar Reviews