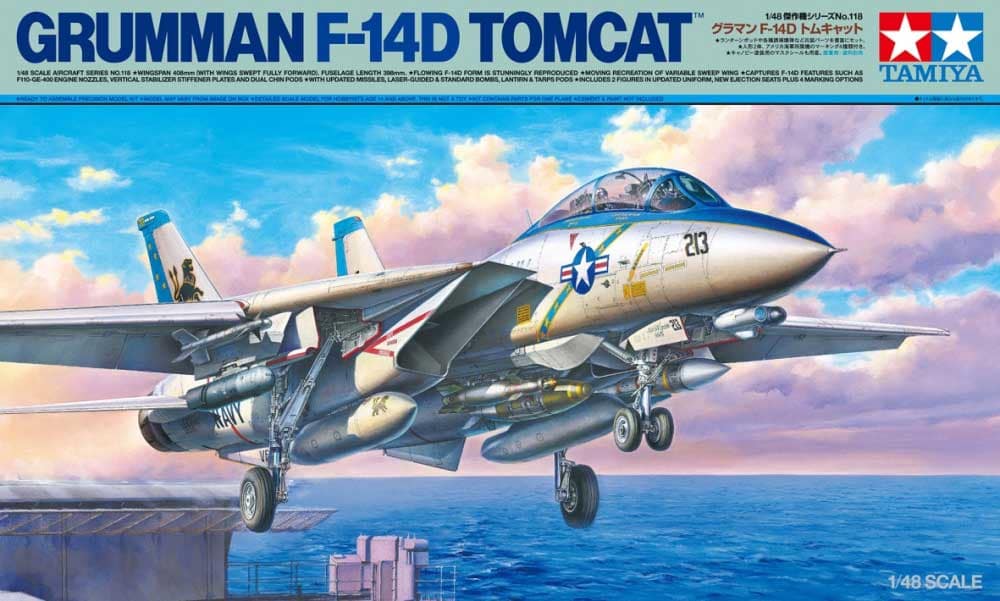
F-14D Tomcat, Part 2 - Airframe and Weapon Construction
In Part 1, we reviewed the changes that Tamiya did to the kit, built and assembled the cockpit/wheel wells, the wings were attached to the fuselage and the front of the fuselage was assembled. In this part, we’ll button up the fuselage and attach the nose, get the intakes installed and prepare the kit for primer/paint.
The top and bottom rear fuselage parts are glued together and fit well. A little putty was required at the two sides probably due to me rushing through. I then built the intakes and trunking. The trunking is two parts and like all jets, it took some sanding to get smooth. I sprayed the interior white Tamiya acrylics as well as the front of the intakes and set aside. Tamiya provides tape masks to get the correct look. You do have to cut them out which with a sharp knife took maybe 3 minutes. I added the bottom mask first and the front goes against the line marked at the front of the intakes. The two sides were added next. A comment here- the intake ramps and masks are “handed”, left and right so watch which part goes where. I then sprayed the intakes Light Ghost Gray.
While this was drying, I decided on my configuration- I wanted to add a TARPs pod. Something different and so I built the armament. In this case, it was a pair of AIL-9L Sidewinders and a pair of AIM-7F Sparrows. I sprayed the inside of the TARPs pod dark gray with black cameras with glossy lenses. The TARPs pod consists of seven pieces and masking for the lenses is included. The pictures I took show the pod prior to masking the lenses. Another rote here- once you decide your configuration, it affects how you build the wing pylons. Mine are specific built to house the missiles I chose but two other configurations are available.
The intakes were dry so I removed the masking, added a wash and flat coat, added the new engine fan intakes to represent the new engine and added them to the fuselage. It literally “clicked” as it snapped into place. A little glue the intakes were finished. There is a new insert between the just glued on intakes and the aft section. These dropped right into place and you can see the fit with no filler added.
The horizontal stabilizers and fuel tanks were built without any issues. The new beaver tail was built and added leaving off the clear parts. As this was drying, the main landing gear was built. Lots of parts but great fit and they will look perfect with decals and wash added.
Lastly the wings and tails were built. The wings were not issue and glued up quickly. The tails were glued and need some putty to fit to the fuselage.
That’s it for Part 2, Part 3 will be painting and decals and depending on time, finishing off this wonderful kit.
My thanks again to Tamiya and Tamiya USA for producing this gem


Comments
Add new comment
This site is protected by reCAPTCHA and the Google Privacy Policy and Terms of Service apply.
Similar Reviews