F-14D Tomcat, Part 1 - Kit Review, Cockpit, and Fuselage
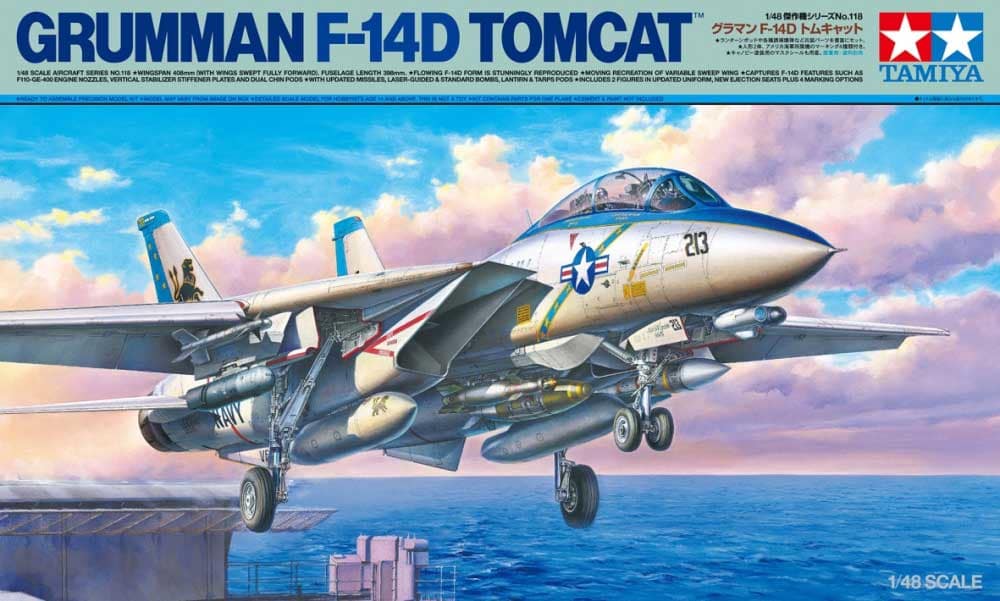
When Tamiya released its 1/48 scale F-14A, it was made the new standard in F-14 kits and from the layout, it seemed like the F-14D would be coming and now, it has arrived. First, it’s gorgeous as far as plastic, general engraving, etc. and that should not surprise anyone. Most of the parts for the F-14A are still in the box and won’t be used. The kit comes with four marking options:
- VF-02 "Bounty Hunters", CAG Plane, May 2003, USS Constellation
- VF-213 "Black Lions", CAG plane, March 2006, USS Theodore Roosevelt
- VF-11 "Red Rippers", CAG Plane, 1995, USS Carl Vinson
- VF-101 "Grim Reapers", September 2004
Some great markings and plenty of aftermarket decals options also. I went through the instructions and compared them to the F-14A instructions and here’s a list of changes/upgrades:
- Cockpit panels and sticks updated to D configuration with two options for the RIO panel
- New gun port insert
- Masking stencils provided for interior masking of inlets
- Complete new exhausts with decals to represent the carbon fiber areas for the F110-GE-400 engine nozzles
- New beavertail for the rear
- New chin sensor pod
- Reinforcement panel for rear seat
- New nose gear door to represent the D version
- New vertical stabilizers with reinforcement plates
- New ejection seats including ones specific to pilot and RIO
- New front and back instrument coaming for cockpit
- Weapons and Armament
- AIM-9L Sidewinder
- AIM-7F Sparrow
- AIM-54C Phoenix
- GBU-12 Paveway II
- GBU-16 Paveway II
- GBU-31 JDAM
- An/AAQ-25 Lantirn Pod
- Tarps Pod
- Two newly sculpted pilots in updated uniforms WITH helmet markings
Let’s dive into the kit. I started with the cockpit which is nicely detailed. Before you start, make a choice on which time frame you are going to make. The instrument [panels have options depending on before or after the planes were updated. Same for the side panels. The instructions are detailed and clear and I moved quickly through the build. You can see the build in the pictures below and the cockpit looks really nice when built and painted.
At the same time, I built the nose gear well which is similar to the F-14A build so there is not much to say except that things fit well and have great detail. I added the finished cockpit with side walls to the nose gear and was almost ready to button up the front of the fuselage. Again, see the pictures.
I prepped the inside of the fuselage by painting black and decided not to have an open refuel probe so I added the closed door which fit into place perfectly. Don’t forget to add the blank for the gun barrel. I added the cockpit/wheel well assembly and closed the front fuselage and set aside to dry.
While this was going on, I completed steps 9 through 12 which included adding the swing wing mechanism to the upper fuselage, adding the main gear wheel wells to the lower fuselage and painting. I added the holders for the horizontal stabilizer. To the top fuselage, I added the intake ramps. All of this was similar to the F-14A build. Also, make sure you open up the bottom fuselage holes for the armament.
Back to the front fuselage, I added the new gun port and the cockpit frame. Lastly, I added the "panel sticker" which surrounds the aft step for getting into the rear of the cockpit. I couldn’t find anything directly on this part but it looks like a reinforcement plate was added to this area. Fit again is superb.
That’s it for now. Join me for parts 2 where I will get the airframe together, prep the weapons I am going to use and hopefully get some paint on the kit.


Comments
Add new comment
This site is protected by reCAPTCHA and the Google Privacy Policy and Terms of Service apply.
Similar Reviews